
DIY Simple Fall Wreath for Less than $10
Hi everyone! Happy Fall!
Today I’m back with this super simple wreath idea that will cost you less than $10 all in! It includes using an inexpensive starburst twig wreath from Amazon and some cattail bunches that I picked up at Dollar Tree for a buck each.
I happened to see this twig wreath from Amazon and it was only $7. I knew I wanted to make a Fall wreath with it. That’s what started this whole project! The nice thing about using twig wreaths is that they help to “fill out” your wreath. You don’t need as many floral/greenery accessories because the twigs add bulk.
I love making wreaths. It’s one of my favorite crafts. Lately, I’ve gravitated toward very simplistic, almost minimalistic looking, wreaths. And that’s how I wanted to design this one.
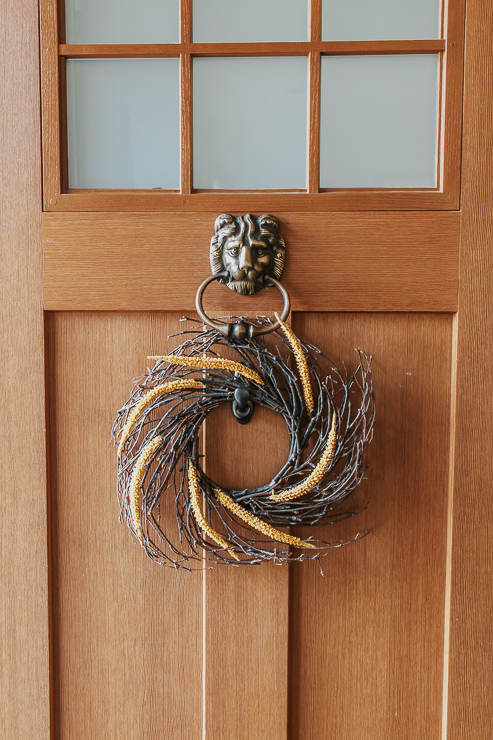
The cattails add a nice pop of color.

Let’s get started!
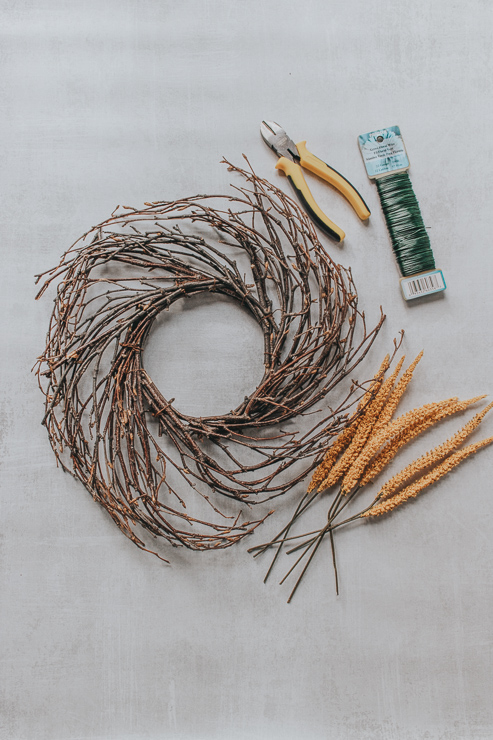
Materials:
(I’ve included affiliate links for your convenience. I earn a small percentage from a purchase using these links. There is no additional cost to you. You can read more about affiliate links here.)
- Twig wreath
- Cattails or other Dollar Store Florals
- Floral Wire
- Wire cutters
Instructions:
Follow these three simple steps to creating your Fall wreath.
Step 1: Cut off Individual Cattails.
Since my cattails came in bunches, I started off by snipping each individual cattail from the stems. I left a bit of a stem on each one.
Step 2: Use floral wire to attach Cattails to your Wreath Form.
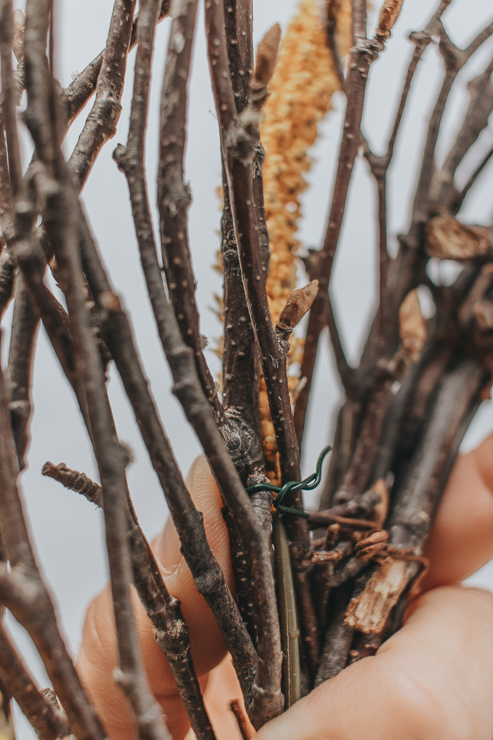
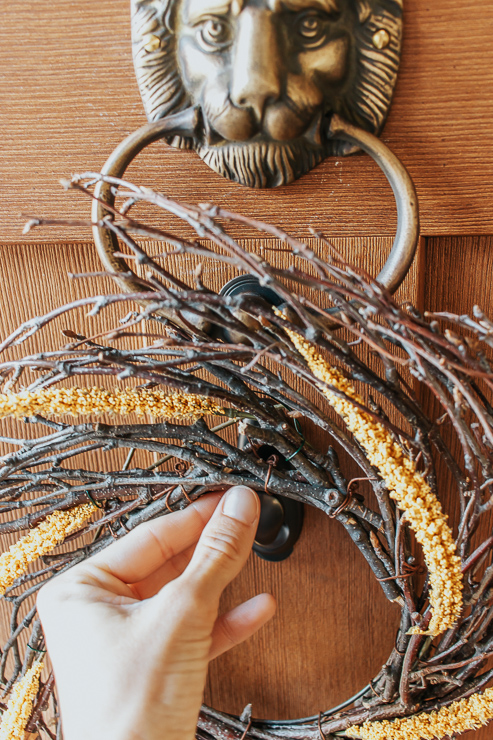
Using small pieces of floral wire, attach your cattails to your wreath form. You can twist the wire in the back to secure each cattail. I wanted my cattails to follow the twisted pattern of the wreath.
You can also try inserting the cattails through the twig wreath wire. Just be careful not to loosen or break the twigs from the wreath.

Step 3: Hang up and enjoy it!
After all your cattails are attached, you just need to hang up and enjoy it!
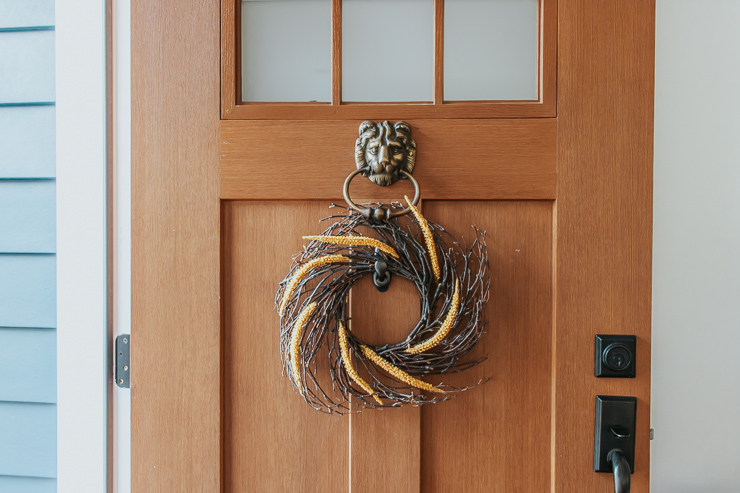
I like to use a 3m wreath hanger to hang them on my front door. If you have a glass door, you can buy a suction door wreath hanger that comes with a little hook.
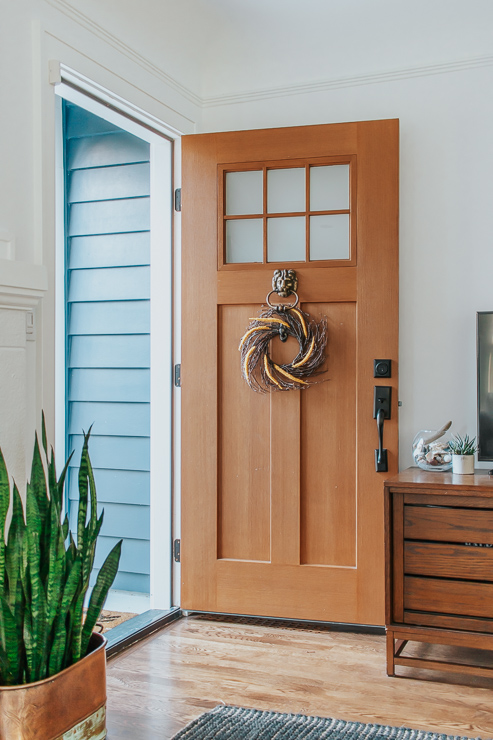
These wreath hangers allow me to hang it anywhere on the front door and not block the windows. I like to hang my wreaths directly under our new lion doorknocker.
But you can also hang your wreath indoors. I especially love using wreaths for jazzing up an interior door or wall and I love hanging one from our kitchen vent hood around the holidays.
You don’t have to spend a lot to add some Fall Decor to your home. Dollar Stores are a great place to pick up a few florals and keep the cost low. You can always reuse the twig wreaths too!
For more wreath ideas, check out this modern hoop wreath tutorial here.
Until next time!

~ See More of Karen’s Tutorials ~

 Hello! I’m Karen, the creator of the Home Decor and DIY Blog: Decor Hint. I’m a Native of the East Coast, but I currently live in beautiful Seattle with my hubby, our two wonderful children, and our spunky wheaten terrier.
You can usually find me with some sort of craft in one hand and a coffee in the other. And I’m always rearranging furniture or moving lamps from room to room. I have a passion (read: obsession) for decorating, DIY, and gardening. In short, I love making my house into a home.
Like many, I’m inspired by what I see in home decor magazines, but I’m not so inspired by the price tags. Consequently, I love finding and creating beautiful budget-friendly home decor items. In a head to head competition, I bet you’d never know the difference between the designer items and my DIY creations! Many of my DIY projects focus on sewing, crafting, upcycling and organizing. Some of my favorite projects have been making pretty wreaths, sewing my own tassel hand towels, and crafting these trendy wood bead garlands. I can’t wait to inspire you and spark your creativity through my DIY projects.
You can always connect with me on Pinterest, Twitter or Instagram.


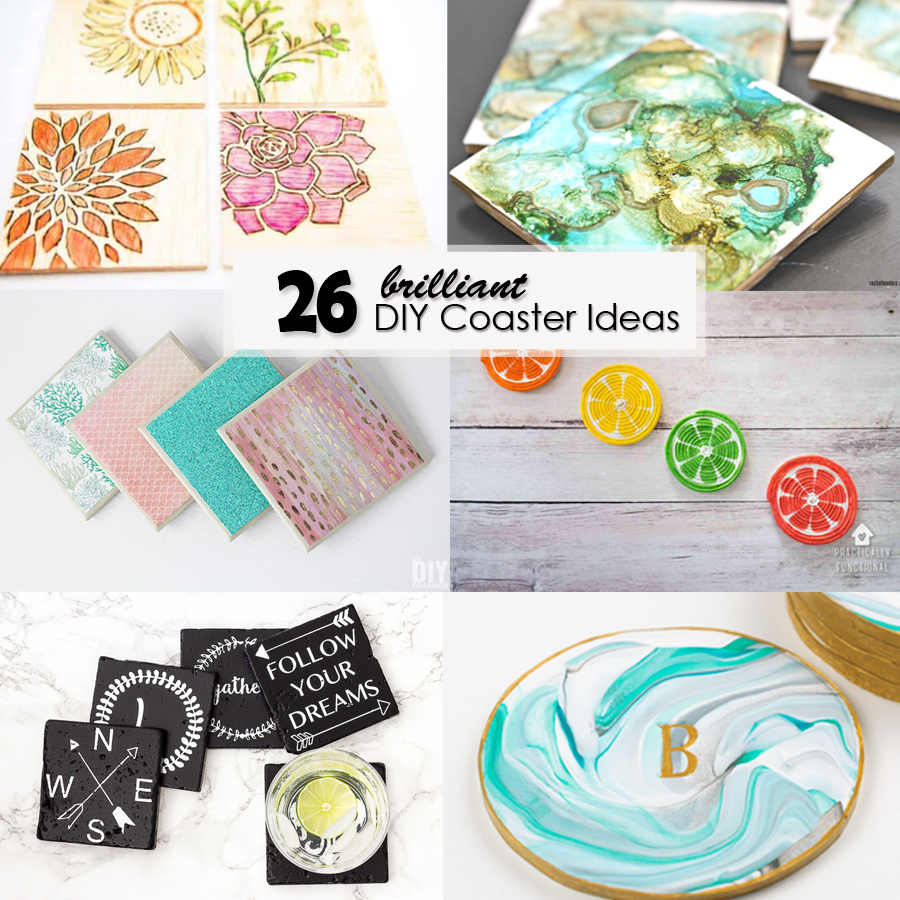


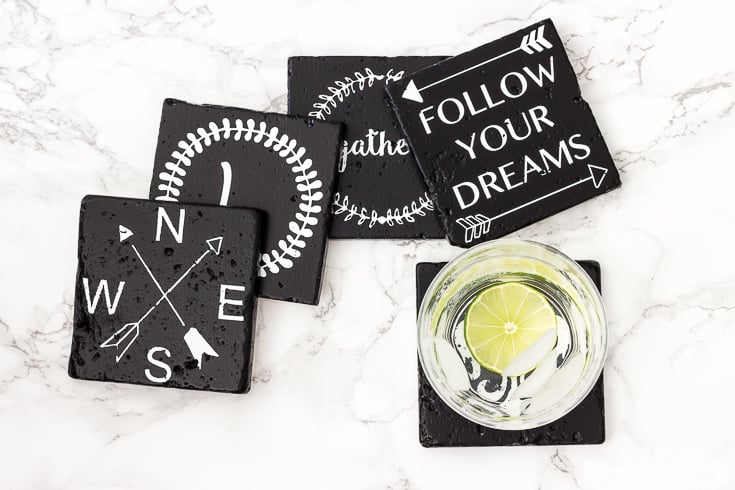
 Gold and Marble Coasters


