Cute Sock Snowmen
I have a very special guest for you today. This woman is a very talented artist and art instructor in Northern Virginia. She is the one responsible for my artistic genes and half the equation for my DIY passion. This woman is my fabulous mother, Shari! (She’s also affectionately referred to as Grammy Mac in our household.)
Please give my Mom a warm welcome here. She was kind enough to put together her first blog tutorial showcasing these cute sock snowmen that she made with her students (she teaches private art lessons after school.)
Take it away, Mom!
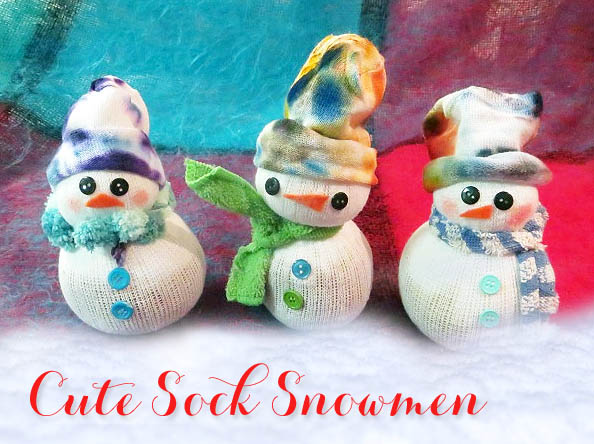
Snow Days! Here in Northern Virginia we have already had too many! The most disappointing part about this is that we haven’t had enough snow to make a snowball let alone a real snow person. In an attempt to make the kids happy, we headed to my studio to make snow people from tube socks. Perhaps if we make enough of them, they will bring on the real deal!
Materials:
(Shopping at the dollar store makes this project much more economical.)
- 1 White tube sock (Adult Size 9-11)
- Rubber bands
- Rice (1/2 to 3/4 cup per person)
- Polyester fiberfill stuffing
- Buttons, pompoms, sequins, orange felt
- Tacky glue
- Brown pipe cleaners (to make stick like arms)
- Black acrylic paint
- Acrylic paint in your favorite colors for tie-dye hats and scarves
- Cotton Swabs (a good tool for painting dots for smiles)
- Faber-Castell Gelato pigment stick Bubblegum Shade (if you can’t find this, you can use watered down pink craft paint)
Optional:
- Kitchen towels, fabric or ribbon cut into strips to make the scarves
Instructions:
Tie Dying the Hat & Scarf:
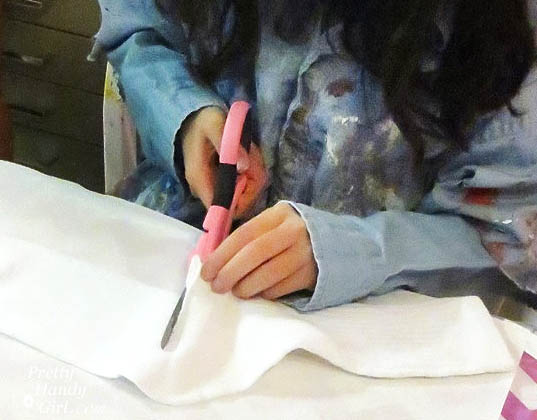
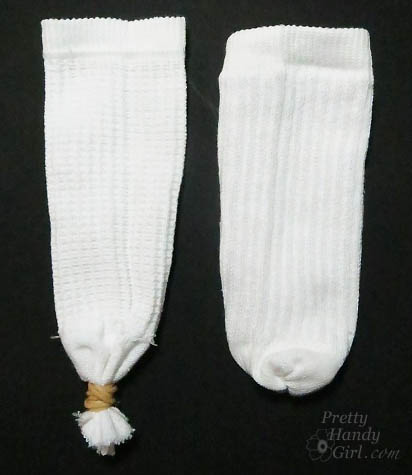
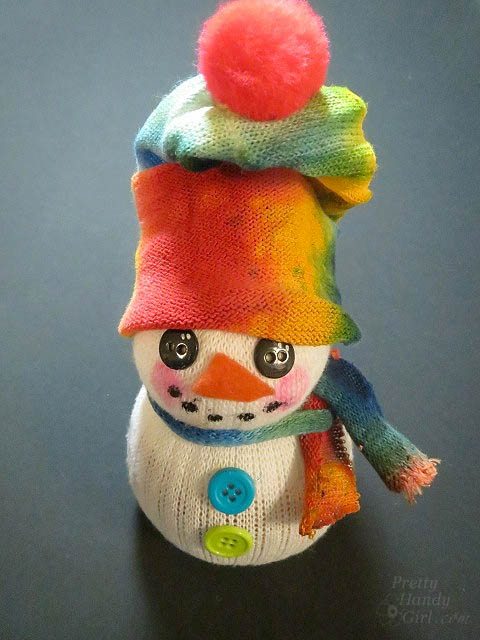
Cut the foot off your sock. (This will be the hat.) You may leave this white, or paint it.
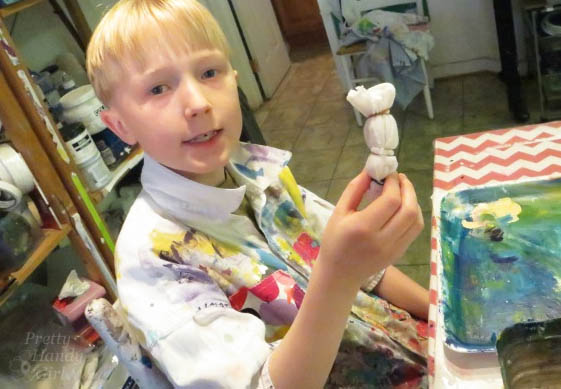
Fold the foot part of the sock accordion style, like a fan. Secure the folds with three rubber bands.
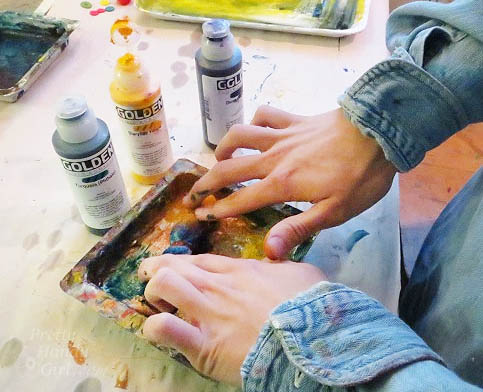
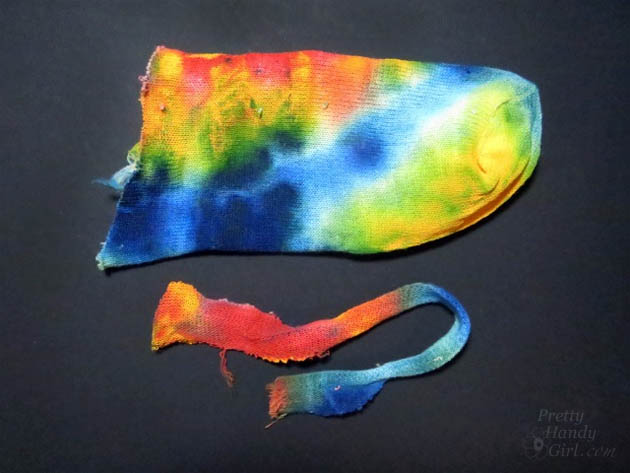
Pour your acrylic paints into a small tray or paper plate. Water the paints down slightly. Wet the wrapped sock in water, and roll it into two or three of your favorite colors.
Let dry. Unroll the sock to reveal the beautiful colors. Cut off a 1” piece of the raveled end of the sock to make a matching scarf.
Making the Snowman Body:
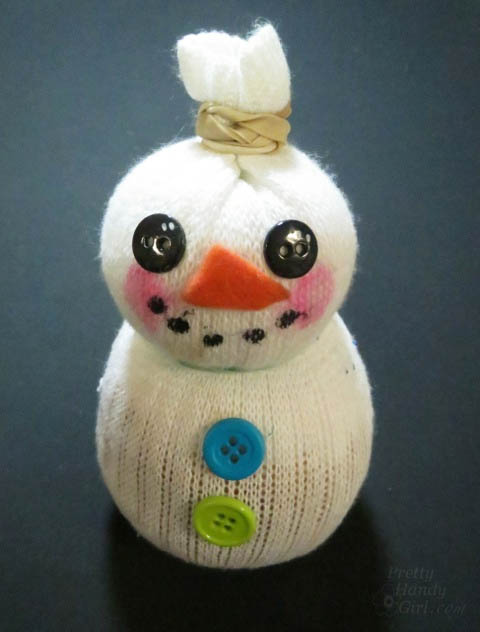
Turn the ankle part of the remaining section of sock inside out. Tightly wrap a rubber band around the cut end. Turn the sock right side out. Test to make sure there aren’t any holes in the bottom.
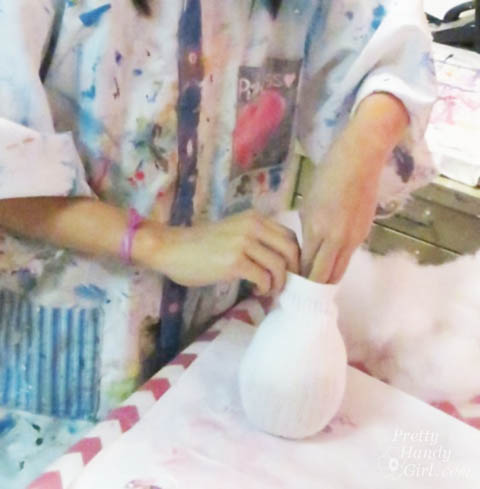
Fill the sock with 1/2 to 3/4 cup of rice, then add polyester stuffing pushing it down as you go. Make sure the rice remains on the bottom so your snowman won’t tip over when finished. Keep adding stuffing until your sock is full, and plump.
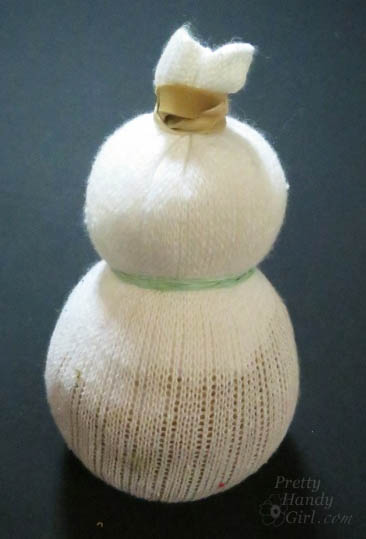
Close the top of the sock with a rubber band. Squeeze the filled sock to create the neck and apply another rubber band tightly around the neck.
Glue on buttons for eyes, orange felt for nose, and more buttons down the front. Paint the facial features with black acrylic paint (a cotton swab makes painting dots easy.) Rub on Gelato Pigment Stick to create the rosy cheeks (or use watered down pink paint.)
To create the hat, fold the foot part of the sock to the style you like. You might like to add sequins and a pompom too. Tie on the scarf you made. Alternatively, you can use a strip of kitchen towel, ribbon, or other fabric to cover up the rubber band at the neck.
Twig arms can be made from pipe cleaners and glued under the scarf to hide the ends.
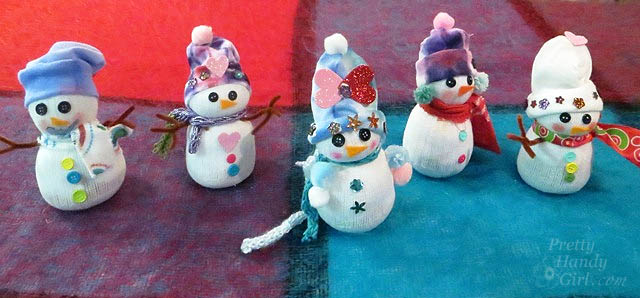
Be creative, no two snow people need to be the same.
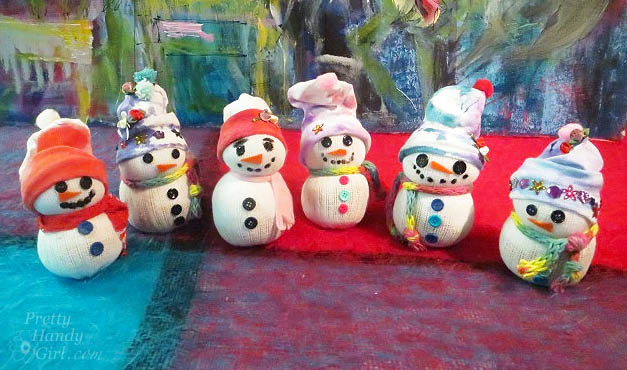
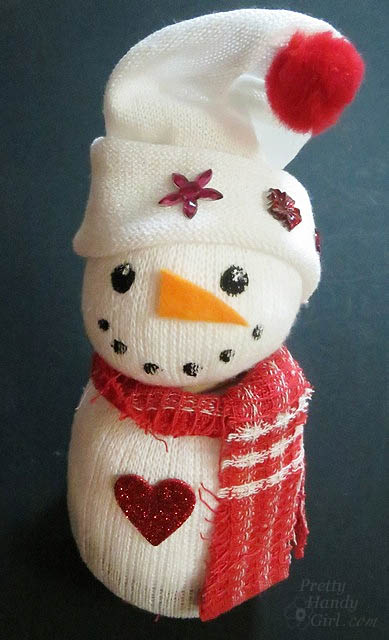
And it’s not too late to make a Valentine’s snowman for your sweetie.
Perhaps you can use your imagination to create snow bunnies, dogs or cats too!
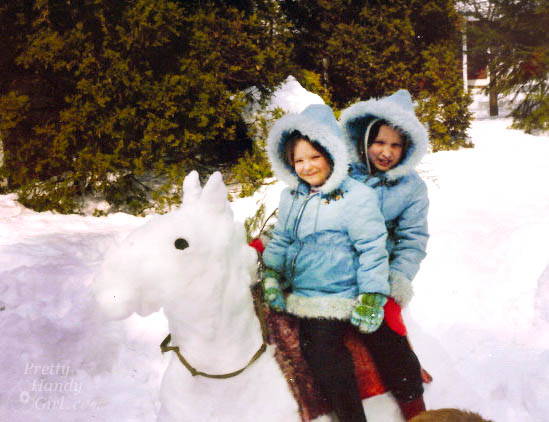
Speaking of snow animals, this is a snow horse I made for Brittany and her sister Alana when they were kids.
Thanks so much for sharing how to make those adorable sock snowmen, Mom. And thanks for digging up that gem of a photo of Alana and I on the snow horse. My Mom always had the best crafts and art projects for us to work on as kids. She taught my sisters and I how to sew our own clothes. If you have little ones, take time to create with them, it may seem like simple arts and crafts now, but their accomplishments will give them immense pride and confidence as they mature.
Pin for later!




This looks like a fun craft to keep the kids occupied on a snow day. I’m so pinning this!
Oh my those are adorable (my son peeping over my should agrees!!!)
I absolutely adore these and can’t wait to make some with my 7 y.o. grandson. He’ll especially love the colors.
Thank you, Brittany’s mom, for sharing. I hope this is only the first of many tutorials from you. Would love to see more!
I love the idea of tie dying with acrylics….perfect for crafting with little one!! Love this craft idea.
Welcome Shari! First of all you have a fabulous daughter but you already know that. These little snowmen are so sweet & cute. Great tutorial for one of my granddaughters! She will love moving these. Thank you, come back again sometime! X
This is a really neat project and it is so cool to know so many famous people now!!!!
Hi, really like the tie-dye snowmen. Just wanted to tell you that I have used orange colored toothpicks for noses on my little sock men. I just cut the end off and sort if stick and glue it to the sock. Love the paintings in the background of your mom’s pic.