DIY Farmhouse Style Serving Tray
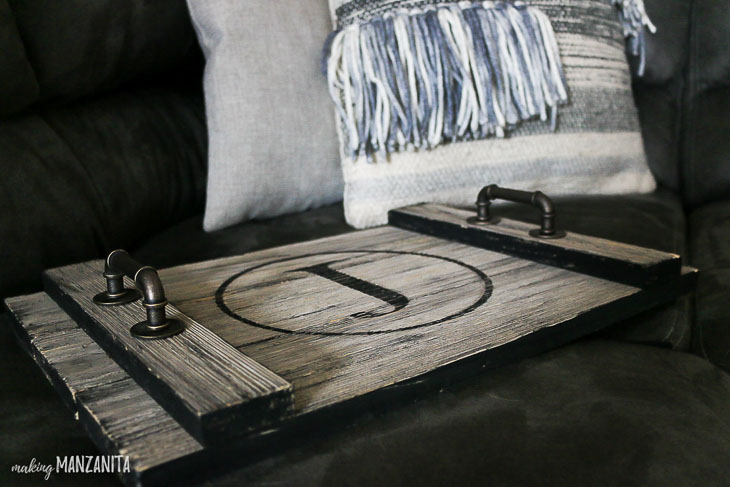
A common decor item with farmhouse style is a wood serving tray. Trays are an easy way to add style and function. This DIY Farmhouse Style Serving Tray with handles is so easy to create, I can’t wait to show you how it’s done!
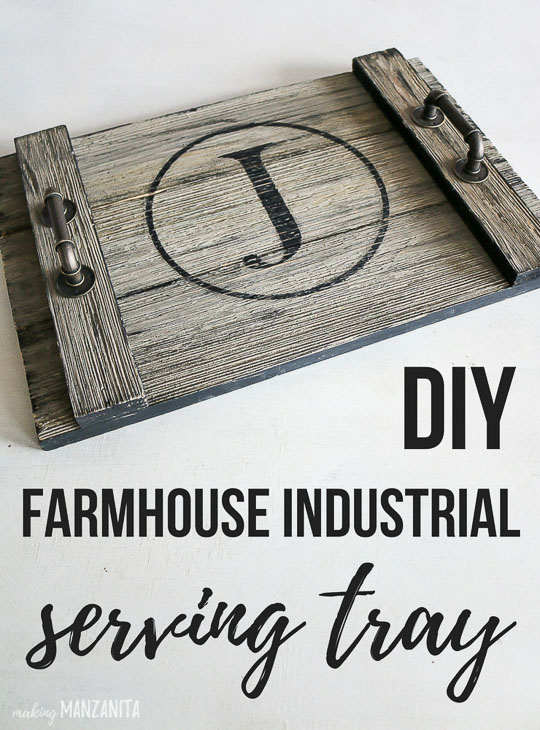 DIY Farmhouse Style Serving Tray
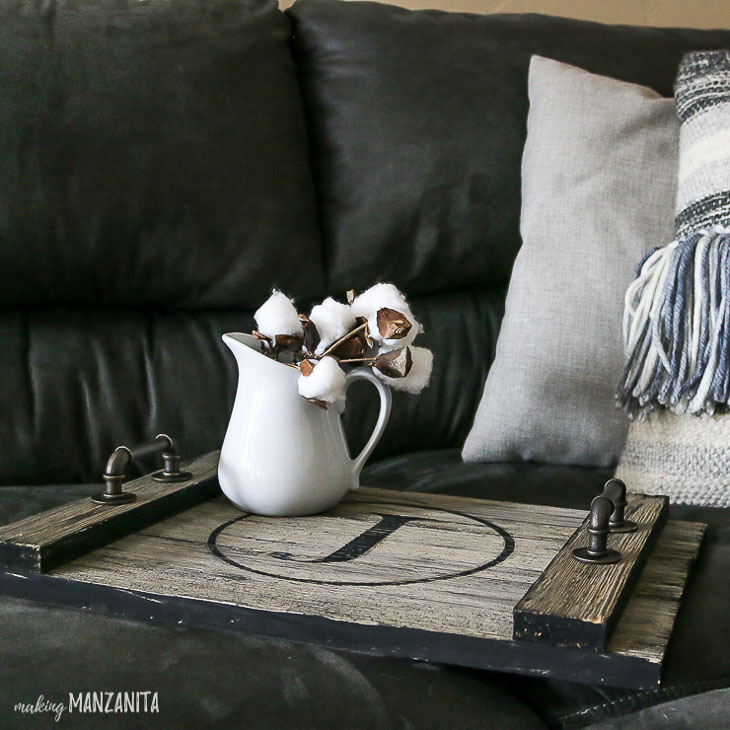
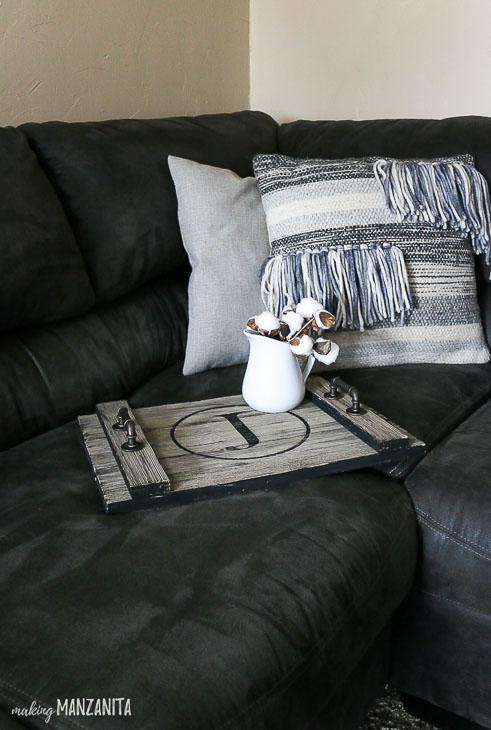
Hi there! Chelsea here from Making Manzanita, where it’s all about making your house a home! I’m so excited to be with you today. I love renovating and incorporating farmhouse style decor into our home. One of the easiest ways to decorate is with a serving tray. You can set it on a coffee table to protect surfaces from drinks, use it to style with a plant and a candle, or use it for serving!
Let’s get busy making this super easy DIY Farmhouse Style Serving Tray!
Materials:
(I’ve included affiliate links for your convenience. I earn a small percentage from a purchase using these links. There is no additional cost to you. You can read more about affiliate links here.)
- 3 – 1″ x 4″ x 18″ wood scraps
(We used this ghost wood siding because we already had it on hand, but we cut the tongue and groove off) - 2 – 1″ x 2” x 12”
- Circular Saw
- Measuring Tape
- Black Acrylic Paint
- Foam Paint Brush
- Nail Gun
- Brad Nails
- Painter’s Tape
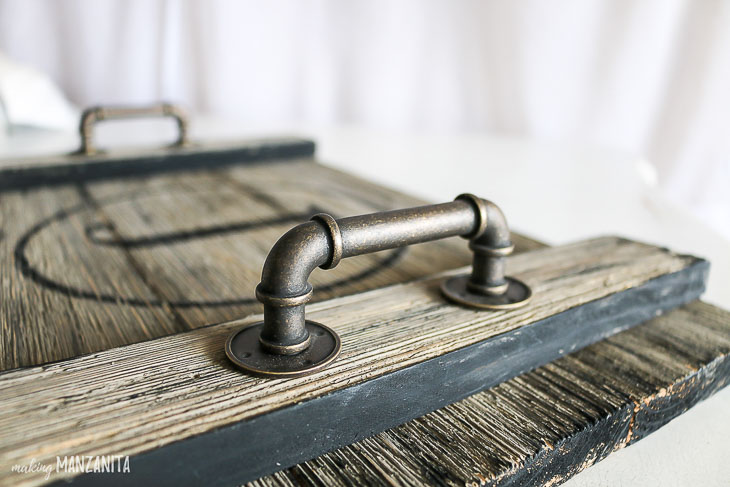
- 2 Drawer Pulls
- Drill
- Silhouette Cameo
- Contact Paper
- Transfer Paper
- Matte Mod Podge
- Clear Acrylic Sealer
Instructions:
Step 1: Paint edges of wood
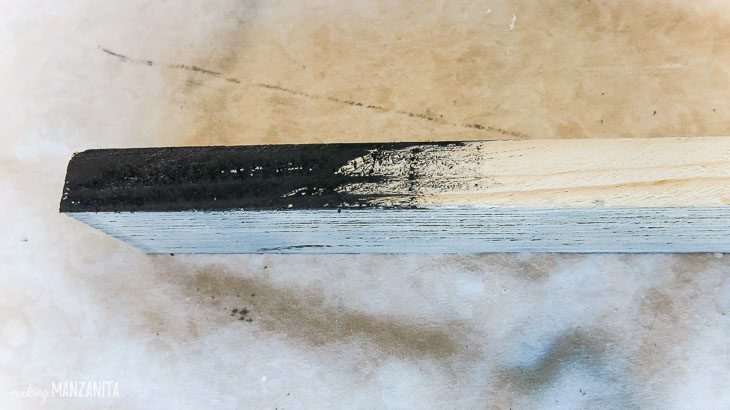
Using a foam brush, paint the edges of your wood with black acrylic craft paint. You may be wondering why this is the first step. I didn’t love the freshly cut raw edges of the wood I used. To give the serving tray a distressed industrial farmhouse feel, I painted the cut ends and corners with black paint.
Step 2: Emphasize the texture of the wood to add character
If the wood you use for your farmhouse wood tray has a raised wood grain, dip your paintbrush into the black paint and lightly run over the top for a rustic look. This step enhances the rustic texture of the wood.
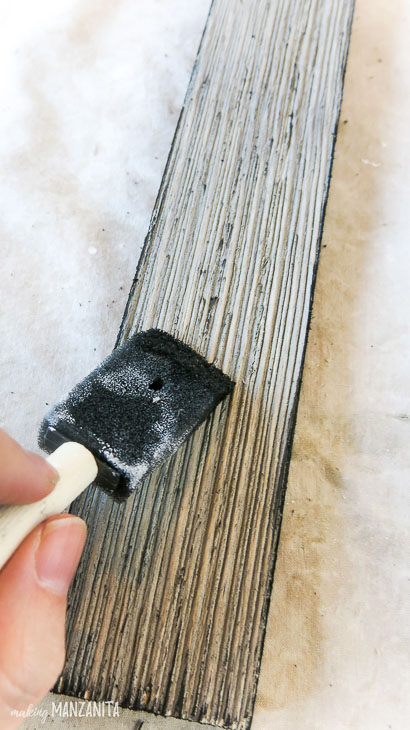
If your wood has a smooth surface, you can get a similar look by using a dry brush technique with a bristle brush. This works best if you use an old, ratty-looking bristle paintbrush. You put a little bit of paint on the brush and then wipe most of it off on a rag or paper towels, so the brush is essentially dry. Then lightly run the paintbrush over the top of the wood. The result is an enhanced grain pattern and a distressed farmhouse look!
Step 3: Assemble farmhouse wood tray
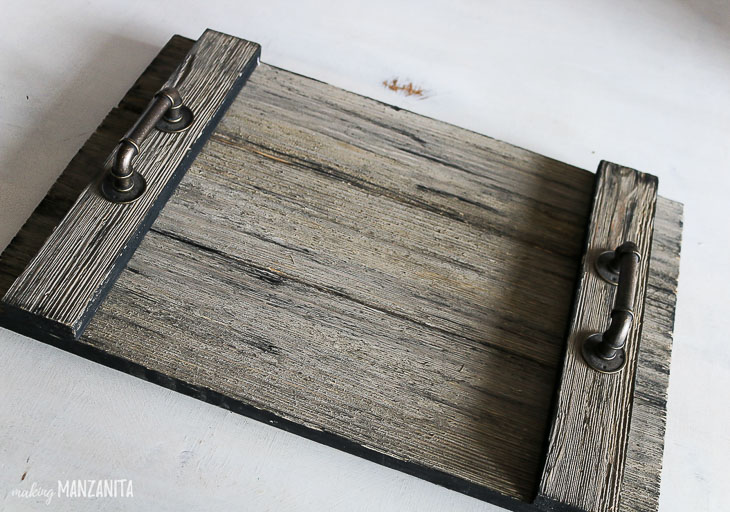
Once the paint has dried, it’s time to assemble your farmhouse wood tray. Start by laying out the three larger pieces of wood horizontally. Next lay the smaller pieces of wood on top vertically at each edge. Allow about 1 inch from the edge of the tray.
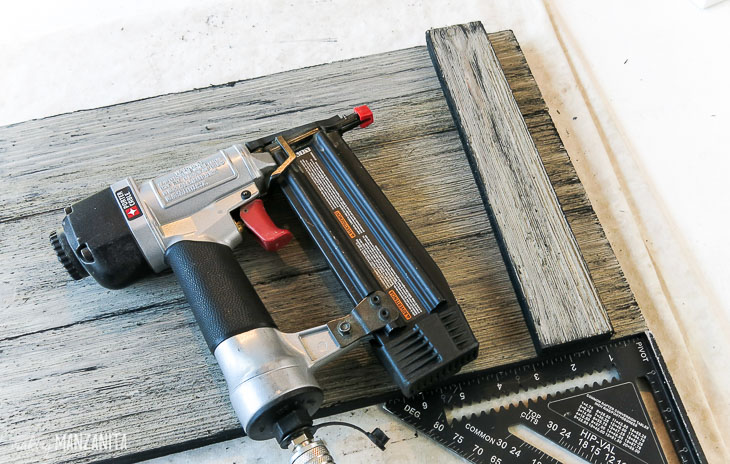
Before you start nailing, make sure everything is square. Use a nail gun to nail the smaller pieces of wood into the larger from the top of the tray with a couple of nails into each board.
Step 4: Add handles
Measure the center of the vertical pieces and lay painter’s tape on top of them. Measure the width of your cabinet pull and mark where the holes should be drilled on top of the tape. The painter’s tape helps you see the marks on darker wood.
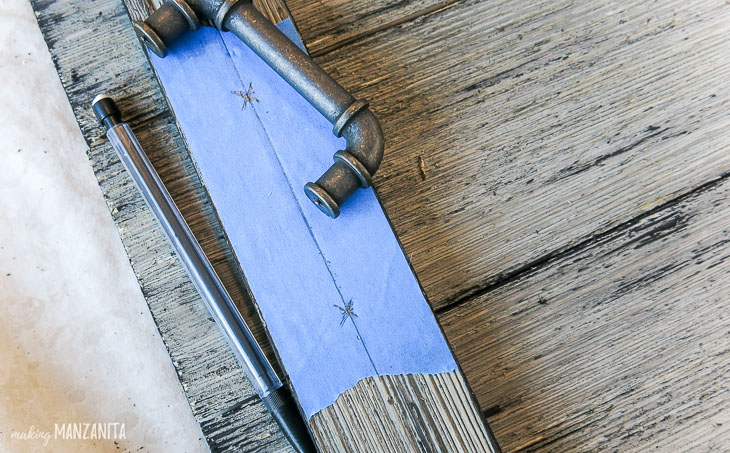
Line up your drill bit (match the diameter of the bit to the handle screws) on the marks and drill holes through both pieces of wood on your serving tray.
To get a flat surface on the bottom of the farmhouse wood tray, use a countersink bit on the underside of the tray. (If you don’t have a countersink bit, use a larger drill bit to create a recess for the screw heads to sink into. This helps protect any surfaces you set the wood tray on from getting scratched.
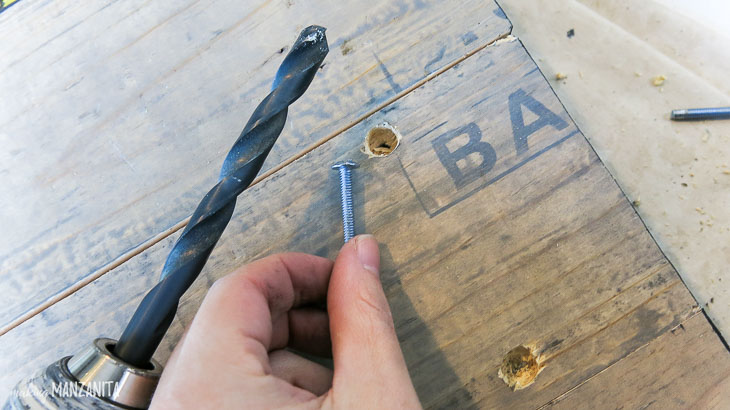
Flip the tray over and admire your new farmhouse style industrial serving tray.
You can stop here, but to add a monogram, keep reading.
Step 5: Cut stencil
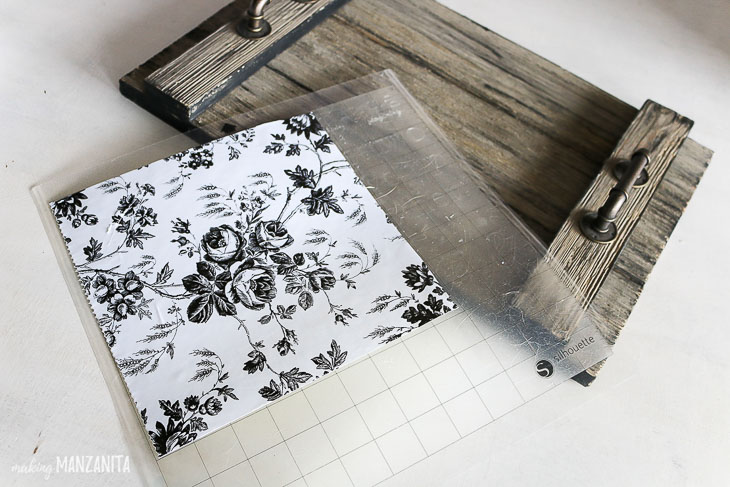
Using a vinyl cutting machine, design your monogram and cut your stencil.
Budget Tip: Use contact paper from the Dollar Tree as a cheap one-time-use stencil material.
To recreate a monogram like mine with an industrial farmhouse style, here are the details:
- Font: Baskerville Old Face
- Font Size: 489
- Circles were created by drawing two circles with the shape tool around the letter
Step 6. Apply stencil
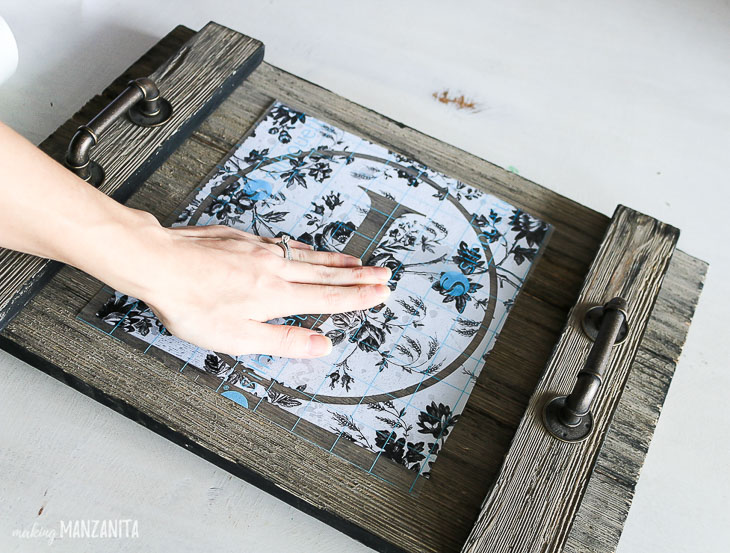
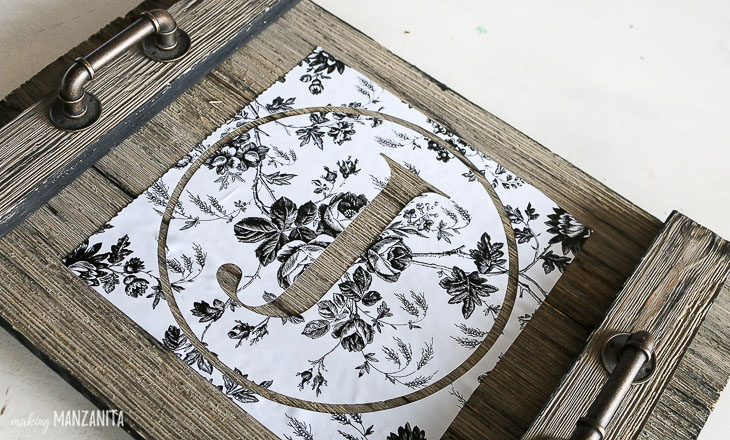
Cut and apply transfer tape to fit over your stencil. (Using transfer tape will help keep everything lined up and centered as you’ve designed it.)
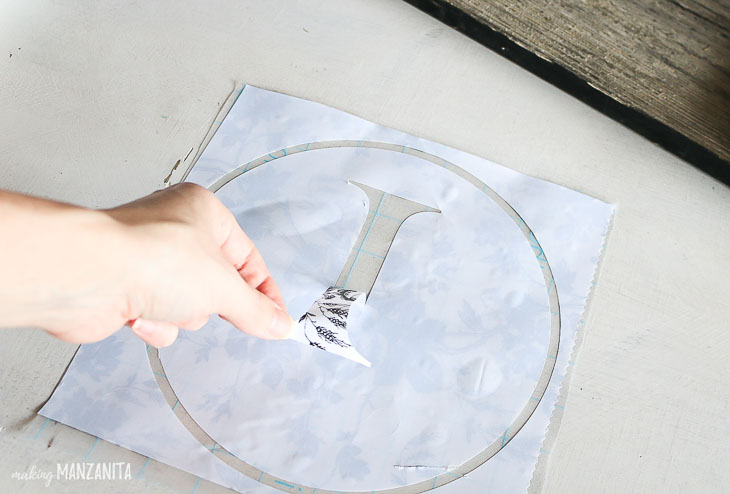
Peel the stencil and transfer tape off the backing and remove the part of the design that you would like painted (in my case, this is the circle border and the letter).
Measure the center of your serving tray and press down your stencil. Carefully peel the transfer tape away from the stencil. (I found that the ghost wood I was using didn’t really “grab” the stencil very well, so this part was kind of tricky for me. If you’re using a smoother wood, it should be a little easier.)
Step 7: Seal stencil
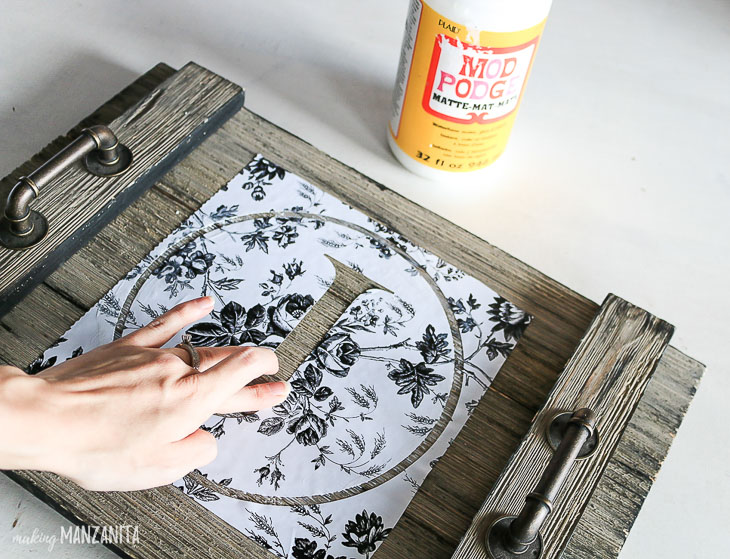
There’s a magic step that I use for all of my wood signs and stencil projects that prevent stencils from bleeding. Before painting the stencil, seal it with Mod Podge. Rub a little Mod Podge over the stencil edges once it’s adhered to your wood. Wait for it to dry to the touch before painting (usually about 15-20 minutes).
You can read more here about this awesome hack for how to stencil on wood. (I did find that this rough ghost wood required more Mod Podge than normal because of the grooves in the wood and the stencil not sticking as well as it normally does.)
Step 8: Paint over stencil
Once the Mod Podge is dry, paint over the stencil with acrylic craft paint using a foam paintbrush. Blotting the paintbrush up and down many times rather than brushing across the stencil will prevent the paint from bleeding under the stencil.
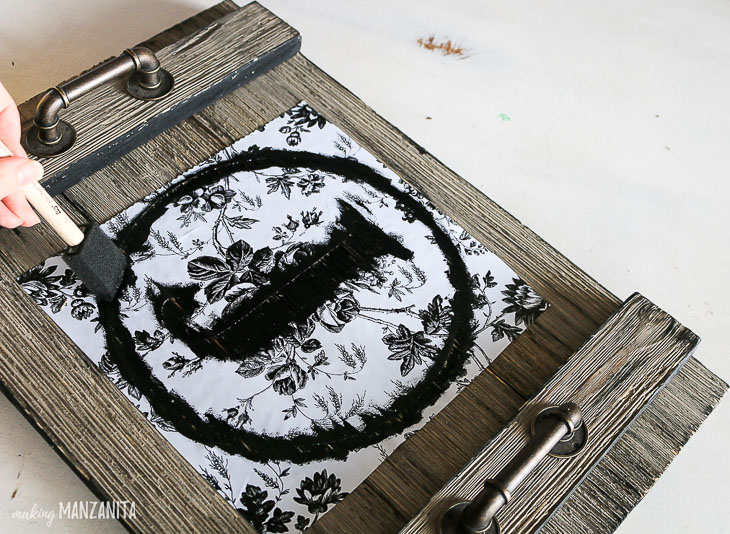
Step 9: Remove stencil
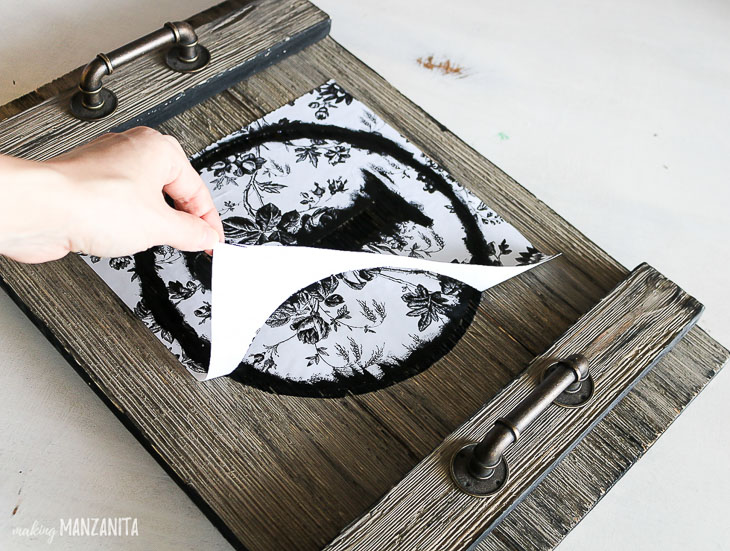
When you’re done painting, you can peel up the stencil immediately except in areas where there are small intricate details that may smudge. In those cases, wait until the paint is dry to the touch before removing the stencil entirely.
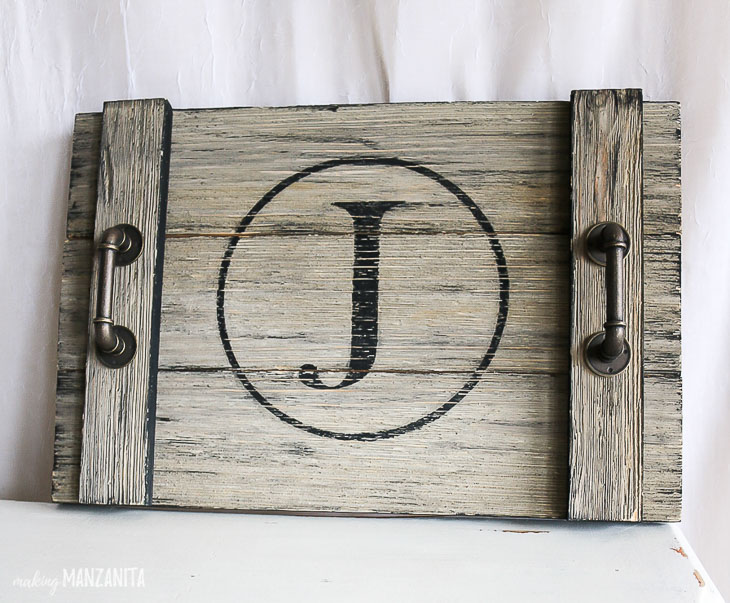
Look at those nice crisp paint lines! So pretty!
Step 10: Seal serving tray
To protect your serving tray, seal it before use with 2-3 coats of a spray sealer.
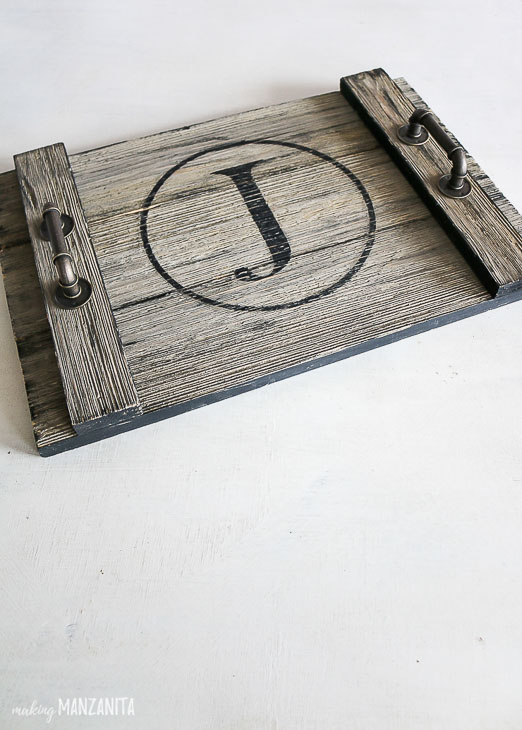
There you have it! A DIY Farmhouse Style Serving Tray with handles that adds style and function to your decor!
I love the industrial vibes that the handles and the gray textured wood bring to this serving tray.
The best part about this wood farmhouse tray is that no one else will have one exactly like it (just one of the many reasons I love making my own home decor).
Next time a friend comes over for a cup of coffee, you can grab this serving tray with handles to serve up coffee and snacks.
She’ll surely ask where you got such a cute wood tray. You’ll answer proudly that you made it yourself!
Thanks for joining me today while I showed you how to make this DIY Farmhouse Style Serving Tray.

My name is Chelsea and I am the founder of Making Manzanita (www.MakingManzanita.com). I’v
I’m mama to the most adorable little man (with a little baby girl coming soon!) and wife to my DIY partner. We love our life in the beautiful Central Oregon as we continue our journey to renovate our 2nd fixer upper. We love to inspire others with budget-friendly renovation projects, like our faux shiplap wall and wood air conditioner cover made with pallets.
You can connect with me on Instagram, Facebook or Pinterest.
![]()
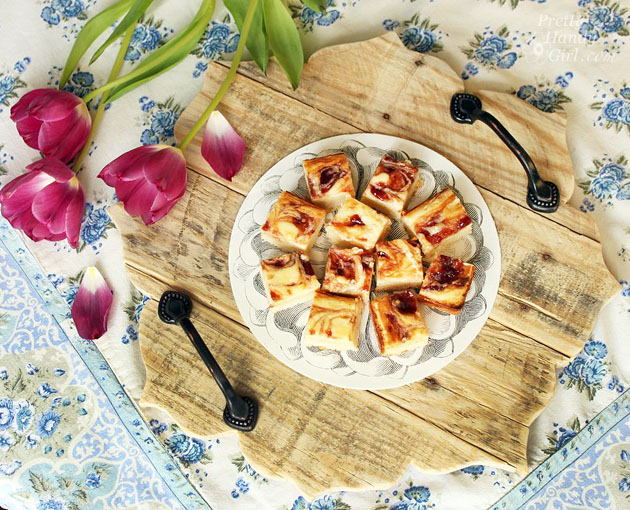
What a great tutorial! If you like this DIY farmhouse tray, I know you’ll also love these other DIY trays:
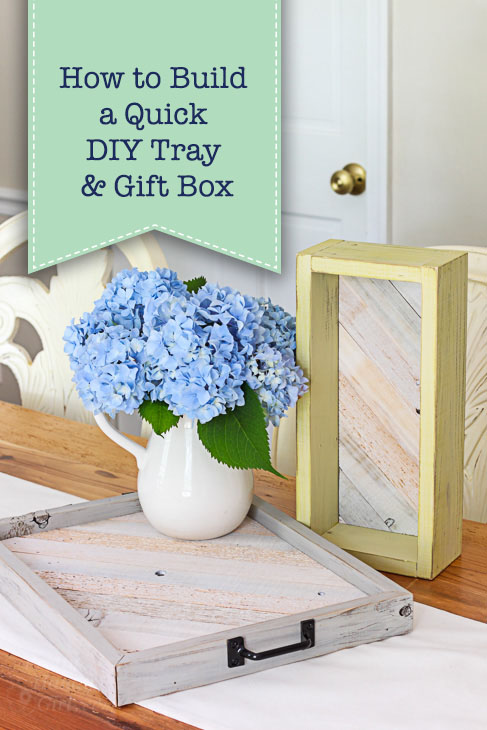
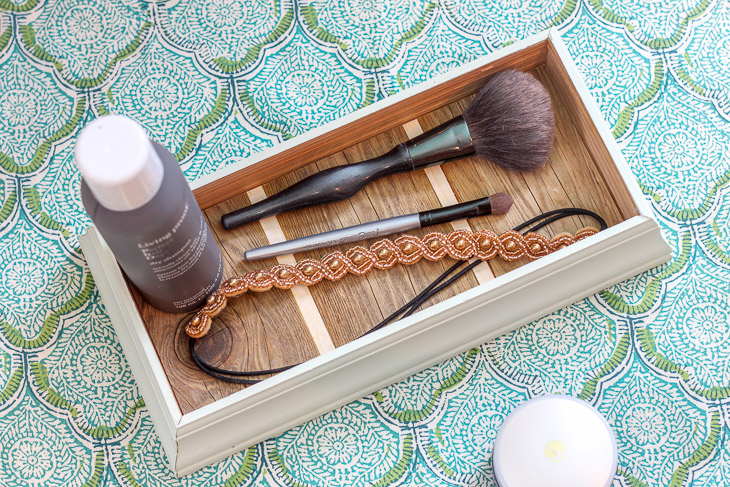
DIY Wood Slat Tray and Gift Box


This is such a great project! I am so glad I discovered this blog 🙂
This is so beautiful, and easy to make, (I hope so) I also love the RUSTIC PALLET TRAY, it’s too cute and unique. I love stuffs like this.
This serving tray is absolutely fantastic! THANK YOU FOR SHARING.