Hey y’all! I’m super stoked because I’m on my way to Blissdom in Nashville, TN for a few days.

I can’t wait to learn some new blogging tricks; network with a few blogging buddies; and listen to some inspiring speakers. Don’t you worry, I’ll be sharing everything I learned when I get back.
While I’m away, I will be leaving you in very capable hands. My good friend, Holly, is going to give you a tutorial for repainting and distressing a sad 1980’s chest of drawers. But, before she begins I have some news…
…I am really stoked to be partnering with Tomboy Tools, Inc. Together we’re going to bring you some serious DIY empowerment! This is such a wonderful venture for me because I love their tools; I love that their goal is to empower women; and I love that they are a company that gives back to women through the Avon Foundation.
Tomboy Tools and I are going to get YOU inspired to create more in 2012!

You may remember Holly from the Charm & Character Tour of her home. Many readers commented that they wanted to know how she distresses furniture. Holly was kind enough to create this tutorial for you:
Welcome Holly!
I’m so excited to be doing a guest post at Pretty Handy Girl! Brittany has been such a wealth of information to me as I have been working on growing my business and creating a web presence for Storywood Designs. There is truly nothing that Pretty Handy Girl can’t do and her willingness to share her knowledge and skill with the rest of us is so appreciated!
Several months back, I had a client approach me about painting an old chest of drawers she had. It had been given to her in her college years and had been painted to embrace the trends of the times. 😉 The chest itself wasn’t an antique or looked like it had been built by hand. However, it has a lot of sentimental value for my client. She wanted to pass it on to her toddler-aged daughter… and envisioned something that wasn’t too “baby” and not pink in color, and wanted to create a piece that might stay with her daughter as she grows.
Check out the chest of drawers in all her 1990’s glory! The chest itself was painted with a textured hunter green paint and the drawers were cream with hand-painted burgundy, gold and hunter green flowers. She was in dire need of a makeover! My client envisioned a more feminine color scheme and wanted the piece to look distressed. She was also itching to get rid of the brassy hardware.
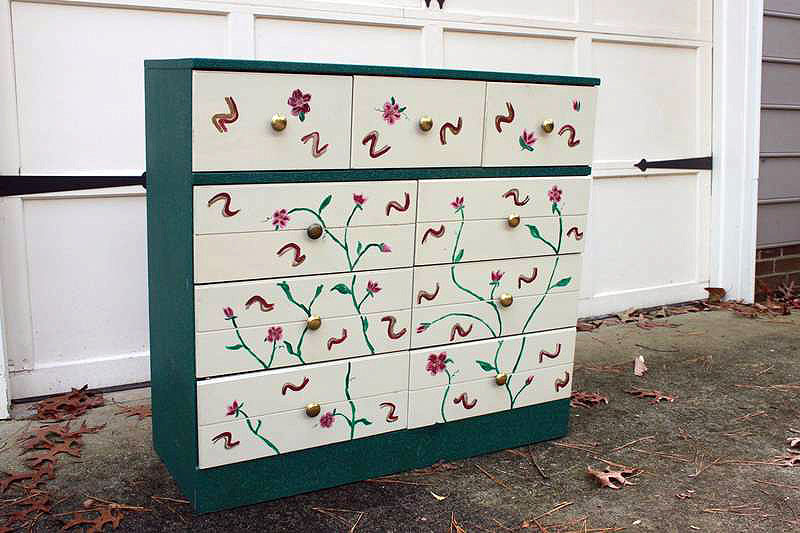

I knew there was no hope of stripping the piece to the bare wood, staining it and distressing it. The piece had always been painted and I had no clue (and neither did she!) as to what was under all that textured paint. I also knew it would be cost prohibitive to her to try to get to bare wood in order to stain. I suggested painting the piece an base color that I could use in the distressing process and to create the overall look she was going for. With a plan in place it was time to get started!
The first order of business in any refinishing project is to prep the piece for refinishing. In almost all cases, this means sanding. Painted pieces require less sanding than pieces that are being stained… and in this particular case, I knew I had to sand enough to smooth out that textured paint surface. Forunately, my orbital sander made quick work of the texture and using 150-grit sandpaper, I was able to completely remove the texture without much fuss. A mask and safety goggles are important anytime you sand – you never want to breathe in the nasty particles sanding stirs up; nor do you want to get it in your eyes. But in this case, the eye and mouth protection were super important! That textured paint flew all over the place as it was sanded off. I lightly sanded the drawer fronts as well so that the hand-painted floral design would no longer show when painted. We have a scary, apocalypse-looking mask only because we use it often and for some pretty yucky stuff, but any disposable mask will work just fine!

Once sanding was completed, I wiped the chest of drawers down well using mineral spirits. I then checked for loose pieces of the chest; keeping a close eye on drawer bottoms, corner and bottom moldings, and around the top edge of the dresser. I made repairs using wood glue and clamps to hold the pieces tightly together until dry. If needed, I added a finishing nail or 2 to the repair. Before painting, I also eyeballed the dresser looking for chips in the wood that needed to be repaired with wood putty. This dresser had a large chip in the base molding, so I filled it in with wood putty, let it dry and sanded it smooth with the orbital sander. Once the repairs were made, it was time to paint!
This dresser was a little different than ones I had completed in the past because my client wanted a distressed look, but we wouldn’t be distressing down to the original wood finish. I knew that the royal blue paint we were painting over needed a strong primer to cover it, so I went with Glidden’s Gripper Primer in Gray. It’s super thick, hides well and I’ve found it to have excellent coverage.
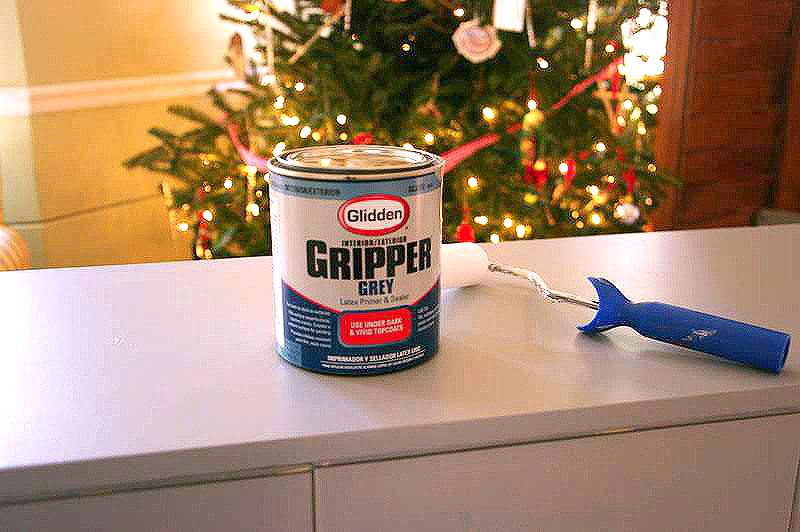
Since I didn’t have to worry about sanding through it in the distressing process, I knew it was the paint for the job. The simple lines of the dresser and its drawers made it easy to roll most of the paint on. I did run my brush through the grooves in each drawer, but was able to paint the rest of it with a roller, which really sped the process along.
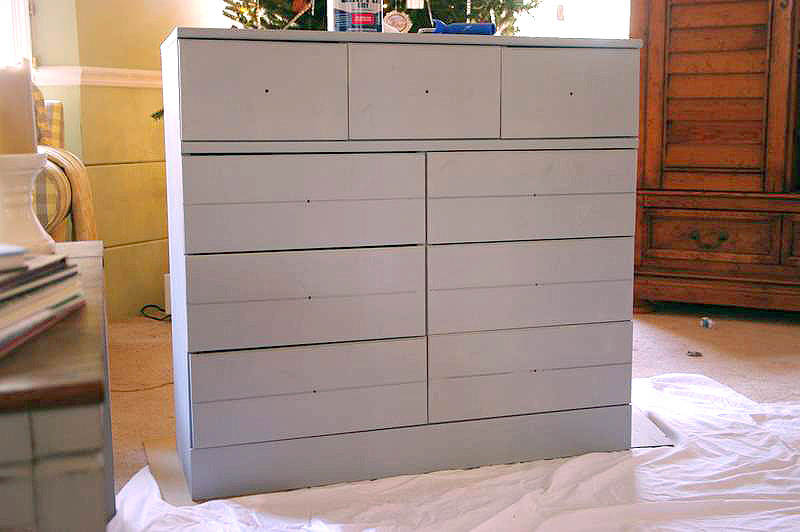
Once the primer coat was on the dresser and had thoroughly dried, I went to work on the base color. This is the color we would be distressing back to instead of the original wood finish. We wanted the dresser to look like it had originally been painted an antique white color… this would be the color that peeked through the final coat when the process was complete. I went with Benjamin Moore’s Navajo White.
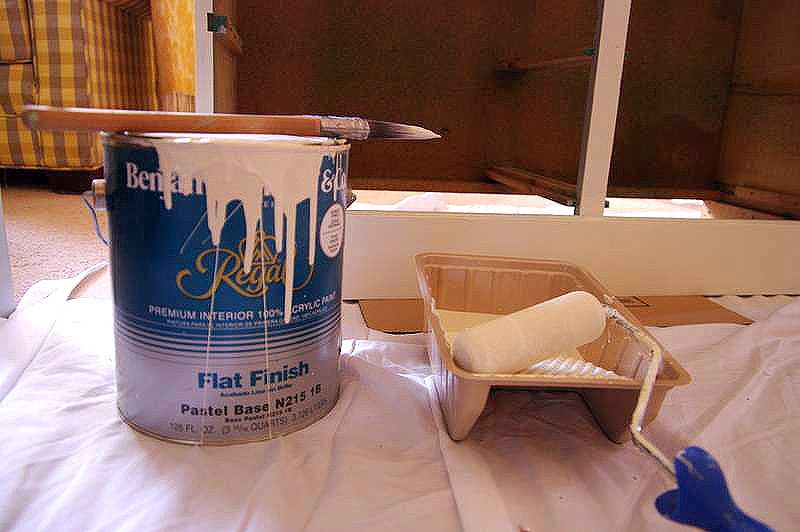
Navajo White is great because it’s one of those paint colors that is not too yellow and not too beige. It is a true neutral and has served me on many, many painting projects. I was able to apply the Navajo White in the same manner I did the primer… rolled it on with my foam roller and touched up the drawers’ grooves and various places with my brush. Since the Navajo White was only the base coat and had a strong primer underneath, one coat sufficed.
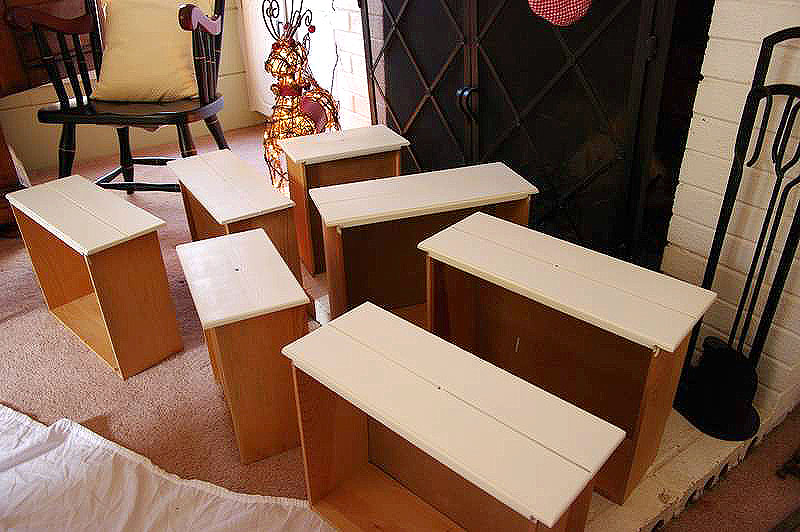
The final coat of the dresser was to be a beautiful grey color. I decided to use Annie Sloan Chalk Paint in Paris Grey for several reasons. First, Annie Sloan’s paints have great coverage and I knew that only 1 coat would be required. Secondly, and perhaps most importantly, Annie Sloan Chalk Paint gives you a lot of control in the distressing process. That control was very important to me on this project because I only wanted to distress back to my base coat, not to the primer or original royal blue color. Finally, Annie Sloan Chalk Paint waxes beautifully and easily and that was important to me as paste wax would be the final coat on the dresser. I painted most of the Paris Grey on by hand with my brush. Annie Sloan Chalk Paint is expensive and I try to use it sparingly!!
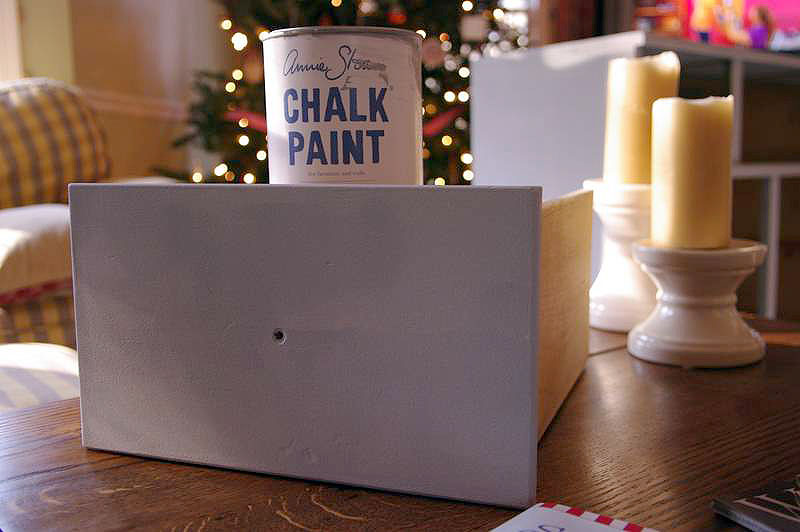
Once the chalk paint had time to dry, it was time to distress. In my opinion, this is where Annie Sloan Chalk Paint really sets itself apart from other paints. Chalk paint allows you a lot of control in the distressing process. In fact, there is no sandpaper required to distress Annie Sloan Chalk Paint! All the distressing on this dresser was done using a wet rag. I simply dampened the rag and started rubbing in the places I wanted to distress. The more I rubbed, the more distressing I got. I didn’t have to worry about sanding through my base coat and with a wet rag, I was able to get to places that would be difficult to get to with sandpaper. As an added bonus, I was able to distress the dresser in the house without a fine powdered substance all over everything!
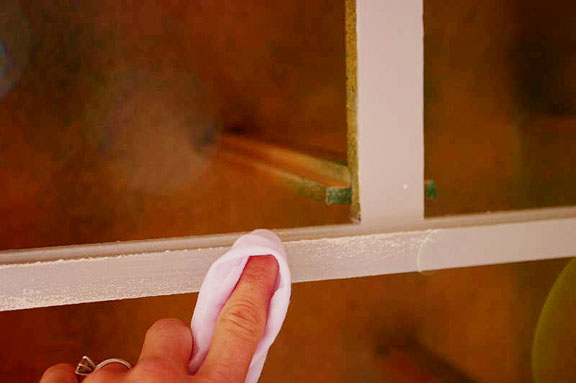
The last steps to complete the dresser were to wax the entire piece and add the new hardware. With any piece I wax, I always start with a coat of clear wax. I’ve tried several brands, from Johnson’s Paste Wax to Briwax to Fiddes and Sons. I have yet to try Annie Sloan’s wax, only because the others are readily accessible to me in local stores. In my opinion, I have not noticed a big difference in application and finish between Johnson’s Furniture Paste Wax (which is found at Home Depot) and Briwax or Fiddes (which I can only find at a local wood working store). But there is a big difference in price. I think that it comes down to personal preference… there are definitely people that prefer one brand over the other… I just have not noticed a big difference in them! I did not apply a darker wax to this dresser… we wanted to keep it light and happy for a little girls room and I didn’t want to add the color changes that a dark wax brings to a piece of furniture.
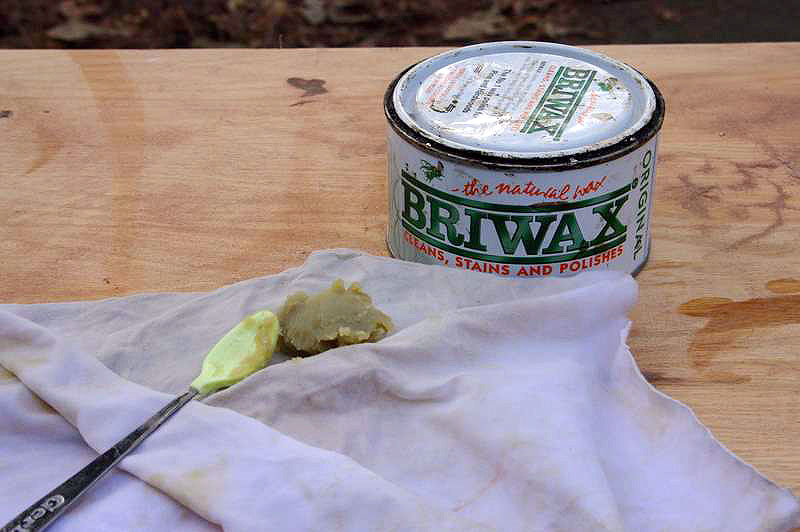
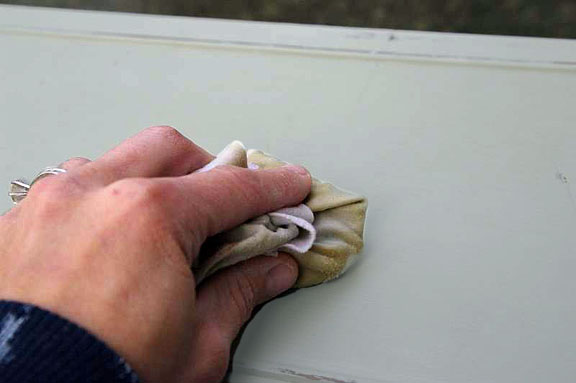
With waxing, the key is get thin, even layers of wax with each coat you put on a piece of furniture. I find the easiest way to apply the wax is to cut a clean rag, place a small amount of wax in the center and fold the rag around it. The wax will seep through the rag as you rub down your piece of furniture, keeping your coat nice and even. Once the wax coat is completely dry, you take another clean cloth and buff the piece. The result is a soft sheen and a smooth finish!
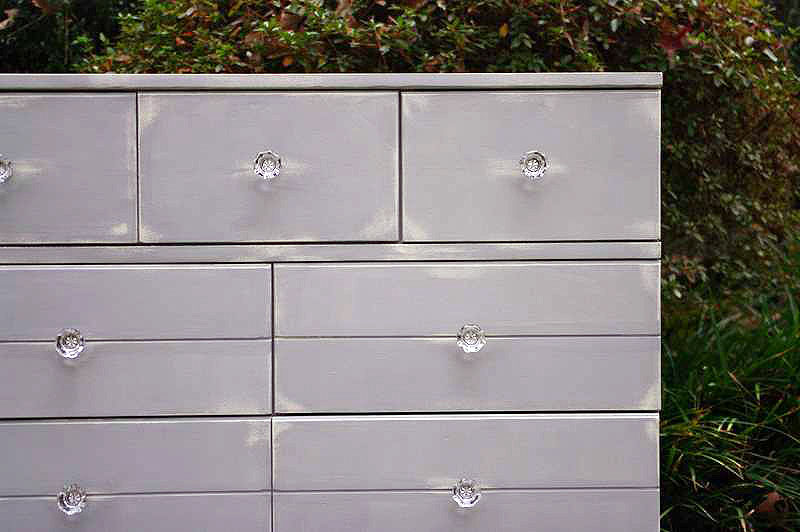
For new hardware for the dresser, we selected these beautiful glass knobs from Restoration Hardware.

They added a bit of bling to the dresser, gave it a definite feminine touch, but weren’t too fussy or ornate. They fit into the existing holes with no issues, and with that, the dresser’s transformation was complete!
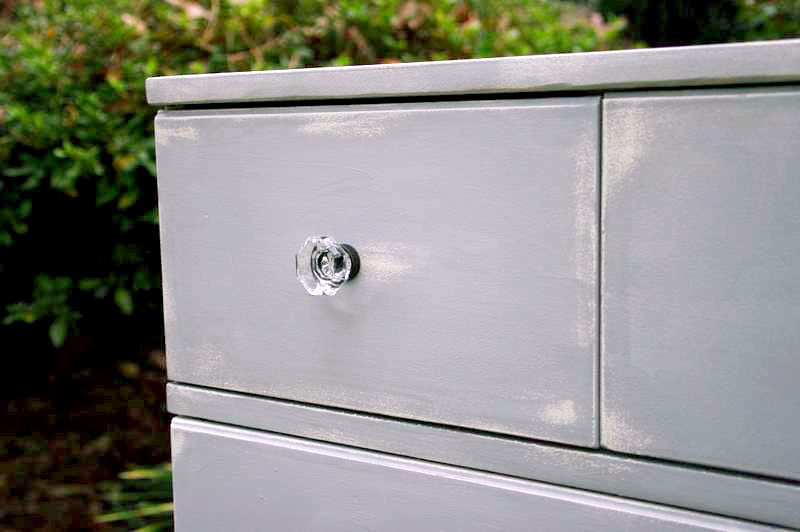
A lot of prepping and priming, several quarts of paint and a lot of elbow grease later, this dresser was transformed and updated and ready for its new life in a little girl’s room!
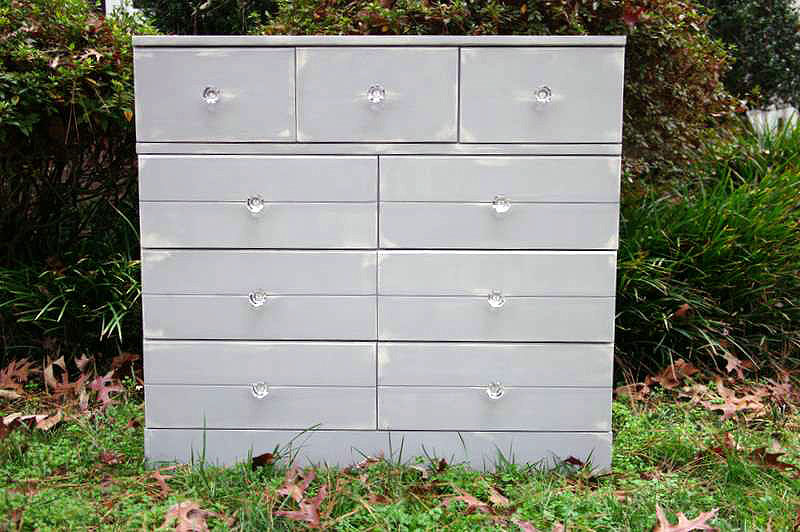

Thank you Holly! Oh my goodness, can you believe that transformation? From hunter green hand-painted to…

…shabby chic in Paris grey! Ahhh, that’s much better!

Be sure to check out Holly’s Storywood Designs Etsy shop where you can purchase a framed monogram like this one!
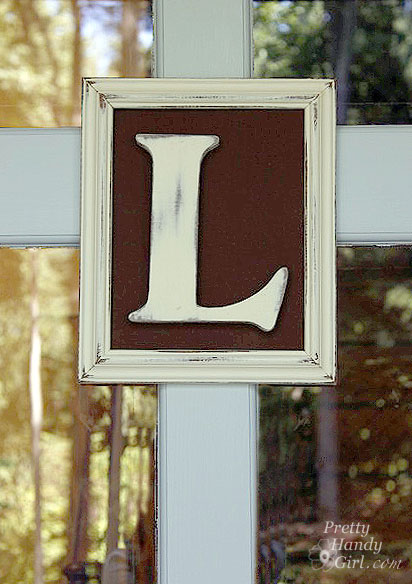
Holly also recently started a blog, Storywood Designs, showcasing the furniture that she refinishes. You really need to check it out!





 This is such a wonderful venture for me because I love their tools; I love that their goal is to


