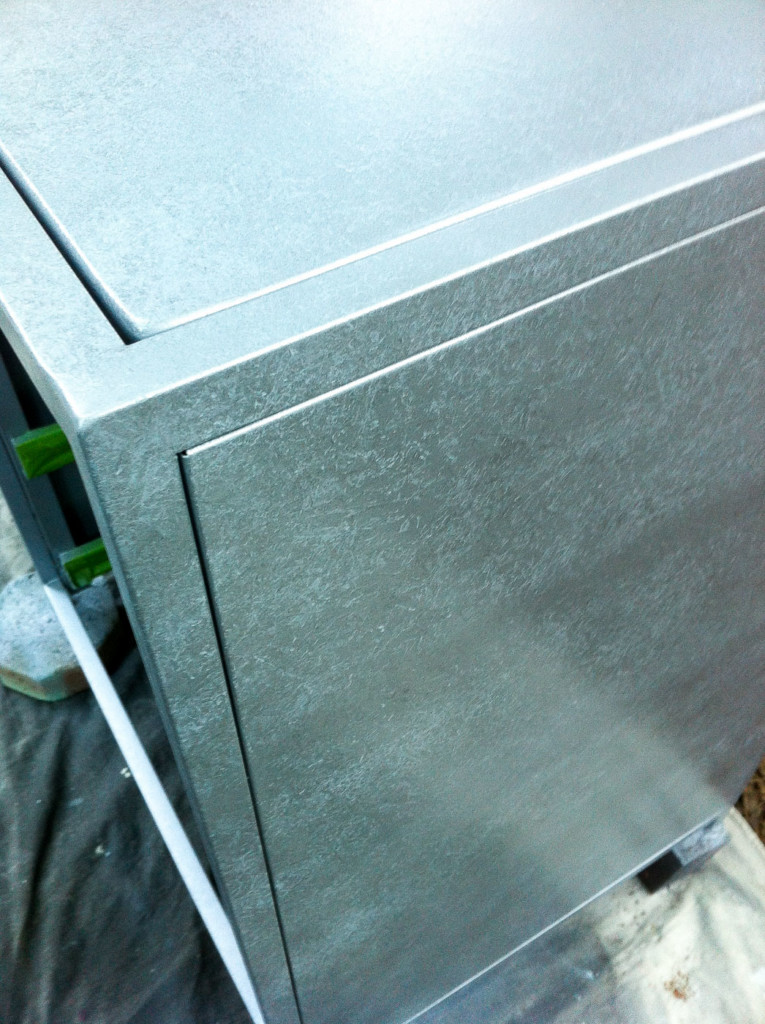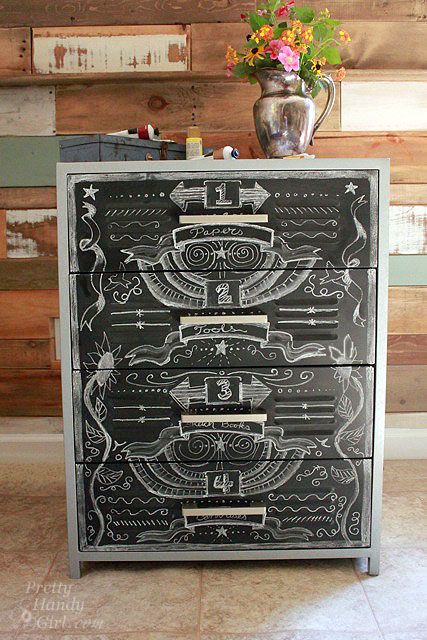
Want to give something the look of zinc metal without spending money on zinc metal? You can create the look with spray paint and this technique.

How to Create a Faux Zinc Texture (with Spray Paint)

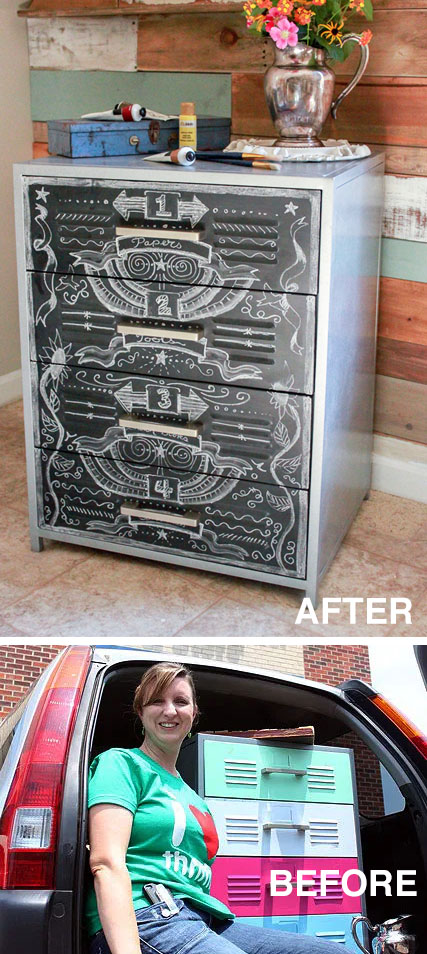
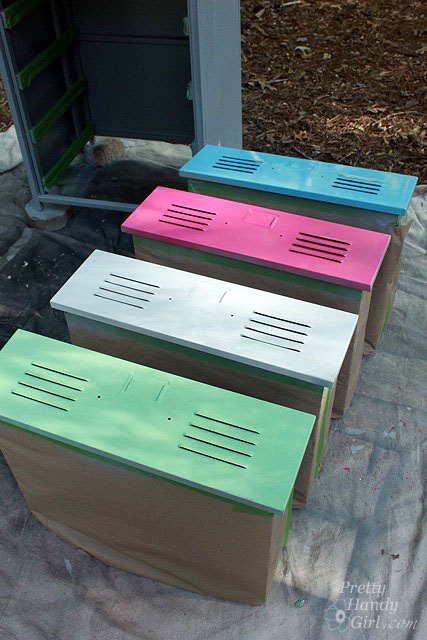
A while ago I was thrifting with a few friends and stumbled across an ugly cabinet at our local Goodwill. The metal chest had extra wide and deep storage, but the worst colors imaginable! The hot pink and mint green were disguising the true potential of the chest. Like a color-blind dog, I was able to see beyond its garish appearance. In my mind, I pictured a vintage metal cabinet with a faux zinc side and chalkboard drawer fronts.

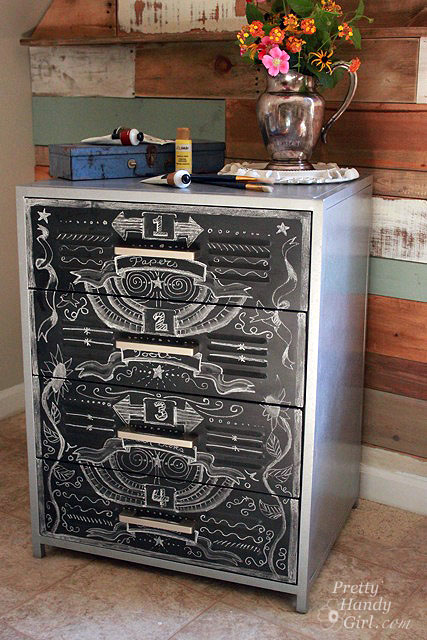
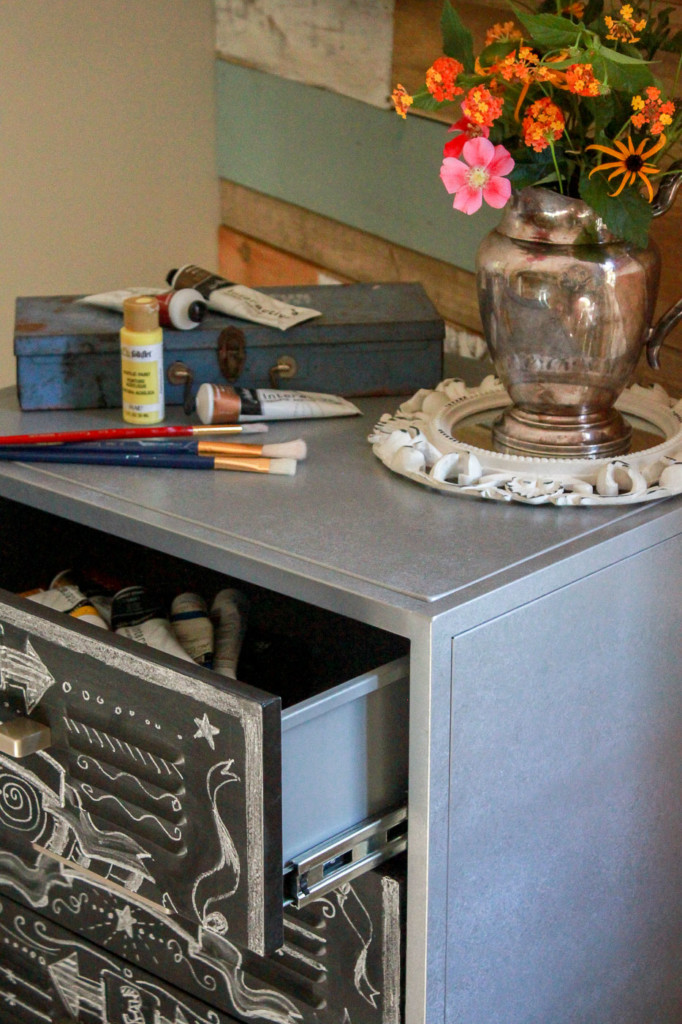
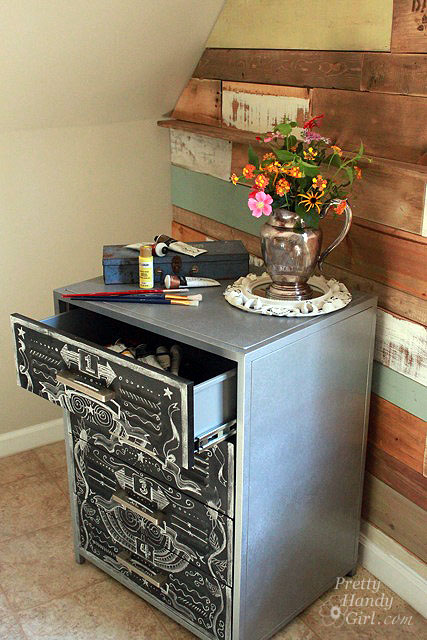
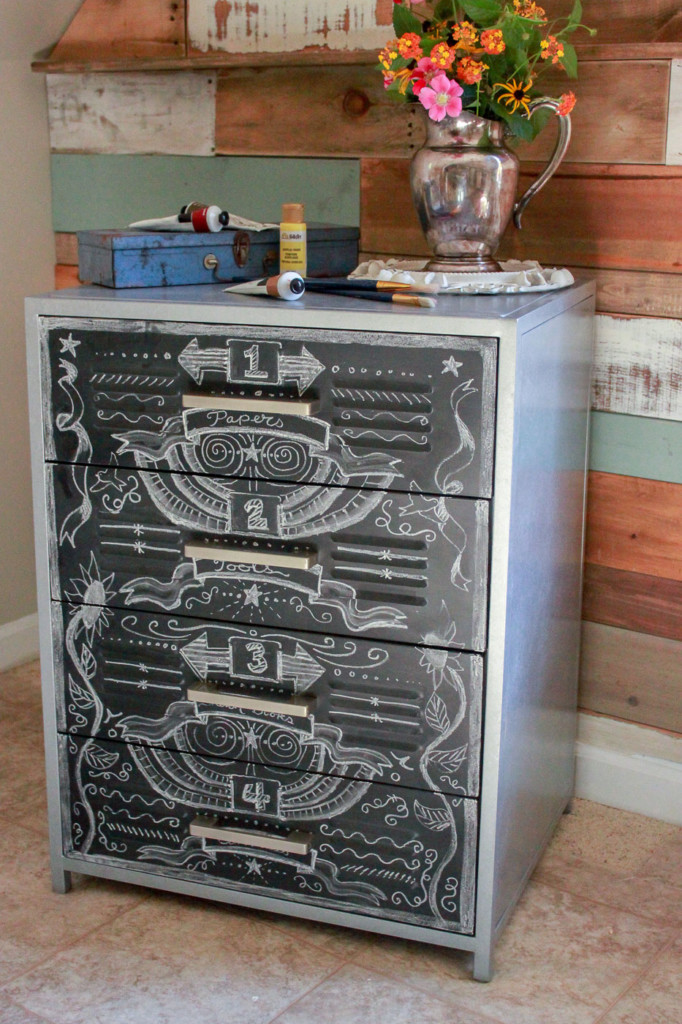
I scooped it up and brought it home. Then the poor chest sat in our garage for months and months until I had a chance to work a little spray paint magic and turned it into….this thing of beauty:

Yes, that is the same chest of drawers! You could do the same transformation. Let’s learn How to Create a Faux Zinc Texture!

Materials:

(I’ve included affiliate links for your convenience. I earn a small percentage from a purchase using these links. There is no additional cost to you. You can read more about affiliate links here.)

Instructions:

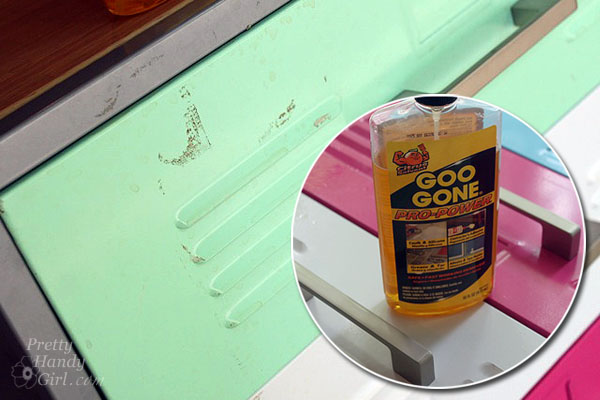
Clean off your furniture piece really well. Remove any dirt or debris (I actually had to use a little Goo Gone to get rid of some sticky residue. But, lemon essential oil will also work for this task.)

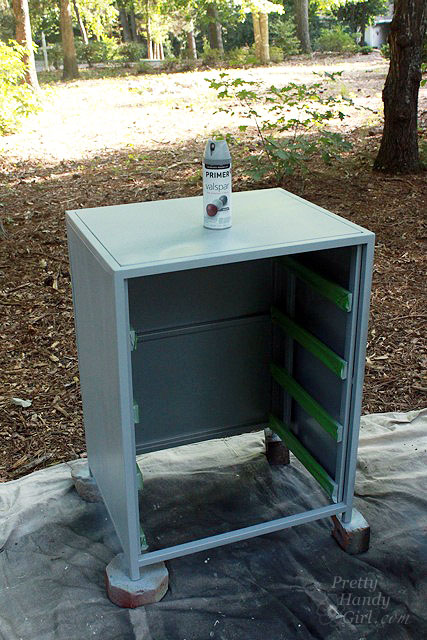
Spray paint your object with automotive primer. (I prefer the automotive primer because it sticks to metal and can withstand a lot of abuse.)

Let the primer dry.

Adding a Faux Zinc Texture:

This is the most exciting part of the tutorial. I created this technique by trial and error and I’m excited by how well this method works for creating a faux zinc texture.

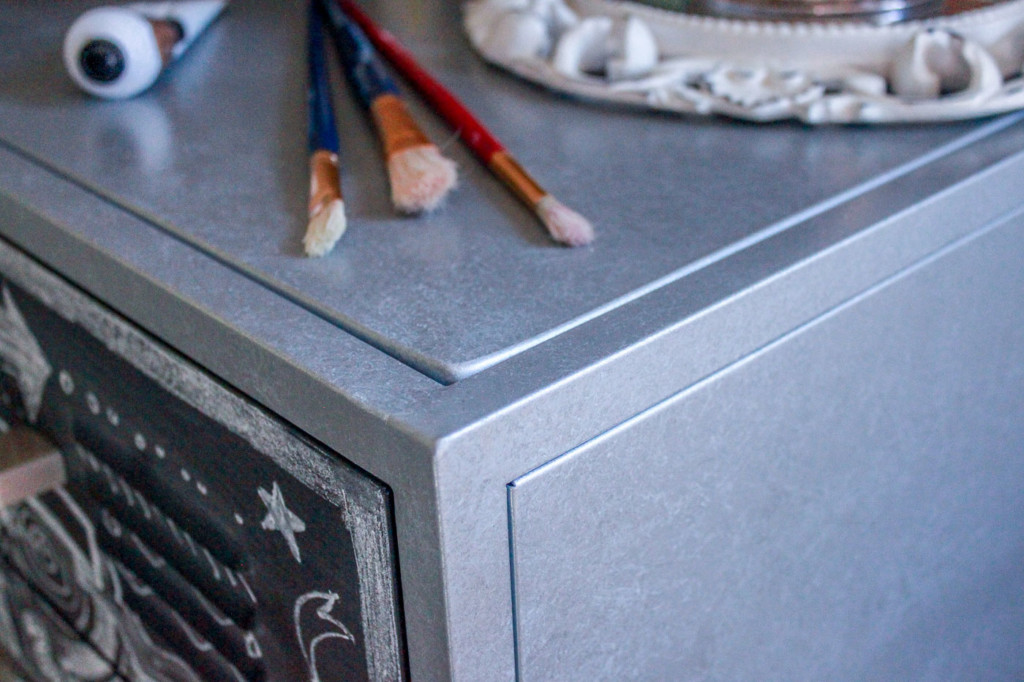
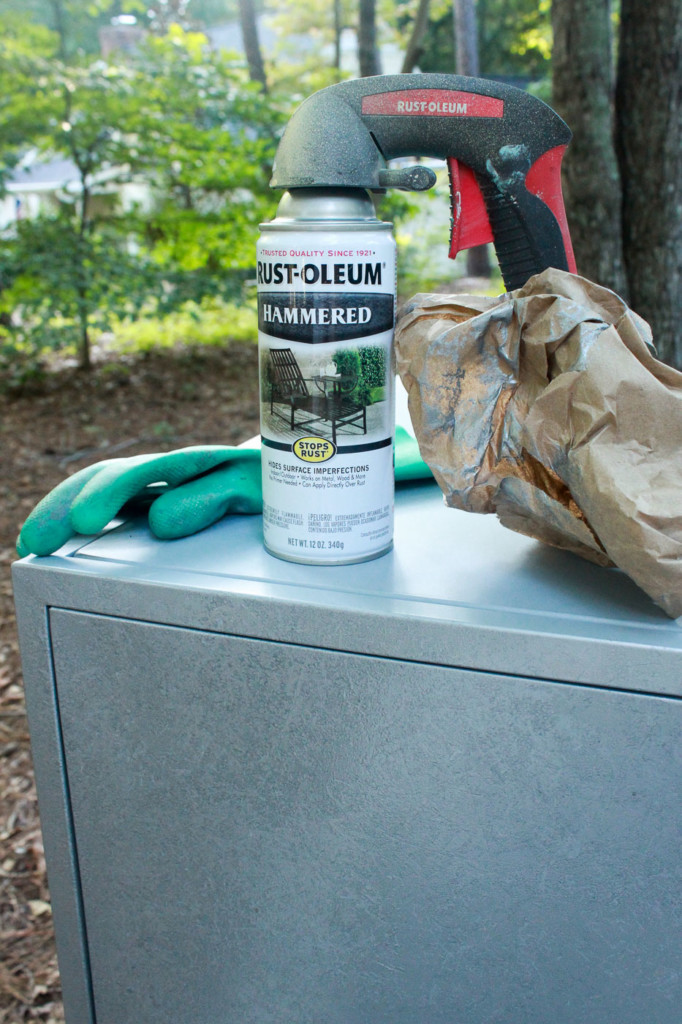
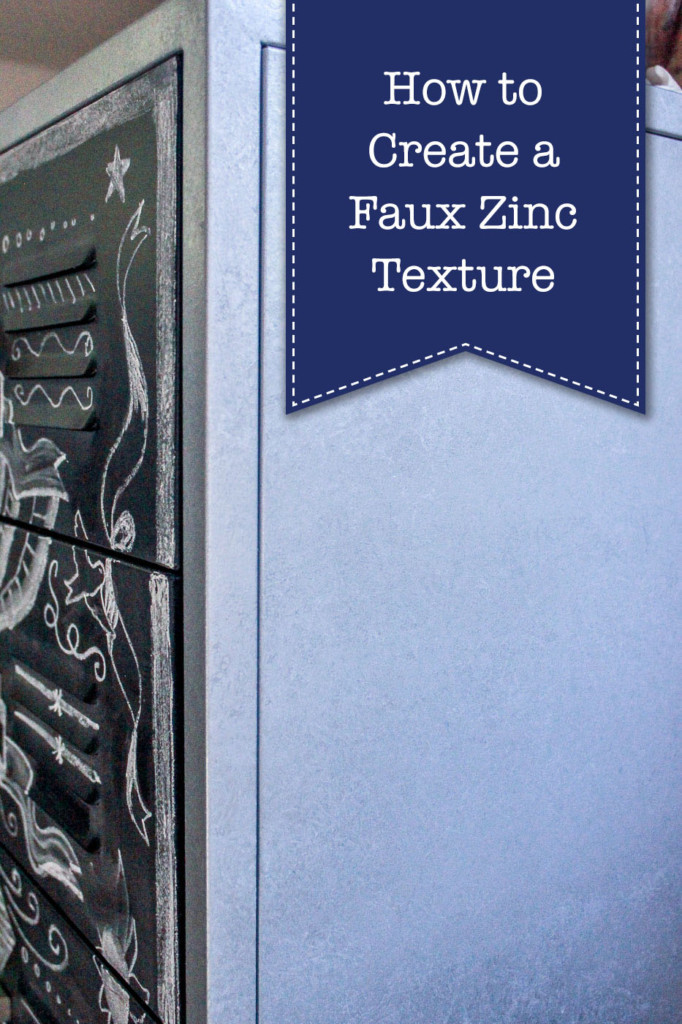
Getting a faux zinc texture is really easy. Just have some gloves on and use a crumpled up piece of craft paper. (A loose crumple works best.)

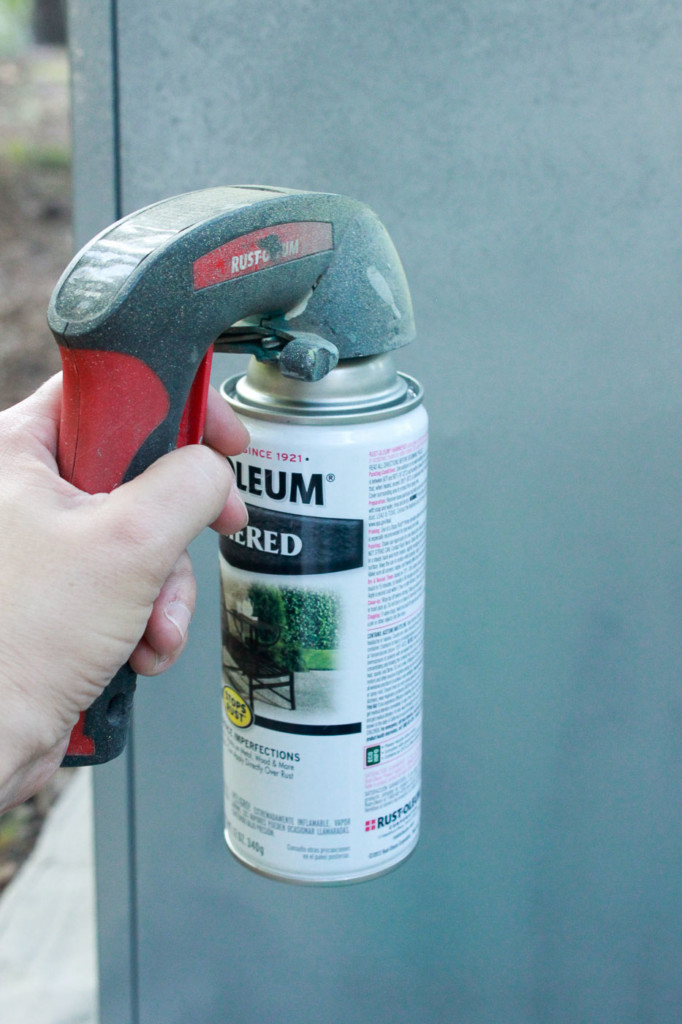
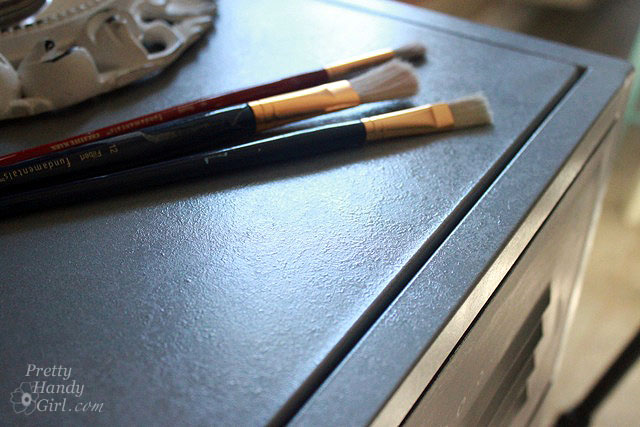
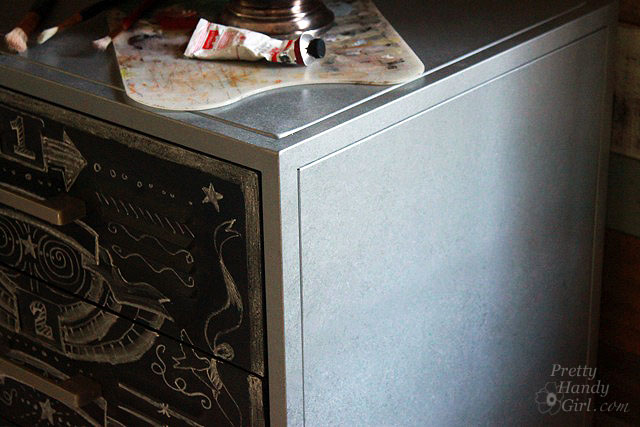
Spray paint your object with a thick coat of the hammered silver spray paint, (but not so thick that it runs). Let the paint get tacky by waiting a few seconds.

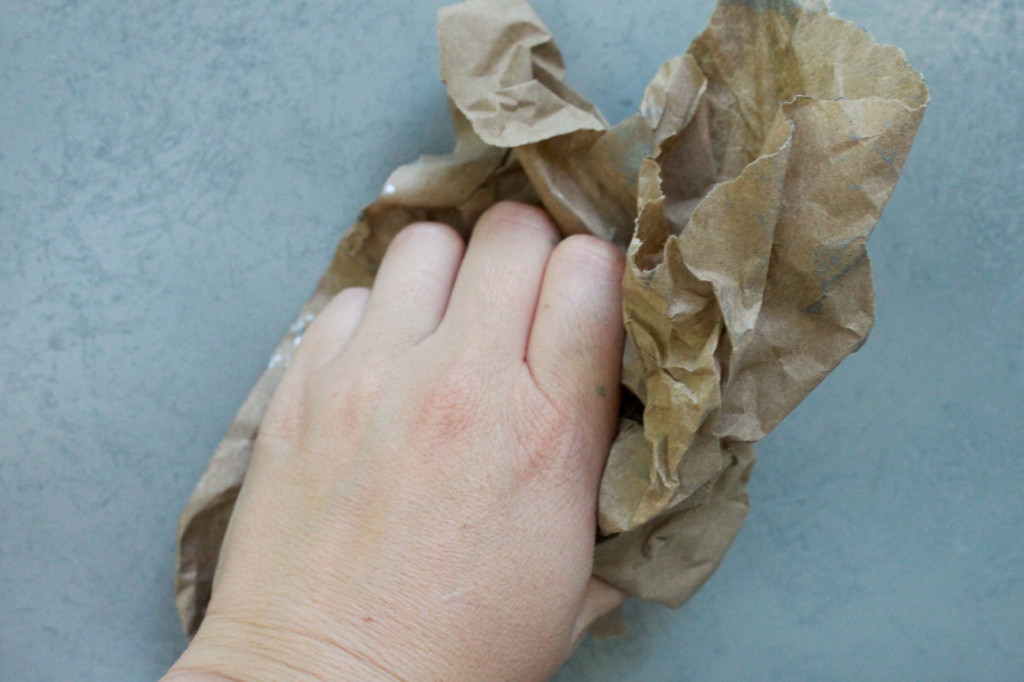
Then use the crumpled piece of craft paper to blot into the wet paint.

Work in small 1 foot sections and pounce the paper a few times. (Too much pouncing and you’ll lose the large textured pattern.)

Let the paint dry thoroughly. Then enjoy your beautiful faux zinc paint job!

Chalkboard Painted Metal Drawers:

For my cabinet, I chose to paint the drawer fronts with chalkboard paint for a nice contrast.

Remove the drawers from the chest. Tape over the drawer glides and slides. Mask off the drawer sides and insides by covering the drawers with tape and craft paper, leaving only the drawer fronts exposed.

Spray paint the drawers with chalkboard paint. (Use three fine coats of paint instead of one or two heavy coats.) Set them aside to dry.

Insert the chalkboard drawers back into the cabinet frame.

Add chalkboard art to your drawer fronts.

The thrifted cabinet has a wonderful texture now and the black and zinc colors work with any color scheme.

The chalkboard drawer fronts allow the flexibility for me to store and label other items inside.

I’m so thrilled with the results! I hope you try to transform your own object, now that you know how to Create a Faux Zinc Texture.

If you use this tutorial, I’d love to hear about it. Better yet, will you send me a picture?

Share this with a friend! Pin this image:

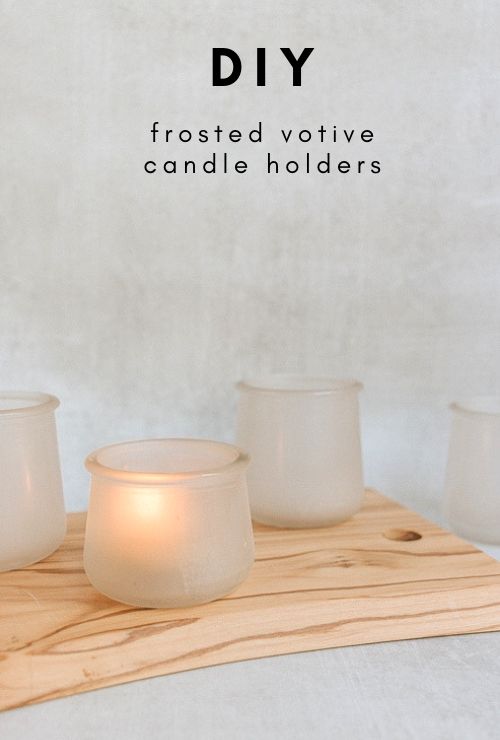
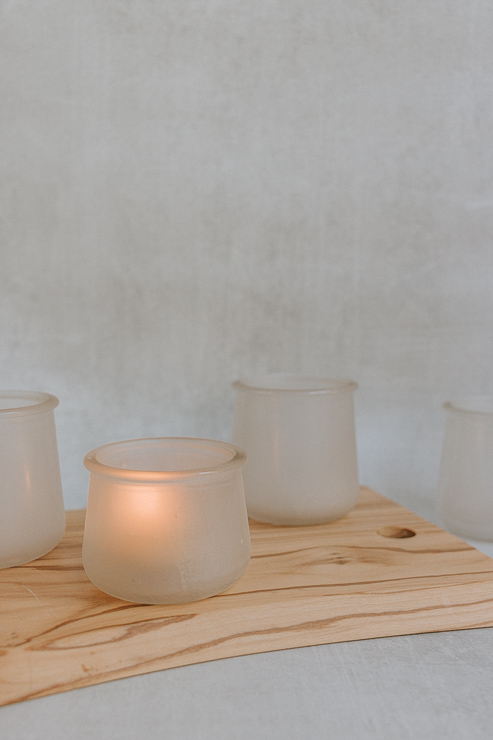
DIY Frosted Votive Candle Holders

Hi, Pretty Handy Girl Readers! I’m back today with a super simple and inexpensive project that you can use for the upcoming holiday season. Or anytime, really!  These DIY frosted votive candle holders are made from old yogurt jars (Yoplait by Oui jars).

This brand of yogurt comes in the cutest little glass jars and I’ve found so many uses for them, like my fairy jar macrame hangers and cinnamon stick candle holders.

Here’s how to make these DIY frosted votive candle holders:

Materials:

(I’ve included affiliate links for your convenience. I earn a small percentage from a purchase using these links. There is no additional cost to you. You can read more about affiliate links here.)

Instructions:

Follow these simple instructions to make these pretty votive candle holders!

Step 1: Clean your Jars

Here’s the easiest way to clean the jars. Place the jars in a bowl filled with hot, soapy water. Let them soak for a bit.

Wash jars in hot soapy water and dry

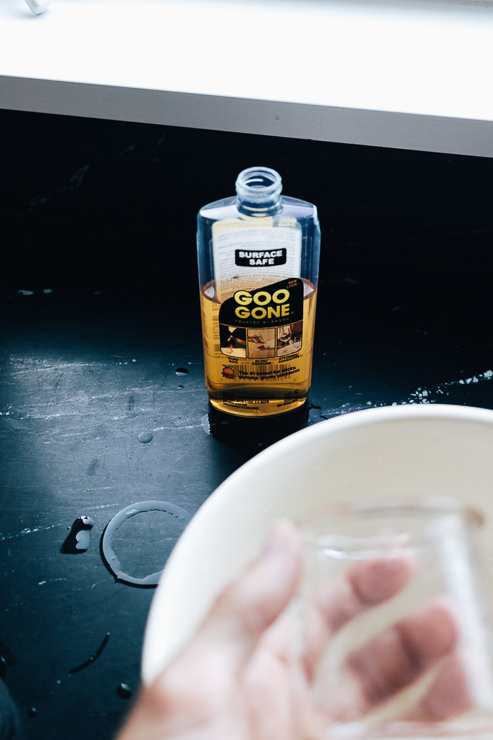
After soaking, use a tea towel to dry them and help remove most (if not all of the) sticker residue. Use Goo Gone to remove any remaining sticker residue.

You will find at this point that most of it will just rub right off. If not, put the jars in the dishwasher to get them nice and clean.

Step 2: Spray Paint your Jars

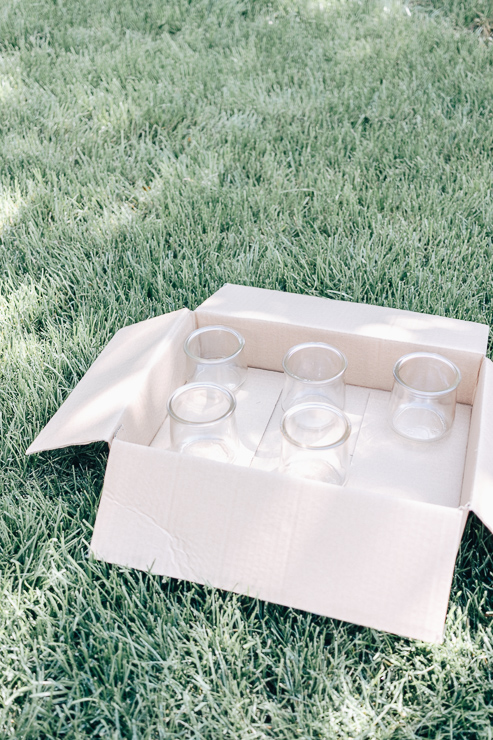
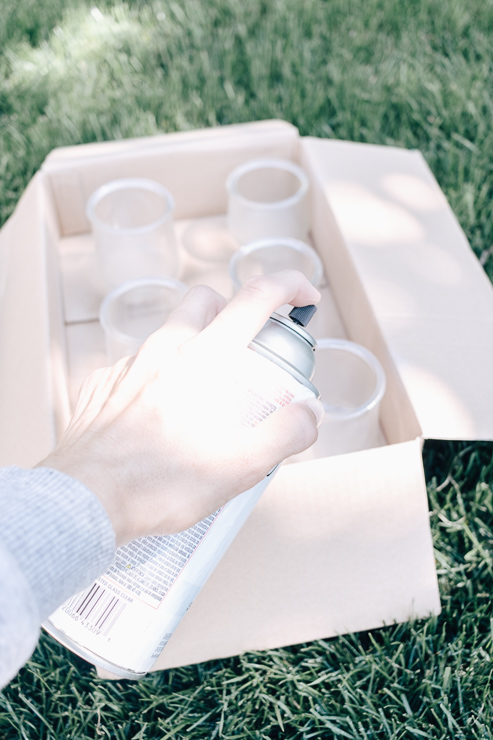
Place jars in a box to prepare for spray painting

As with all spray painting and painting projects, it’s best to spray outside in a well-ventilated area (and use protective eyewear and a mask).

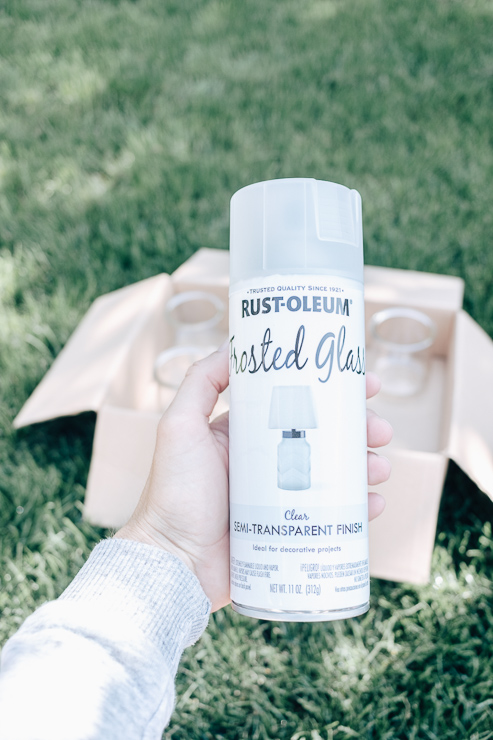
Spray your jars using light and even coats to avoid drips and runs in your paint. It’s best to go easy and commit to building up the paint over time. This spray paint dries in just 5-10 minutes! You will be able to tell where you might need more spray paint after giving it time to dry. Spray your jars with 2 coats for the best coverage.

I spray painted both the inside and outside of my jars, but that might not be necessary depending on the look you want.

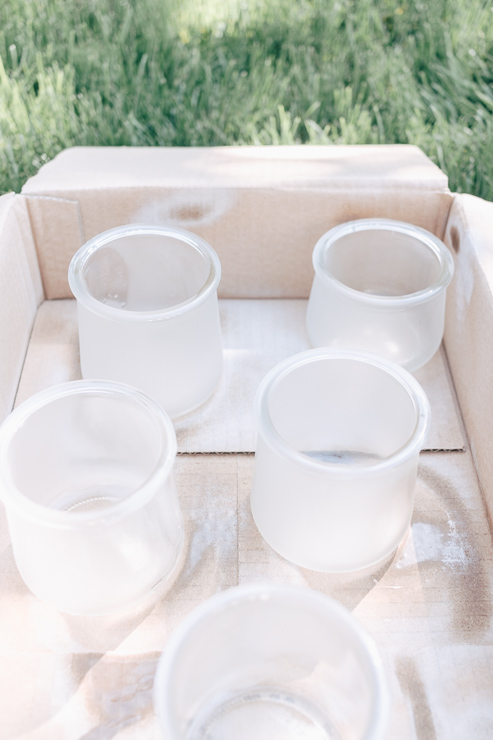
Jars become more frosted looking as they dry (2)

As this paint dries, it becomes more opaque and frosted looking. It’s really cool to watch the paint magic happening before your eyes!

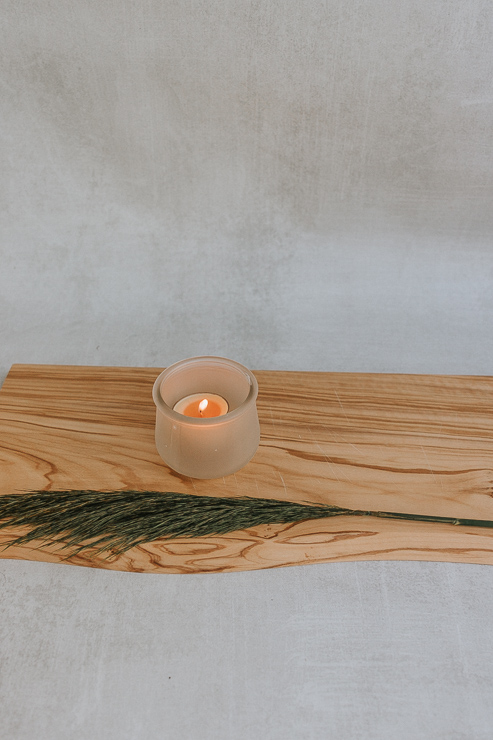
Completed Frosted Votive Candle Holders

Step 3: Enjoy your Jars!

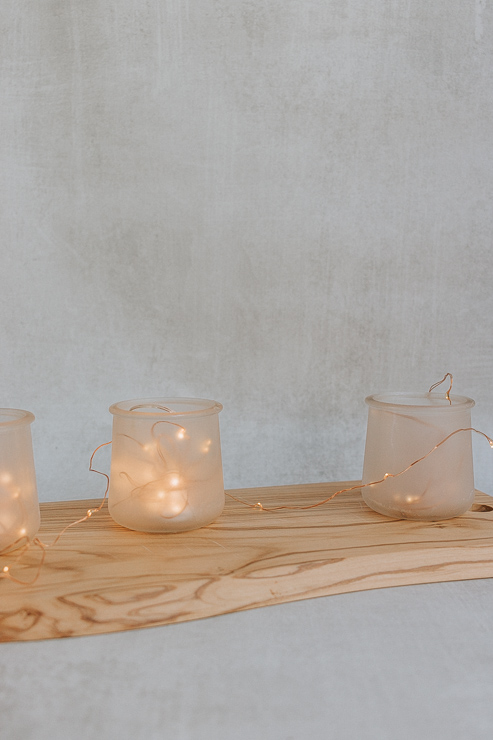
Once your jars are fully dry, you can decorate with them! I love these frosted jars with tea light candles. But you could also use fairy lights for a unique look.

Frosted Candle Holders hold fairy lights too

Buy tea candles in bulk from stores like Amazon or IKEA. You can also pick up seasonal candles from places like Target if you wanted a nice Fall or Holiday scent.

DIY Frosted Votive Candle Holders (1)

Another idea?

I’m a huge fan of the flameless candles, as long as they are realistic and cast a warm glow (not a fake orangey one!) You can buy flameless tea light candles just about anywhere these days. If you want my personal opinion, Pottery Barn and Luminara make pretty realistic ones and the light is very warm and pretty. Amazon is chock full of options for flameless tea lights.

DIY Frosted Votive Candle Holders (3)

If you are planning a holiday get together or a party (even a wedding), these candles will be the perfect finishing touch for your tables and decor. Bonus: they are so inexpensive and easy to make.

I hope you guys have fun with this one! And I hope Yoplait never stops making this yogurt because I love these little jars!

For even more ideas, check out these festive votive candle holders right here on Pretty Handy Girl!

See you all next month!  Thanks for reading!

karen signature

~ See More of Karen’s Tutorials ~


karen from decor hintHello!  I’m Karen, the creator of the Home Decor and DIY Blog: Decor Hint. I’m a Native of the East Coast, but I currently live in beautiful Seattle with my hubby, our two wonderful children, and our spunky wheaten terrier.

You can usually find me with some sort of craft in one hand and a coffee in the other. And I’m always rearranging furniture or moving lamps from room to room. I have a passion (read: obsession) for decorating, DIY, and gardening. In short, I love making my house into a home.

Like many, I’m inspired by what I see in home decor magazines, but I’m not so inspired by the price tags.  Consequently, I love finding and creating beautiful budget-friendly home decor items. In a head to head competition, I bet you’d never know the difference between the designer items and my DIY creations!  Many of my DIY projects focus on sewing, crafting, upcycling and organizing. Some of my favorite projects have been making pretty wreaths, sewing my own tassel hand towels, and crafting these trendy wood bead garlands. I can’t wait to inspire you and spark your creativity through my DIY projects.

You can always connect with me on Pinterest, Twitter or Instagram.

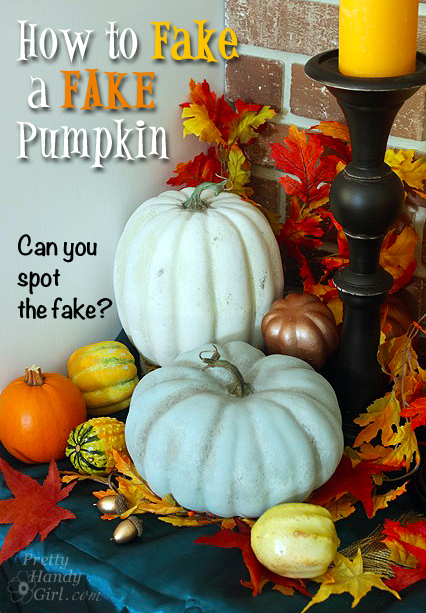
How-to-faux-paint-a-fake-pumpkinHow to Fake a Fake Pumpkin

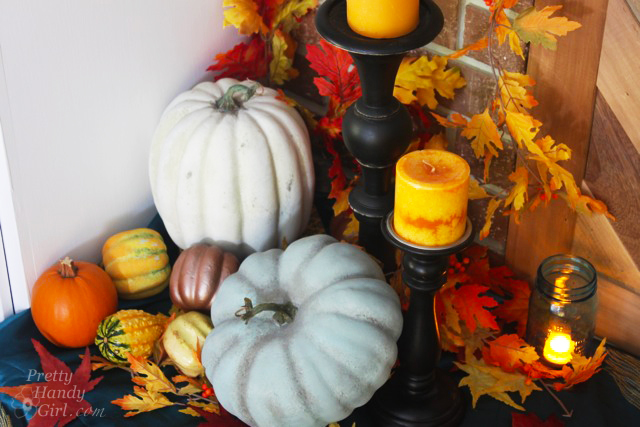
Have you seen those neon orange fake pumpkins and nearly vomited because you wouldn’t dream of decorating with them. I mean—get real—everyone would know they were fake. Ah ha, but have you seen the price tags? $1 – $6? For that price you might just be willing to take a leap of faith with me, wouldn’t you? Awesome, because I’m going to show you how to faux paint a fake pumpkin so you can decorate with them year after year and fool your friends.

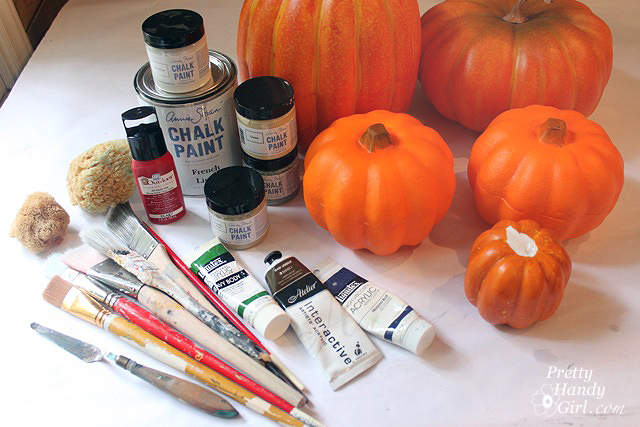
Materials:

(I’ve included affiliate links for your convenience. I earn a small percentage from a purchase using these links. There is no additional cost to you. You can read more about affiliate links here.)

materials

Instructions:

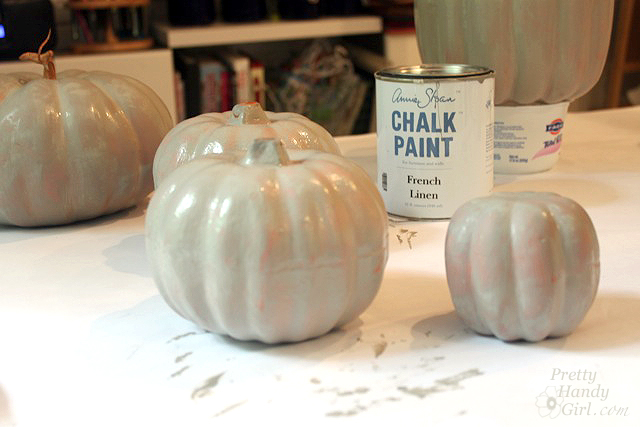
Start by painting all the pumpkins with Chalk Paint (use gray, white, green and blue paint.) Allow the pumpkins to dry.

paint-pumpkins-french-linen


Painting Realistic White Pumpkins:

It helps to look up some pictures of real pumpkins to refer to.

pure-white-country-grey

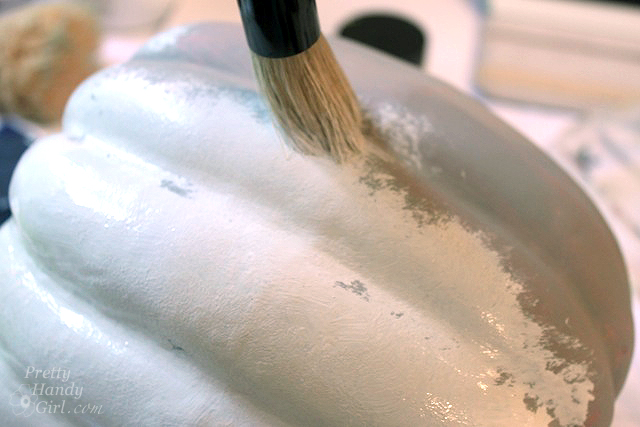
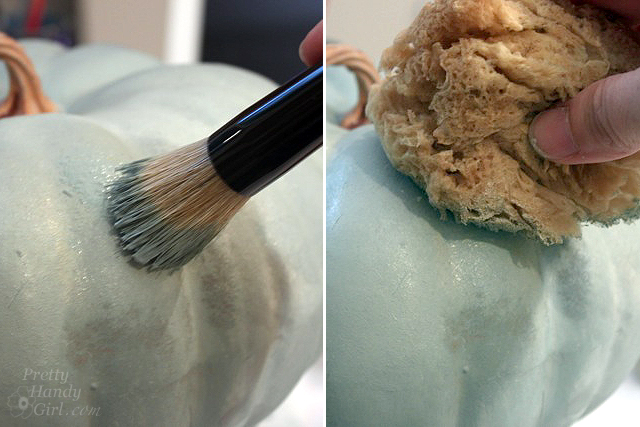
Using the stencil brush, paint a mixture of grey and white on one of the pumpkins.

paint-white-mixture

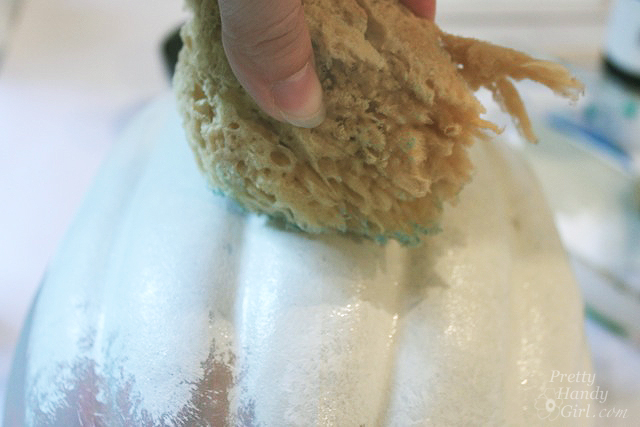
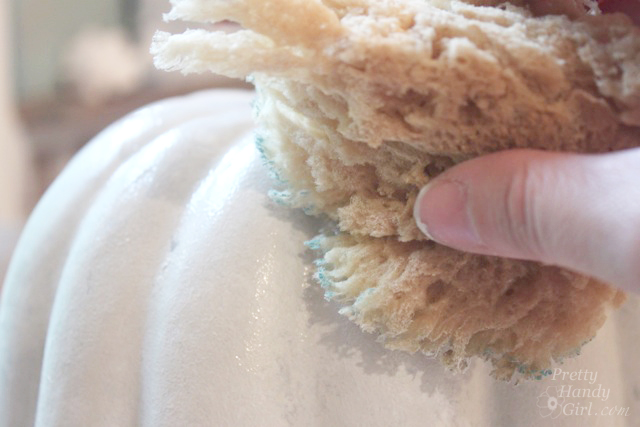
Before the paint dries, dab some of it off with the sea sponge. (Keep your sea sponge dry, not wet during the process.)

sponge-off-white

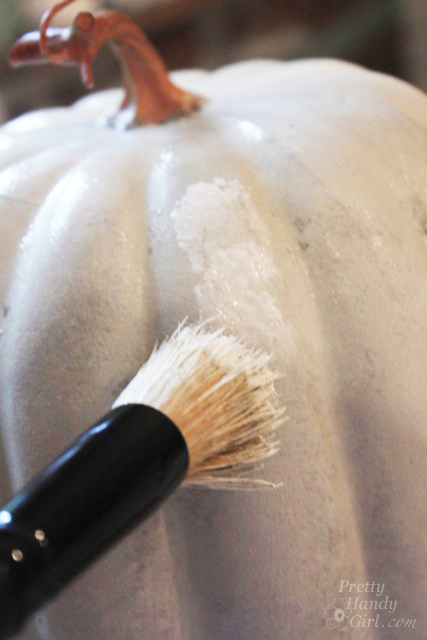
Dip the stencil brush into the white paint and add paint on the outer most bumps on the pumpkins. This is adding highlights.

highlights_on-white-pumpkin

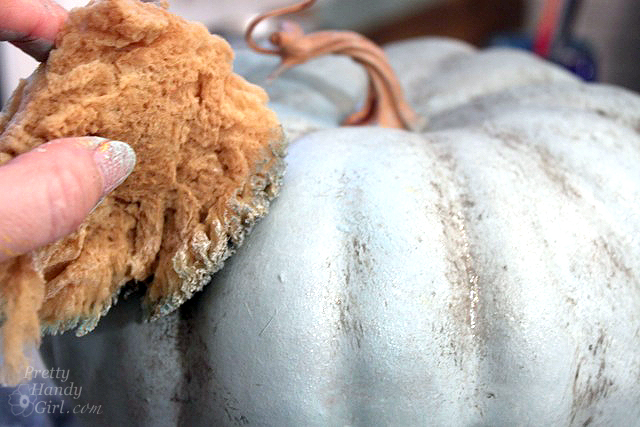
Dab the highlights gently with the sea sponge to blend.

sponge-off-white-2

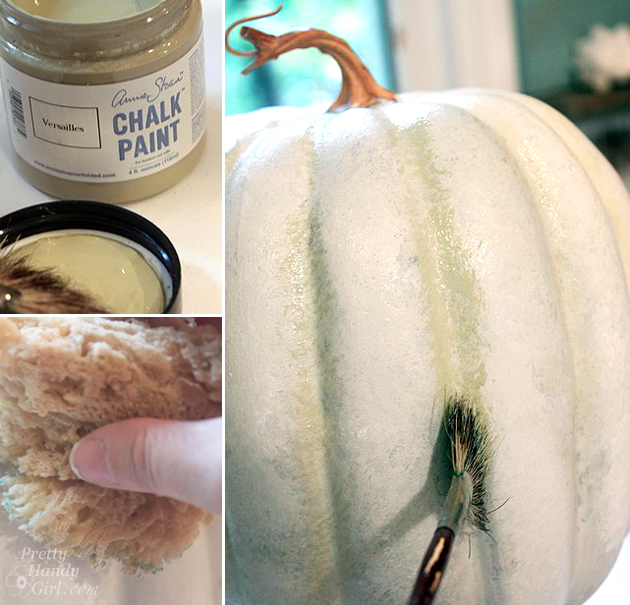
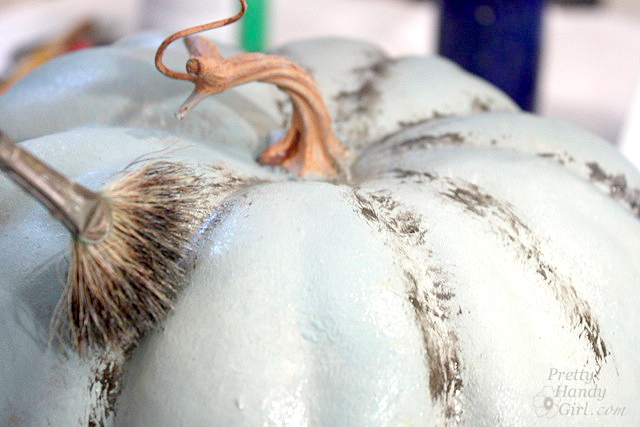
Use the fan brush dipped in a small amount of green paint inside the pumpkin ridges. Dab the ridges with the sea sponge to blend.

white-gourd-pumpkin

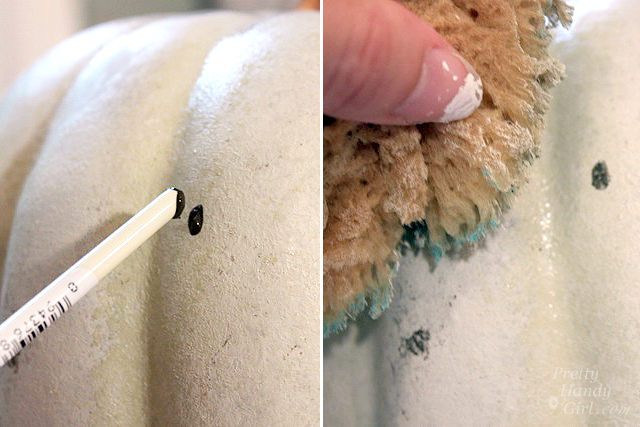
Have you ever seen a truly unblemished pumpkin? I think not. It’s time to add some spots or marks on the pumpkin to truly fool your friends. Dip the end of the paint brush into brown paint and dot it onto the pumpkin. Blot the spot with a sea sponge and maybe even transfer a few new spots with the sponge.

add-blemishes

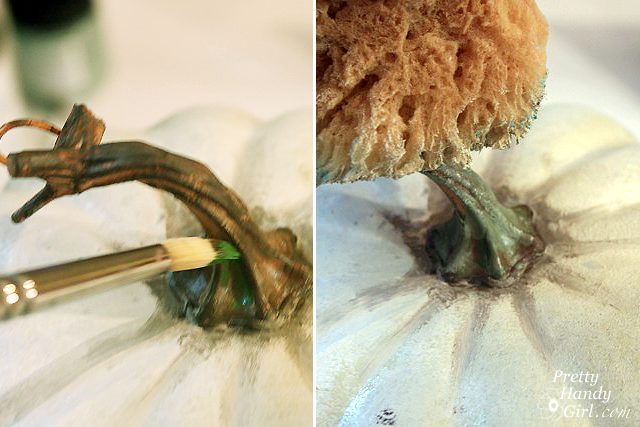
Paint grey around the base of the stem and into the grooves with the round paint brush.

add-dark-depth-around-stem

Paint brown and green paint onto the pumpkin stem. Blend slightly with the sea sponge.

paint-sponge-stem

Can you spot my fake white pumpkin? Well, of course you can because I just showed you how to paint it. But, it will definitely fool your friends!

grouping_left_pumpkins

Painting Realistic Blue Pumpkins:

Painting blue pumpkins uses the same technique as painting the white pumpkins, only using a few different colors.

Use the stencil brush to paint blue onto another pumpkin. Dab the blue paint while it’s still wet with the sea sponge.

add-duck-egg-blue-sponge

Use the fan brush dipped in gray and brown craft paint to fill in the ridges.

darken-crevices

Dab the paint with the dry sea sponge to blend.

sponge-crevices

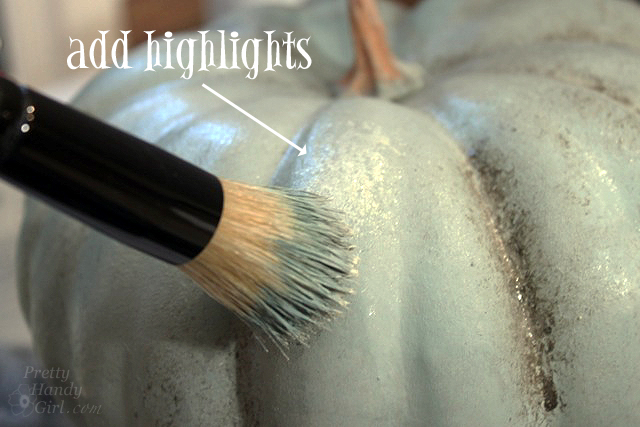
Add some highlights with a mixture of grey and white. This serves two purposes. 1) It adds dimension. 2) It tones down the excess blue on the pumpkin.

add-highlights

Paint the stem the same way you learned above.

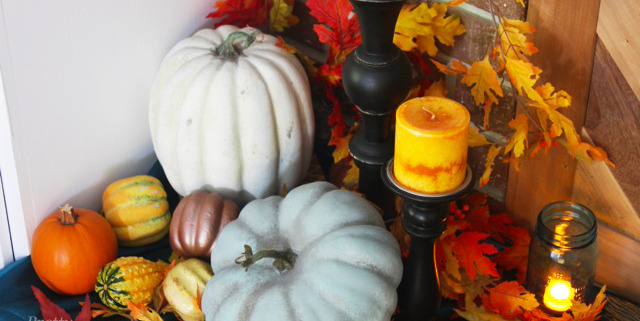
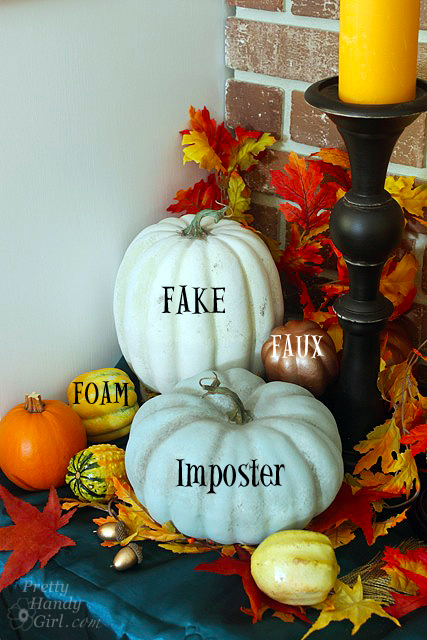
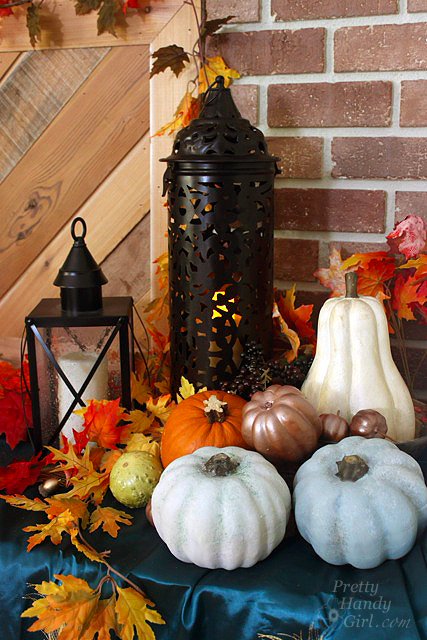
To truly fool people, set up your fake pumpkins with some real pumpkins and real gourds. Sooo, can you spot the fakes?

guess-the-fakes

How many did you get right? The metallic gourd is simply spray-painted with copper spray paint. But, I did try my hand at faking a green and yellow gourd using the same technique as the pumpkins, but adding green to the top and yellow to the bottom.

the_fakes

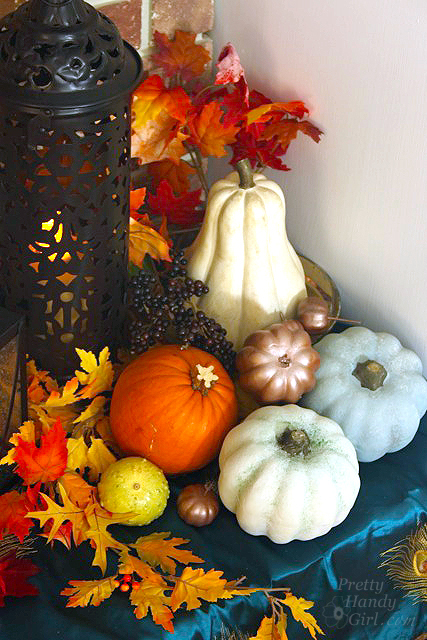
Okay, I’ll give you a second shot. Guess the fakes:

vertical-fall-vignette

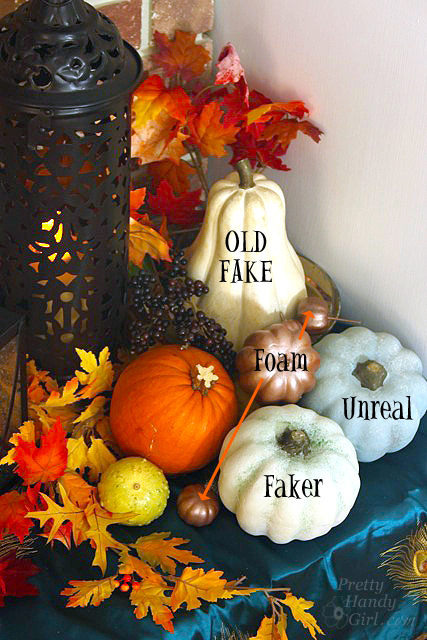
How did you do this time? Ha, you can now apply for a job as an art forgery detective ;-).

truth_fake_gourds
Now seriously, how many people will be viewing your pumpkins that close? Umm, next to no one. Normally they’ll view them from afar.

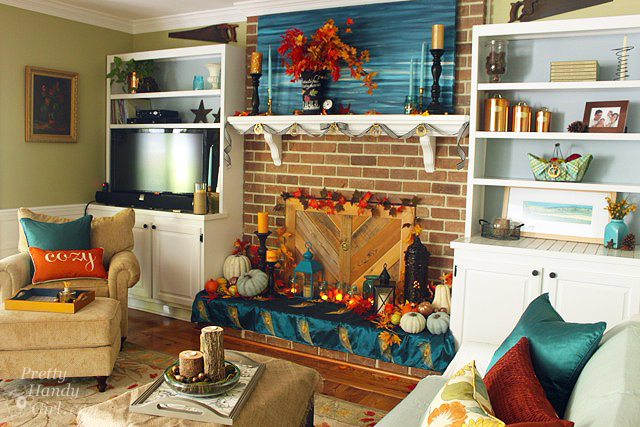
full-living-room-shot

Get your paints and palette out and go fake some fakes! It will be our little secret.

fall-vignette-grouping

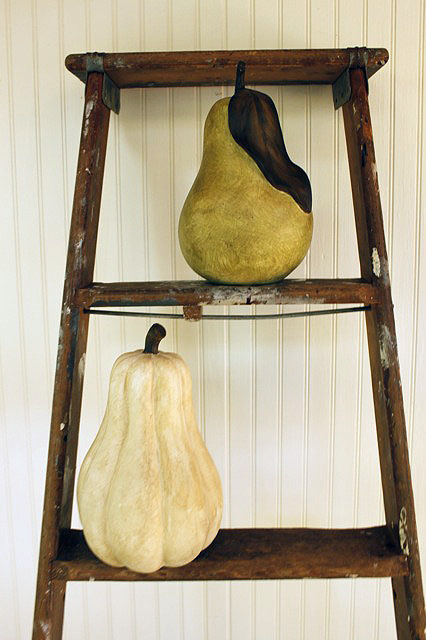
PHGFancySignDid you like this painting post? Ahhh, then I know you’ll like this Ballard Pear painting tutorial:

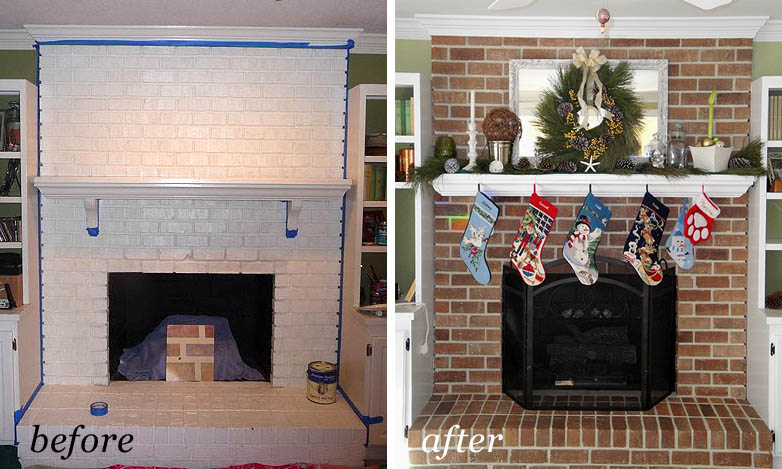
Or if you’re feeling like taking on a larger scale project…how about Faux painted bricks!

Or perhaps you’d like to perform some faux zinc painting magic:

You can do it! I know you can.

signature

Saving Etta: Paint Colors + Home Tour Guide

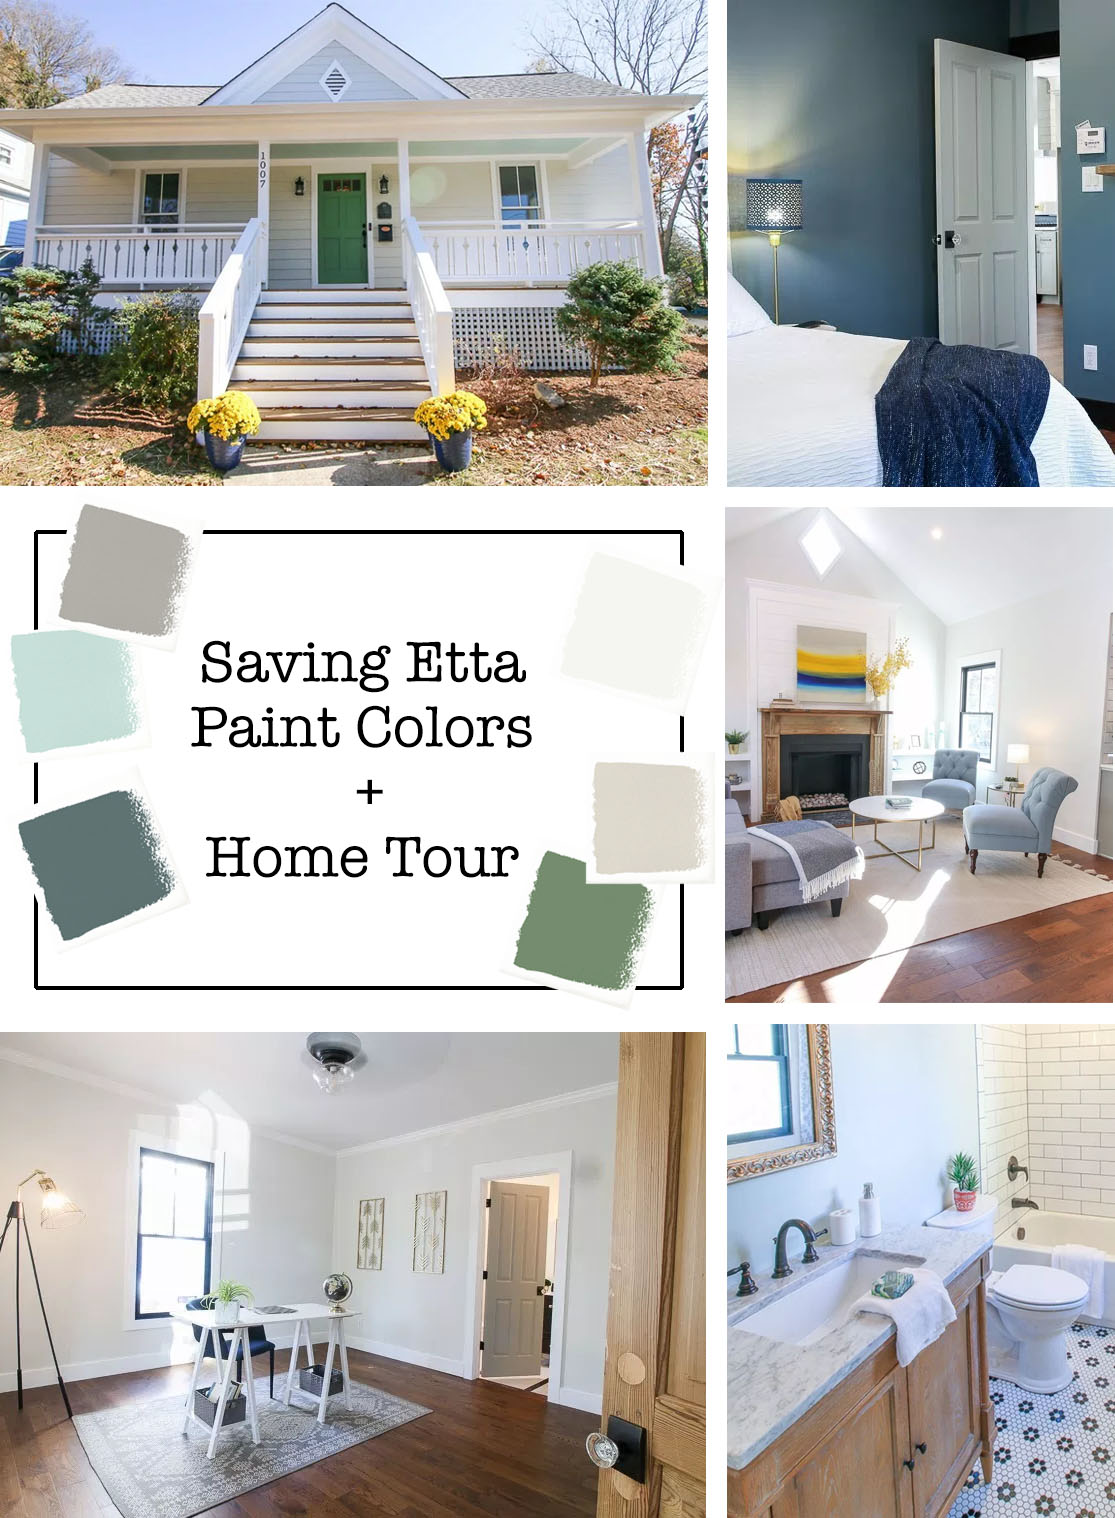
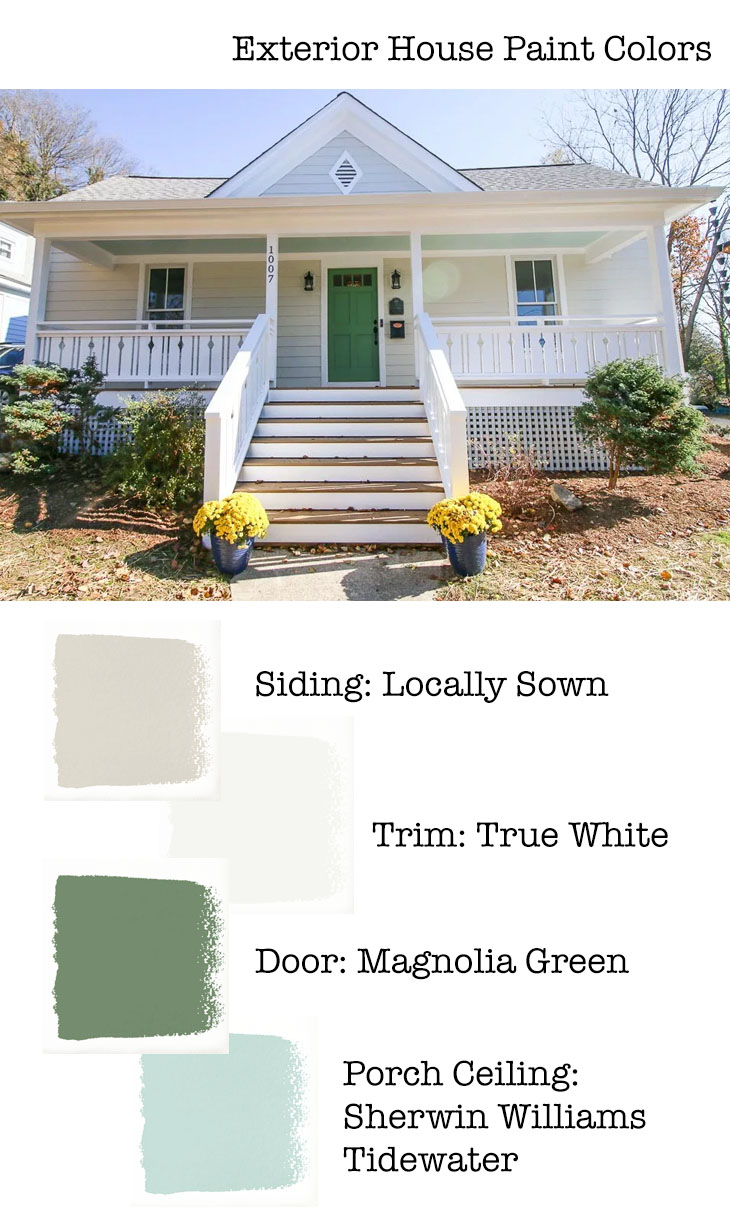
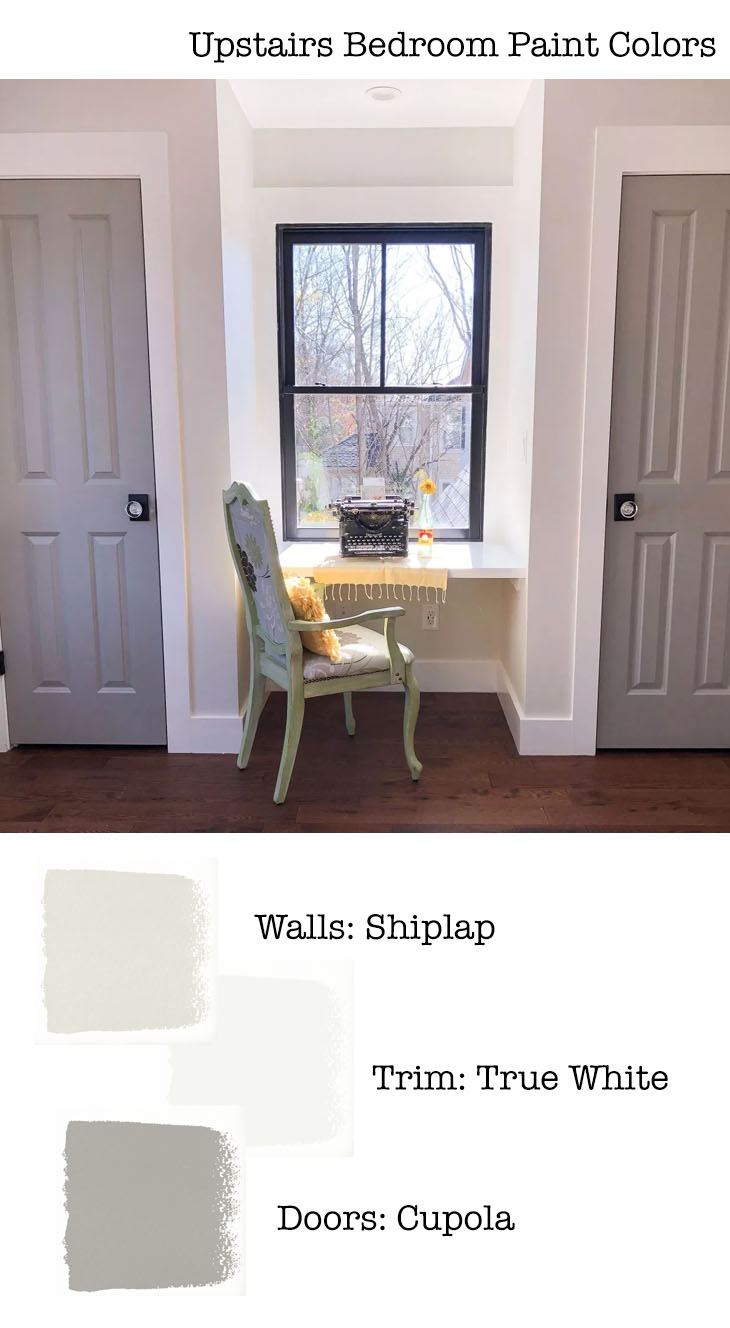
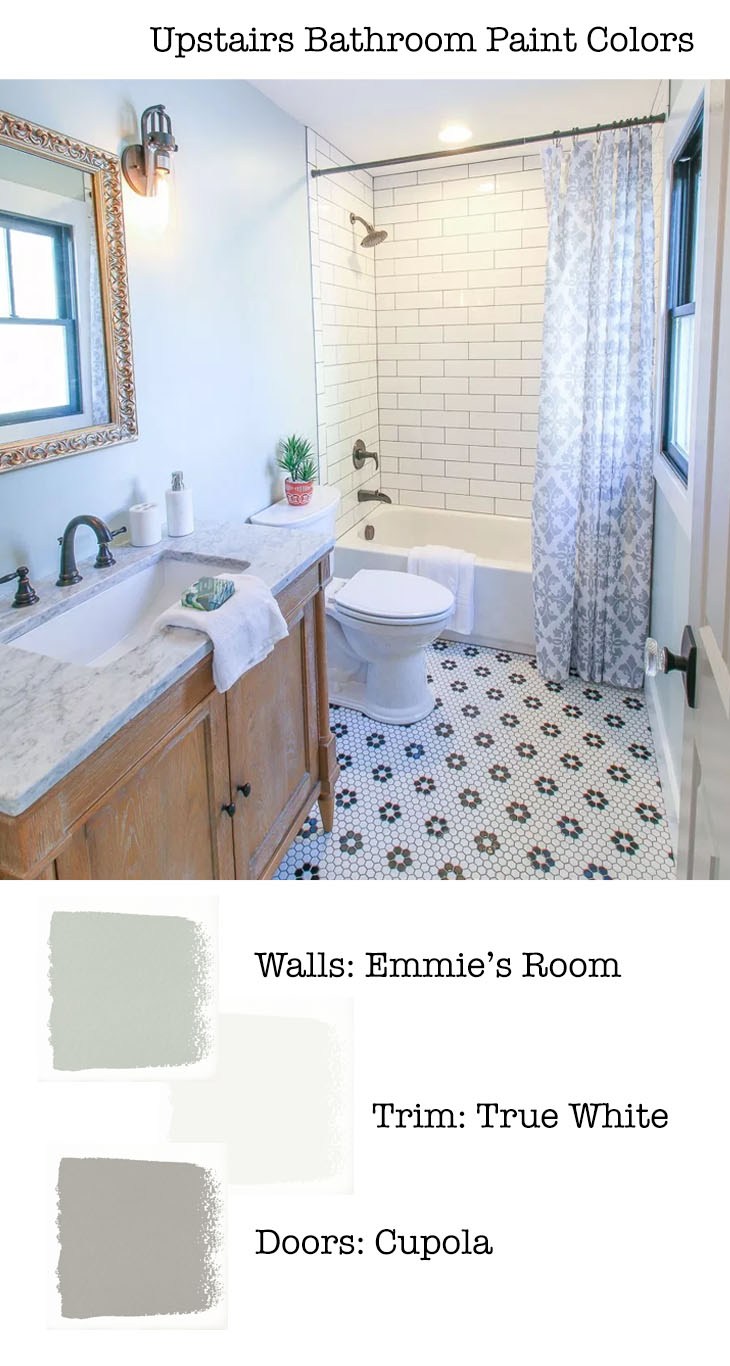
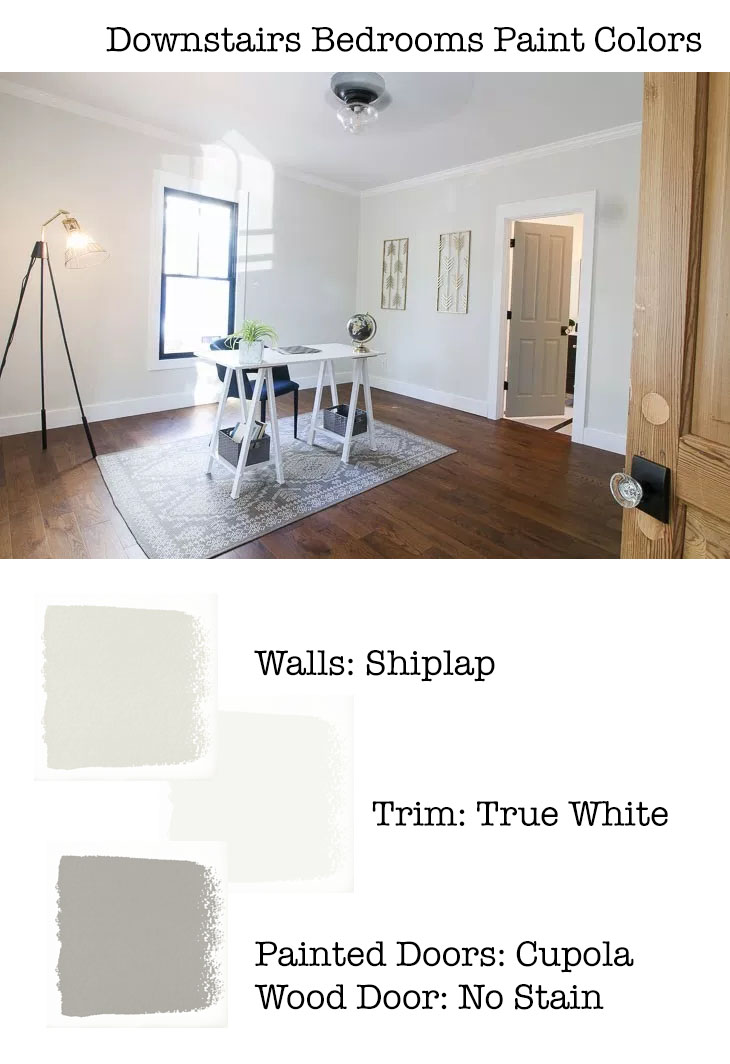
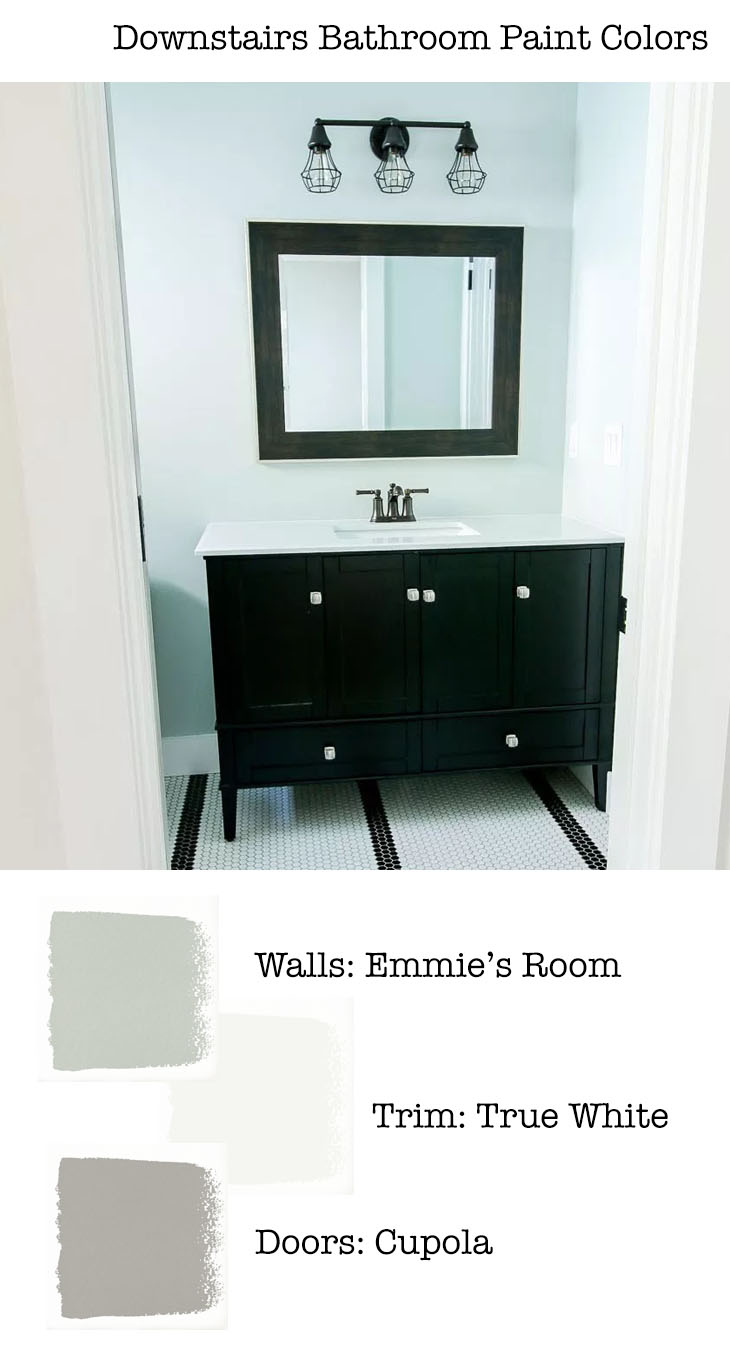
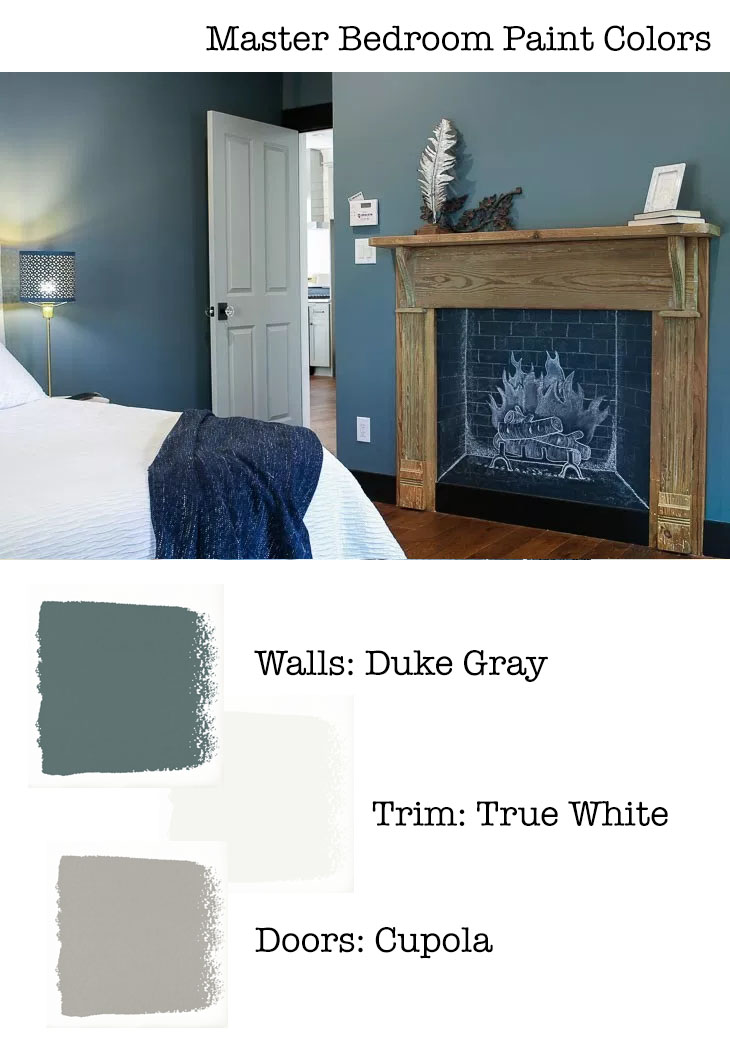
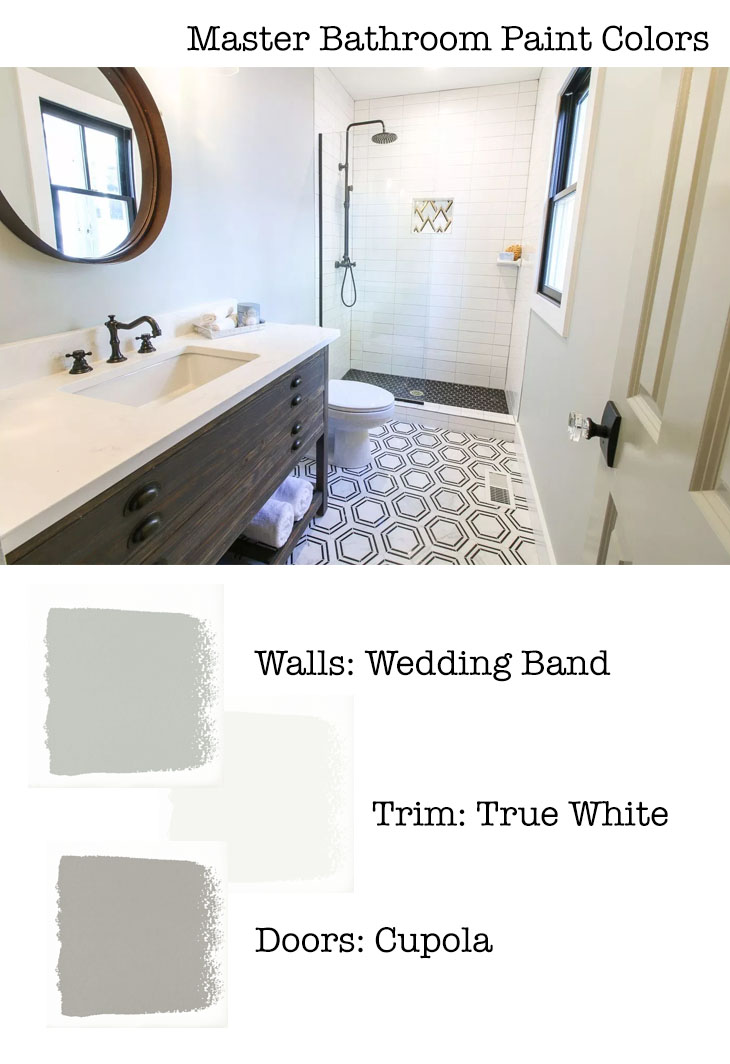
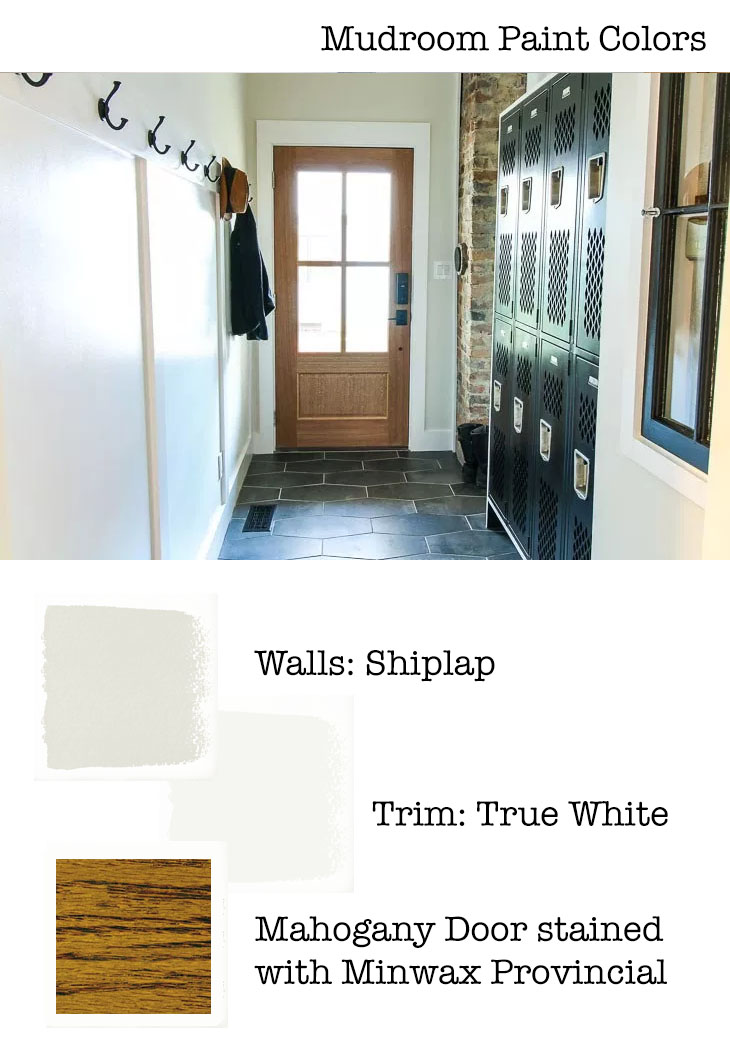
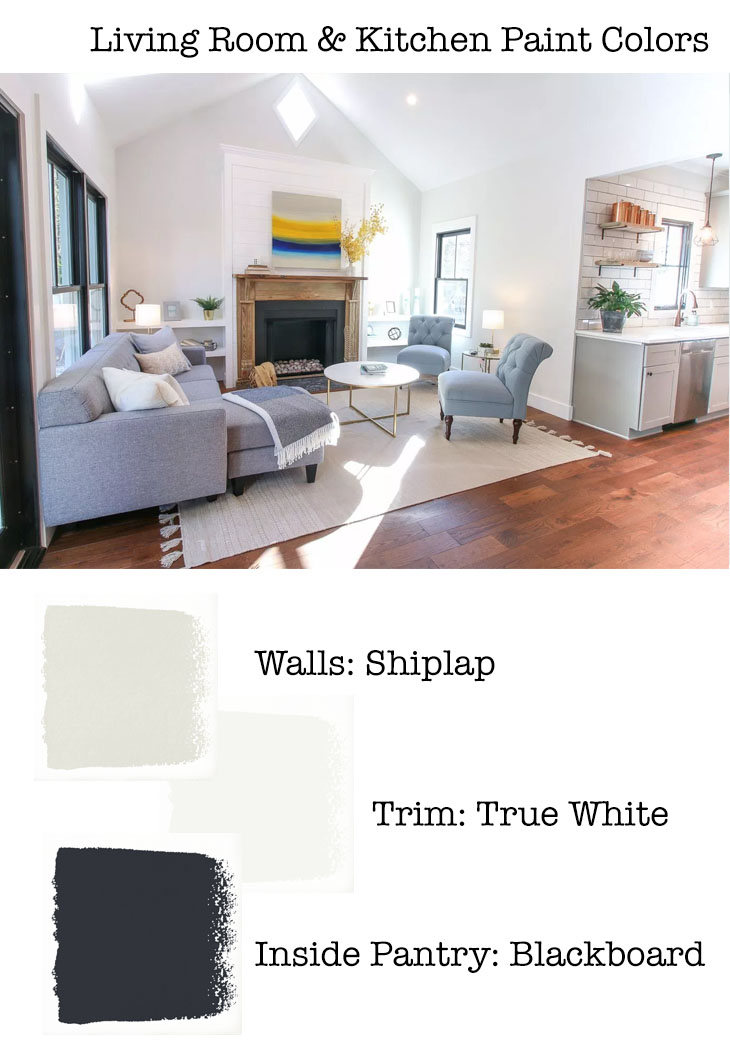
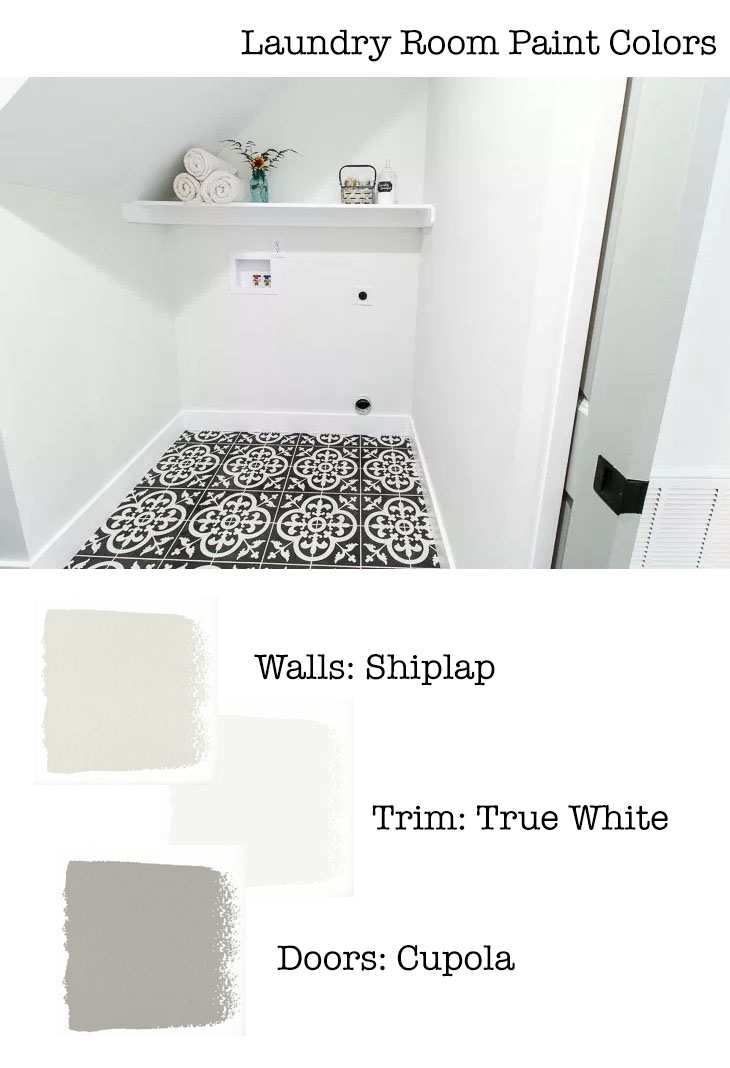
Now that all the rooms have been revealed in the Saving Etta house, I thought you’d like one post to refer to all the paint colors used inside and outside the home. This will also be a great starting place to navigate all the Saving Etta room reveals.

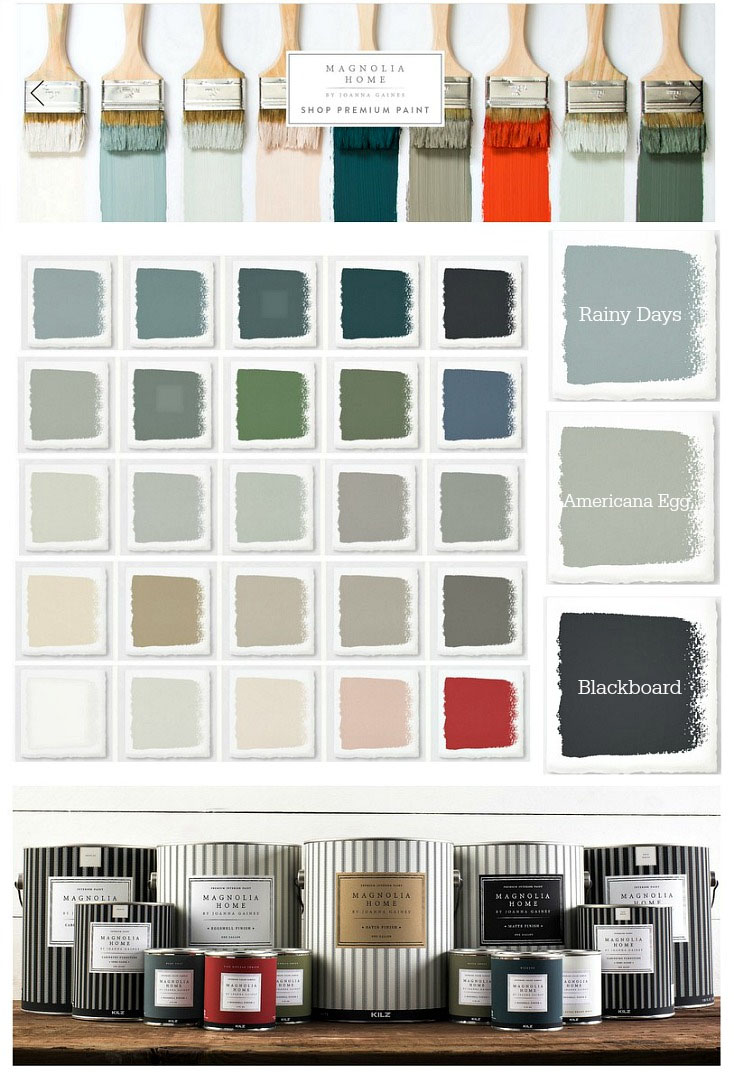
Before we begin, a little note to let you know that Magnolia Home Paint was a sponsor of the Saving Etta project. I was thrilled to be able to showcase some of their many beautiful paint colors. Unless specifically noted, all colors are from the Magnolia Home Paint collection.

We actually had the honor of trying out the Magnolia Home Exterior Paint line before it hit the market. I can honestly say my painters loved the paint quality and the painter at the property next door came over to ask about it (he explained he was admiring the great coverage and how beautiful the finish was.) The interior paint had already won me over with its low VOCs and creamy thick texture. The paint goes on great and levels out as it dries. I’m looking forward to using their paint on many future projects!

If you want to get your hands on the paint, Magnolia Home Paint is available online and at a variety of paint retailers you can search for here.

Saving Etta Home Tour + Paint Colors:

I hope you enjoy the Saving Etta room tours. If you have any questions, please leave them below in the comments.

When you pull up to the front of the Saving Etta house, you’re greeted by a cheery front porch and a beautiful green door. I had agonized over the door color in this blog post. But, ultimately decided on this color palette for the home’s exterior.

Tour Links:

Front Yard Transformation Tour

The Amazing Backyard Transformation


Tour Link:

Upstairs Rooms + an Alternative to Railings

Tour Link:

Upstairs Vintage Inspired Bathroom Tour


Tour Link:

Downstairs Bedrooms + How I Saved the Original Doors


Tour Link:

Downstairs Shared Bathroom


Tour Link:

Master Bedroom + My Bold Paint Choice


Tour Link:

Master Bathroom Reveal


Tour Link:

Mudroom Reveal + Saving the 1900 Chimney


Tour Links:

Kitchen Reveal

Living Room Reveal


Tour Link:

Laundry Room + No Hands Light Switch


I hope you found this paint colors reference helpful when picking out paint colors for your home. Did you enjoy the Saving Etta Home Tour? Please tell me which is your favorite room.

Disclosure: Magnolia Home Paint by KILZ is a Saving Etta material sponsor. I’m honored to work with them on this project. All words and opinions are my own. I have not been told what to say. As always I am very particular about the sponsors I work with and you will be told if you are reading a post that has been sponsored or in which materials were provided. 

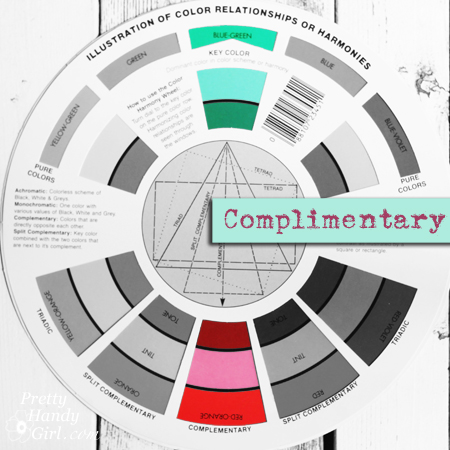
Artists Color Wheel | Pretty Handy Girl

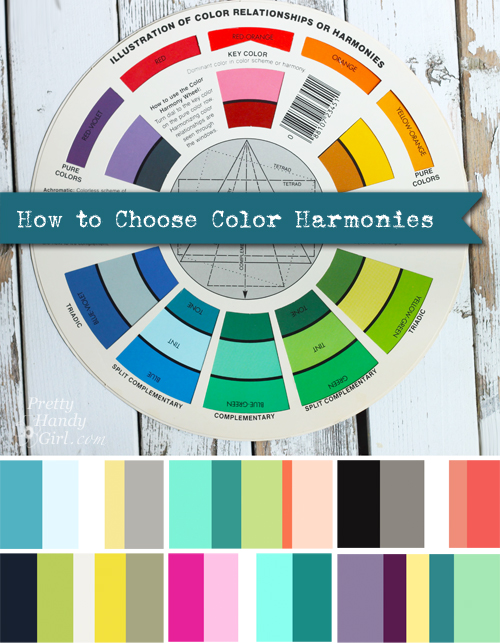
How to Choose Color Harmonies | Pretty Handy Girl
Color Harmony in Decorating

One of the most frequent complaints from homeowners is struggling to choose colors for their home. When you walk into the paint store, the color selection can seem overwhelming. Choosing a rug or furniture can be equally daunting. Today I’ll give you some tips and tricks for creating color harmony in home decorating. You’ll learn a little knowledge about color theory, complements and harmonies that make choosing colors much easier. Plus, you can use the same theories in almost any visual field. From  graphic design and web design to choosing your outfit for a big event. Pretty soon, you’ll be able to put together pleasing color palettes with ease.

I’m sure you’ve stumbled across art, paintings or photos that use visually stunning color palettes. Chances are that the artist or designer put thought into each color and how they work together. Let me introduce you to color relationships and harmonies!

You’ve heard the term complementary colors, but do you know what defines a complement? Here are the definitions of the various color relationships or harmonies and some great sample palettes you can use in your home!

Complementary Colors:

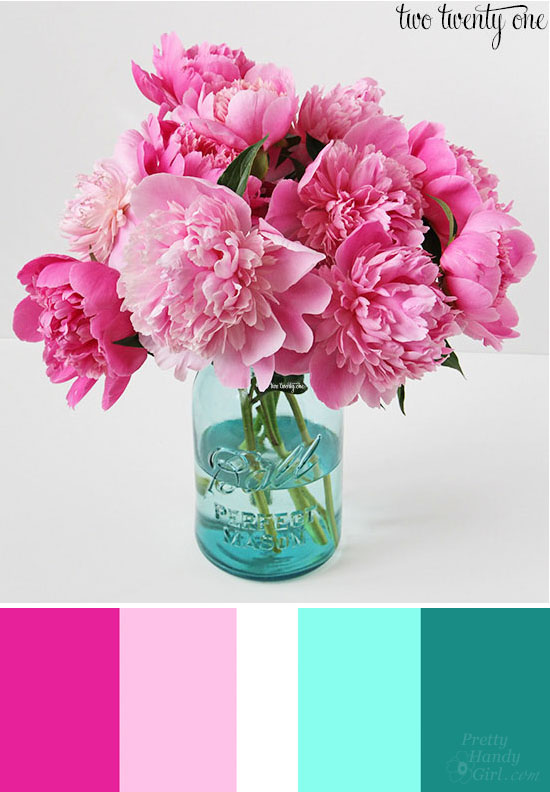
One of my favorite color combinations are the gorgeous pinks in a bouquet of peonies paired with an aquamarine ball jar.  Something about this palette stops me in my tracks every time! The reason this pair grabs my attention is that those two colors are complementary.
How to Choose Colors in Your Home | Pretty Handy Girl
Photo courtesy of Two Twenty One

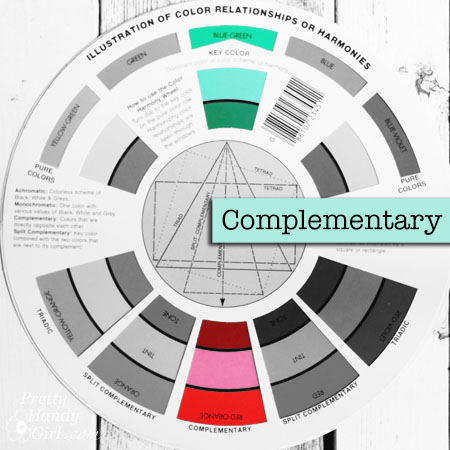
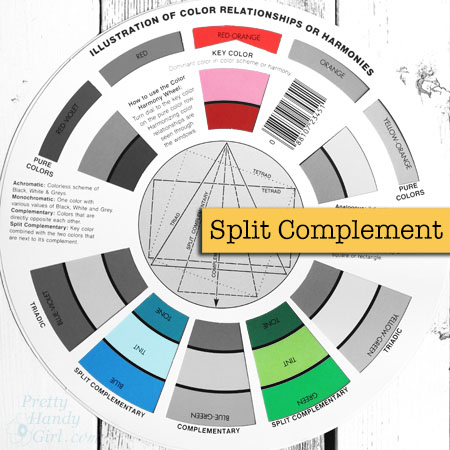
Red/orange and blue/green are directly across from each other on the color wheel which makes them complementary or a perfect pair. (Kind of like wine and chocolate…right?!)
Complementary Color Palettes

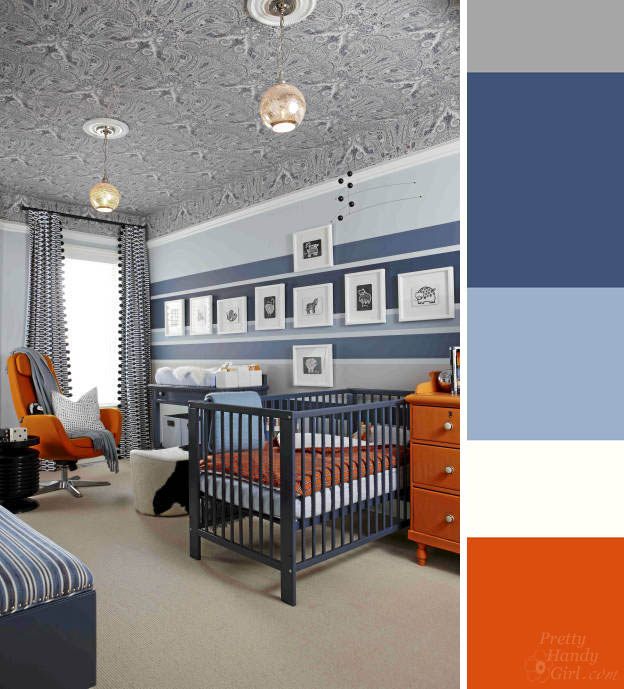
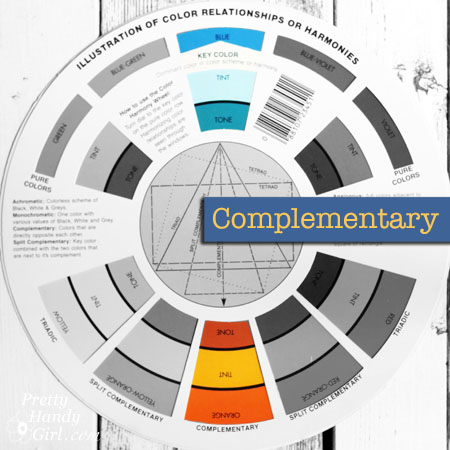
Here is another example of a complementary color palette. Blue and orange are stunning together. All the blues are balanced by a few pieces of fiery orange that demand attention in Sarah Richardson’s nursery below.
How to Choose Colors in Your Home | Pretty Handy Girl
Photo courtesy of Sarah Richardson via HGTV.ca
Complementary Color Palettes

 Split Complementary Colors:

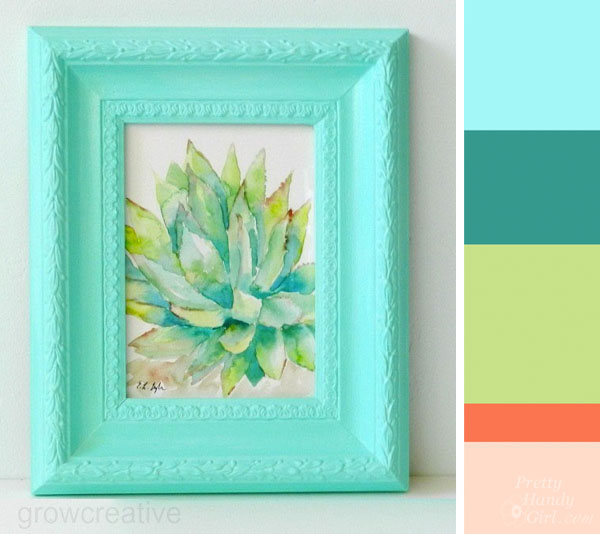
Elise from Grow Creative is my newest favorite eye candy blog. She is a watercolor artist and photographer. You should definitely subscribe to her blog for a visual pick me up every time she posts! Her watercolor painting of a cactus contains a great example of the split complementary relationship.
How to Choose Colors in Your Home | Pretty Handy Girl
Photo courtesy of Grow Creative

Although, she only used a little of the bright red-orange color at the tips of the cactus, the bright color holds its own opposite the blue and green split. Without the orange, this painting would still be beautiful with an analogous palette (see the explanation of an analogous palette here.)
Split Complementary Color Palettes

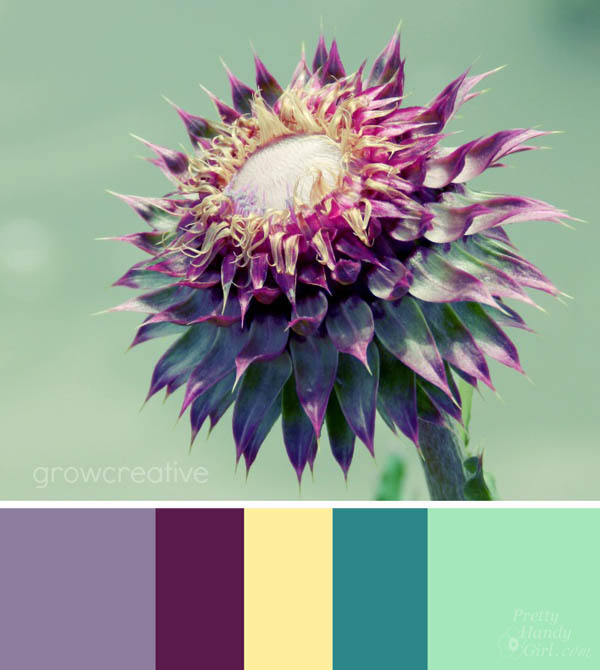
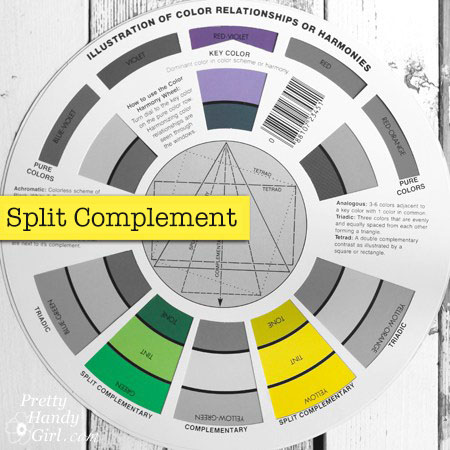
In the photo below of the Thistle from Grow Creative, the opposing colors have a wonderful split complementary relationship.
How to Choose Colors in Your Home | Pretty Handy Girl
Photo courtesy of Grow Creative

The purples and green steal the show for sure, but the small hint of yellow gives this photo more complexity.
Split Complementary Color Palettes

Analogous Colors:

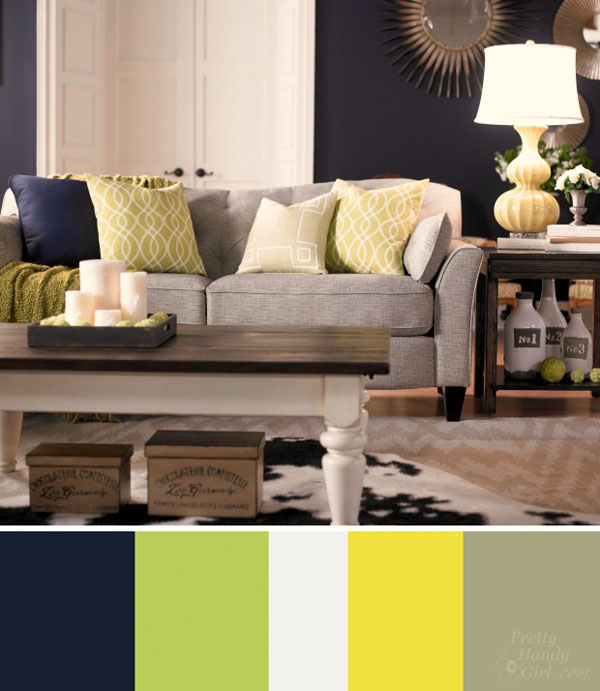
While attending the La-Z-Boy event, I fell in love with Beth from Home Stories A to Z’s room design. The dark and light contrast of the navy with the crisp white doors stole my heart for sure. But, the decor colors really complete this stunning palette.
How to Choose Colors in Your Home | Pretty Handy Girl
Photo courtesy of Home Stories A to Z

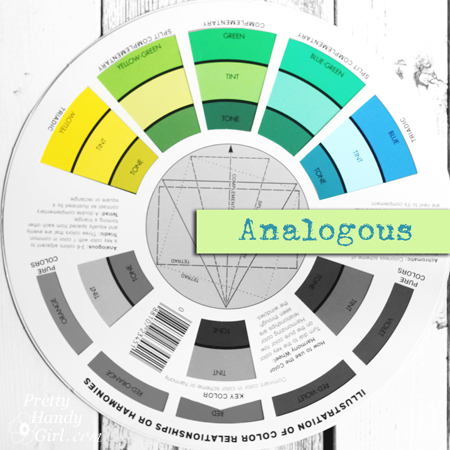
The key colors in her room are navy, light green and yellow. The white and grays are neutral therefore, they work with any color. Together you have a great example of an analogous palette.
Analogous color harmony | Pretty Handy Girl

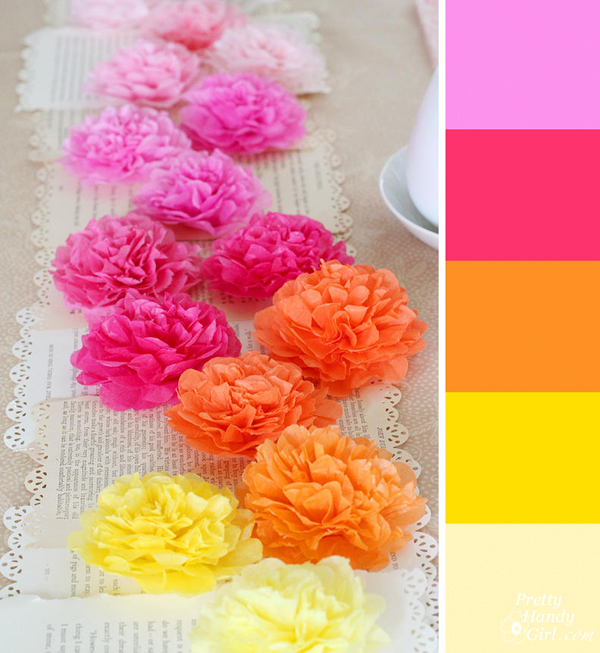
Another example of an analogous palette is seen in this photo of a paper floral table runner by Fiskars:
How to Choose Colors in Your Home | Pretty Handy Girl
Photo courtesy of Fiskars

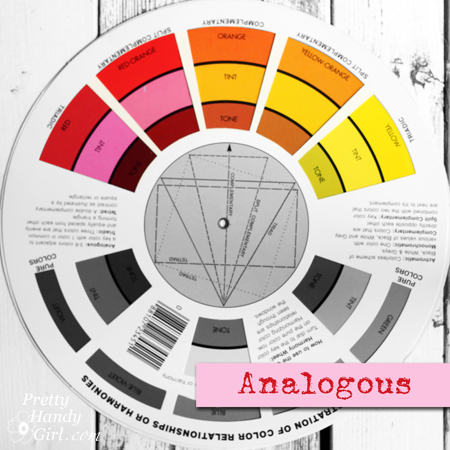
Choose colors that are adjacent to each other on the color wheel for a gorgeous analogous palette. These colors together are sunny, warm, energetic, but most of all harmonious.
Analogous Color Harmony | Pretty Handy Girl

Tetrad and Triad Palettes: 

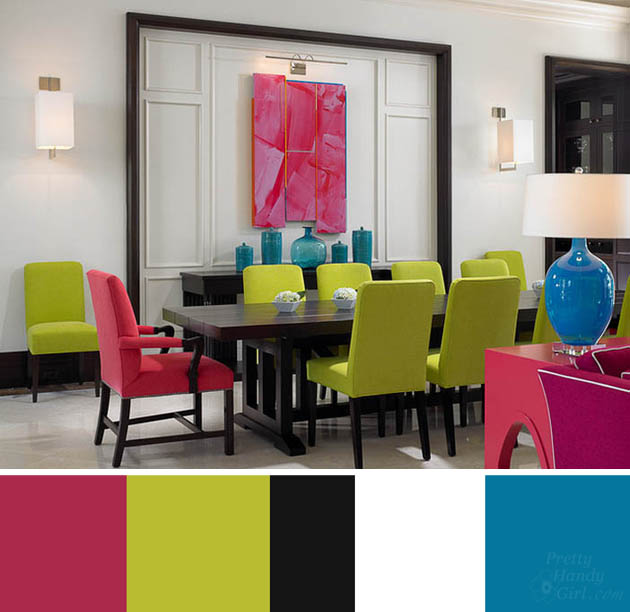
Now we’re getting into a few of the more complex palettes. They aren’t hard to use, but do require a little more thought in terms of amounts and value. The bold palette in this dining room works well because they are presented against a neutral black and white backdrop.
How to Choose Colors in Your Home | Pretty Handy Girl
Photo courtesy of John David Edison Interior Design in Toronto, ON

The blue, yellow and pink colors form a perfect triangle on the color wheel making them a great example of a triad relationship.
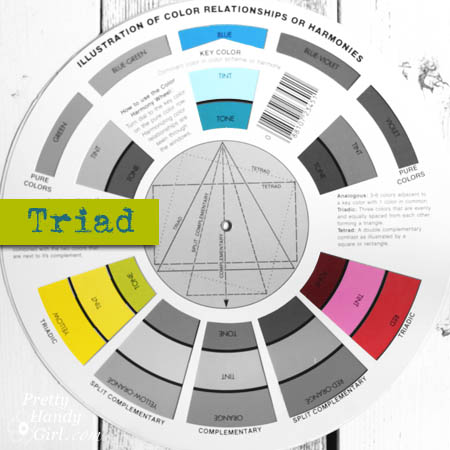
How to Choose Colors in Your Home | Pretty Handy Girl

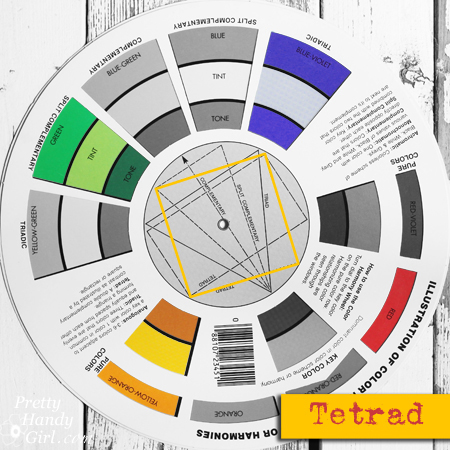
This bouquet my husband gave me for my birthday is a wonderful example of a Tetrad palette at work.

Tetrad Color Hamonies Split Compliment Color Palette | Pretty Handy Girl

The four colors (red/yellow/blue-violet/green) are equally spaced on the color wheel. Using all these colors in a room design can be gorgeous, but you should choose one main color and a secondary color that will dominate and let the other two colors take up less visual space. As an alternative, you could balance the bold colors with a large amount of a neutral color(s) as shown in the dining room above.
Tetrad Color Hamonies Split Compliment Color Palette | Pretty Handy Girl

Monochromatic:

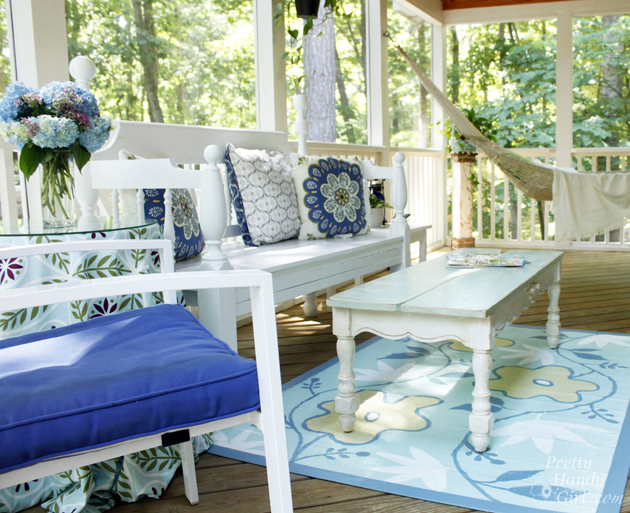
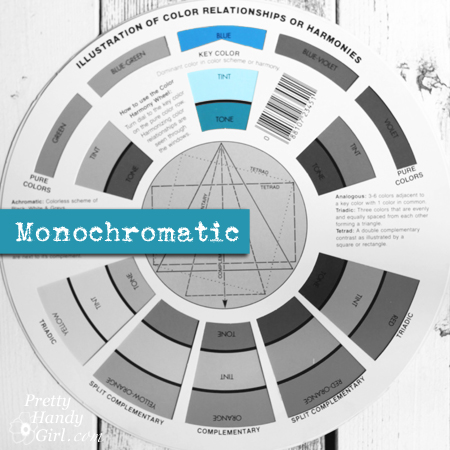
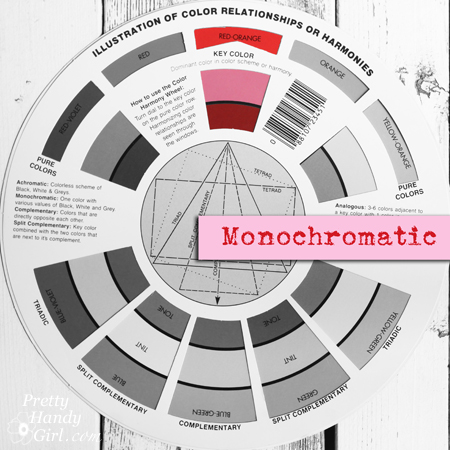
After explaining some complex color relationships, I wanted to leave you with a very simple palette. The monochromatic palette is comprised of one color used throughout a room with differing values (shades of that one color achieved by adding white or black.)
How to Choose Colors in Your Home | Pretty Handy Girl

My screen porch has a monochromatic palette. Using a variety of shades of blue with white creates a calming palette that’s easy on the eyes (and invites one to sit for a while and relax.)
Monochromatic Palette | Pretty Handy Girl

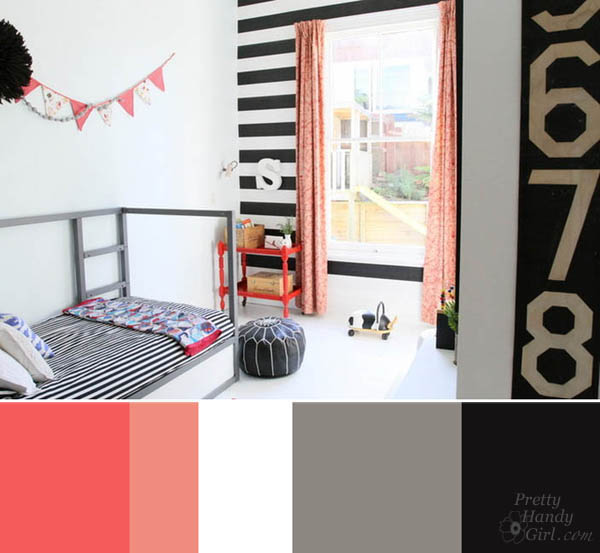
For a little more punch, you can pair one color with black and white.
How to Choose Colors in Your Home | Pretty Handy Girl
Photo Courtesy of MintSix Boutique Homewares and Styling in New Zealand

Mint Six Boutique creates a beautiful example of a monochromatic palette with several shades of red and coral in this bedroom.
Monochromatic Palette | Pretty Handy Girl

The coral color steals the show, but is highlighted by the contrasting black and white in the room. Using strong contrasts in your home are sure to create visual impact.

Where to Get a Color Wheel:

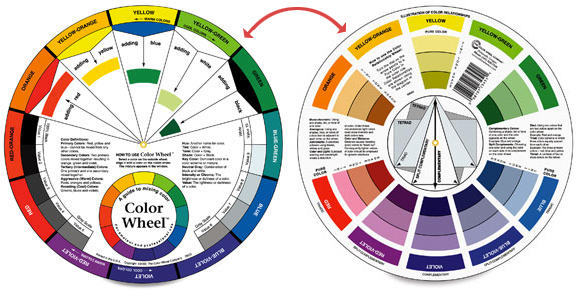
Creating new color palettes is easy if you use a color wheel. You can purchase a color wheel on Amazon for less than $10! Once you have one, you can use it to choose colors for a room palette, coordinate your outfit for a big event, tablescapes, logo design and much more.
Artists Color Wheel | Pretty Handy Girl

Before you have one of these great color tools on hand, you can visit ColourLovers. It is a website that allows you to browse color palettes:
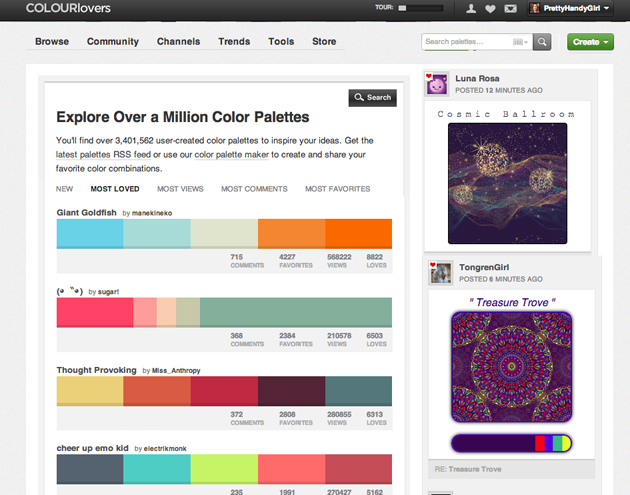
ColourLovers.com | Pretty Handy Girl

(Feel free to follow me on COLOURlovers, as I upload my new favorite color palettes.)

Or you can create your own palettes. One of the best tools on their site is Copaso (found under tools). You can use it to upload pictures and/or create color palettes from scratch. To see suggested complements and harmonies, select one of the buttons below the color wheel.
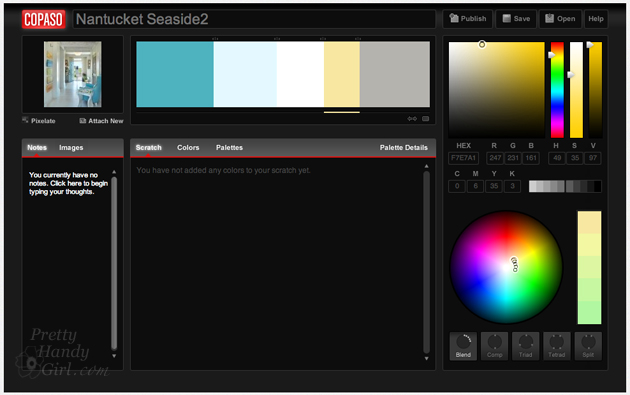
Copaso color palette | Pretty Handy Girl

Find photos that have color palettes you love (Houzz and Pinterest are two great places to start). Then upload the photo in the Copaso program. The program lets you pixelate the photo so you can select exact colors (you can also fine tune the hue and value until you reach your desired color.)
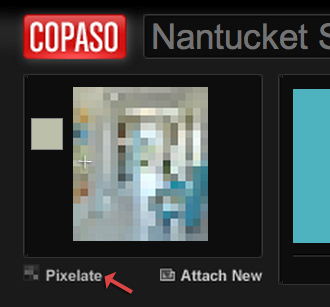
Copaso Pixelate Picture | Pretty Handy Girl

I uploaded this beautiful seaside home from Houzz to create a new palette of seaside colors that appeal to me:
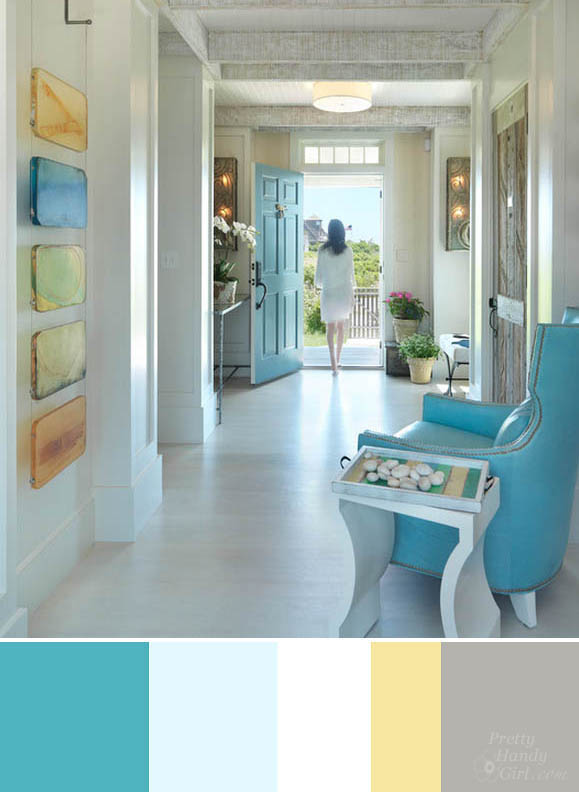
How to Choose Colors in Your Home | Pretty Handy Girl
Photo Courtesy of Donna Elle Seaside Living in Nantucket, MA

Next time you are thinking about shopping for home decor, paint colors or furniture, have a plan before you go. Use color harmonies and complements to help you solidify your color palette. Planning ahead will help avoid that overwhelmed feeling.

Pin this post to refer to next time you are trying to figure out good color harmonies!

How to Choose Color Harmonies | Pretty Handy Girl

Enjoy picking fabulous color palettes from now on!

PHGFancySign