I’m back with another watercolor flower painting tutorial. Learn how to paint lavender (an easy flower to paint!)
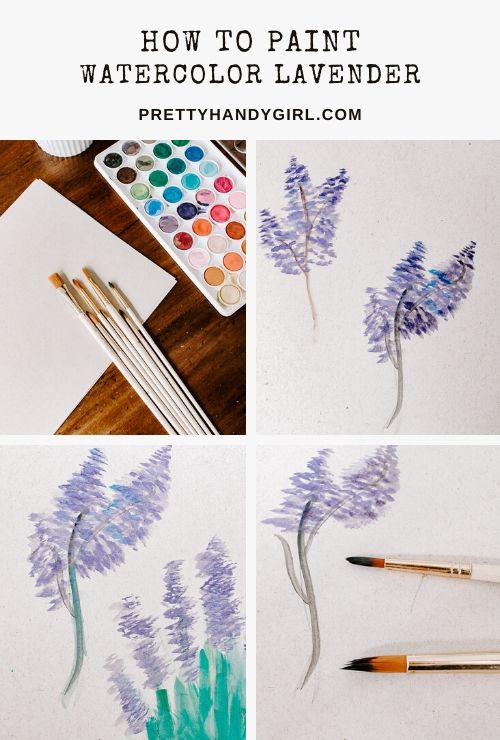
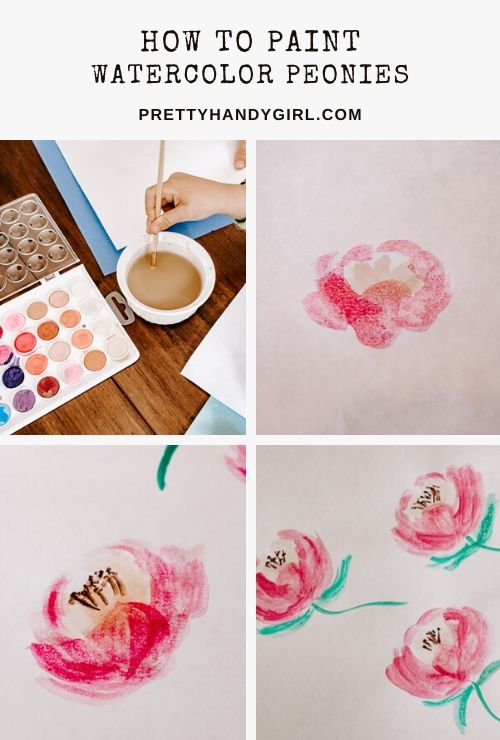
How to Paint Watercolor Lavender
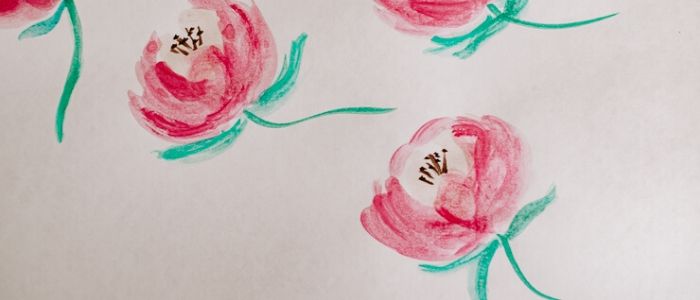
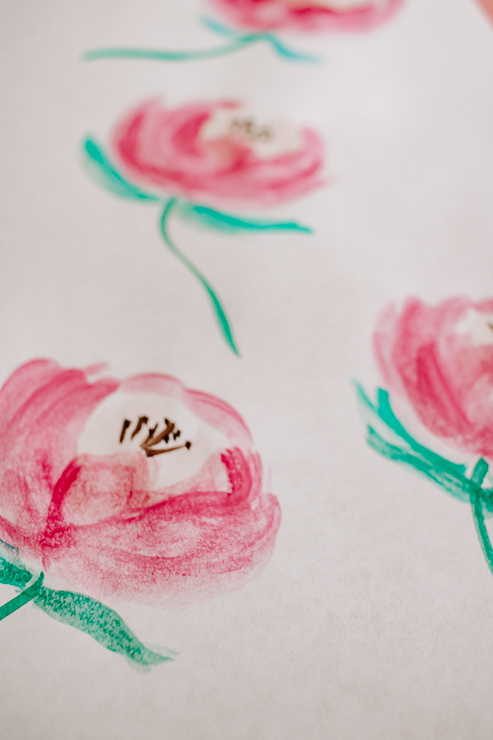
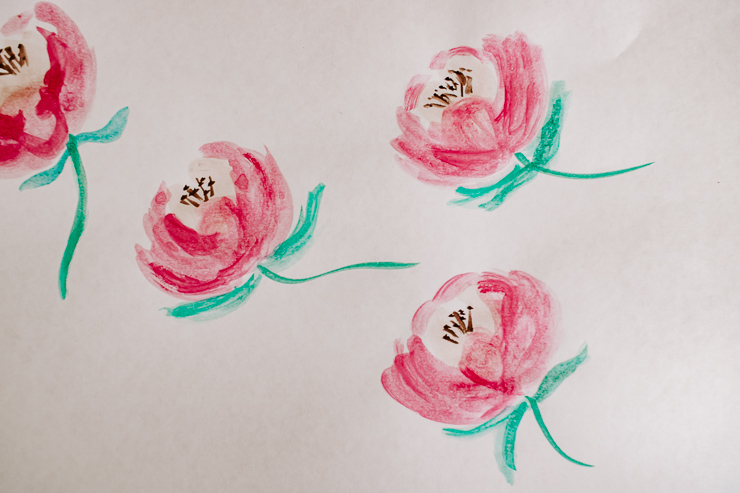
I thought it would be fun to continue on with our watercolor summer flower tutorials! Last month, I taught you how to paint pretty pink peonies. For this month’s tutorial, you’ll be learning how to paint an even easier flower – lavender!
Lavender was one of the first flowers I attempted to paint when I started with watercolors. It’s literally a few straight-line stems and some stippled brush dots and you’re done. I’ll give you all the details below.
Let’s get to it!
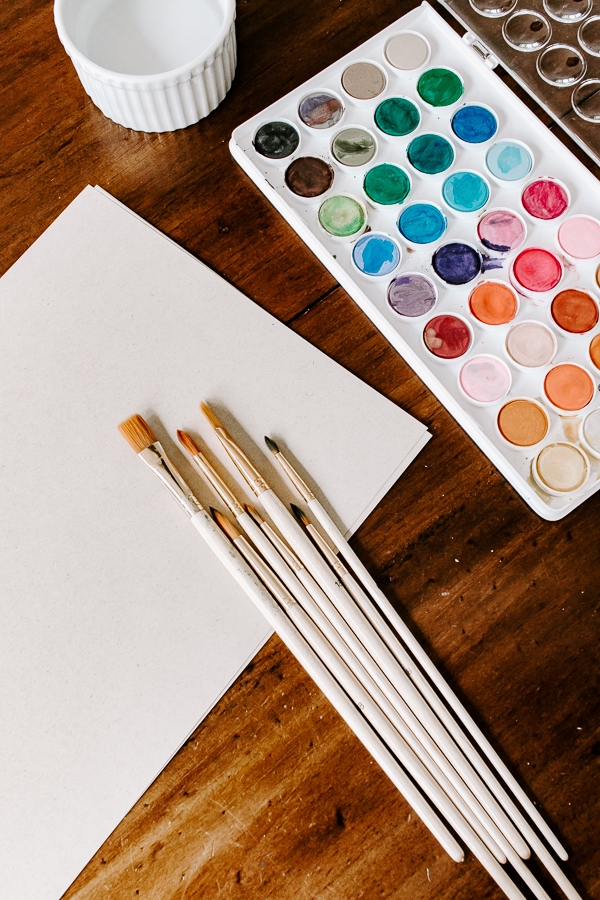
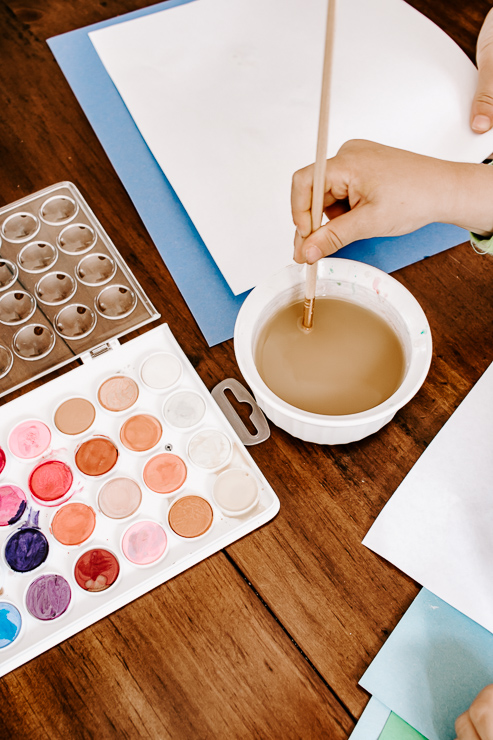
Materials:
(I’ve included affiliate links for your convenience. I earn a small percentage from a purchase using these links. There is no additional cost to you. You can read more about affiliate links here.)
- Watercolor Paint
- Water
- Paper Towel
- Watercolor Paper
- Brushes
Instructions:
Let’s make some lavender! Once you get the hang of these flowers, feel free to use different colors. Let your imagination be your guide.
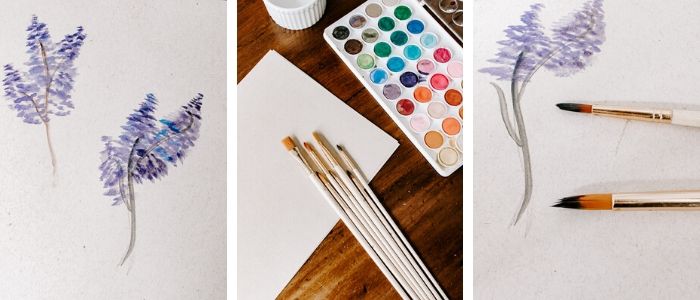
Step 1: Create the stem
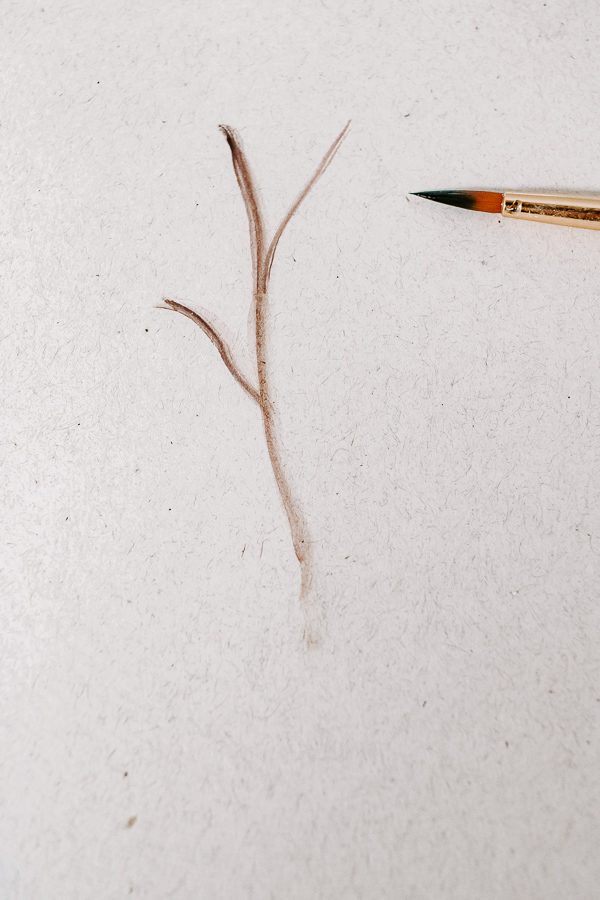
I’m using a small brush here and a brownish-black color. (Feel free to add some green if you like.) Use the tip of the brush to create a series of lines all coming to a single point at the bottom, like a stem. If your stem ends up too light, just add more watercolor paint and go over the line again.
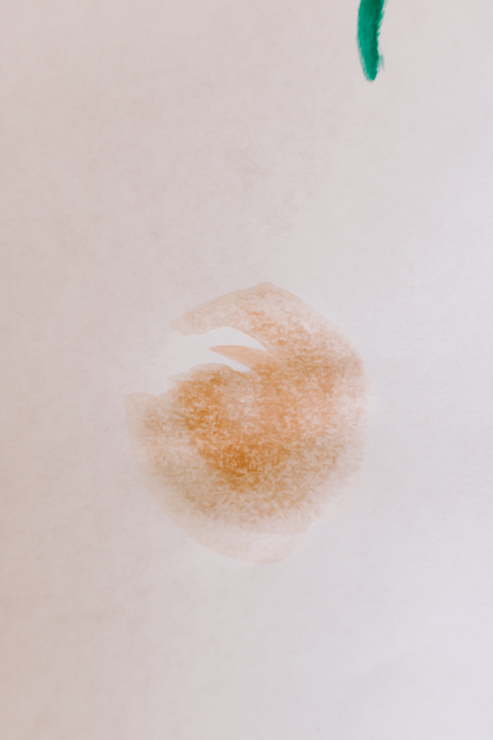
Step 2: Create the lavender petals
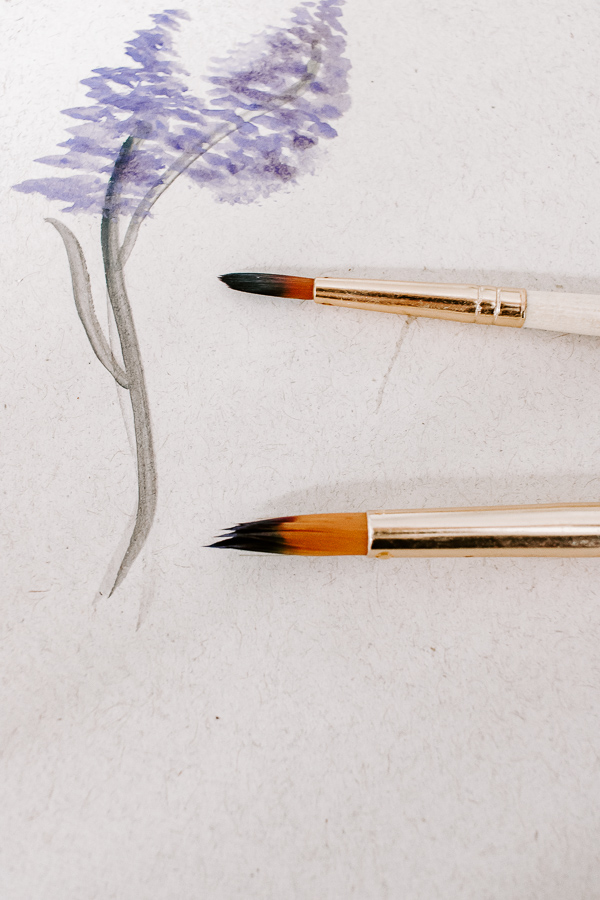

Remember when I said these are one of the easiest flowers to paint? You won’t even believe this!
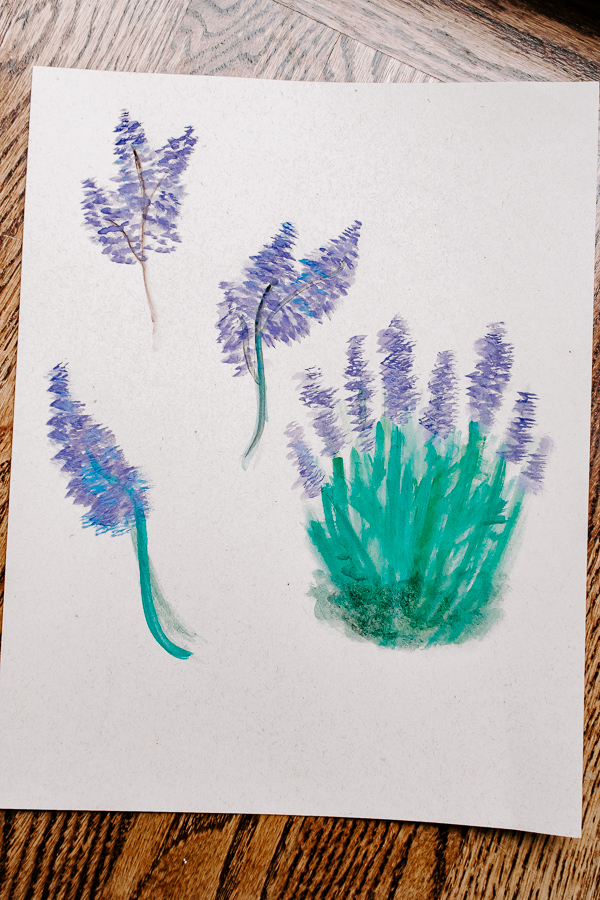
All you need to do is grab a medium-size brush. Add a little purple watercolor paint. Using the side of the brush, dot it along each stem (called stippling in the art world). Start narrow at the top and go a little wider towards the bottom. You’ll start to see the makings of your lavender! Imperfection is good here.
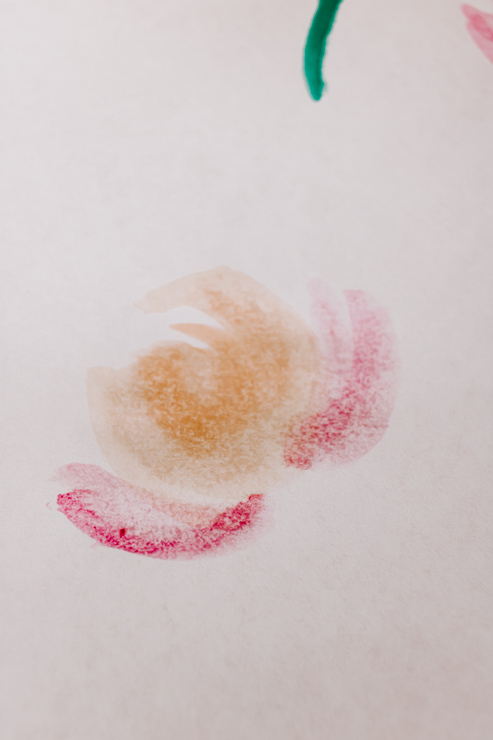
Step 3: Add some dimension
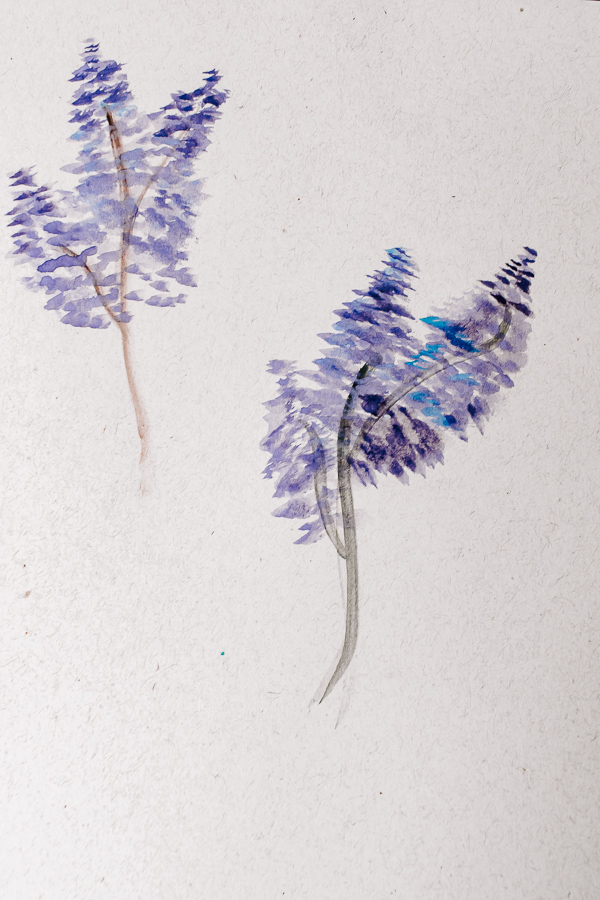
Now we want to add in a little dimension. Load up your brush with dark purple or blue watercolor paint on your brush. Create more stippled side brush marks as we did in Step 2. This will darken your lavender and create some depth.
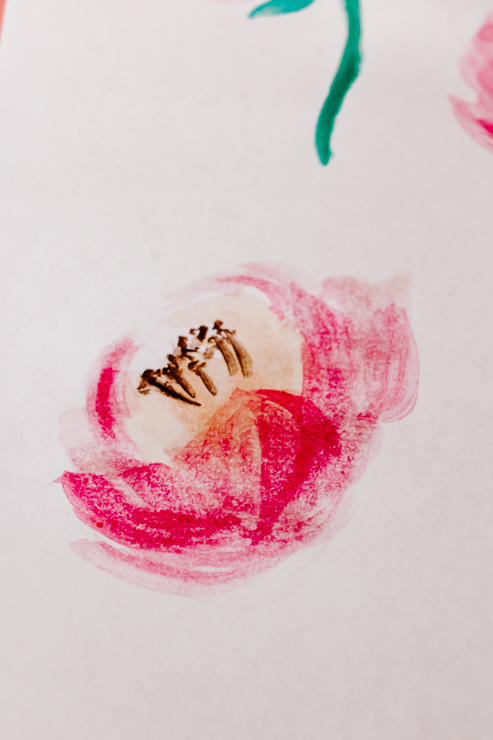
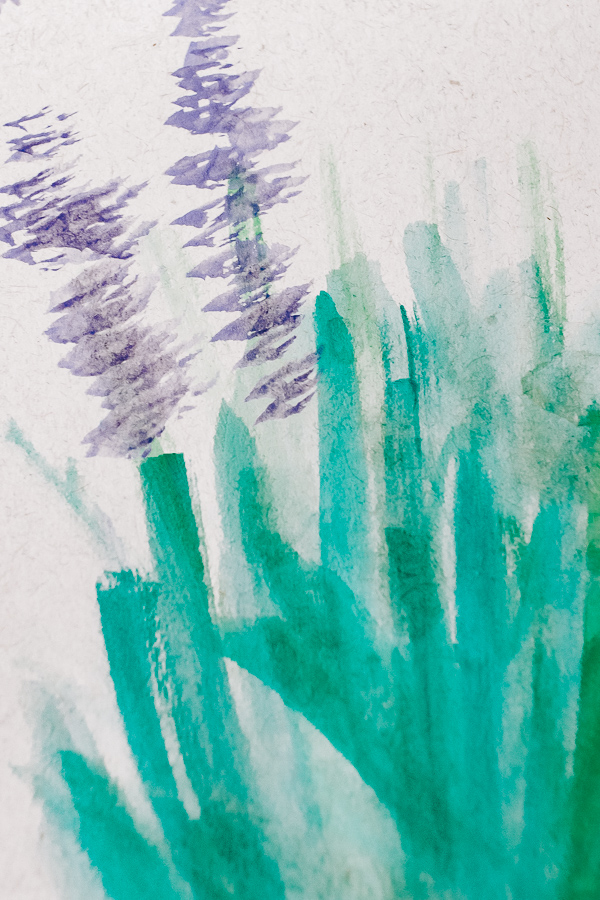
Another variation that you can create is a bushy lavender plant. Instead of starting with a stem, create a series of green lines as your lavender bush. Paint the watercolor lavender at the tops of these lines. Then darken the bottom of the plant with a darker green to create some depth.
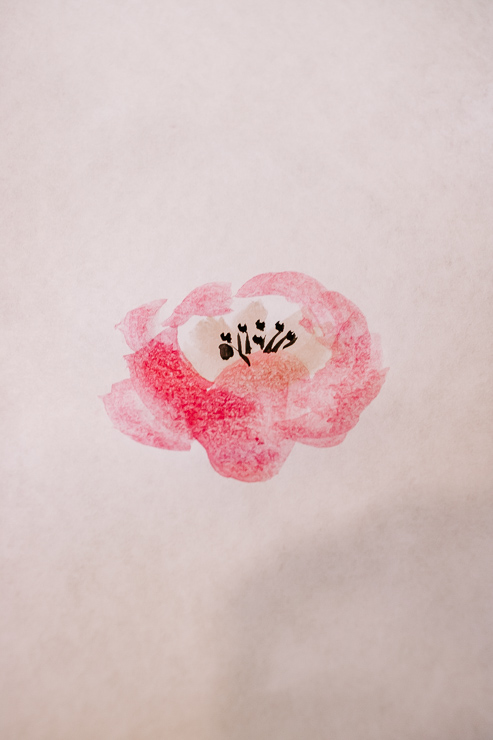
And that’s it! I hope you enjoyed this tutorial for painting watercolor lavender.
Next month, I’ll show you another watercolor tutorial. Pretty soon, we’ll put together all our flowers into one giant piece of floral art ready for framing. See you next month!

~ See More of Karen’s Tutorials ~
![]()
 Hello! I’m Karen, the creator of the Home Decor and DIY Blog: Decor Hint. I’m a Native of the East Coast, but I currently live in beautiful Seattle with my hubby, our two wonderful children, and our spunky wheaten terrier.
You can usually find me with some sort of craft in one hand and a coffee in the other. And I’m always rearranging furniture or moving lamps from room to room. I have a passion (read: obsession) for decorating, DIY, and gardening. In short, I love making my house into a home.
Like many, I’m inspired by what I see in home decor magazines, but I’m not so inspired by the price tags. Consequently, I love finding and creating beautiful budget-friendly home decor items. In a head to head competition, I bet you’d never know the difference between the designer items and my DIY creations! Many of my DIY projects focus on sewing, crafting, upcycling and organizing. Some of my favorite projects have been making pretty wreaths, sewing my own tassel hand towels, and crafting these trendy wood bead garlands. I can’t wait to inspire you and spark your creativity through my DIY projects.
You can always connect with me on Pinterest, Twitter or Instagram.