I hope everyone had a lovely Holiday and a thought-provoking New Years. Thought-provoking? Well, I always find myself thinking more than usual around New Years. How about you? I think about the past year and the year to come. And, like most people around this time, I think about any goals I want to achieve in the New Year. I’m sure you can relate to wanting to declutter. Welcome to the Declutter Challenge for 2020.
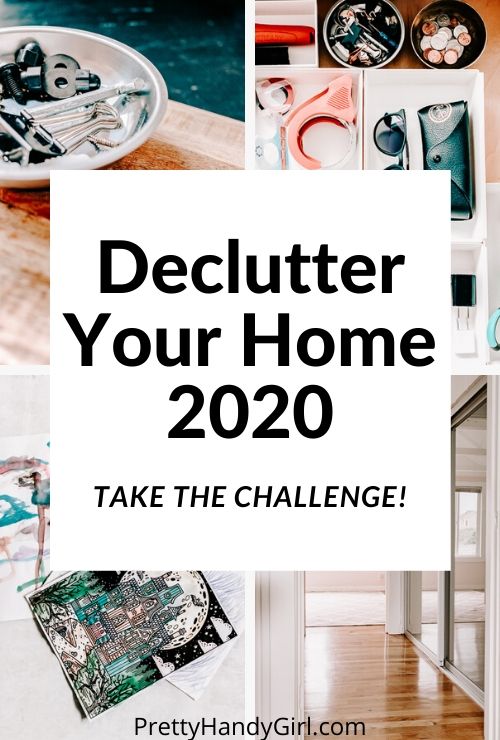
Declutter Challenge for 2020
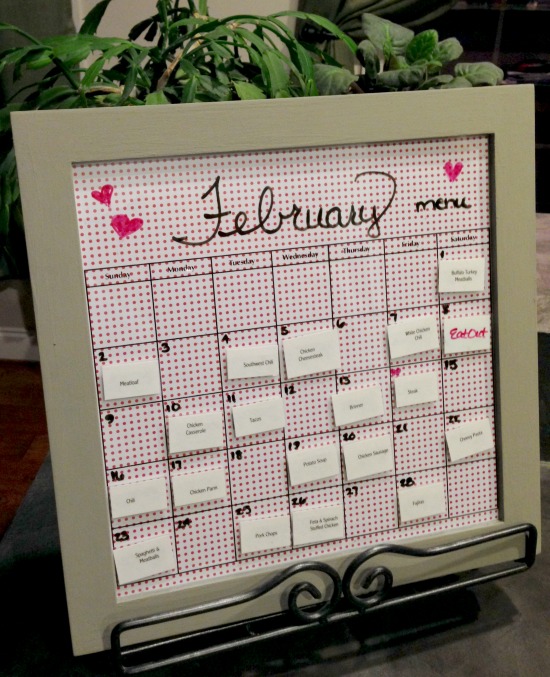
I know a lot of us strive to be tidier. To clean our house, clear the clutter, and get more organized overall. I think the New Year is a great time to do this. In fact, it’s one of the first things I do every new year. I start purging with the Christmas decorations, as I’m taking them down to be put away. Any decorations that didn’t get used, and are not precious to me, get donated. I do this every year and my Christmas decor stash has stayed very manageable this way.
But that’s just one example. Today, I want to share with you a little declutter challenge that we can do together.
In this free printable pdf, you will find a list of areas to clean out each day. Feeling more motivated? Feel free to tackle two or three areas a day! Don’t forget to check the box when you have completed cleaning and organizing an area. And make sure to pat yourself on the back!
I also wanted to share a few tips to help you along the way in this decluttering challenge.
How to Declutter Your Home
Before you start on any area, collect three things:
- a trash bag,
- a box for donations
- an empty laundry basket
Any items to throw away will go into the trash bag. Any items that should be donated, can go into the box. Lastly, any items not where they belong get put in that empty laundry basket to be put away later.
If you need an extra push, check out my list of 59 things you can get rid of right now.
Paperwork
The best way I found to tackle all that paperwork is to digitize it. You don’t have to create any elaborate systems. Simply switching to online bill pay and paperless billing will help a lot. Reduce mail by getting yourself off those junk mail and catalog lists! You can easily remove yourself using this free service on the Catalog Choice website.
Keep one small area designated for paper mail, and make it a point to go through this pile weekly. Keep a paper shredder handy so you can securely dispose of papers as they come in. It’s usually not necessary to keep product manuals and menus, most of these can be found online these days. Just recycle them and use the space for something else.
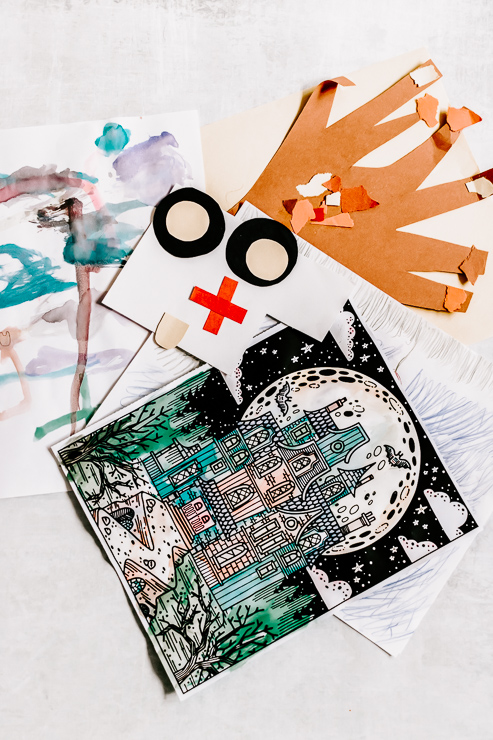
What about kids artwork? My philosophy has always been to keep the favorites and display them proudly (but recycle the rest.) You can display them as a lovely gallery wall of framed prints that your children created. There are also services like ArtKive that create a memory book or collage print of all their artwork for you.
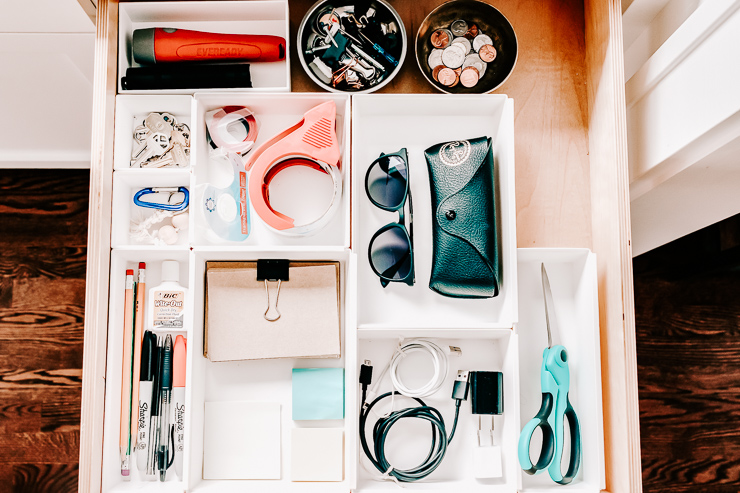
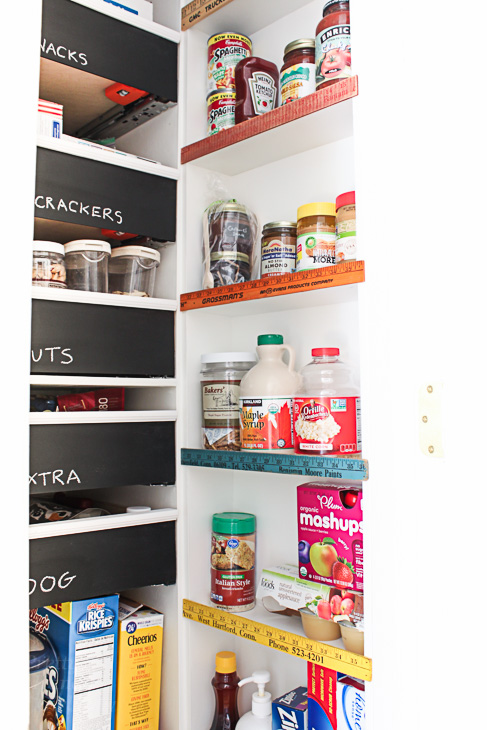
Junk Drawer
Things are much easier to keep organized when we don’t have a lot of things. When you go through your junk drawer, keep only the bare minimum of items needed. Few of us really need twenty five pens and three staplers in one drawer. Use drawer organizers to keep items corralled in their own spaces.
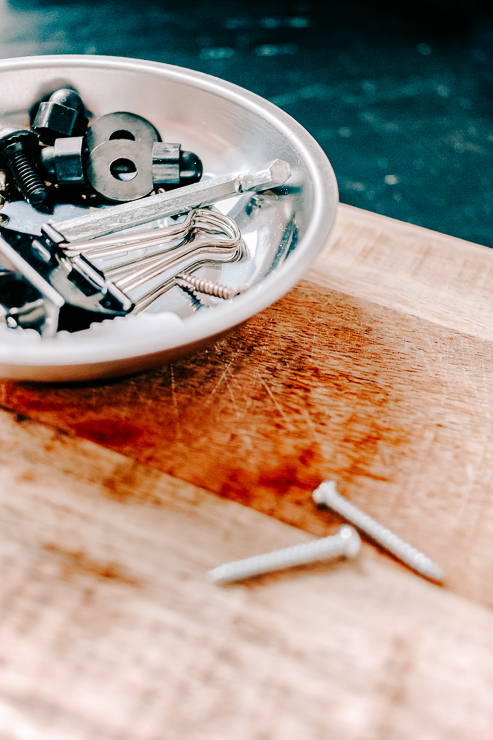
I also love using those magnetic parts tray. They’re perfect for keeping those loose screws, paperclips, binder clips, and the like together and not rolling around in your drawer.
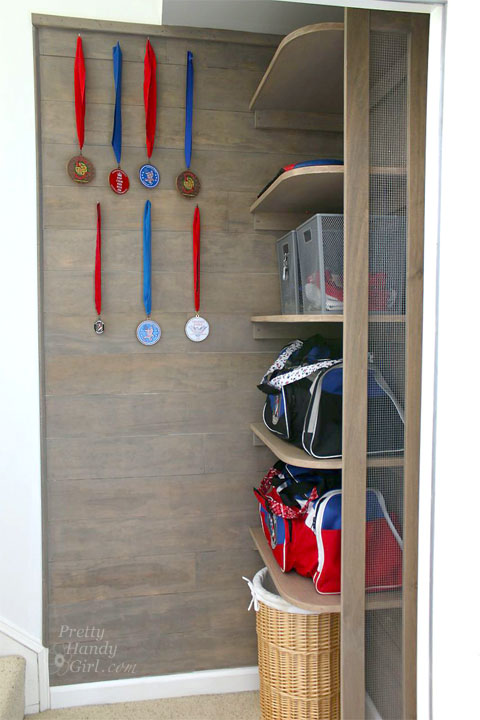
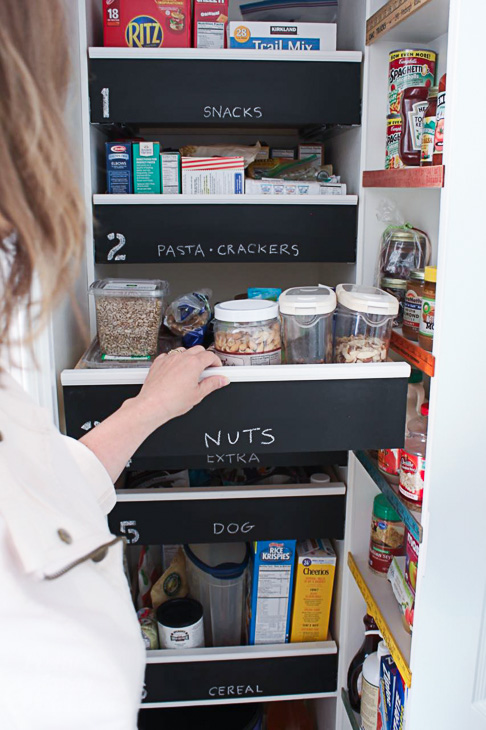
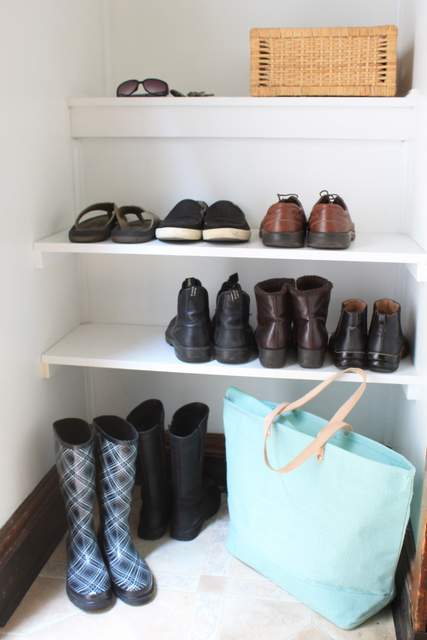
Closets
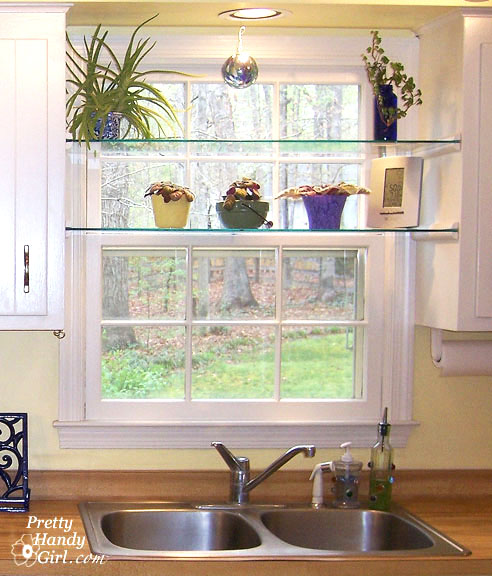
Closets tend to take up the bulk of our decluttering time. For most closets, I find it best to take everything out of the closet to see what you have. This is where you really need to be honest with yourself. Only keep those items that you really love. I don’t recommend saving clothing for the “ifs or maybes in the future.” Only keep what you wear now, the exception being formal wear and business attire. Shoes are another biggie here! It’s amazing how many pairs of shoes we can accumulate over time.
Where to Donate
We are probably all familiar with Salvation Army and Goodwill. Here are some additional ideas for donating your things to those in need:
- Your local library will sometimes accept book donations.
- Veterinarian offices are usually in need of old towels and sheets for pet beds.
- Habitat for Humanity ReStore accepts used appliances, household goods, building materials, and furniture.
- Local Shelters, Food Banks, and Churches
- Hospitals, Police, Fire Departments, and Daycare Centers will accept used toys.
- Local Schools will sometimes have seasonal clothing drives aka Coat Collections.
Don’t forget your donation receipt when you drop off your goods. These receipts help you save money on your taxes the next year.
So it’s official! Consider this challenge your excuse to declutter! Even if you end up crossing off just a few of the areas on your declutter challenge printable, that’s still a great start.
Don’t forget to download and print your Declutter Challenge Printable Right Here!
For more organization tips and tricks, check out Love your Home, Not the Stuff – Taming the Clutter.
Here’s to a more organized 2020!

~ See More of Karen’s Tutorials ~

 Hello! I’m Karen, the creator of the Home Decor and DIY Blog: Decor Hint. I’m a Native of the East Coast, but I currently live in beautiful Seattle with my hubby, our two wonderful children, and our spunky wheaten terrier.
You can usually find me with some sort of craft in one hand and a coffee in the other. And I’m always rearranging furniture or moving lamps from room to room. I have a passion (read: obsession) for decorating, DIY, and gardening. In short, I love making my house into a home.
Like many, I’m inspired by what I see in home decor magazines, but I’m not so inspired by the price tags. Consequently, I love finding and creating beautiful budget-friendly home decor items. In a head to head competition, I bet you’d never know the difference between the designer items and my DIY creations! Many of my DIY projects focus on sewing, crafting, upcycling and organizing. Some of my favorite projects have been making pretty wreaths, sewing my own tassel hand towels, and crafting these trendy wood bead garlands. I can’t wait to inspire you and spark your creativity through my DIY projects.
You can always connect with me on Pinterest, Twitter or Instagram.
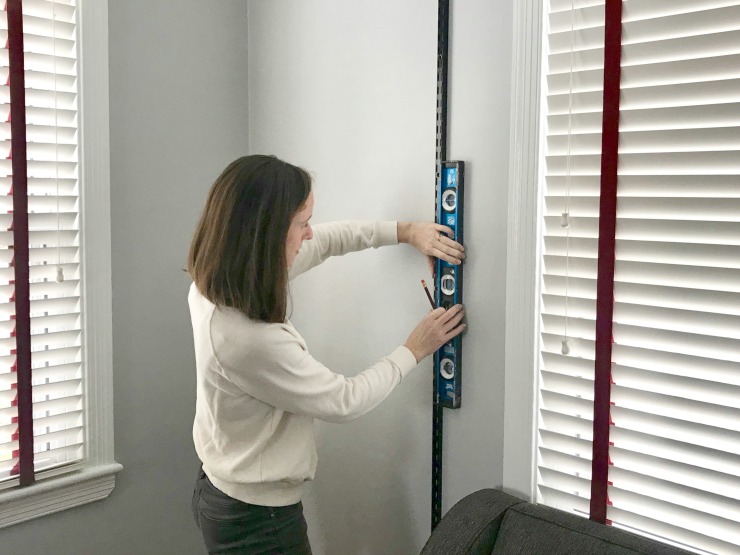


 Hi! I’m Lara, the creator of


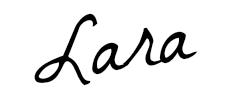
 Repurpose your space and turn a


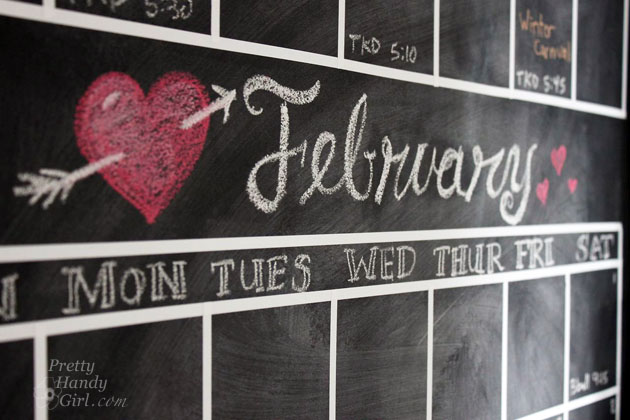
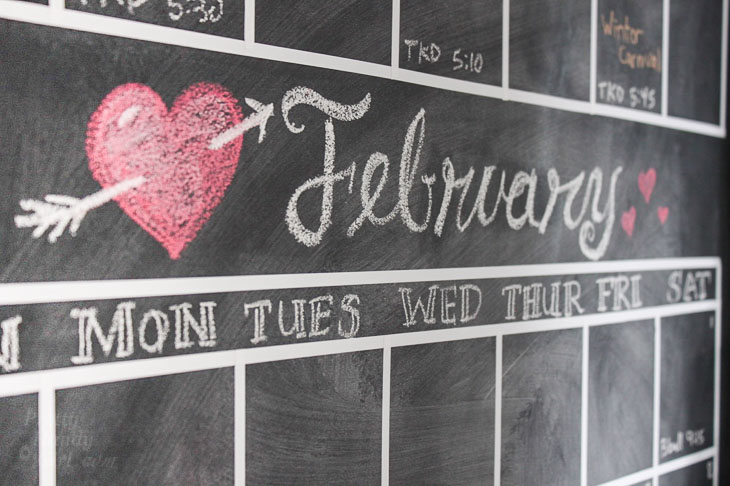
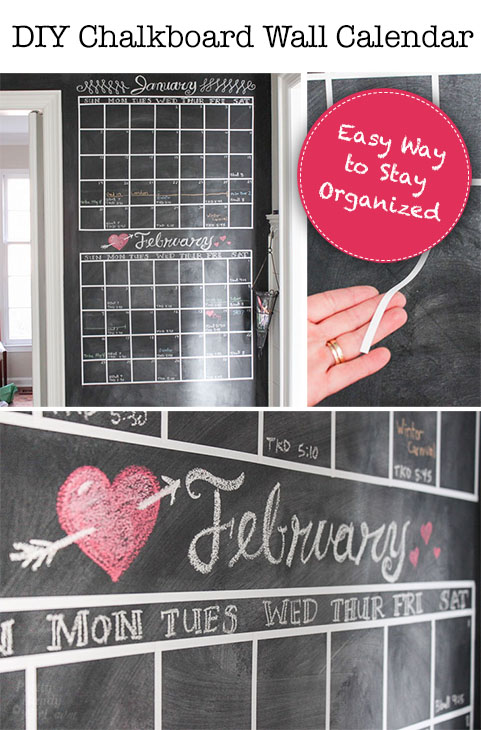 DIY Chalkboard Wall Calendar