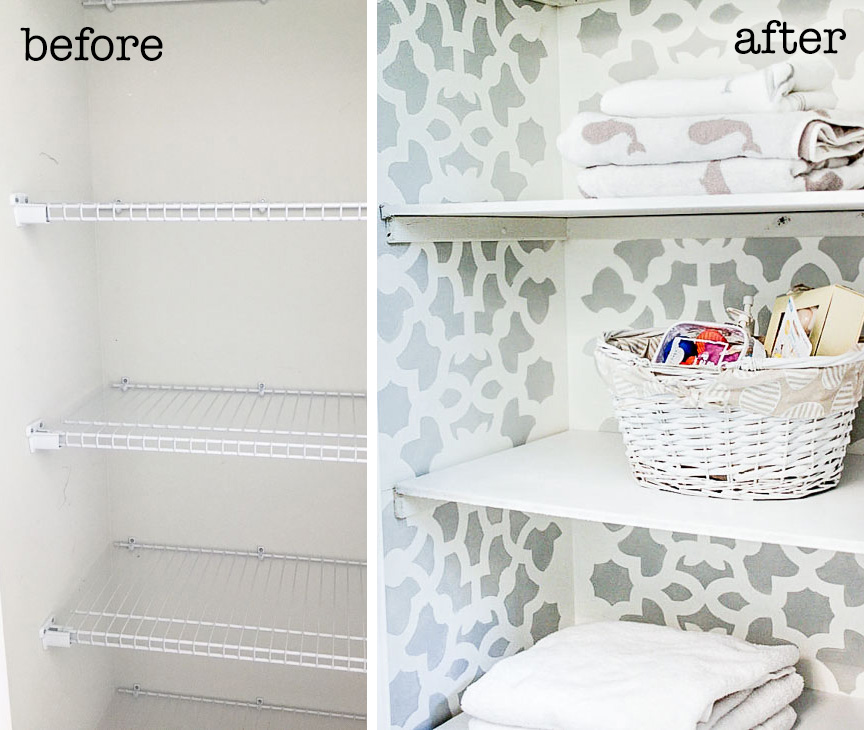
DIY Custom Closet Shelving
I don’t like wire shelving in closets! Who’s with me on this one? I am slowly replacing all the wire shelving at my daughter’s new home. As you may know, custom closets are super expensive. While researching “small closet solutions”, I found a way to transform a plain builder grade wire shelf closet into a custom stenciled closet!
Hi! I’m Maria from Simple Nature Decor here today to show you how to take a builder grade closet and turn it into your own custom dream closet!
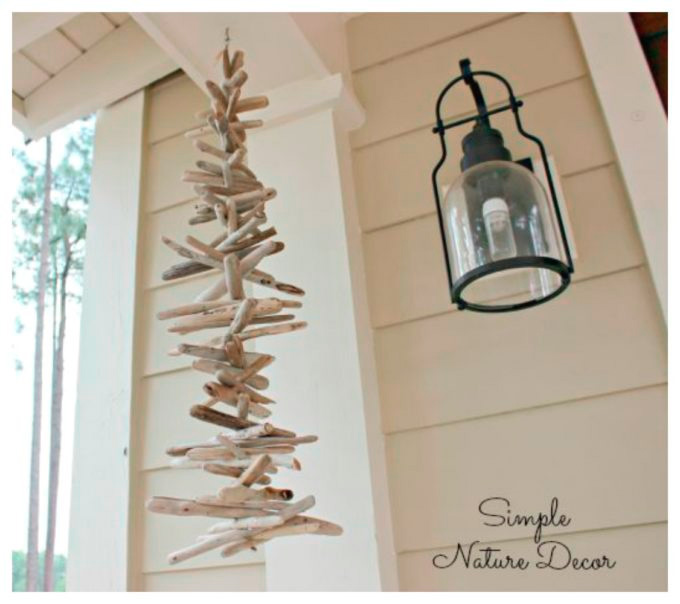
Usually I like to create with things I find in nature around my coastal Carolina home. My hanging drift wood chime was created from the driftwood I find on the local beaches. Because the weather is great most of the year, I work on many of my projects outdoors in the fresh air. I love painting furniture outdoors.
But, today I’m turning my talents inside to show you how to give your closet shelves a custom makeover for very little money. Ready? Great, here’s how to DIY Custom Closet Shelving.
Materials:
(I’ve included affiliate links for your convenience. I earn a small percentage from a purchase using these links. There is no additional cost to you. You can read more about affiliate links here.)
- 1″ x 2″ x 8′ wood strip
- MDF wood for shelves
- Pliers
- Flat head screw driver
- Wall paint
- Joint Compound
- Foam roller
- Stencil
- Paint for stencil
- 2 ½” nails or screws
- Level
- Liquid nails
Instructions:
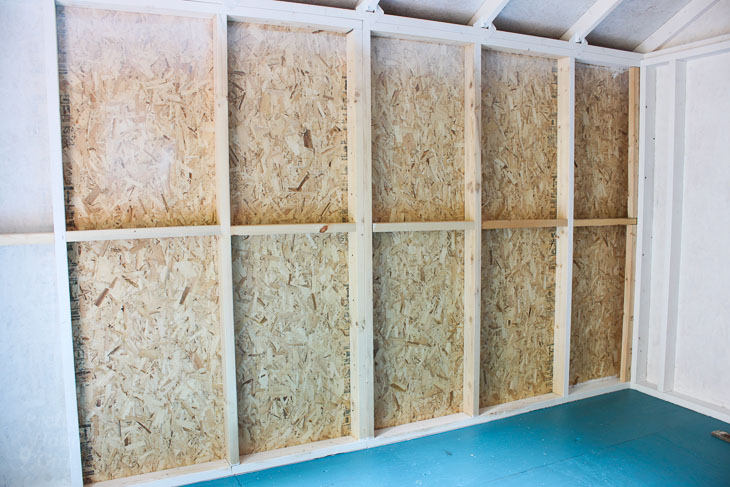
Remove those wire shelves.
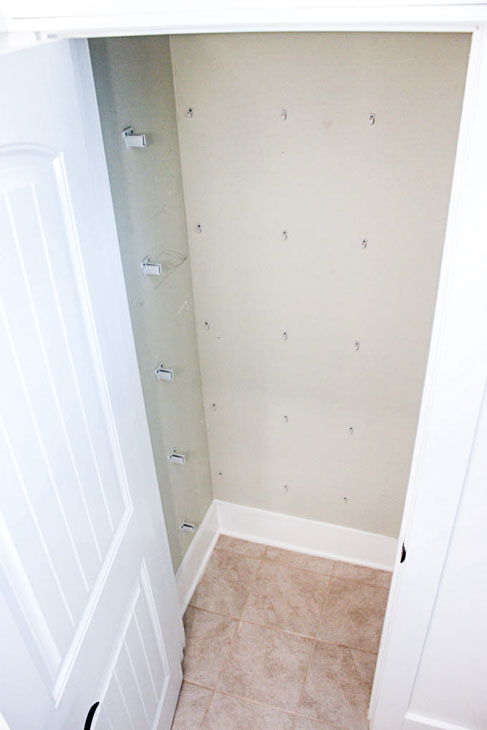
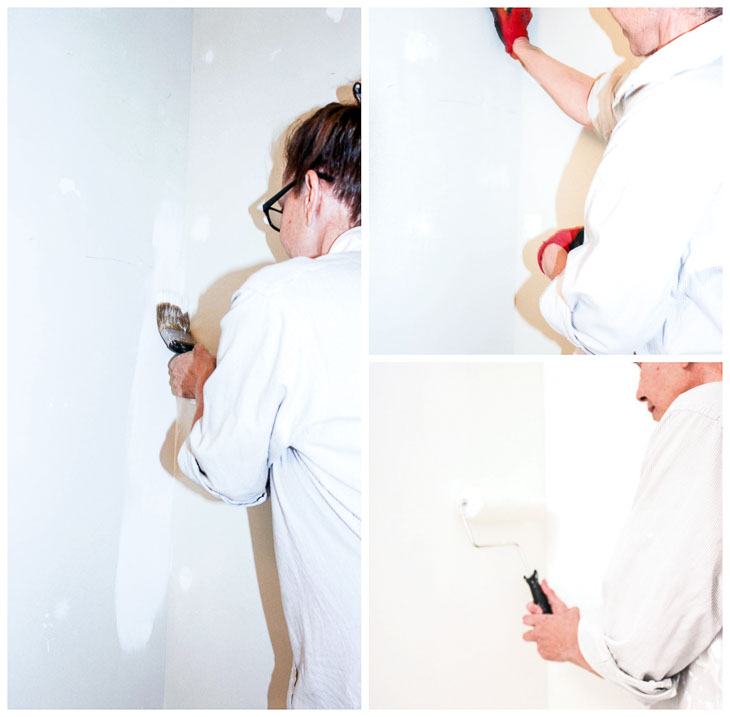
Step 1: Using a small flat head screwdriver, pull out the bracket nails. Then use the pliers to pull them completely out of the wall. All the holes will need to be plastered.
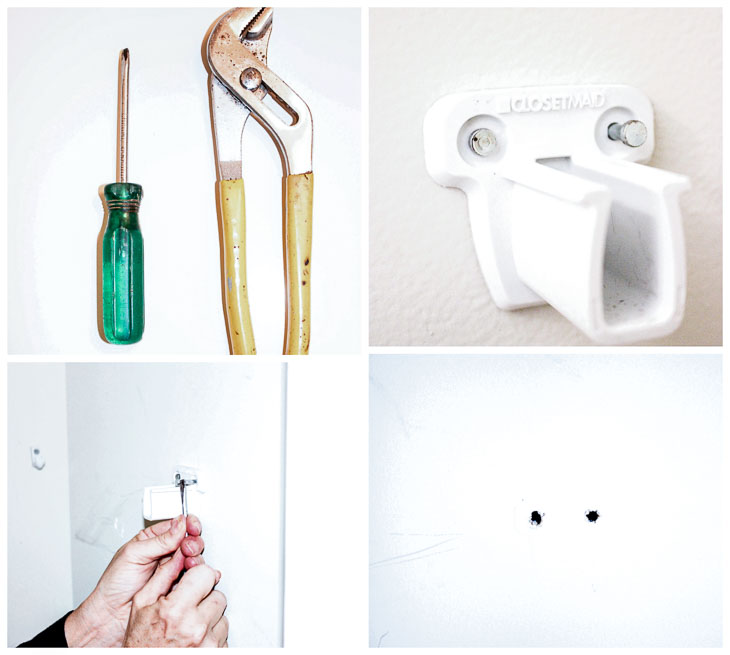
Step 2: Use joint compound (spackle) to fill the nail holes. You may have to use two coats. Spread one coat. Let it dry completely. Sand and repeat to get a smooth finish. Paint your closet walls.
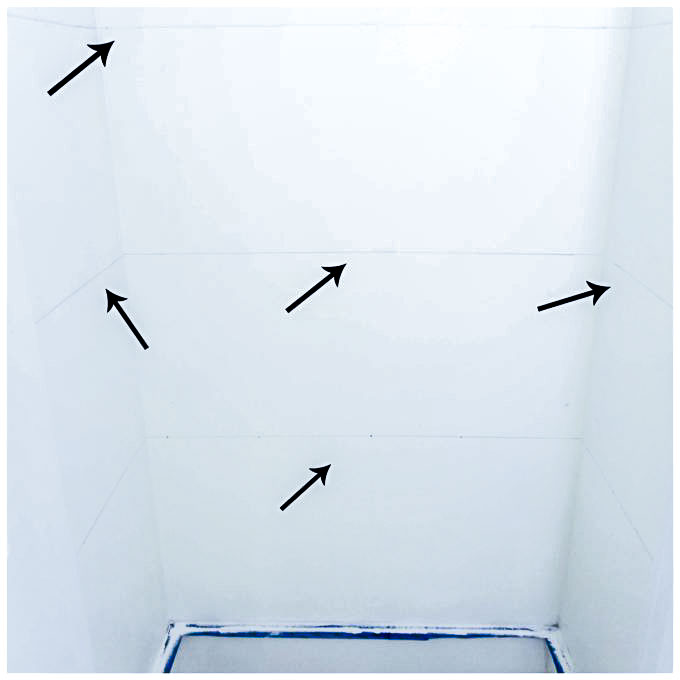
Step 3: Determine your shelf heights. (Tip: Use the same spacing as your wire shelving or measure the heights of items like baskets or products that will be stored on each shelf.) Use a ruler and pencil to mark shelf heights on the walls. Use a level to draw the lines on all three walls.
 Before adding the shelf supports, stencil the entire interior of the closet. Measure and line up your stencil in the center of the back wall. Use painter’s tape to hang the stencil. (We used this Moroccan style stencil.)
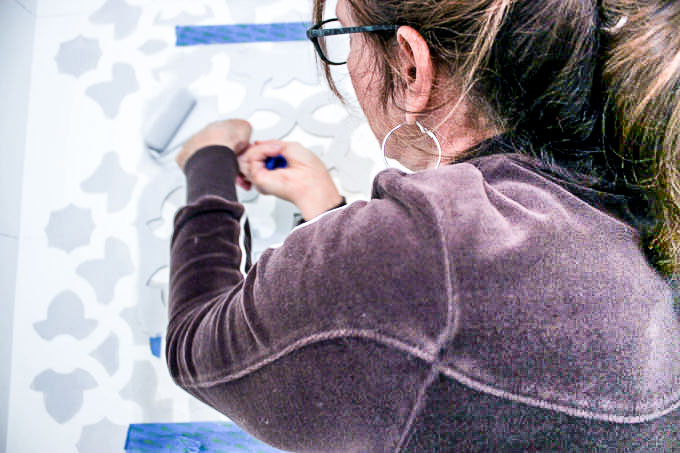
Use a small foam roller to paint over the stencil. Make sure to blot off excess paint by running your roller over a paper towel after loading it with paint. Otherwise, it will have too much paint and can bleed through the stencil. Remove the stencil and line it up with an adjacent section. Stenciling an entire closet will take patience, but the results will be a true work of art!
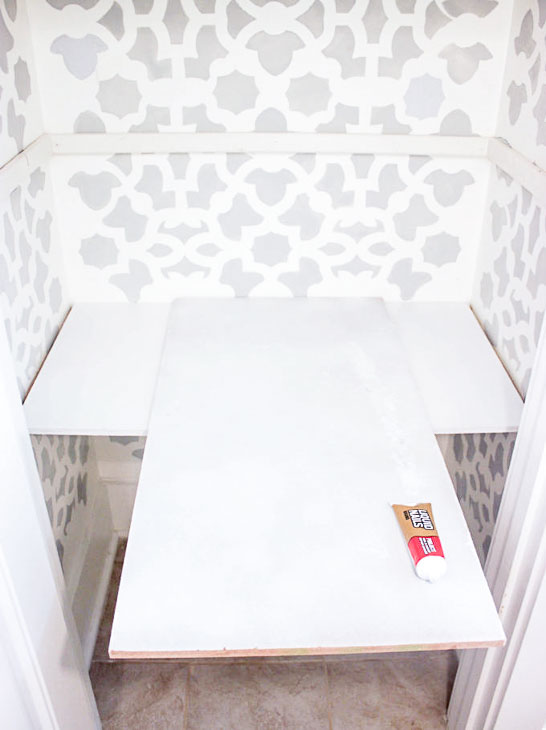
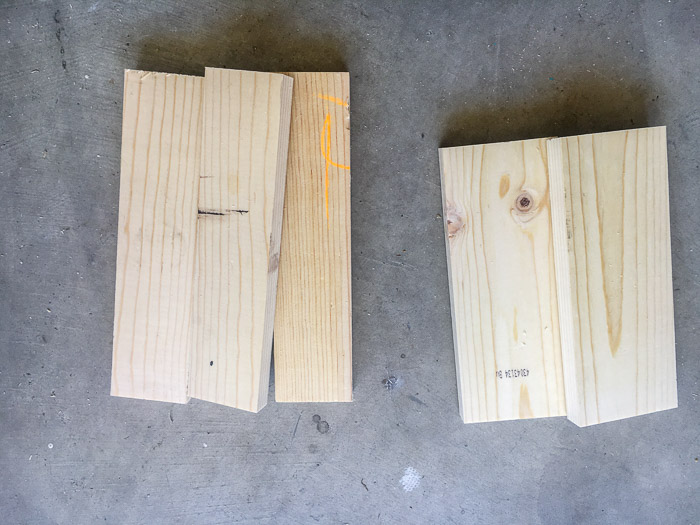
Step 5: Use (4) 1″ x 2″ x 8′ wood strips and 3 sheets of MDF wood. You can request to have the MDF wood cut to your closet measurement. (Tip: Take your width measurement and subtract 1/2″. Measure the depth of your closet and subtract an inch. This will compensate for any irregularities in your wall or door frame.)

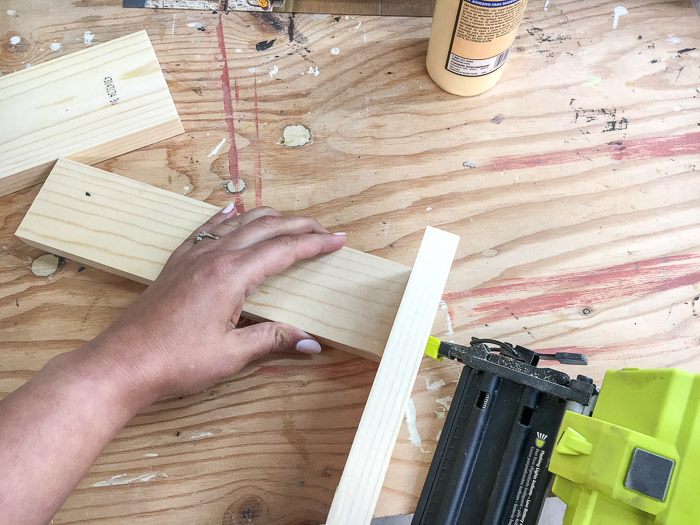
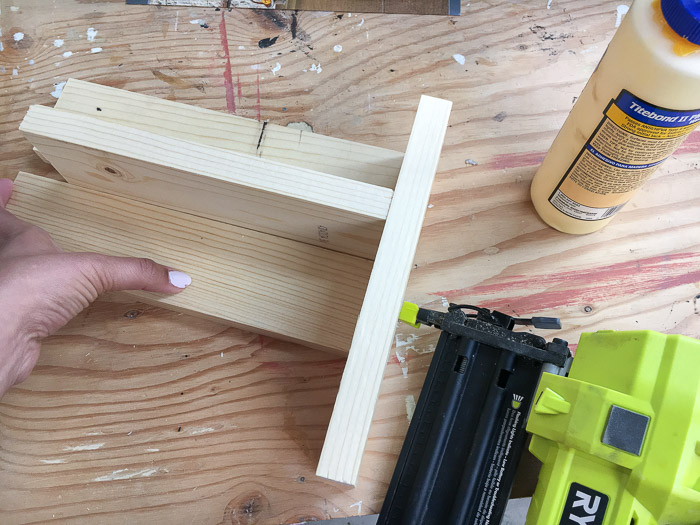
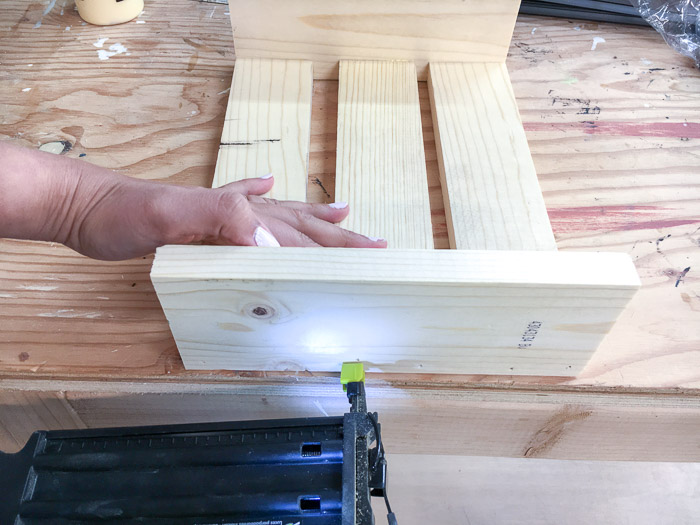
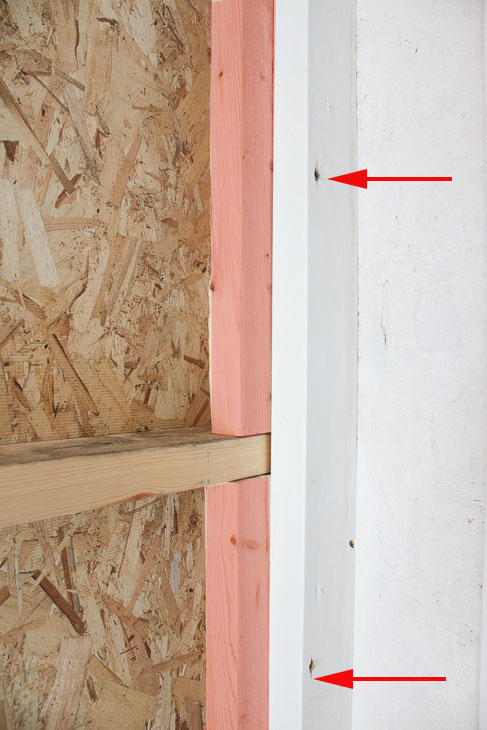
Cut the 1″ x 2″s to fit on each side of your closet. Hold the strips at the shelf location marks you made before stenciling. Secure the strips using nails or screws into the stud locations. (Having trouble finding the studs? Use one of these 5 Methods to Find a Stud without a Studfinder!) Repeat for each shelf. This will create the ledge to support each shelf.
Step 6: Paint your wood strips white to match the closet walls.

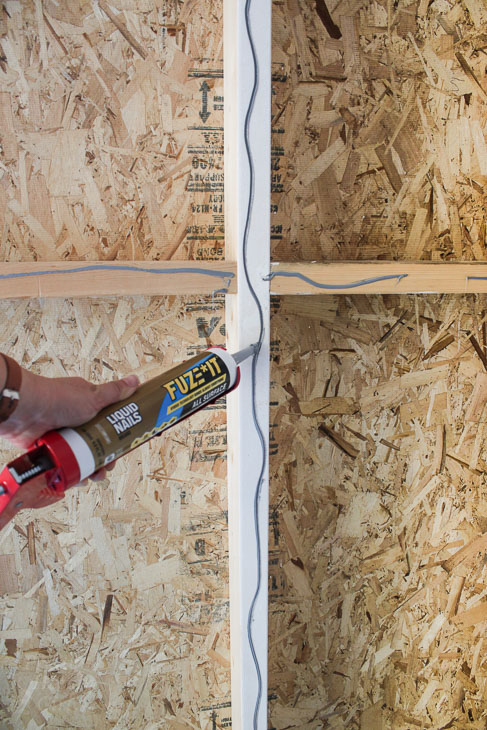
Step 7: Run a bead of construction adhesive along the top of the shelf support strips. Lay the shelves on top of the supports.
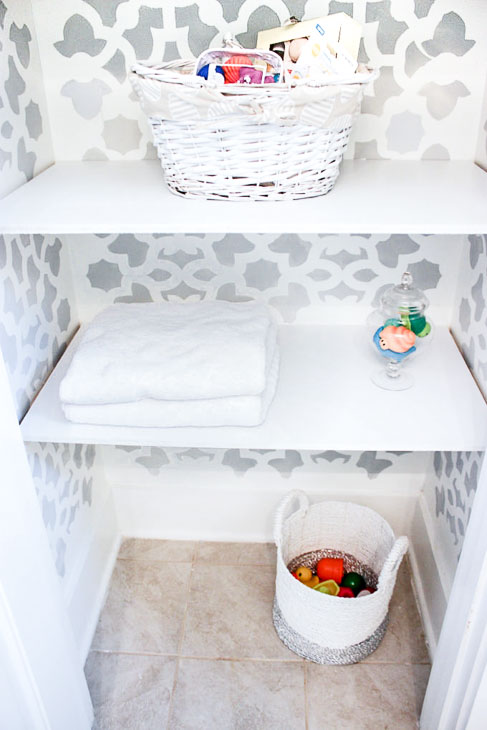
Load up your new custom shelving with items.

What a transformation! Do you like the new look?
Thanks for letting me share with you how to give your closet and storage shelving an upgrade!
Disclosure: Maria was provided with the stencil from Cutting Edge Stencils at no cost to her. All words and ideas are her own. She was not told what to write.
![]()
Hi I’m Maria and I’ve been a lover of nature for my entire life! Five years ago I created a blog called Simple Nature Decor. It’s about bringing what’s beautiful in nature into your home. I create nature-inspired decor ideas for the home. My home in coastal Carolina is filled with amazing elements that have inspired me to create some of my favorite DIYs. Come visit me at Simple Nature Decor!

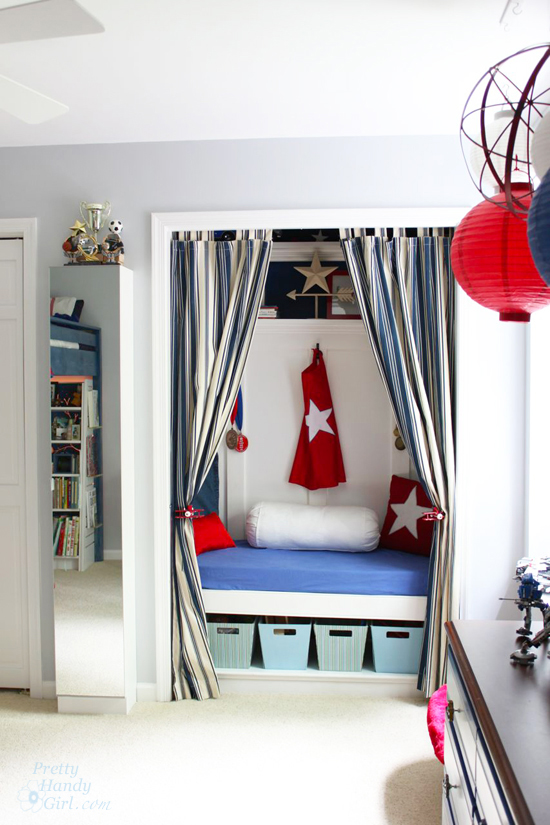
If you liked this tutorial. You’ll love reading how to turn a closet into a reading nook:
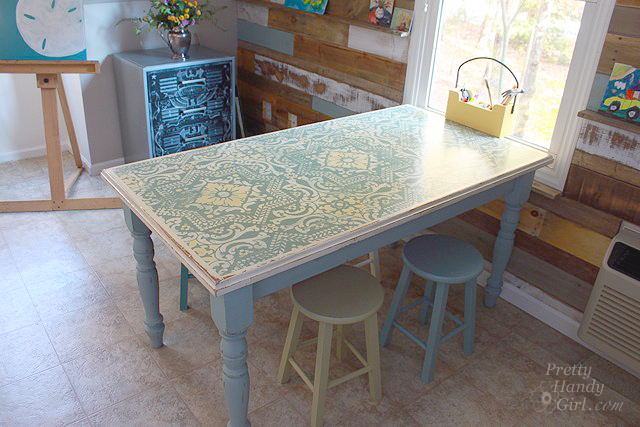
Or you might like to learn how to use a stencil on more than just walls, like on this dumpster-destined table:
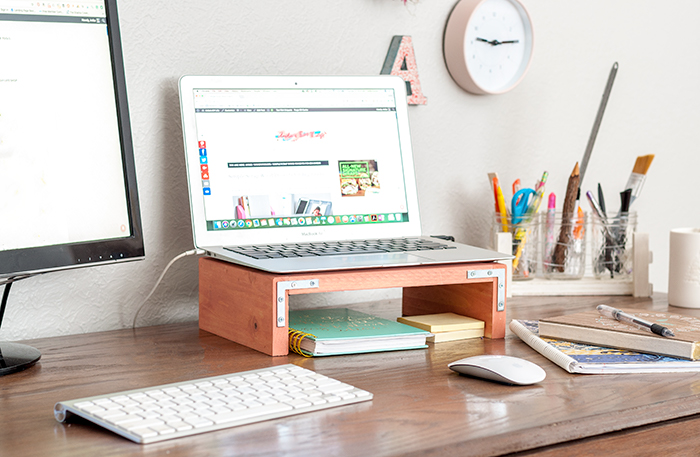


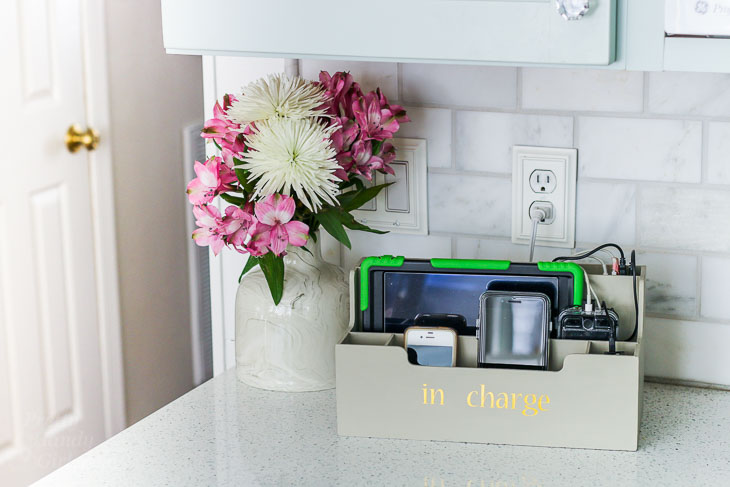
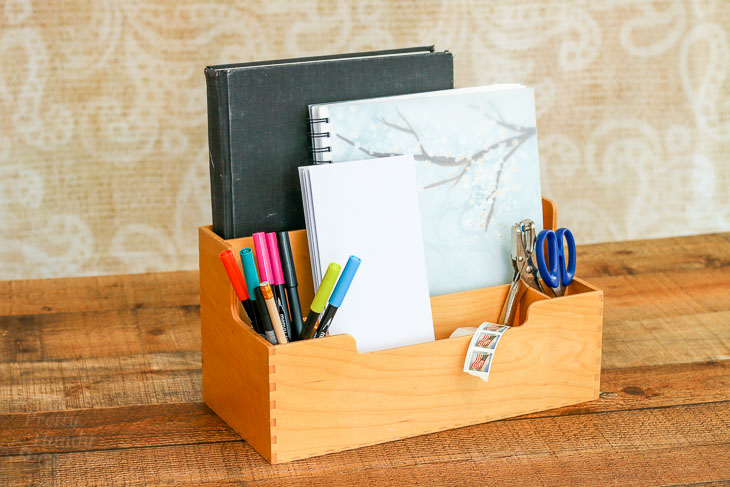
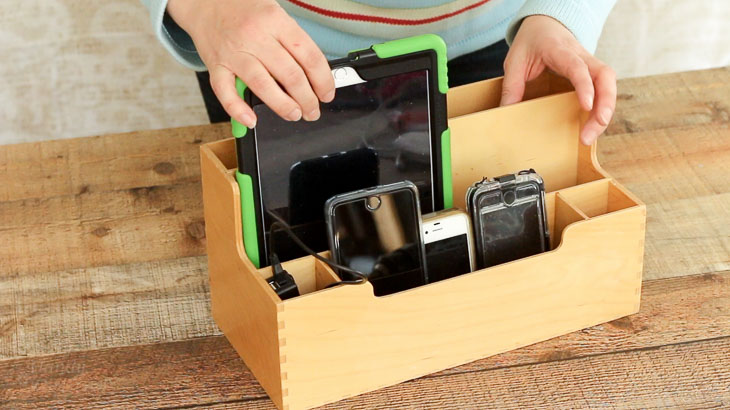
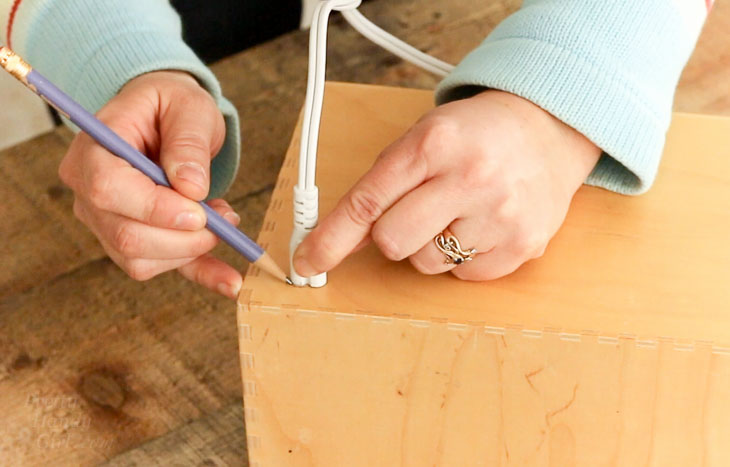
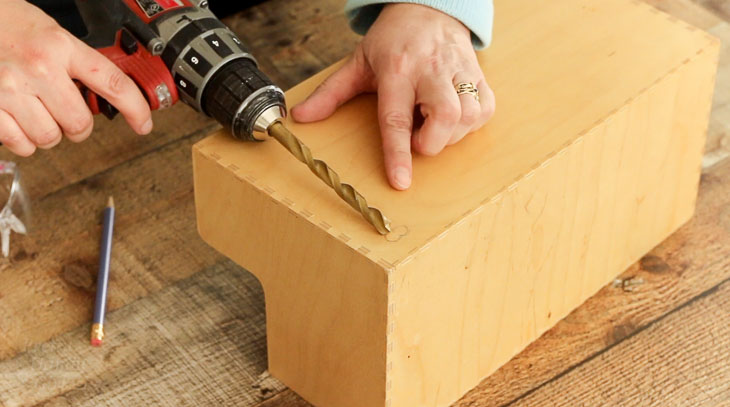
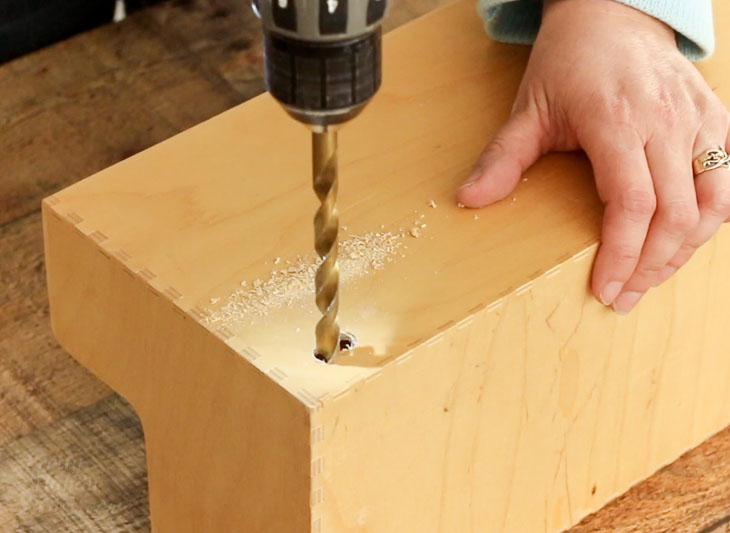
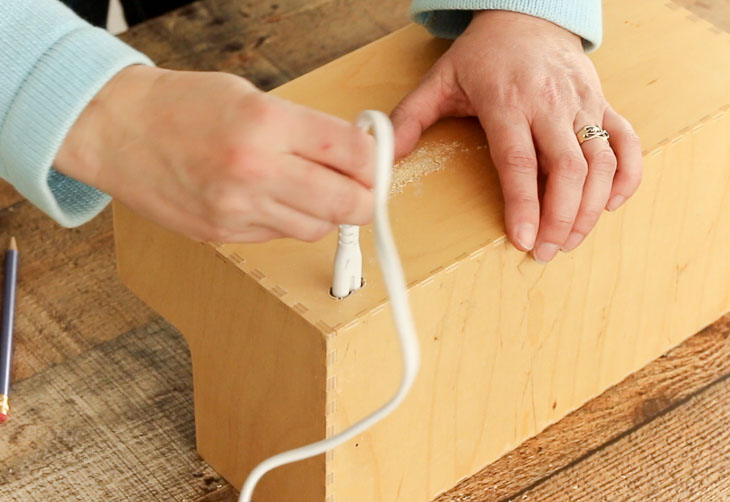
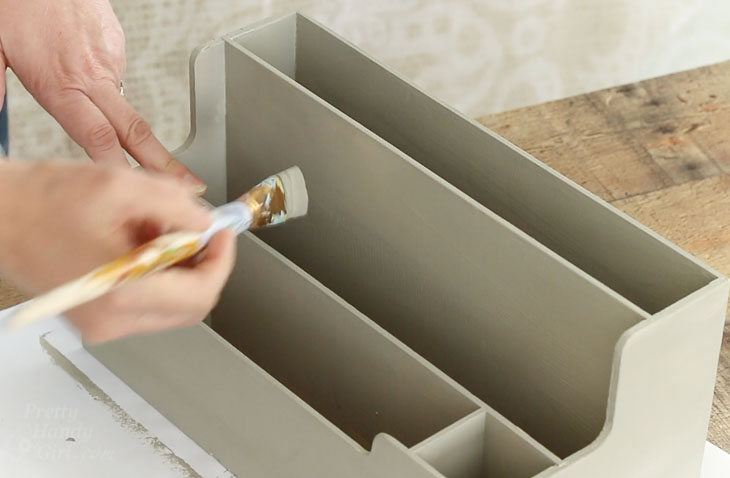
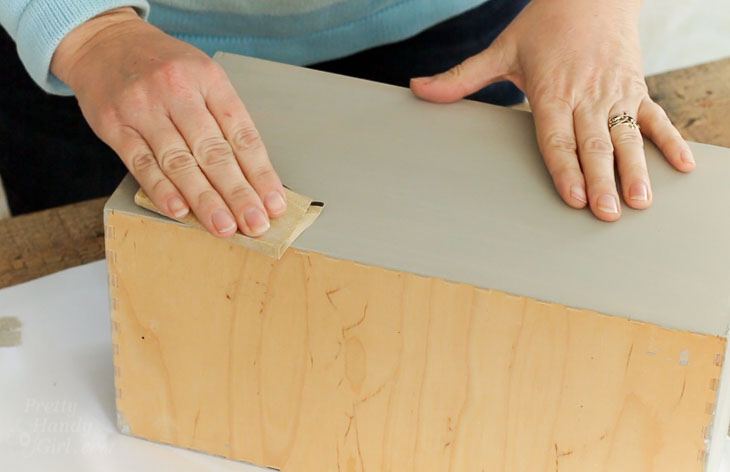
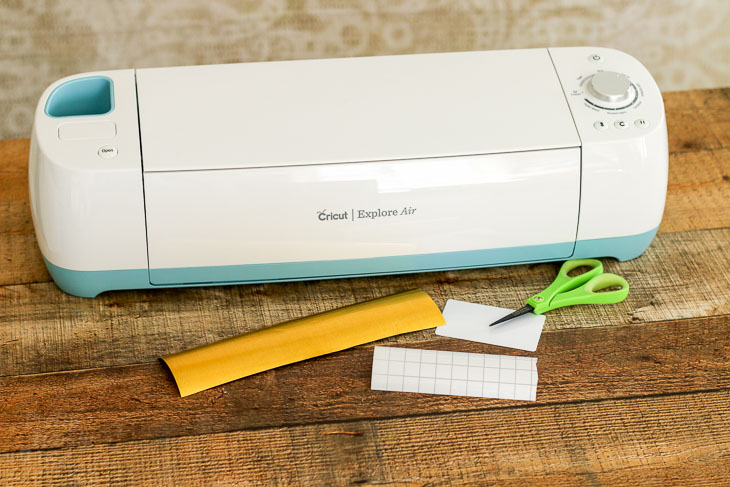
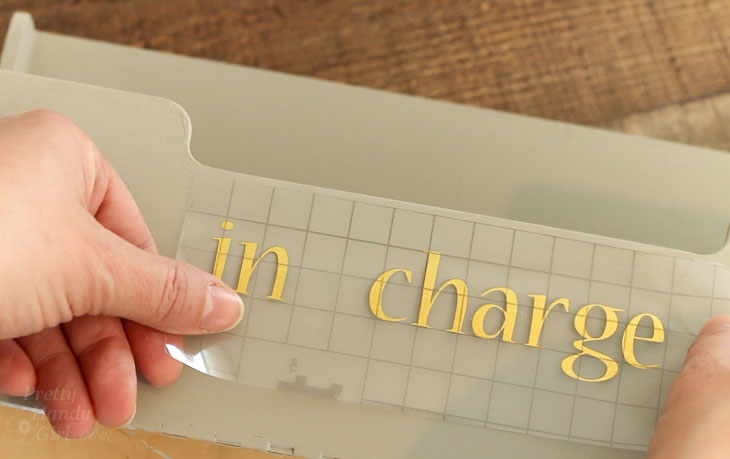
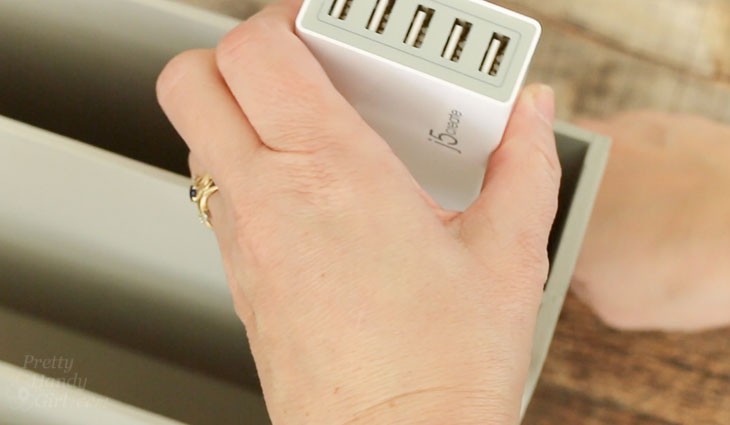
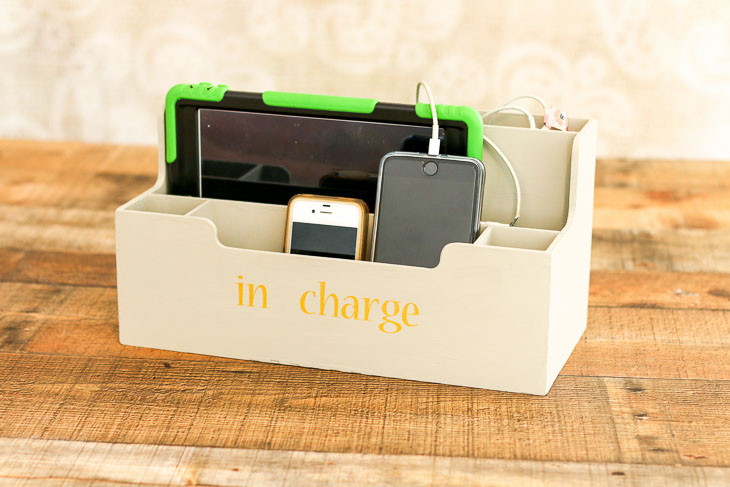
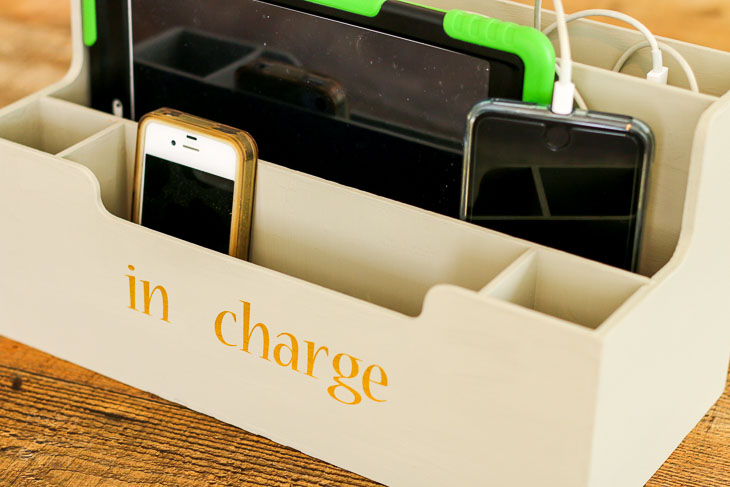
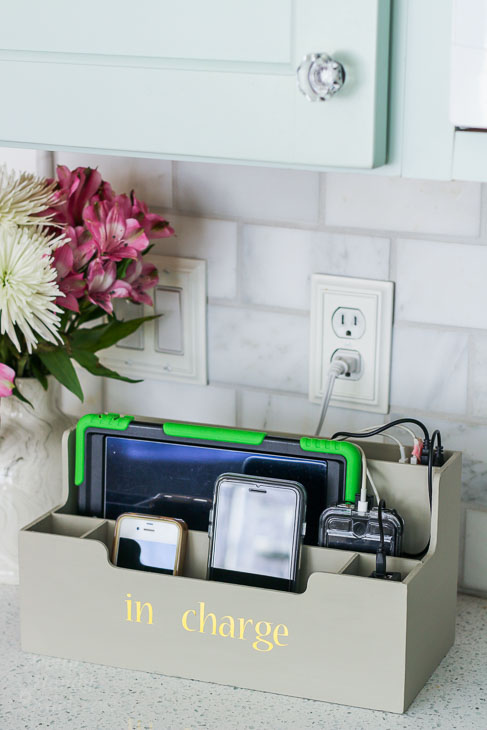
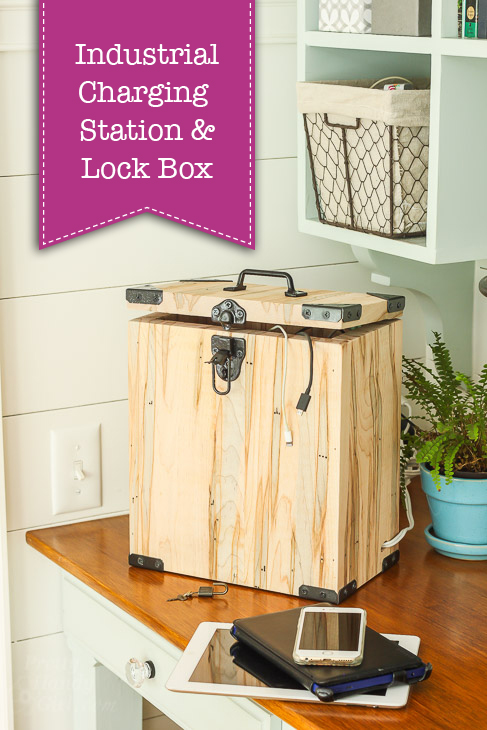
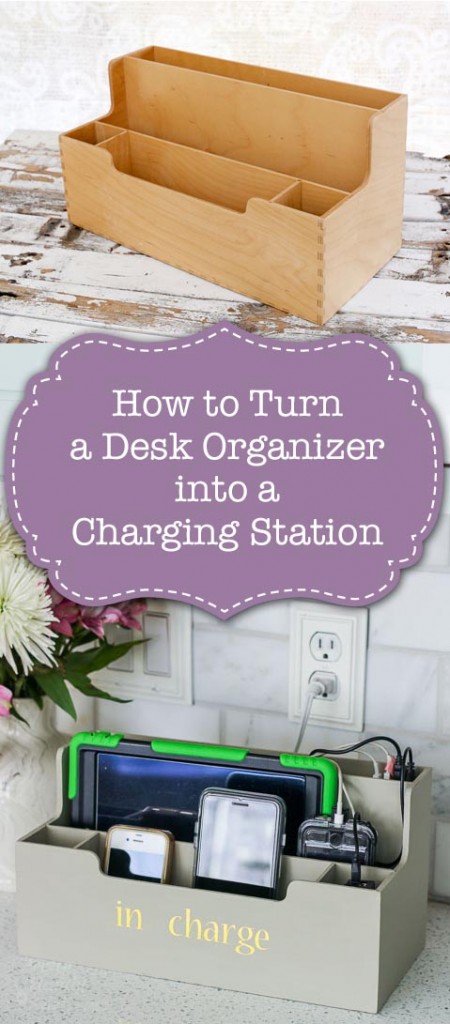 How to Turn a Desk Organizer into a Charging Station
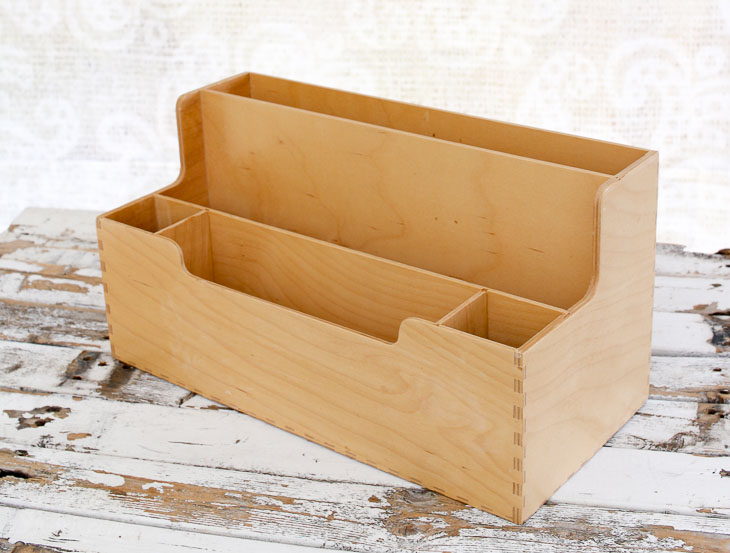


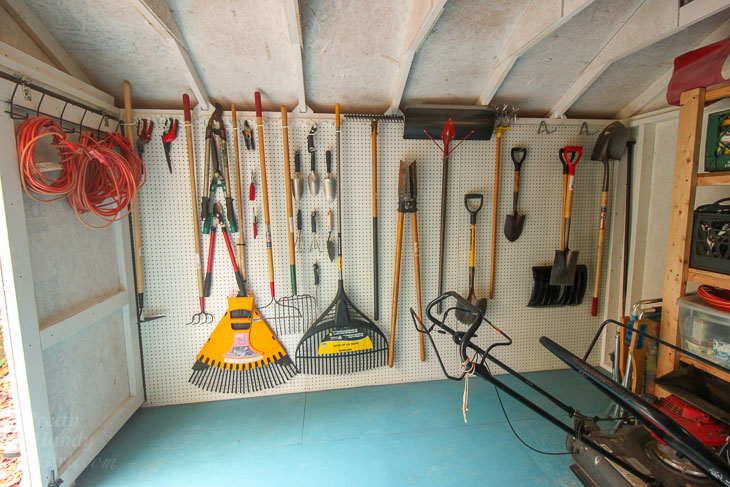
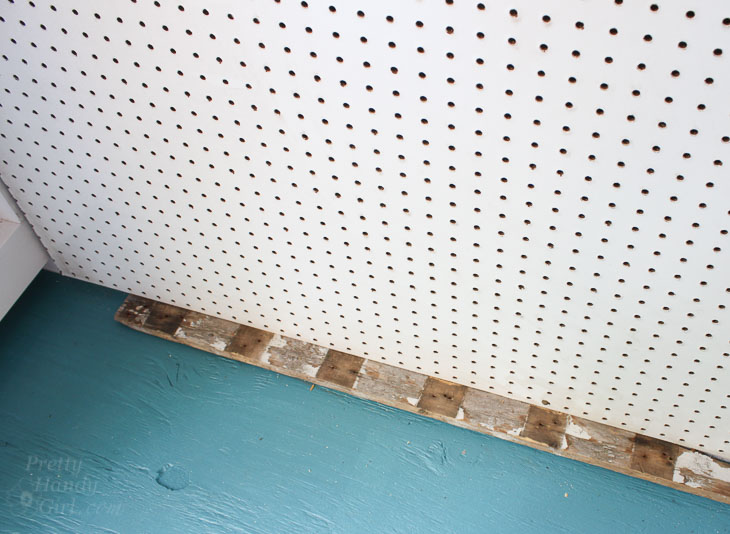
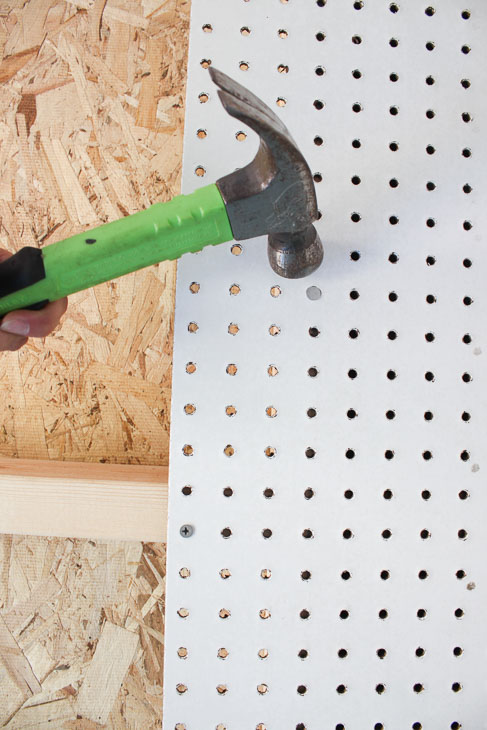
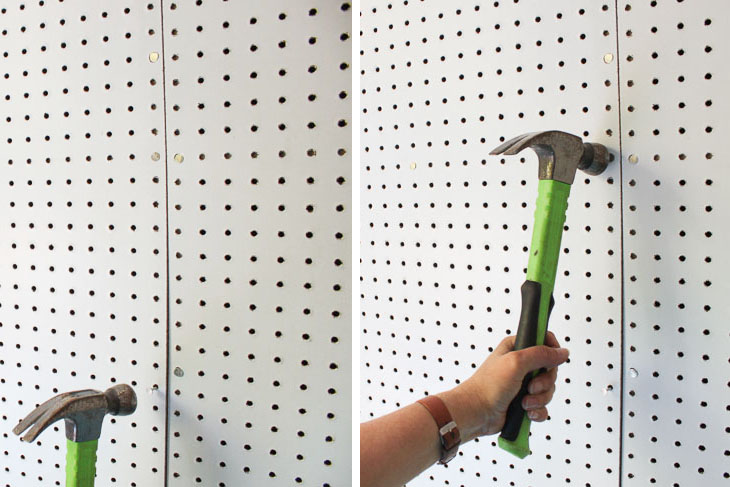
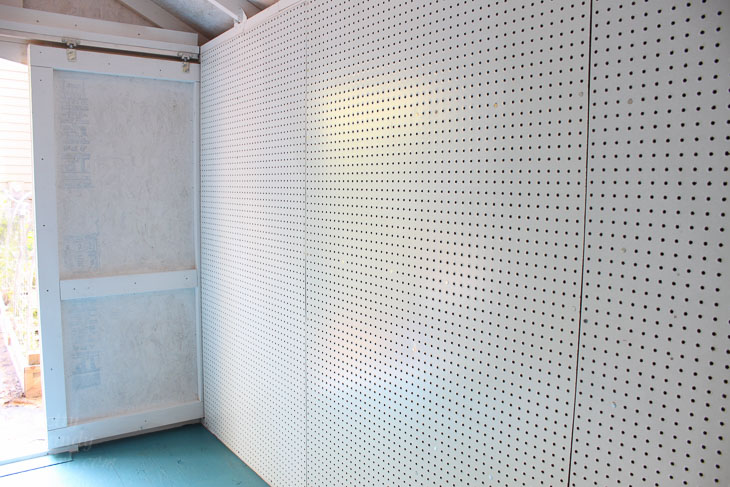
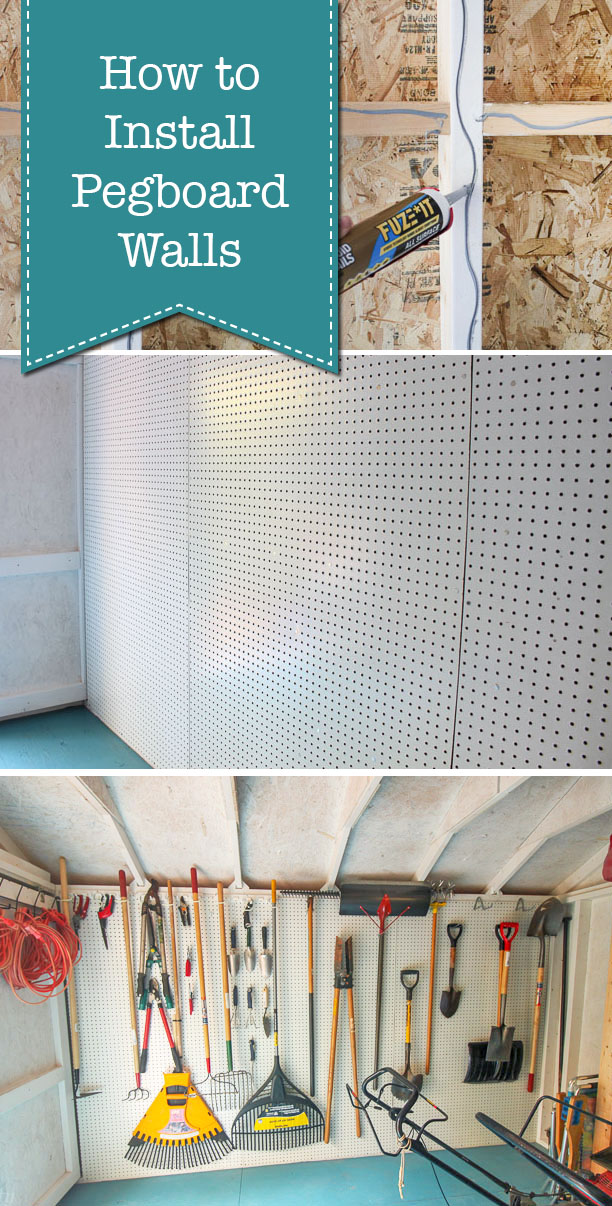 How to Install Pegboard Walls
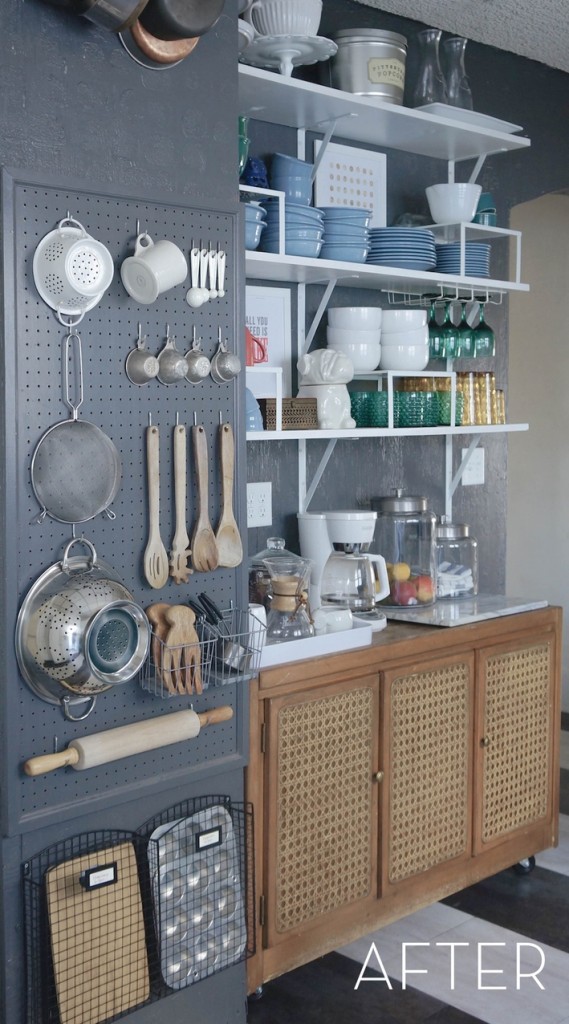
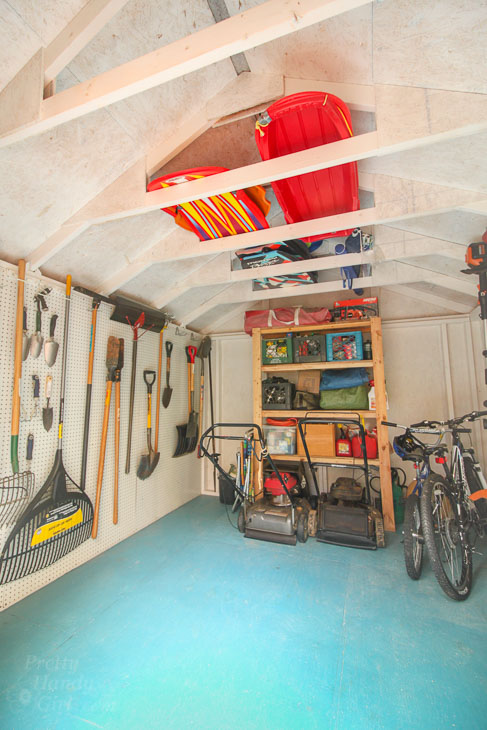

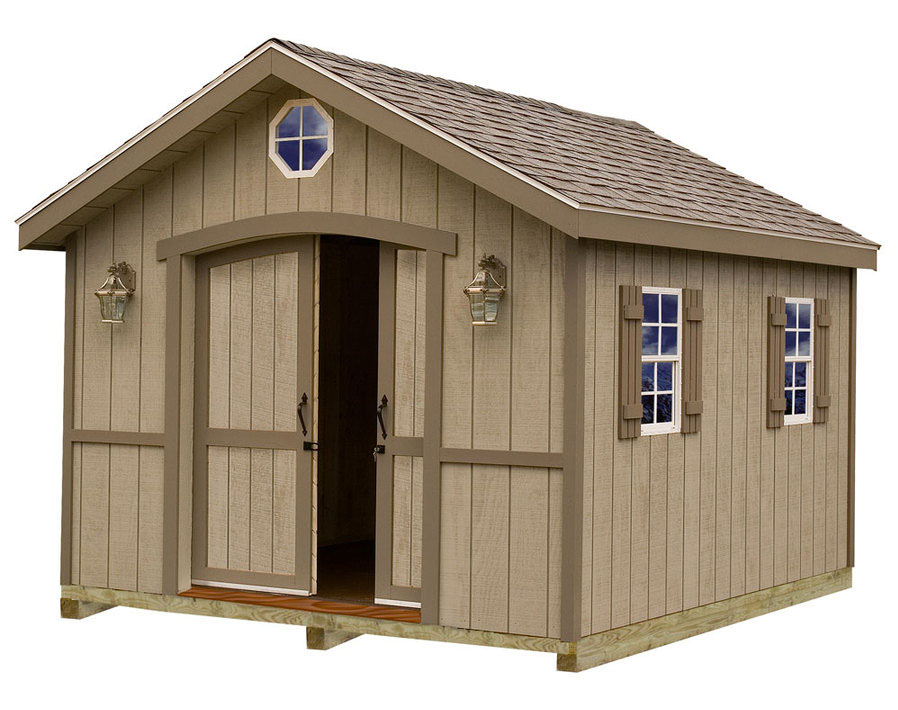
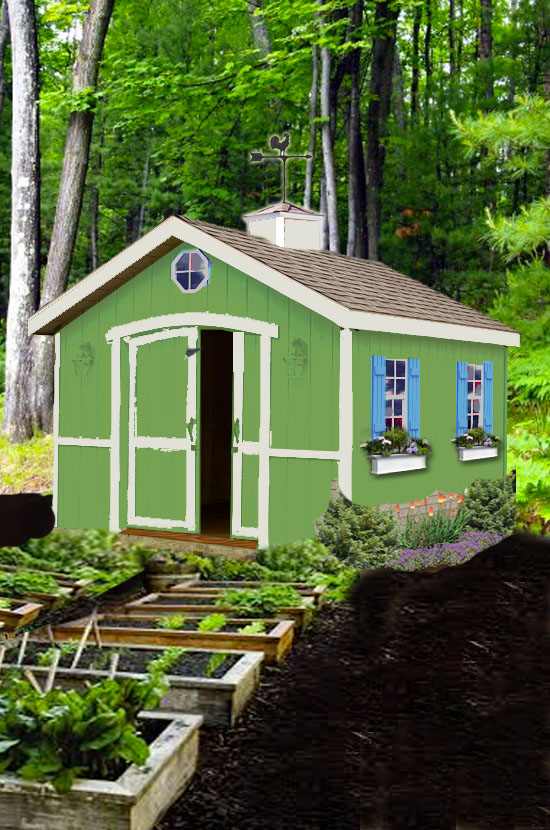
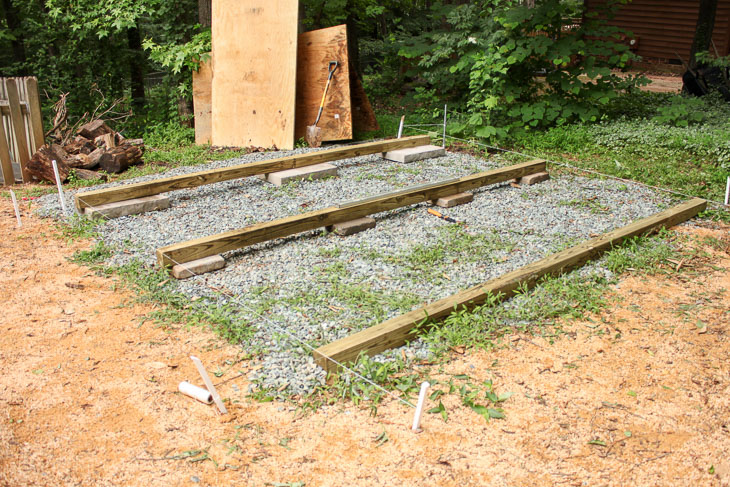
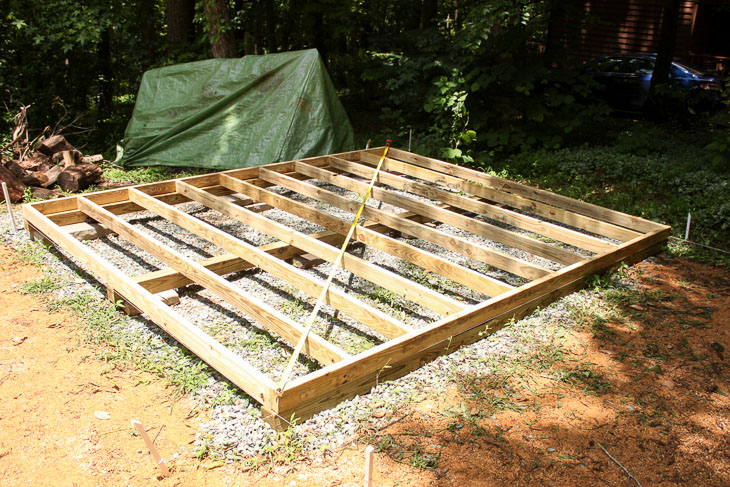
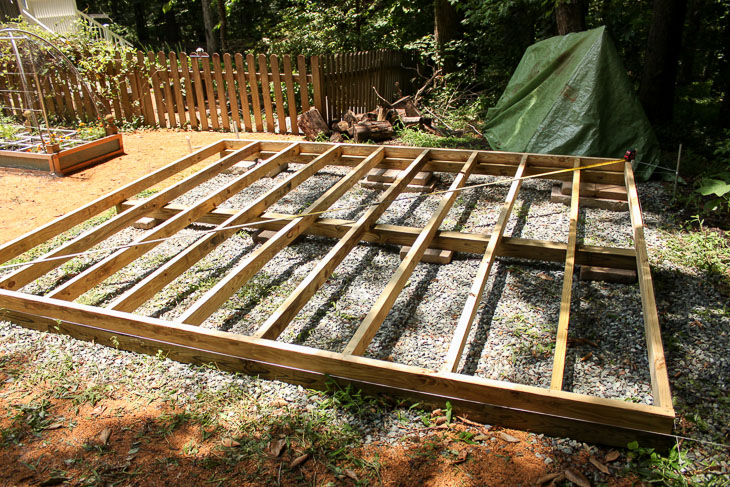
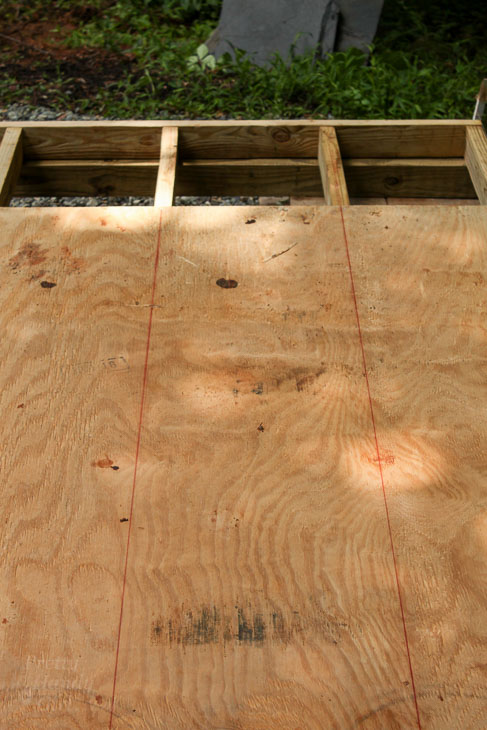
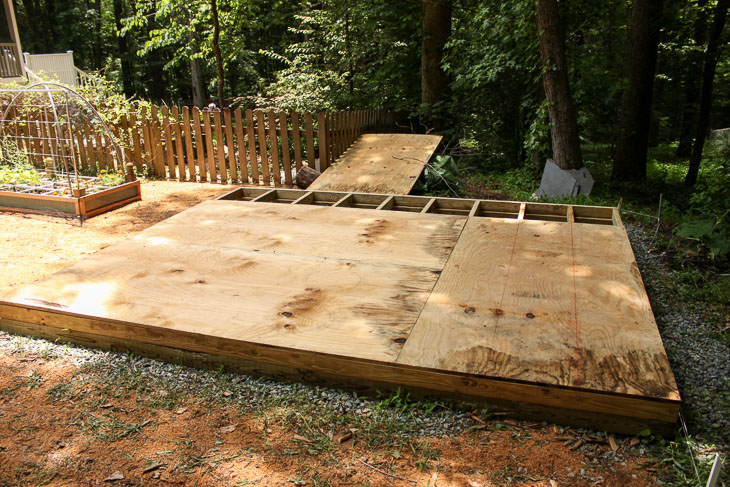
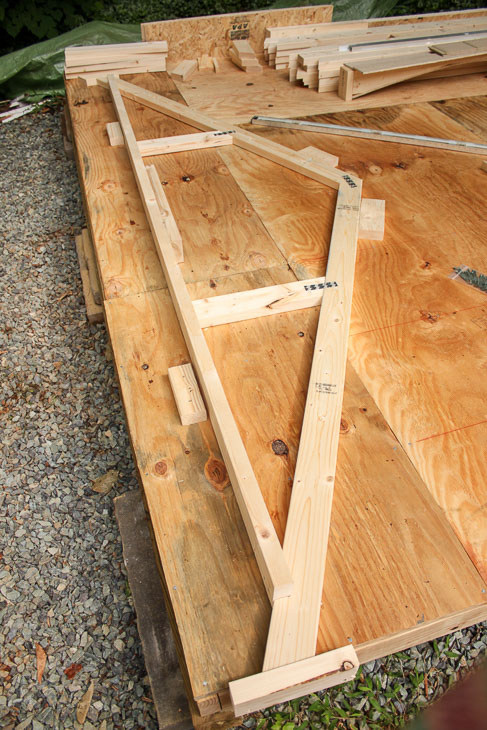
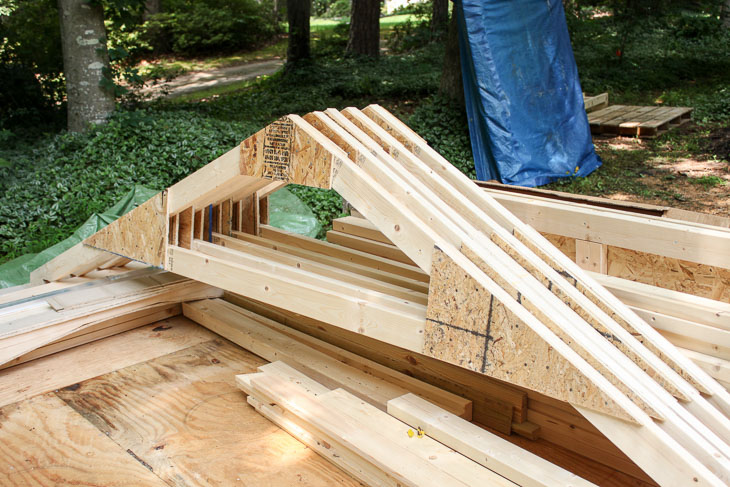
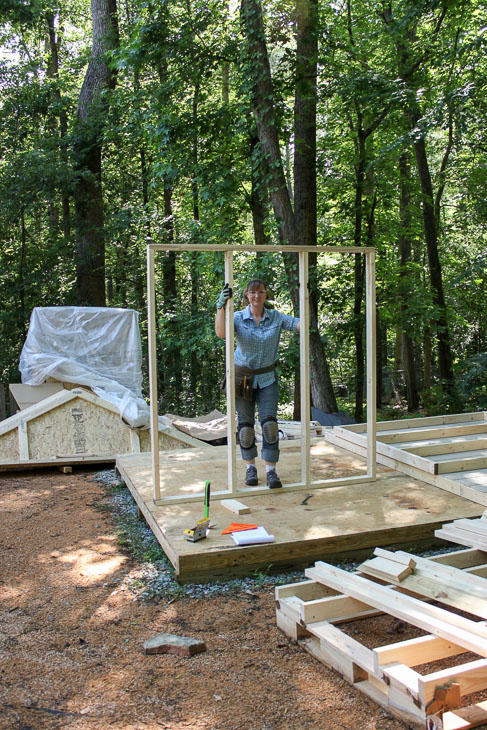
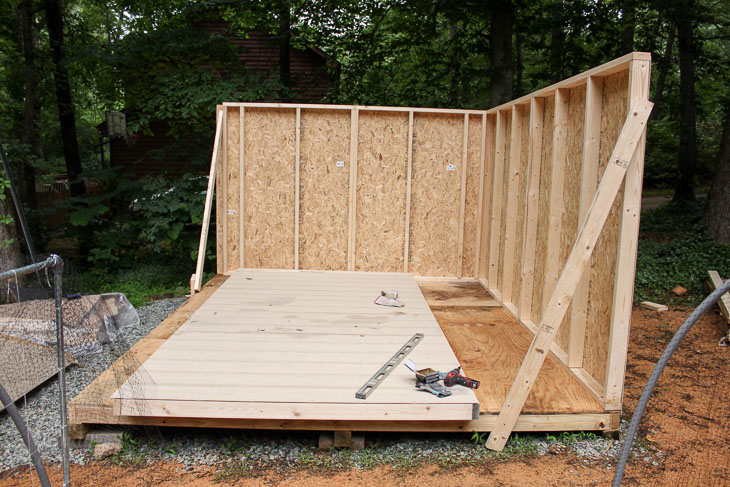
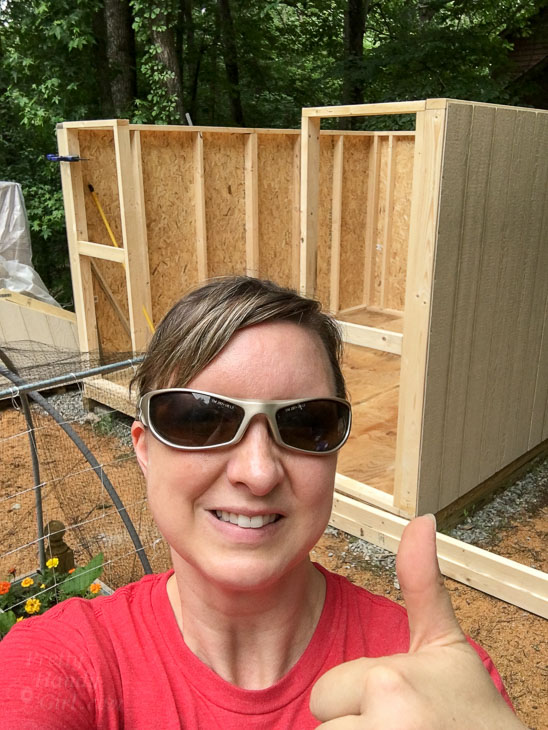
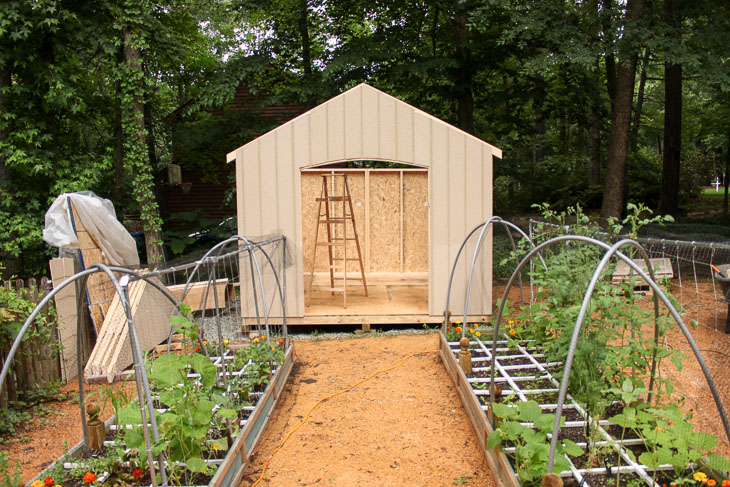
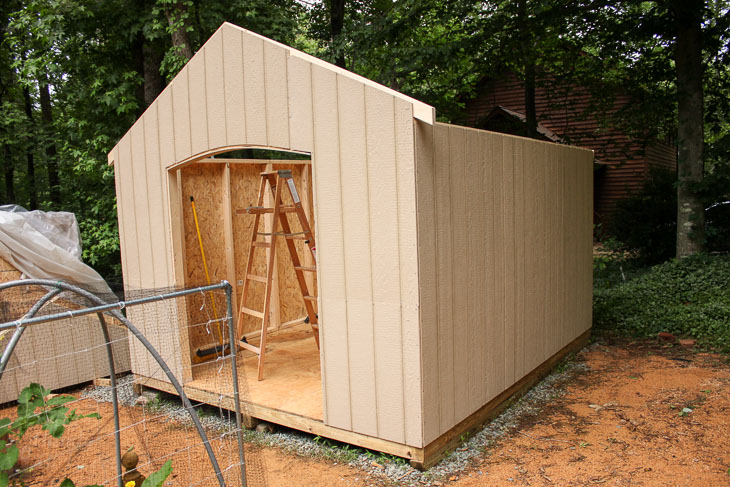
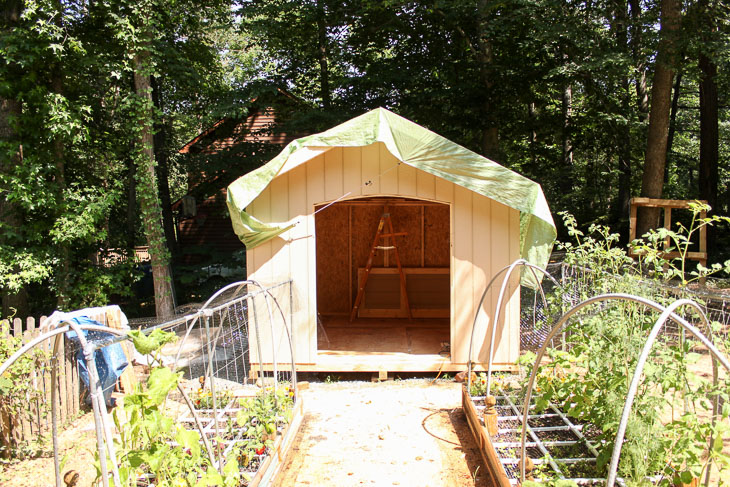
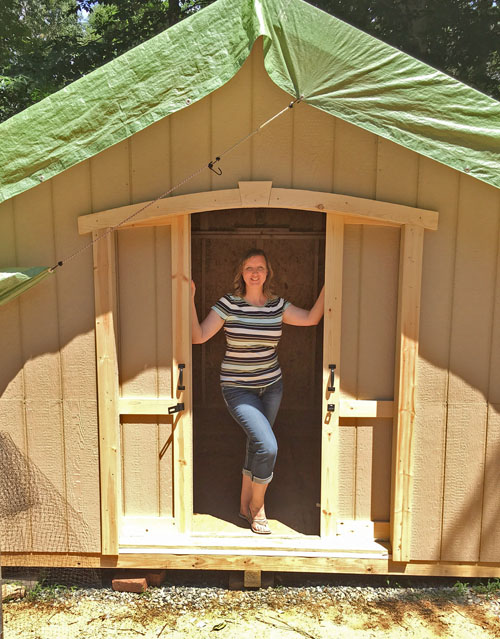
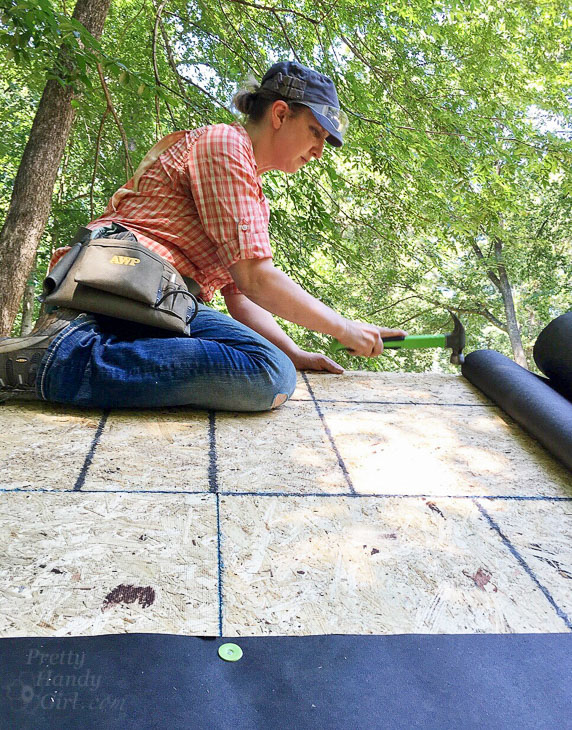
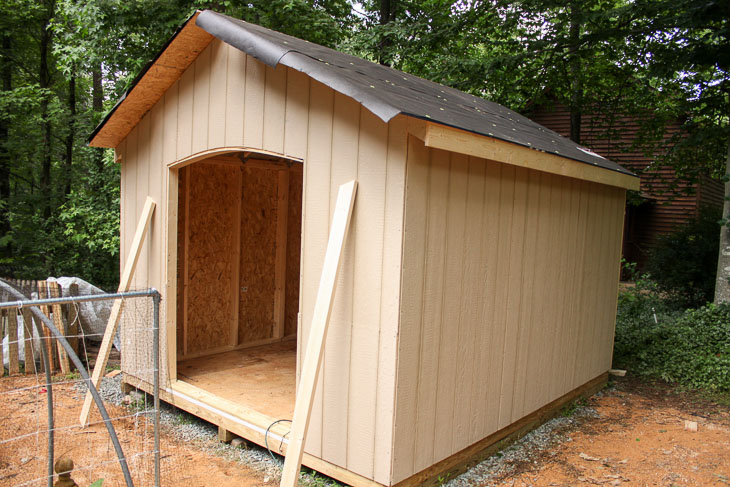
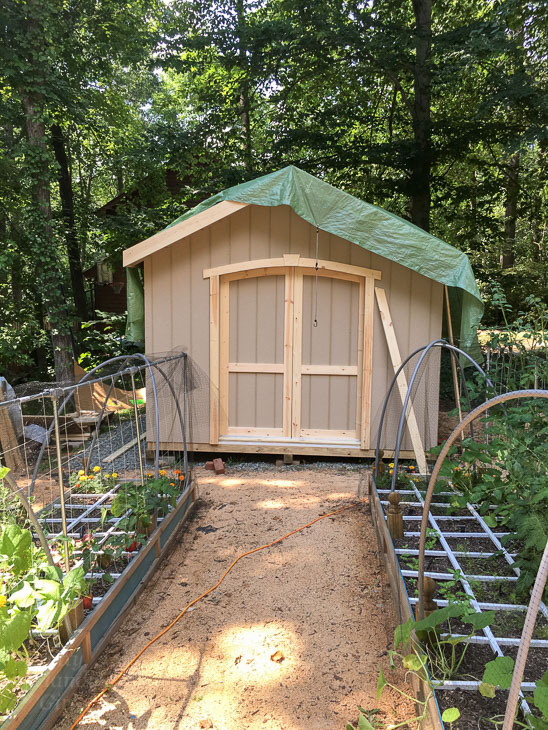
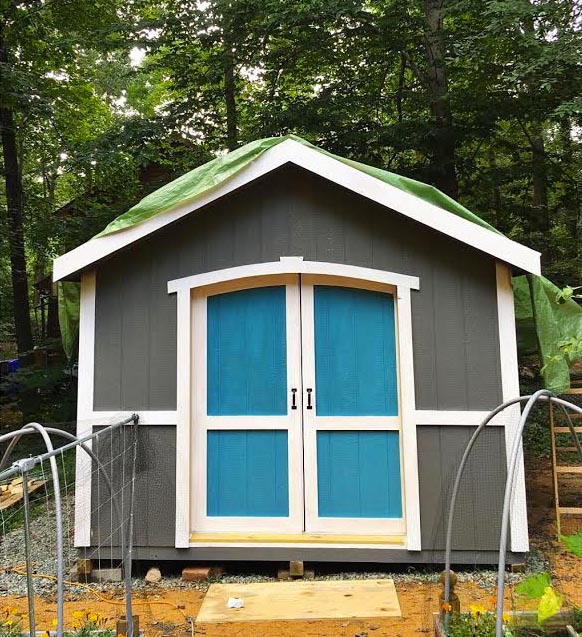
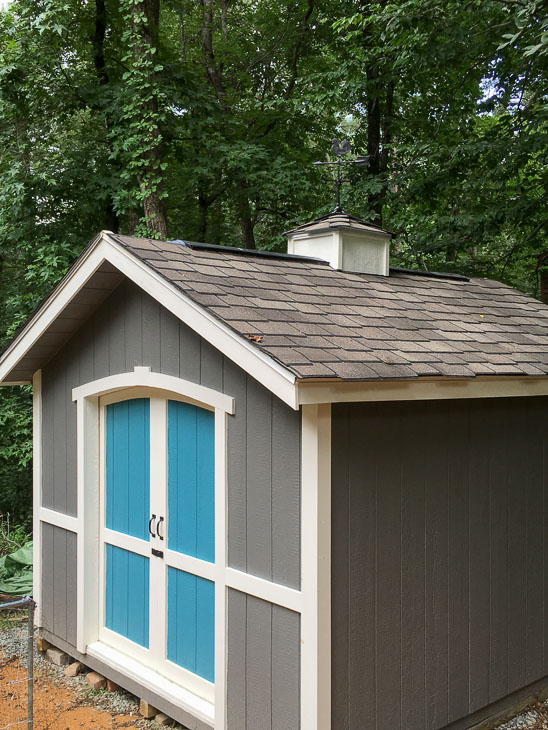
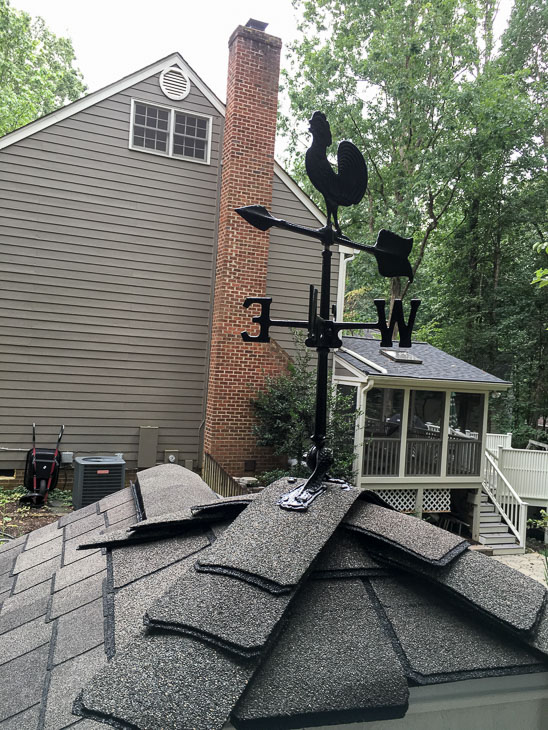
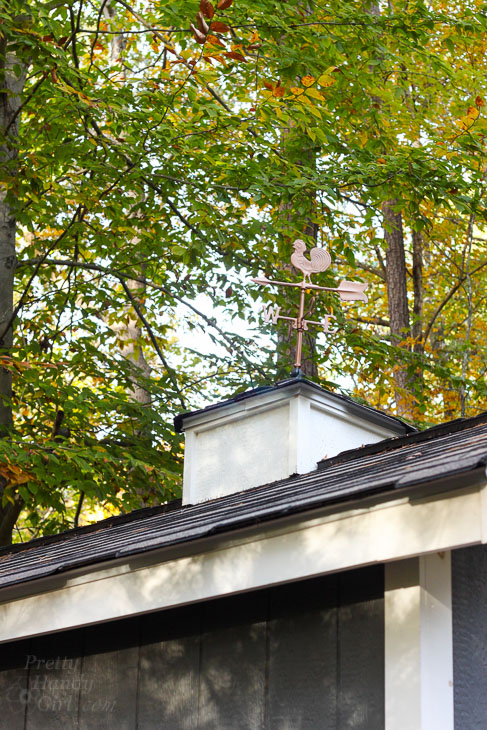
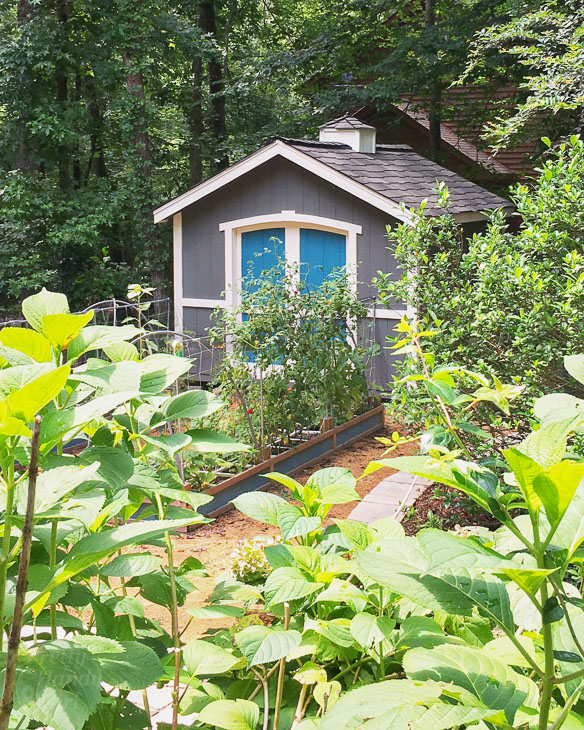
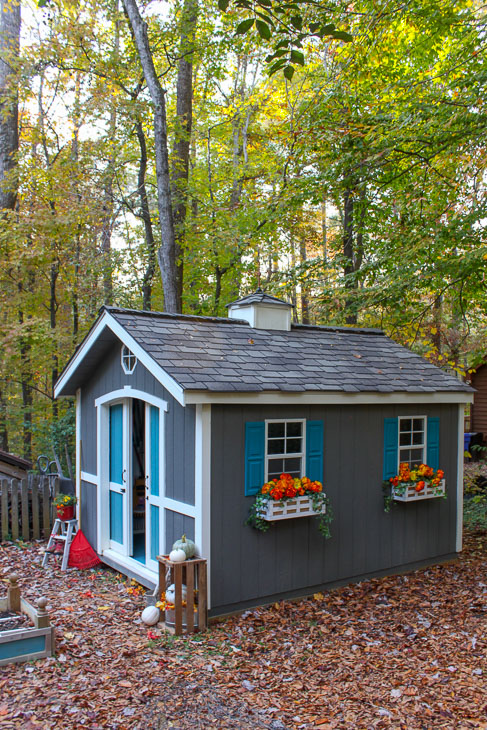
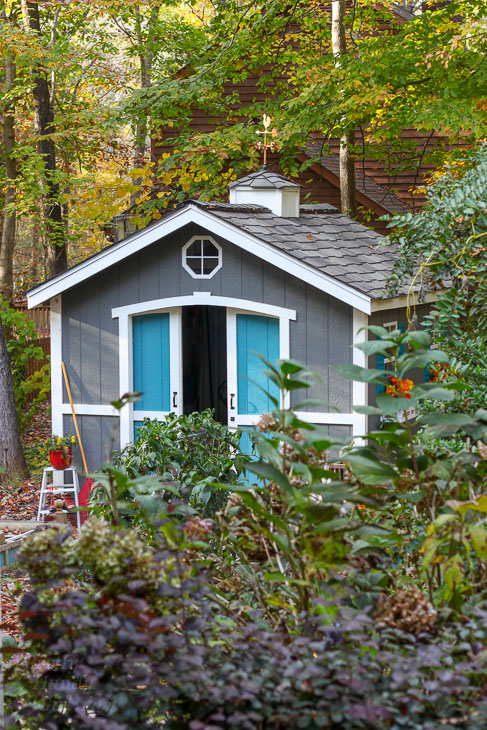
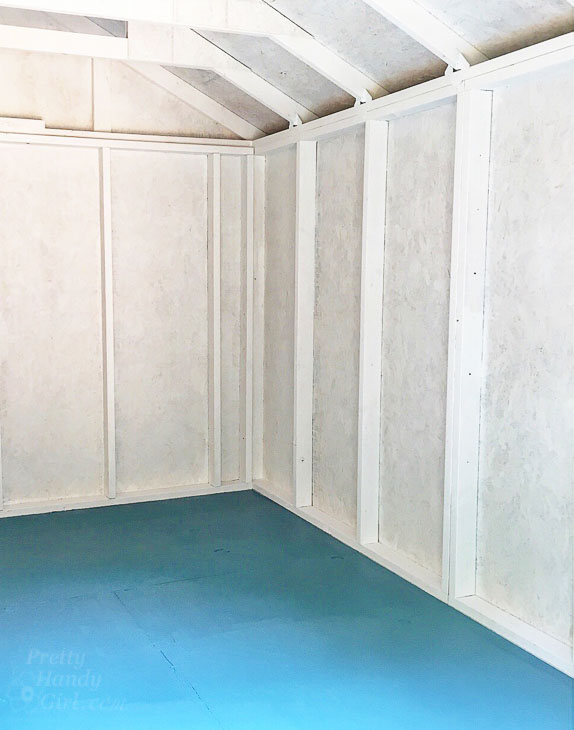
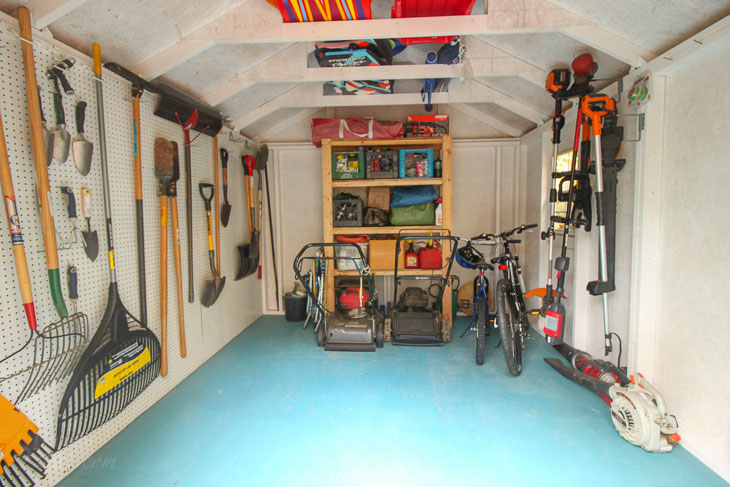
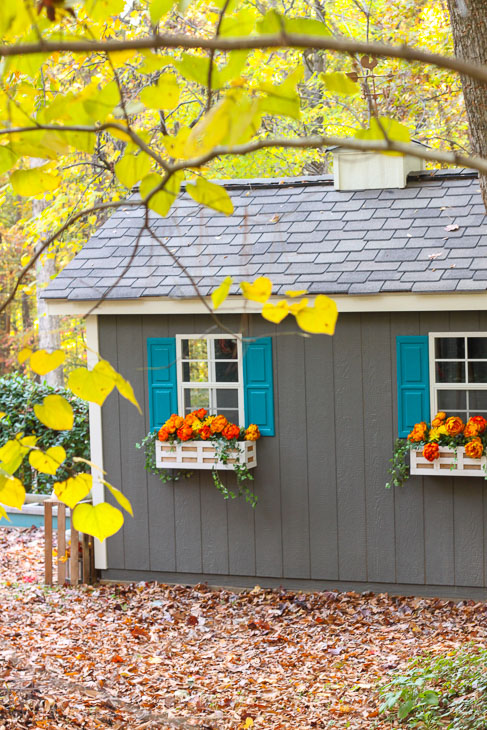
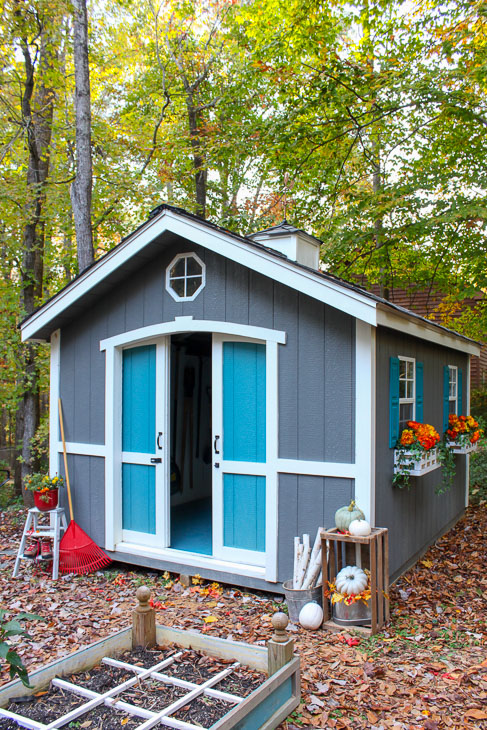
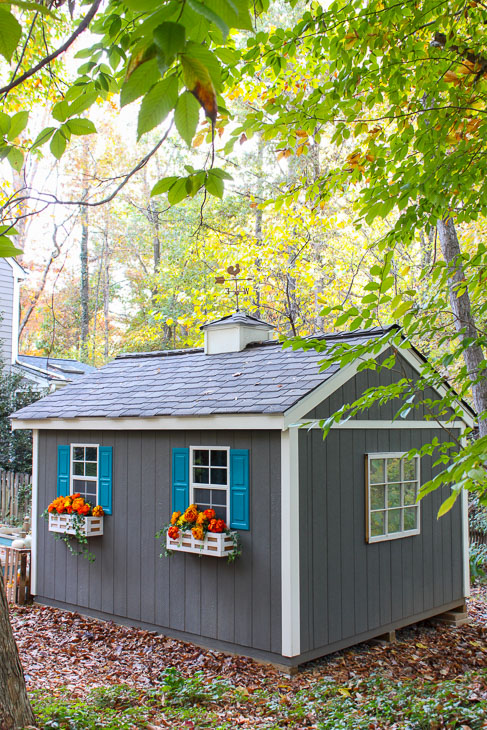
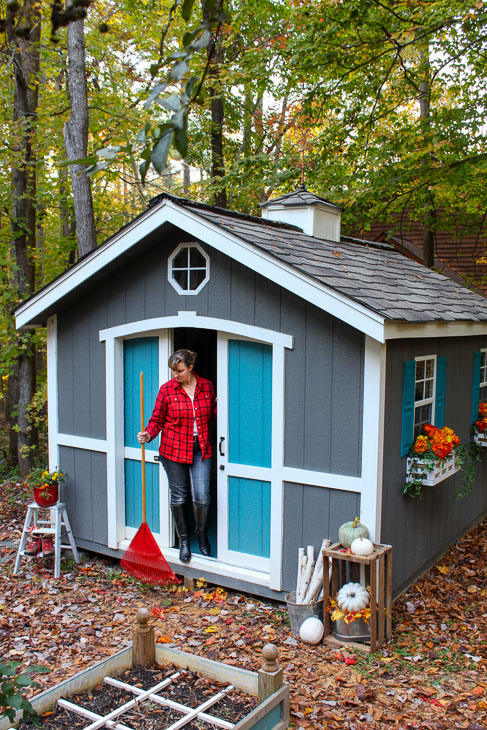
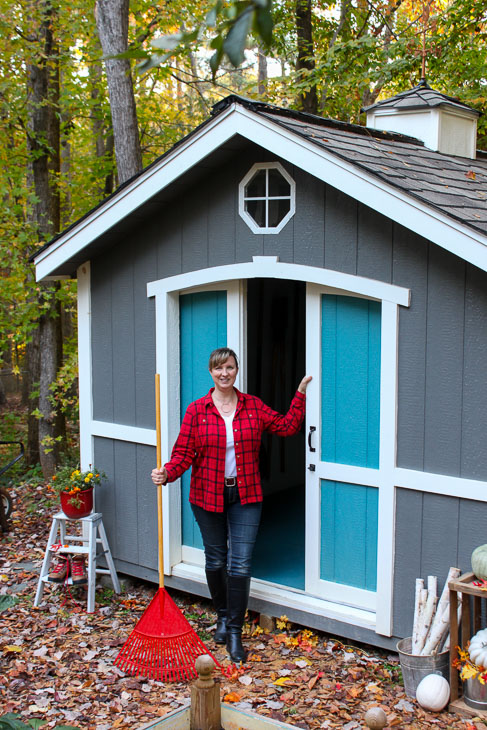 Build a Garden Shed