
How to Make a Sub-Irrigation Garden Bed
Welcome to the next level in low maintenance gardening! If you came here from my raised garden bed tutorial, let’s make your new home garden even more amazing by installing a sub-irrigated planter system. Don’t let the name fool you, sub-irrigation is a fancy term, but it’s easy to create.

What are Sub-Irrigation Planters?
Sub-irrigation (sometimes called SIP system) garden beds are a type of raised bed that waters plants from the bottom up, rather than the top down. This method helps maintain consistent soil moisture and can be more water-efficient than traditional watering techniques. In short, SIP planters are a self-watering container.
Key Features:
- Water Reservoir: At the bottom of the bed, there’s a built-in reservoir that holds it’s own water source (I used a pond liner and perforated drainage pipes)
- Wicking System: Above the reservoir, garden soil specifically for sub-irrigation (more on this mixture later) draws water up via capillary action to the plant roots. This results in a healthier vegetable garden.
- Overflow Drain: Ensures excess water drains out, preventing over-saturation, too much water, and root rot.
- Fill Tube or Pipe: Used to add water directly into the reservoir without disturbing the soil when it hasn’t rained for a while.
Benefits:
- Water Conservation: Less water is lost to evaporation.
- Even Moisture Levels: Plants receive a steady supply of water, reducing stress.
- Low Maintenance: Less frequent watering is needed (going on vacation? No problem, it waters itself.)
- Improved Root Health: Encourages deeper root growth, improved plant health, and prevents surface drying.
- Conserves Water: Great for areas with restrictions on water usage or for severe drought conditions
- Save Money: No need to incur the extra cost of buying soaker hoses, drip irrigation, or timers.

Ready to learn how to make your own sub-irrigation planter bed like the one above? (Note: your garden bed doesn’t have to be as elaborate, you can add it to a standard raised garden bed. I’ll show you how.)
How to Install a Sub-Irrigation System in Your Raised Garden Bed
To learn how to build a sub-irrigation garden bed, you’ll want to watch my video before proceeding. You can fast forward to minute 8:00 if you wish to see the sub-irrigation portion of the video.
To create a water-tight planter, use a fish-safe pond liner to line inside of each bed. Then measure and cut lengths of perforated drain pipes to fit in the bottom of the garden bed.

To cap off the drainage pipes, I used some weed barrier (landscape fabric) and taped it to the ends using flashing tape. This will hopefully keep the dirt from getting into the pipes. (For additional protection, you might want to lay weed cloth on top of the pipes before filling with garden soil.)

Now you’ll want to add a fill tube to fill the reservoir of the garden with water (during dry spells or to simply top off the garden). A 2 inch PVC pipe is installed vertically into one of the drainage pipes. Then use a funnel or cut off plastic bottle with the neck pointing into the pipe for a fill spout. To secure the funnel, tape or silicone seal around the neck of the funnel and the pipe.
Once your garden bed is filled with soil, only the funnel should be visible above the garden surface.
In addition to a fill tube, a drainage hole (overflow hole), drain tube, or overflow pipe is also needed.

This will prevent your garden bed from flooding (in the case of too much rain). The overflow tube is installed in the top of the drainage pipe and sends excess water out of the planter on each end. You can view how this works in my YouTube video. Seal around the overflow tube where it goes through the pond liner with silicone sealant. Wait for it to cure before exposing to water.
Now it’s time to add the garden soil mixture specifically for a sub-irrigation bed.
Raised Bed Garden Mix for Sub-Irrigation Gardens
To grow plants and vegetables in a sub-irrigation garden bed, you need a specific mixture of growing medium. It’s important to have a mixture of soil that is light and airy (nothing too heavy or dense). The mixture I used keeps the soil from getting too compact but also feeds the vegetables and fruits with nutrients. Perlite or vermiculite is a common ingredient in potting mix soil that facilitates drainage and aeration. Here’s the garden soil mixture I use for my sub-irrigation beds:
- 4 Parts Garden Bed Soil
- 3 Parts Peat Moss
- 2 Part Compost (learn how to make your own free compost)
- 1 Part Vermiculite or Perlite
You can mix the soil ahead of time in a wheelbarrow, on a tarp, or mix it in the bed with a hoe and rake (take care not to puncture the pond liner). After adding the soil, mix in any fertilizer you want depending on what will be grown in your garden.

Now that your garden bed is filled with soil, it’s time to plant you vegetables or flowers! Get ready for those baby plants to take off and grow in your new sub-irrigation garden bed.

Visually you’d never know my garden is a sub-irrigation garden! It will be our little secret, okay? Then again, you may want to brag to all the neighbors about how you rarely have to water your garden.
Now all you have to do is decide what type of plants you’re going to grow in your new raised garden bed!
Happy gardening.

The build plans to create your own raised garden bed with arched trellis can be found here or head to Etsy to purchase the plans.

Pin this image to save it:

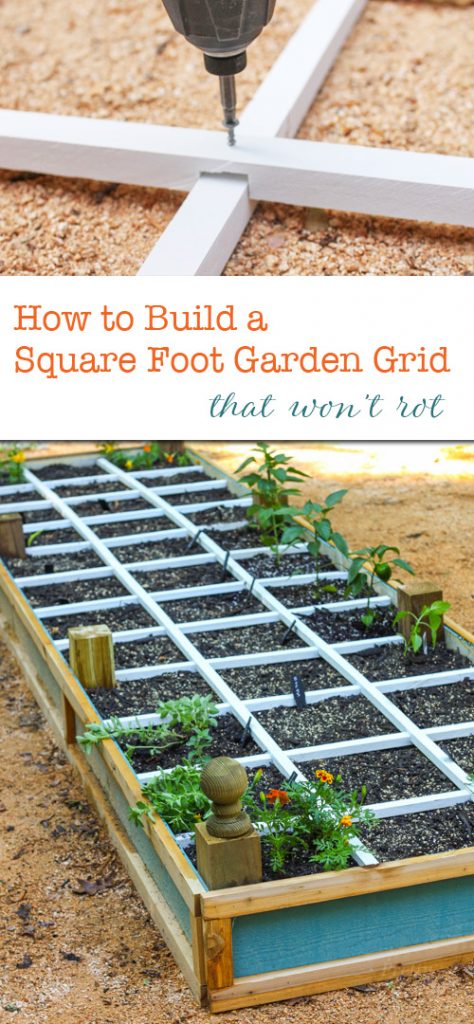
If you liked this article, you can see how I made a never rot square foot garden grid here.


Leave a Reply
Want to join the discussion?Feel free to contribute!