Stencil Myself a New Door Mat
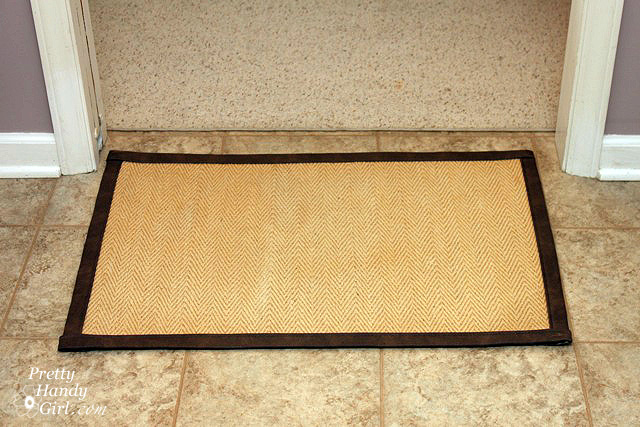
I picked up this plain vanilla door mat a while ago at a thrift store. I knew I wanted to transform it into something stencil-tacular. But, I couldn’t decided on the right pattern.
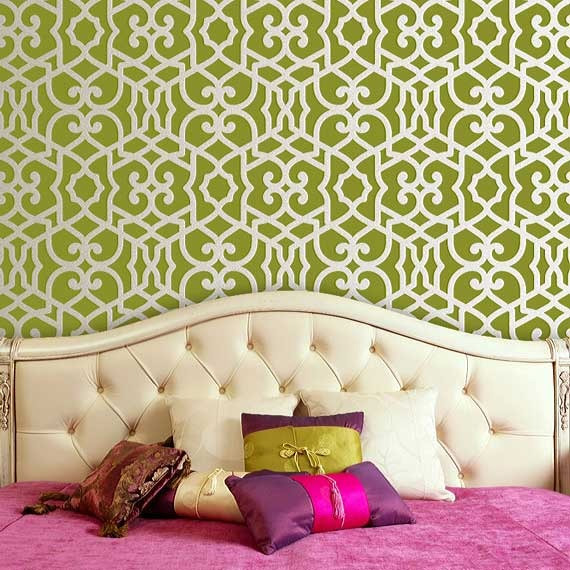
While at SNAP I was introduced to Royal Studio Design stencils and won a free stencil to take home. The Chez Sheik design immediately jumped out at me. The moroccan look is very beautiful, don’t you think?
The rug and the stencil sat in my laundry room for a while until I saw Jenny’s stenciled rug and fell in love with the color palette she used.
Her post definitely gave me the kick in the pants to just “do it” to my rug. (You can see more of Jenny’s rug on her blog, Days of Chalk and Chocolate.)
And here is how I “did it”!
Materials:
(I’ve included affiliate links for your convenience. I earn a small percentage from a purchase using these links. There is no additional cost to you. You can read more about affiliate links here.)
- Door Mat
- Primer
- ScotchBlue painter’s tape
- Ruler
- Pencil
- Paint brush
- Small paint roller and tray
- Latex paint (Yellow, Dark Aqua & Light Blue)
- Hair dryer (optional)
- Stencil
- Wet rag
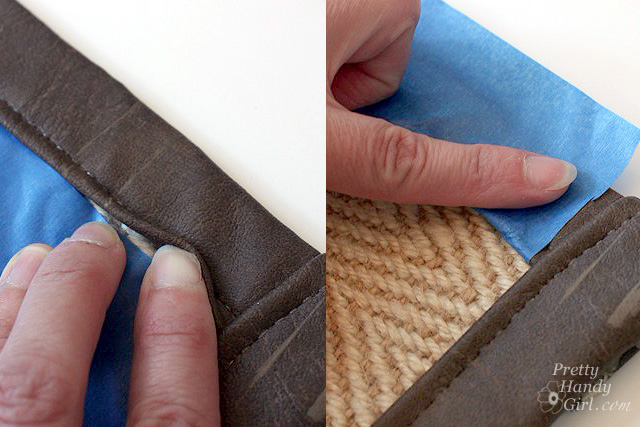
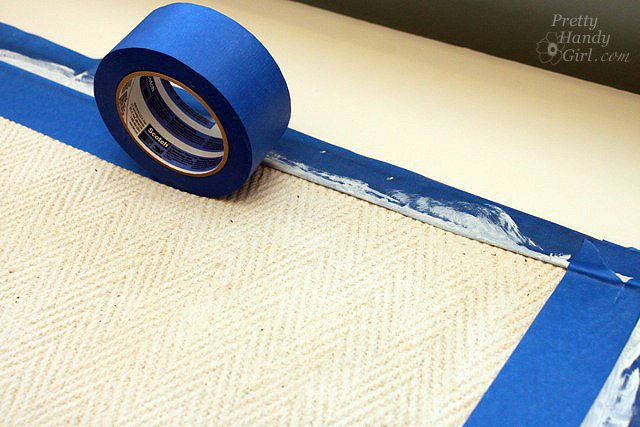
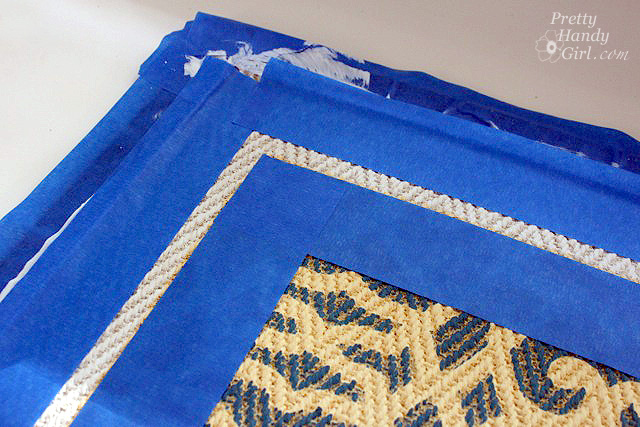
Step 1: Tape off the edges of the door mat.
For a better masking job, lay the painter’s tape upside down and then slip it under the edge of the trim. Then wrap the tape up, over and on top of the trim, this protects the undersides as well as the top and sides of the trim.
Step 2: Prime the mat. Use a paint brush to get into the grooves in the mat.
Step 3: Use more painter’s tape to tape off inside the trim edges.
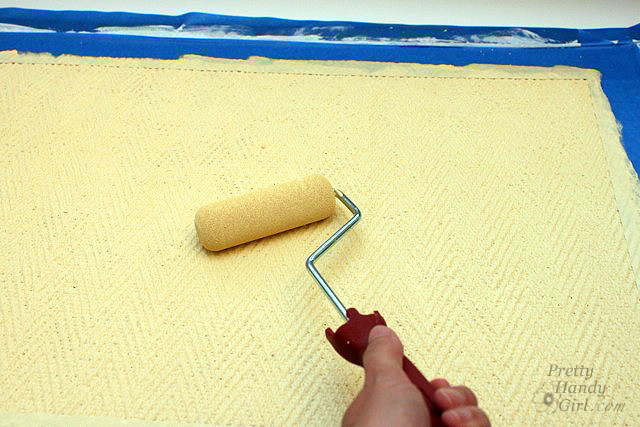
Step 4: Roll yellow paint inside the tape lines.
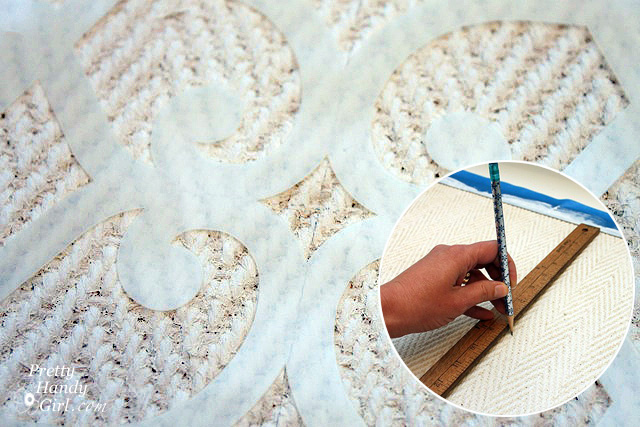
Step 5: Using a ruler and pencil, mark the center of the mat. Center your stencil pattern on this mark.
Step 6: Lightly tape the edges of your stencil to keep it in place. Roll the dark aqua color over the stencil.
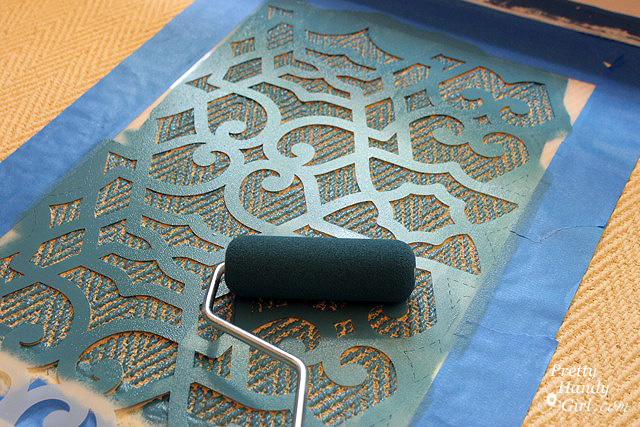
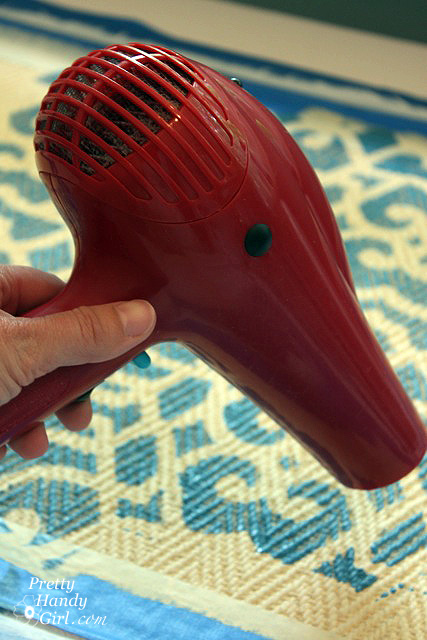
Step 7: Lift up the stencil and wait for the paint to dry. To speed the drying process, use a hair dryer.
Step 8: Line up the repeat pattern. On the Royal Design Stencils, there are small dotted lines that help assist you in lining up the stencil.
Repeat steps 6 – 8 until the stencil design covers the mat.
Step 9: Once the paint has thoroughly dried, tape off a thin border edge just outside the stencil painted area.
Step 10: Use a brush to paint the light blue color into the masked border. Less paint is better here. More paint = more paint seepage under the tape.
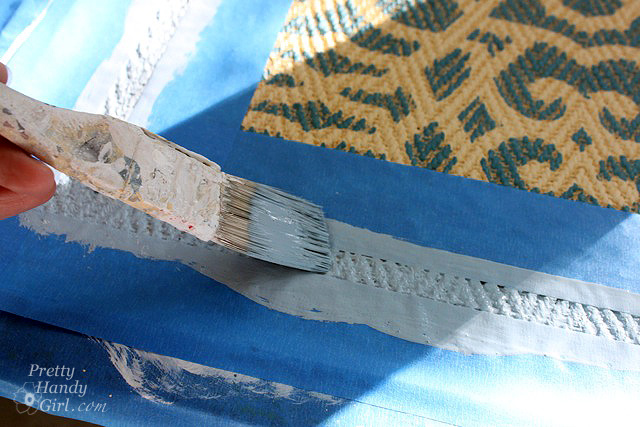
Step 11: Remove all the painter’s tape and wipe up any boo-boos with a wet rag. Touch up any areas that need a fix.
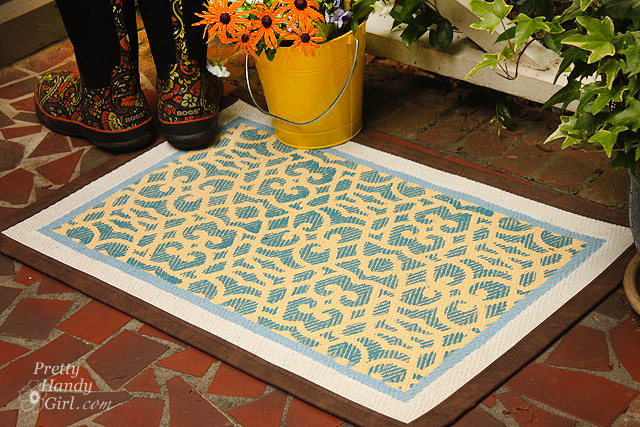
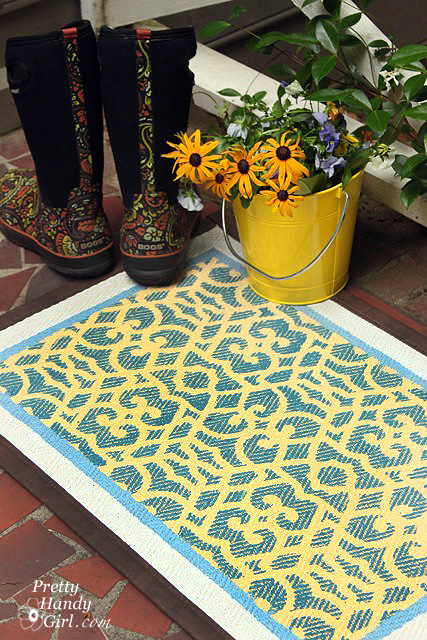
Set your mat outside and enjoy a cheery welcome!
This was truly an easy project. The hardest part was waiting for the paint to dry. I really like how the paint didn’t go into the grooves on my mat and left a chevron pattern.
Have a great weekend y’all! I’ll be enjoying some anniversary celebrating and some sawdust snorting.
Disclosure: Royal Design Stencils gave me the stencil for free. However, I was not told to or expected to write a post about the stencil.








OOOOH! Your rug looks fantastic! I love the colors you used better than mine. LOL! Thanks for the shout out!! : )
Are you kidding me?! I thought the same about yours, but sadly I was stuck with the brown leather edge where you have a cute black and white border. Thanks for letting me share your rug as my inspiration. Have a great week!
I have this mat in my entry way right now and I love it because it is so plain but now seeing this I want to do the same. Hmmmmmmm. Great project!!
Love the rug! Great idea. Checking our Royal Design Studios now!
Love your rug!!!
Beautiful!
I get so much inspired by your blog! Thank you!
I LOVE Royal Design Studios! They have such great stencils!!! Your mat looks GREAT!! Will have to send you some pictures of my latest project using their stencils.
Beautiful rug and I love the colors. You make this look so easy to do that anyone could try it and have a wonderful addition to their front or back door.
Oh I like it! Neat colors! Painting really opens up the possibilities for new designs and colors!
Thanks for showing it!