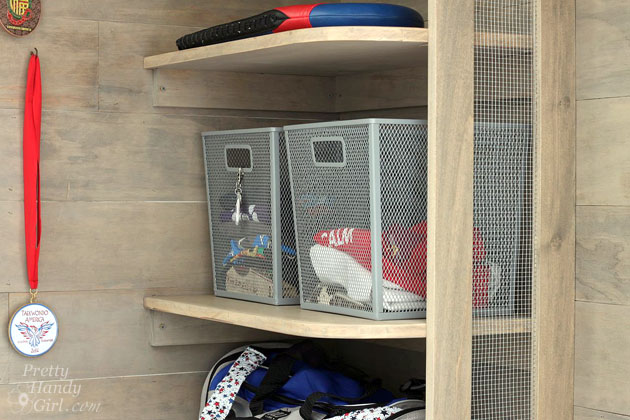
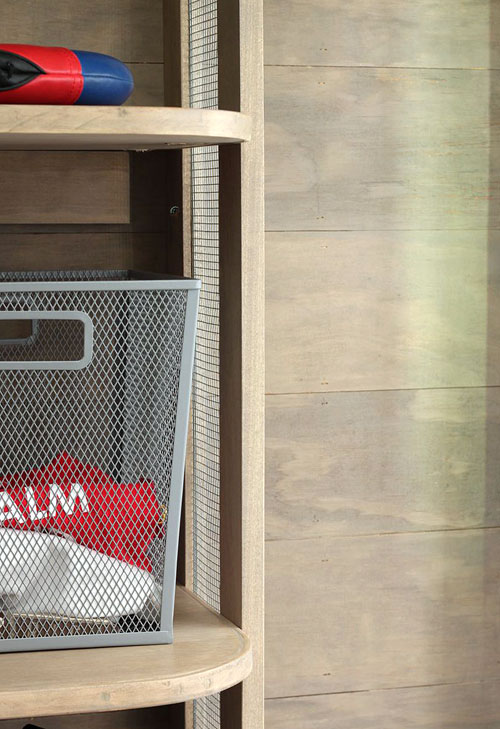
I’ve fallen in love with the Restoration Hardware Salvage Gray wood stain. But, try as I might, I haven’t found a pre-mixed stain that produces the same look. That never deterred me, and I don’t like to give up. Therefore, I created my own recipe for approximating that Restoration Hardware Weathered Gray stain. You may have seen this beautiful gray stain on my Sports Gear Storage Shelves the other day. Because I love you and I love to share, here is the DIY Restoration Hardware Weathered Gray Stain Recipe.
Materials:
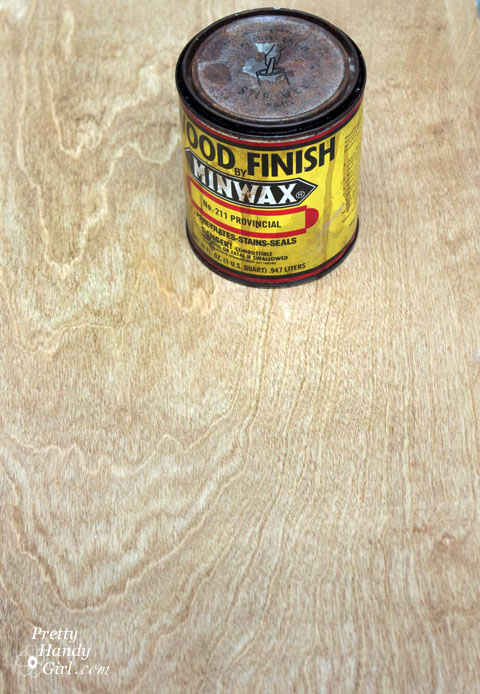
- Minwax Provincial Stain
- Old sock
- Rubber gloves
- Fine sanding sponge
- Paint brush
- Clean rag
Glaze:
- 1 part Valspar Arid Plains
- 3 parts Valspar Clear Glaze
- Jar with lid
DIY Restoration Hardware Weathered Gray Stain Recipe Instructions:
Premix your glaze in a jar or bottle. 1 Part Valspar Arid Plains with 3 parts Valspar clear glaze.
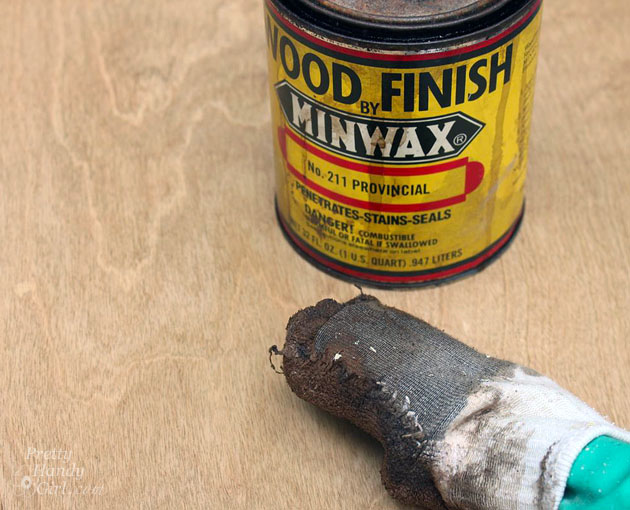
Sand your wood smooth. Put on a rubber glove and slip an old sock over the glove. Dip you hand into the stain and wipe the stain onto your wood. Always wipe on stain with the grain.
After the first coat has dried, repeat by adding a second coat of Minwax Provincial stain. Let the stain dry.
Lightly sand the wood before applying the glaze. Read more


 Disclosure: As a #LowesCreator, I was provided with a Lowe’s gift card to purchase supplies for this post. I was not told what to write. All ideas and words are my own.