wood-block-picture-frames

Wood Block Floating Picture Frames | Pretty Handy Girl

We are days away from Christmas and I’m sure there is someone on your list that you just can’t figure out what to get for them. I have the perfect solution! Make them a wood block floating picture frame using scrap 2×4″ lumber and plexiglass.

If you don’t have scrap 2×4’s lying around, you can purchase a 2x4x8 foot stud for less than $4! You could make 16 photo frames out of that one board! (Granted, you’ll need to buy the plexiglass for each.)

Materials:

  • 2 – 2 x 4s (cut to 6″ lengths)
  • 4 – 6″ x 9″ pieces of plexiglass (3/32″ thickness)
  • Ipswich Pine Stain
  • gel stain or Minwax Express color
  • small detail paint brush
  • pencil or pen
  • photos
  • tape
  • rag
  • optional: scrapbook paper, double stick tape

Tools:

Instructions:

Set your table saw to a 10 degree bevel.

Wood Block Floating Picture Frames | Pretty Handy Girl

Set the saw blade to a depth halfway through your block (about 7/8″ deep.) Set the fence to 2″ from the blade.

Wood Block Floating Picture Frames | Pretty Handy Girl

Use your GRR-RIPPER to safely guide the 2×4 over the saw blade. Check to see if two pieces of plexiglass will fit in the groove created by the saw blade.

Wood Block Floating Picture Frames | Pretty Handy Girl

If not, nudge the fence over slightly and make a second pass over the blade. Check to see if the plexiglass will fit now. If not, repeat the process until they fit snugly. Read more

Holiday Tablescape | Pretty Handy Girl

Holiday Tablescape | Pretty Handy Girl

Can we be honest for a minute? This year when Jen Woodhouse from The House of Wood asked me if I wanted to participate in a holiday tablescape blog tour I nearly replied, “No way!”

Holiday Tablescape | Pretty Handy Girl

Not because I was too busy…

Holiday Tablescape | Pretty Handy Girl

… and not because I didn’t want to.

Holiday Tablescape | Pretty Handy Girl

The truth is, I’ve never created a tablescape before. Yup, it’s true. Go ahead and google “Pretty Handy Girl tablescape,” I’ll wait.

Holiday Tablescape | Pretty Handy Girl

Did you see my Pinterest board filled with tablescapes pop up in the search results? Yup, I had to create one for inspiration.

Pinterest board of Tablescapes

The other reason I was cringing at the idea of a tablescape is because I don’t own chargers. Well, I own lots of chargers for my battery powered cordless tools. (Bah da dun. Sorry bad joke.) How can you create a tablescape without chargers?! Read more

Pretty Handy Girl's Holiday Home Tour 2014

Pretty Handy Girl's Holiday Home Tour 2014

Welcome to my Holiday Home Tour 2014! If you are just arriving here from The DIY Showoff, welcome! If you came here first, be sure to catch up on the other tour participants by following the links at the end of my post. A special thanks to Chris from Just a Girl for putting together this fabulous tour.

I’m thrilled to be able to open my door and let you in to see all the decorating I’ve been working on. I admit to you that my home doesn’t normally look this clean. And there may be a pile of papers or shoes behind a door, so watch your step.

Pretty Handy Girl's Holiday Home Tour 2015

I love to update fake pine wreaths every year by tucking new elements inside. This year I used some tree picks from Lowe’s. You can see my old Presto Chango Christmas wreath if you want some more quick ways to dress up a cheap wreath.

Pretty Handy Girl's Holiday Home Tour 2015

The front door wreaths benefited from a few sprigs of cut holly from the yard.

Pretty Handy Girl's Holiday Home Tour 2015

Adding some ornaments to my little red wagon planter will take the place of plants until the spring.

Pretty Handy Girl's Holiday Home Tour 2015

Come on inside the foyer, I know it’s a little cold outside.

Pretty Handy Girl's Holiday Home Tour 2015

The kids’ advent calendars are filled and await their eager hands each morning. The colorful little houses look right at home on my IKEA hacked cabinet.

Pretty Handy Girl's Holiday Home Tour 2015

This year I wanted to add a lit garland onto the stair railing! If you look closely you might see a white cord taped around the baseboard leading into the office. I refuse to be dissuaded by the lack of a nearby outlet. Read more

Starry Night Christmas Tree | Pretty Handy Girl

Starry Night Christmas Tree | Pretty Handy Girl

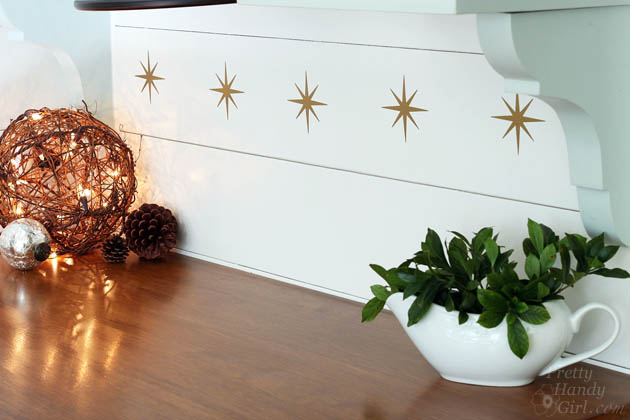
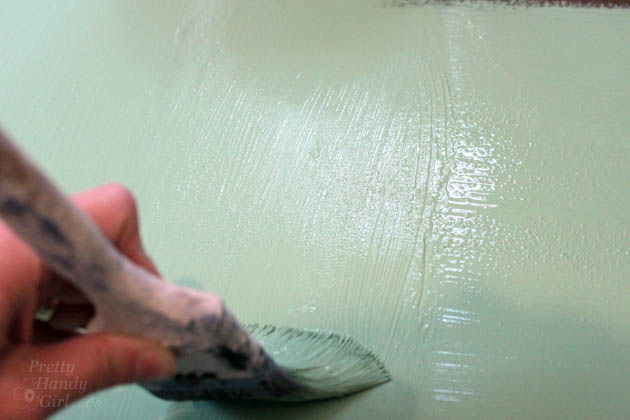
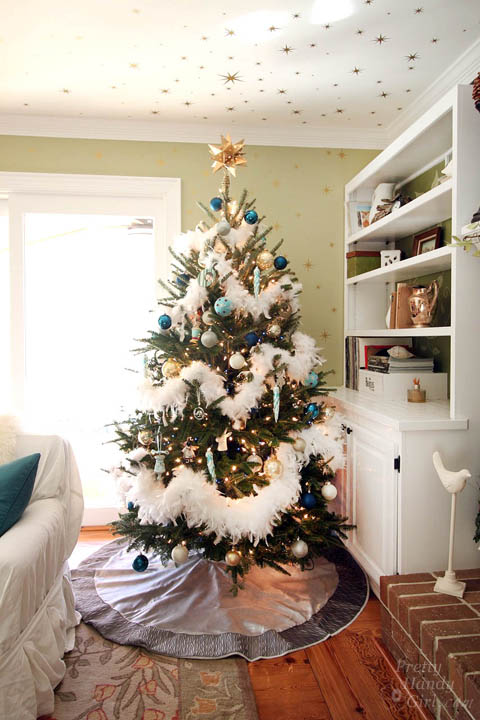
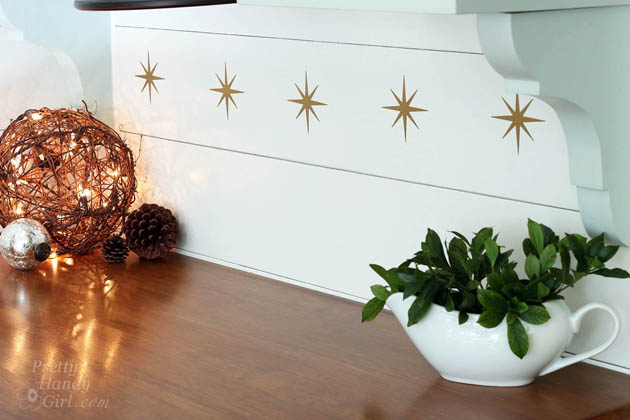
This year I might have taken the tree decorating a bit far. I couldn’t stop at just decorating the tree. No, I had to decorate up the walls around the tree and onto the ceiling. The tree is literally surrounded by a multitude of shimmery vinyl stars!

Starry Night Christmas Tree | Pretty Handy Girl

What do you think? Overkill? Or do you like the emphasis those stars place around the tree. If you like it, here is a link where you can purchase your own set of stars from Leen the Graphics Queen (affiliate link.)

Starry Night Christmas Tree | Pretty Handy Girl

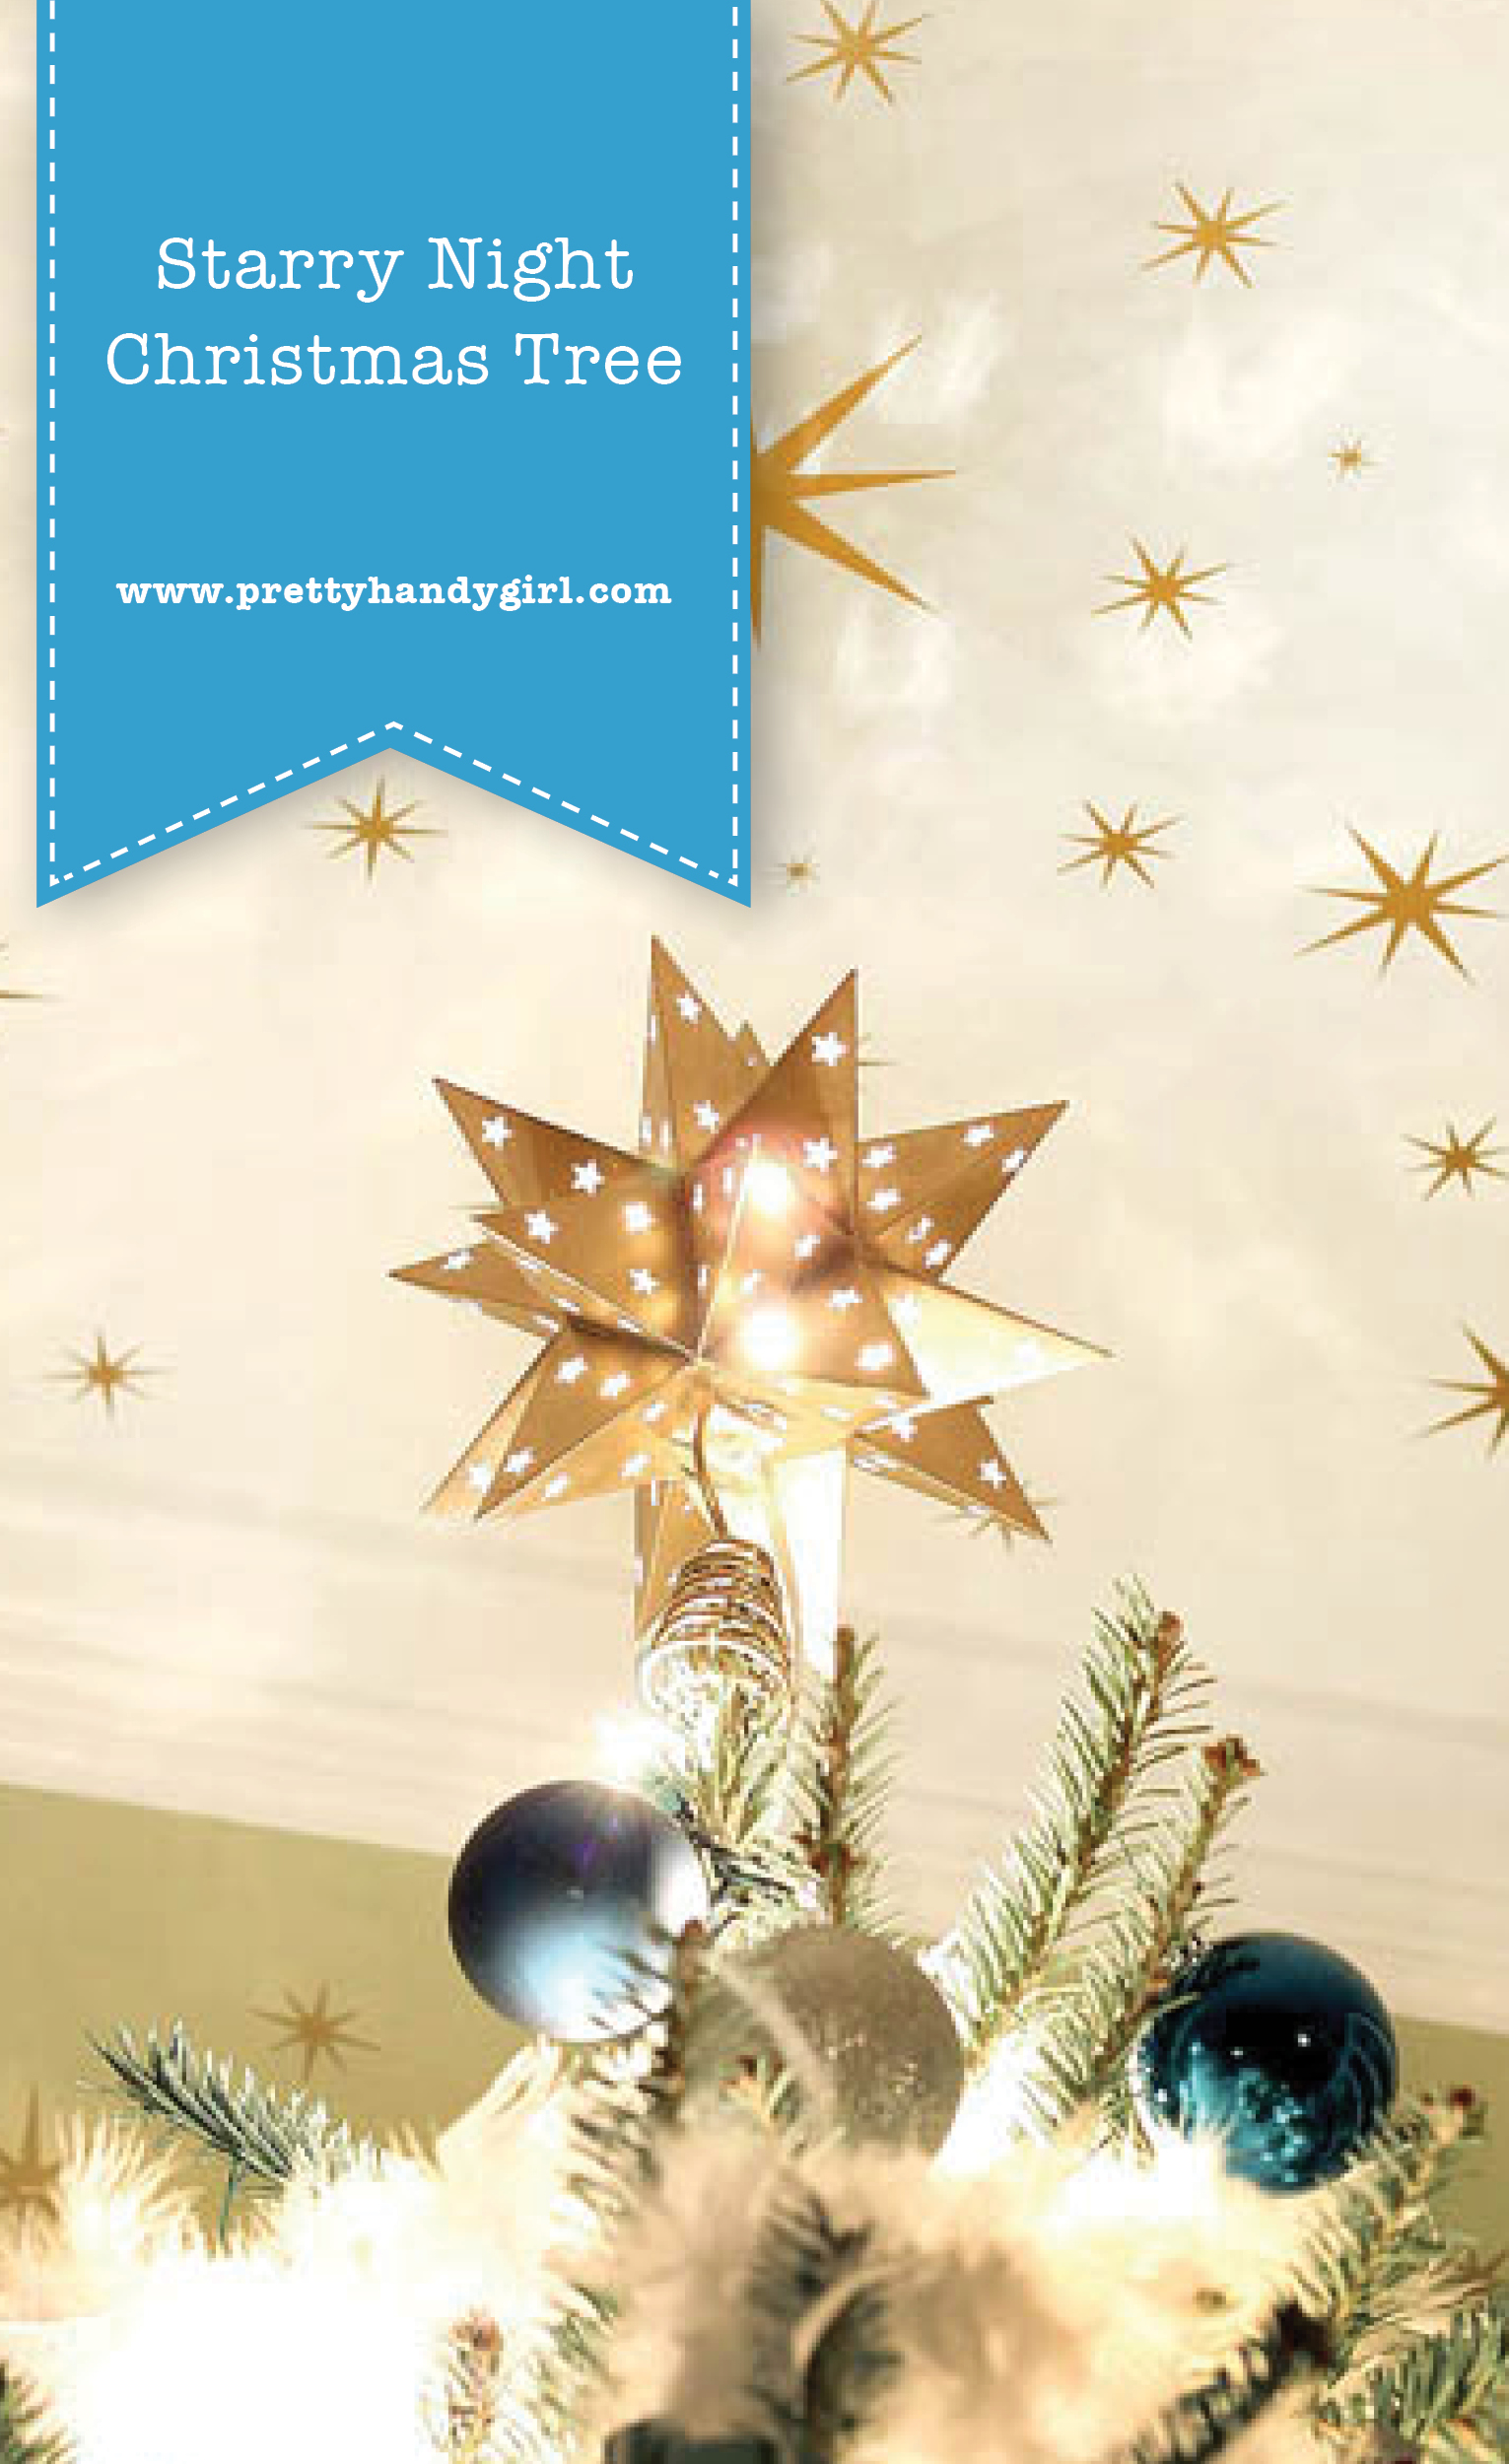
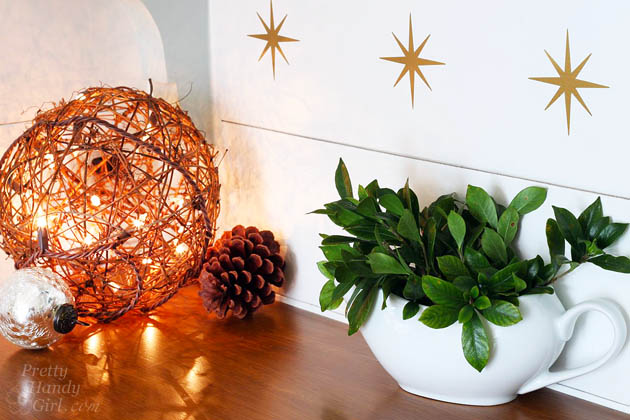
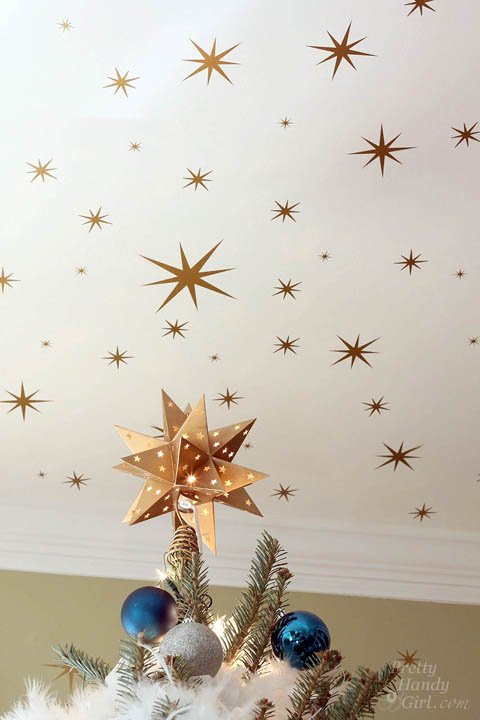
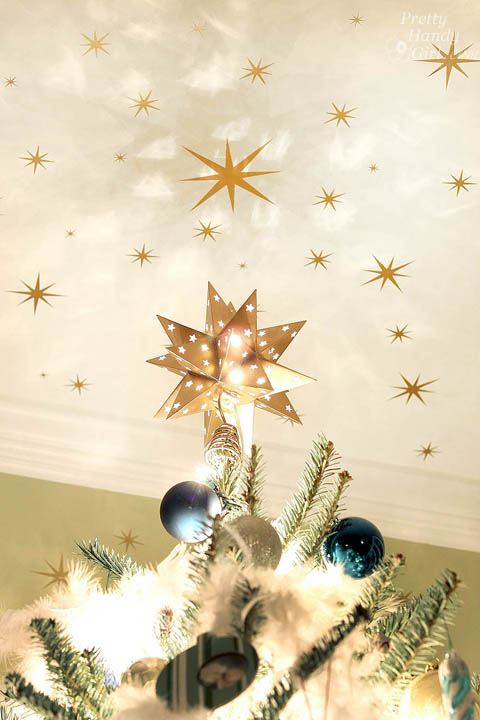
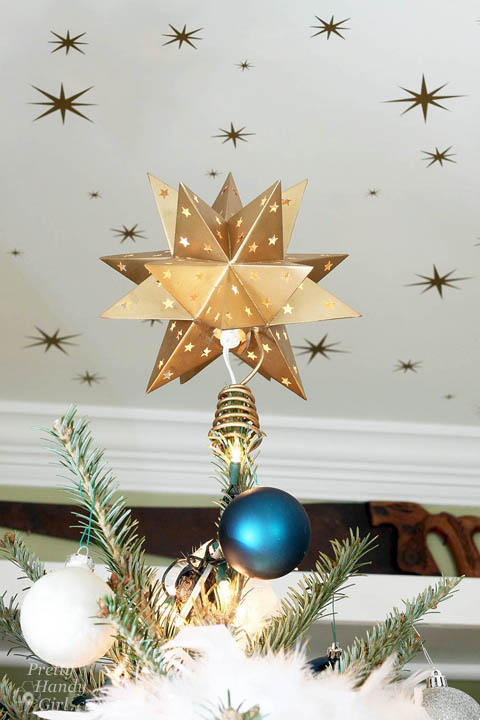
My idea started when I was gazing at my favorite tree topper I bought at Target a few years ago. At night when the light is turned on, it casts a multitude of lit stars all over the ceiling and walls. I was thinking how sad it is that you can’t see all those stars in the day. I wanted a more permanent way to keep the stars on the wall and ceiling 24/7! That’s when I called my friend Leen the Graphics Queen on a whim. That girl is the sweetest thing. She put up with my crazy idea and promptly shipped me several sheets of stars in different colors to create my vision. Proof that she’s truly a wonderful friend, she sent me both a set of gold and silver stars for me to choose from. As you probably guessed, I used the gold stars.

Starry Night Christmas Tree | Pretty Handy Girl

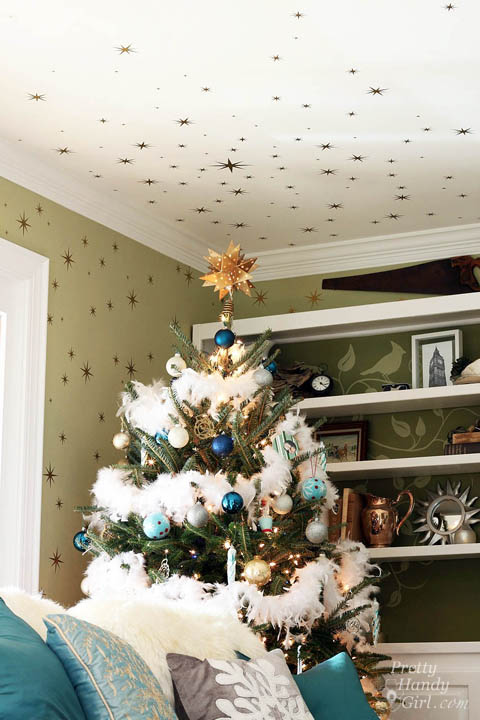
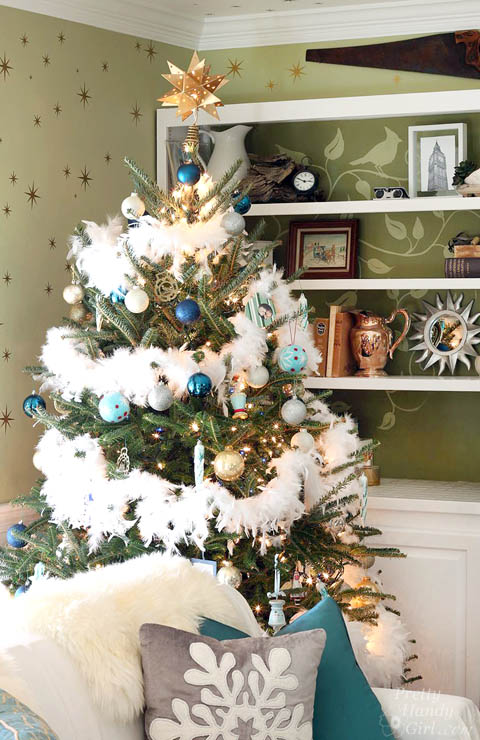
Now, behold our blue, white and gold Christmas tree! The gold is the prefect touch of warmth against the cool white and blue color palette.

Starry Night Christmas Tree | Pretty Handy Girl

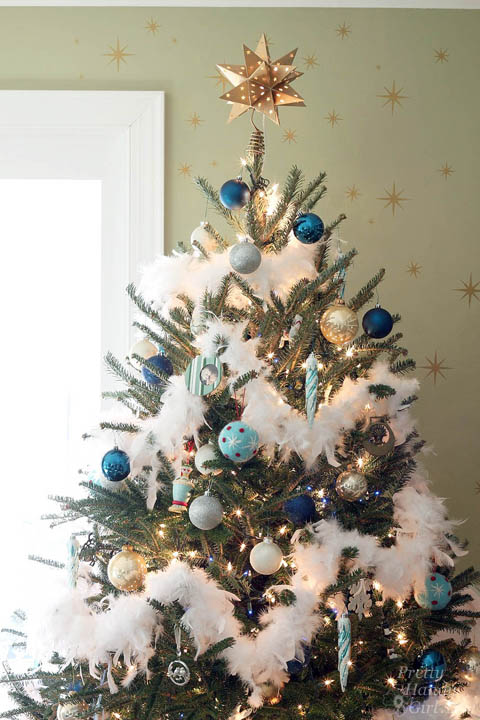
The feather boas and icicles were from Michael’s last year. The larger aqua blue embroidered ornament balls and silver tree skirt are from Lowe’s (yeah—I know—Lowe’s the Home Improvement store!) The rest of the ornaments I’ve had for a while.

Starry Night Christmas Tree | Pretty Handy Girl

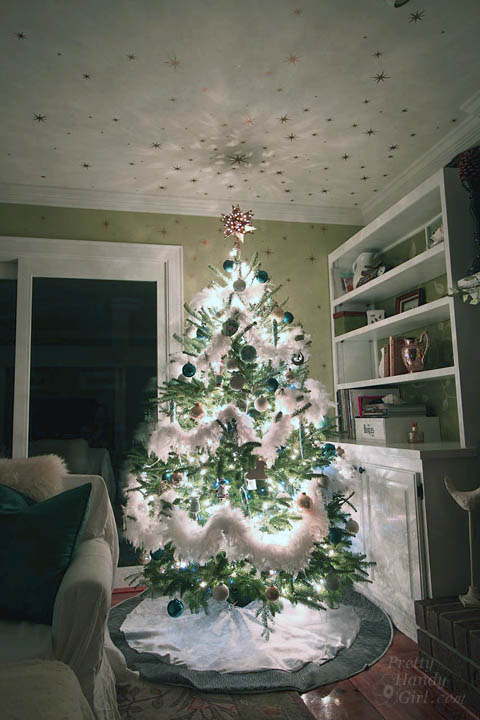
At night when the tree is lit, you can see that I wrapped the tree with several strands of white and blue mini-lights.

Starry Night Christmas Tree | Pretty Handy Girl

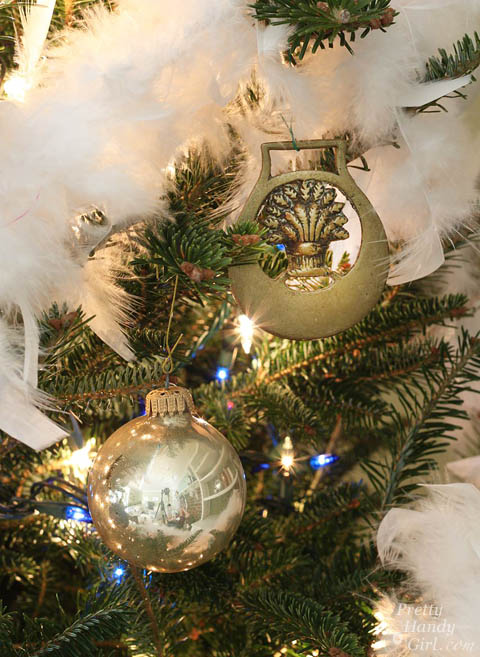
The British horse bridal medallions were a gift from a dear friend a few years ago. They have made the rounds in my home decor, but this year I added them to the Christmas tree.

Starry Night Christmas Tree | Pretty Handy Girl

Starry Night Christmas Tree | Pretty Handy Girl

What do you think? Do you like my idea of surrounding our tree with its own constellation of stars?

Starry Night Christmas Tree | Pretty Handy Girl

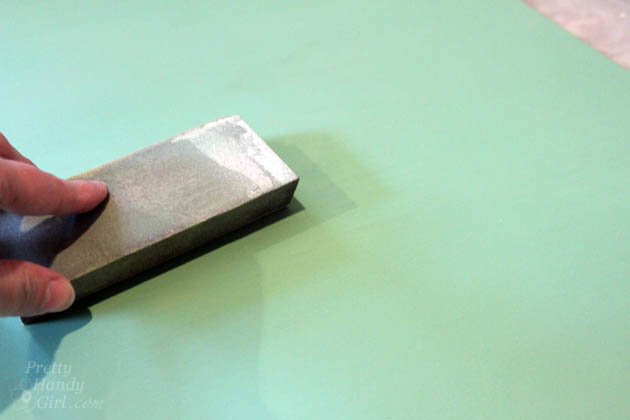
You don’t have to use them on the ceiling. You can use them to decorate your desk, your door, holiday gifts, your refrigerator, your kids (okay maybe not them) or anywhere you want to decorate for the holidays! Best of all, when you are ready to remove them they peel off and leave no damage behind.

Starry Night Christmas Tree | Pretty Handy Girl

Happy Decorating!

PHGFancySign

Disclosure:

Some affiliate links appear in this post, if you click on them I earn a small percentage from the purchase. You are not charged any more.

Here’s the scoop, I wasn’t paid for this post. Leen is a good friend of mine and I love her graphic vinyl. I approached her about using her graphic stars. Yes, she sent them to me for free, but she’s a sweetheart like that. Leen and her husband run a small shop near the coast of North Carolina. They are the type of business that you want to support around the holidays and the rest of the year. I’d tell you more about how wonderful they are and how they are raising four wonderful children, but then it would sound like I’m gushing. So, hey, just know that I wasn’t paid and I want to see Leen succeed ;-)! 


Pin for later!

Build Your Own Giant Chalkboard | Pretty Handy Girl

Build Your Own Giant Chalkboard | Pretty Handy Girl

Have you scoured antique stores or Craig’s List looking for a big giant vintage chalkboard? Those vintage school green chalkboards are highly sought after. But, hard to find. I have good news for you! You can build a Giant Chalkboard any size you want! (Although, typically you’ll be restricted to 4′ x 8′ if you want to use a sheet of masonite.) And you can mix your own chalkboard paint in any color.

Take out your notebooks, your pencils, and get ready to take notes.

Materials:

  • Masonite sheet cut to desired size (mine is 22″ x 48″)
  • 1×4″ pine boards for frame
  • 1 cup flat latex paint in color you desire
  • 2 tbsp. of unsanded grout
  • Pencil
  • Stain
  • White paint
  • Paint brush
  • Sanding block
  • Container to mix paint in
  • Kreg Jig
  • Drill
  • 1 1/4 inch pocket screws
  • Staplegun
  • 1/2″ staples

Instructions:

Build Your Own Giant Chalkboard | Pretty Handy Girl

Pour 2 tbsp. of unsanded grout into your empty container. Add 1 cup of flat latex paint and stir well. (Yes, I used satin and it still worked.)

Build Your Own Giant Chalkboard | Pretty Handy Girl

Paint the masonite with the chalkboard paint. Pull your brush in one direction. Then smooth out the paint by dragging the brush in a perpendicular direction.

Build Your Own Giant Chalkboard | Pretty Handy Girl

Let the paint dry. Lightly sand and add a second coat of chalkboard paint.

Build Your Own Giant Chalkboard | Pretty Handy Girl

Let that coat dry and sand smooth.

Assembling the chalkboard frame: Read more