Build Your Own Giant Chalkboard | Pretty Handy Girl

Build Your Own Giant Chalkboard | Pretty Handy Girl

Have you scoured antique stores or Craig’s List looking for a big giant vintage chalkboard? Those vintage school green chalkboards are highly sought after. But, hard to find. I have good news for you! You can build a Giant Chalkboard any size you want! (Although, typically you’ll be restricted to 4′ x 8′ if you want to use a sheet of masonite.) And you can mix your own chalkboard paint in any color.

Take out your notebooks, your pencils, and get ready to take notes.

Materials:

  • Masonite sheet cut to desired size (mine is 22″ x 48″)
  • 1×4″ pine boards for frame
  • 1 cup flat latex paint in color you desire
  • 2 tbsp. of unsanded grout
  • Pencil
  • Stain
  • White paint
  • Paint brush
  • Sanding block
  • Container to mix paint in
  • Kreg Jig
  • Drill
  • 1 1/4 inch pocket screws
  • Staplegun
  • 1/2″ staples

Instructions:

Build Your Own Giant Chalkboard | Pretty Handy Girl

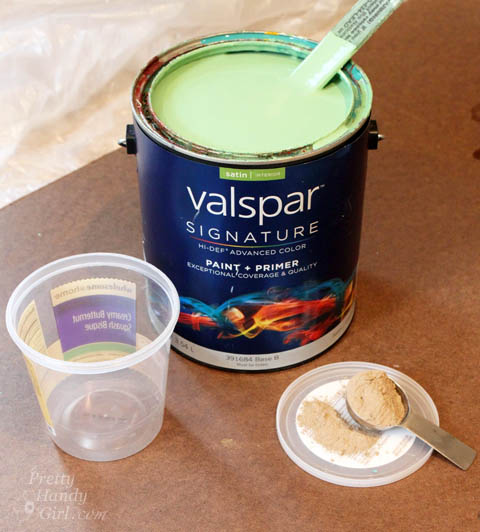
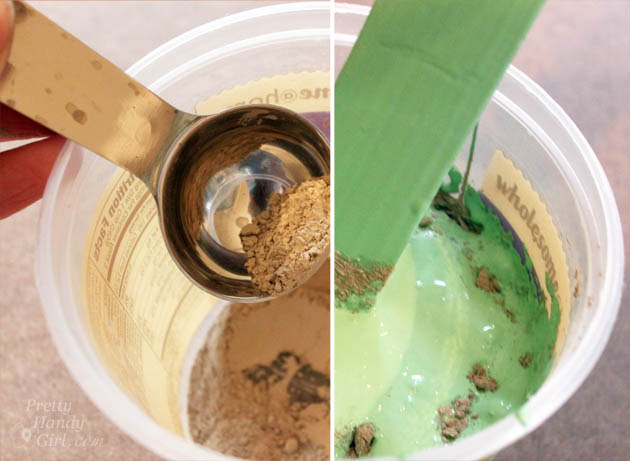
Pour 2 tbsp. of unsanded grout into your empty container. Add 1 cup of flat latex paint and stir well. (Yes, I used satin and it still worked.)
Build Your Own Giant Chalkboard | Pretty Handy Girl

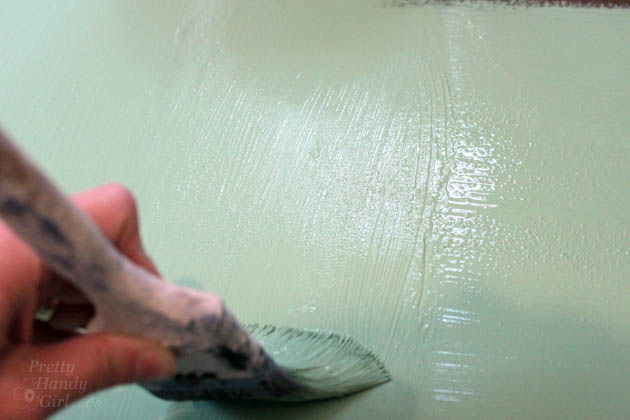
Paint the masonite with the chalkboard paint. Pull your brush in one direction. Then smooth out the paint by dragging the brush in a perpendicular direction.
Build Your Own Giant Chalkboard | Pretty Handy Girl

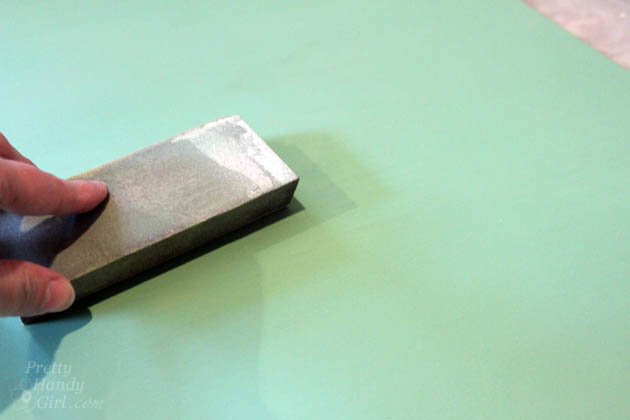
Let the paint dry. Lightly sand and add a second coat of chalkboard paint.
Build Your Own Giant Chalkboard | Pretty Handy Girl

Let that coat dry and sand smooth.

Assembling the chalkboard frame: Read more

snowglobe ornament

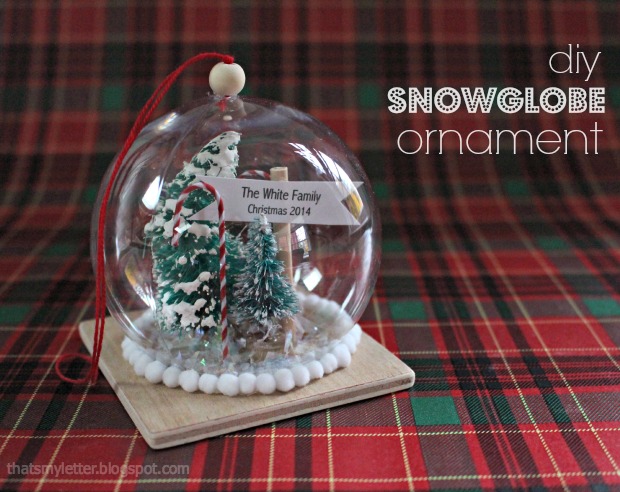
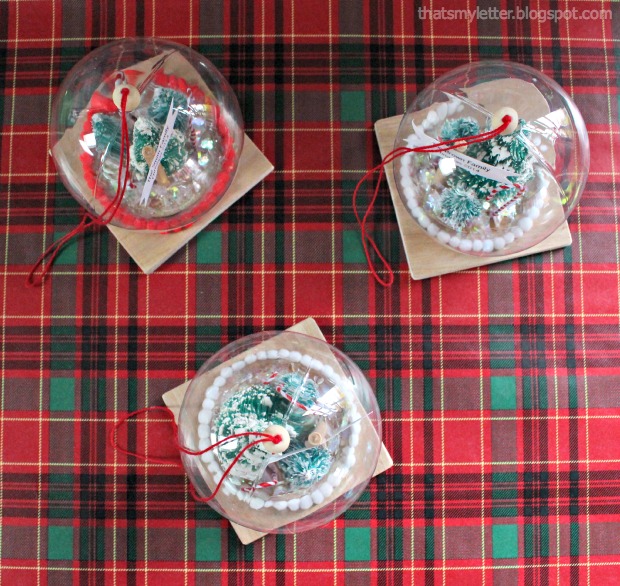
Jaime here today from That’s My Letter and it’s officially holiday prep time!  Today I’m sharing a DIY snow globe ornament with a wood base that makes a perfect gift for anyone big or small.

This snow globe ornament is constructed on a wood base where all the interior pieces can be glued to the base and then the clear globe is placed over the scene.  The globe is plastic and the entire ornament is very lightweight so it won’t weigh down your tree branches!

snowglobe ornament 4

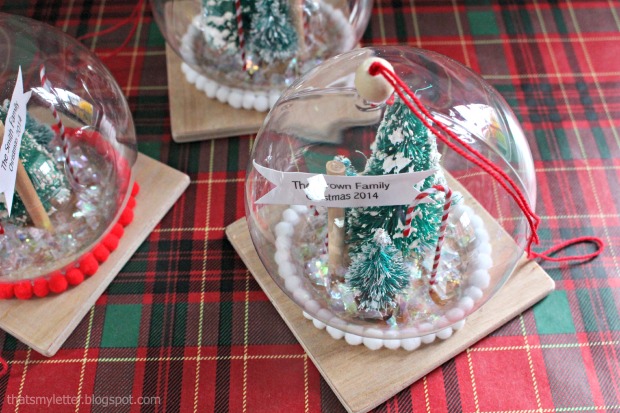
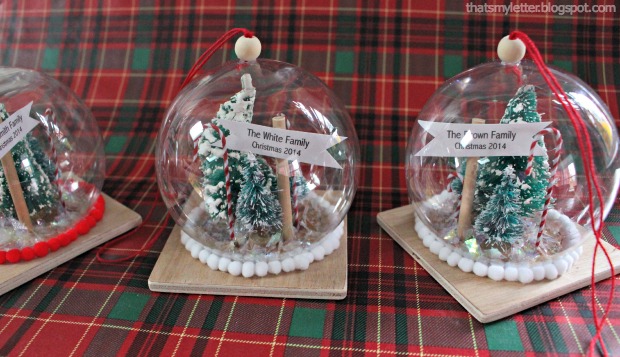
You can put nearly anything inside the snow globe as long as it fits under the dome.  I used bottle brush trees, wire candy canes and a wood dowel sign with the family name printed on cardstock.  Add a little faux snow and you have the cutest little winter scene.

snowglobe ornament 2

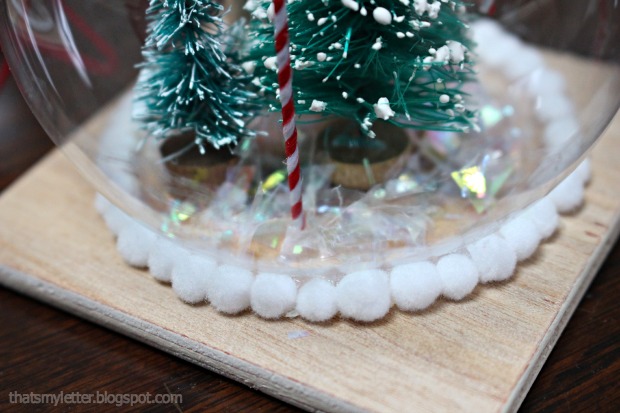
The faux snow will cover any unsightly hot glue and adds just that tiny bit of sparkle.

snowglobe ornament 3

Add a small wood ball on top to compliment the wood base with a string for hanging and you have a keepsake ornament that will look beautiful on or off the tree.

snowglobe ornament 1

Materials:

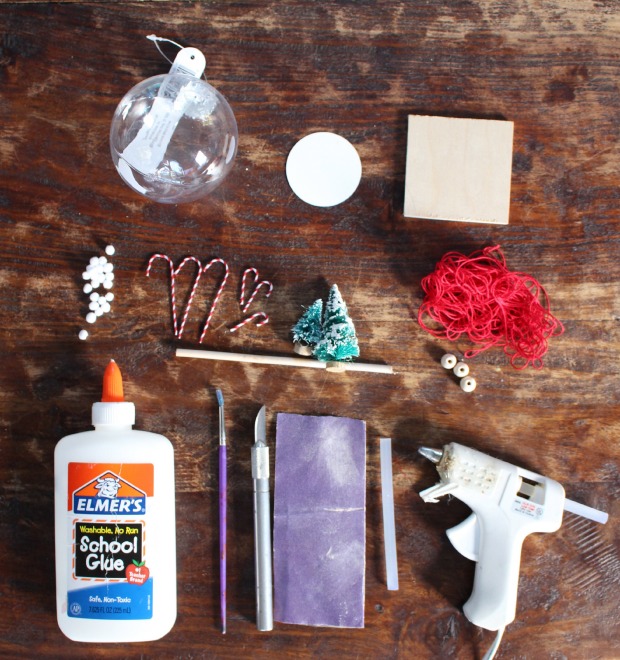
snowglobe ornaments supplies

  • 3″ clear plastic craft ornament
  • 2″ circle (cut from cardstock, only used as a template)
  • 3″ wood square (1/4″ plywood)
  • mini pom poms
  • mini wire candy canes
  • mini bottle brush tress
  • 1/8″ dowel
  • small wood balls with hole in center
  • red string
  • white glue
  • paint brush
  • faux snow
  • x-acto knife
  • sandpaper
  • hot glue gun & glue sticks
  • scissors
  • pencil
  • black sharpie marker

Instructions:

Step 1: Using an x-acto knife cut around the ornament opening enough to remove the neck portion.  Don’t worry about being neat here the goal is to remove the neck and have a wide enough opening for scissors. Read more

lollipop stand

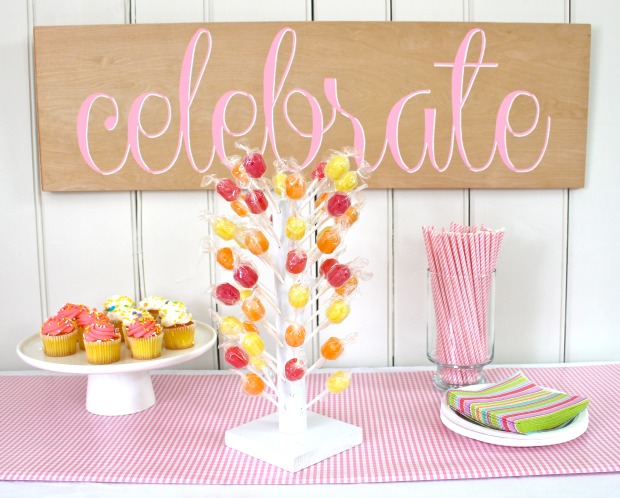
Happy Spring folks!  Jaime here from That’s My Letter back to share a fun DIY party decor idea: make your own lollipop stand.  I promise it’s fast and easy and adds tons of charm and sweetness to any party.

lollipop stand 2

This lollipop stand holds a ton of lollipops – 52 to be exact!  You could probably even use this stand for cake pops.  (The tutorial for the ‘celebrate’ script sign can be found here.)

lollipop stand 3


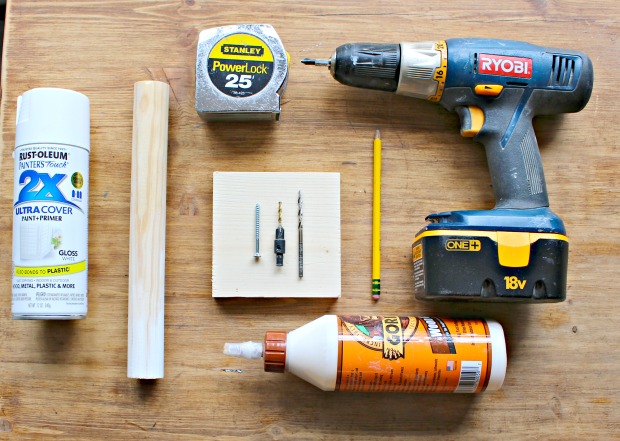
Materials:

lollipop stand supplies

  • 1 – 1 1/4″ wood dowel x 11″ long
  • 1 – 1×5  cut to 4 1/2″ (or any scrap wood 4 1/2″ square x 3/4″thick)
  • white gloss spray paint
  • sandpaper
  • 1 – 2″ wood screw
  • countersink bit
  • 5/32 drill bit
  • pencil
  • tape measure
  • drill
  • glue
  • scotch tape

Instructions:

Step 1: Mark the center point on the 4 1/2″ square wood base. Read more

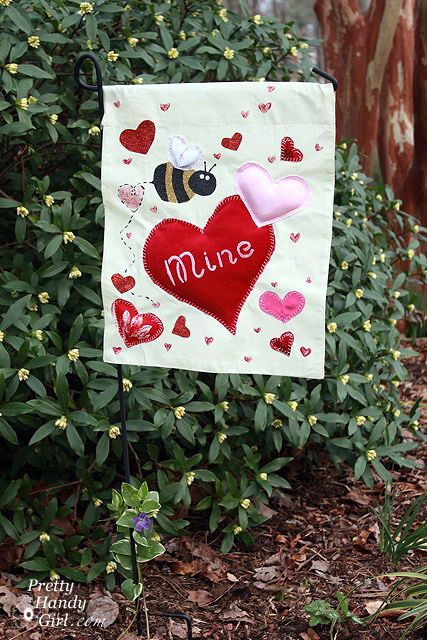
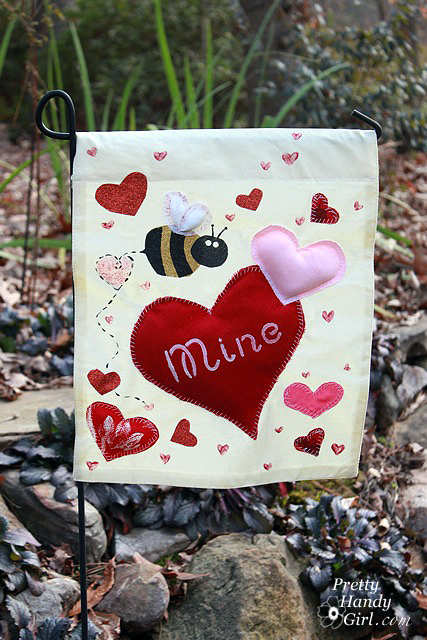
I love making unique garden flags. My go-to material for these outdoor accessories are Dollar Tree placemats! You read that right. $1 fabric placemats! But, if you don’t live near a Dollar Tree and you have old placemats, you could upcycle them into a Valentine’s Day garden flag!

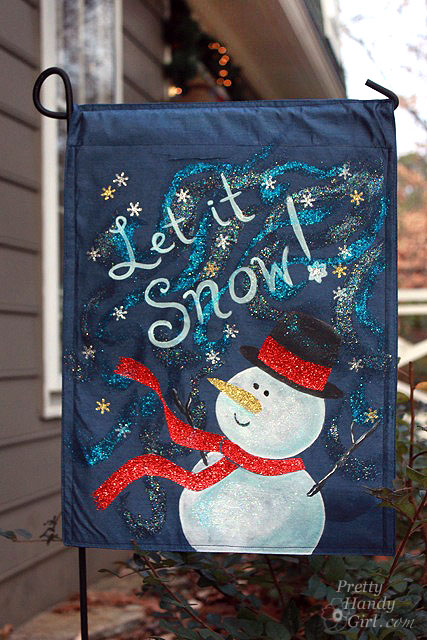
A few years ago, I made this Let it Snow flag:

Although it doesn’t seam to convince Mother Nature to bring us some white powder, it has held up nicely in the cold and rain. I’ve since set out to create a garden flag for each season. I have a Fall themed flag and a Summer flag. So, why not a Valentine’s Day flag?!

Start by collecting some supplies. Feel free to substitute what you have on hand.

Materials:

  • Dollar Store placemat
  • Ruler
  • Soap sliver (pencil or disappearing fabric marker)
  • Letter stencils (I chose a set by Martha Stewart Plaid)
  • Round paint brush
  • Tulip Fabric paint (white and black)
  • Tulip glitter fabric paint
  • Tulip glitter transfer sheets
  • Fabric scraps (red, pink and white)
  • Polyester stuffing
  • Scrap fabric, towel or rag (for ironing the glitter iron-ons)
  • White thread
  • Scissors

Begin by ironing the fabric you will be using (including the placemat). Use caution when ironing the placemat, the DollarTree ones I bought are polyester and needed a cooler iron. Read more

All You Need is...Valentine String Art | Pretty Handy Girl

All You Need is...Valentine String Art | Pretty Handy Girl

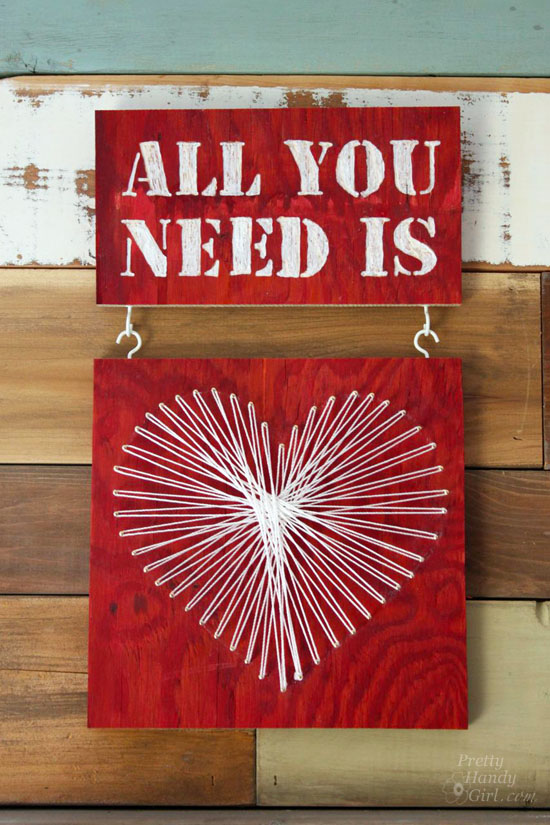
All you need is some scrap wood, and maybe a little string. And a few nails. And how about a gum wrapper? If you had all those you could be like MacGyver and build some kind of cool device that would catch fire. But, since I had everything except the gum wrapper, I decided to make a Valentine art project. Follow along and I’ll show you how easy it is to make your own heart string art and engraving art for Valentine’s Day. If you need any of the materials, you can pick up most of them at your local Lowe’s Home Improvement store (probably the same place MacGyver shops because they have gum at the registers.)

(I’ve included affiliate links for your convenience. I earn a small percentage from a purchase using these links. There is no additional cost to you. You can read more about affiliate links here.)

Materials:

Instructions:

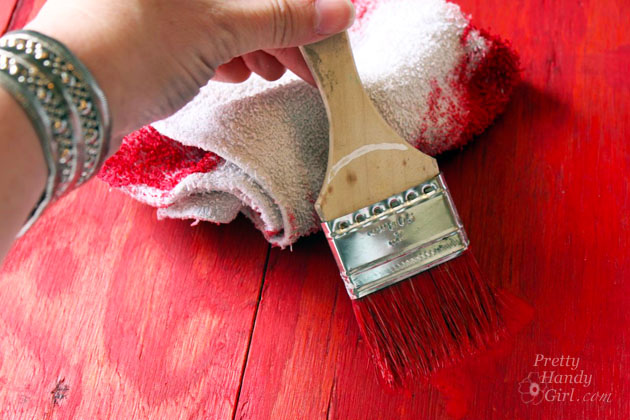
Start by painting your wood red.

All You Need is...Valentine String Art | Pretty Handy Girl

After the paint has dried, draw a heart with chalk. Read more