I love making unique garden flags. My go-to material for these outdoor accessories are Dollar Tree placemats! You read that right. $1 fabric placemats! But, if you don’t live near a Dollar Tree and you have old placemats, you could upcycle them into a Valentine’s Day garden flag!
A few years ago, I made this Let it Snow flag:
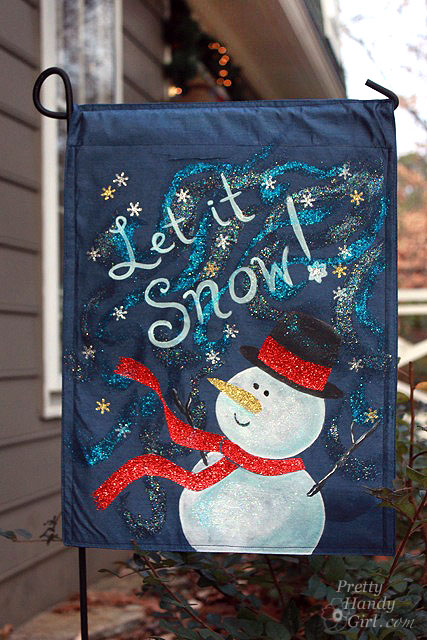
Although it doesn’t seam to convince Mother Nature to bring us some white powder, it has held up nicely in the cold and rain. I’ve since set out to create a garden flag for each season. I have a Fall themed flag and a Summer flag. So, why not a Valentine’s Day flag?!

Start by collecting some supplies. Feel free to substitute what you have on hand.
Materials:

- Dollar Store placemat
- Ruler
- Soap sliver (pencil or disappearing fabric marker)
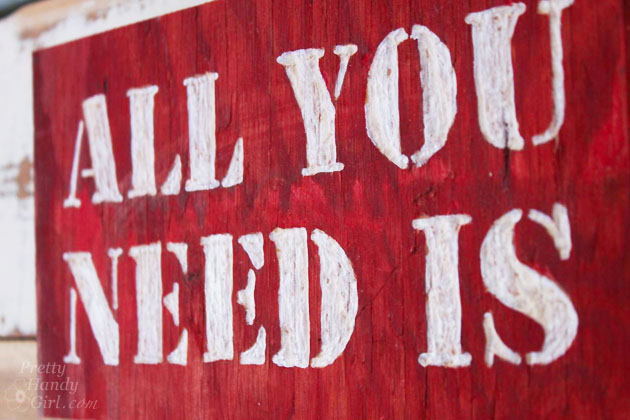
- Letter stencils (I chose a set by Martha Stewart Plaid)
- Round paint brush
- Tulip Fabric paint (white and black)
- Tulip glitter fabric paint
- Tulip glitter transfer sheets
- Fabric scraps (red, pink and white)
- Polyester stuffing
- Scrap fabric, towel or rag (for ironing the glitter iron-ons)
- White thread
- Scissors
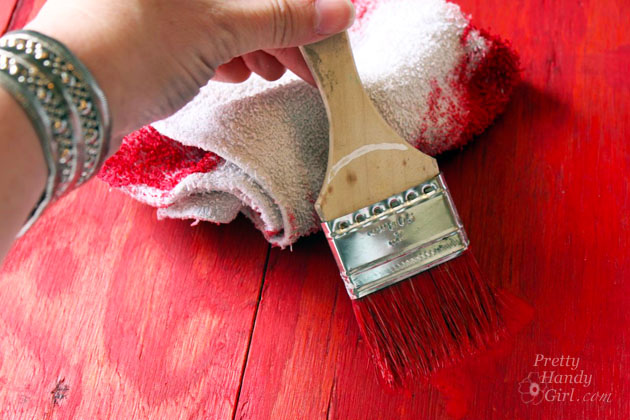
Begin by ironing the fabric you will be using (including the placemat). Use caution when ironing the placemat, the DollarTree ones I bought are polyester and needed a cooler iron. Read more