 Winter is upon us and with the temperatures dropping we have our windows closed and doors shut. Thus sealing in the stale air and odors. Not to mention cold and flu viruses. Ugh. But, I have a few easy and inexpensive tips to give your home beautiful natural scents and cleaner air. DIY Juniper Garland Tutorial: As I was driving through our local shopping center last week, I spotted several juniper bushes that were ripped out of the ground by the landscapers. It was obvious they were getting rid of them. I did what any resourceful
 crazy DIYer would do and filled my trunk full of the bushes. 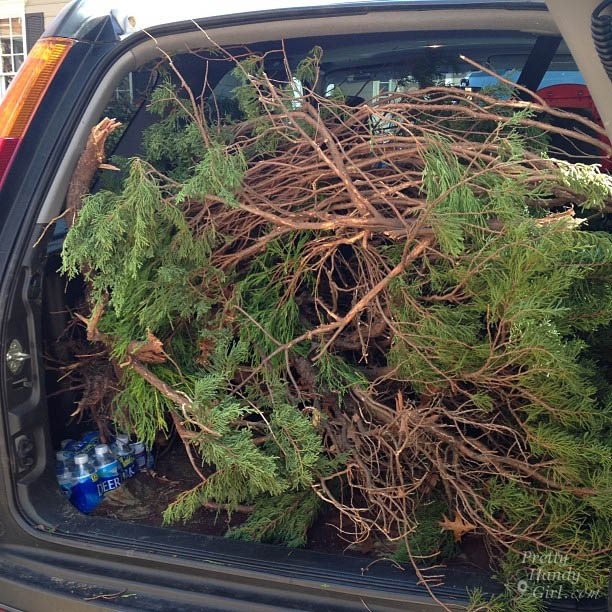 I was just about to drive away as one of the landscapers hailed me down. I totally thought I was about to be reprimanded. Gulp. But, he asked me if I knew they were dead. I laughed and said it didn’t matter because I was going to make garlands out of them. He then showed me the location of the three dumpsters full of more juniper I could have for more garlands! Score one for the crazy DIY lady! If you don’t have free landscaping waste at your disposal, you can use any trimmings from pine and evergreen type bushes. Materials:
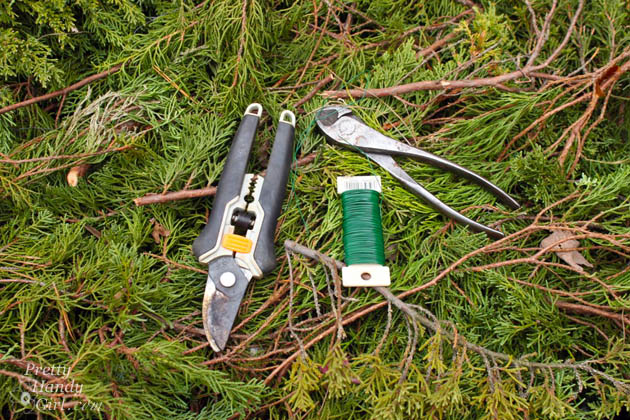
- Fresh trimmings
- Floral wire
- Wire cutters
- Pruners
- Gloves
(I’ve included affiliate links for your convenience. I earn a small percentage from a purchase using these links. There is no additional cost to you. You can read more about affiliate links here.)
Instructions: Put on your gloves. Cut your trimmings into manageable sections. Layer clumps together. 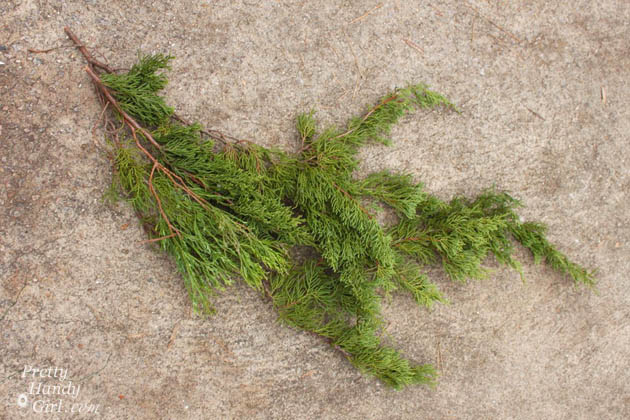 Wrap a small piece of floral wire around the clump to secure them. (I should have worn gloves, I totally regretted my actions after having many tiny cuts on my hands.) Continue adding to create a garland rope.
 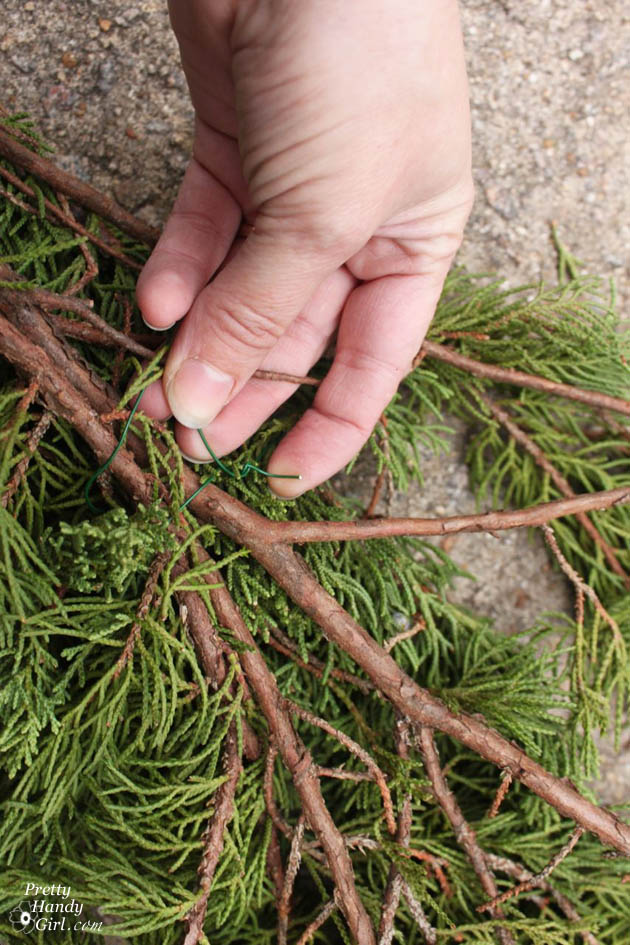 Secure the garland rope to your bannister, mailbox, mantle or wherever you want to decorate with holiday greenery. I used more floral wire to attach the garland to our banister.
  Then I added some pretty bows. I wish my blog had smell-o-vision because these juniper garlands have a fresh evergreen scent.
  Not bad for free greenery!!!
![]() Rosemary Star Wreath Tutorial: Making a rosemary wreath is almost as easy as making a garland, but on a smaller scale. If you have a fresh rosemary bush, you can use trimmings from it for this project. If not, now’s the time of year to purchase little rosemary trees at your grocery store. Materials:
Rosemary Star Wreath Tutorial: Making a rosemary wreath is almost as easy as making a garland, but on a smaller scale. If you have a fresh rosemary bush, you can use trimmings from it for this project. If not, now’s the time of year to purchase little rosemary trees at your grocery store. Materials:
- Fresh rosemary
- Scissors
- Floral wire
- Wire cutters
- Copper pipe (or a coat hanger will work)
- Fishing line
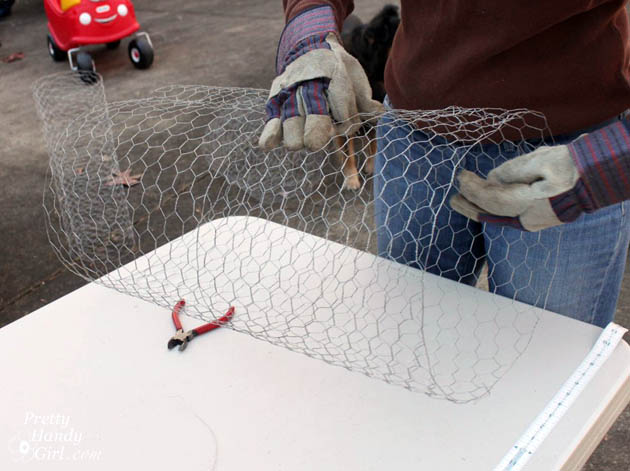
Optional: Plumbing strap for hanging Instructions: Form your copper wire into a star shape. Wrap (or solder) the ends together. 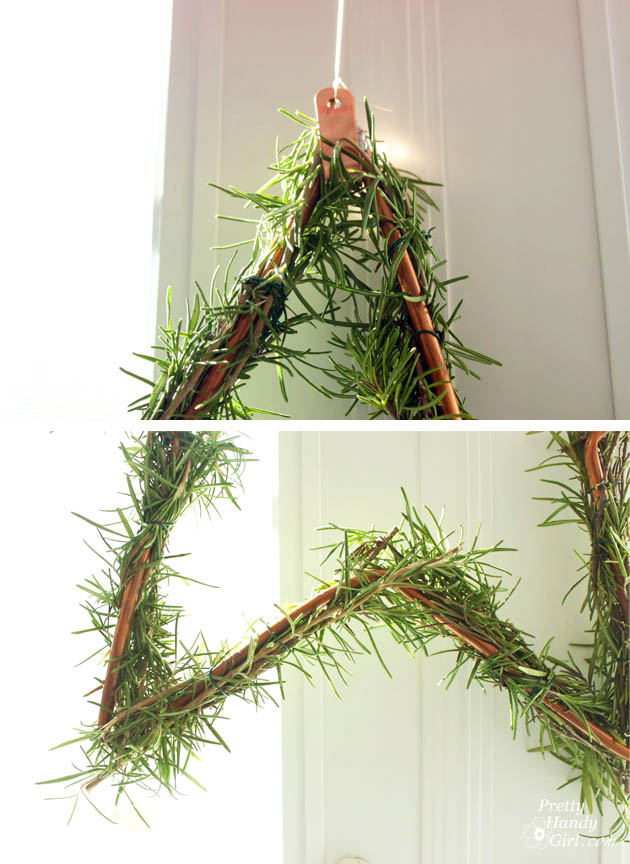 Use small pieces of floral wire to attach rosemary springs to the star shape. Add a plumbing strap on top and feed fishing line through the hole in the strap.
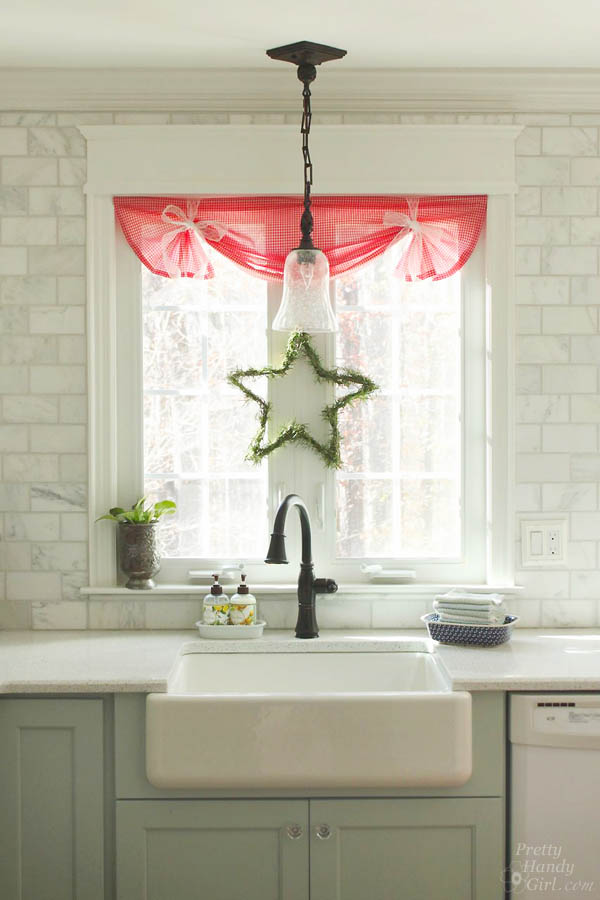
  Hang your rosemary star wreath and enjoy the heavenly scent of rosemary in your kitchen throughout the season.
  It’s beginning to look a lot like Christmas around here!
![]()
Cleaning the Air in Your Home: Having the doors and windows closed in the winter helps keep your home warm. But, it also traps odors and makes the air in your home stale. You know who else is trapped indoors? Viruses and germs are also trapped inside! Besides frequent hand washing, you can improve your odds of staying healthy this winter by changing your air filters.Use a good quality Filtrete brand filter to trap viruses and to clean your home’s air. Be sure to check your filters and change them every 1-3 months to keep your home healthy and your HVAC system running smoothly. ![]()
![]()
 Disclosure: This is a sponsored post for Filtrete. I have the honor of being an ambassador for them and have been sharing information from 3M Filtrete. I was given key messages to share, but all the words and thoughts are my own. I have been compensated for my time and for this post. I continue to work with certain companies like Filtrete that I believe in, because of their quality and because I feel they have helpful messages for my readers. I will always disclose to you if you are reading a sponsored post.