Jaime here from That’s My Letter sharing a DIY repurpose project that works great outside or inside.
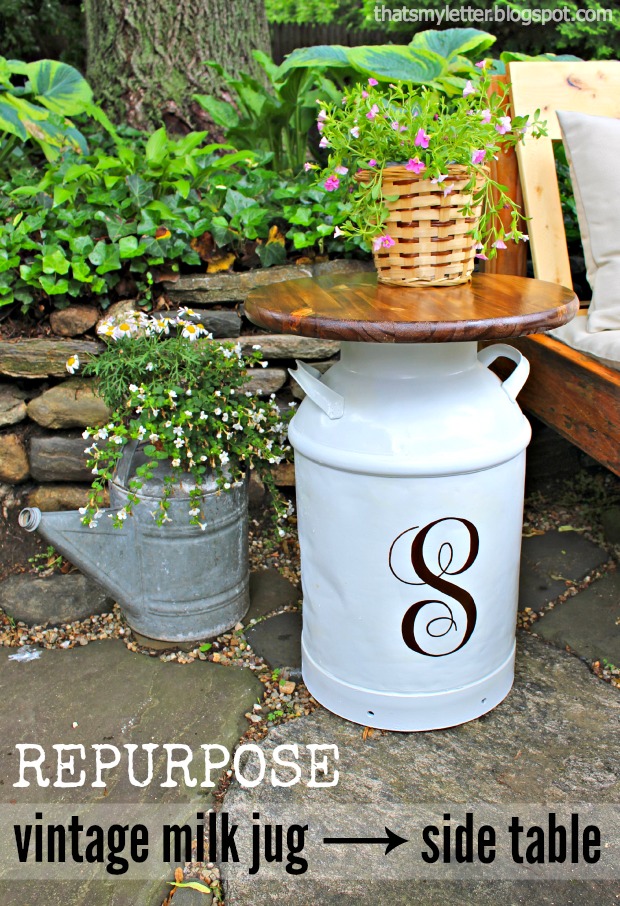
Take a vintage milk jug, add a pre cut circular wood top and you have a functional and stylish side table. If you want to get fancy I’ll show you how to add the personalization too!
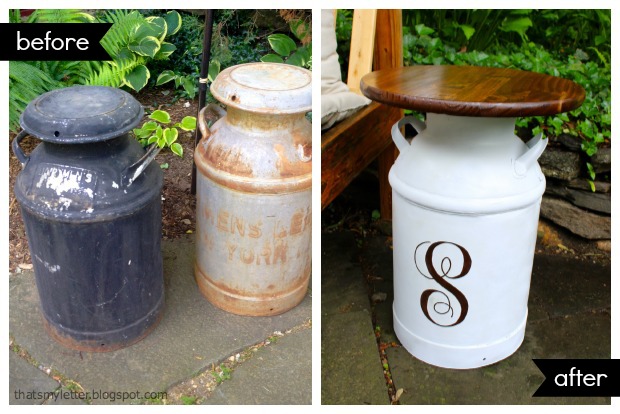
I started this project with some crusty old milk jugs that really serve no purpose these days and after a little paint and adding a wood top we have a beautiful and useful piece of furniture.

Together the two milk jugs make a great pair on either side of our diy outdoor sofa but ‘S’ is not my last name, these milk jugs will be going to a friend’s home.
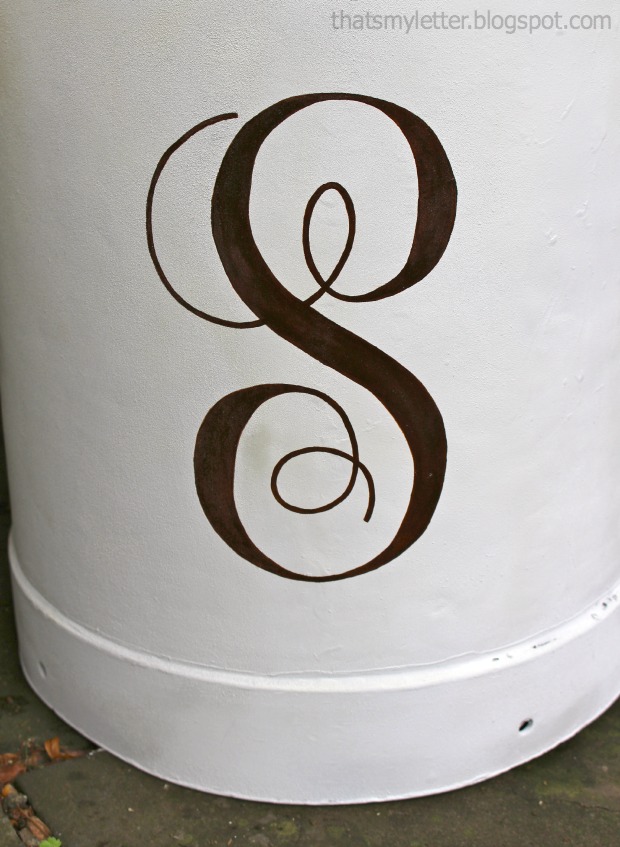
The personalization is icing on the cake, if you have a steady hand you can add any letter in nearly any font you desire. Ready to get started? Read more


