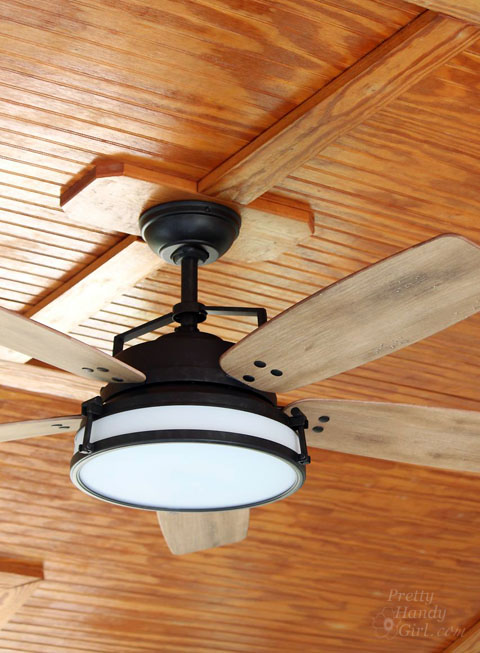
This fall I’ve spent a lot more time on our screen porch. It all started with a new ceiling fan. We call it the trickle down effect in our house. You bring something new, nice and beautiful into a room and all of the sudden everything else looks old, dated and ugly. I often find myself wanting to give the whole room a new look. It’s a true “If You Give a Blogger a Cookie” problem.
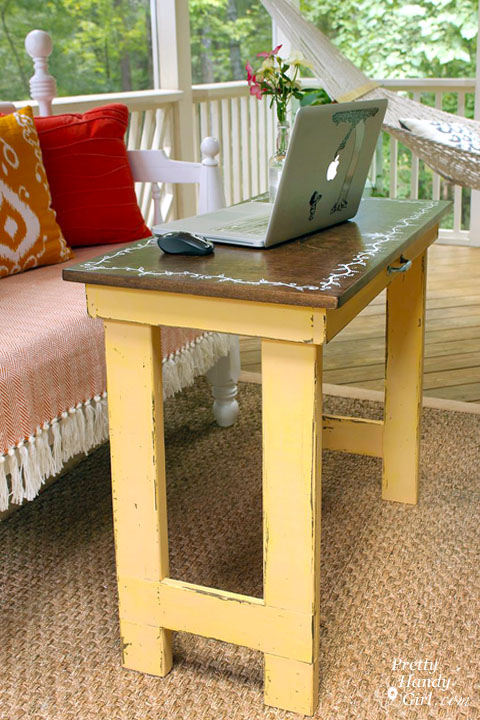
Then I built a folding writing desk so I could work outside. Now my family knows I’m most likely on the porch when they can’t find me in the house.
Because Autumn had arrived, I decided to add some new colorful accents to the existing blue and white palette. A Target herringbone throw and feather pillow are a cozy invitation to kick up your feet and relax.

I rolled up the painted bamboo rug and replaced it with a simple sisal rug.
All the new pillows are from Target:
- Orange Velvet Wave Pillow
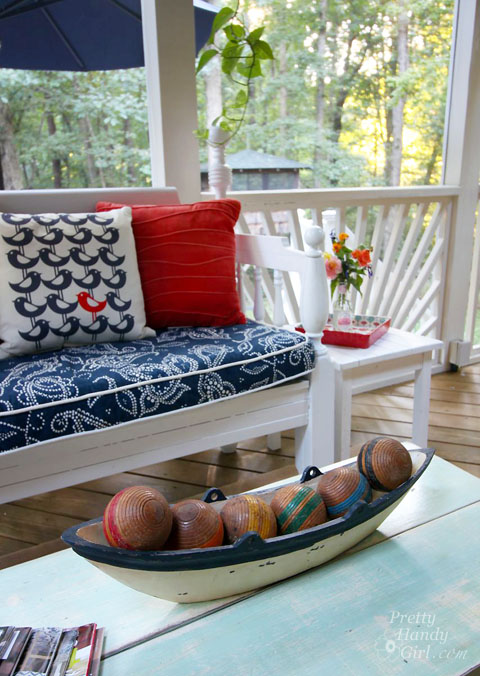
- Birds Pillow
- Yellow Ikat Pillow (no link available)
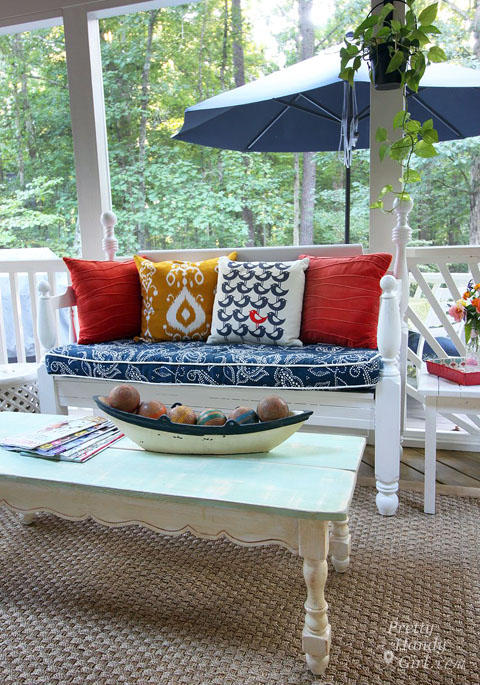
To play up the colorful accents, I filled a wooden vessel with colorful antique croquet balls.
This is definitely the spot to sit while the weather is still warm.

Unfortunately, we’re supposed to get an Arctic blast next week. You know I’m spending as much time this weekend soaking up the last of our North Carolina warm weather.

I hope your weather continues to be nice and you are enjoying being outside.
![]()


 Disclosure: As a #LowesCreator, I was provided with a Lowe’s gift card to purchase supplies for this post. I was not told what to write. All ideas and words are my own.