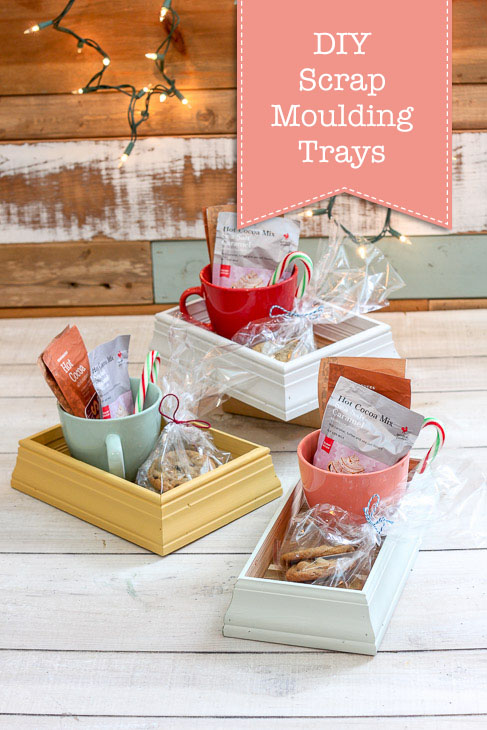
Growing up, my parents always told me homemade gifts meant more to the recipient than a store-bought gift. If you’re like me, and enjoy making things and have a lot of wood scraps, you’ll love making many of these Quick DIY Trays and Gift Boxes!
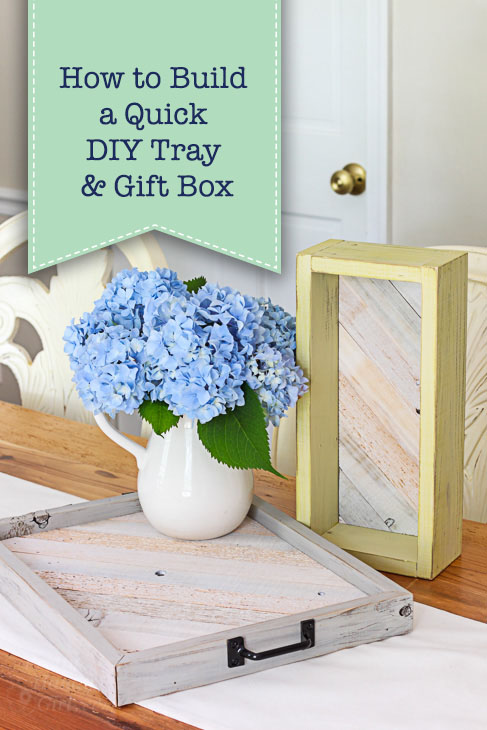
How to Build a Quick DIY Tray & Gift Box
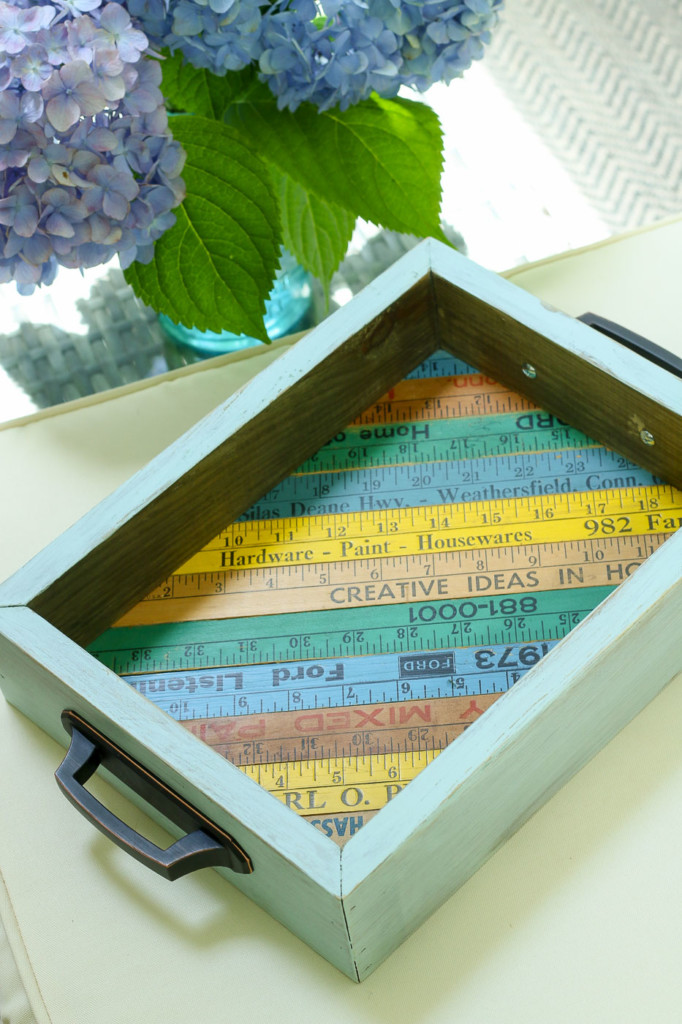
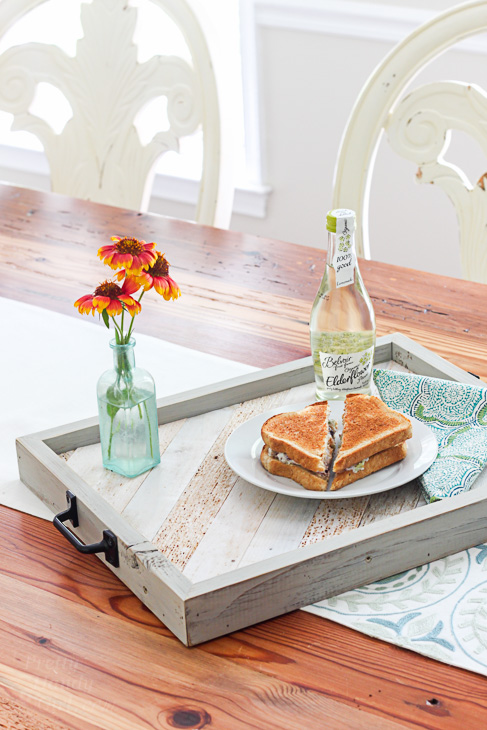
Several years ago I shared this tutorial, but I’m updating the post to show you an alternative base for your tray. You can use a variety of thin woods to cover the plywood for a more decorative look. Previously I used leftover Timberchic end caps. But, this past weekend I whipped up a tray for my girlfriend’s birthday using vintage rulers and I couldn’t be happier with the results.

Instead of the self-adhesive Timberchic, use wood glue to affix any thin wood to a plywood base. Then build the sides and you have yourself a beautiful gift tray (or gift box if you make your sides taller.)
Now it’s time to share the tutorial with you because this will be easy, quick, and frugal (all things I like in a good DIY project!) Let’s learn How to Build a Quick DIY Tray & Gift Box.
Question: What’s better than giving a one-of-a-kind gift? What’s better than giving a gift basket that will be useful long after the contents have been consumed? And what’s better than spending money on a gift basket?
Answer: Building your own Quick DIY Tray & Gift Box that will be used long after the contents are gone and it doesn’t have to cost you an arm or a leg when you are using scraps from your workshop! #Winning
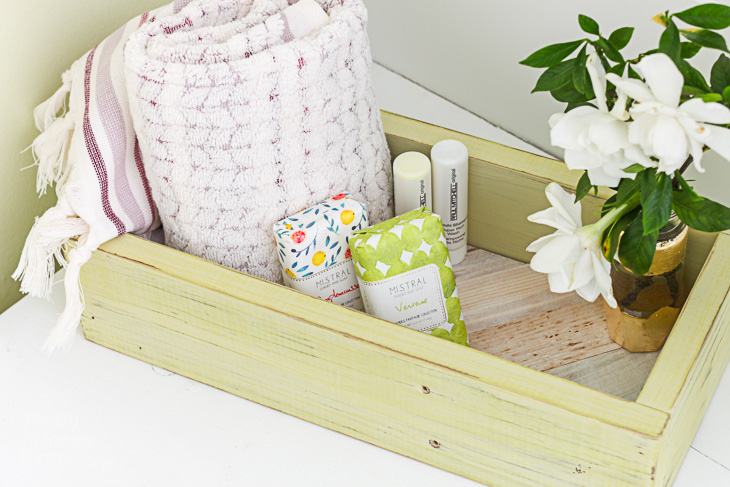
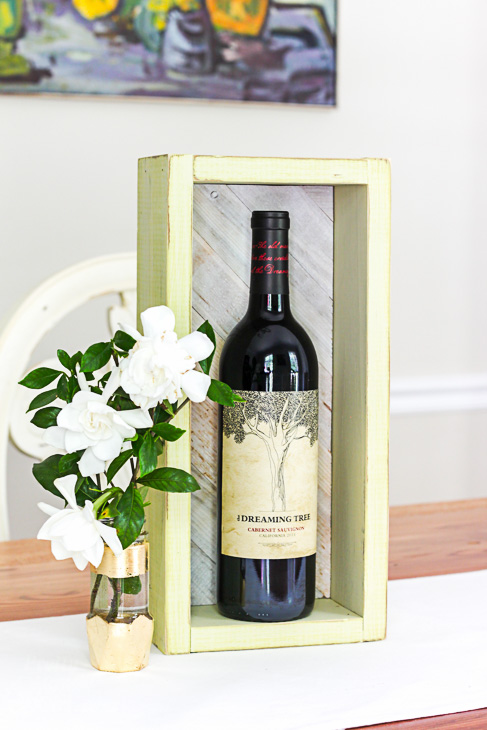
These rustic beauties are perfect for filling with a bottle of wine or to use as the base for a cellophane-wrapped gift basket.
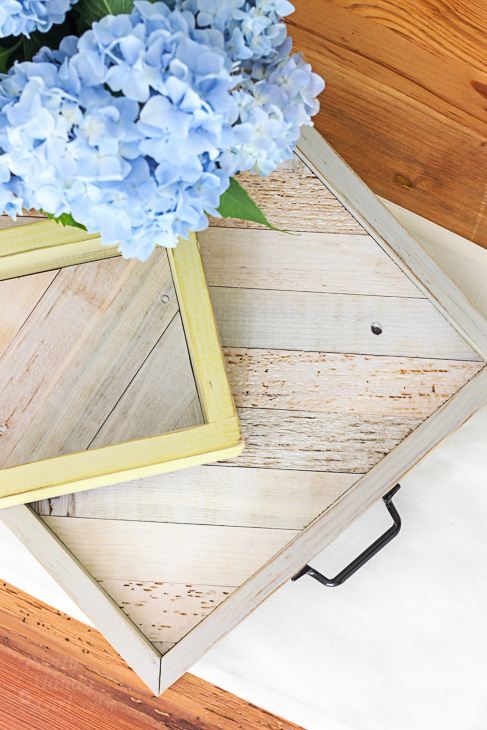
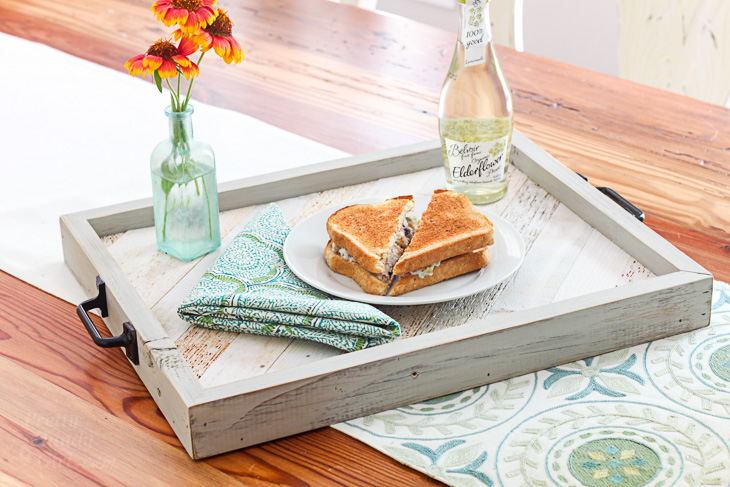
The tray is probably my favorite because you can use it to serve lunch on the porch (or breakfast in bed.) And who doesn’t love a good tray to corral loose items in your living room, bedroom, or kitchen?
The crate is a close second in my heart because it makes the perfect place to store toiletries for a guest. But, we all know it can also be used to organize desk supplies and much much more.
What do you need to make this Quick DIY Tray & Gift Box you ask? Well here’s the 411 on this project.
Materials:
(I’ve included affiliate links for your convenience. I earn a small percentage from a purchase using these links. There is no additional cost to you. You can read more about affiliate links here.)
- 3/4″ or 1/2″ Plywood large enough for the base of the tray or crate
- Scrap wood for your sides (I used 1 x 2 pieces for the tray and 1 x 4 for the crate)
- TimberChic end caps (or pieces of 1/4 plywood slats) or scrap material
- Wood glue
- National Hardware door pull
- Fusion Paint in Putty and/or Little Speckled Frog
- Paint brush
- Drill
- Hand Saw (or use a Miter Saw and Table Saw)
- Pencil
- Ruler
- 1 ¼” brad nails
- Nail gun or hammer
- Felt pads
Optional:
- Cellophane for gift baskets
- Table saw for trimming base
Instructions:
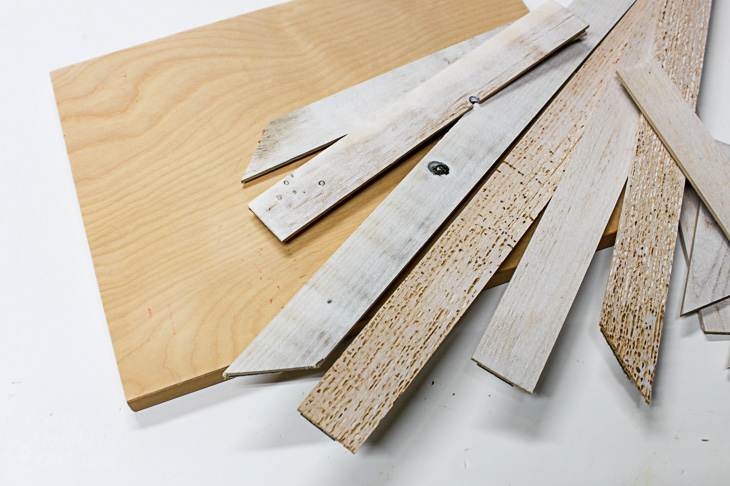
Cut your plywood base to size. (My tray was 11″ x 15″ and the gift box was 4″ x 10″.)
Set your slats on top of the plywood to figure out their ideal placement.
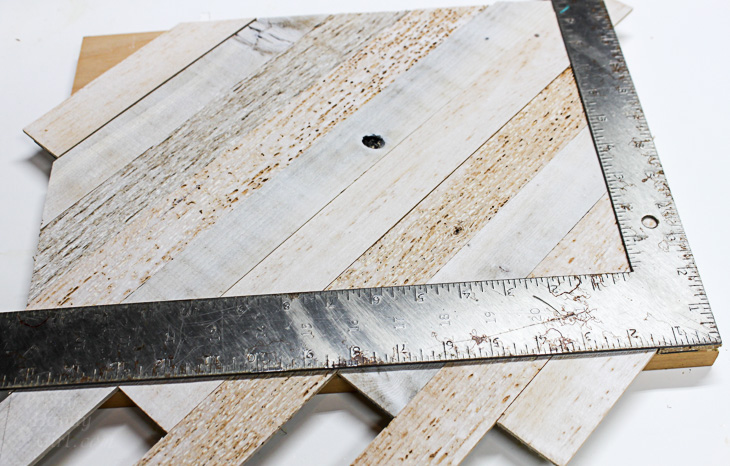
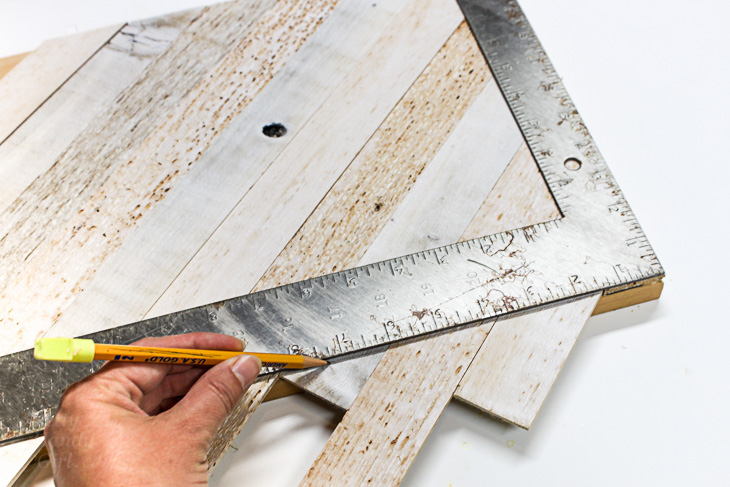
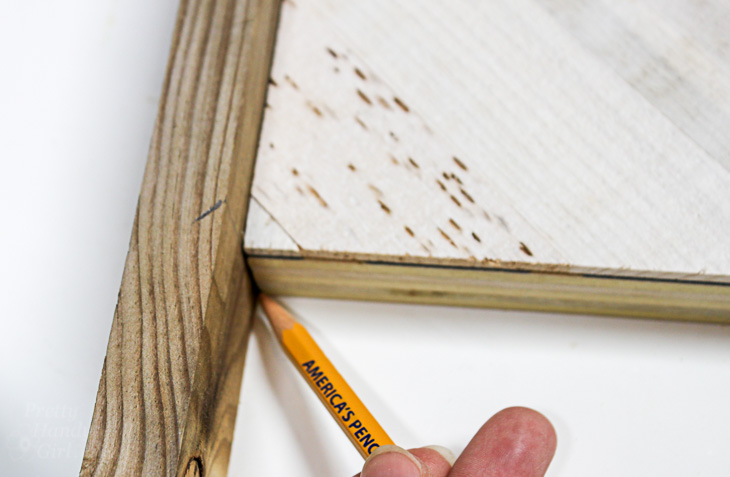
Use a ruler or square and your pencil to mark the cut offs.
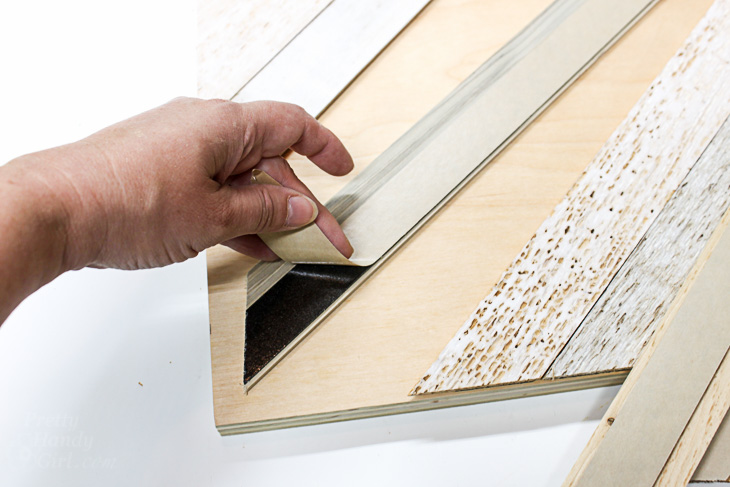
Cut the slats and return to the plywood base. If you are using the TimberChic end caps, remove the adhesive backing and place the slat on the plywood. (If using other slats, use wood glue to adhere them to the base.)
For a perfect edge, you can turn your base upside down and trim the edges on the table saw. (Not necessary, but gives you a cleaner edge.)

Line up your side material against the base and mark where to cut each piece.
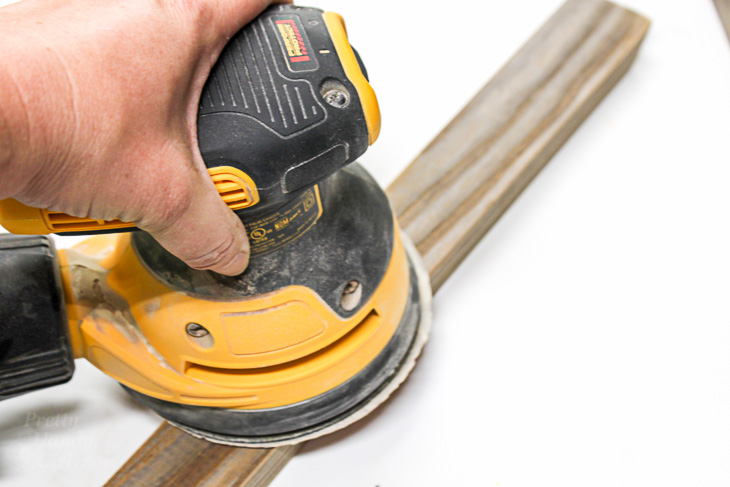
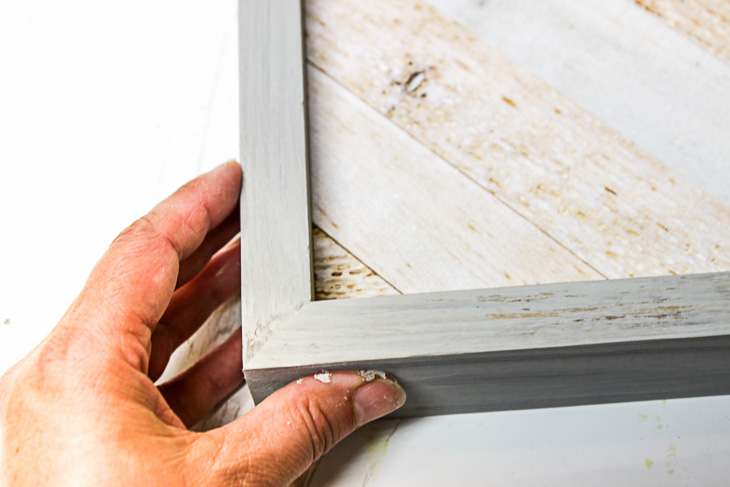
Cut the sides at a 45 degree angle to create mitered edges (or simplify the project by cutting 90 degree ends). Test fit the sides to make sure you have a tight miter at each corner. Sand the sides smooth to remove any rough spots.
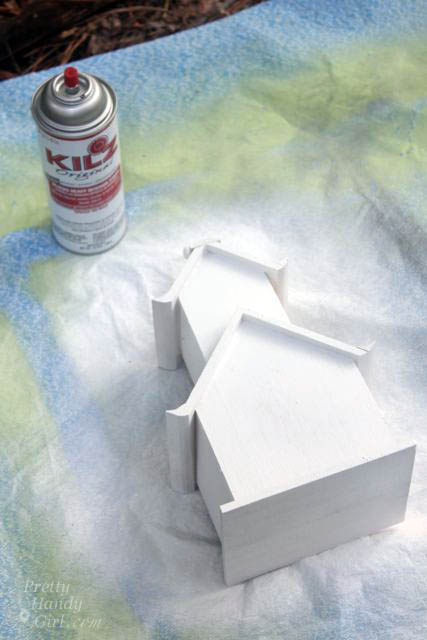
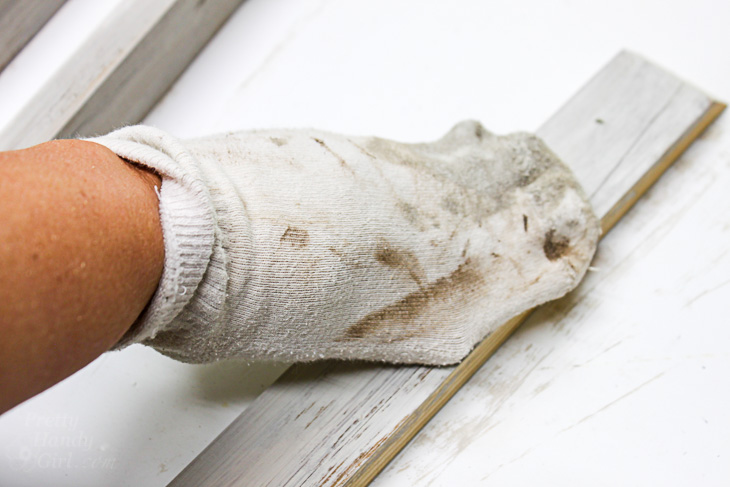
Paint your sides with Fusion paint (or chalk paint of your choosing.)
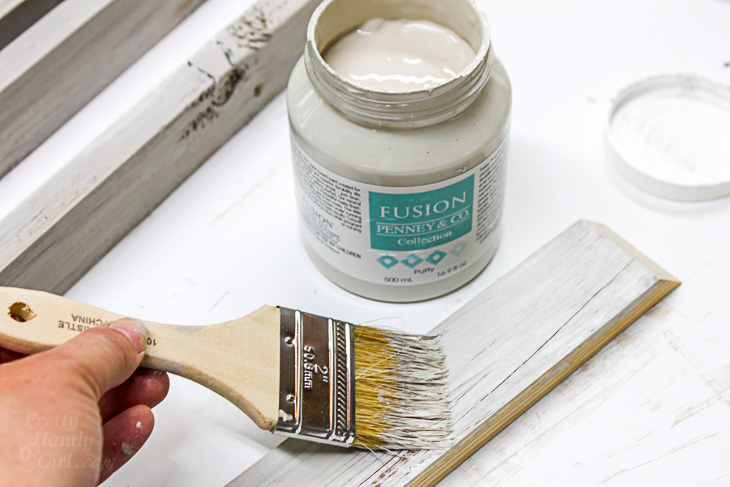
Wipe off immediately for a rustic look.
Run a line of wood glue along the side of your base.
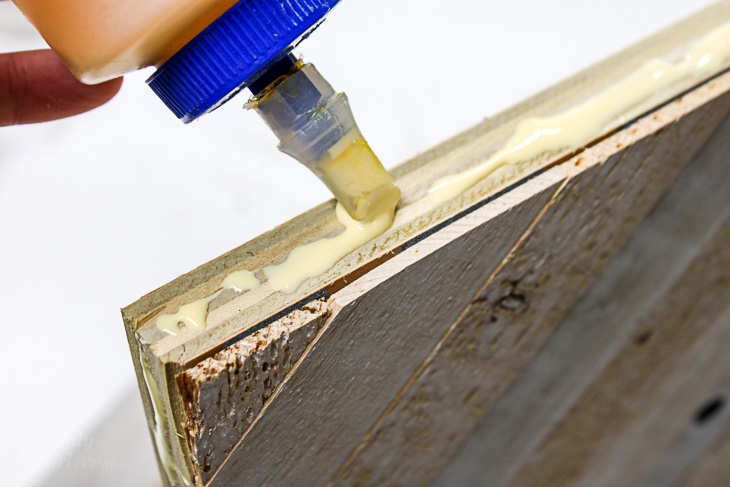
Press the sides in place.
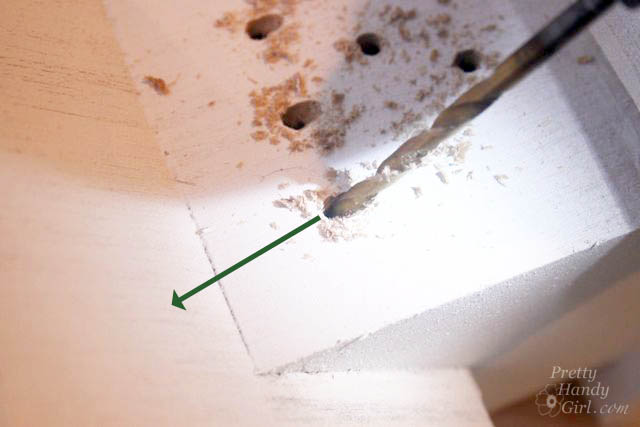
Nail brad nails through the sides and into the base to secure the sides while the glue dries.

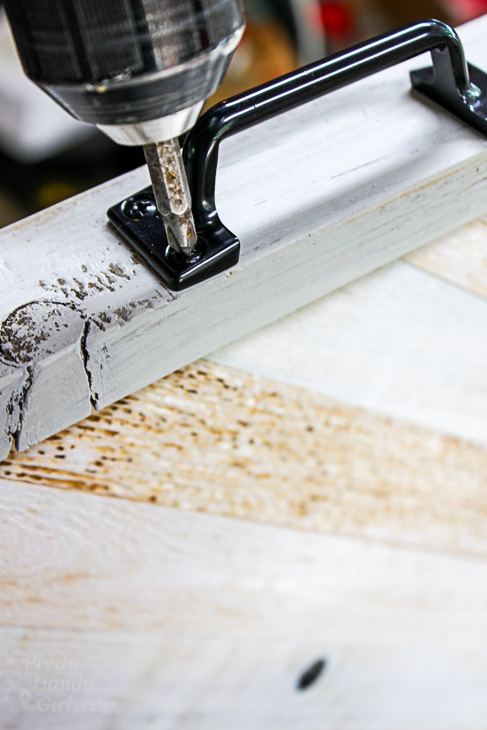
Find the centers on the two smaller sides of your tray. Center the door pulls on the sides.
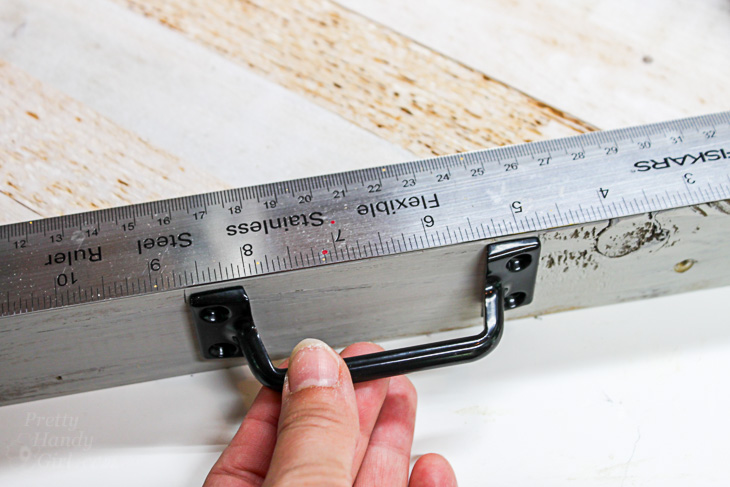
Attach the handle to the side of the tray with provided screws.
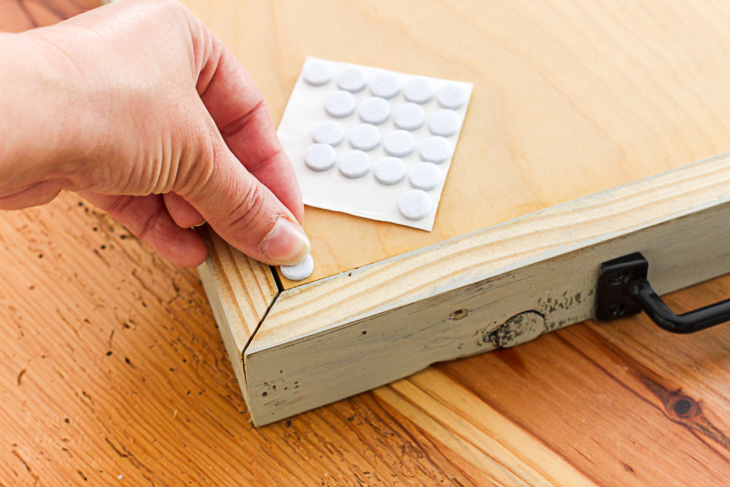
Add felt pads to the bottom of the tray to prevent scratching of surfaces.
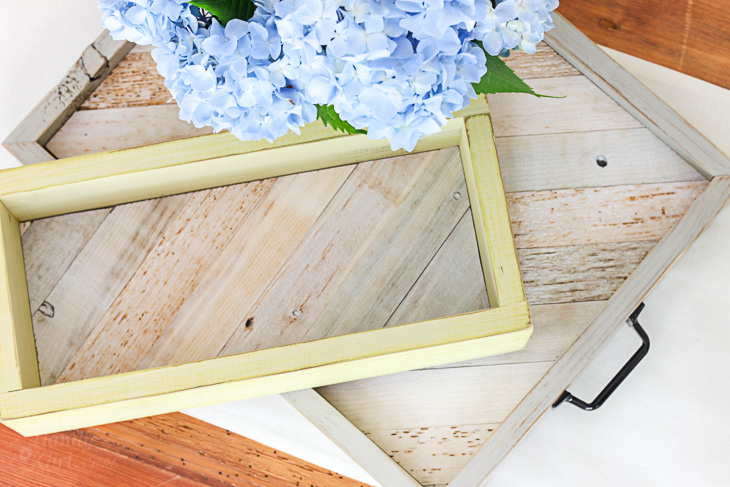
Your tray and gift box are done! Fill them up with goodies your recipient will love.

A bottle of wine should fit nicely in the gift box:
And when the gift tray and box are empty, they will be enjoyed for years to come.
Did you like this simple gift idea? Well, there’s lots more where that came from! Here’s a gallery of other DIY Gift Ideas!
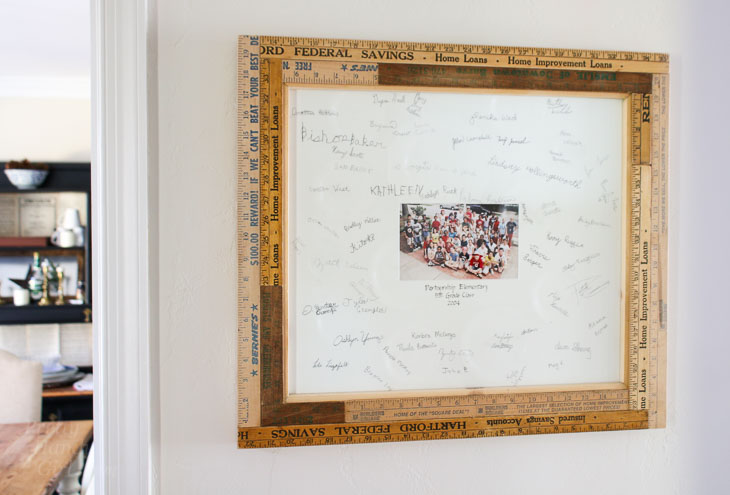
Like using vintage rulers? Check out this frame I made with more vintage rulers:
Happy gifting!
![]()