Magnetic Mailbox Cover | Pretty Handy Girl

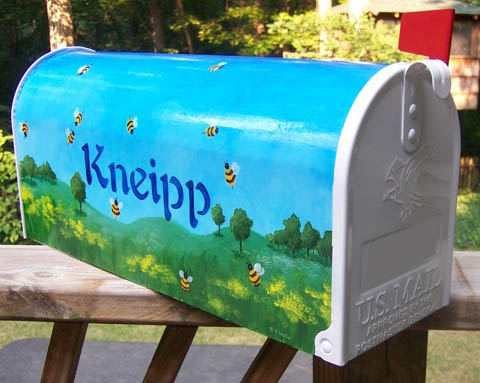
Several years ago I painted a mailbox for my stepmom (the wonderfully talented author, Diane Chamberlain). Her house was on a busy street and the mailboxes on this street were a prime target for mailbox baseball. I wanted to paint her mailbox as a surprise for her birthday, but the thought of spending hours painting the mailbox only to have it bashed did not appeal to me. Plus, this was supposed to be a surprise, and she might notice if her mailbox was gone for a few days (you think?!)
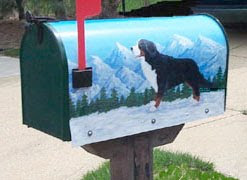
I came up with a solution that worked brilliantly! I painted the design onto automobile magnetic sign material (purchased from a sign shop for about $20). Wrapped it around her metal (won’t work on plastic mailboxes) mailbox and drilled the mounting screws through the magnetic material and the mailbox.

Believe it or not, that mailbox never took a hit by a bat (to my knowledge).

Here is how I did it:
First I wrapped the magnetic around her mailbox and cut it down to size. Then I traced the locations that needed to be cut out (bottom door hinges and flag bracket). The magnetic material cuts very easily with an x-acto knife or utility knife. Read more
Sunprints | Pretty Handy Girl

A few years ago while I was trying to entertain my toddler, we made sun prints on a hot summer day.

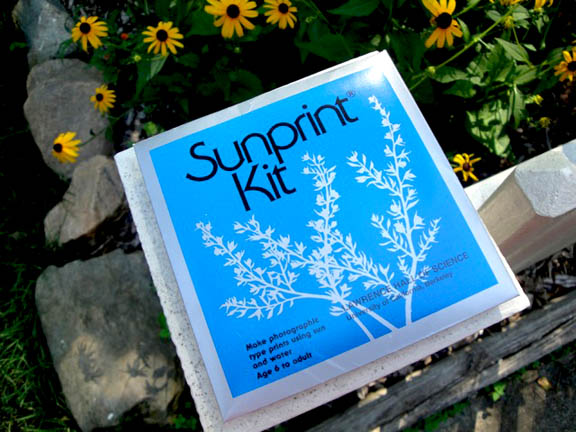
What! You’ve never heard of sunprints? Well, you really need to get your crafty hands on this hot product. Visit the Sunprints.org website to see all the details, plus a gallery of sunprint artwork!

Okay, don’t feel bad. I never saw it either until I happened upon this pack at our art museum gift shop. I bought some in the hopes of filling an hour of some weekday while waiting patiently for my hubby to come home.

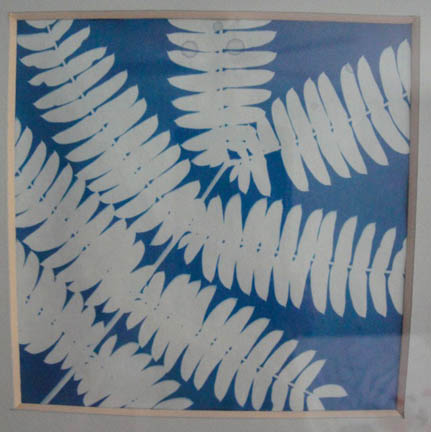
As nature lovers, we collected grass, leaves, and even weeds from our yard. Then we had a blast laying the leaves on top of the sunprint paper. After 2-5 minutes of exposure, we dipped the paper in cold water. It was fun watching the paper turn blue and the silhouetted images appear before our eyes. (Okay, I won’t pretend that we didn’t enjoy playing in the bucket of cool water too!)

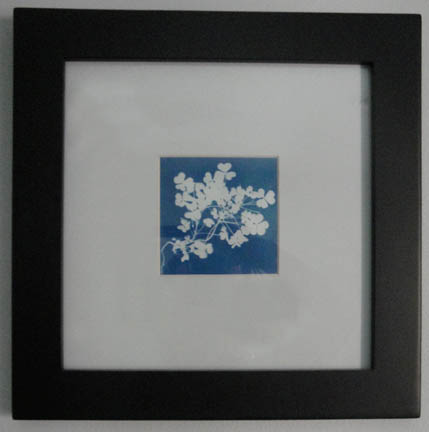
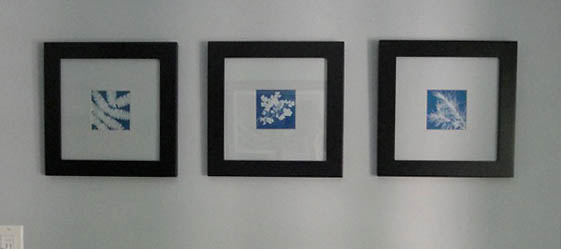
Several of them turned out so nice that I decided to frame them as art. Not only did I like the graphic look of the images, but the soft blue colors really appealed to me. I became so attached to the colors in the artwork that we painted our whole master bedroom the light color of the sunprints.


 Mimosa tree


Clover


Some weed in our garden

I found it a bit difficult to find the perfect square floating frames. Instead, I found regular square frames at Target for $19.99 a piece, and decided to buy them on the spot.  When I got home I had a brilliant idea on how to fake the floating glass frame look.

After we painted the room, I took some mat board and rolled the wall color on the mats. (It works best to use a mat that is somewhat close to the color of your walls.)

When the boards dried, I used my logan mat cutter and created custom mats.

Can you tell they are matted vs. floating? Maybe if you look close, otherwise, they appear to float in the frame!

So, you are accomplished at hanging three pictures so they are equal distance and the same height, right? If not, check back for my post on how to hang pictures to perfection.