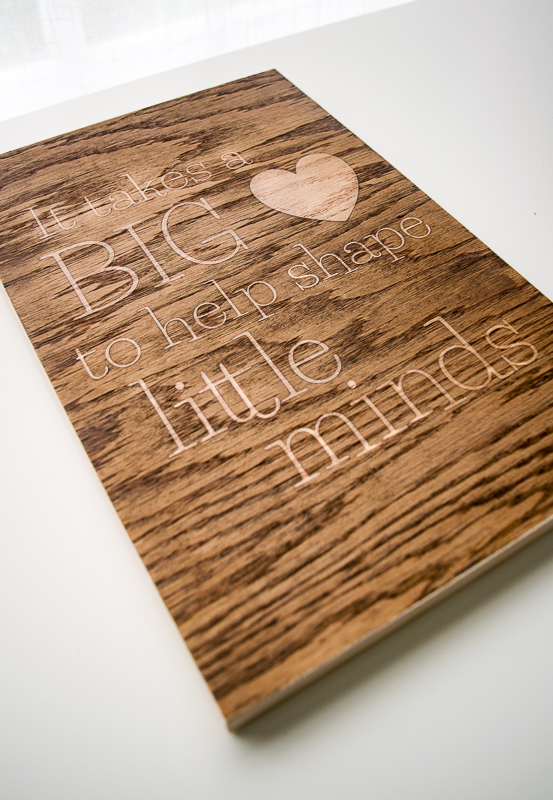
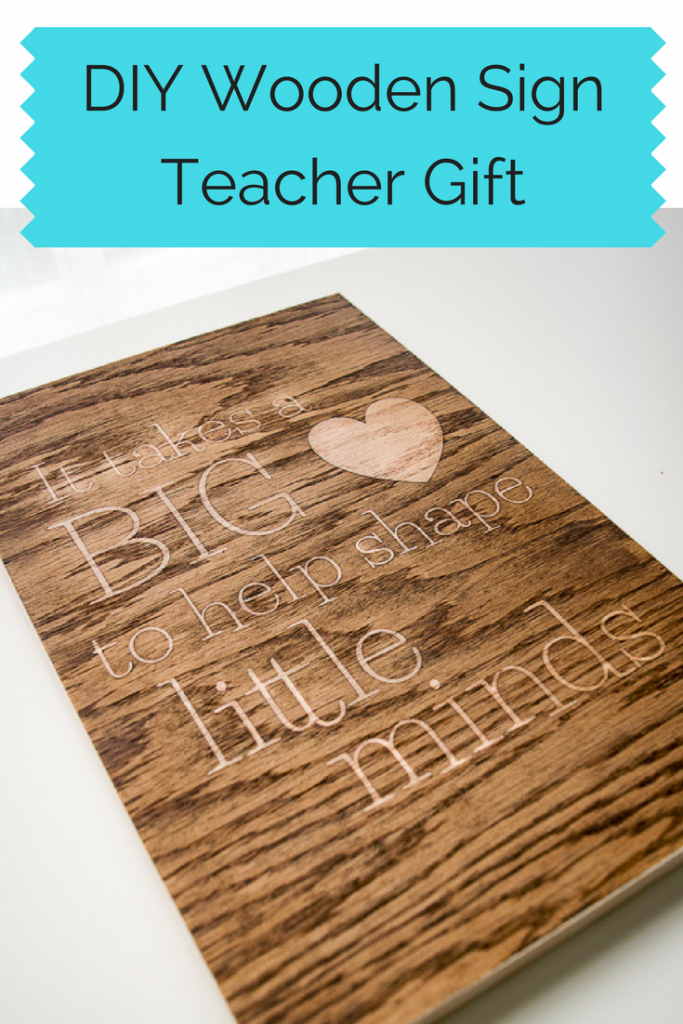
This teacher sign is the perfect end-of-year gift!

This wooden sign would make the perfect end-of-school-year gift for your child's teacher!

Hi everyone! It’s Vineta from The Handyman’s Daughter back with another fun project to share with you! It’s almost the end of the school year, and I’ve been racking my brain to come up with a nice gift for my son’s second grade teacher. Hopefully this little wooden sign will make its way into her classroom next year and reminds her of how much she means to her students.

I used one of my favorite stencil techniques, on this family birthdate sign I created for Mother’s Day. The reverse stencil effect appears almost like magic when stain is applied!
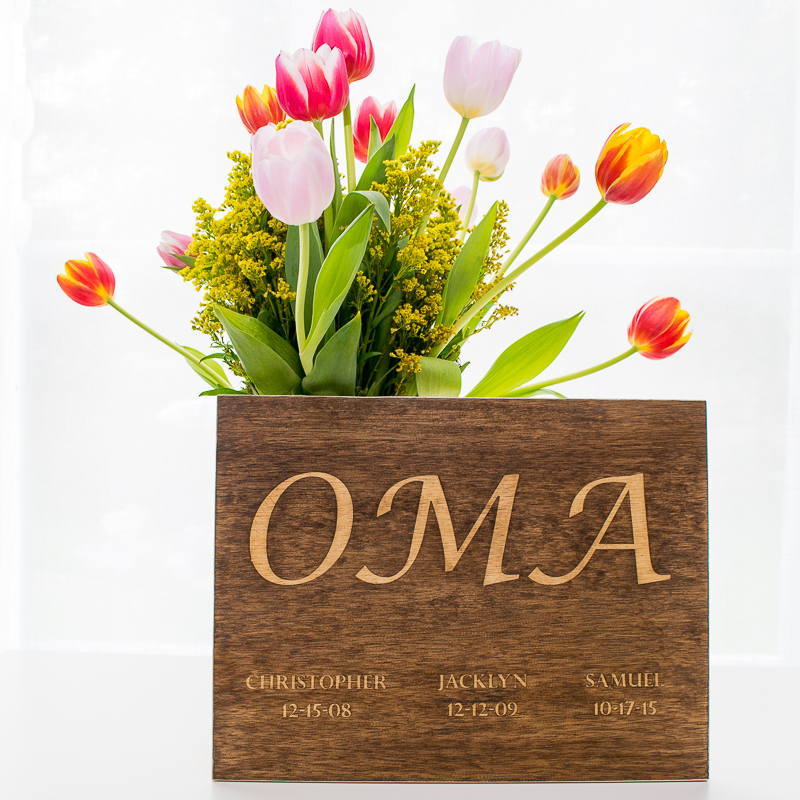
This family birthdate sign uses the same staining technique as the teacher sign!

We’re going to use the same technique for this DIY Teacher Sign. Here’s how it works!

Materials:

(I’ve included affiliate links for your convenience. I earn a small percentage from a purchase using these links. There is no additional cost to you. You can read more about affiliate links here.)

Instructions:

I started by digging through my wood pile for some scrap plywood and unearthed a 9″ x 12″ piece that would work perfectly. Remove any dust from the surface with a tack cloth.

You can choose from one of the many designs in the Silhouette Store (I used this one), or design your own. Apply the white stencil vinyl to the cutting mat and let the machine do the cutting.
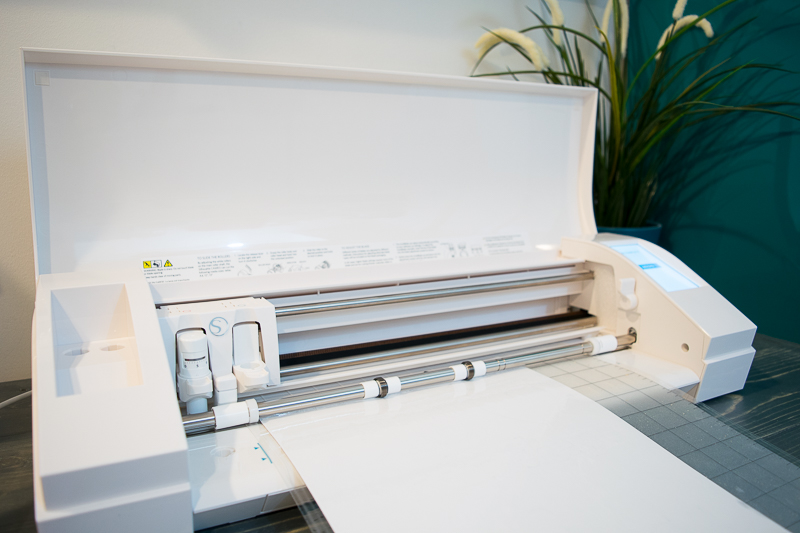
I used a Silhouette machine to cut the stencil for my teacher sign.

Weed out the letters and shapes, then lay the transfer tape on top of the design. Use the smoothing tool to push out any air bubbles and ensure that the stencil is on securely.
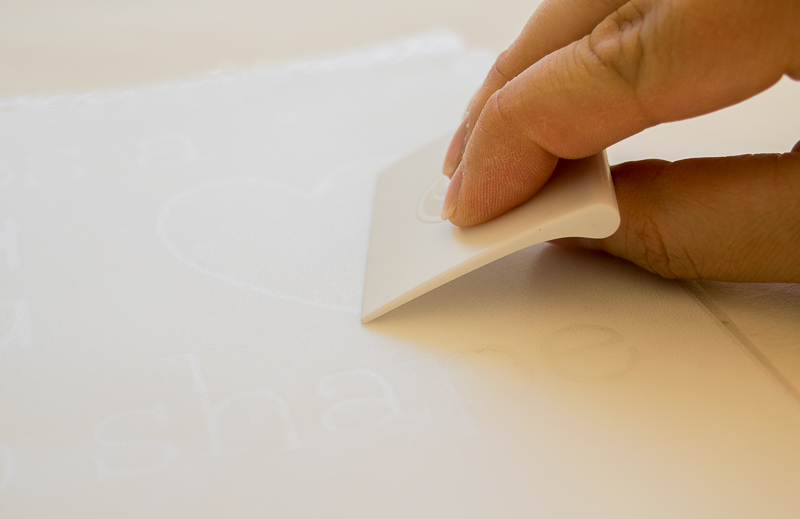
Apply transfer tape to the stencil to keep all the elements in place.

Peel up the stencil and transfer tape together. Apply it to the plywood. Smooth out any air bubbles, then remove the transfer tape. The stencil should remain. Give the stencil one last rub, concentrating on the edges of the letters and shapes.
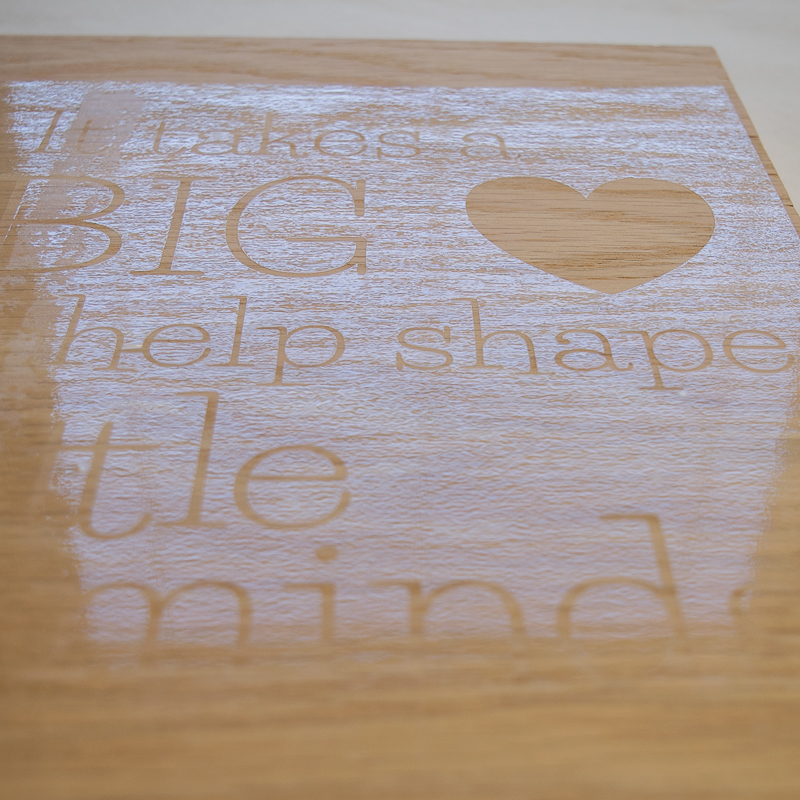
Apply the stencil to the plywood for your teacher sign.

Here’s the trick to this stenciling technique: wood glue! Have you ever discovered a big blob of wood glue preventing stain from soaking into your project? We’re going to take advantage of that instead of fighting it!

Dip your craft brush into the wood glue and carefully paint a thin layer inside the stencil. Move from the outside in, and try not to get any glue under the stencil vinyl. Allow it to dry for at least half an hour and the wood glue has turned clear.
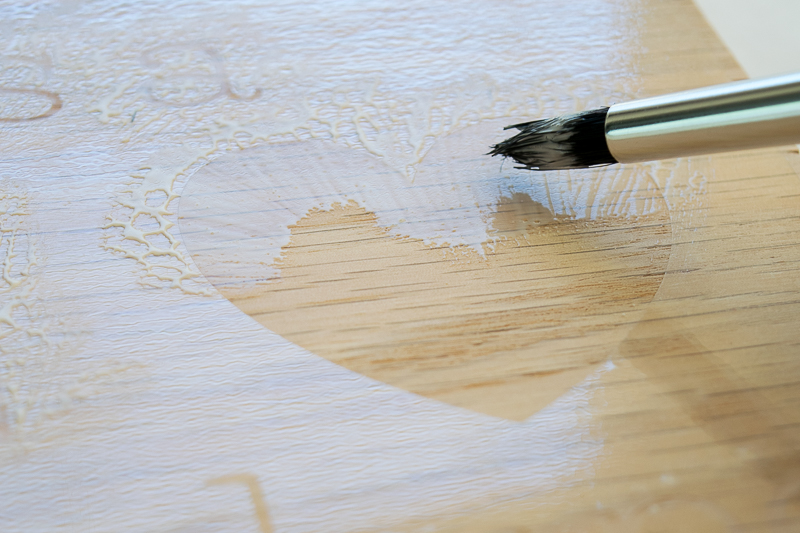
Apply wood glue to the voids in the stencil, ensuring even coverage on all the letters of the teacher sign.

Carefully remove the stencil from the plywood. Some of the wood glue may flake off or stick to the letters. Use the fine grit sanding sponge to remove any excess. Anything with glue on it won’t take the stain, so make sure the edges are as sharp and clean as possible.
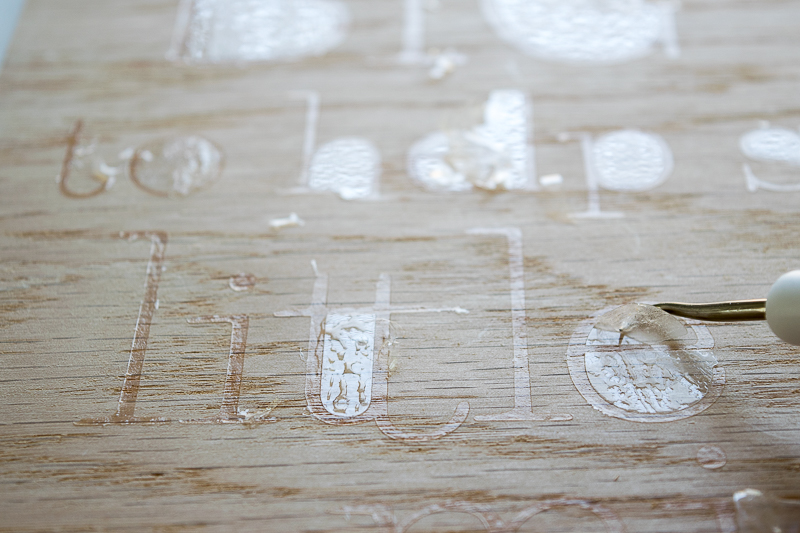
Remove any excess glue flakes from the stencil of the teacher sign.

Using a foam brush, stain the surface of the sign. Gel stain works best for this technique.
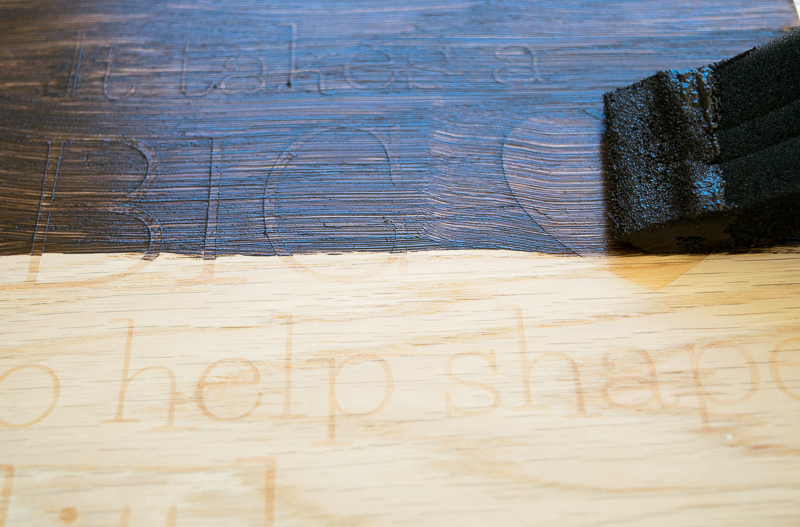
Use gel stain over the glue stencil of the teacher sign.

After a few minutes, rub off the excess. I prefer to stick my gloved hand in an old sock to wipe off the surface. Like magic the letters pop against the dark stain!

Using an old sock, I removed the excess stain from the stencil.

If you prefer more contrast, apply a second coat of stain. I found that thicker fonts and dark stain show up best. Apply a coat of poly over the surface to protect the surface and give it a glossy finish.

Use iron-on wood veneer edge banding to cover up the plywood edges and cut off the excess with a utility knife. Brittany has a great tutorial on how to apply edge banding. You could also create a simple frame using trim.
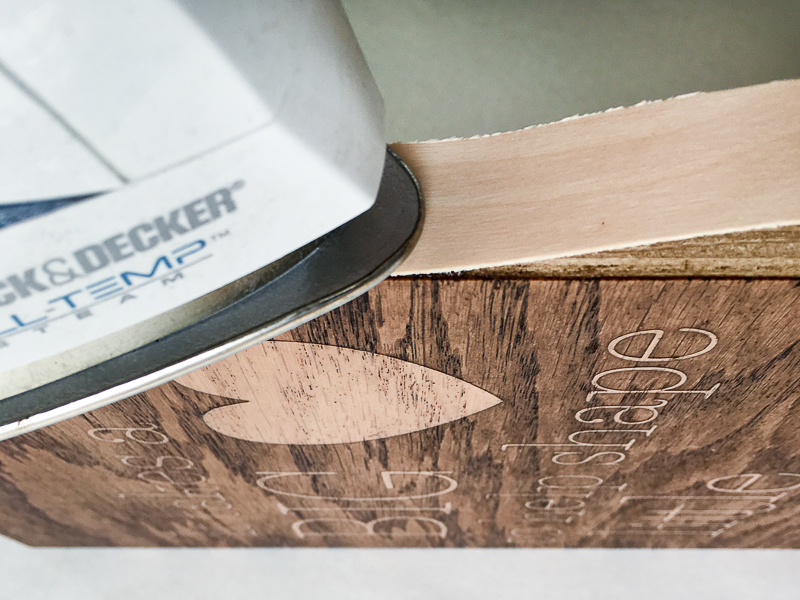
Iron on the edge banding to cover up the raw plywood edges of the teacher sign.

Your teacher sign is ready for the last day of school (although I’m not!)
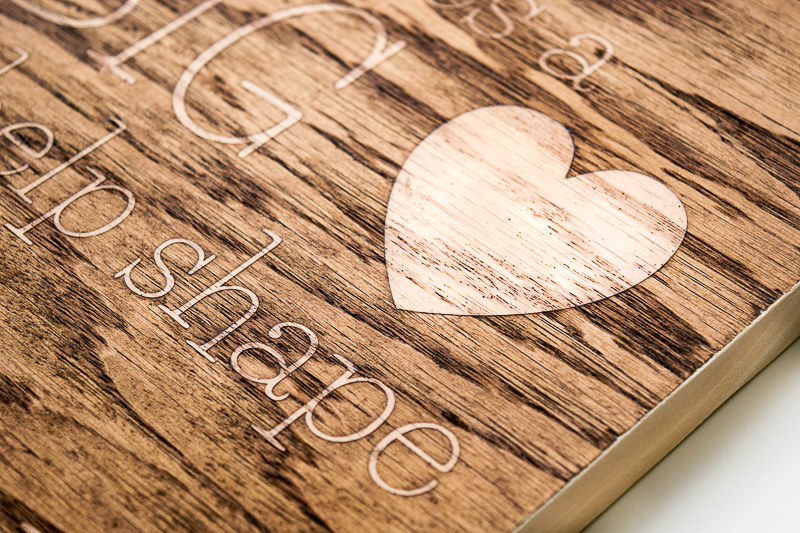
This teacher sign is the perfect end-of-year gift!

This stenciling technique really makes the lettering pop against the wood stain of this teacher sign!

Hope you enjoyed this tutorial! Don’t forget to check out all my other woodworking projects over at The Handyman’s Daughter!

Until next time!

 ~ view more of Vineta’s projects ~

How to make a Concrete and Wood Planter | Pretty Handy Girl

How to make Concrete and Wood planters

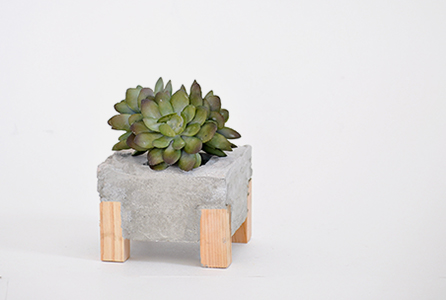
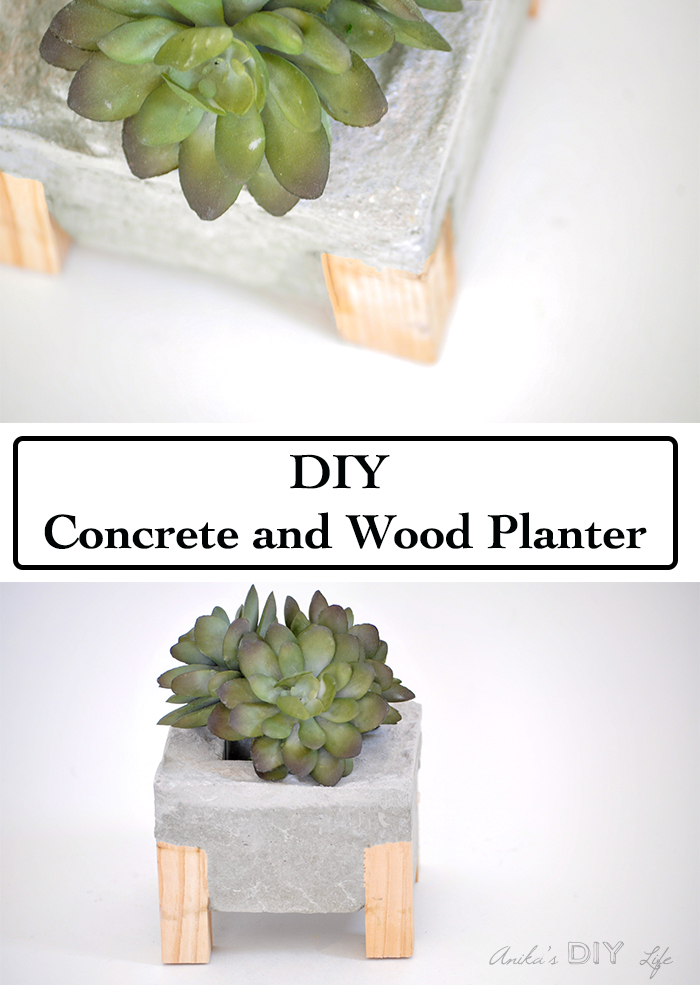
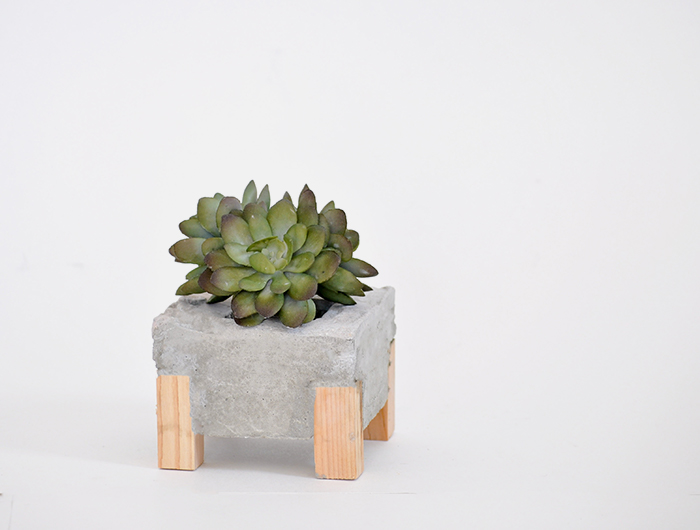
Hey, guys! Anika here again from Anika’s DIY Life sharing a project made with my new favorite medium – concrete. I have been experimenting with concrete lately and having a lot of fun with it! I started with a few concrete pumpkins and a mirrored concrete tray. Concrete planters are very popular right now and are easy to make! I decided to add a fun twist to mine by adding little wooden feet. Want to learn How to make a Concrete and Wood Planter?

How to make Concrete and Wood planters

If you have been thinking about making something with concrete, this is a great beginner project!

Materials:

(I’ve included affiliate links for your convenience. I earn a small percentage from a purchase using these links. There is no additional cost to you. You can read more about affiliate links here.)

Instruction:

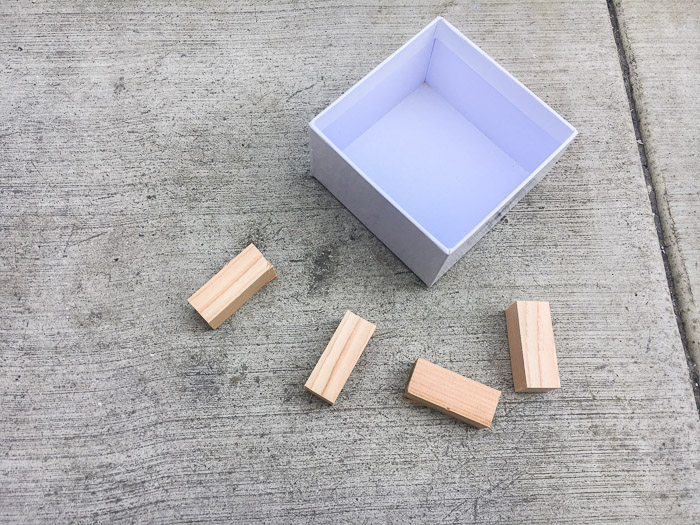
Step 1 – Cut the square dowel into four 2″ pieces for the feet.

How to make Concrete and Wood planters

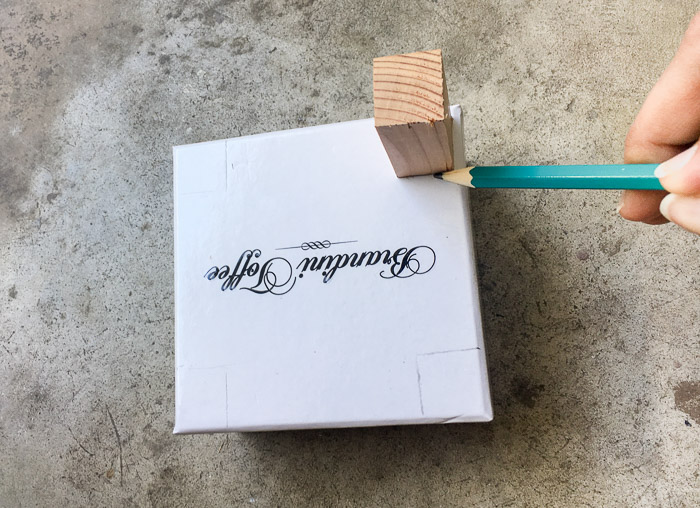
Step 2 – Mark the corners of the outer box where the dowels will fit. (As a side note, you have to try these toffees! They are AMAZING!)

How to make Concrete and Wood planters

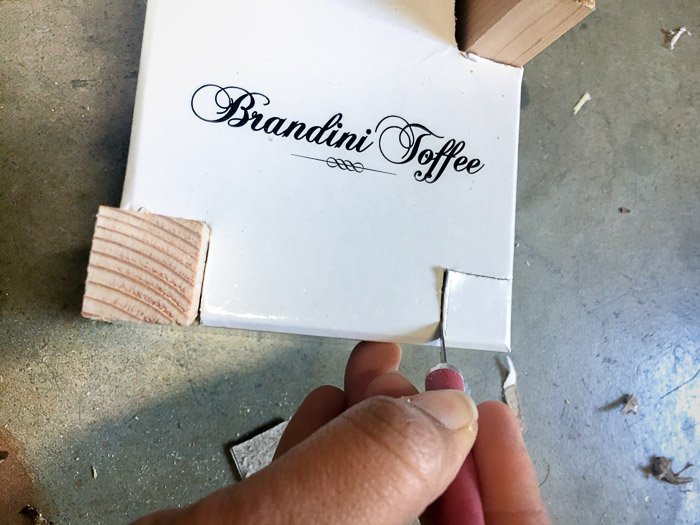
Step 3 – Cut out the marked corners using the X-acto knife. It is important that the cuts are as accurate as possible to ensure a tight fit for the dowels.

How to make Concrete and Wood planters

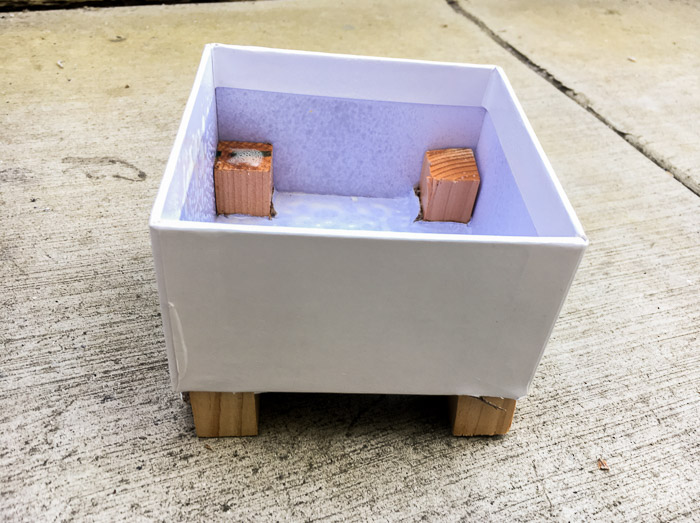
Step 4 – Insert the dowels halfway into the openings. Spray the inside of the box with cooking spray.

How to make Concrete and Wood planters

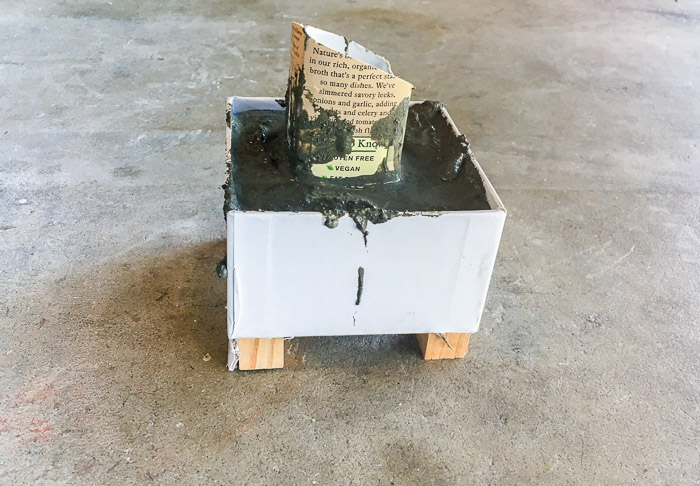
Step 5 – Mix and pour the concrete into the box and set the smaller box in the middle. (You might need to add some weight into the smaller box to hold it down. I used a vegetable broth carton and put some rocks inside.)

How to make Concrete and Wood planters

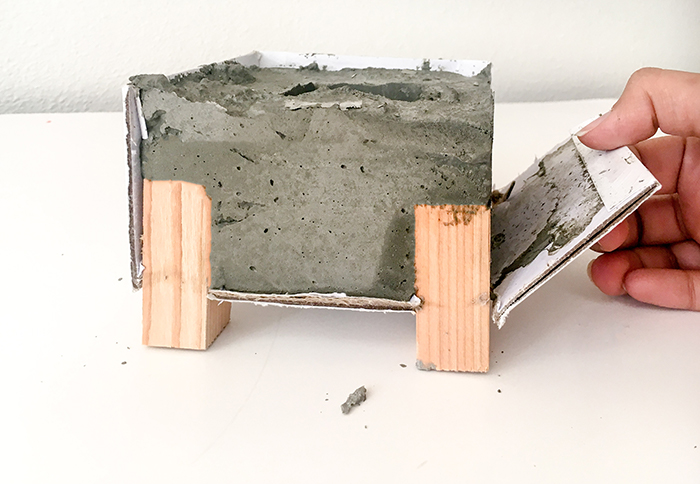
Step 6 – Let the concrete cure for about 12-15 hours before removing the cardboard. The cardboard should peel off very easily if you used the cooking spray. Your planter will need a couple more days to dry completely

How to make Concrete and Wood planters

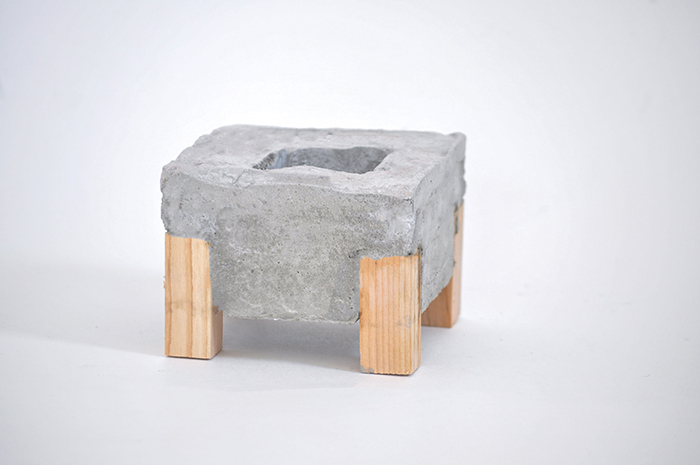
Step 7 – Once the planter has dried for 3-4 days, smooth out any uneven edges with a medium grit sandpaper.

How to make Concrete and Wood planters

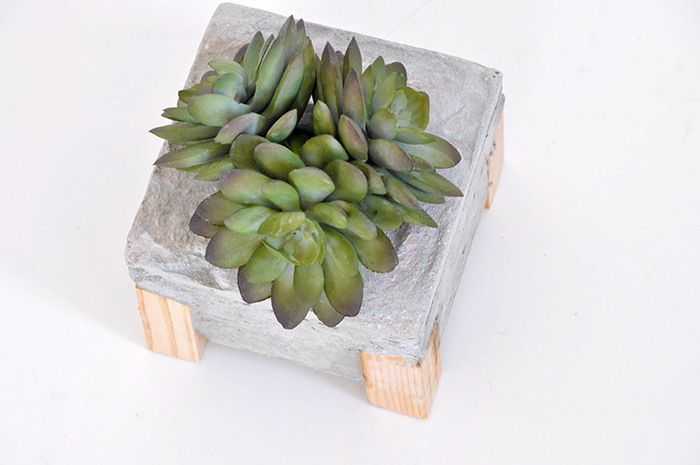
You can paint the wood legs or add painted accents to the concrete if you wish. I chose to leave it plain because I am kind of digging the natural combination. Add your favorite plant (or faux-plant) and enjoy!How to make Concrete and Wood planters

If you loved this concrete planter, be sure to take a look at my tiered concrete and copper planter. I have a few more concrete projects in the works too! Come follow along at Anika’s DIY Life so you don’t miss them!

Until next time!
~ Read More of Anika’s Tutorials ~


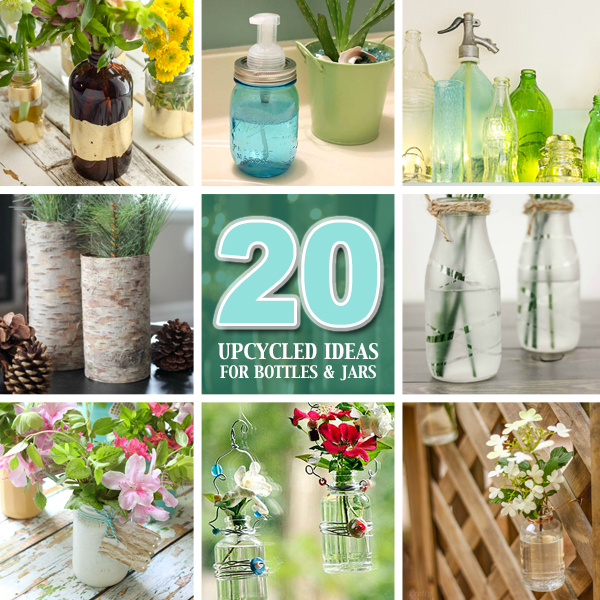
20 Upcycled Ideas for Recycled Glass Jars and Bottles | Pretty Handy Girl

I have a hard time throwing away glass bottles and jars. Even though I recycle glass, I see amazing potential for those pretty glasses and jars. With that confession out of the way, I have 20 Upcycled Recycled Glass Crafts to share with you today.

Painted recycled glass jars and bottles give them a colorful new look. Luckily, you aren’t restricted to just one type of paint. Available options are chalk paint, glass frosting paint, even straight latex paint will work if you prime your surface first. Here are a few ways to paint recycled glass jars and bottles:

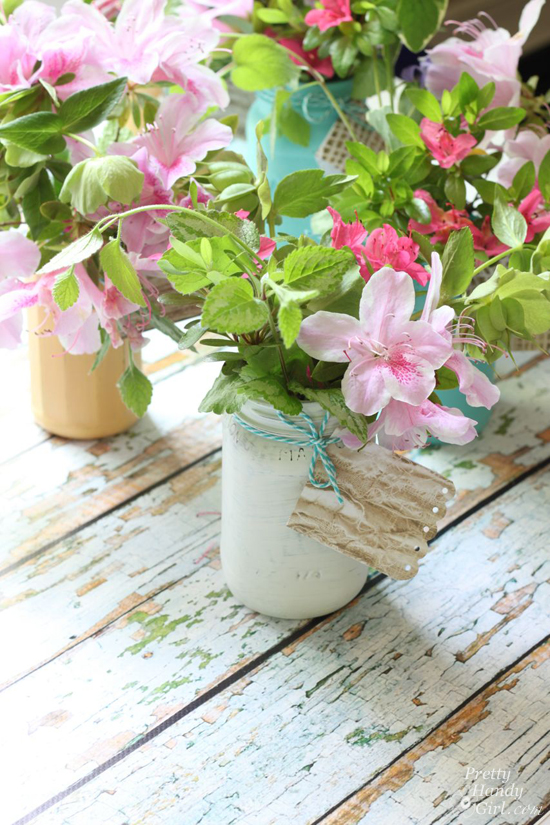
Farmhouse Painted (chalk like paint) Jar Vases | Pretty Handy Girl

Shabby Chic Chalk Painted Vases

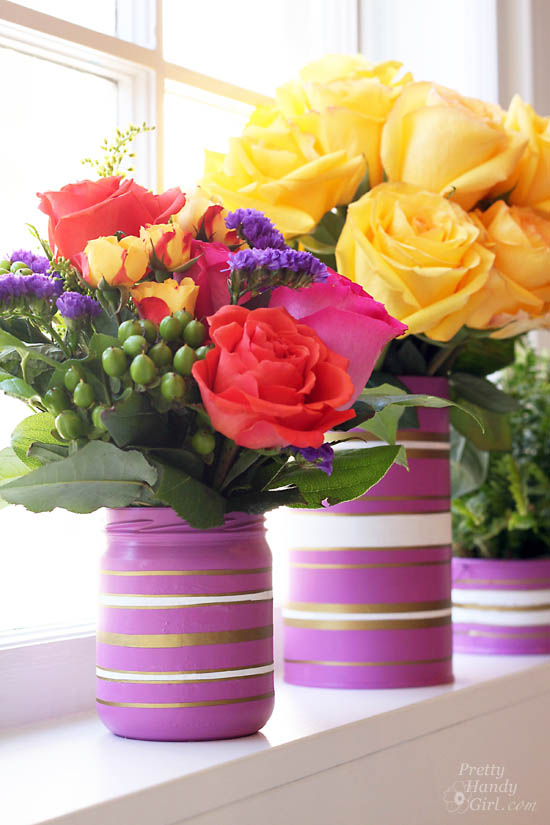
Radiant Orchid Vases from Recycled Cans & Jars | #upcycling | Pretty Handy Girl

Paint and Gold Striped Vases


Spraypainted Bottle Vases

Spray Painted Recycled Bottles


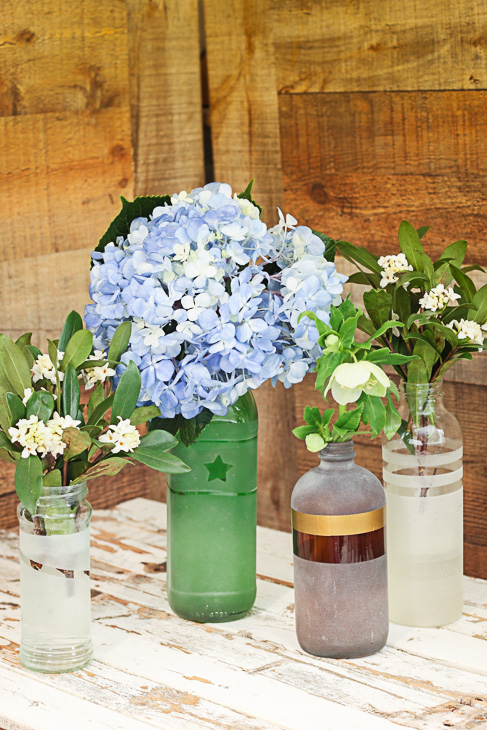
Frosted and etched bottles can give a classy look to your recycled bottles. Try one of these techniques to transform your recyclables into collectible vases or dispensers:

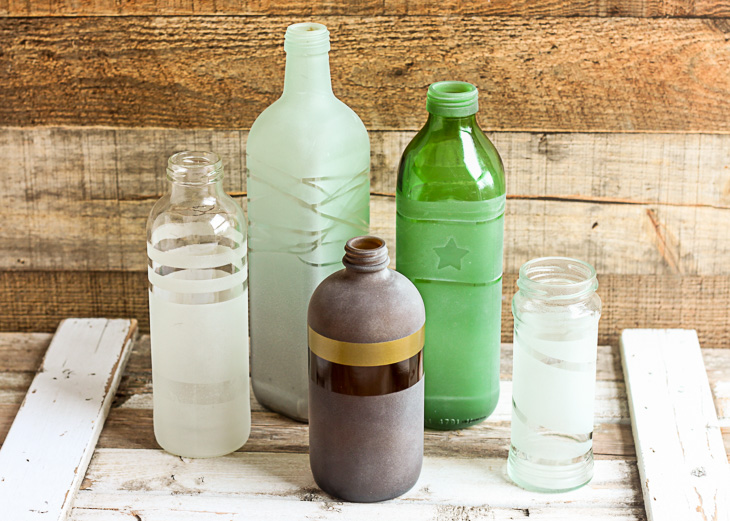
Frosted Vases from the Recycling Bin | Pretty Handy GirlGlass Frosting Spray Painted Bottles


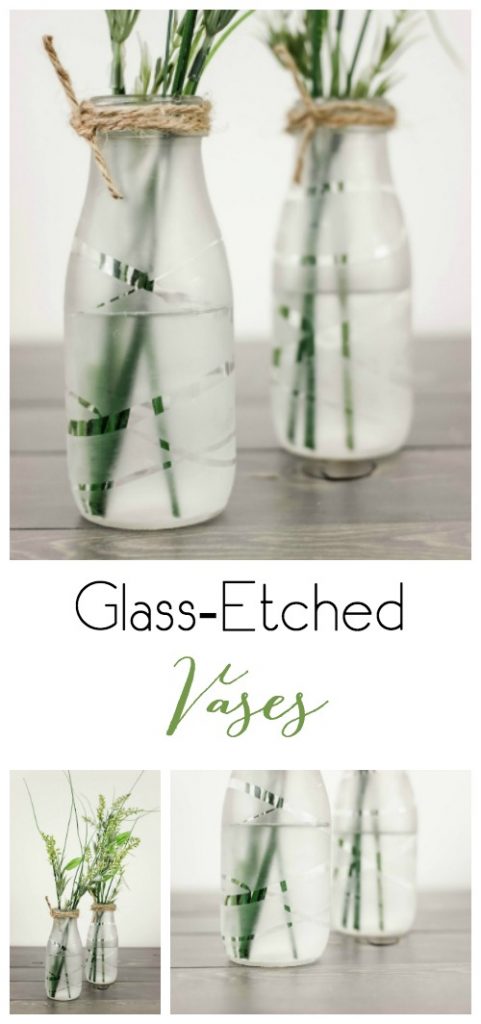
Upcycle some old milk bottles or glass containers into these beautiful and chic Glass Etched Vases!

Etched Vases using Etching Cream


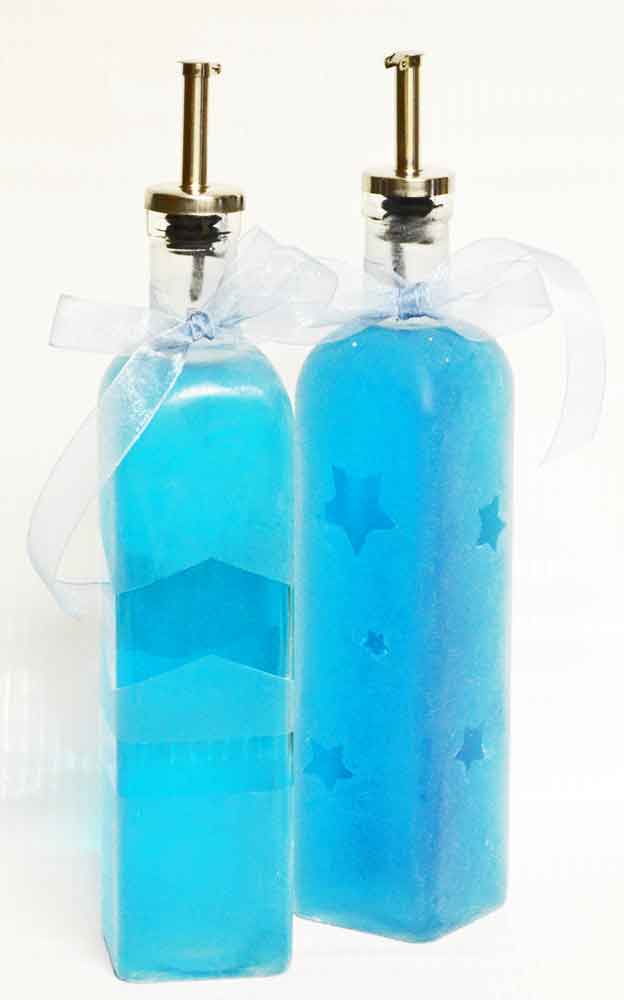
Faux Etched Soap Dispenser

Faux Etched Soap Dispenser


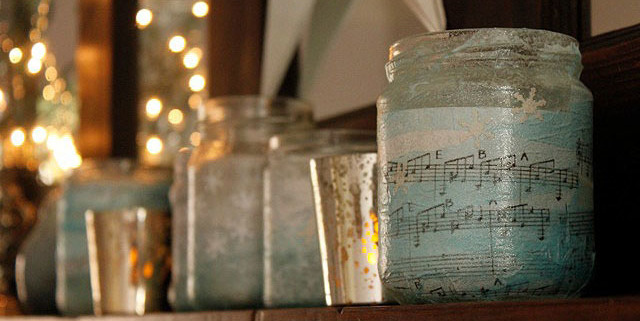
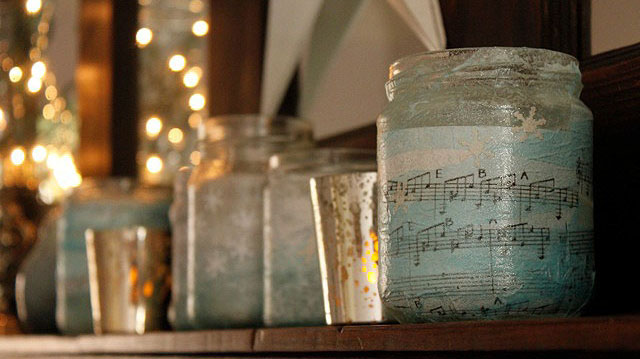
It’s amazing how easy it is to transform regular recycled glass with a few embellishments. Use paper, beads, wires, washi tape, glitter and more to make a recyclable a collectible!

Holiday Votive Holders


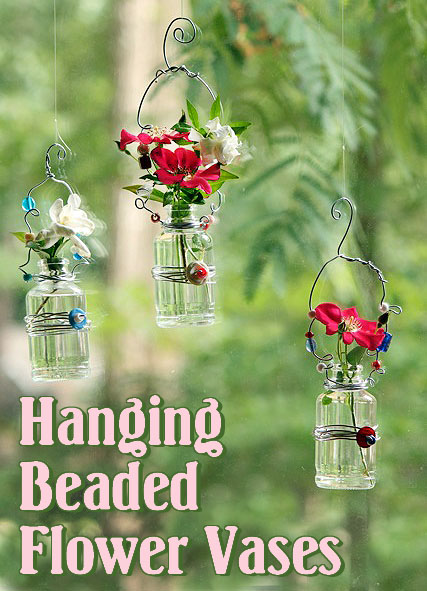
Hanging Beaded Vases


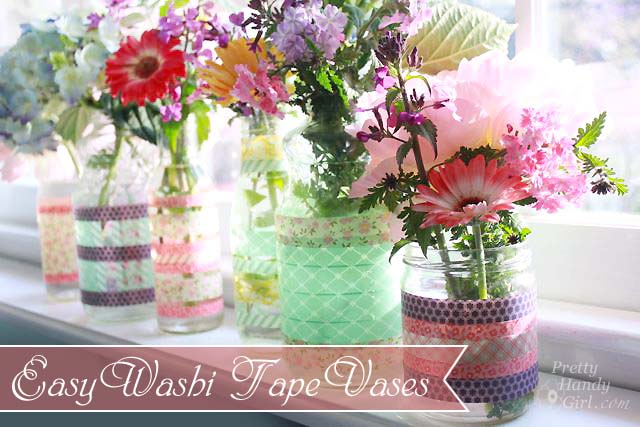
Easy Washi Tape Vases

Washi Tape Decorated Jars and Bottles


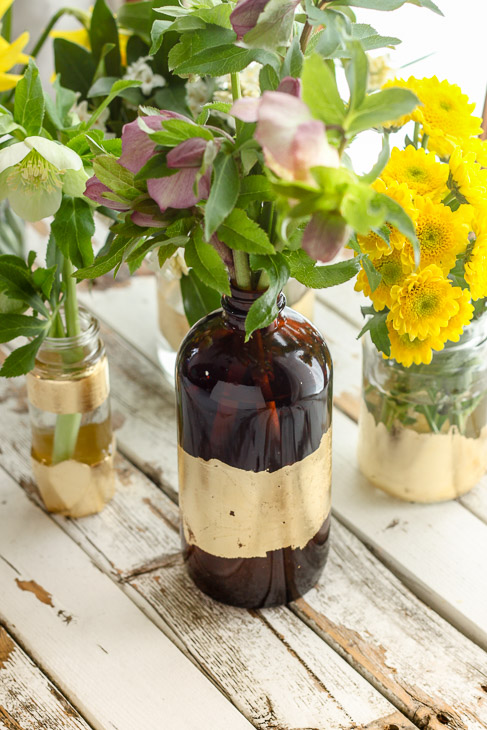
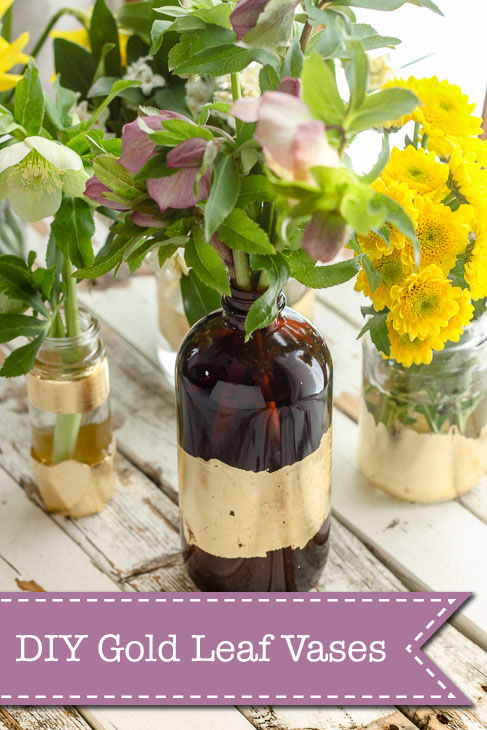
DIY Gold Leaf Vases from Recycled Bottles | Pretty Handy Girl

Gold Leaf Vases


Sometimes you can reuse those glass jars and vases to create a vase out of an object that otherwise isn’t water tight. Check out these fun ideas:

Spring Foyer Vignette | Pretty Handy Girl

Spring Showers Boot Vase


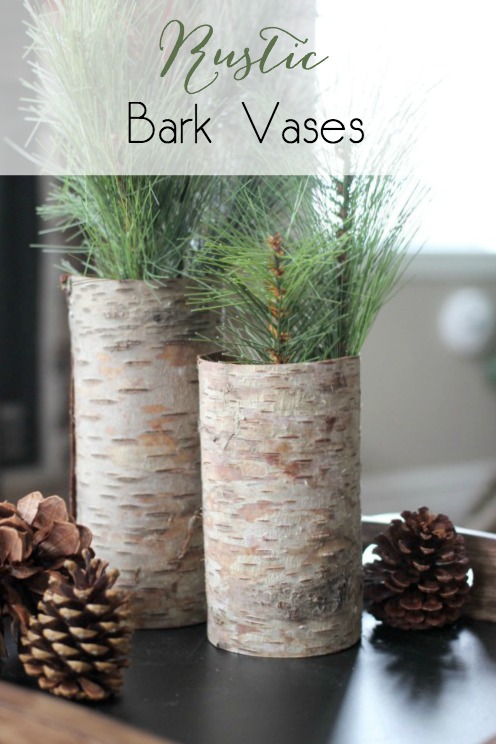
Beautiful rustic DIY decor for any room in your home!
Birch Bark Vases


Pounded Flower Paper Vase


Fake Flower Arranging

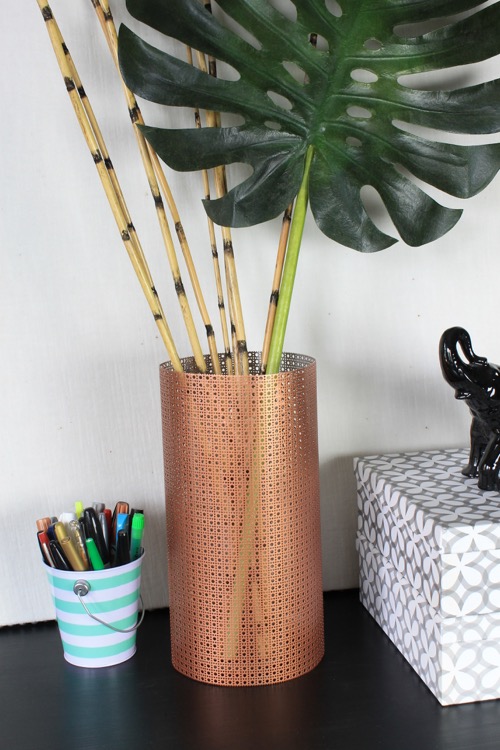
DIY Copper Sheet Metal Vase

Ready to break out the power tools? If you dare, you can transform recycled wine bottles and mason jars into something new and unique:

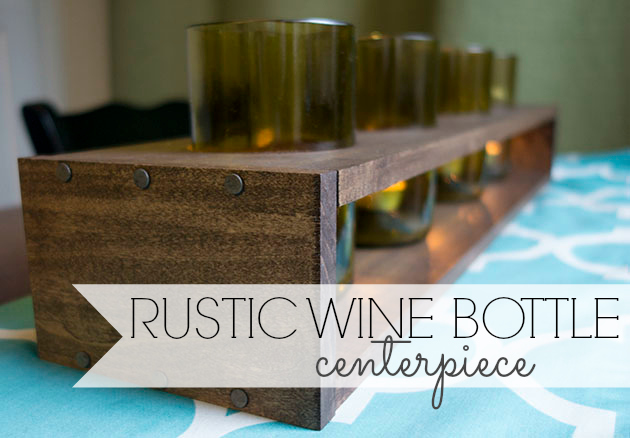
Wine Bottle Centerpiece


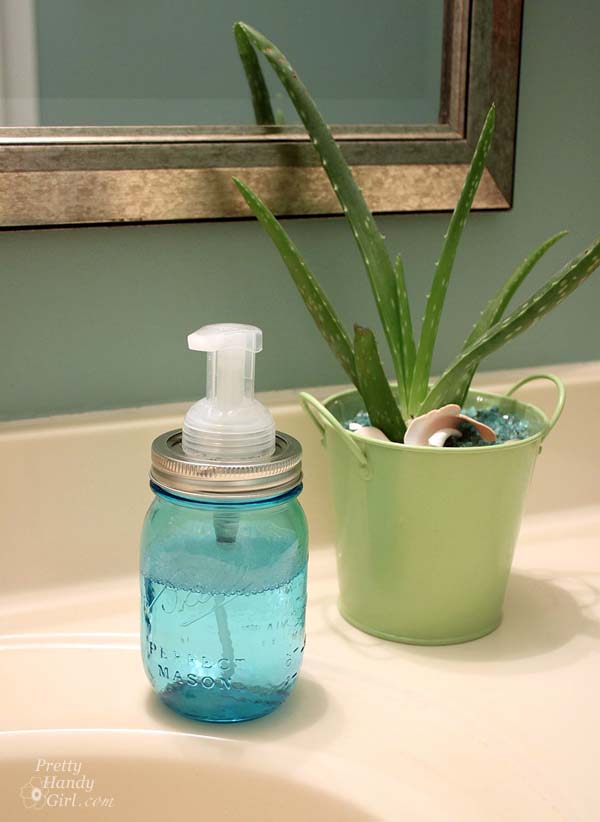
DIY Foaming Soap Dispenser


Sometimes a recycled jar or bottle doesn’t need anything but a beautiful spot to be displayed. You’ll love how easy it is to upcycle these recycled glass bottles:

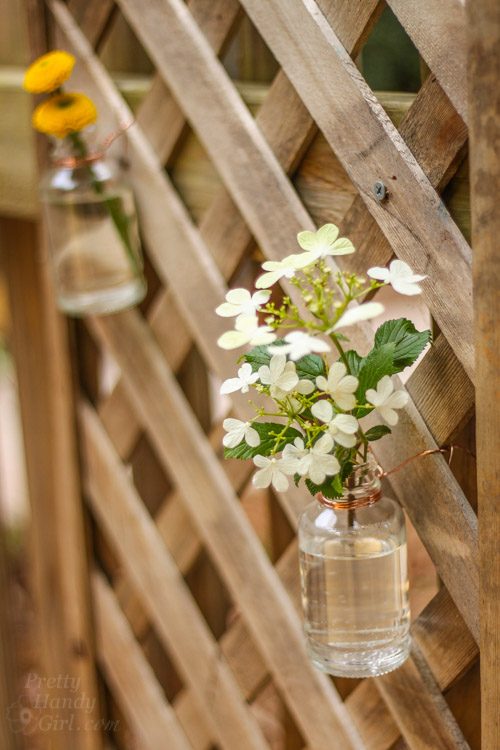
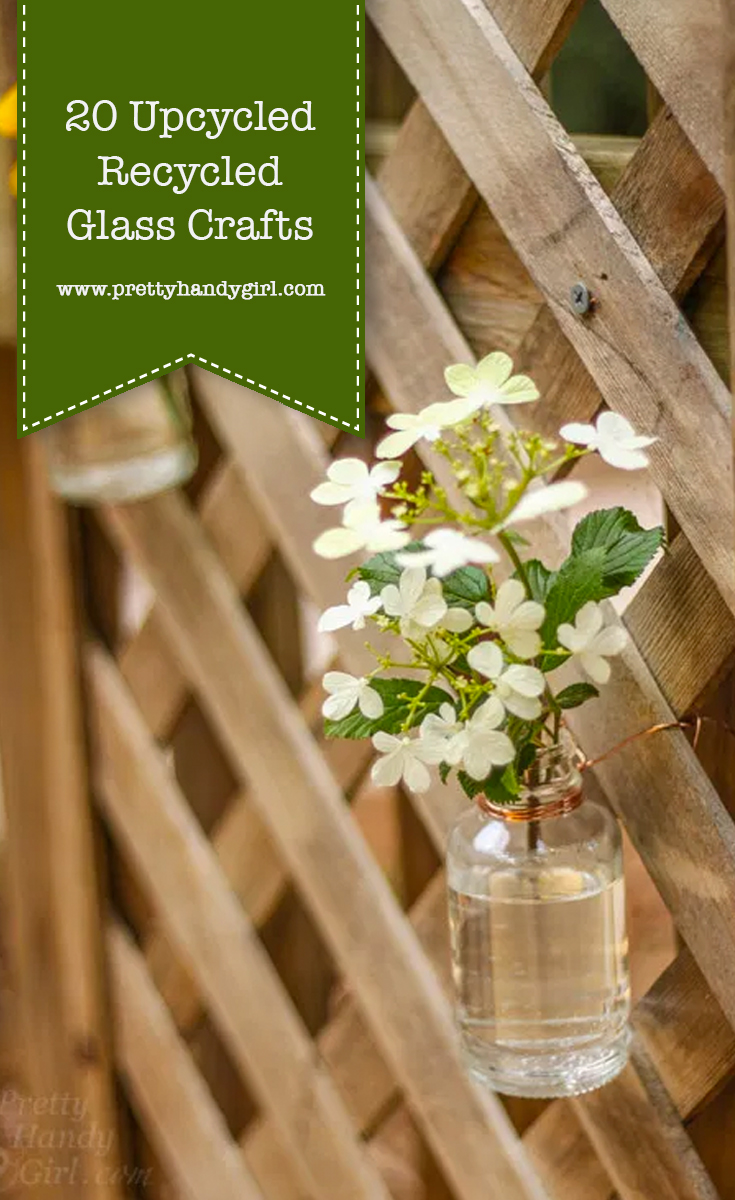
Create a Living Wall Lattice Privacy Screen | Pretty Handy Girl

Living Trellis Screen


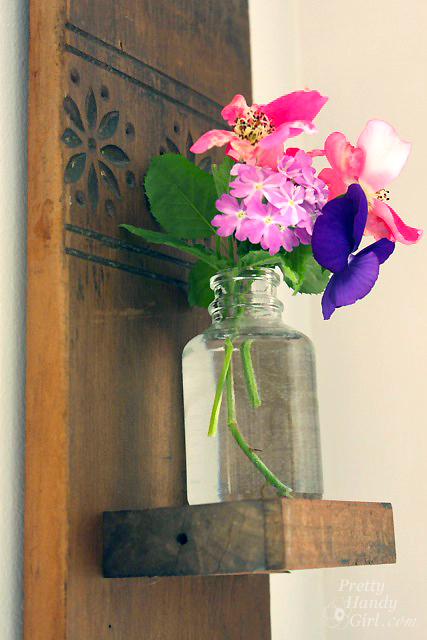
Vintage Coat Hook Wall Vase | Pretty Handy Girl Guest Post

Wall Sconce Vase


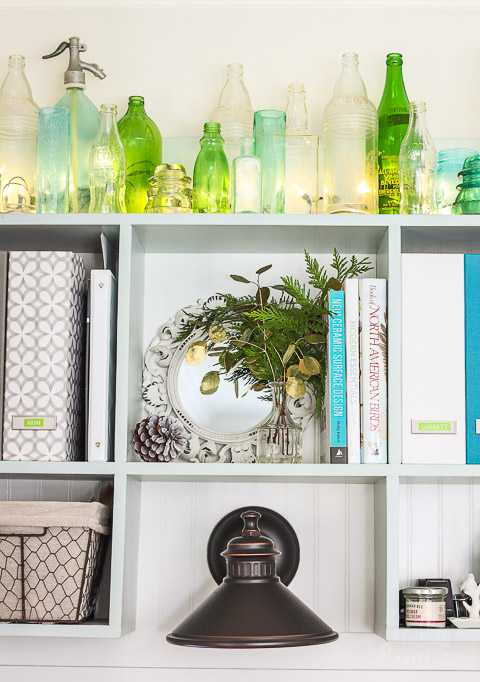
Holiday Home Tour - Kitchen | Pretty Handy Girl

Colorful Mini Light Lit Bottles


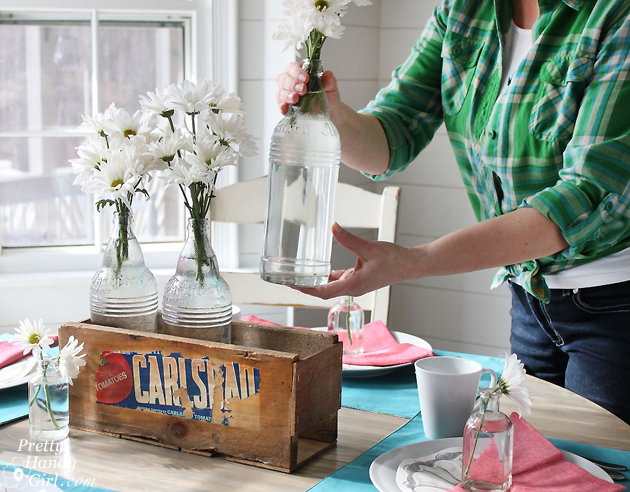
How to Build a Rustic Crate Centerpiece (No Power Tools Needed!) #DIYCourage | Pretty Handy Girl

Easy No Power Tool Table Centerpiece

Tell me, will you ever look at those recycled jars or bottles the same way again? I thought not. 😉


Pin for later!

20 Upcycled Recycled Glass Crafts | Pretty Handy Girl

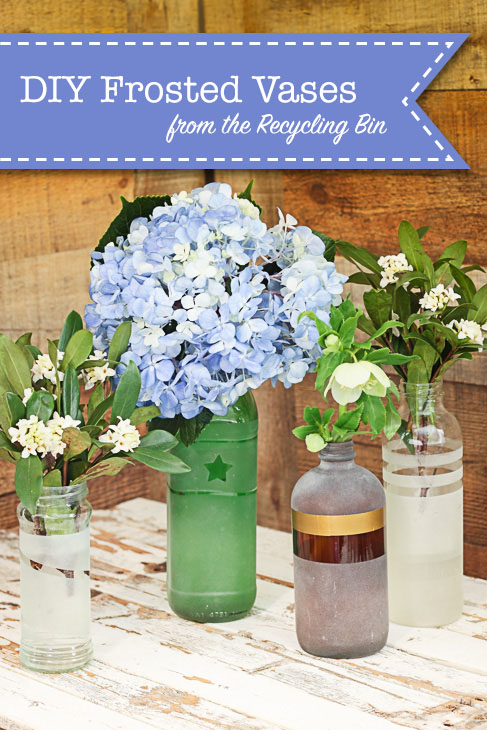
Frosted Vases from the Recycling Bin | Pretty Handy Girl

Frosted Vases from the Recycling Bin | Pretty Handy Girl

I love a good upcycle project, especially when it involves recycled bottles and jars. Now that Spring is here, I love cutting fresh flowers from the yard to give to friends and family. Giving flowers in a handmade vase is always a nice way to show someone they are appreciated. With that in mind, today I have a tutorial to make these adorable Frosted Glass Vases from the Recycling Bin!

Frosted Vases from the Recycling Bin | Pretty Handy Girl

Ready to get started? Here’s a few things you’ll need.

Materials:

(I’ve included affiliate links for your convenience. I earn a small percentage from a purchase using these links. There is no additional cost to you. You can read more about affiliate links here.)

Optional: 

Preparing Recycled Jars and Bottles:

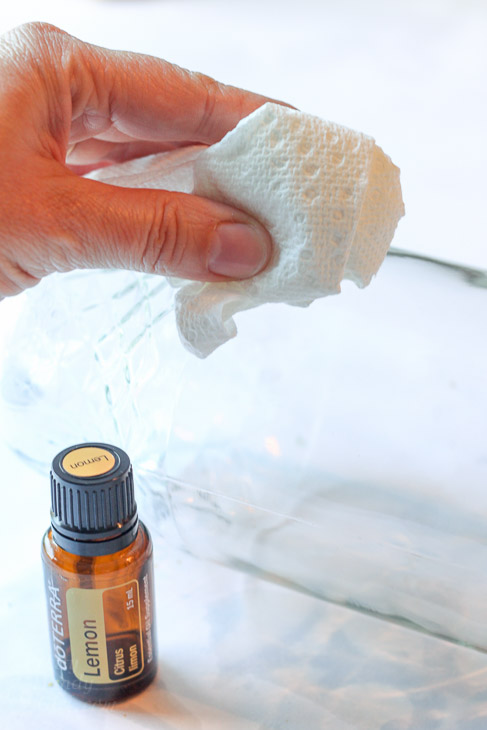
Clean out your bottles and jars with soap and water. Soak them to remove the labels. Any gummy label residue can be removed with Lemon Essential oil (my favorite non-toxic glue residue remover).

DIY Gold Leaf Vases from Recycled Bottles | Pretty Handy Girl

The lemon oil works faster and doesn’t leave any toxic or drying chemicals on your skin. But, if you don’t have any lemon essential oil on hand, use Goo Gone or rubbing alcohol (be sure to wear gloves or wash your hands immediately after use.)

DIY Gold Leaf Vases from Recycled Bottles | Pretty Handy Girl

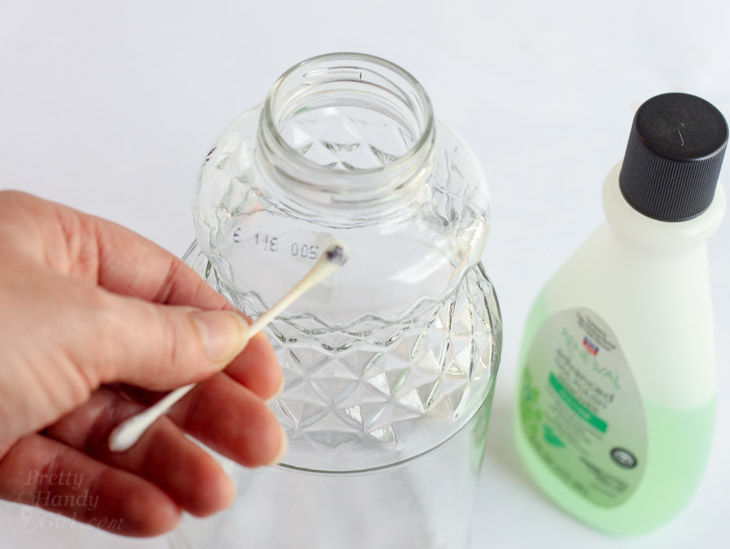
If there are any date stamps on your bottle, you can remove it with a Q-tip and Acetone based Nail Polish.

Instructions:

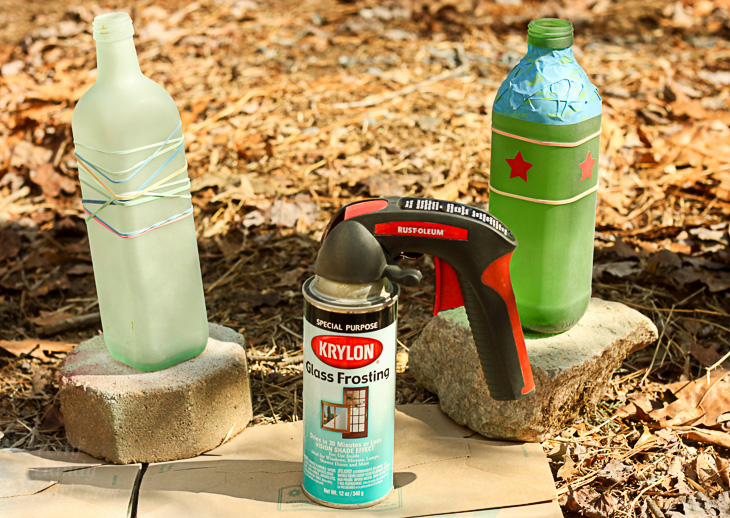
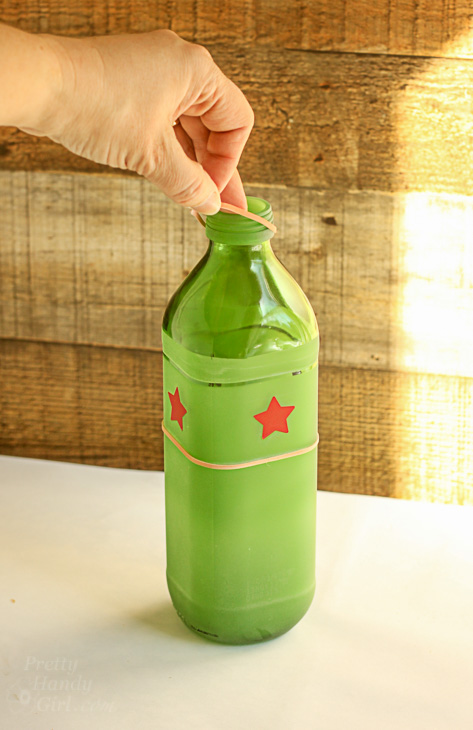
Wrap your bottle with rubber bands, painter’s tape or stickers. Anywhere that is covered on your bottle will remain clear.

Frosted Vases from the Recycling Bin | Pretty Handy Girl

Spray a light coat of Glass Frosting spray paint on your bottles. Let dry and repeat with one to two more coats.

Frosted Vases from the Recycling Bin | Pretty Handy Girl

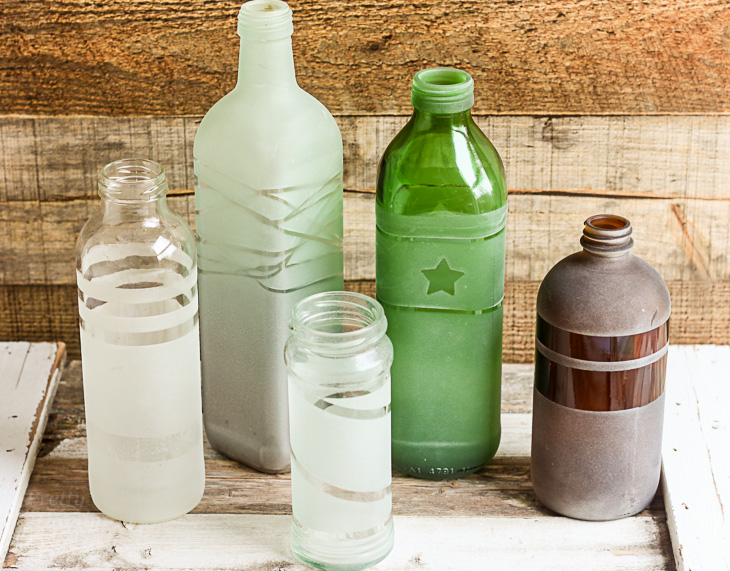
After the spray frosting has thoroughly dried, remove the stickers, tape or rubber bands to reveal your design.

Frosted Vases from the Recycling Bin | Pretty Handy Girl

Aren’t these beautiful Frosted Glass Vases from the Recycling Bin? It’s lots of fun to play with different patterns and textures on your bottles.

Frosted Vases from the Recycling Bin | Pretty Handy Girl

You can also add washi tape to your frosted vases for more variety.

Frosted Vases from the Recycling Bin | Pretty Handy Girl
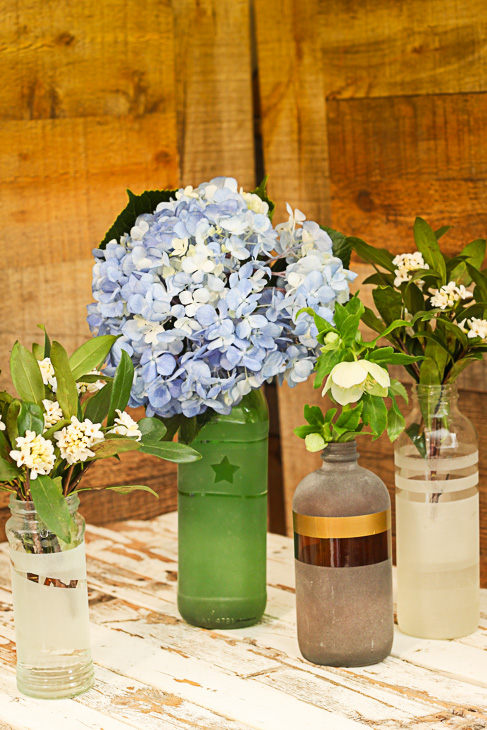
Fill the vases with water and flowers and you are ready to give them as gifts.

Unfortunately the frosted glass vases aren’t dishwasher proof. Frankly even a light washing will probably remove the glass frosting. But, they make quick and easy gift vases to make in a few minutes for next to nothing. If you want a more permanently frosted vase, try these DIY Glass Etched Vases:

Upcycle some old milk bottles or glass containers into these beautiful and chic Glass Etched Vases!

Want to try another easy upcycled craft? You’ll love these easy DIY Gold Leaf Vases:

DIY Gold Leaf Vases from Recycled Bottles | Pretty Handy Girl

Enjoy and be sure to raid your recycling bin more often!

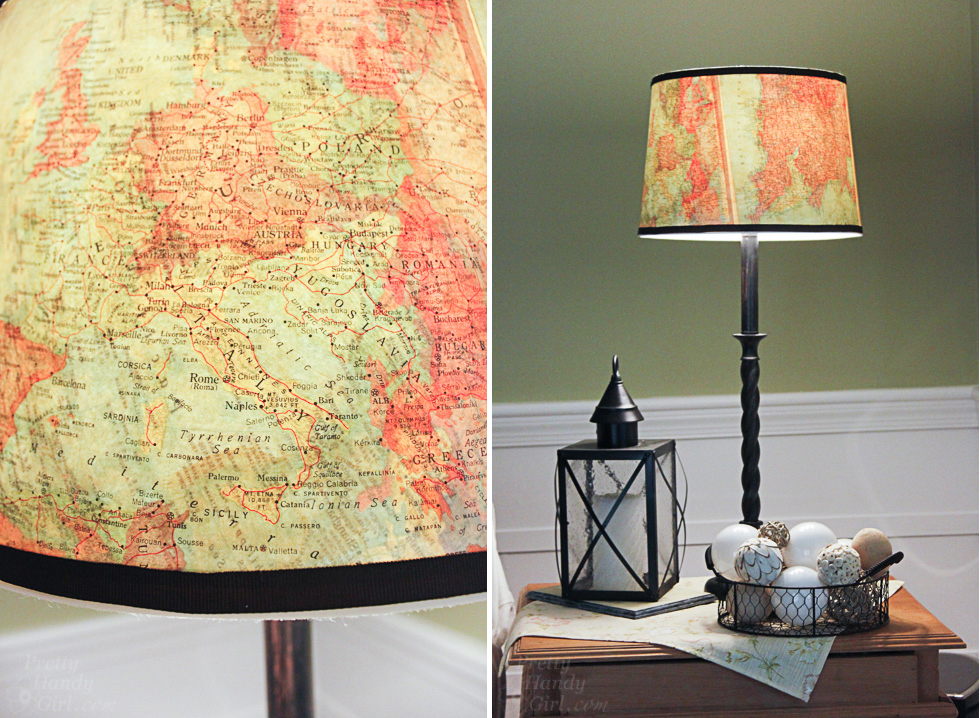
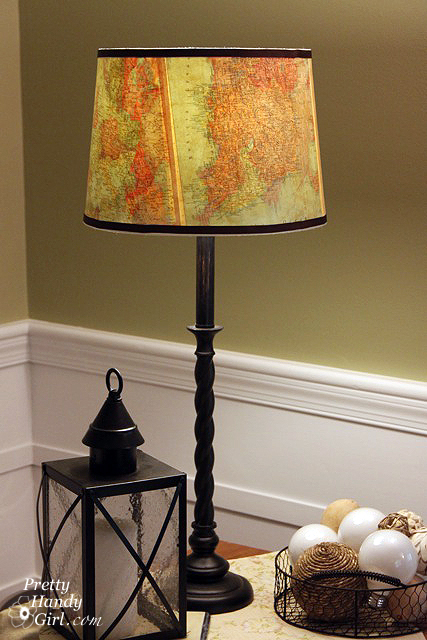
Vintage Map Lampshade | Pretty Handy Girl

Vintage Map Lampshade | Pretty Handy Girl
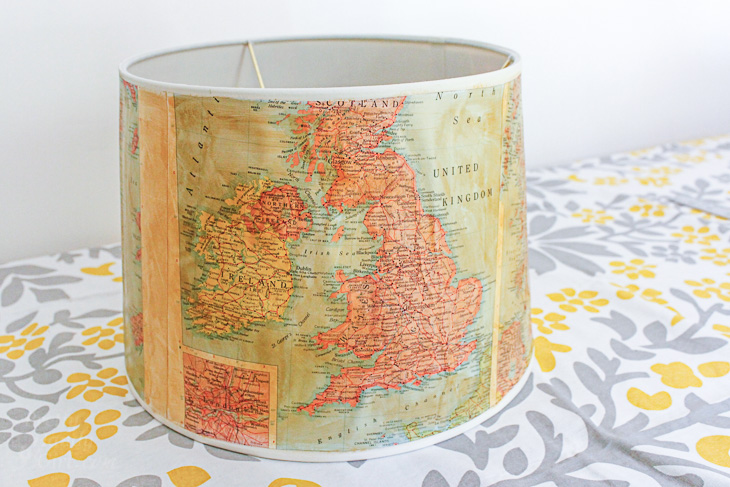
Do you want to update a plain vanilla lamp shade? Do you have a vacation you want to remember? You can do both with this vintage map lampshade!

The process to create a Vintage Map Lampshade is easy, especially if your lamp shade is close to a perfect cylinder. But, what do you do when you have a cone shaped shade? The instructions are a little more complicated, but I can show you how.

Pull up a seat and I’ll show you how to create a cool decorated lampshade. (Keep in mind you don’t have to use maps. You could use wallpaper, fabric, a poster, or anything you want!) Let’s do this.

Vintage Map Lampshade | Pretty Handy Girl

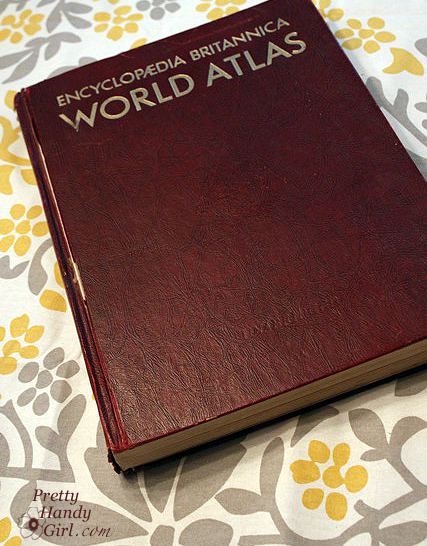
During a trip to my local thrift store, I discovered an old atlas and knew I could use it for oodles of projects. As I walked out of the store a flood of ideas came to me. One of them was to make a Vintage Map Lampshade.

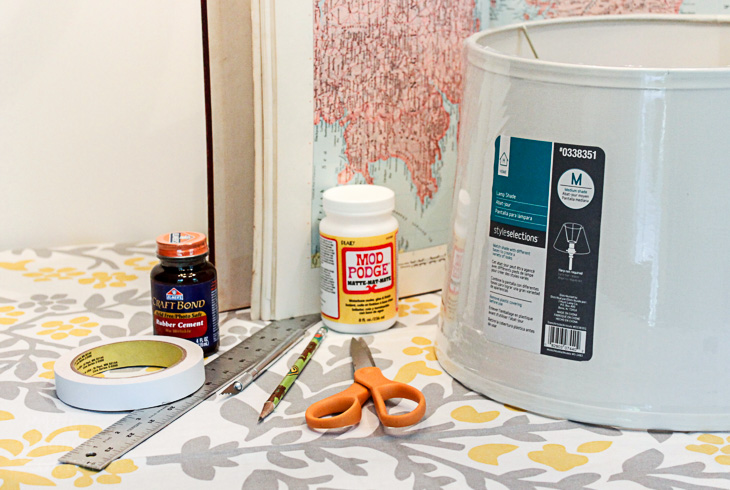
Materials:

(I’ve included affiliate links for your convenience. I earn a small percentage from a purchase using these links. There is no additional cost to you. You can read more about affiliate links here.)

Vintage Map Lampshade | Pretty Handy Girl

Vintage Map Lampshade | Pretty Handy Girl

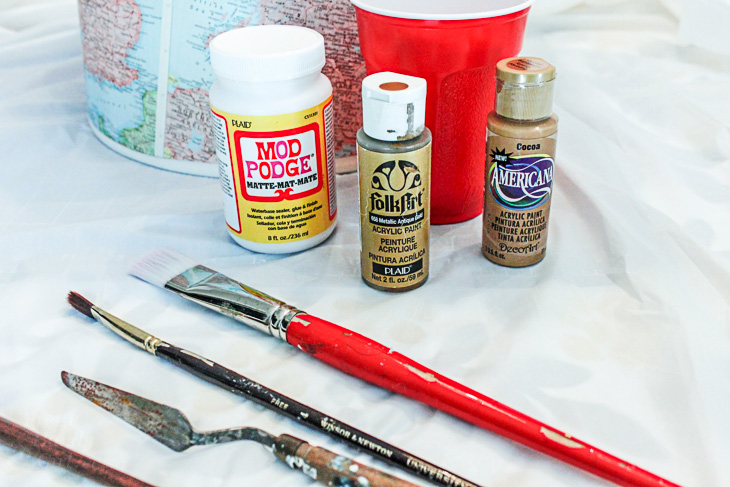
To add a vintage glaze you will also need:


Instructions:

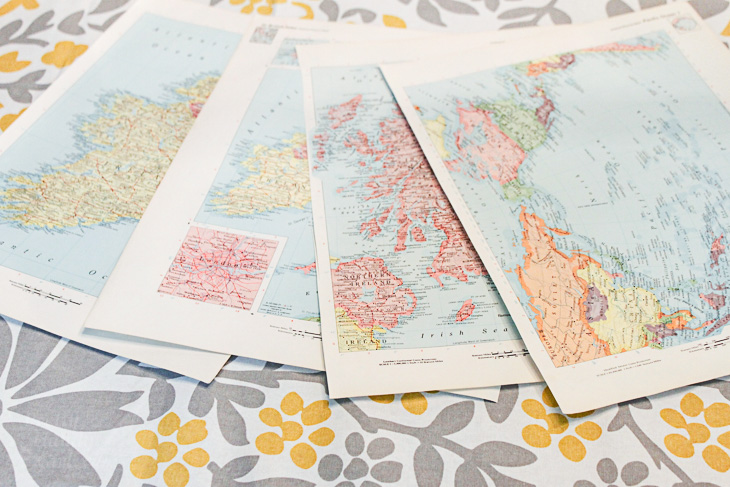
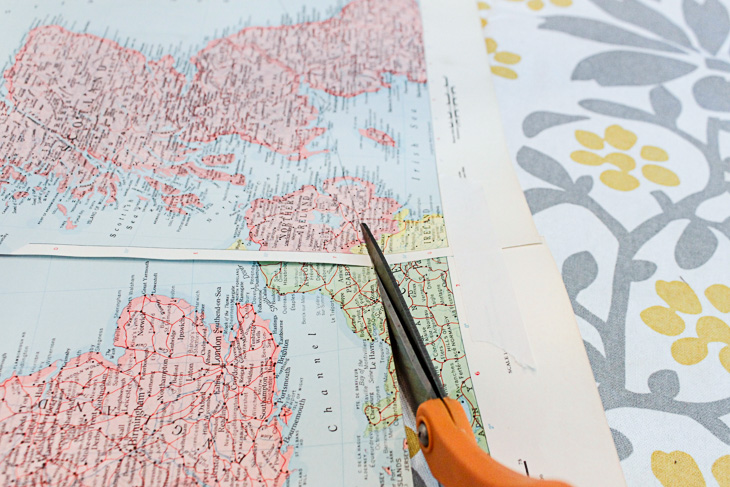
Start by selecting the maps or paper you want to use. Carefully cut them out along the spine using a fresh x-acto blade — don’t let your blade get dull. (I use a new one for each project. Your cuts are much cleaner when working with a fresh blade.)

Vintage Map Lampshade | Pretty Handy Girl

Set your pages aside for now.

Vintage Map Lampshade | Pretty Handy Girl

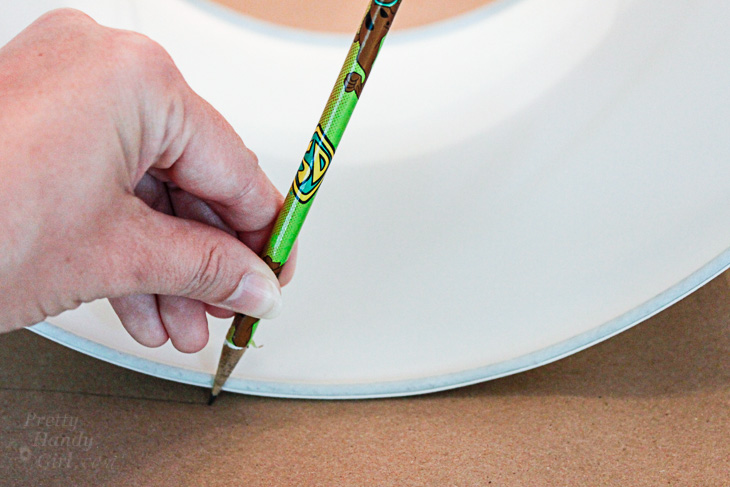
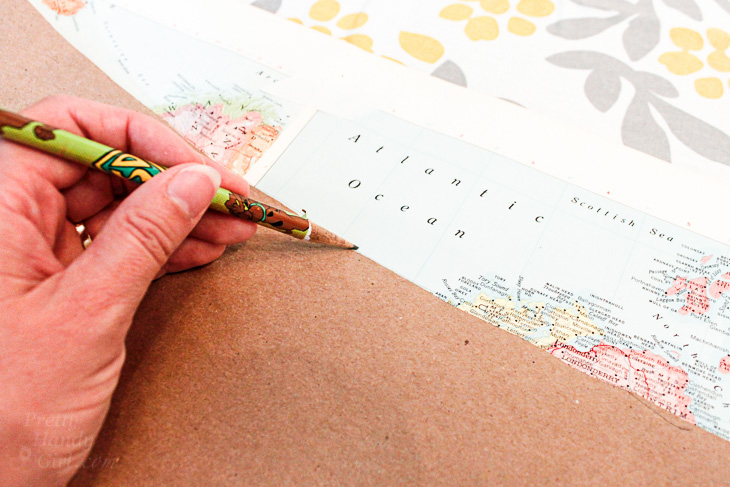
To make a template for your shade, roll out a large piece of craft paper. Lay your lampshade on the craft paper. Start at the vertical seam on the shade (to give you a visual of where to start and stop) and set your pencil along the bottom edge of the lampshade.

Vintage Map Lampshade | Pretty Handy Girl

Gently roll the shade on the paper and mark along the bottom edge of the shade.

Vintage Map Lampshade | Pretty Handy Girl

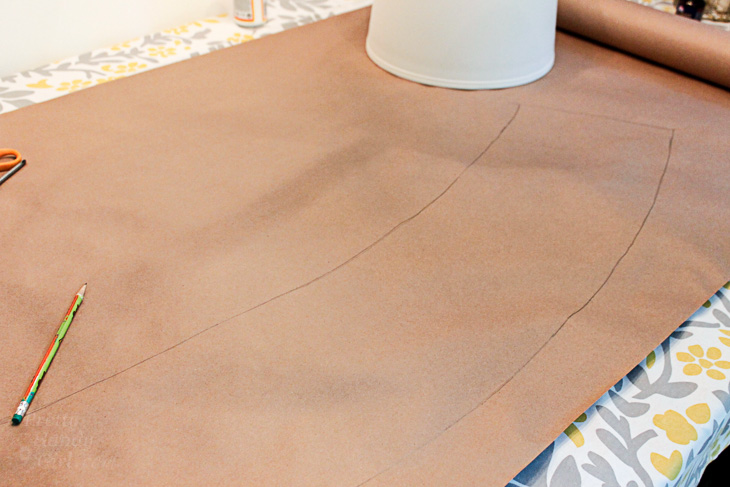
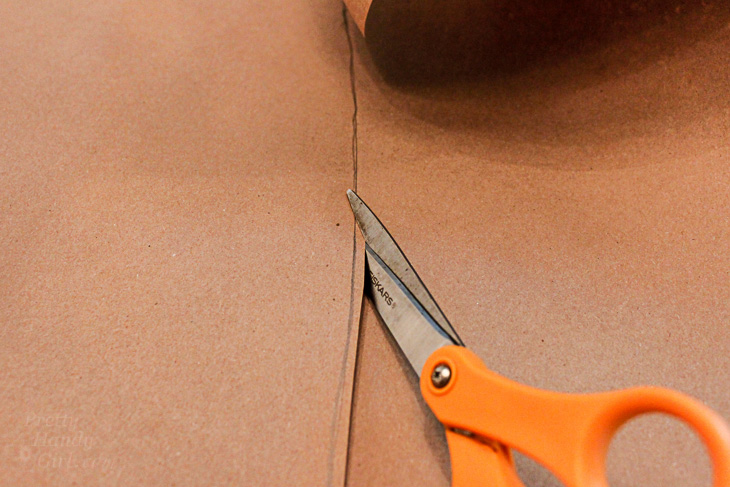
When you reach the end, reverse your shade and draw along the top edge. At the end, add an inch or two for overlap. Cut along the outlines to create your lampshade template.

Vintage Map Lampshade | Pretty Handy Girl

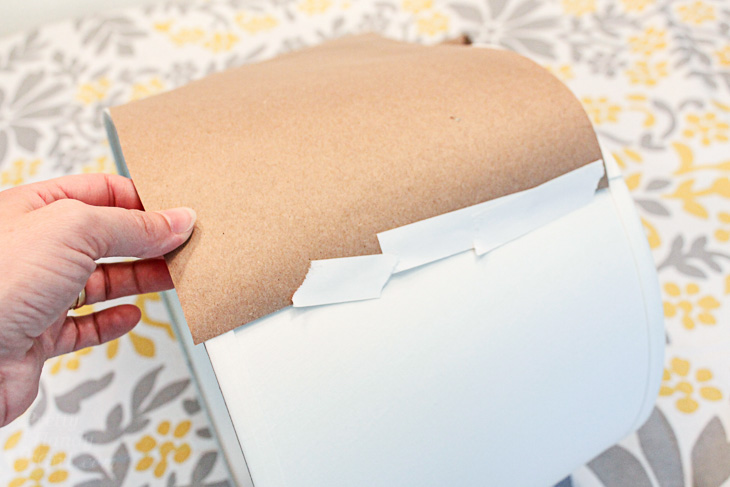
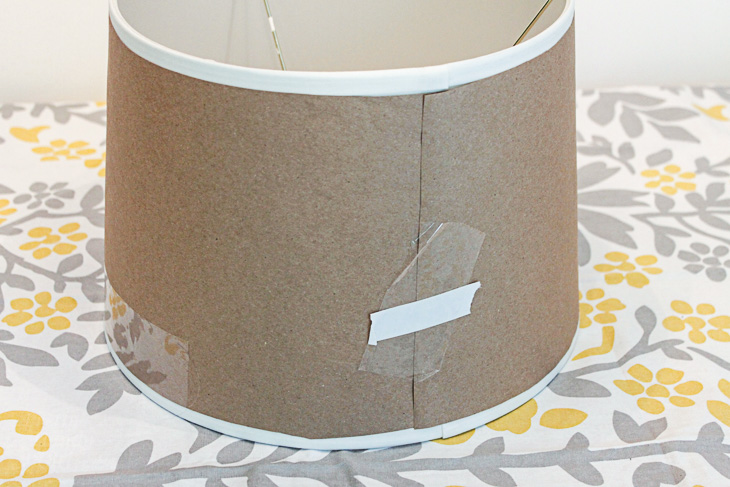
Tape the template onto your lamp shade using the low tack tape. Make sure it fits snugly.

Vintage Map Lampshade | Pretty Handy Girl

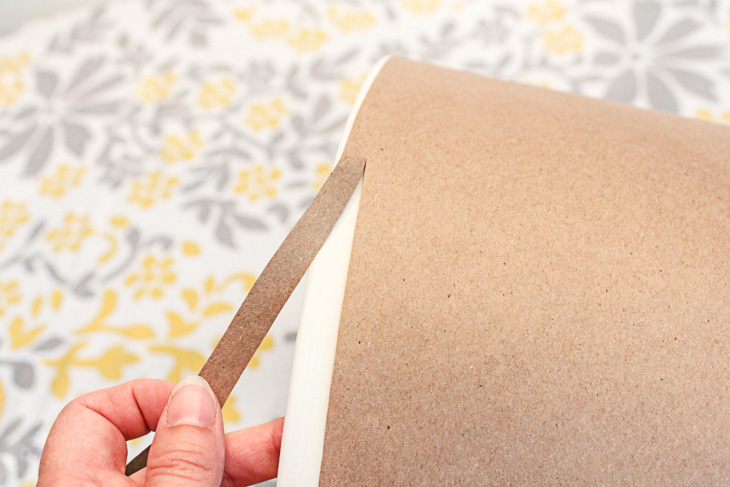
Trim any excess from the edge of your template. Should you choose, trim excess to allow room for the grosgrain ribbon.

Vintage Map Lampshade | Pretty Handy Girl

Make sure your template fits perfectly before you proceed.

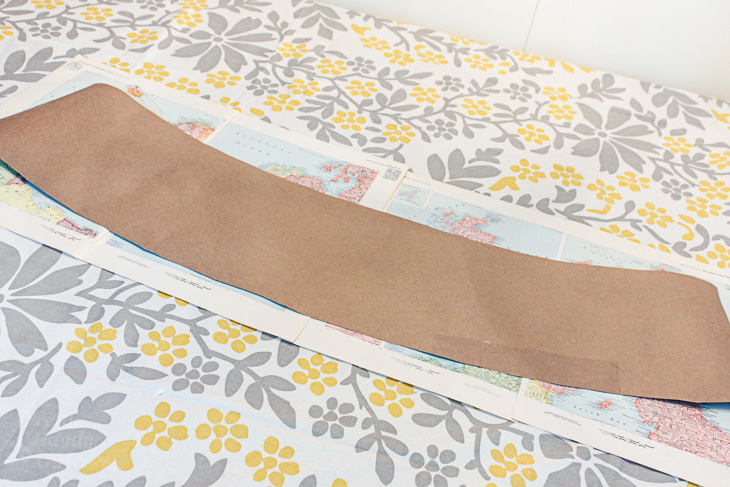
Lay out your craft paper template on top of the map pages. Make any adjustments to the page layout.

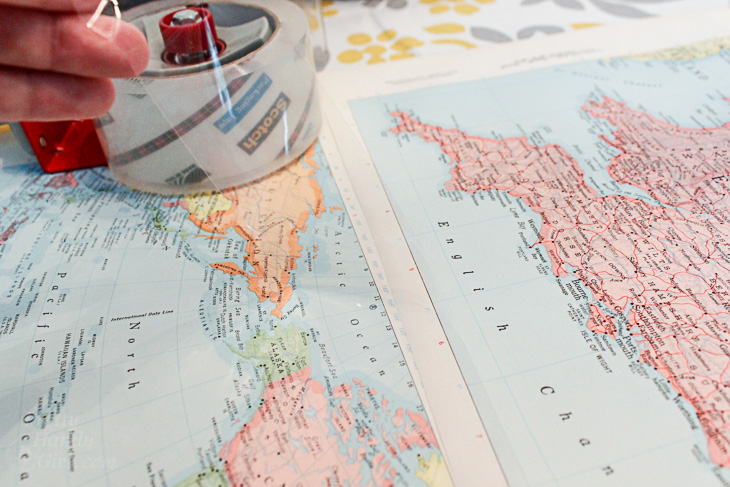
Tape your map pages together using clear packing tape on the inside only.

Trace the template on top of the map pages.

Cut out the shape along the pencil line.

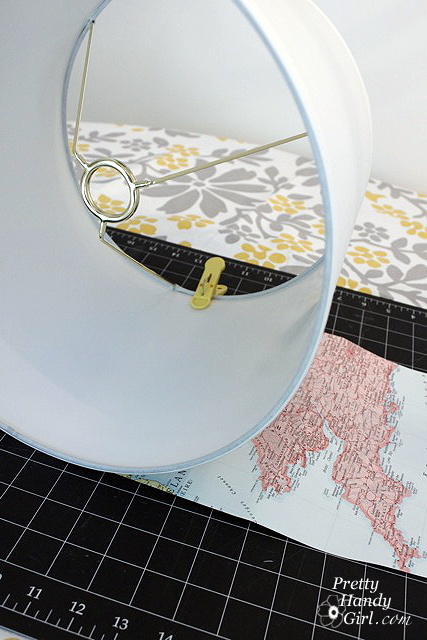
Wrap the lampshade with your cut out map pages.  Clip the edges with clothes pins.

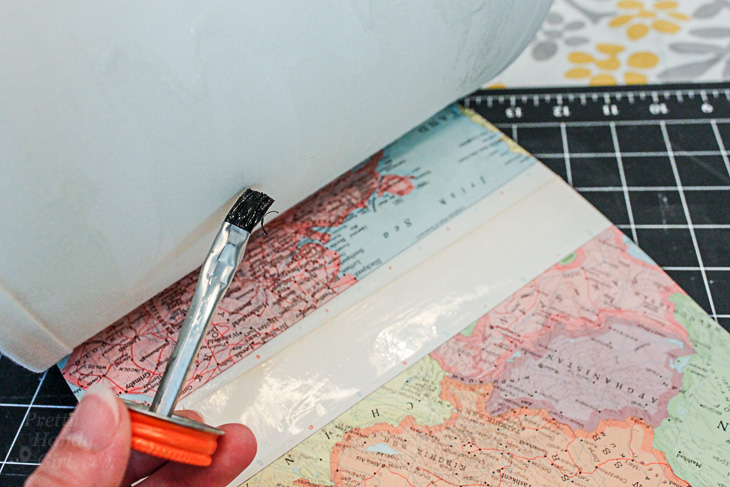
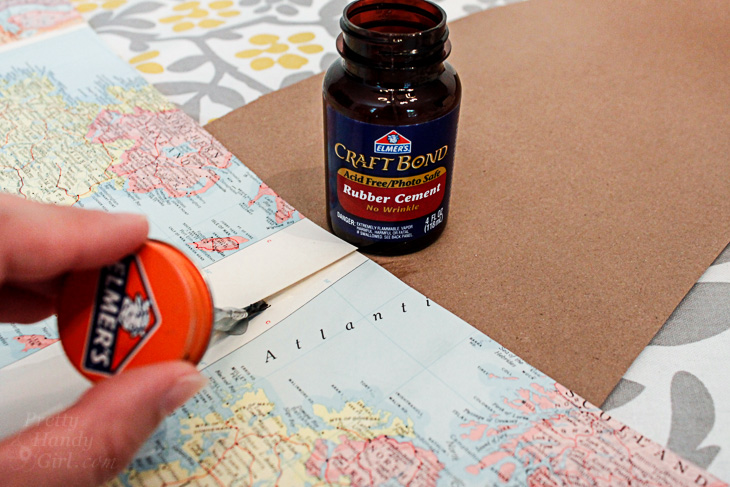
Working in small 8″ sections, brush rubber cement onto the map and the lamp shade. Wait a minute or two for the glues to dry. Then press them together. This is the best way to get maximum adhesion when using regular rubber cement. It creates a stronger bond than just one coat applied and joined while it is still wet. Alternatively you could use spray adhesive (especially if you are using fabric.)

Continue by gluing another section until you reach the end. To finish the seams on the outside, brush some rubber cement under the seams where your maps overlap. Press and hold them down until the glue dries.

Add a Vintage Aged Glaze:

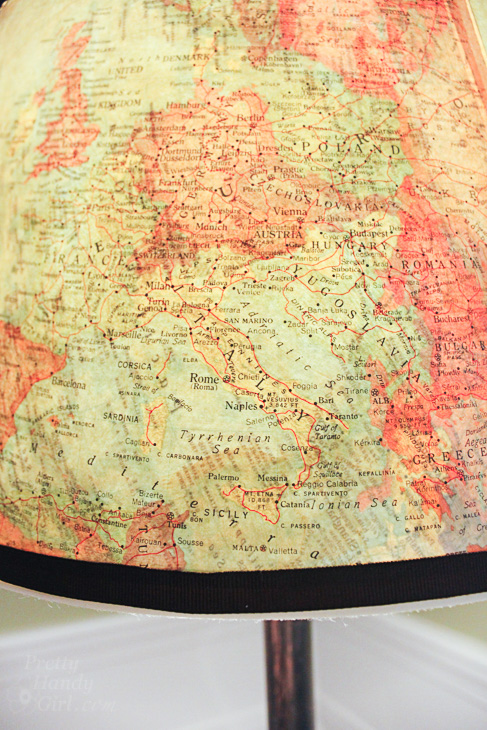
Time to give your maps a vintage aged look! Pour 2 parts mod podge into an empty cup. Add about 1 part cocoa paint. Mix them together. Test some of the glaze on a scrap piece of paper. If you like the glaze color, start brushing it onto the lamp shade. Be careful not to use too much of the glaze or the paper will start to wrinkle. (If it does, no worries, some of the wrinkles will come out when it dries. Any remaining wrinkles make it look old.)
Let the glaze dry.

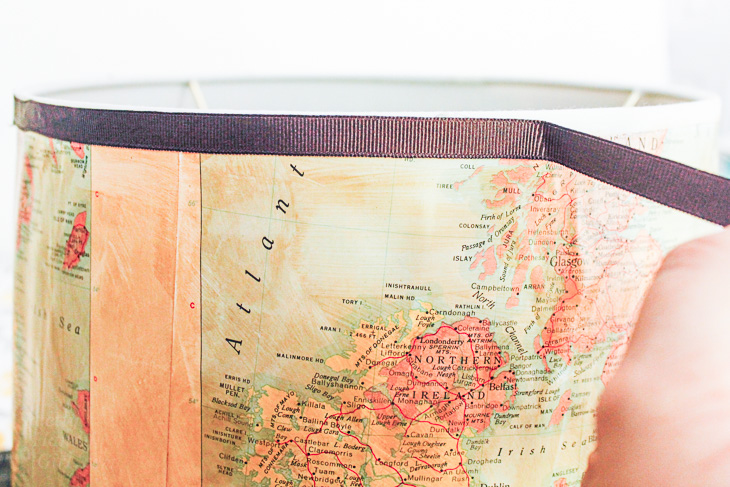
Cut two strips of grosgrain ribbon the circumference of your lamp shade plus an inch for overlap.

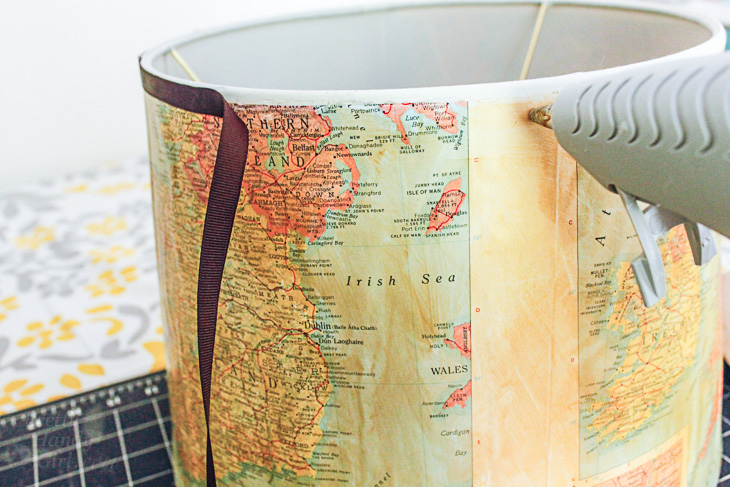
Hot glue the ribbon onto the top and bottom edges of your lamp shade. (Please, please, protect your fingers, read my hot glue gun safety post before working with hot glue!)

Put your lampshade on your favorite lamp.

Admire your unique lamp shade that brings back fond memories of a special trip.

If you make one of these, what map would be on your’s? Your home state? The place you were born? Where your family’s heritage resides? Or something completely different? I would love to hear your ideas.

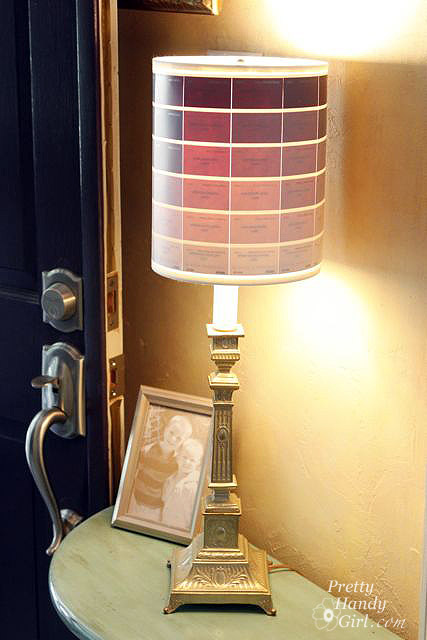
Did you like this tutorial? Want to learn how to revamp another lamp shade with paint chips!

The result are a beautiful ombré lamp that is fun and colorful.