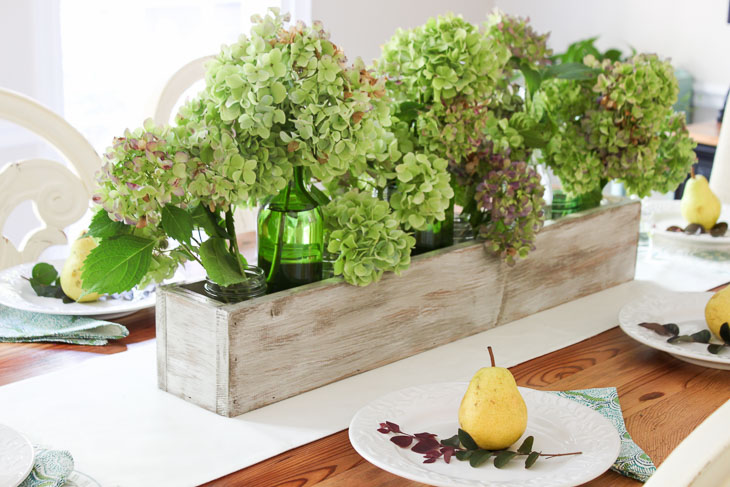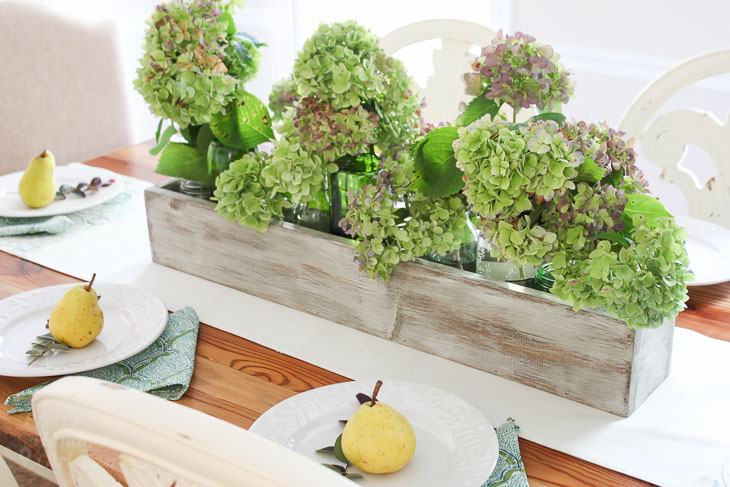
Green and purple hydrangeas in rustic wood trough. Build Your own Rustic Trough Centerpiece tutorial.

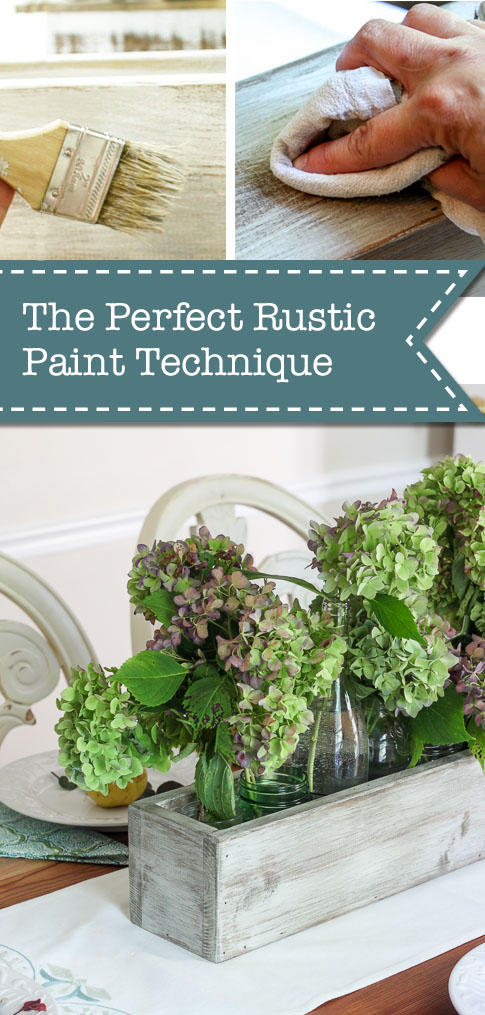
The Perfect Rustic Paint Technique {with Video Tutorial}The Perfect Rustic Paint Technique {with Video Tutorial}

I have been painting and distressing furniture and home décor for almost ten years now. Over the years I’ve tried a lot of different techniques, but the one I’m going to show you today is the one I consider “The Perfect Rustic Paint Technique!” The reason I like this technique is because I get consistent results and it’s not as messy and time consuming as painting several layers and sanding back down to the raw wood. This isn’t to say that I don’t still experiment or sometimes go back to previous techniques. I just wanted to show you my tried and true technique.

Green and purple hydrangeas in rustic wood trough. Build Your own Rustic Trough Centerpiece tutorial.

You may have seen the DIY Trough Centerpiece I built last week. If you don’t have a piece of furniture you want to try this technique on, go ahead and build this quick little (or should I say long) DIY Trough Centerpiece to experiment on.
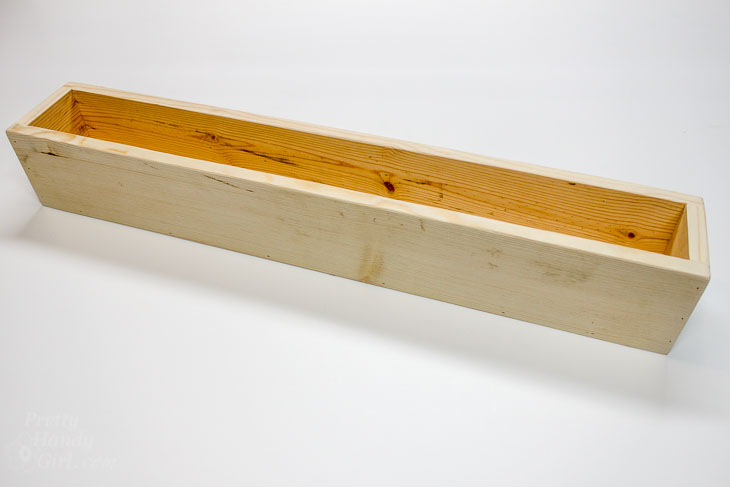
Finished trough build.

Then you’ll want to gather some materials and coffee (this is optional, but I find I enjoy DIYing with a cup of java.)

Materials:

(I’ve included affiliate links for your convenience. I earn a small percentage from a purchase using these links. There is no additional cost to you. You can read more about affiliate links here.)

Instructions:

Want to cut to the chase and watch the video tutorial? Well, be my guest:

If you like to see the step-by-step tutorial, here’s the break down:

Step 1: Sand & Stain

Lightly sand your piece to remove any rough spots.

If you’re working with a pre-finished piece of furniture, clean well to remove any dirt or oils that would resist the stain. Then sand everything lightly to give the surface a little “tooth” for the paint to grip to. Skip the next step unless you have sanded down to bare wood.

Put on your rubber glove and grab a rag or slip an old sock over your hand. Dip the rag into the stain and wipe it on the wood. Wipe off any excess stain. If you want a darker look, apply a second or third coat of stain. Allow the stain to dry (overnight is best.)
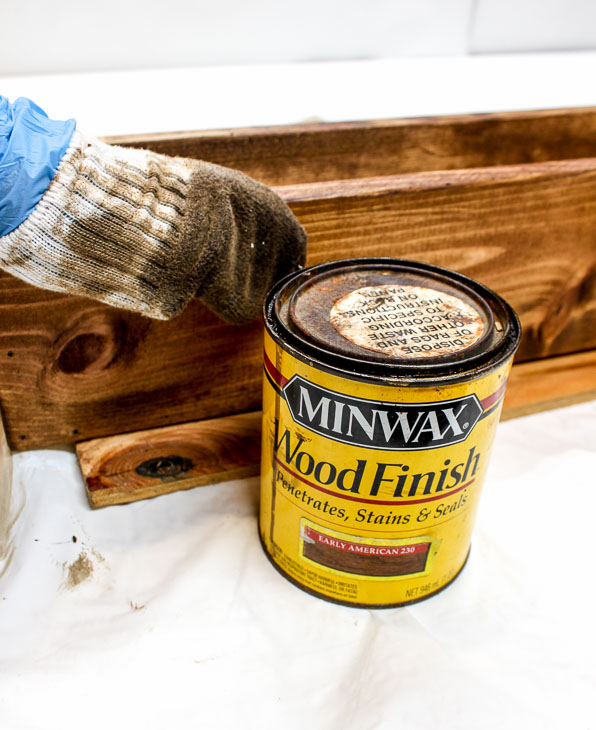
Wipe on Minwax Early American Stain.

Step 2: Painting

A quick note about chalk-like paints: I have tried a lot of different chalk paints and still don’t have an absolute favorite. Personally I like to buy them based on a pre-mixed color I like. That being said, I do have some that I don’t like as much. Although the Annie Sloan Chalk Paints were first on the scene, I struggled with them having unmixed chunks in them and they tended to dry out too quickly for my taste. That being said, most chalk paints will dry out quicker than latex paint. So make not to leave the lid off too long (it’s better to pour a small amount onto a tray or paper plate.) And store chalk paint in a temperature controlled environment. 

Dip your chip brush into the chalk paint and dab off most of the paint onto rag. Your paint brush should have very little paint on it.

Lightly drag the chip brush over your piece following the direction of the wood grain. This technique is called dry brushing (in case you wondered.) Allow some of the wood stain to show through. This will cut down on the need to sand down to the wood later.
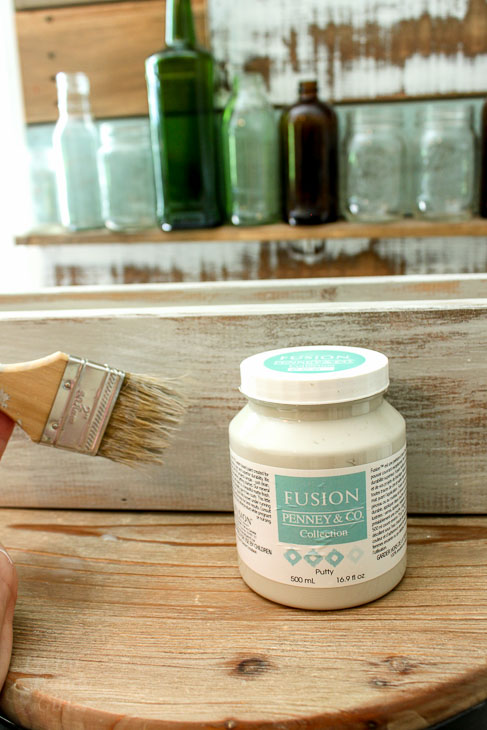
Dry brush Fusion paint.

Step 3: Adding Dimension

Allow the paint to dry (which shouldn’t take very long.) Dip another chip brush into the white color stain. Wipe off most of the paint and dry brush some “hi-lights” onto your piece. You don’t need as much coverage as the painting step. This is just adding some extra dimension to the piece.
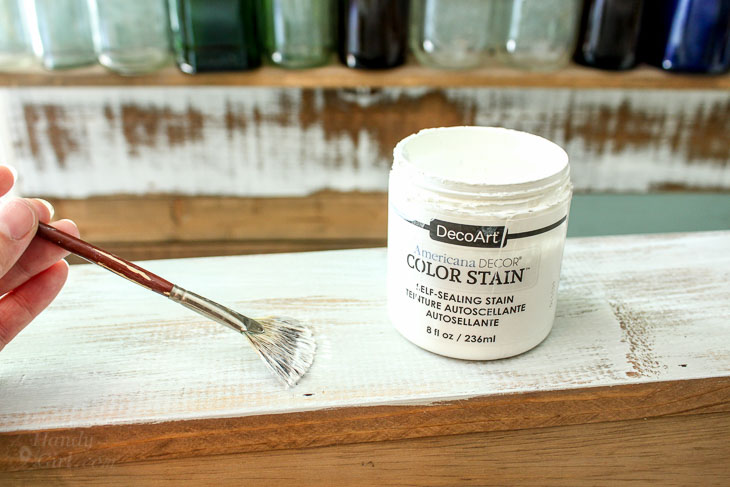
Use DecoArt white stain for highlights.

After the white stain has dried, dip another brush into the antiquing glaze and wipe most of the glaze off the brush. Once again, dry brush some areas on your piece to give some more dimension.
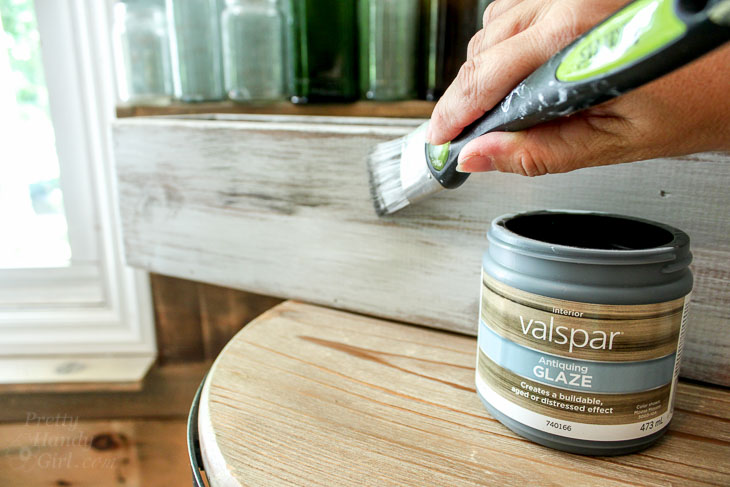
Dry brush Valspar Antiquing Glaze.

If you make a mistake or put too much glaze on, you can wipe it off within the first few seconds. Alternatively, you can always sand off any paint, stain or glaze you apply.
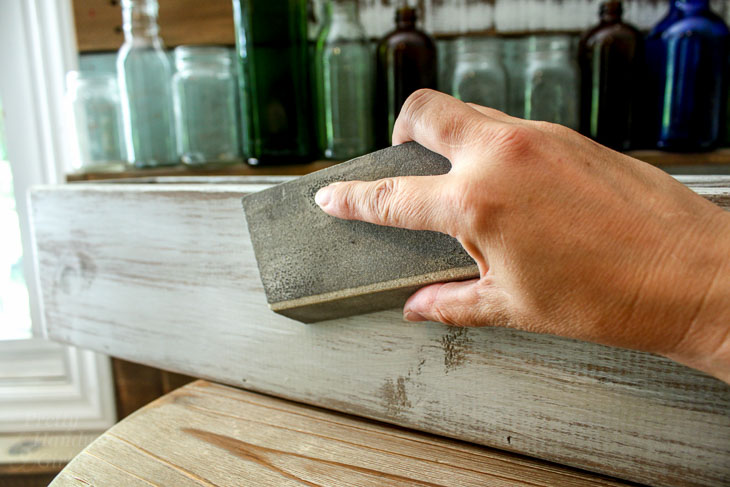
Sand smooth.

Once you’ve achieved your desired amount of paint, stain and glaze, get ready to seal in the beauty!

Step 4: Wax Finish Coat

Apply some dark wax onto a wax brush (or stencil brush.) Rub the wax on in a circular pattern.
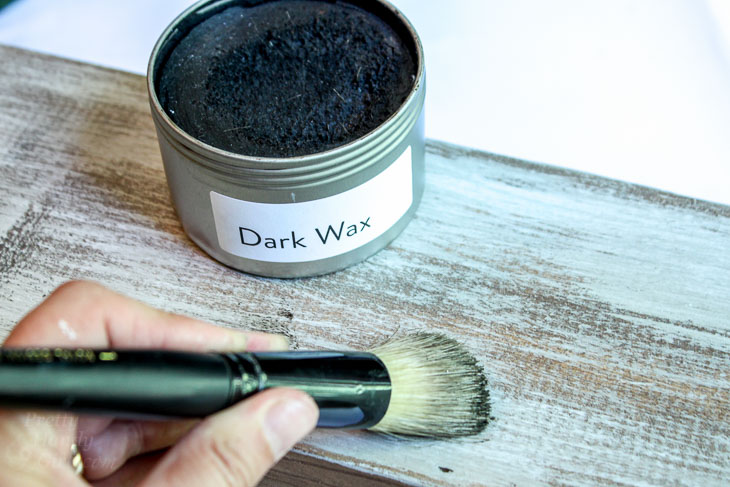
Apply Dark Wax.

Then buff it off with a clean dry rag. The wax gives your piece a soft luster and protects it from water. If you are working with a piece of furniture, you may want to apply another coat of wax. And you will need to re-apply in a few years.
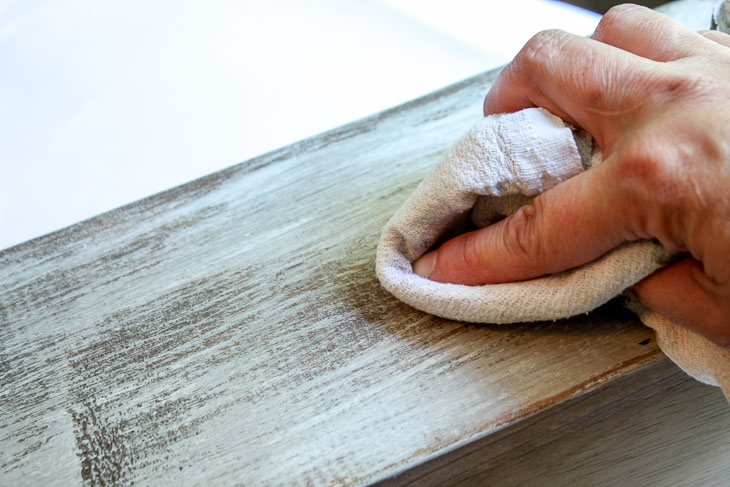
Buff off wax.

Now stand back and admire that Perfect Rustic Paint Technique!
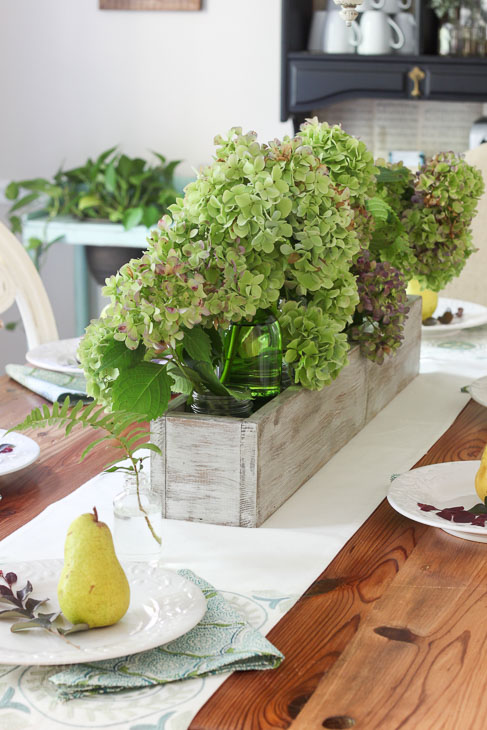
Tutorial to make this beautiful rustic wood trough.

She’s purdy, don’t you think?

Green and purple hydrangeas in rustic wood trough. Build Your own Rustic Trough Centerpiece tutorial.

Pin this picture to share the rustic love!

The Perfect Rustic Paint Technique {with Video Tutorial}

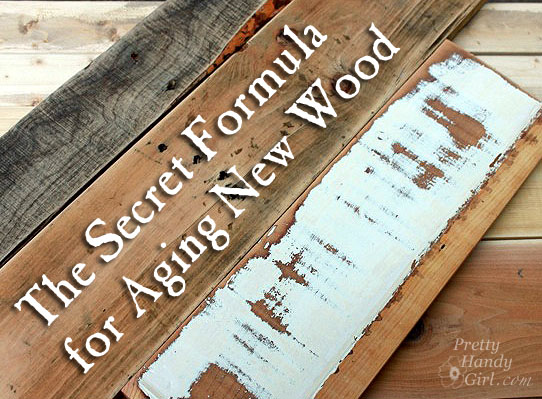
Liked this tutorial? I think you’re going to love my Secret Formula for Aging New Wood:
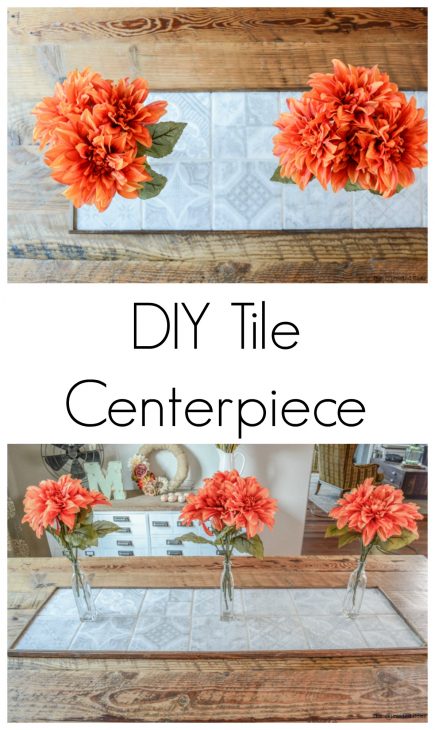
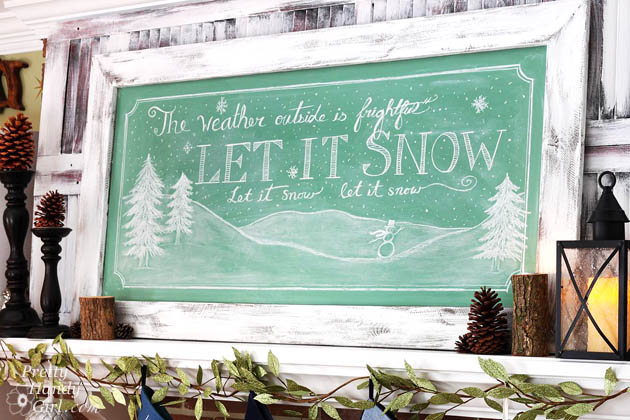
DIY Tile Centerpiece

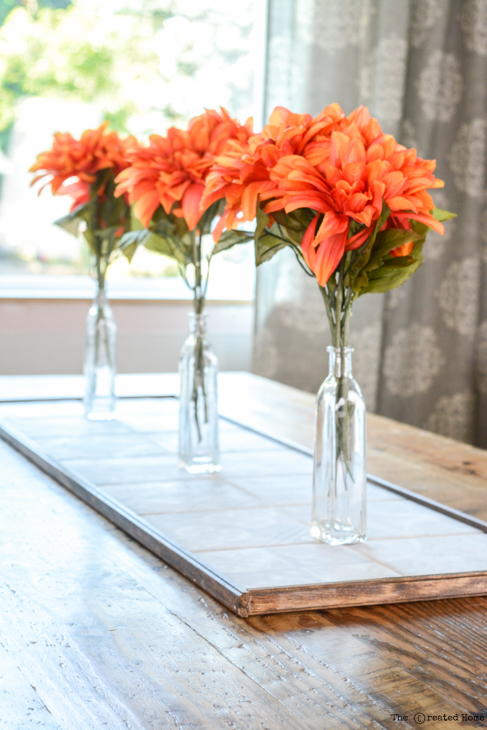
The holiday season is just around the corner, and there’s nothing quite like time spent with your friends and family gathered around the table. I know sometimes it’s all you can do to produce a delicious spread for your guests – details like a fancy tablescape are asking too much. Lucky for you, this DIY tile table centerpiece is the perfect solution for creating a gorgeous centerpiece that is easy to decorate and switch up for whatever occasion gathers your friends and loved ones around the table.

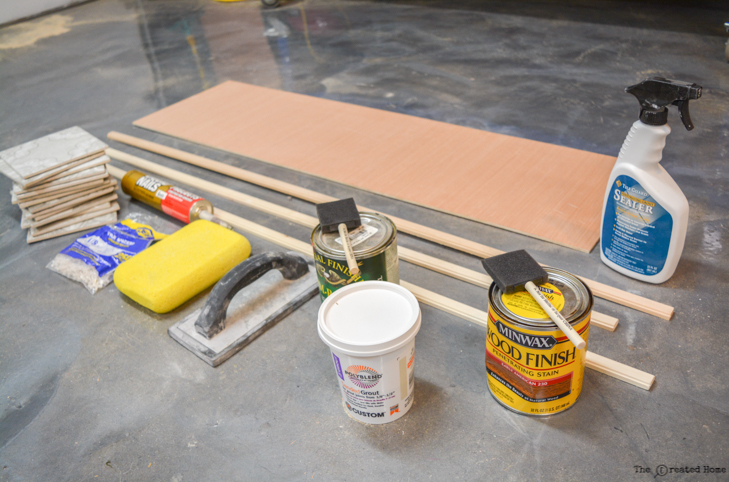
Materials:

(I’ve included affiliate links for your convenience. I earn a small percentage from a purchase using these links. There is no additional cost to you. You can read more about affiliate links here.)

tile centerpiece supplies

(That material list may seem long, but hopefully you’ll have a few things laying around already. And luckily, most of the materials are inexpensive.)

Instructions:

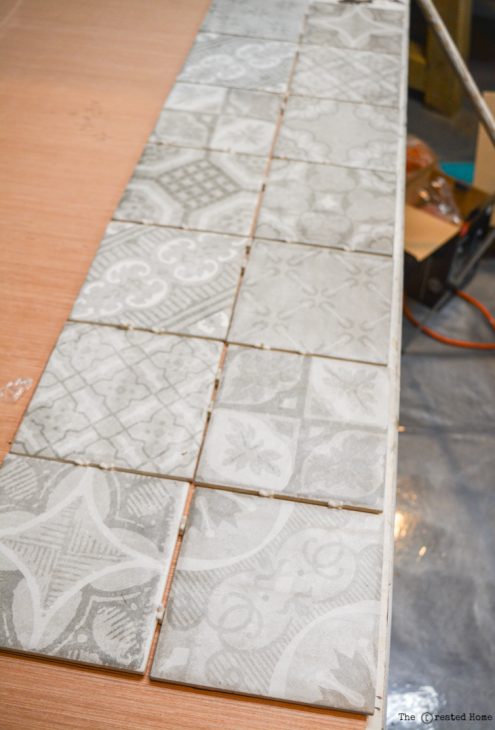
Step 1: Layout your tile on the 1/4″ plywood and trace around the perimeter to mark your desired size centerpiece. (I used 6″ x 6″ ceramic tile and 1/8″ spacers.) You can use any type of tile, but cement tile would look fantastic here! Cut the plywood to size using your table saw or circular saw.

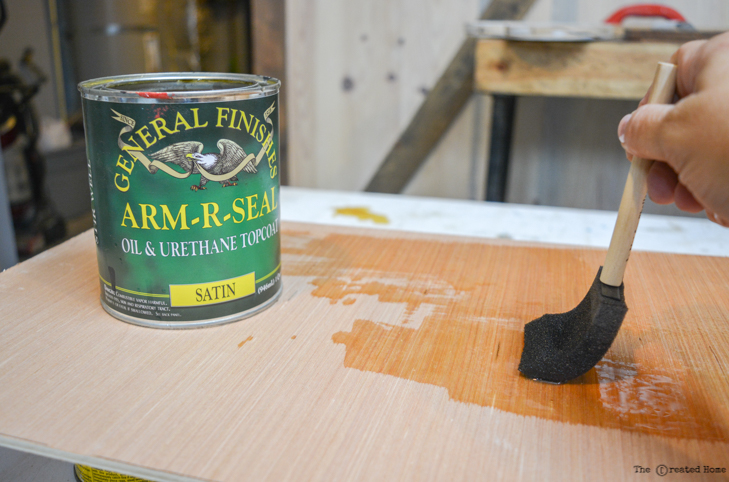
Step 2: Seal the plywood with polyurethane or other varnish.

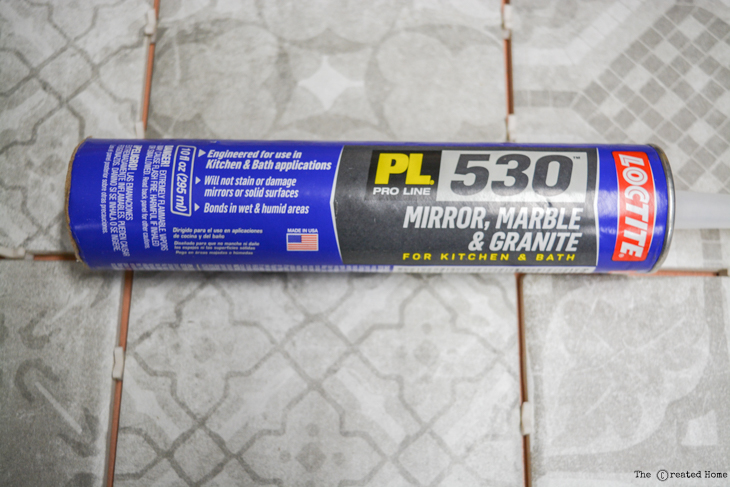
Step 3: Apply the Mirror, Marble & Granite Glue to the back of your tiles. (Typically mortar is used to set tiles, but adhesive is less messy and perfectly fine for this application.) Do not use regular construction adhesive as it may stain or seep through the tiles.

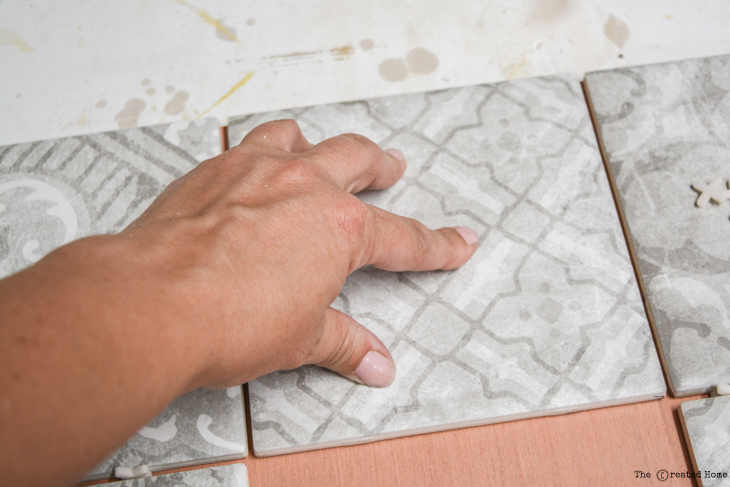
Press the tiles firmly in place, separating with tile spacers. Let the adhesive cure for about 24 hours.

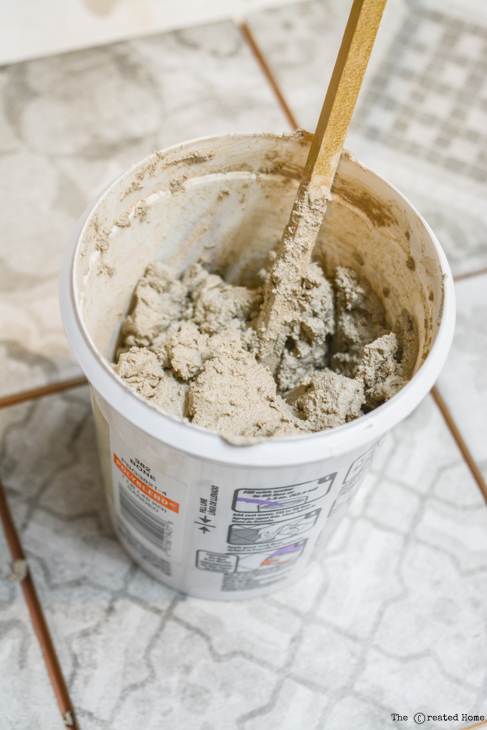
Step 4: Time to grout the tile. Follow the instructions on your grout container to mix grout to the desired consistency (usually like thick peanut butter.)

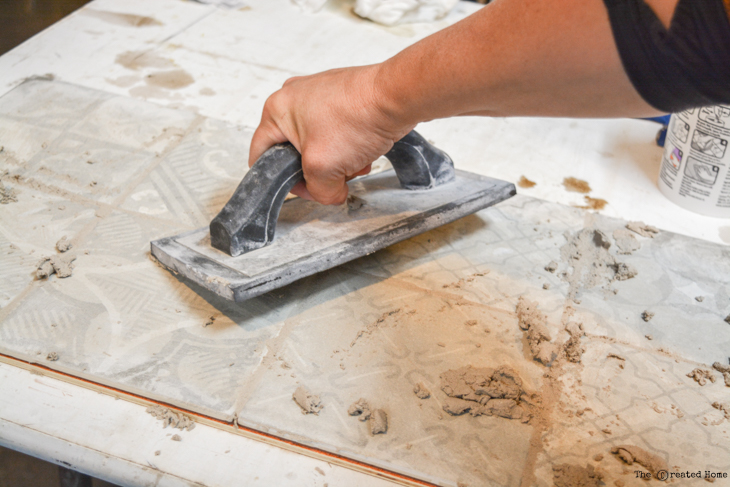
Spread the grout over the tiles. To get the grout into the space between the tile use plenty of grout and hold your float at a 45 degree angle.  Scrape the float across the face of the tiles, packing the grout into the seams. Follow Brittany’s tutorial for grouting tiles if want to see a video tutorial.

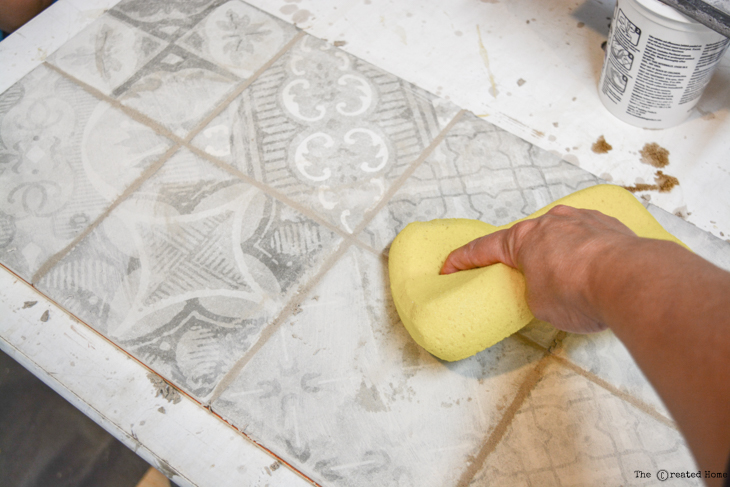
Step 5: Wait 10 minutes for the grout to set, then gently wipe off the excess grout with a damp sponge. Be careful not to wipe the grout out of the seams.

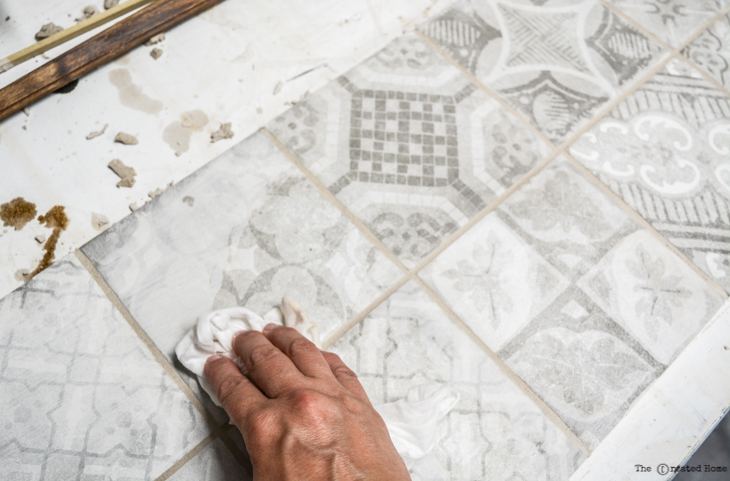
Step 6: After about two hours clean up the haze on the tiles with a damp rag or cheesecloth. Continue wipe down the tiles until they are clean.

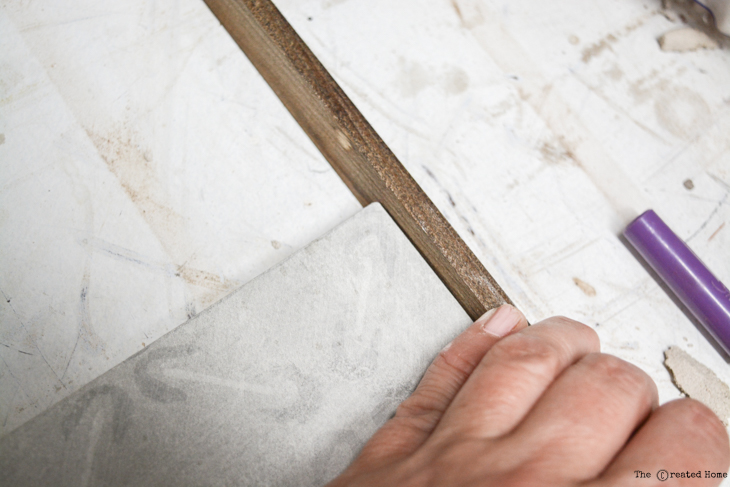
Step 7: Cut the decorative moulding pieces to fit around the sides of your tiled plywood tray. (Stain or paint the moulding pieces per your style.)

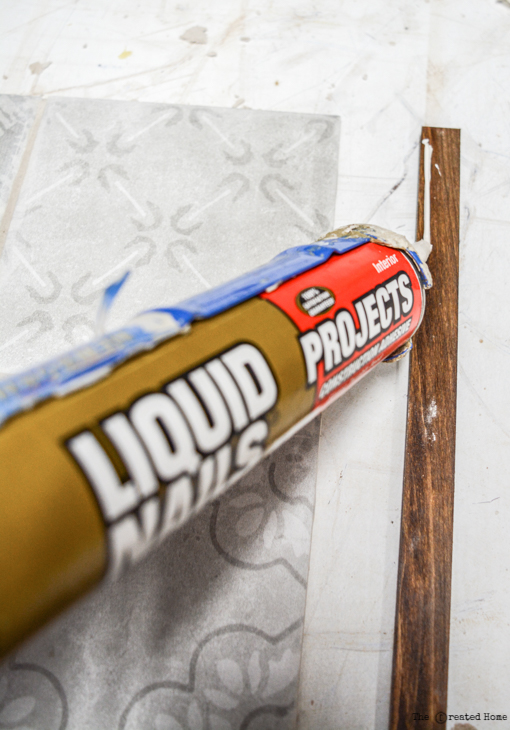
Adhere the wood moulding around the border of your plywood using construction adhesive.

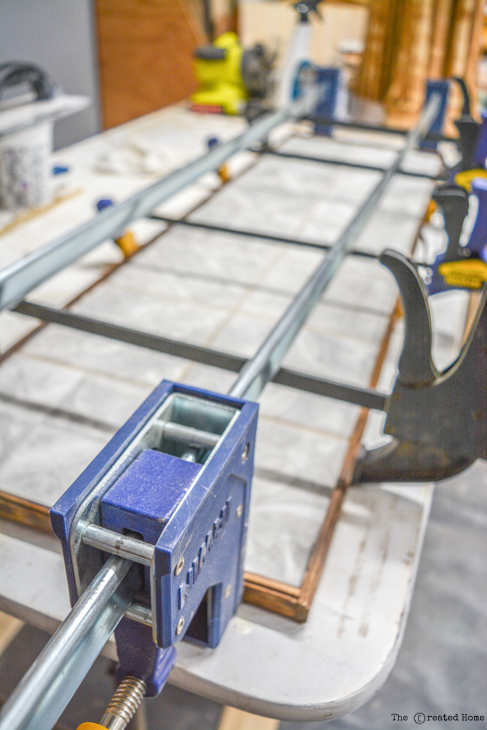
Use clamps to hold the pieces in place while the adhesive cures.

Use grout sealer per the instructions on the packaging to seal your tiles and grout.

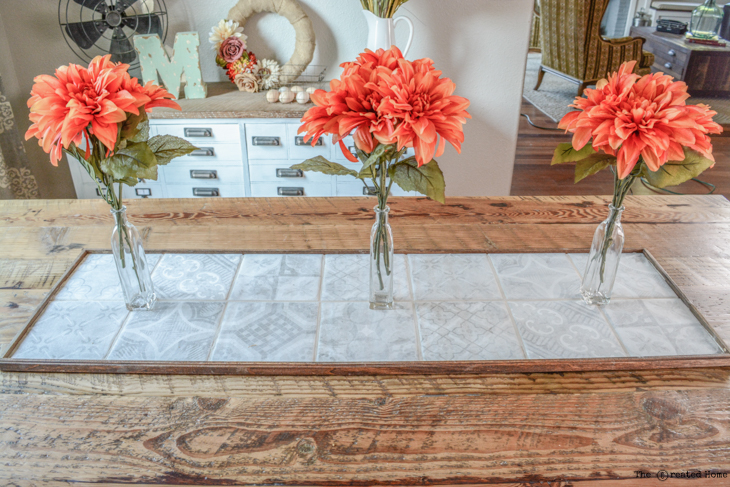
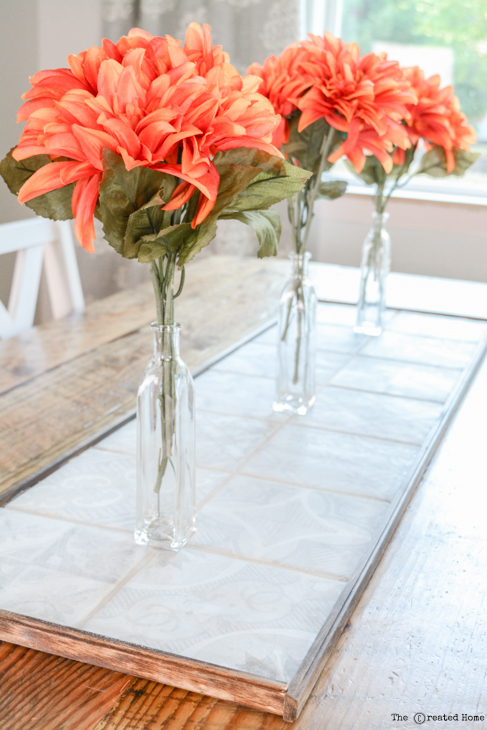
Step 8: Put the tile centerpiece on your table and decorate it up!

Obviously, this centerpiece can be easily customized to whatever look and size you like. Maybe consider one row of larger size tiles instead of a double row. Or a mosaic of smaller tiles would look amazing.

Besides looking attractive, tile makes for a good place to place hot dishes and protect your table top.

Pin this idea to share or to store for later:

That’s it! Be sure to share pictures if you make one for yourself. Thanks for reading, and happy entertaining!


~See More of Sarah’s Tutorials ~


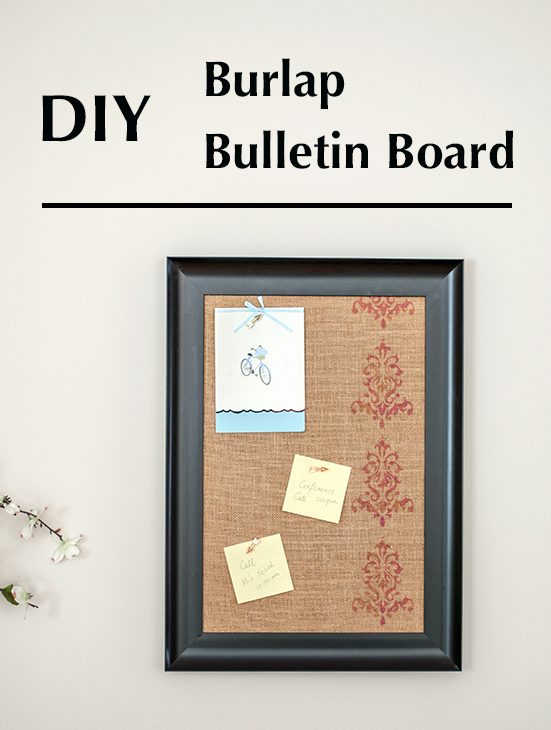
DIY Burlap Bulletin Board

How to make a DIY burlap covered bulletin boardDIY Burlap Bulletin Board

Hello, Pretty Handy readers! I have a quick and fun project for you today! We’re going to make DIY Burlap Bulletin Boards together, hooray!

I love displaying pictures around the house, but sometimes I don’t have enough frames. Then there are the frames I have with broken glass. In the spirit of not throwing anything away (and finding a way to upcycle everything), I turned one of those glass-less frames into a burlap bulletin board. And it looks perfect next to my Ikea Ivar cabinet hack  and DIY mail organizer.

Ready to learn how to make this easy DIY Burlap Bulletin Board? Great, let’s go!

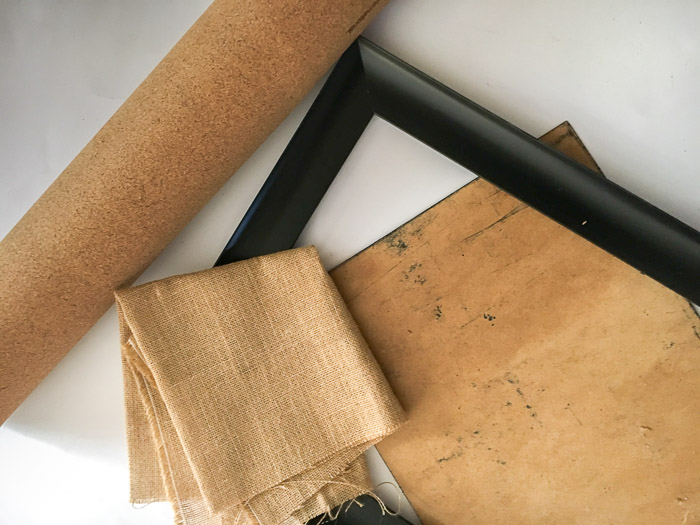
Materials:

(I’ve included affiliate links for your convenience. I earn a small percentage from a purchase using these links. There is no additional cost to you. You can read more about affiliate links here.)

Materials to make the burlap covered cork board

Optional:

Instructions:

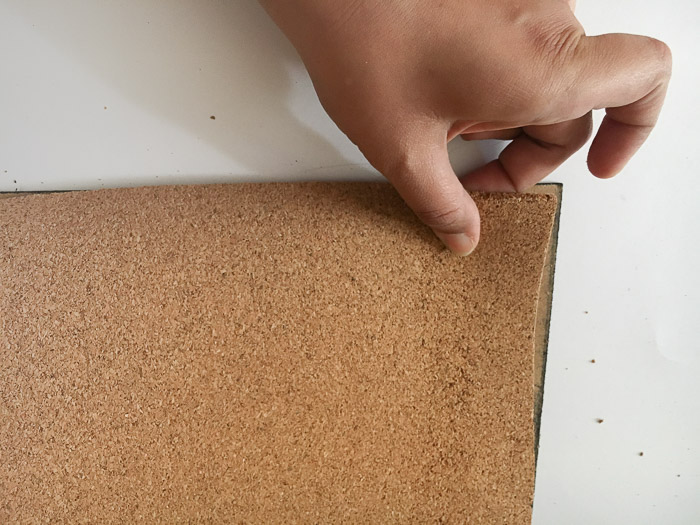
Step 1: Cut cork to the size of the cardboard backing in your picture frame. Glue it onto the cardboard using spray adhesive.

Add cork roll to make a DIY cork board

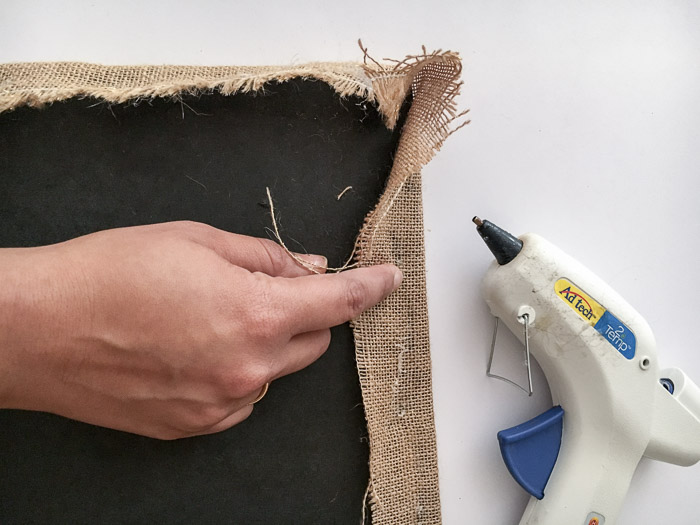
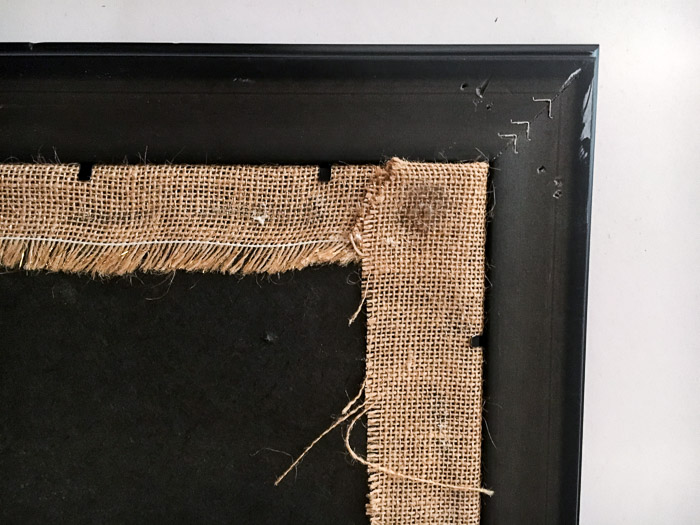
Step 2: Cut burlap fabric 2 inches wider than your cork on all sides. Attach burlap on top of the cork using hot glue to secure the burlap to the back of the cardboard backing.

Attach burlap on rok to make a burlap covered bulletin board

Step 3: Place the burlap bulletin board into the frame.

How to make a cork bulletin board

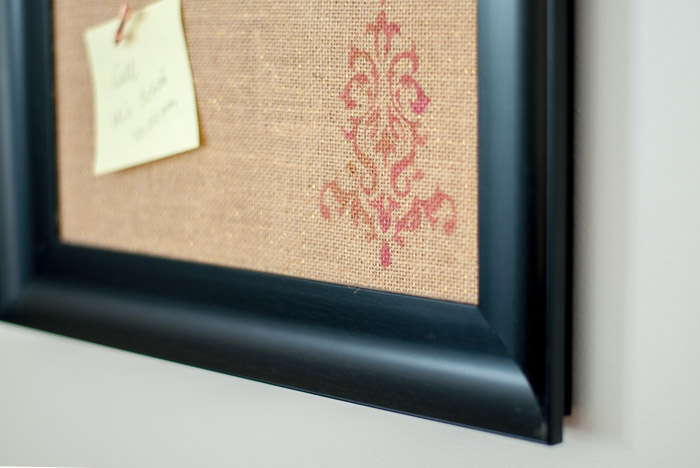
Feel free to add a little more character by stenciling a pattern on one side. (I chose to use red and gold craft paint to bring out the gold thread in my burlap fabric.

Adding stencils on burlap covered bulletin board

That’s the easy way to create a DIY Burlap Bulletin Board!

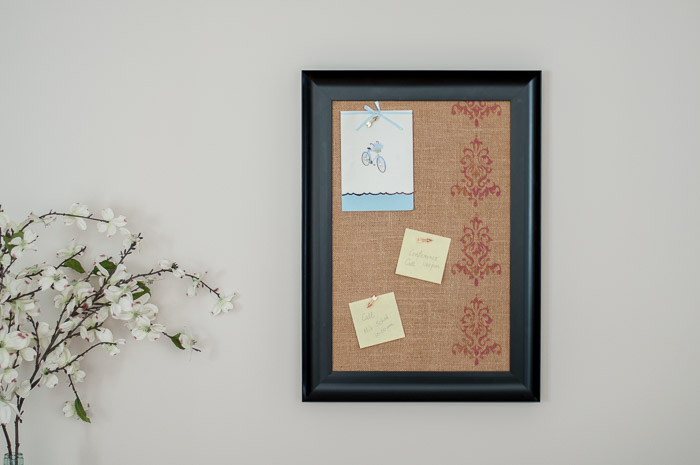
Use your bulletin board to display picture, notes and reminders. Personally, I use it to pin school calendars instead of letting them get buried in the pile of other papers.

Make a burlap covered corl board with this easy tutorial

Until next time!

~ View more of Anika’s DIY Tutorials ~

Like this idea? You’ll also love Brittany’s idea of using a magnetic sheet to create a magnetic board instead of a cork board.

DIY Magnetic bulletin board

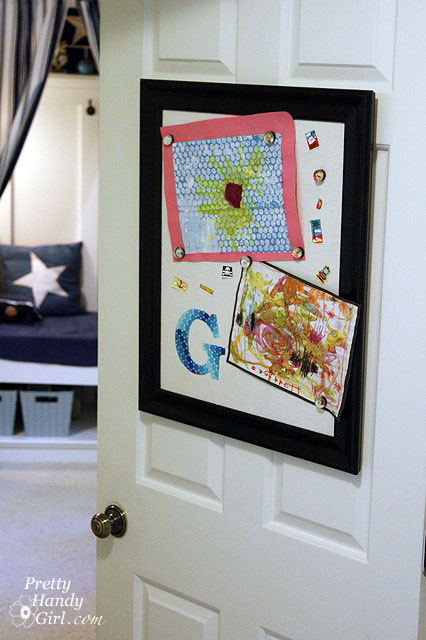
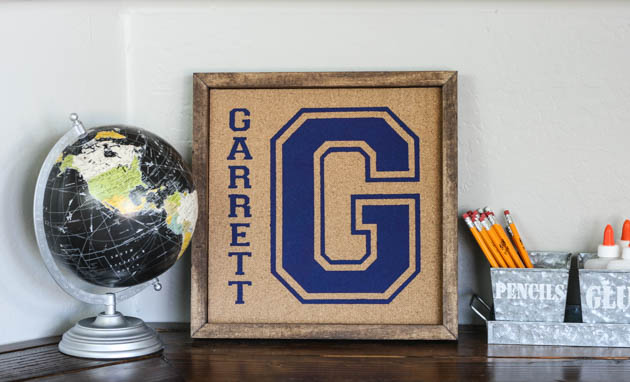
And be sure to check out Katie’s PB Knock Off Monogram Bulletin Board:

PB Knock Off Monogrammed Bulletin Board

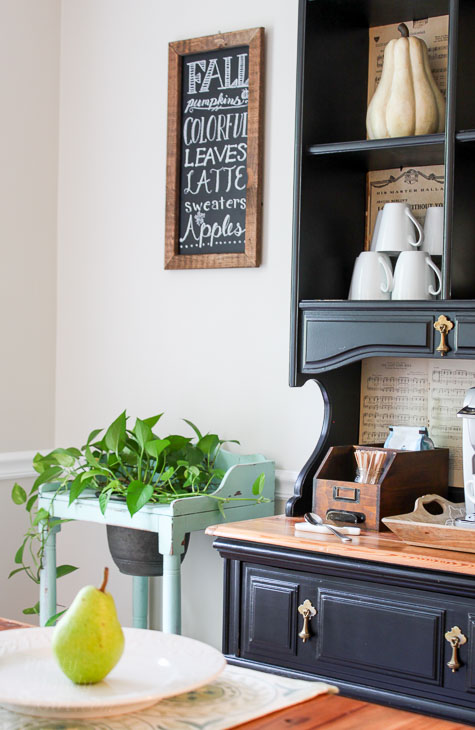
Fall decorated dining room.

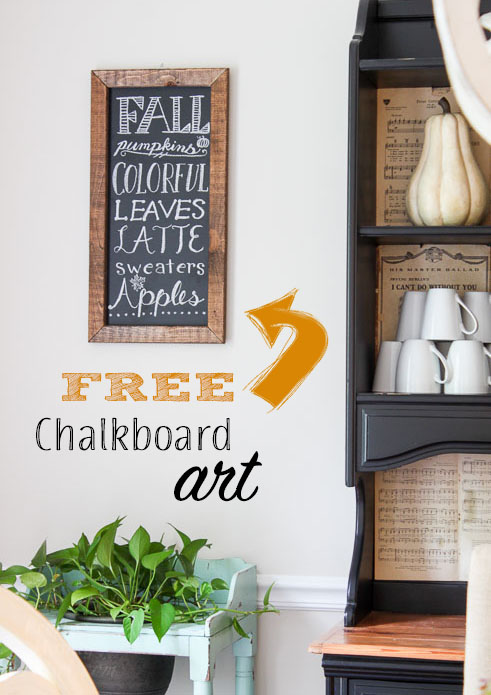
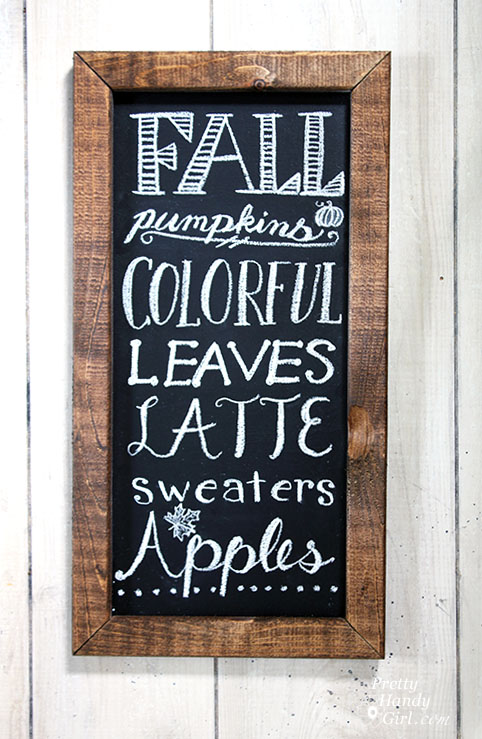
FREE Chalkboard Art Sign FREE: Fall Chalkboard Art Printable
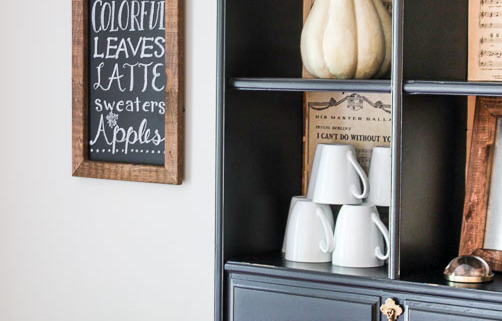
This weekend the cooler temperatures stirred my internal desire to start decorating for fall. I love fall! Whether it be the beautiful leaf colors, the pumpkin spice lattes or the ability to wear boots and flannels — they all help rank fall as my favorite season. To celebrate, I took some time and created this Fall Chalkboard Art on the new blackboard I received in my Sand Dollar Lane Box (affiliate link).

FREE: Fall Chalkboard Art Printable
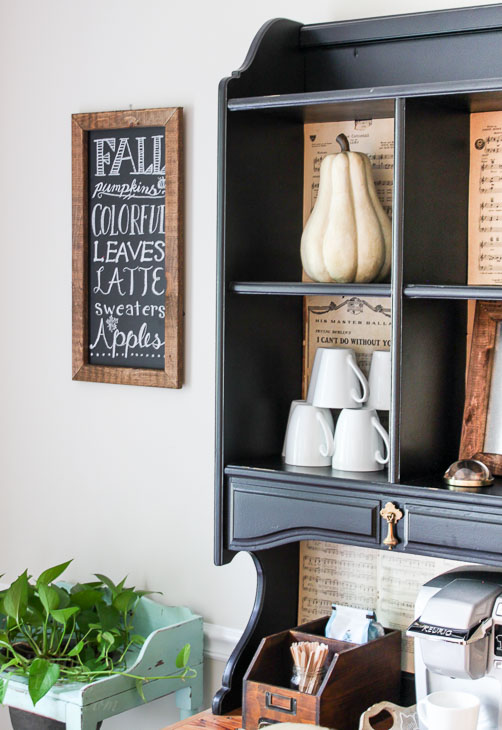
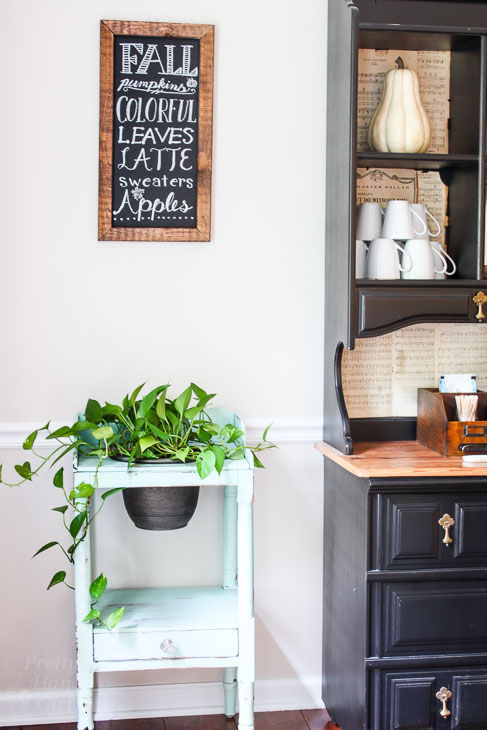
Then I hung it on the wall in our dining room and set out a little coffee bar.

Coffee station with rustic farmhouse feel.

Boom! I’m ready to get cozy with some coffee and a good book. The chalkboard art keeps my recently painted dated gourd happy. You’d never guess that cute little gourd was an ugly cast off before.

Fall chalkboard art sign

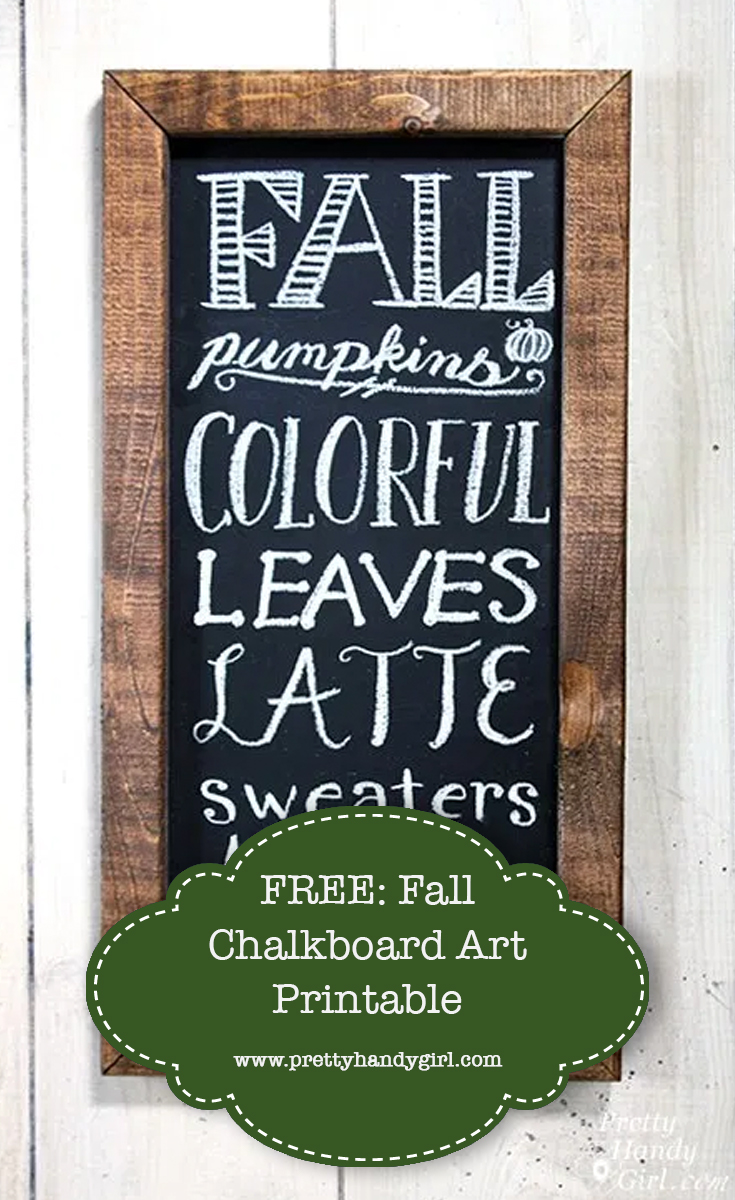
Anyway, if you’d like to celebrate fall, feel free to download this FREE Fall Chalkboard Art Printable. Simply click on the image below to be taken to the high resolution file you can download and print for your personal use.

Download this free Fall Chalkboard printable

If you’re feeling crafty (and want to build your own frame out of scrap wood), follow this tutorial for building a chalkboard (simply downsize to your printable size.)

Pretty Handy Girl's Holiday Home Tour 2014

I’ll be back soon with a tour of my home decorated for fall! Are you in the decorating mood too?

Fall decorated dining room.

Until next time, hope you enjoy some fall weather in your area!


Pin for later!

FREE: Fall Chalkboard Art Printable | Pretty Handy Girl

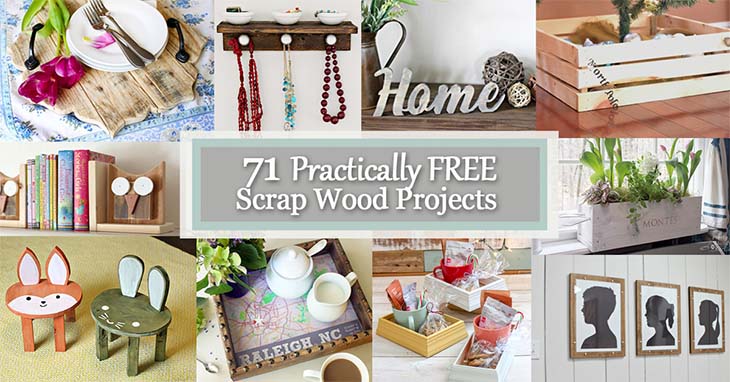
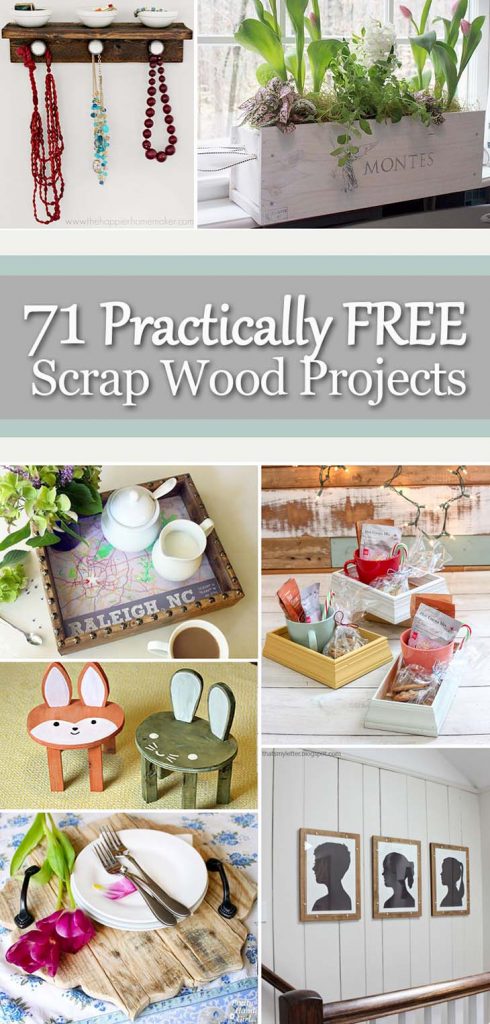
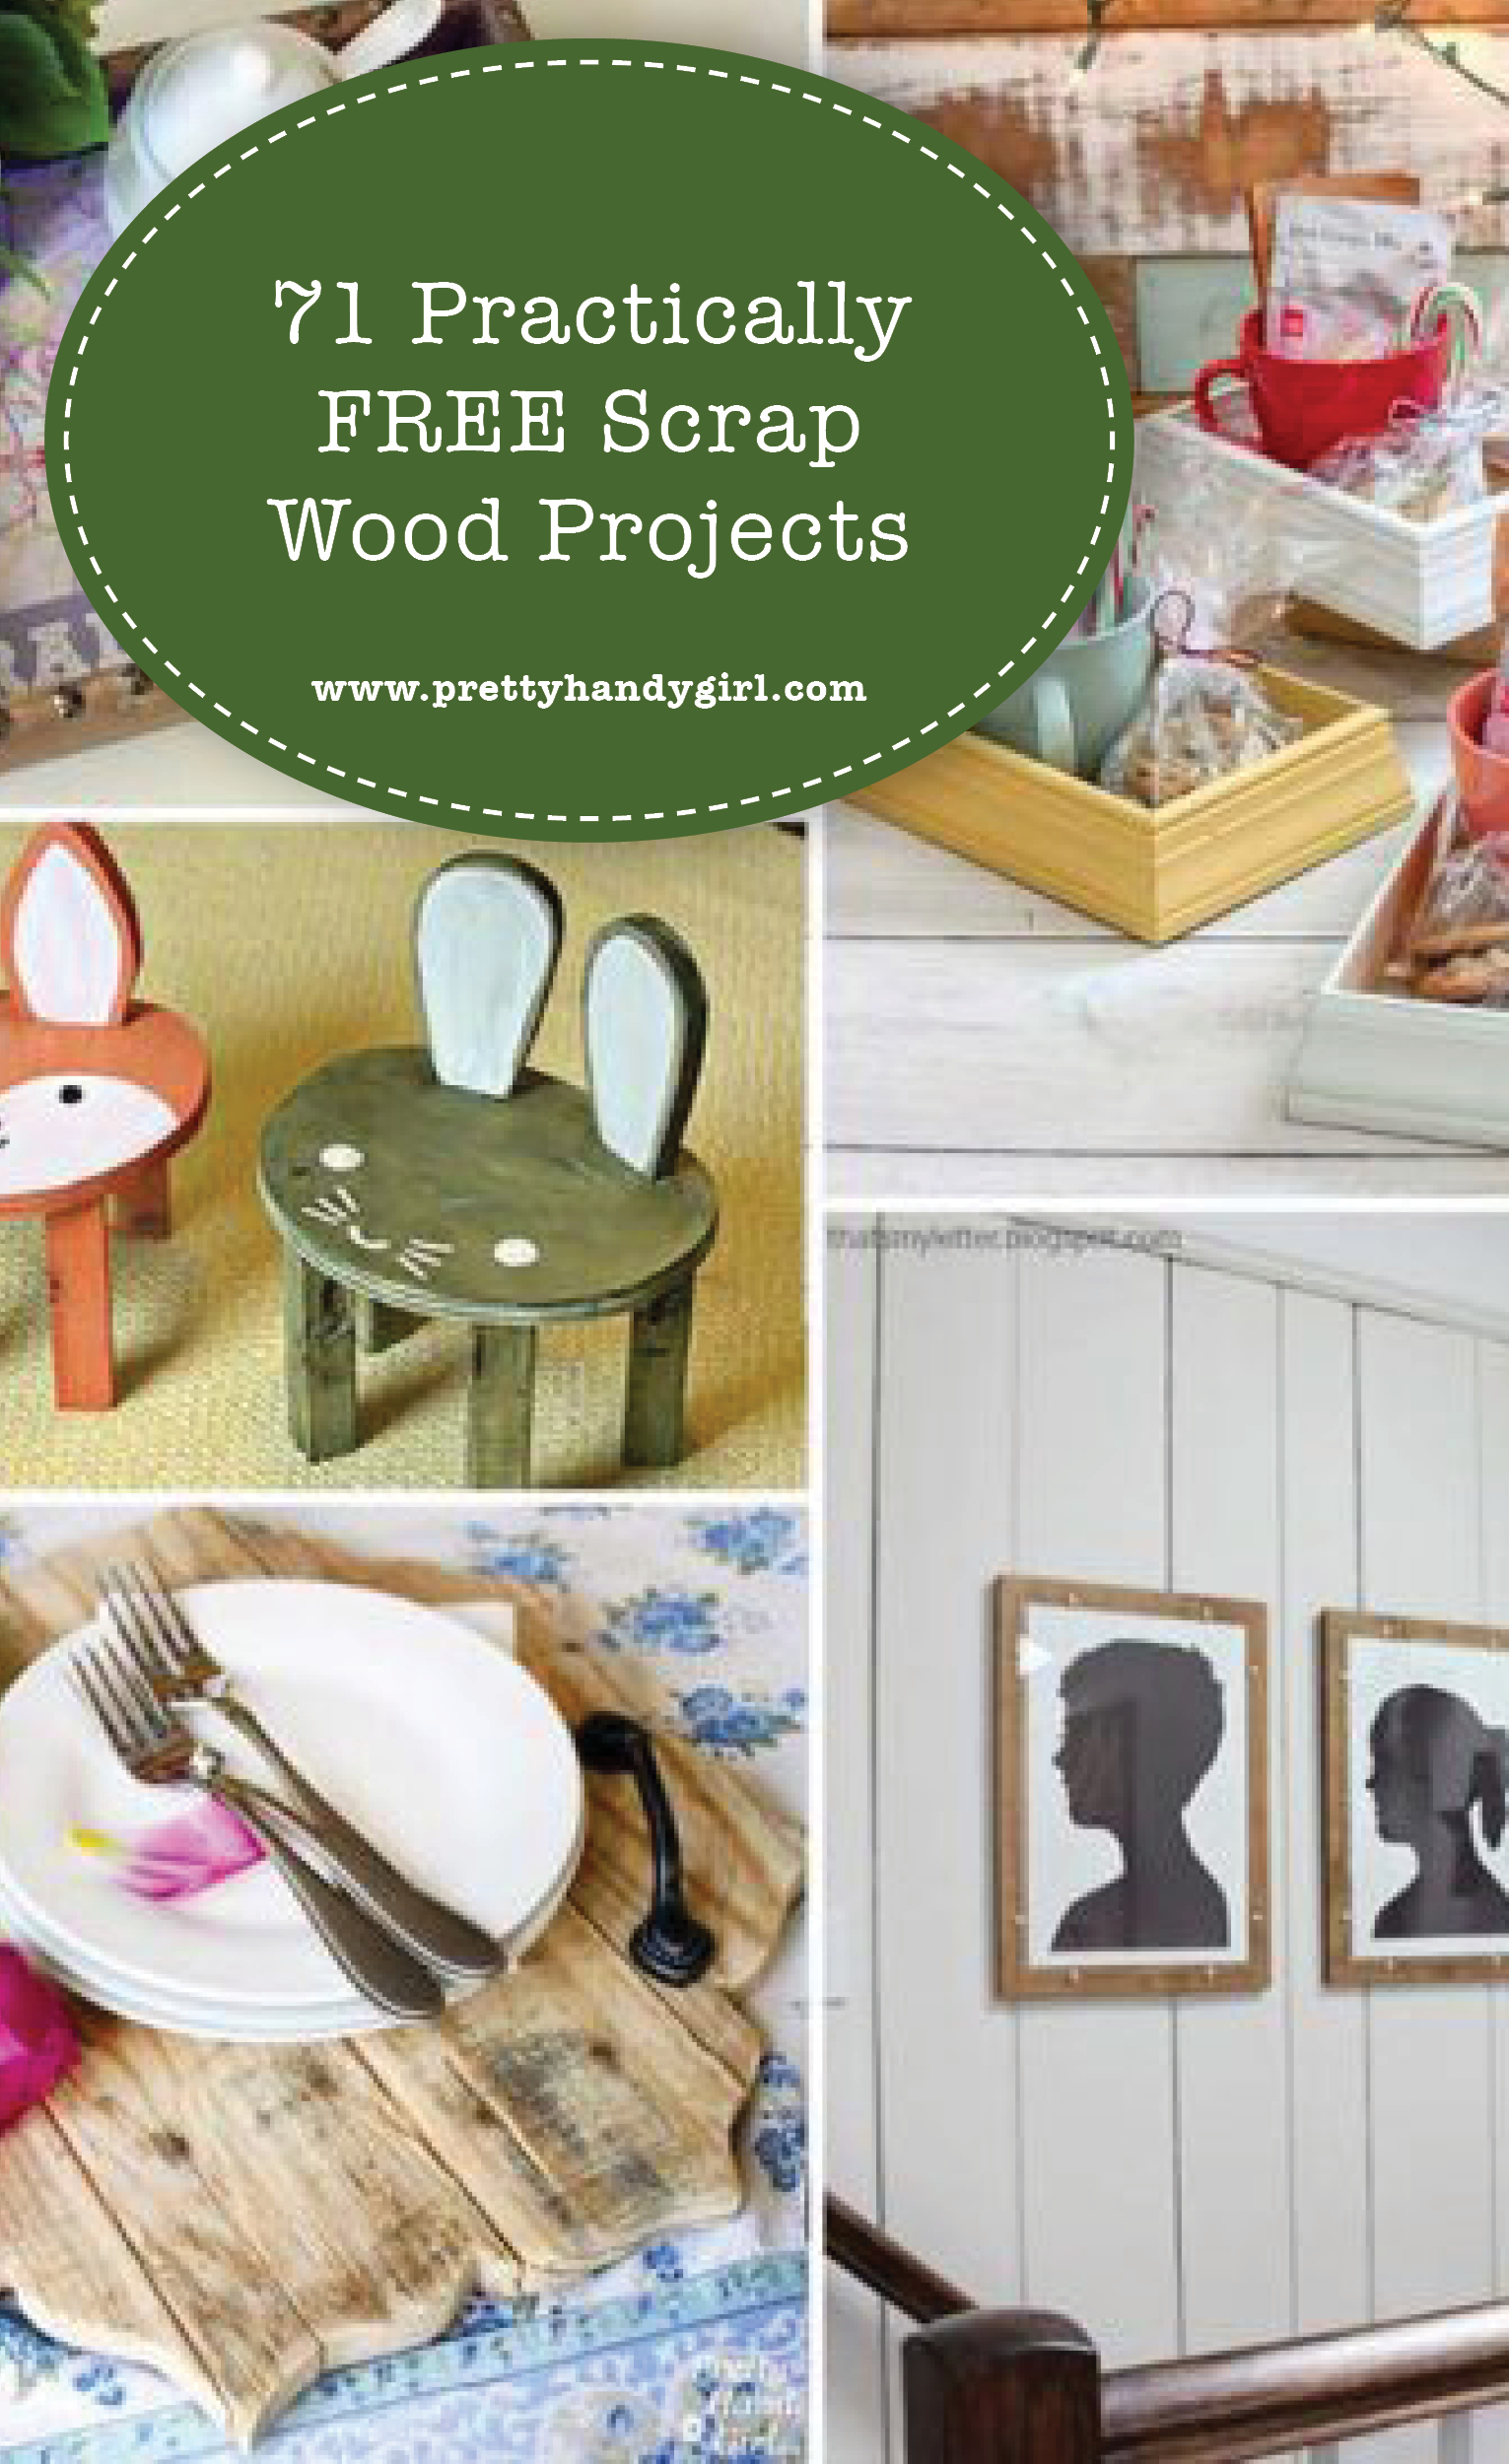
71 Practically FREE Scrap Wood Projects

If you make things out of wood you know almost every project leaves scrap wood. Why not use up those scraps by making some of these 71 Practically FREE Scrap Wood Projects?

71 Practically FREE Scrap Wood Projects71 Practically FREE Scrap Wood Projects

These projects definitely won’t break the bank and they will keep the scraps out of the trash. As a bonus, most make a great gift idea. Enjoy!

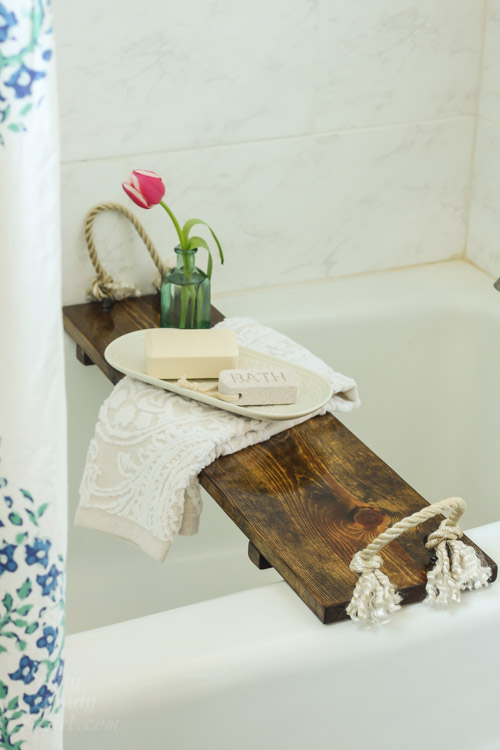
build your own rustic wood bathtub tray pinRelax in style with this Rustic Wood Bathtub Tray.


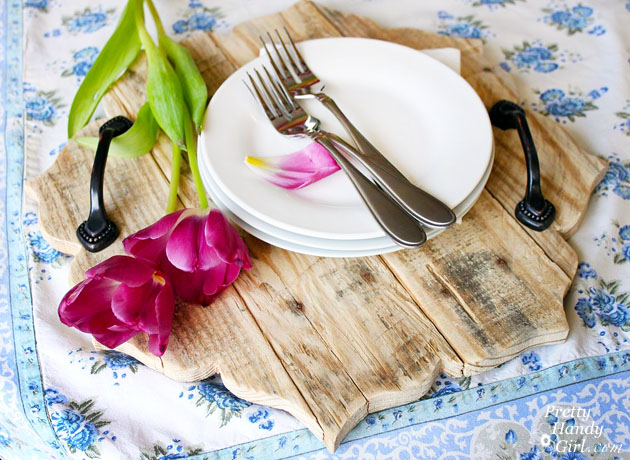
rustic serving tray tulips

 This Rustic Pallet Serving Tray is beautiful and functional.

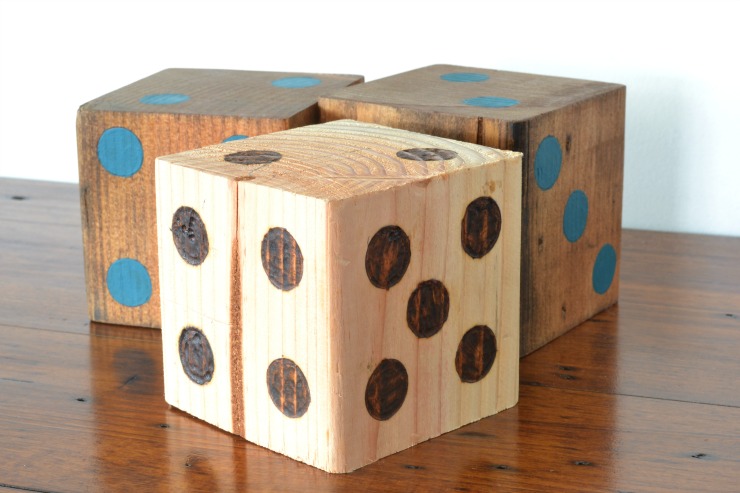
DIY yard diceHave some family fun with these DIY Yard Dice.


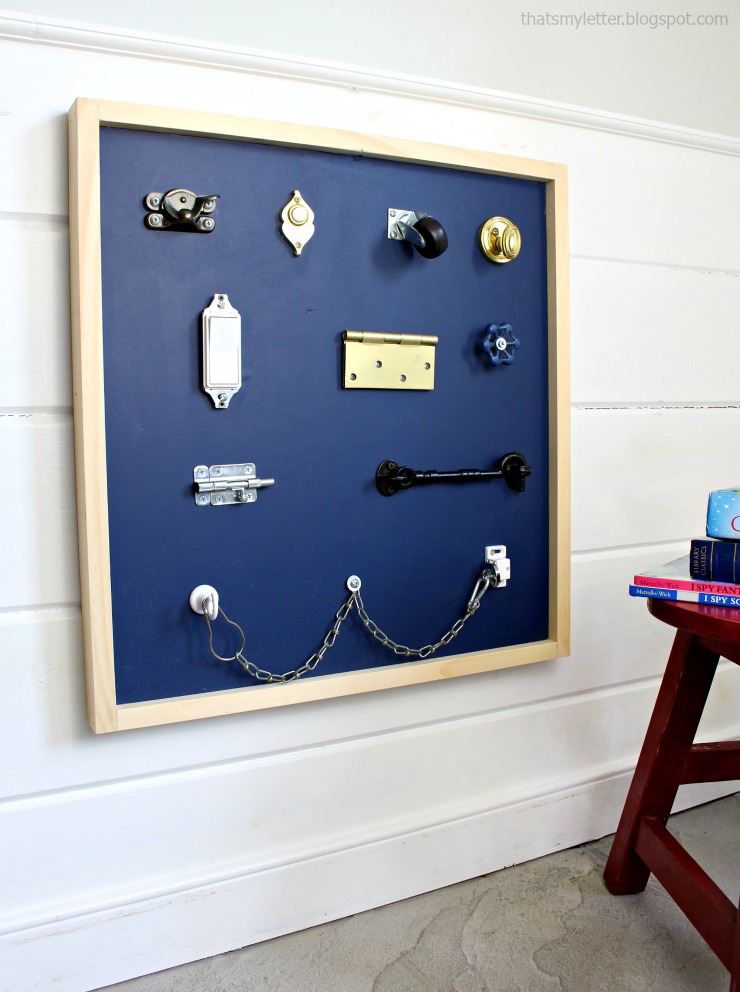
switches and locks board 3Make this Switches and Locks Playboard for a little one in your life.


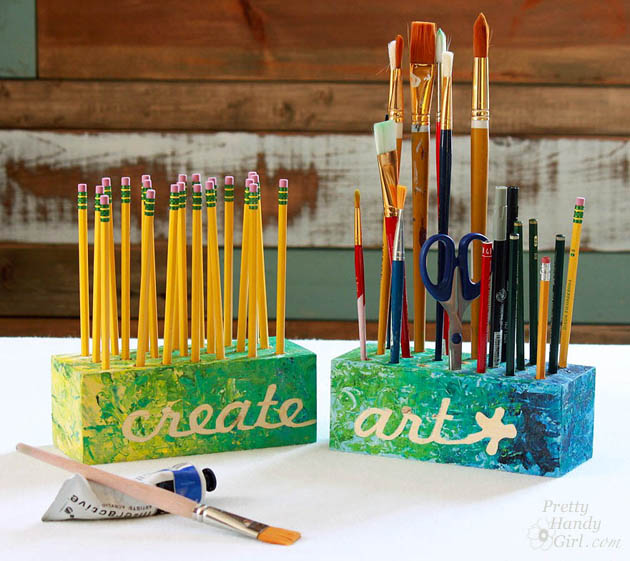
create art block holdersSimple Create Art Block Holders for your craft area or to give as a gift.


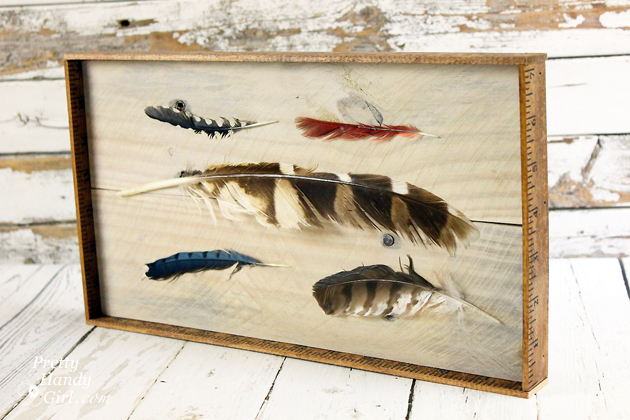
DIY feather artMake this unique and clever DIY Feather Art using old yardsticks and scraps.


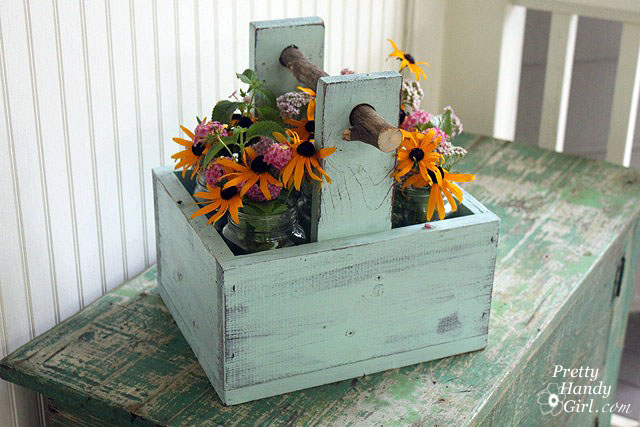
rustic wooden caddy with branch handleThis cute Rustic Wooden Caddy with Branch Handle can hold anything.


How to make an easy scrap wood fall sign

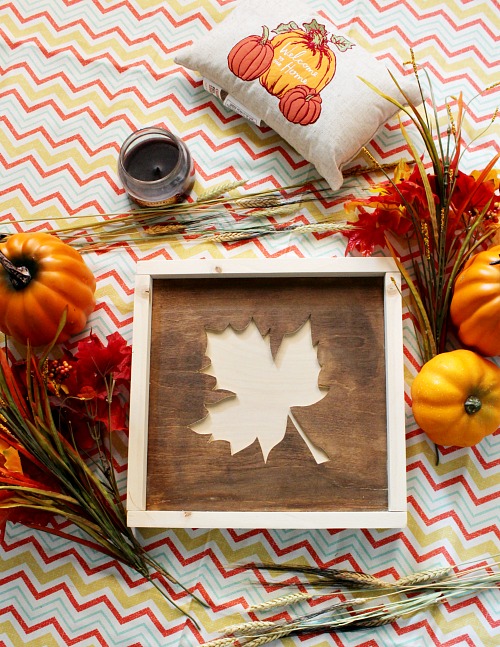
Celebrate fall with a beautiful DIY Fall Leaf Art Sign.


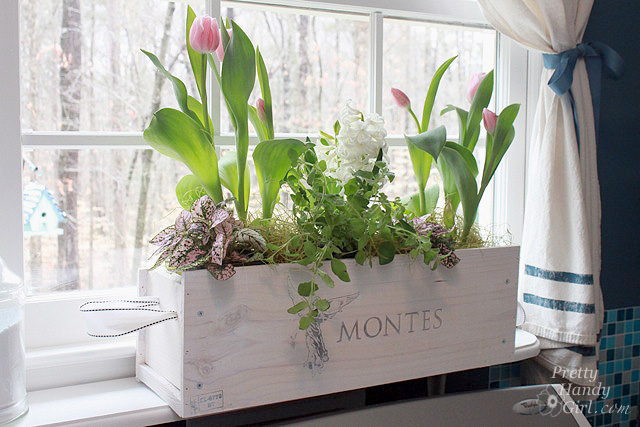
white washed window boxMake this White Washed Window Box from a discarded wine crate.


coffee serving tray mapLove your city? Create the perfect Coffee Serving Map Tray.


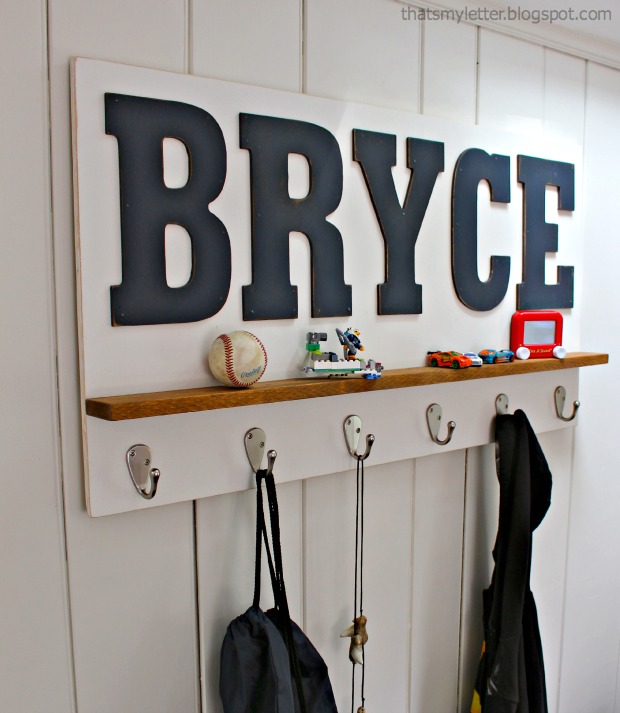
personalized wall shelf A few boards are all you need to make this Personalized Wall Shelf with loads of storage.


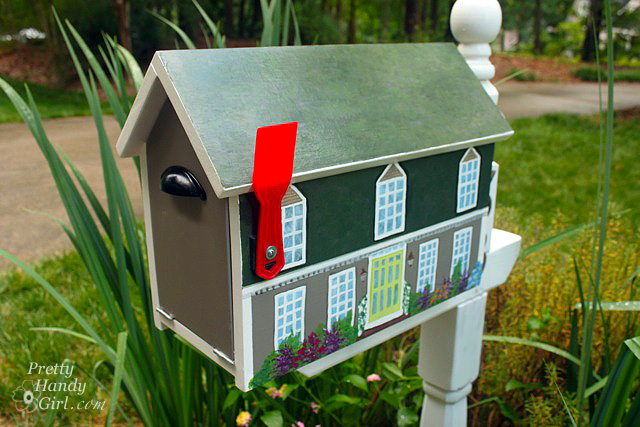
house shaped mailbox promoBuild an adorable House-shaped Mailbox.


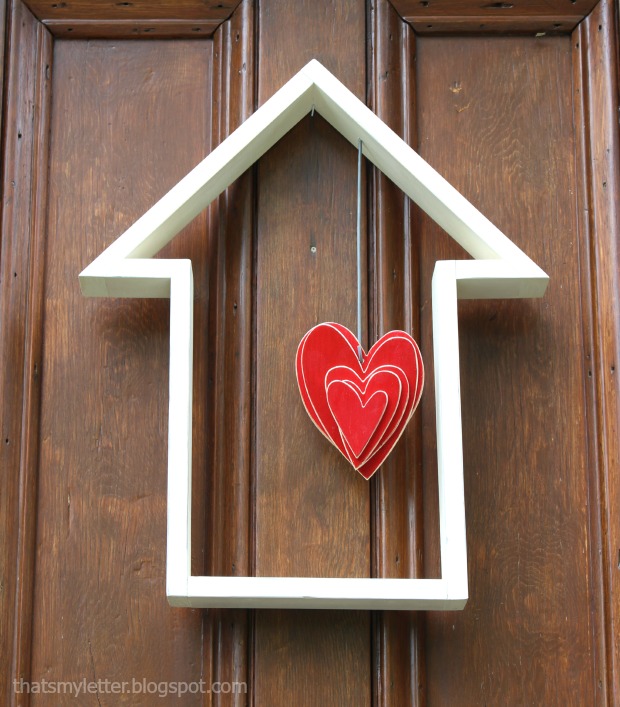
house shape door decor Forget a wreath, remind everyone that home is where the heart is with this House-shaped Door Decor.


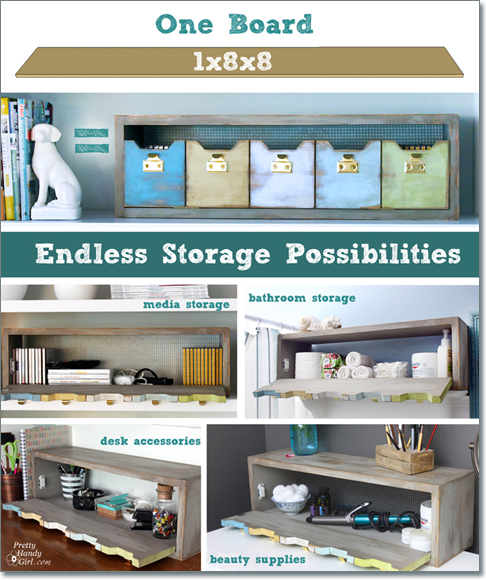
one board organization storageAll these amazing Storage Options using just one board!


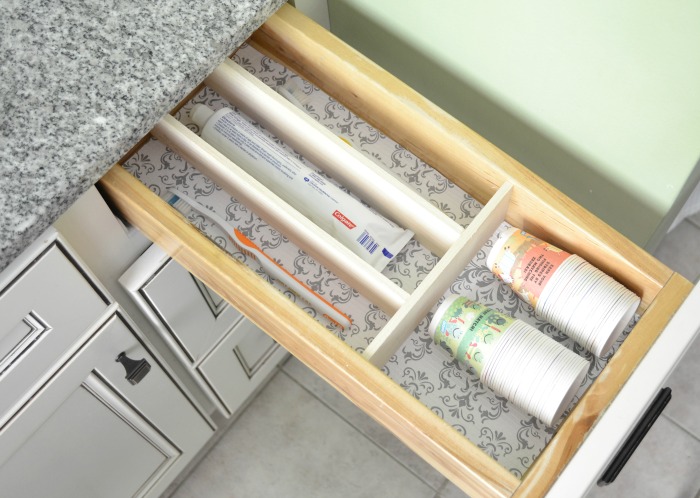
diy drawer dividersGet organized with these simple DIY Drawer Dividers.


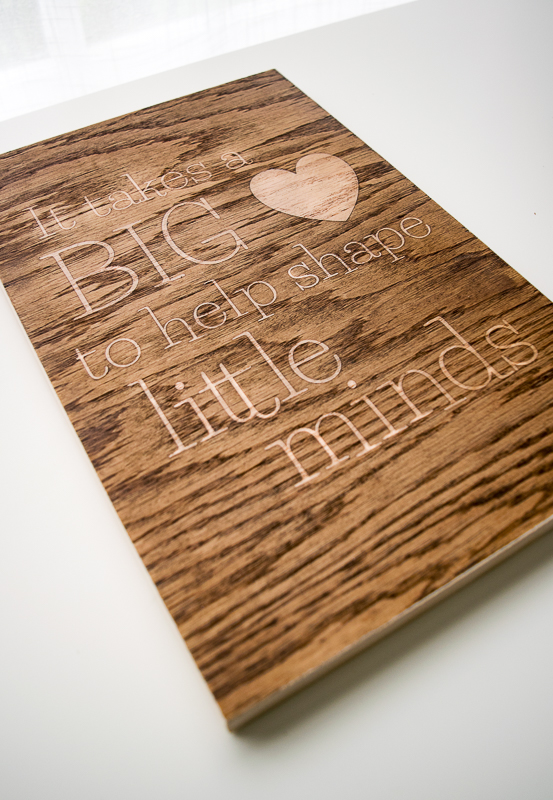
Wooden sign teacher giftShow your appreciation to a teacher with this Wooden Sign Teacher Gift.


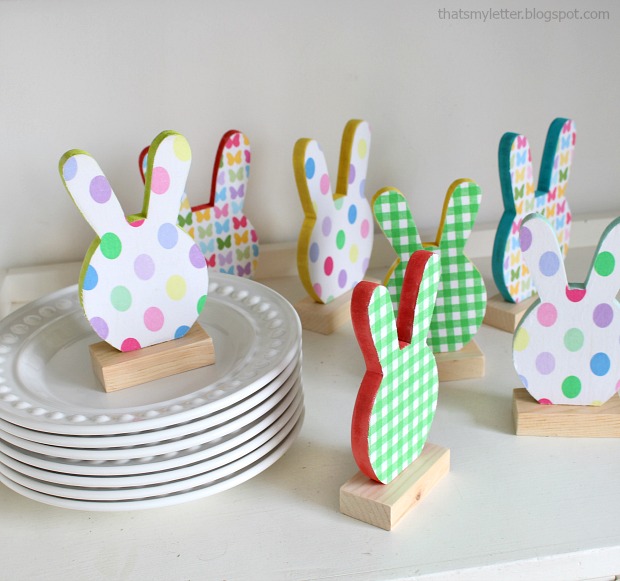
bunny place cards Brighten up your Springtime table with these Bunny Place Cards.
 

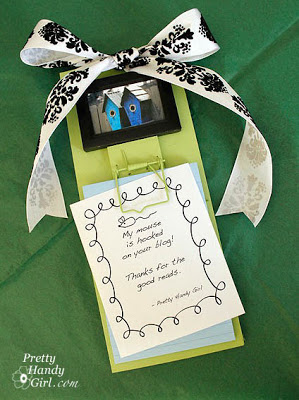
Mousetrap Memo Trap FinalRepurpose and make a Mousetrap Memo Pad.


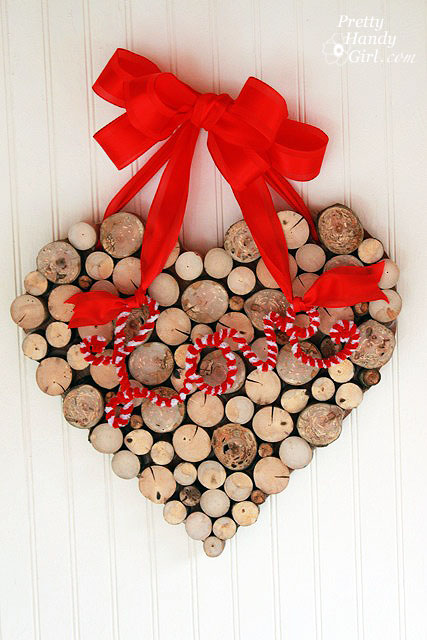
valentines wreath branches close up wood heart wreathMake a Valentines Wreath from tree branches for a loved one.


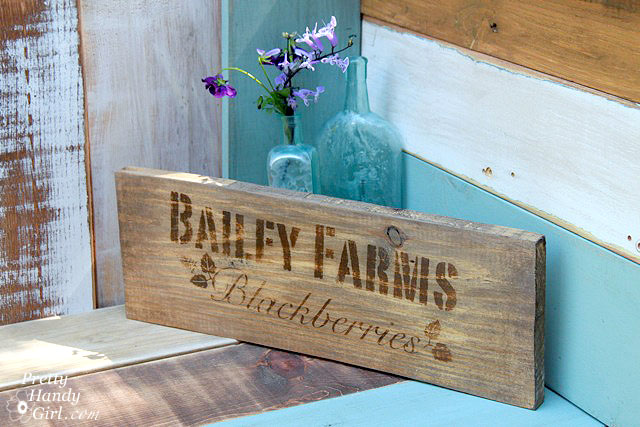
Bailey Farm Crate End Sign Customize this Rustic Farm Crate Sign for your home using new scrap wood (plus, learn how to age the wood.)


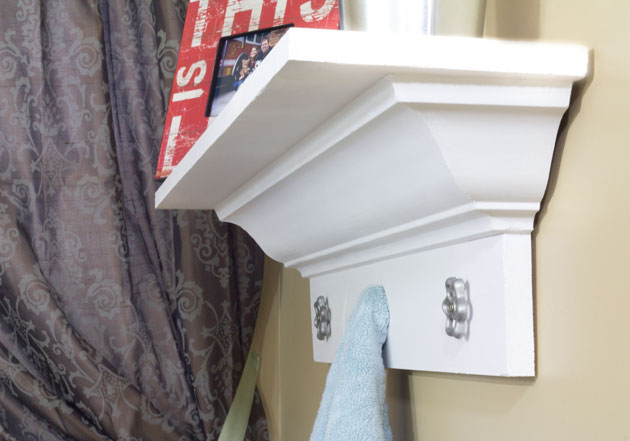
Decorative Crown Molding Make this Decorative Shelf using Crown Molding.


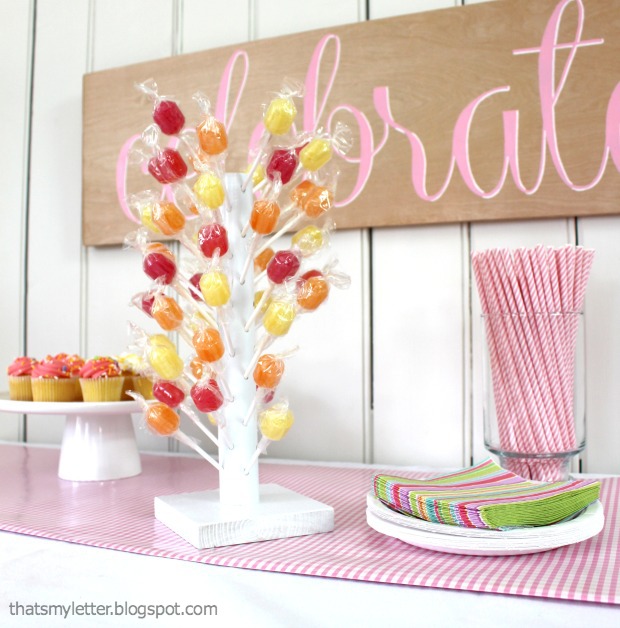
lollipop stand This DIY Lollipop Stand is sure to be a hit at your next party.


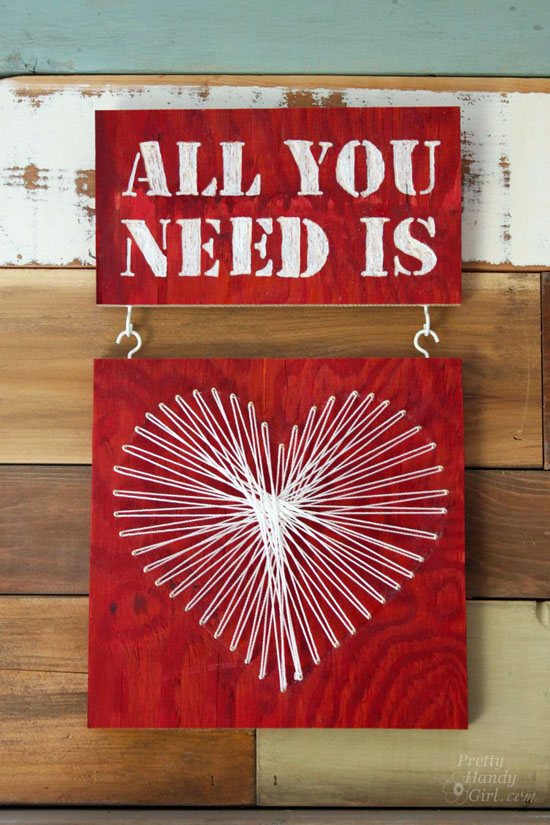
valentine string art all you need is love wood artShare your love with this Valentine String Art Engraving.


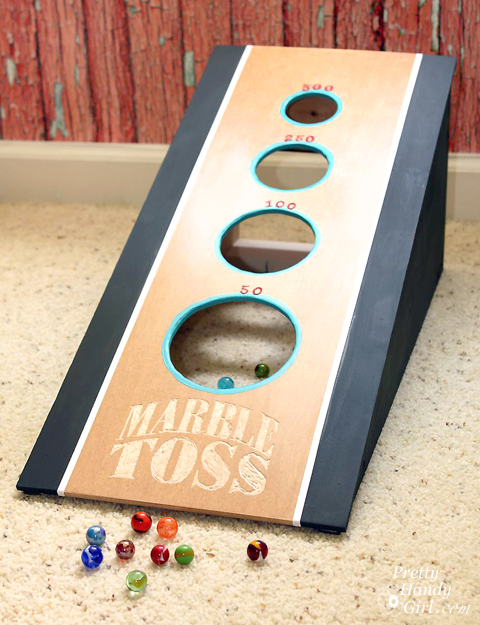
Marble tossThis DIY Marble Toss Game would be fun for anyone.


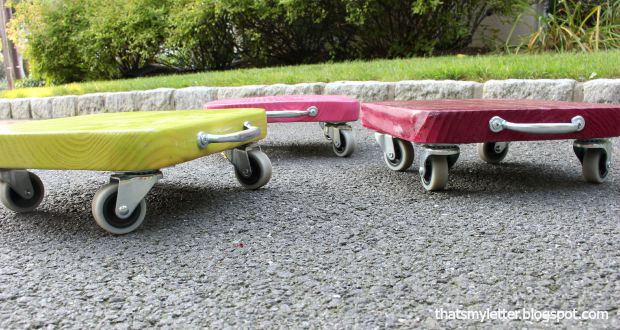
kids scooter clearanceBe the coolest parent around by making these DIY Kids Scooters.


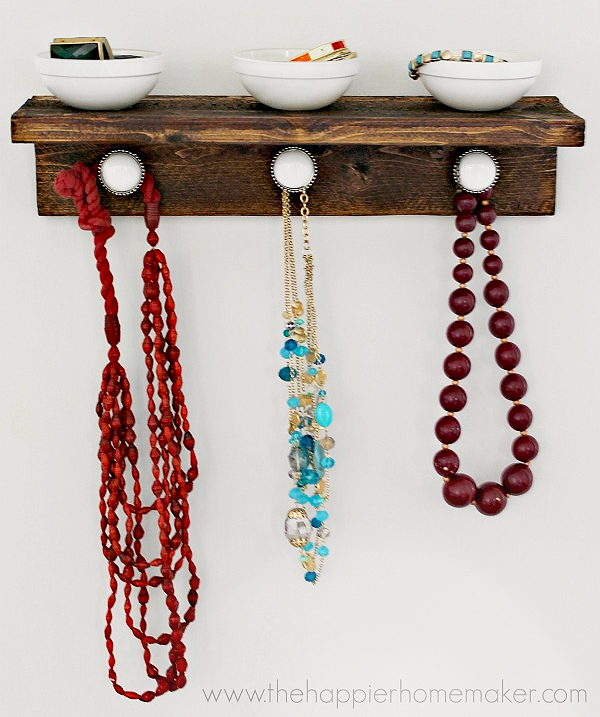
jewelry organizer bowlsA Jewelry Organizer is simple yet a must-have.


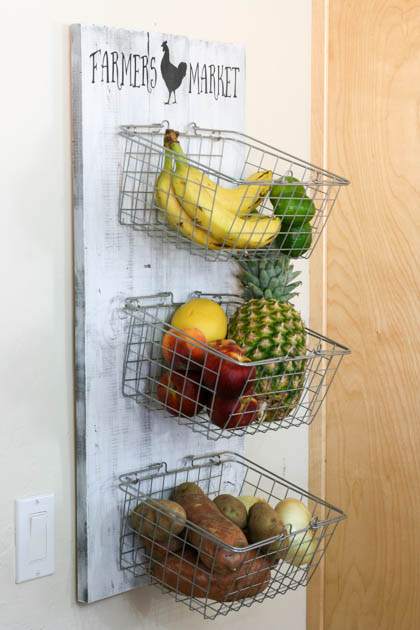
diy produce rackOrganize your fruits and veggies with this DIY Produce Rack.


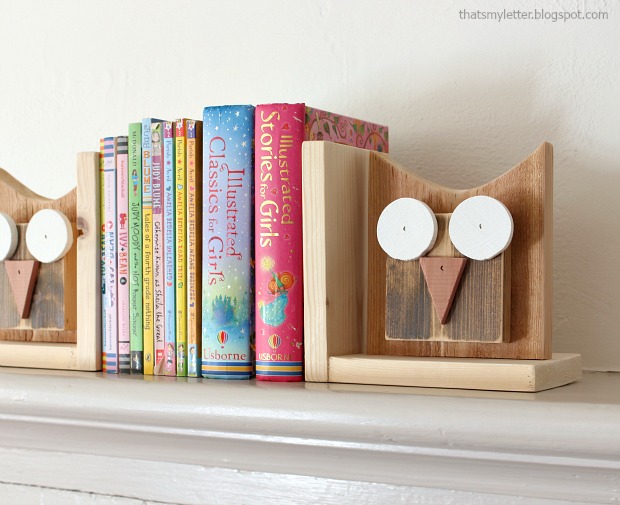
owl bookends These whimsical DIY Owl Bookends add fun to any room.


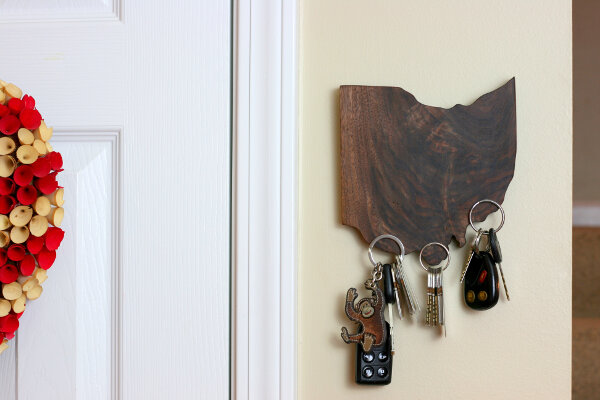
state pride magnetic key holder Keep your keys close at hand with this magic State Pride Magnetic Key Holder.


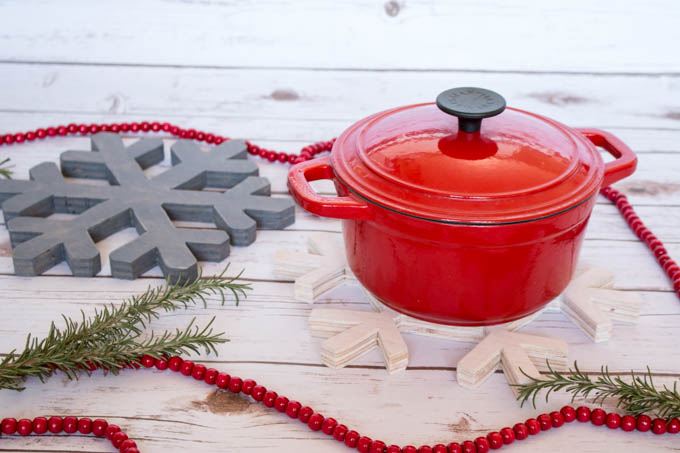
snowflake christmas trivetsThese Snowflake Christmas Trivets are perfect for your holiday dinner.


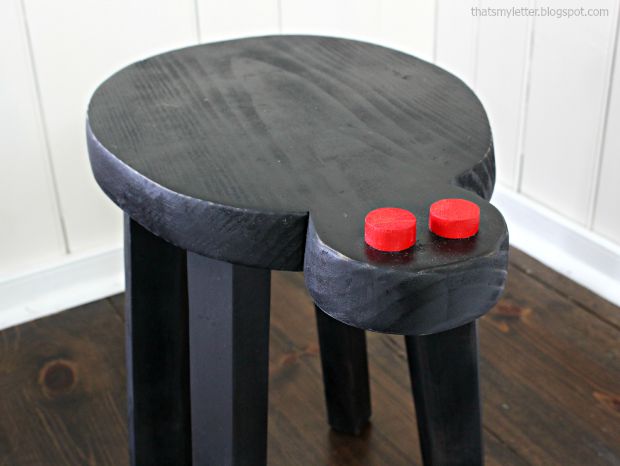
spider stool What kid wouldn’t love this DIY Spider Stool?


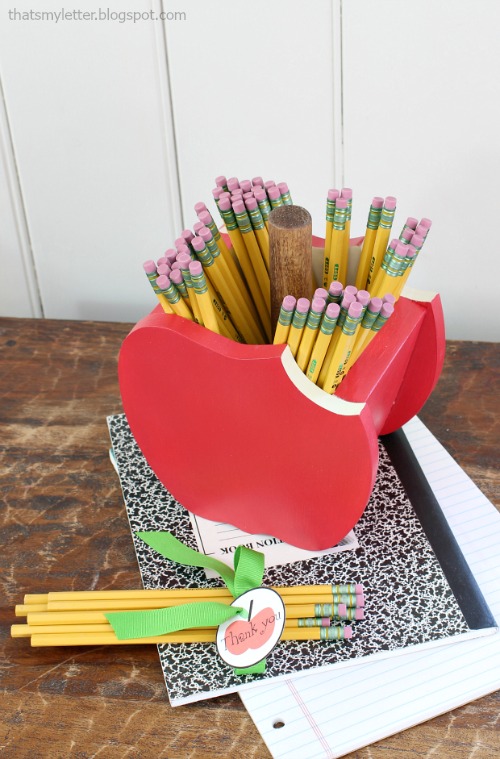
apple pencil holder An Apple Pencil Holder would make a great gift for your favorite teacher.


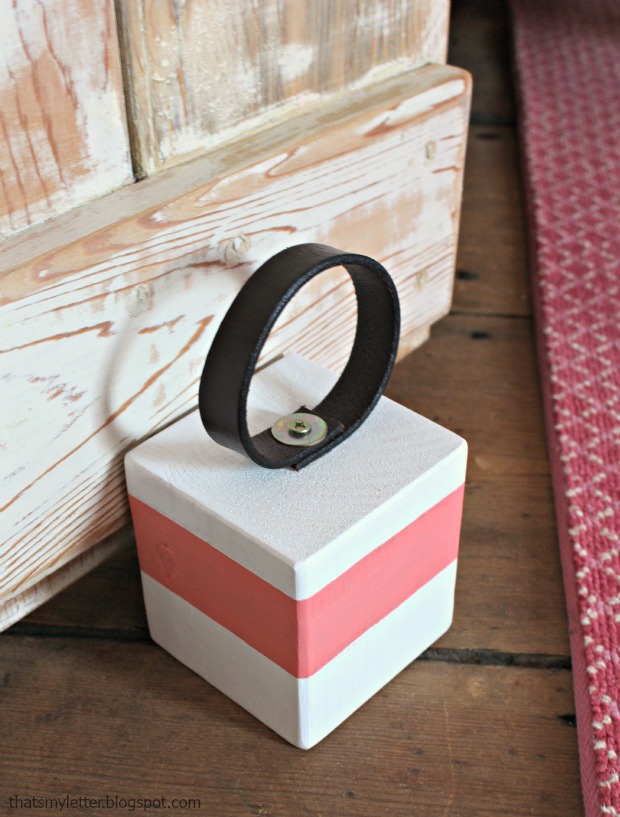
door stop with handle This Doorstop With a Handle makes an adorable stop that also helps keep your door open.
 

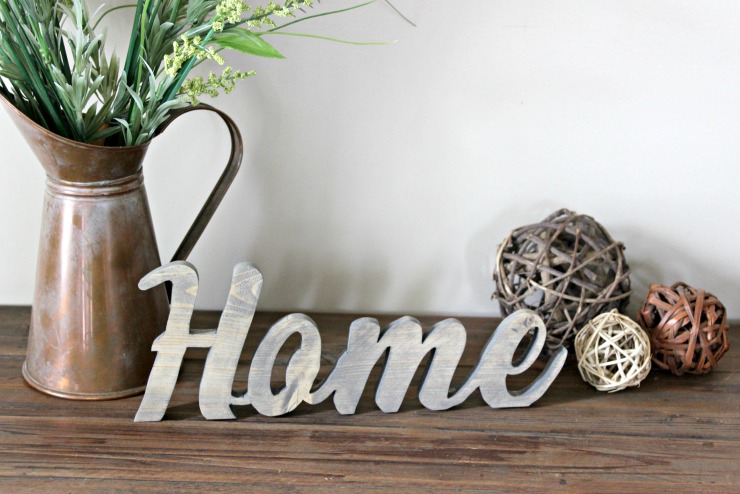
Rustic Home sign Super cute! This Rustic Home Sign can be made in any size using scrap wood.


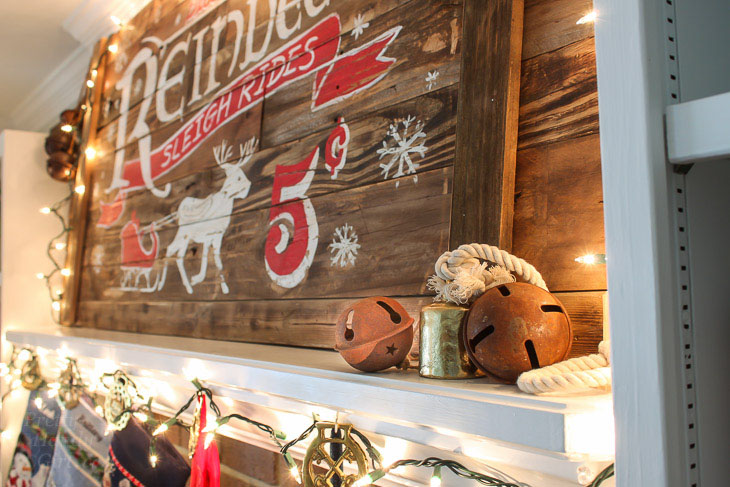
close up rusted sleigh bellsCreate a Vintage Rustic Sleigh Ride Sign for perfect holiday decor.


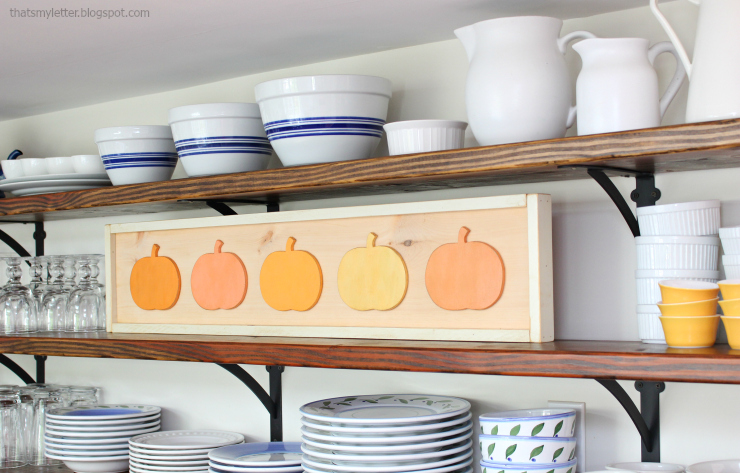
framed pumpkins Add some character to your room this fall with Framed Pumpkins.


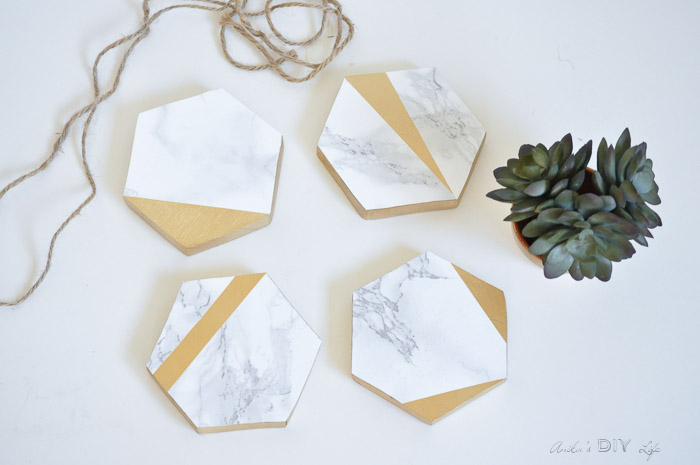
Gold and marble coasters Anikas DIY Life final These Easy Gold and Faux Marble Coasters are modern, clean and you can make them with scrap wood!
 

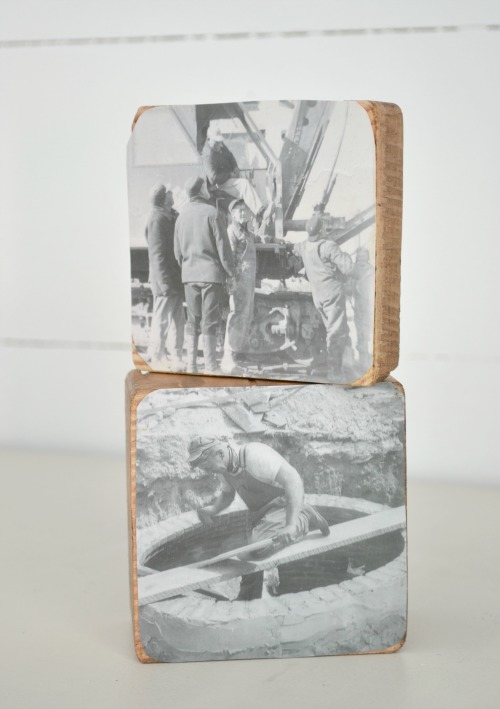
4x4 wood block framesMake these incredibly simple 4×4 Picture Frames to display your memories.


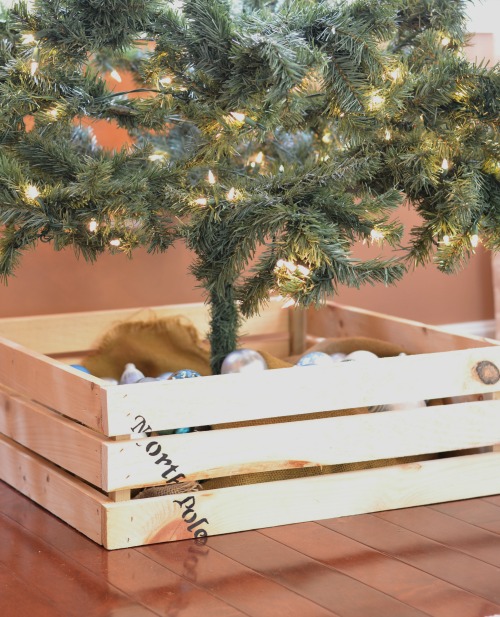
Crate Christmas tree boxForget the skirt, make a Christmas Tree Crate to hold your tree.


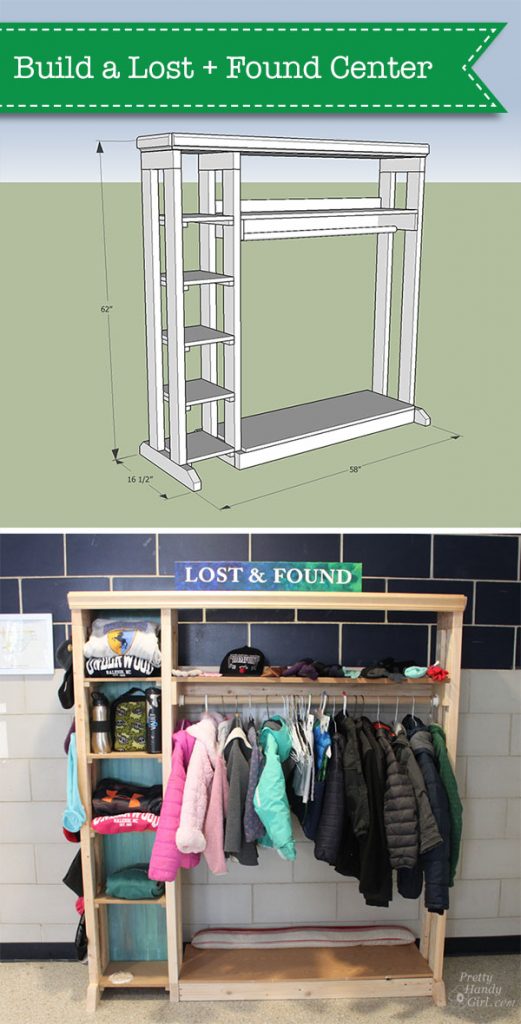
plans to build a lost and found centerHave a fair amount of scraps? Make this Lost and Found Center for your local school.


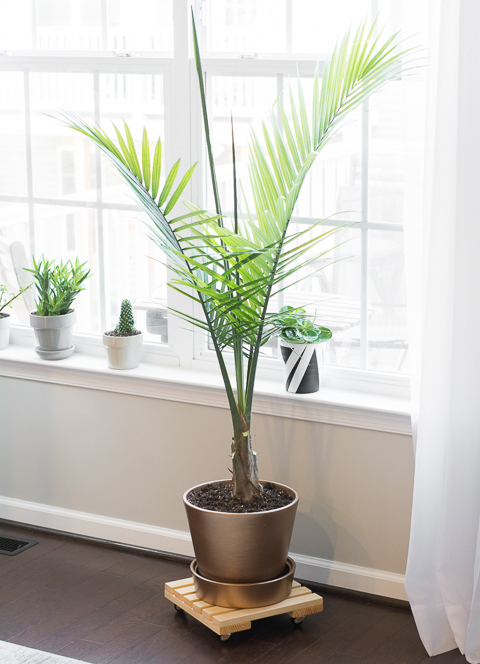
DIY Rolling Plant Caddy by Brittany Goldwyn Make a Rolling Plant Caddy so you never have to carry heavy planters again.


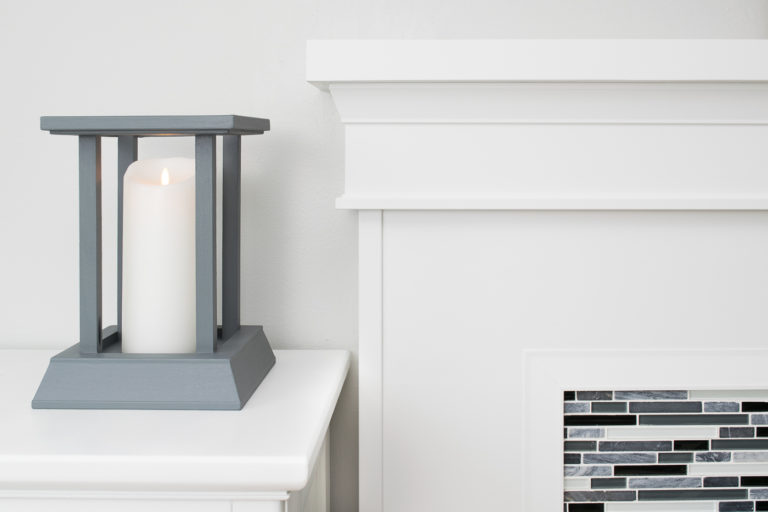
DIY candle lantern final with fireplace This Candle Lantern From Leftover Trim is sleek and modern.


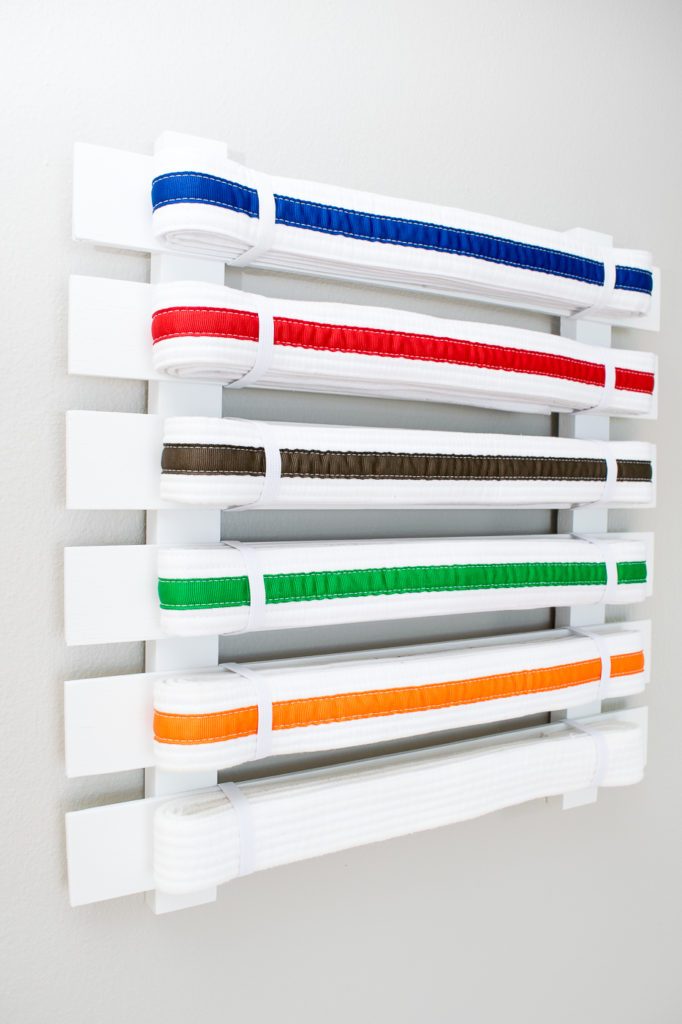
karate belt display final Does your kid need a DIY Karate Belt Display? Make one easily!


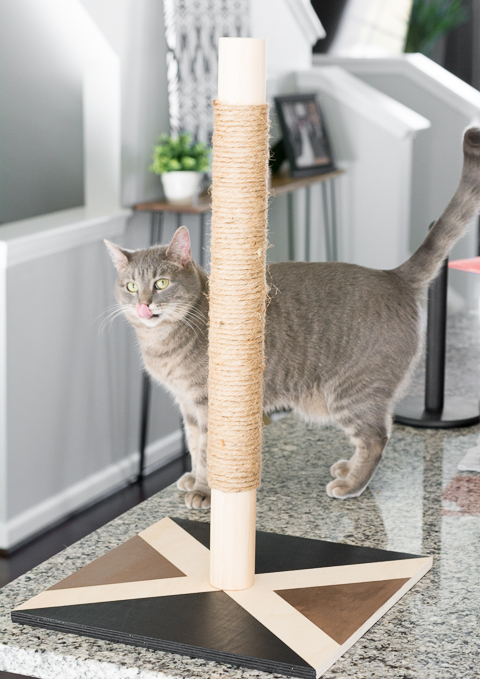
Modern Cat Scratcher DIY Your furry friend will love this DIY Cat Scratcher Post.


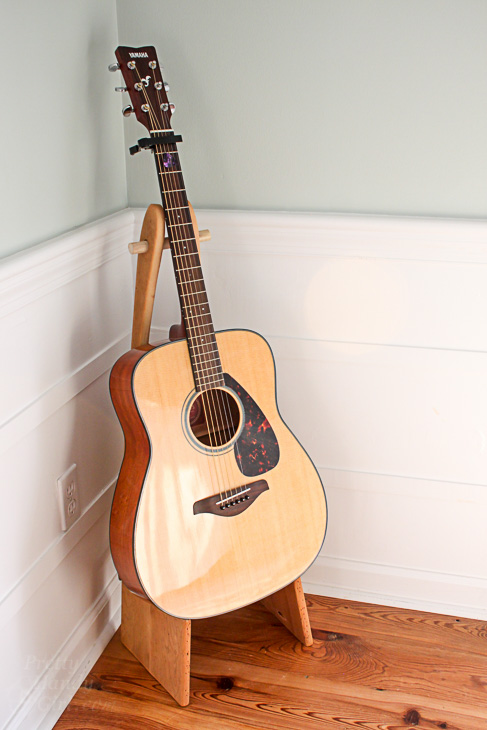
folding-rustic-wood-guitar-standMake this Folding Guitar Stand to keep your instrument accessible.


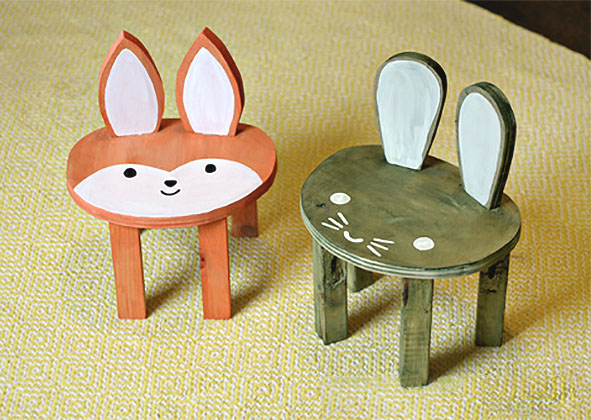
animal-toddler-stoolsThese adorable Toddler Animal Stools would be loved by any child in your life.


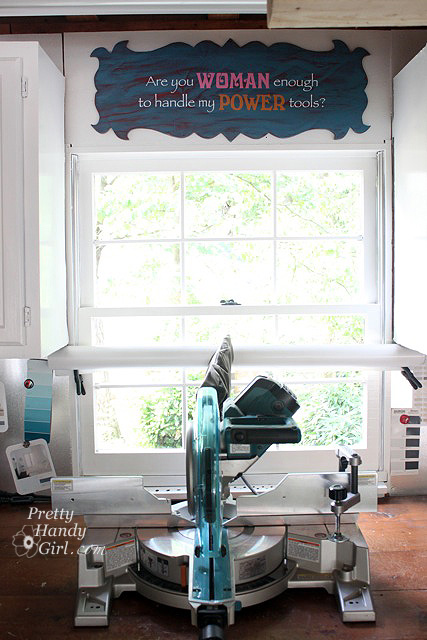
are_you_woman_enough_signMake this Are you Woman Enough? Plywood Sign for your shop, or customize the wording easily.


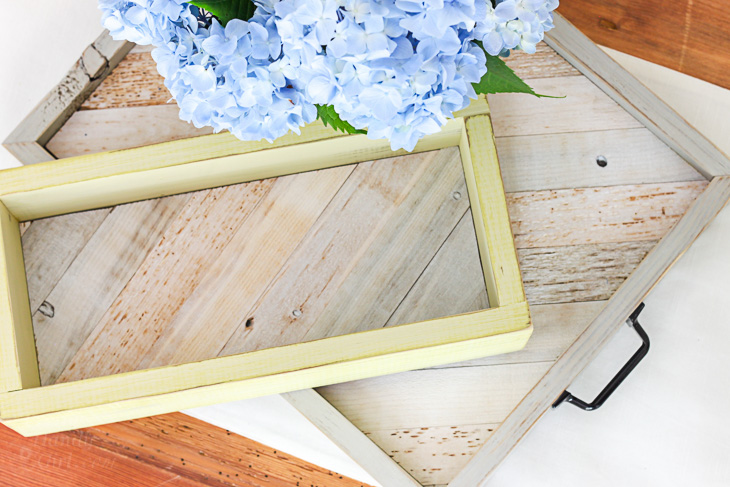
rustic-trays-gift-box-top-view-2Make a Tray Gift Box for your next present.


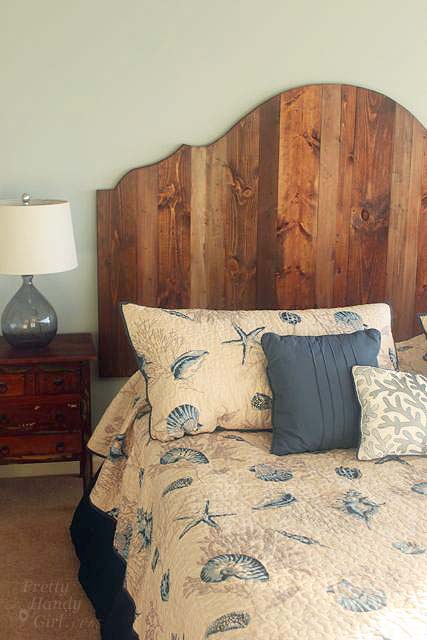
rustic-king-headboard-side-viewThis Rustic Wood King Headboard is simple and affordable.


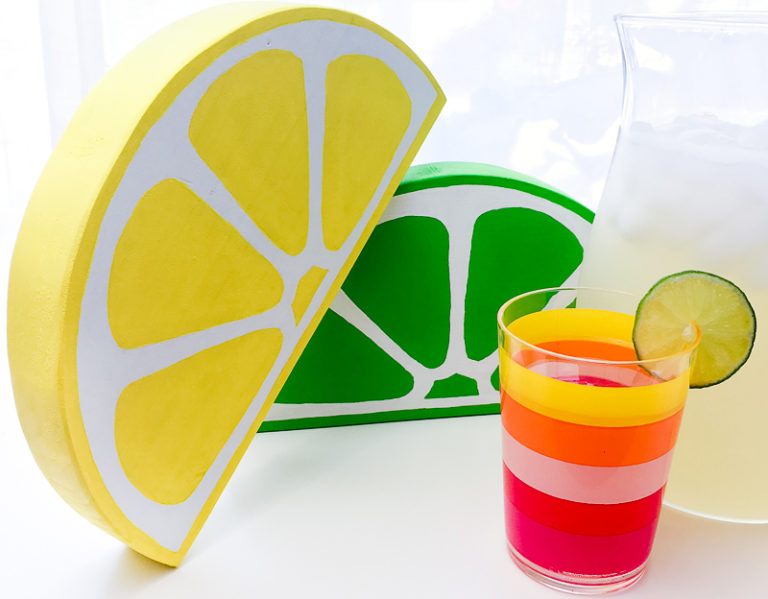
citrus-decor-with-lemonade-768x599Make this fun summer display for a party or lemonade stand. Who doesn’t love Giant Citrus Fruit?


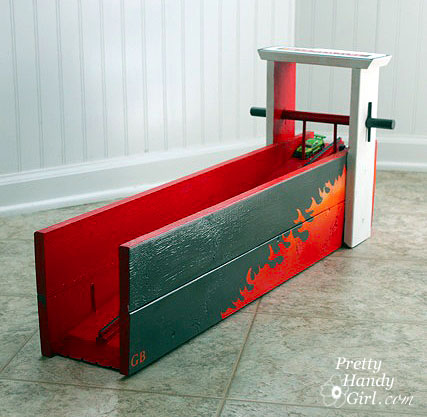
hot-wheel-matchbox_race_track_promoLet the kids play for hours with this Hot Wheels Car Racing Ramp.


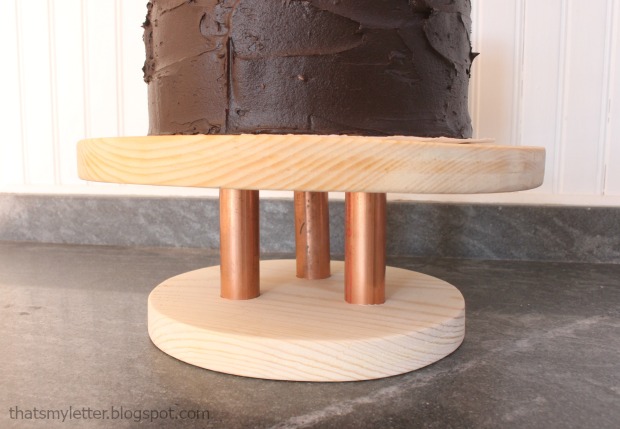
wood-copper-cake-stand-1Create this Wood and Copper Cake Stand for an awesome display of your baking masterpiece.

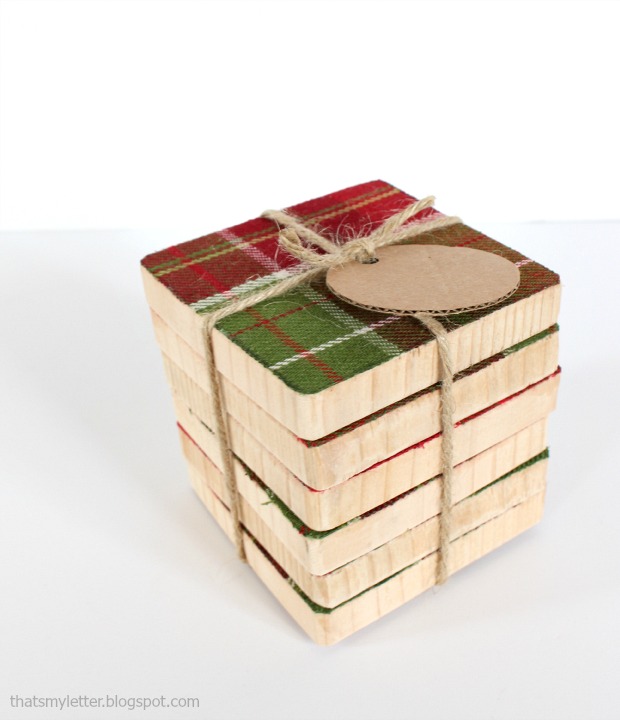
fabric-wood-coasters-wrappedRustic and soft Fabric and Wood Coasters are easy to make for gifts.


rustic-wooden-crates-in-cabinet-straight-onBuild some Rustic Wooden Box Crates for your cabinet or shelf.


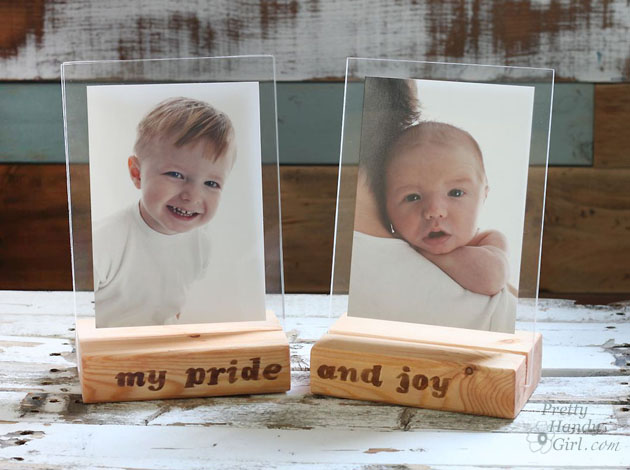
wood-block-picture-framesHow sweet are these Floating Wood Block Picture Frames?


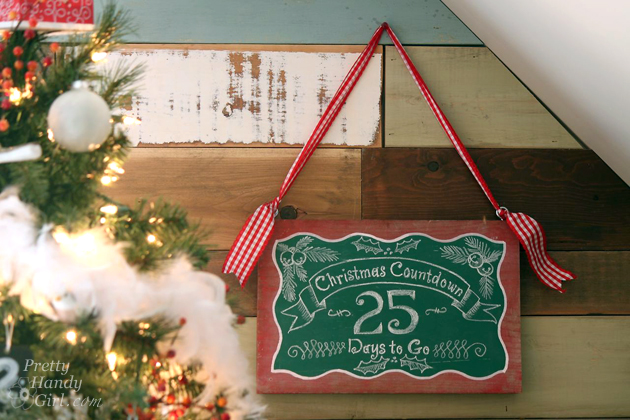
easy-wooden-chalkboard-sign-christmas-countdownYou can make this Easy Wooden Chalkboard Sign for any season.


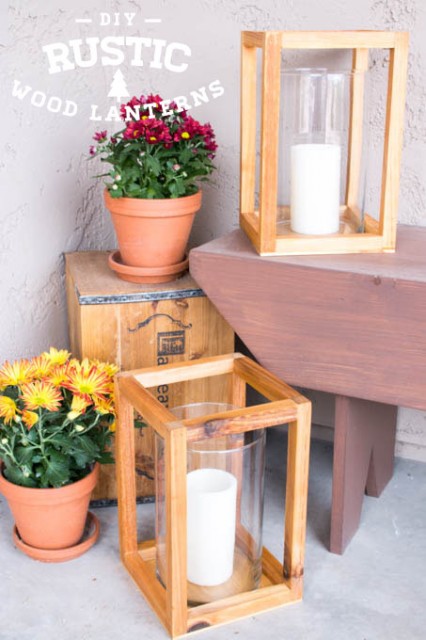
DIY-Rustic-Wood-Lanterns-e1441294338713These Rustic Wood Lanterns are the perfect decor for any room.


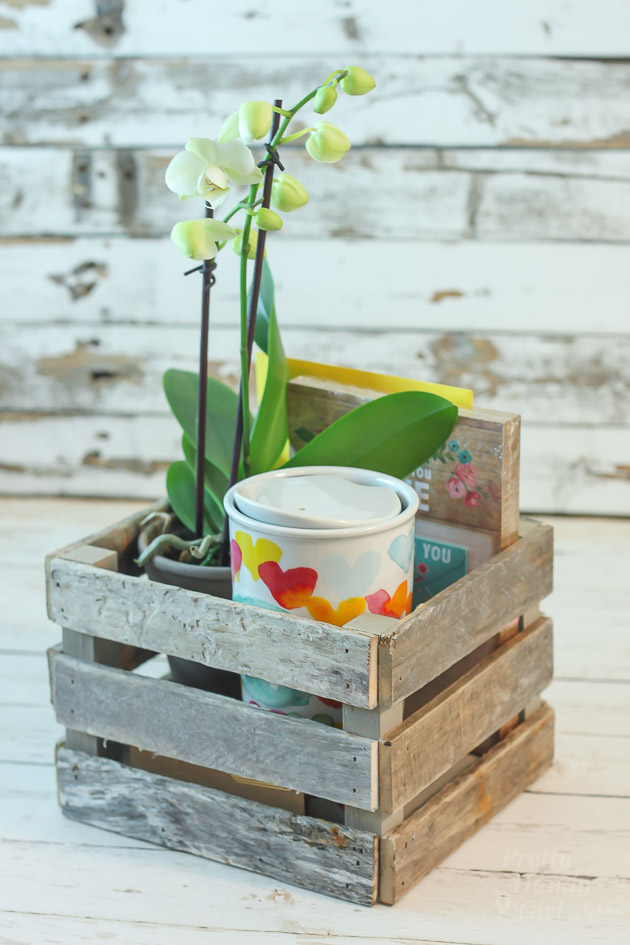
drift-wood-gift-crateFind free driftwood at the beach and make your own Driftwood Gift Crates.


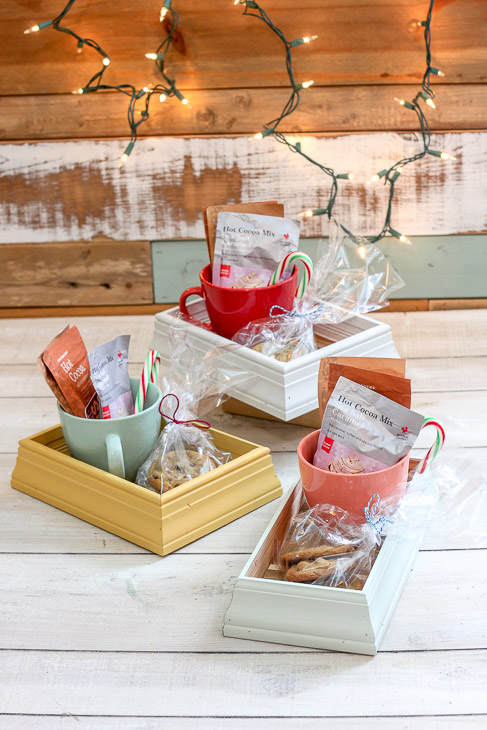
scrap-moulding-traysEndless options with these Scrap Moulding Trays.


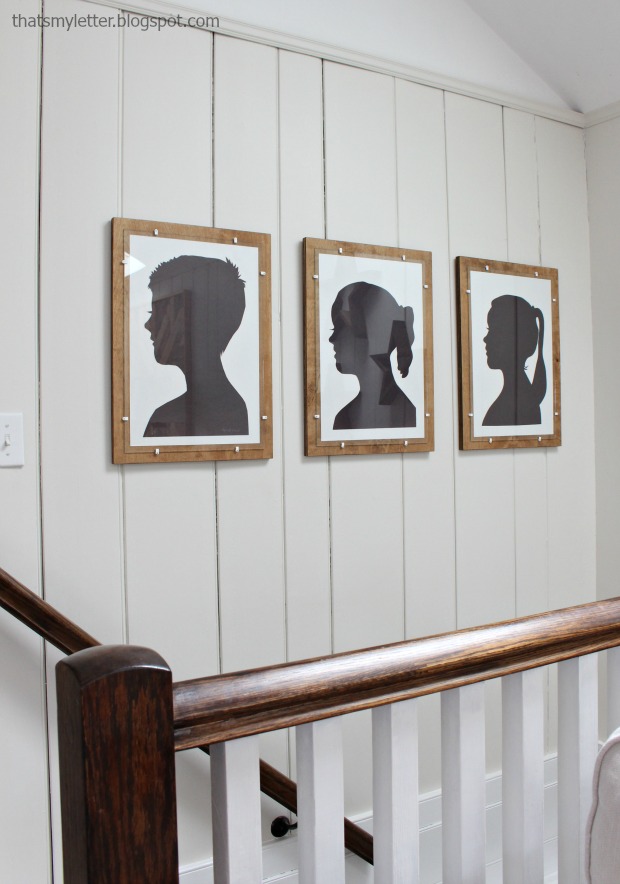
plywood-frames-2Wow your visitors with these Plywood Frames with Glass.


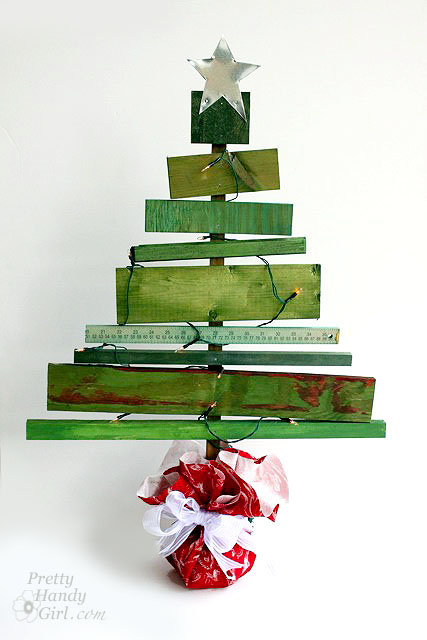
scrap_wood_christmas_treeUse various scraps to make an adorable Scrap Wood Christmas Tree this year!


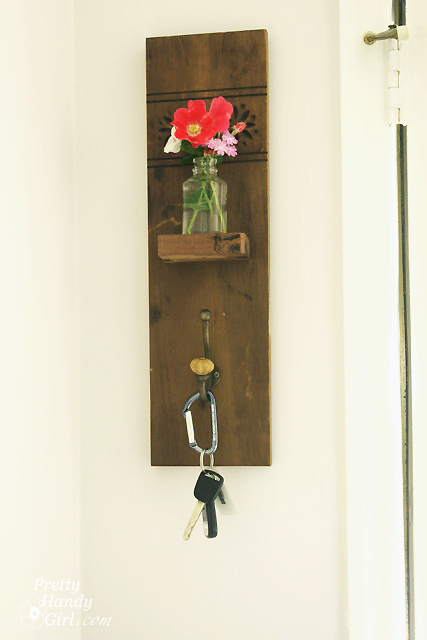
reclaimed-wood-wall-hook-vase-sconceThis Reclaimed Wood Wall Hook and Vase would look great in an entryway.


scrap-wood-wall-studio_view_from_angledWith a bunch of scrap wood you could Install a Scrap Wood Wall.


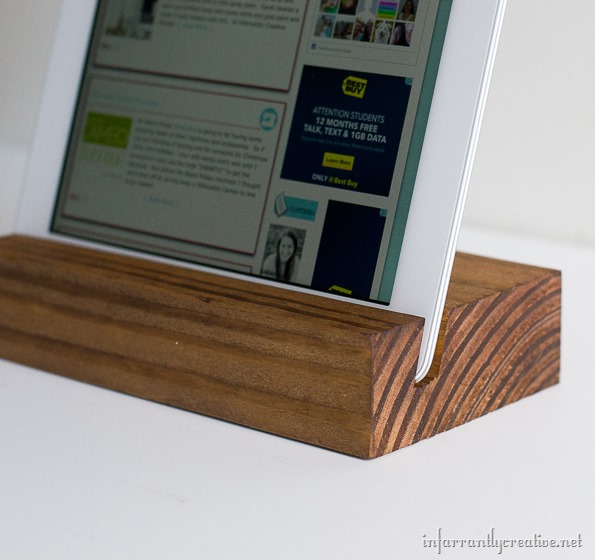
scrap-wood-ipad-tray-infarrantly-creativeKeep your device upright with this Scrap Wood iPad Tray.


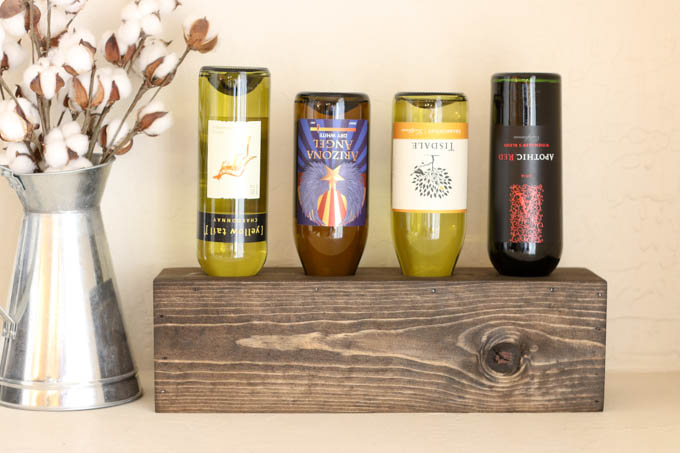
scrap-wood-wine-holderThis Scrap Wood Wine Holder is simple, but oh so handy.


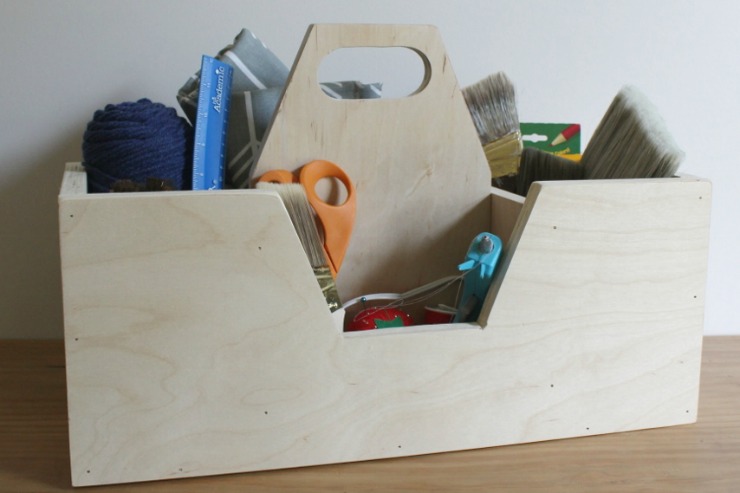
scrap-wood-caddyKeep your tools, cleaning supplies, and so many other things organized in this Scrap Wood Caddy.


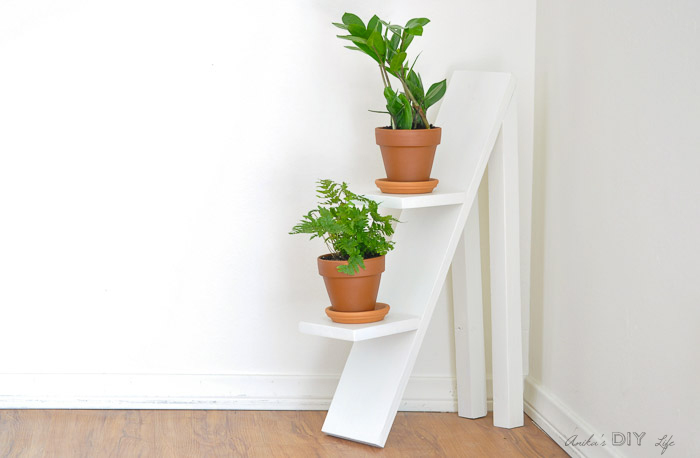
Two-tiered-plant-stand-Anikas-DIY-Life-700-3This Two Tiered Plant Stand is a modern and stylish way to display your plants.


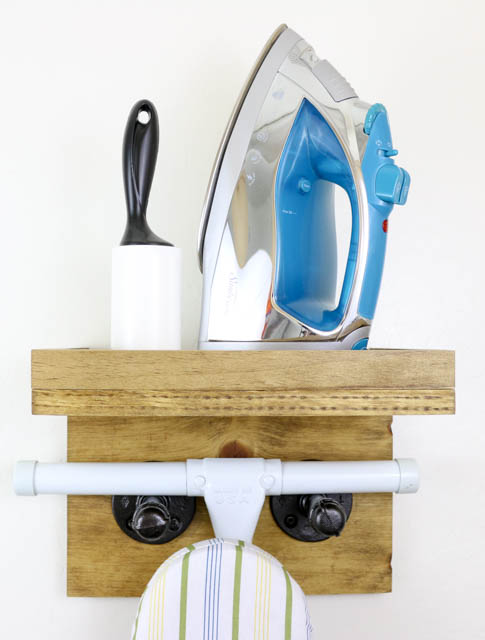
Scrap-Wood-Ironing-Board-Rack-2450This Industrial Ironing Board Rack would save space and keep you organized.


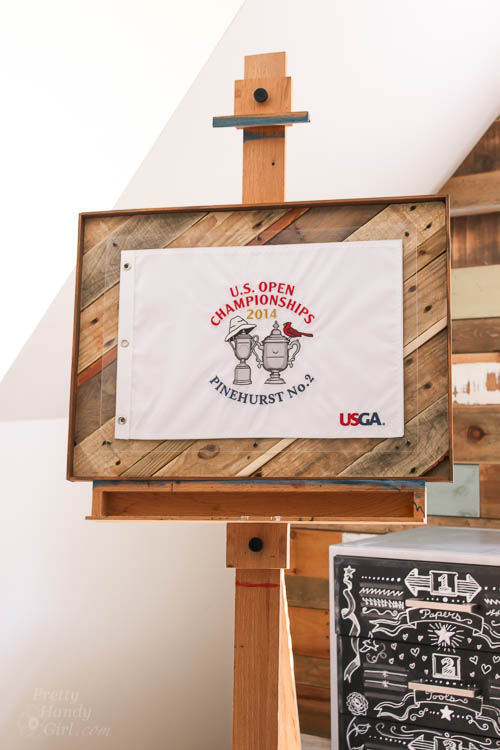
scrap-wood-shadow-box-frameDisplay memorabilia in this awesome DIY Shadow Box Frame.


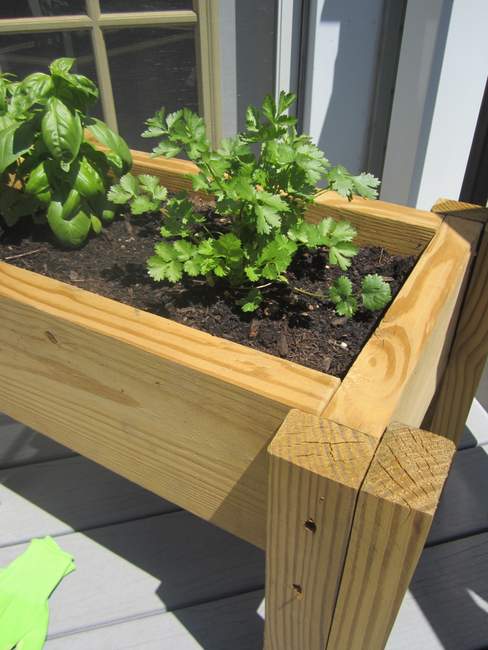
Scrap-wood-plater-Herb-Garden-BoxThis Scrap Wood Planter Box is a quick and easy way to grow your own herb garden this year.


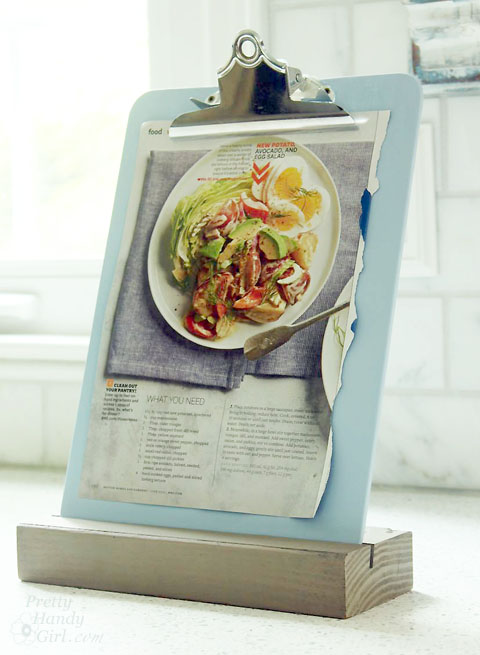
recipe clipboard standKeep your recipes or notes at eye level with this Easy Clipboard Stand.

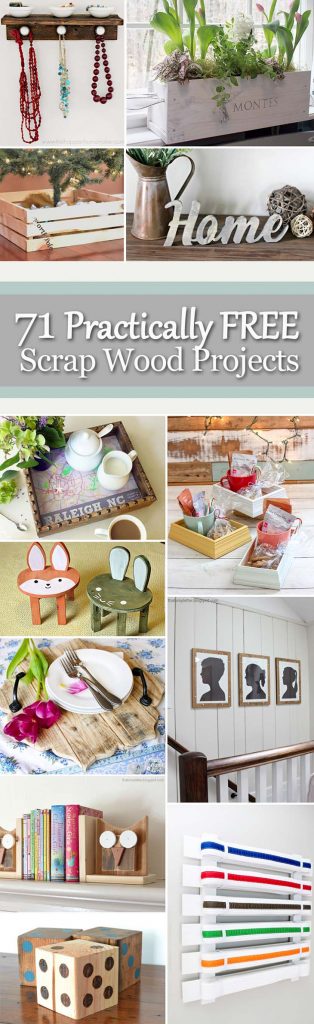
If you like these projects, please share! Here’s an image you can pin it on Pinterest:

71 Practically FREE Scrap Wood Projects

Which were your favorite scrap wood projects? And other ideas you have for using up scrap wood? I’d love to hear it.

71 Practically FREE Scrap Wood Projects

Here are some other round ups you may like:

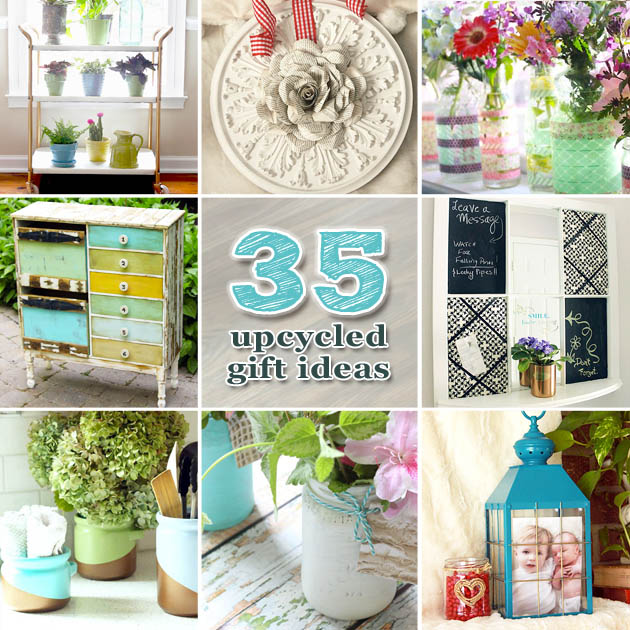
35 Upcycled Gift Ideas | Pretty Handy Girl

35 Upcycled DIY Gift Ideas


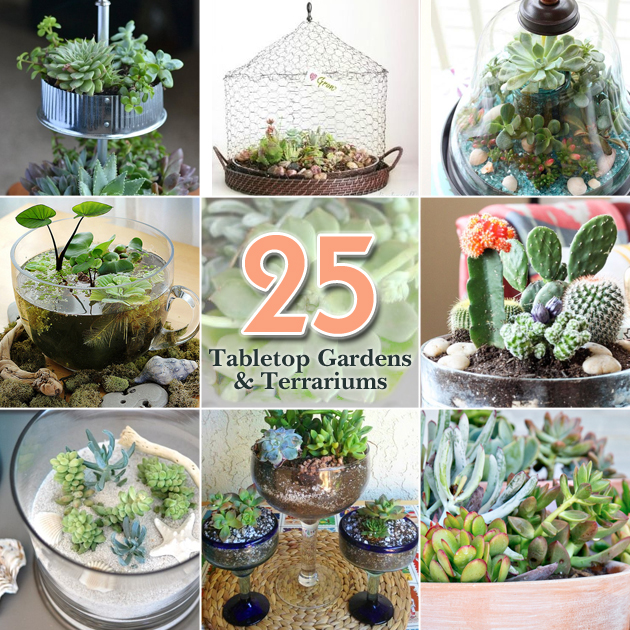
25 Tabletop Garden Terrariums

25 Ideas for Tabletop Gardens and Terrariums


Pin for later!