Easy Clipboard Stand | Pretty Handy Girl

Easy Clipboard Stand | Pretty Handy Girl

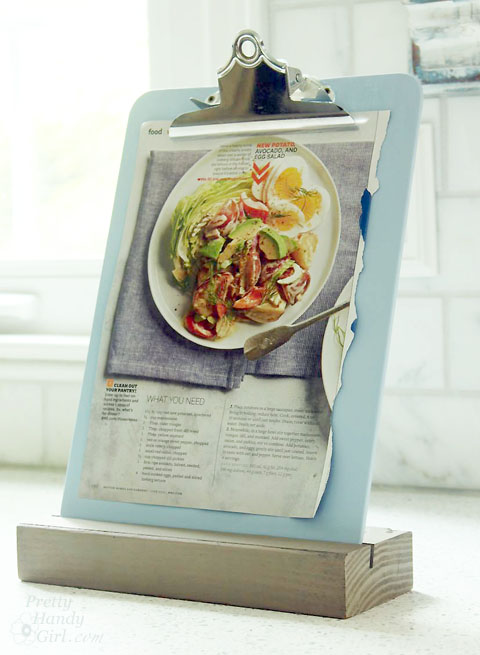
Today’s project is so easy, I named it the Easy Clipboard Stand (catchy name, no?) This is a great way to upcycle an old clipboard and a scrap 2×4. This clipboard stand is super versatile. It can be used as a traditional stand for announcements; a copy stand; a recipe holder; an art frame or anything you need to bring attention to. Plus, if you use a dark chalk paint color, it can be used as a chalkboard sign. Bonus.

Materials:
(contains affiliate links)

Tools:

Instructions:

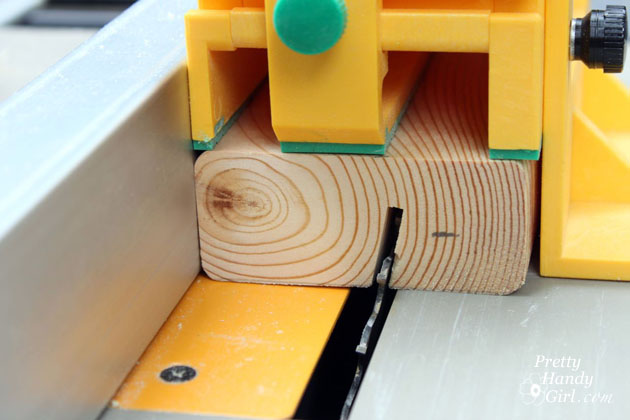
Cut the 2×4 scrap to the same width as the clipboard. Set your table saw blade approximately 2/3 height of the 2×4 block. Angle the blade to 15 degrees. Carefully slide the block over the blade. You’ll notice I use a GRR-Ripper Push Block to keep my hands away from the blade. (If you own a table saw, you need one of these!)

Easy Clipboard Stand | Pretty Handy Girl

The 2×4 should look like the photo below.  Read more

Pretty Handy Girl Living Room Reveal | Pretty Handy Girl

Cory Rolling Storage Ottoman from La-Z-Boy | Pretty Handy Girl

I’m so excited to finally reveal our living room makeover to you. I partnered with La-Z-Boy to furnish our living room almost exclusively with La-Z-Boy furniture and accessories. The furniture from La-Z-Boy arrived a while ago, but the rug was backordered for several months. My La-Z-Boy in store designer asked me twice if I wanted to chose another rug, but I’m so glad I decided to wait. I love the rug and can honestly say that it was well worth the wait!

Before we get to the tour, I think it’s only fair to show you a few pictures of the progression of the living room over the years. About a year after we bought the house in 2007, I painted the walls a lighter sage green and added sconces. We also paid a contractor to double the width of the opening to the kitchen. That made a huge difference. You can see the missing flooring where the small opening used to be below:
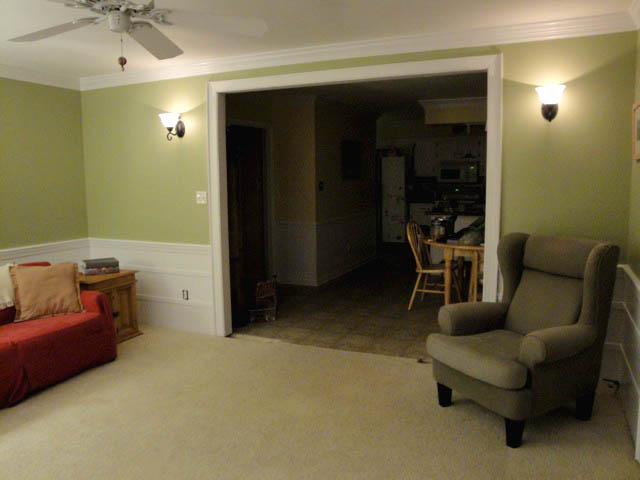
doorwayopenedup

The sofa was a hand-me-down from my Godfather’s parents.

Xmasmorning

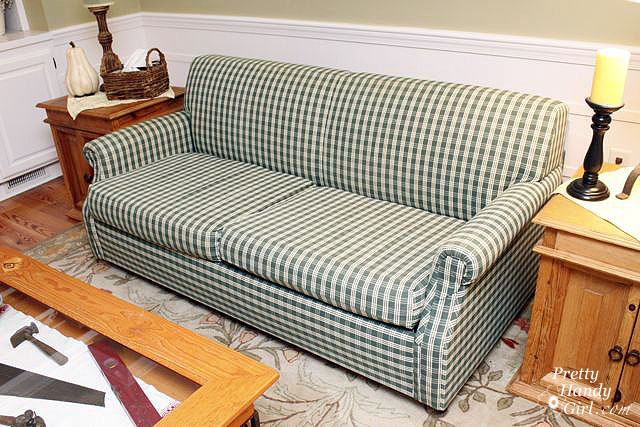
Underneath the red slipcover was this fabulously reupholstered sofa. Can you tell what year I re-covered it?
plaid_sofa

Ummm, hello 1990’s hunter green plaid. I don’t have a photo, but under this plaid monster is the original fabric from the 60’s. It was a floral woven tapestry fabric. I still can’t believe we sat on this sofa that was over 50 years old. It was hard as a rock.

In 2009, I pulled up the wall-to-wall carpeting and installed antique heart pine wood flooring. I also painted the previously painted white fireplace to look like brick again.  You read that right, the brick is painted!

livingroomdone2

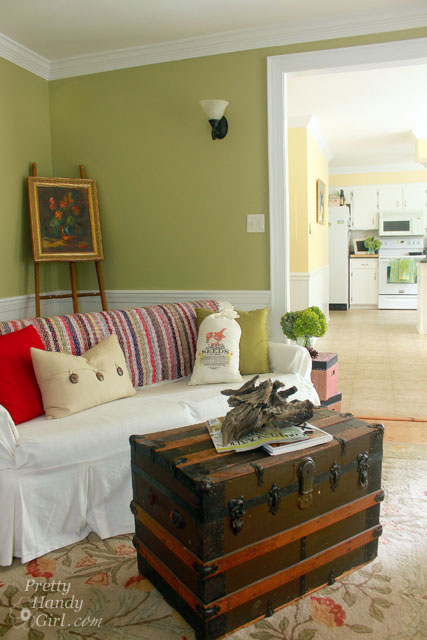
In 2011, I covered the sofa with a new slipcover, but it was still the same uncomfortable hard sofa. We also tried positioning the sofa at an angle in the room.
living_room_vertical

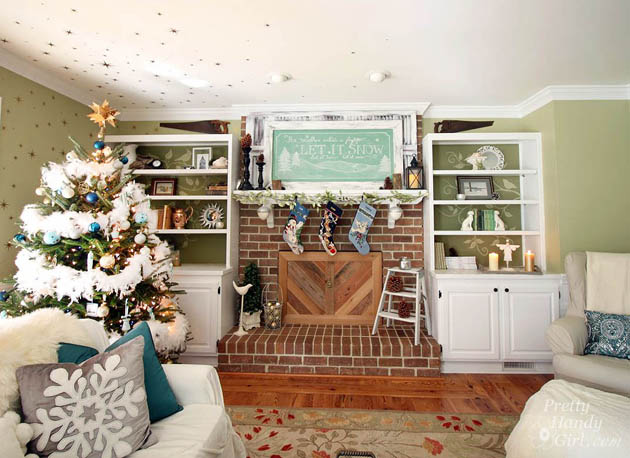
This past winter we moved the furniture around again and for the first time we felt that we had found an arrangement that worked for us.
Pretty Handy Girl's Holiday Home Tour 2014

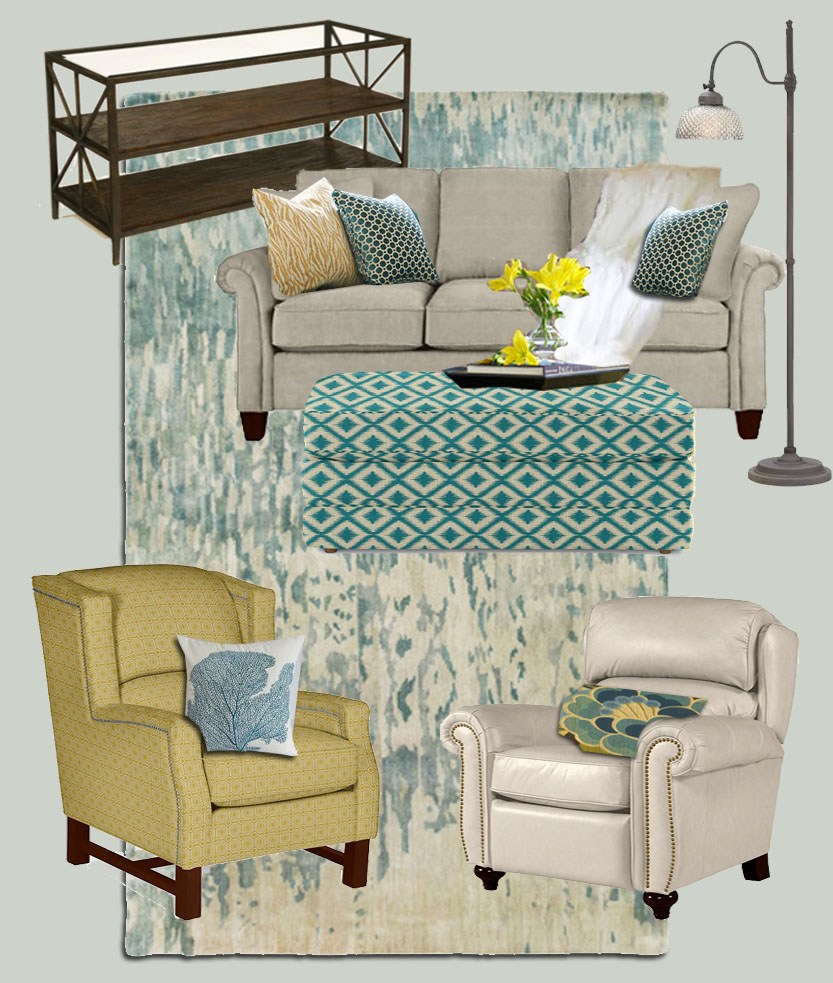
If you recall, I took a little field trip to our local La-Z-Boy furniture gallery back in December. I met with Lexie, the designer, who was invaluable with her expertise and design advice. Then you all helped me by voting for your favorite fabric selection (big virtual kisses and hugs from me to you for that!)

The voting was a tie, so I combined fabrics from the two winners and ultimately chose this combination:
La-Z-Boy Living Room Mood Board | Pretty Handy Girl

Ready to see how they look in the living room? Are you telling me to shut up already and get to the reveal? Your wish is my command, here is our living room reveal:

(I’ve included affiliate links for your convenience. I earn a small percentage from a purchase using these links. There is no additional cost to you. You can read more about affiliate links here.)

Read more
Make Your Own Finger-Printed Star Pillows | Pretty Handy Girl

Make Your Own Finger-Printed Star Pillows | Pretty Handy Girl

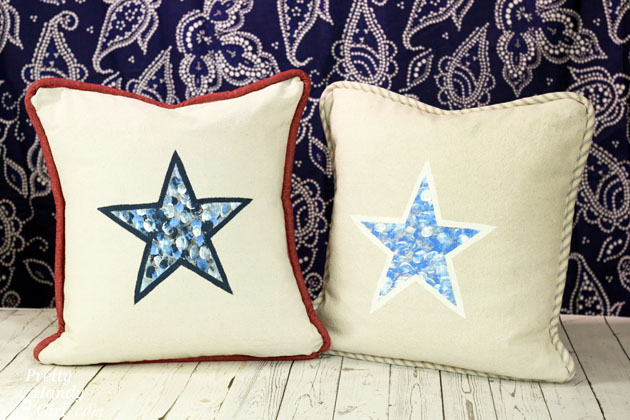
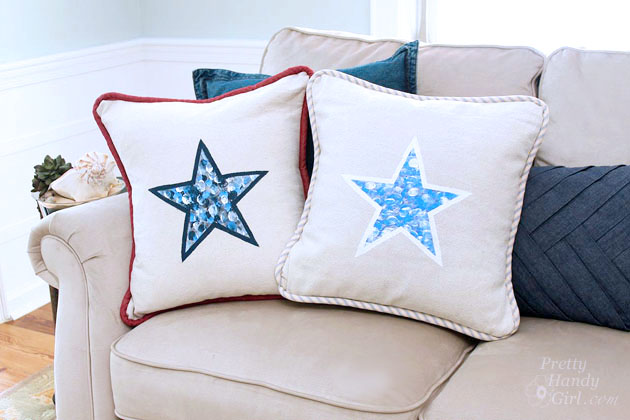
Personalized finger-printed envelope star pillows are an easy and fun gift item to make. My boys and I enjoyed making these pillows for their home room teachers. We got the idea from Cristina’s beautiful seaside themed thumb print pillows.

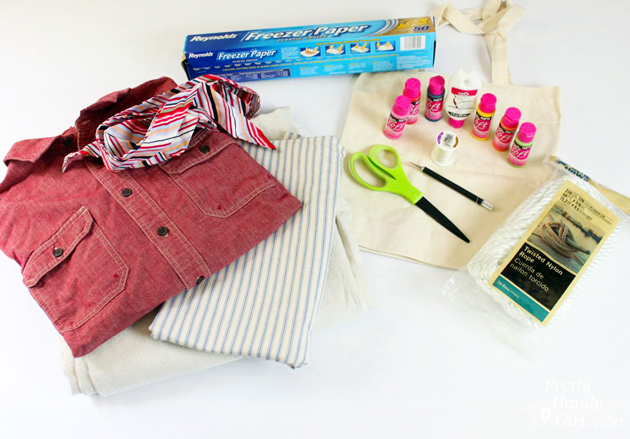
Materials:

Make Your Own Finger-Printed Star Pillows | Pretty Handy Girl

  • Fabric (I used bleached and washed leftover drop cloths)
  • Pillow insert
  • Thread
  • Sewing machine
  • Freezer Paper
  • Fabric Paint
  • X-acto knife
  • Small Flat Brush
  • Permanent Marker
  • Scissors
  • Piping (here’s the tutorial to make your own piping)

Instructions:

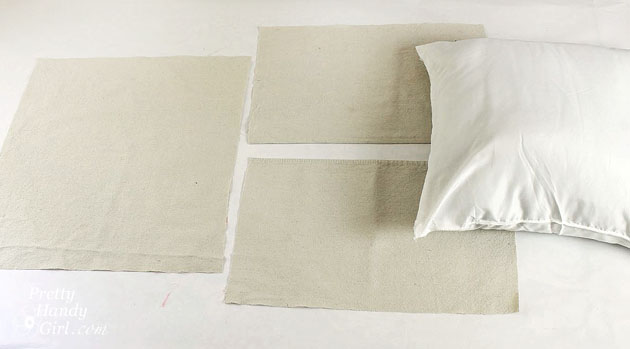
Cut your front fabric with 1 inch excess around the pillow form. Cut the two back pieces of fabric with a 1 inch excess on all sides, plus allow for a 3″ overlap in the center.

Make Your Own Finger-Printed Star Pillows | Pretty Handy Girl


Fingerprinted Star Tutorial:

Here’s a great way to customize your pillow for the recipient. Let your little ones finger-print inside the star. Read more
Customize a Tote Bag with an Old Shirt | Pretty Handy Girl

Customize a Tote Bag with an Old Shirt | Pretty Handy Girl

Welcome to another Tote Bag Week Post! Are you getting lots of ideas for how to make and dress up tote bags? If you’re just joining in here’s the line up:

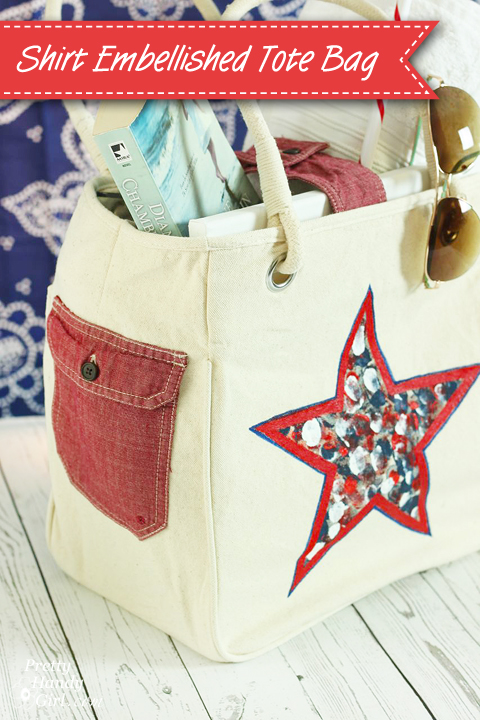
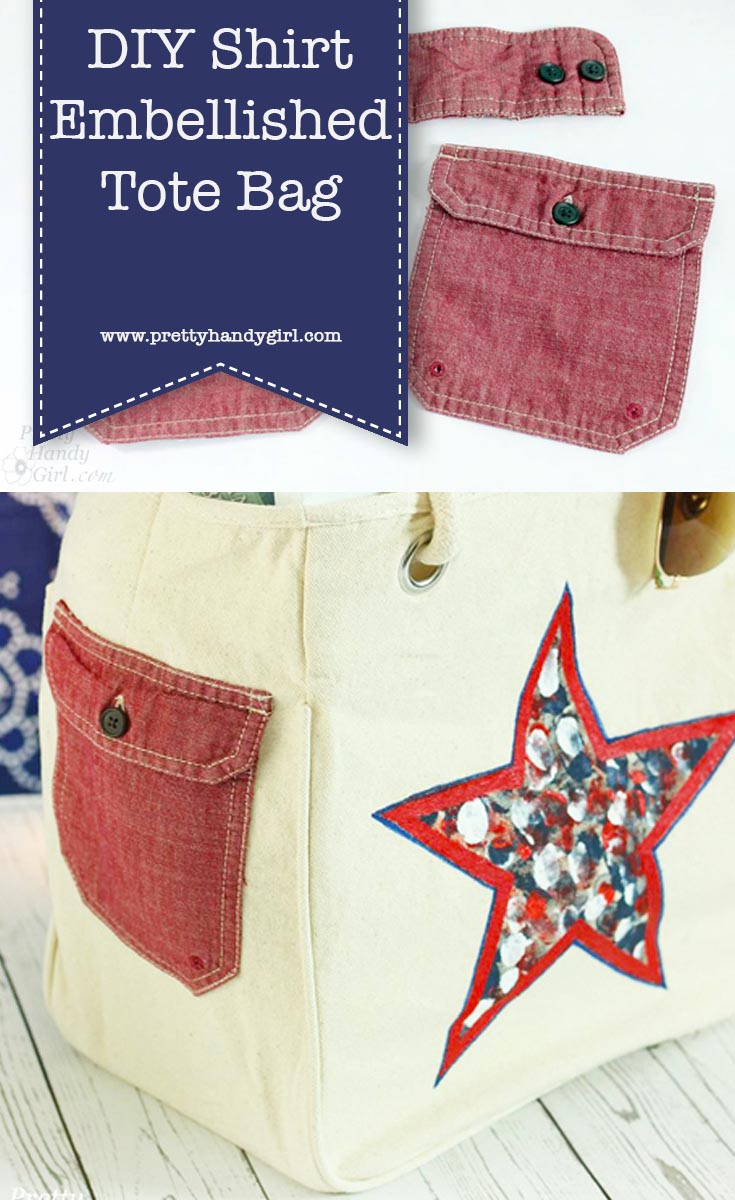
Today I have a fun tutorial for Customizing a Tote Bag with an Old Shirt.

Materials:

  • Canvas tote bag
  • Long-sleeve button shirt
  • Scissors
  • Pins
  • Sewing machine (or needle and thread)

Instructions:

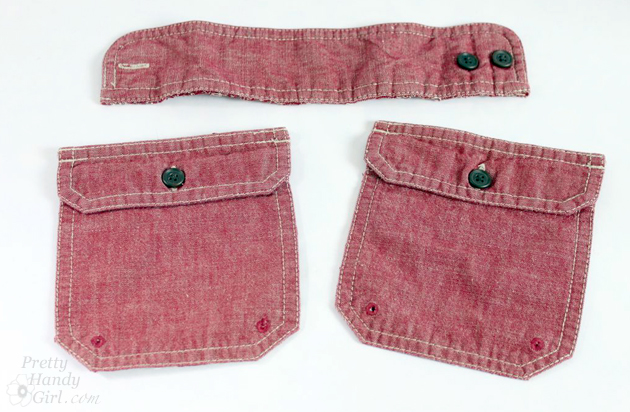
Begin by cutting off the sleeves and cuffs on your shirt. Save the sleeves to use on another project, like Adding Piping to a Tote Bag (or piping on a pillow, an upcoming tutorial.)

Customize a Tote Bag with an Old Shirt | Pretty Handy Girl

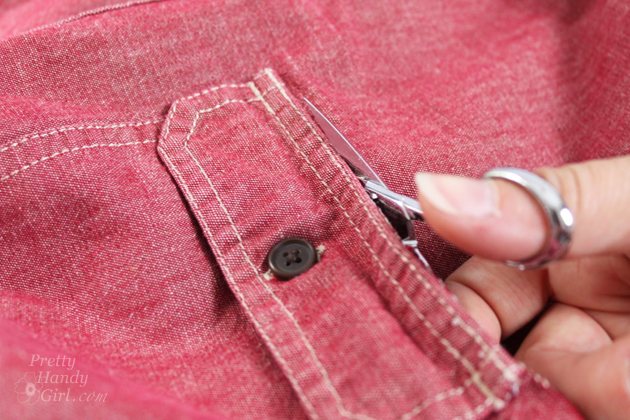
Cut off the pockets (cut as close to the seams as you can.)

Customize a Tote Bag with an Old Shirt | Pretty Handy Girl

For the customized tote bag, we’re going to use the cuff and two pockets.

Customize a Tote Bag with an Old Shirt | Pretty Handy Girl

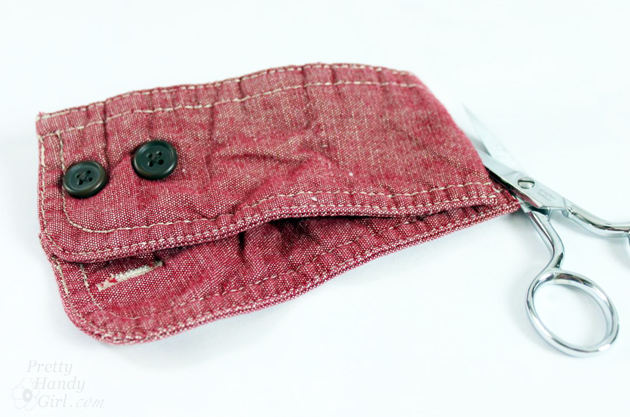
Fold the cuff in half and cut it.

Customize a Tote Bag with an Old Shirt | Pretty Handy Girl

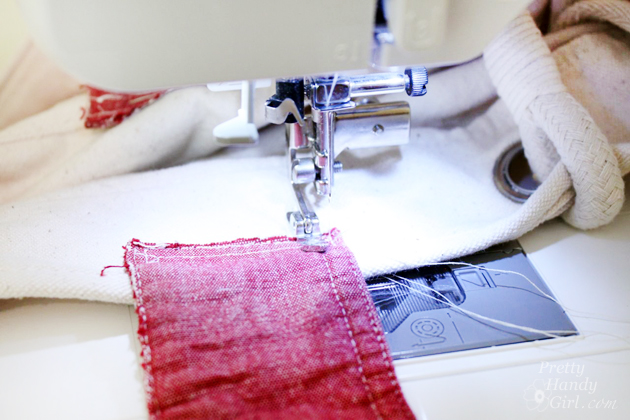
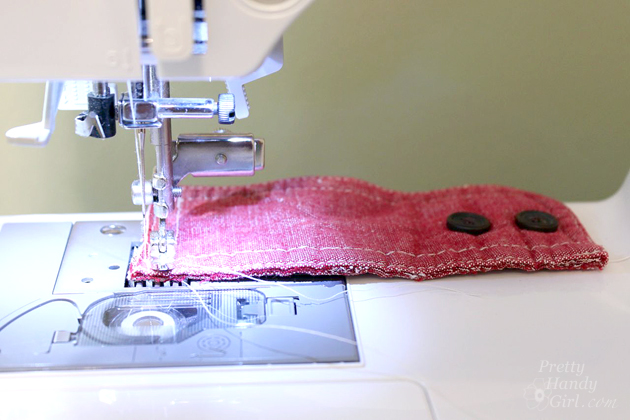
Stitch the end of the raw edges on the cuff closed.

Customize a Tote Bag with an Old Shirt | Pretty Handy Girl

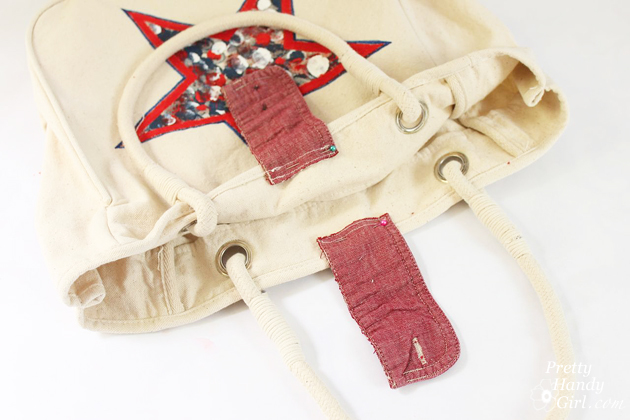
Pin the cuff halves to the inside center of your tote bag (buttons facing out.)

Customize a Tote Bag with an Old Shirt | Pretty Handy Girl

Stitch the cuff end to the tote bag until secure.

Customize a Tote Bag with an Old Shirt | Pretty Handy Girl

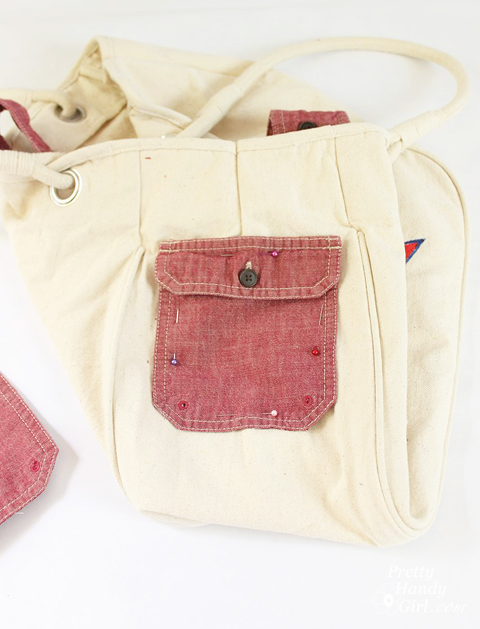
Pin the pockets to each side of the tote bag (if your tote bag doesn’t have sides, the pockets would look just as cute on the front and back of the tote bag.)

Customize a Tote Bag with an Old Shirt | Pretty Handy Girl

Stitch along the top of the pocket. Then lift the pocket flap up and sew the rest of the pocket to the tote bag.

Customize a Tote Bag with an Old Shirt | Pretty Handy Girl

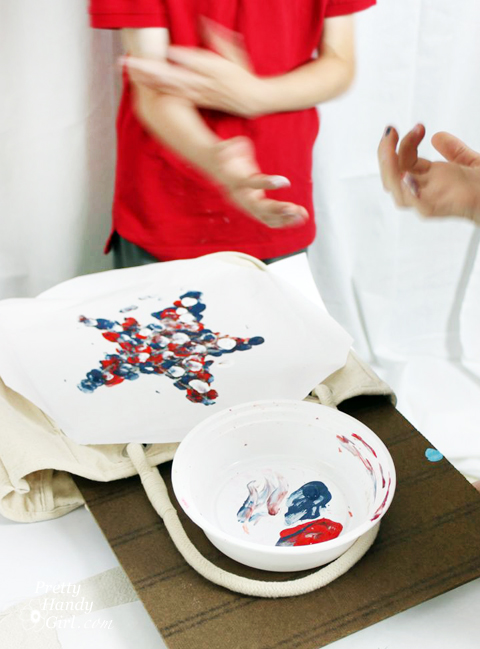
Feel free to finger print a star on your tote bag (tutorial for finger-printing stars here.)

Customize a Tote Bag with an Old Shirt | Pretty Handy Girl

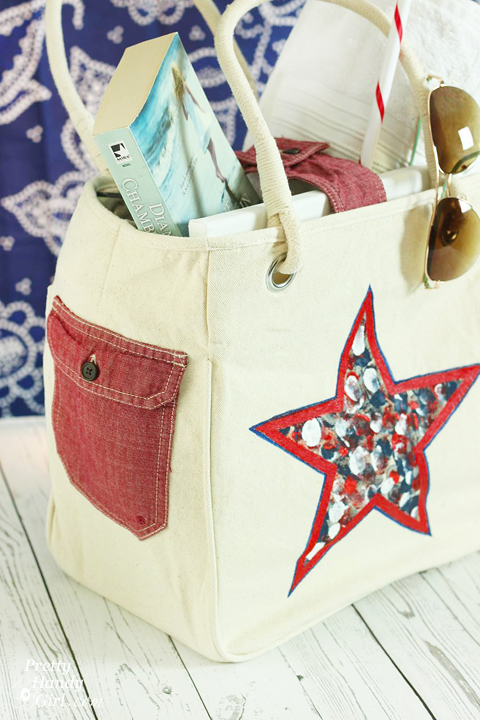
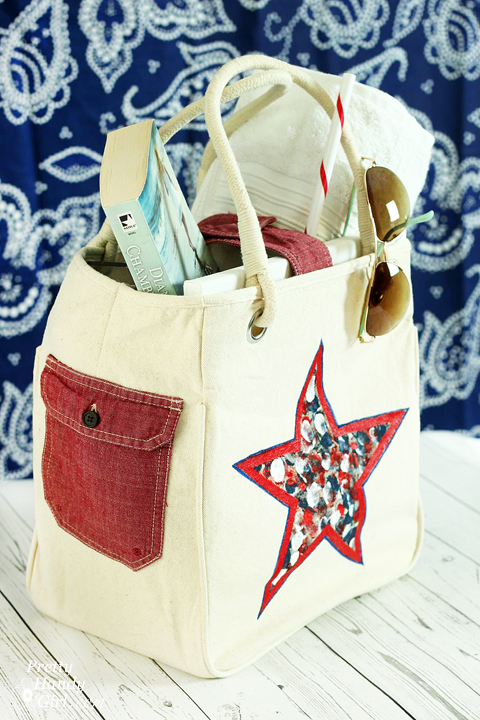
These shirt embellished tote bags are perfect for a day at the beach. Or as a gift for a friend, teacher or grandparent.

Customize a Tote Bag with an Old Shirt | Pretty Handy Girl

Personally, I think I’ll be making many more of these in the future.
Customize a Tote Bag with an Old Shirt | Pretty Handy Girl

I hope you enjoyed this tutorial for customizing a tote bag with an old shirt. Get ready for a grand finale tomorrow!

PHGFancySign


Pin for later!

How to Sew a Custom Tote

Tote Week | Pretty Handy Girl

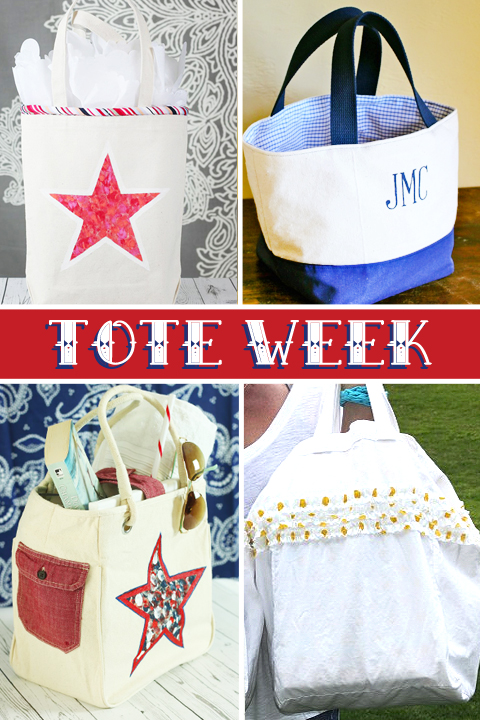
Hey guys! Do you know what today is? It’s the beginning of Tote Week! What, you had no idea? Tote Week here on Pretty Handy Girl is five days devoted to Tote Bags! Learn how to sew adorable tote bags and how to customize store bought tote bags.
If you’re just joining in here’s the line up:
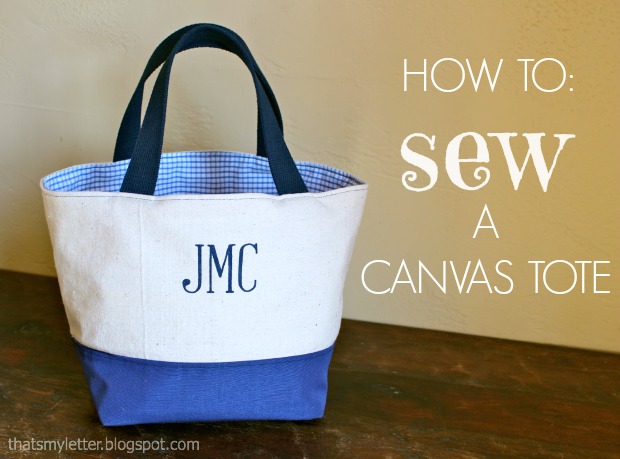
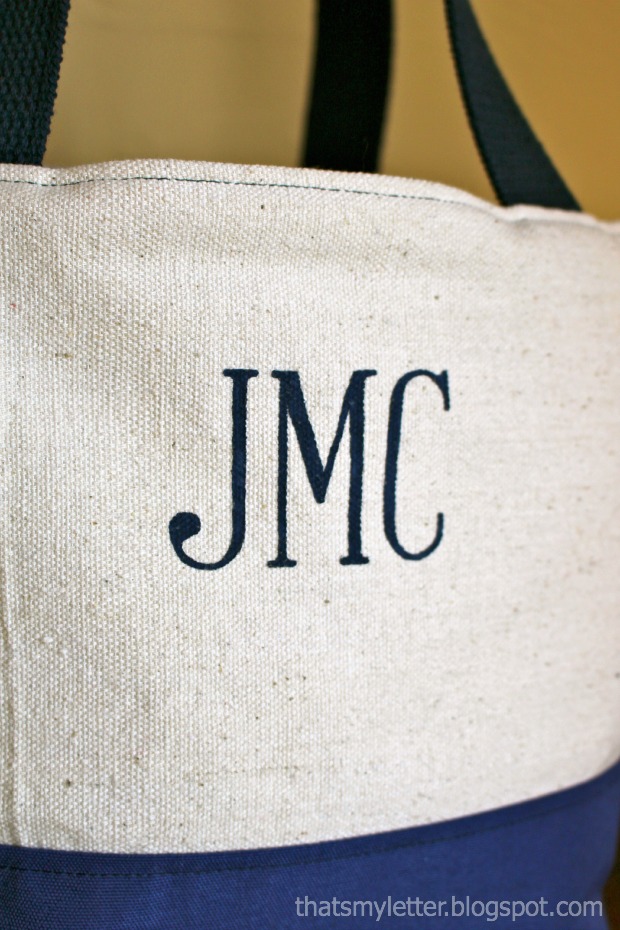
To start us off, Jaime is here to give you the basic sewing tutorial to make your own lined (and monogrammed) tote bag. Jaime is from That’s My Letter, a blog filled with DIY Tutorials. Today, she’s showing you How to Sew a Custom Canvas Tote complete with painted monogram:

canvas tote

This tote makes a great everyday bag or purse, just big enough for all the important stuff but not too bulky.  The finished size is 16″w x 9″h x 8″ square at the base, and the handles extend about 6″ in height.

canvas tote 13

The tote is fully lined and includes an interior zippered pocket.  The zipper is easy as pie I promise!  I’ll show you how down below.

You can add any monogram or name to personalize the tote.  Then you’ll be making canvas totes as gifts for all your friends.

canvas tote 3

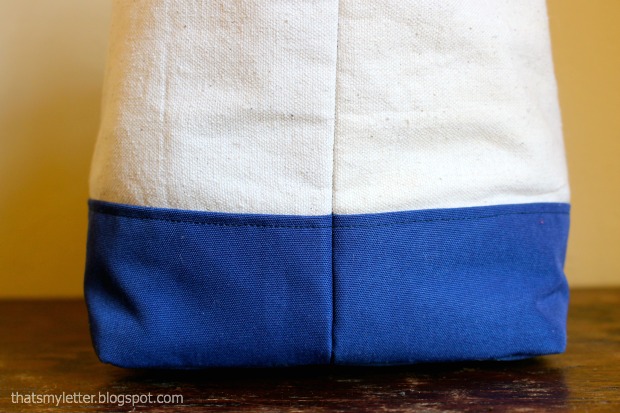
The square base makes for a nice wide tote and the canvas is super durable:

canvas tote 2

Materials:

  • drop cloth canvas (1 yard)
  • blue canvas (1/2 yard outdoor patio fabric Sunbrella or the like)
  • lining (1 yard)
  • medium weight fusible interfacing (1 yard)
  • firm interfacing – 9″ x 9″
  • 1 1/2″w cotton webbing (1 yard)
  • 9″ zipper
  • lightbox
  • small paintbrush
  • acrylic paint
  • sewing machine, thread to match, iron, seam ripper

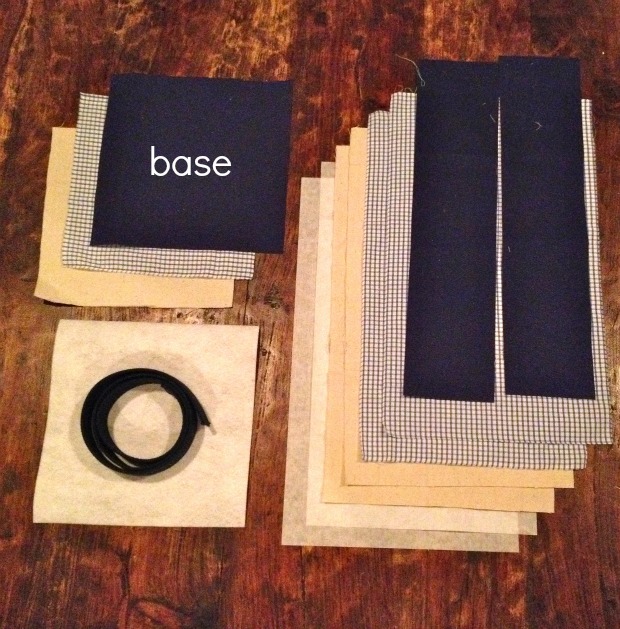
Materials Cut List:

Base:

  • 1 – blue canvas 9″ x 9″
  • 1 – lining 9″ x 9″
  • 1 – drop cloth canvas 9″ x 9″
  • 1 – firm interfacing 9″ x 9″

Body:

  • 2 – drop cloth canvas 10″h x 17″l
  • 2 – med. fusible interfacing 10″ x 17″
  • 2 – lining 10″ x 17″
  • 2 – blue canvas 4″h x 17″w

Handles: 2 – 1 1/2″w cotton webbing @ 17″l

Instructions:

canvas tote fabric cuts

Step 1: Cut materials (see cut list above).

canvas tote base

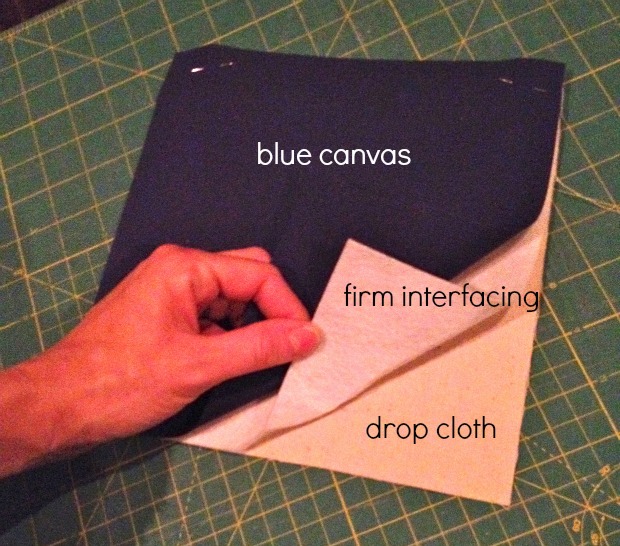
Step 2: Prepare base.  Sandwich drop cloth, firm interfacing then blue canvas. Read more