How to build a DIY Pottery Barn Teen-inspired Monogram Jewelry Storage

Today, I’m super excited to have Jen Woodhouse here to present the tutorial to make this Pottery Barn Teen Inspired Jewelry Organizer.

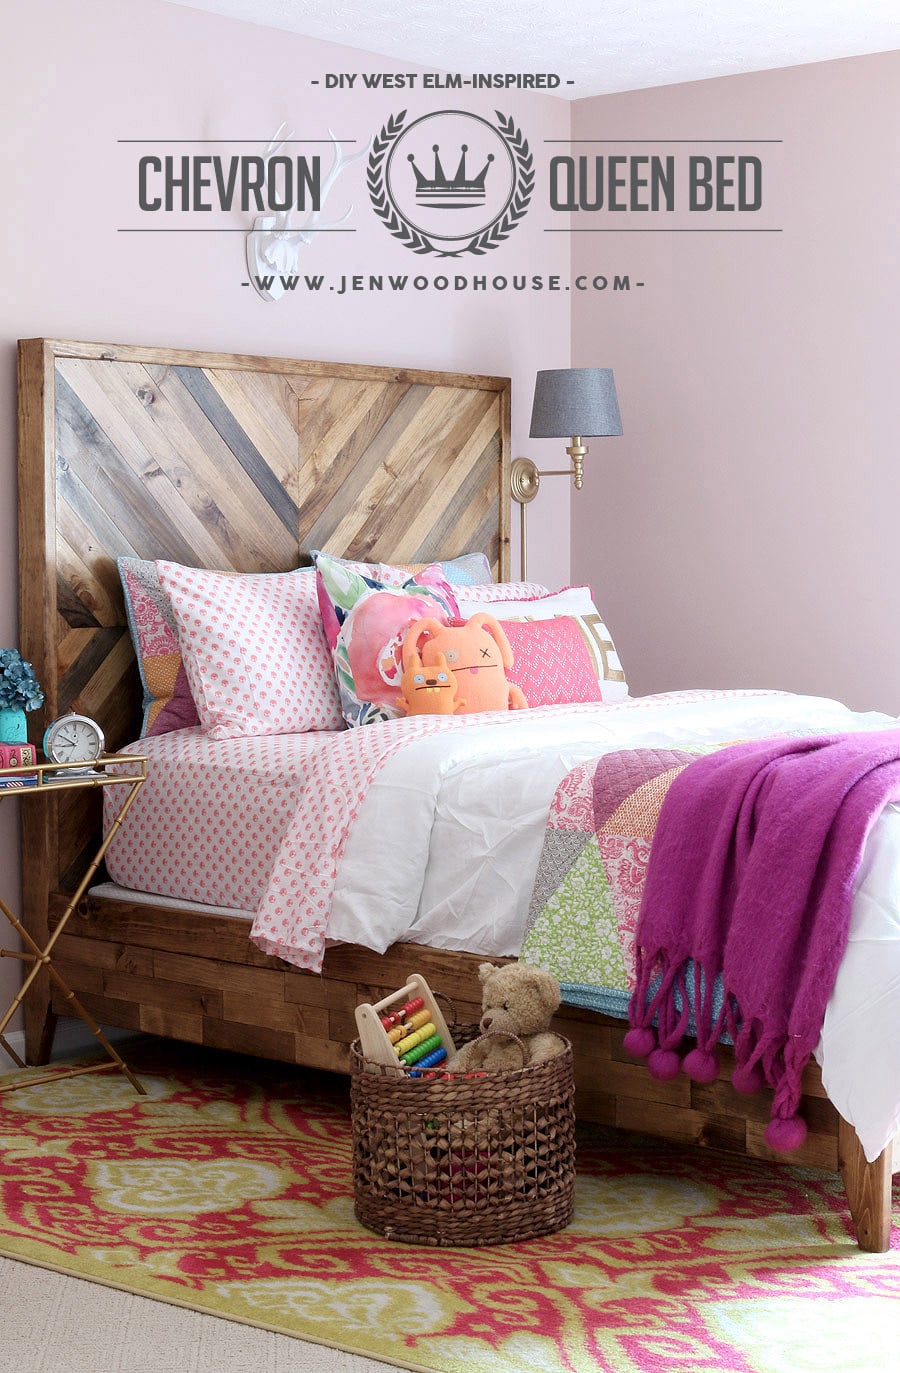
Jen is the creative muscle behind The House of Wood. She recently knocked my socks off with this West Elm Inspired Queen Bed.

And let me tell you, besides being a kick ass builder and crafter, she can sign! Whoa, can she sing. But, today we’ll find out if she can sing and build at the same time!

Rockstar DIY Series

So, put your hands together and let’s hear it for our next Rockstar to take the stage! Take it away Jen.

page_break_2

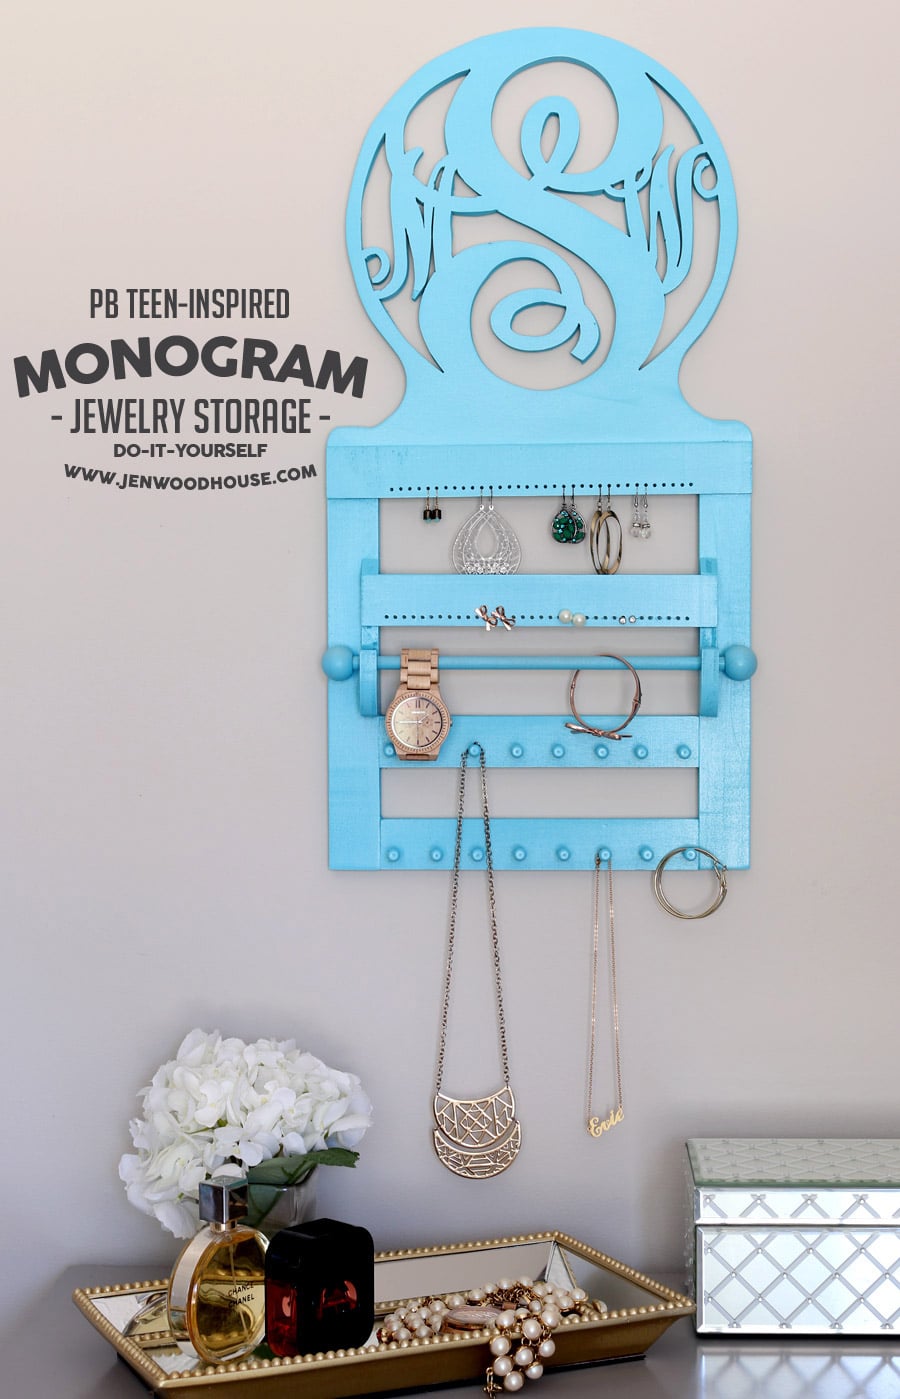
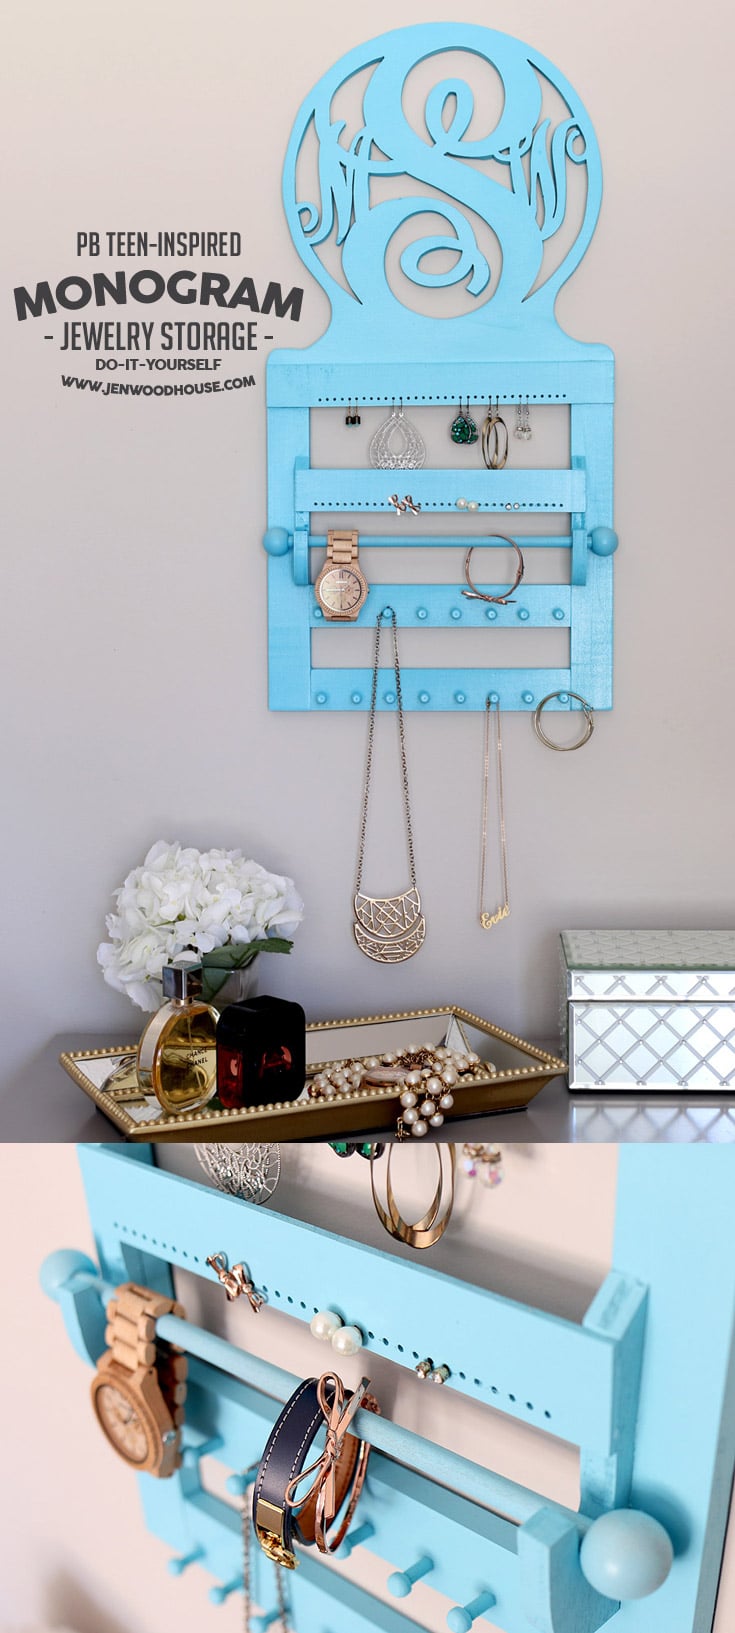
Hi Pretty Handy Friends! Jen Woodhouse from The House of Wood here, thrilled to be hanging out with y’all today, sharing my PB Teen-inspired monogram wall jewelry storage. While flipping through the PB Teen catalog, I spied this pretty jewelry organizer and instantly thought, “I bet I could make that!”

So I did.
The End.

How to build a DIY PB Teen-inspired Monogram Jewelry Wall Organizer #DIY #PBTeen #monogram #PotteryBarn #jewelry #organizer
Only kidding. I’ve got you covered with free plans and a tutorial so you can build it yourself!

Click here to download the PDF plans for this PB Teen-Inspired Monogram Wall Jewelry Storage.

How to build a DIY PB Teen-inspired Monogram Jewelry Wall Organizer
*This post contains affiliate links.

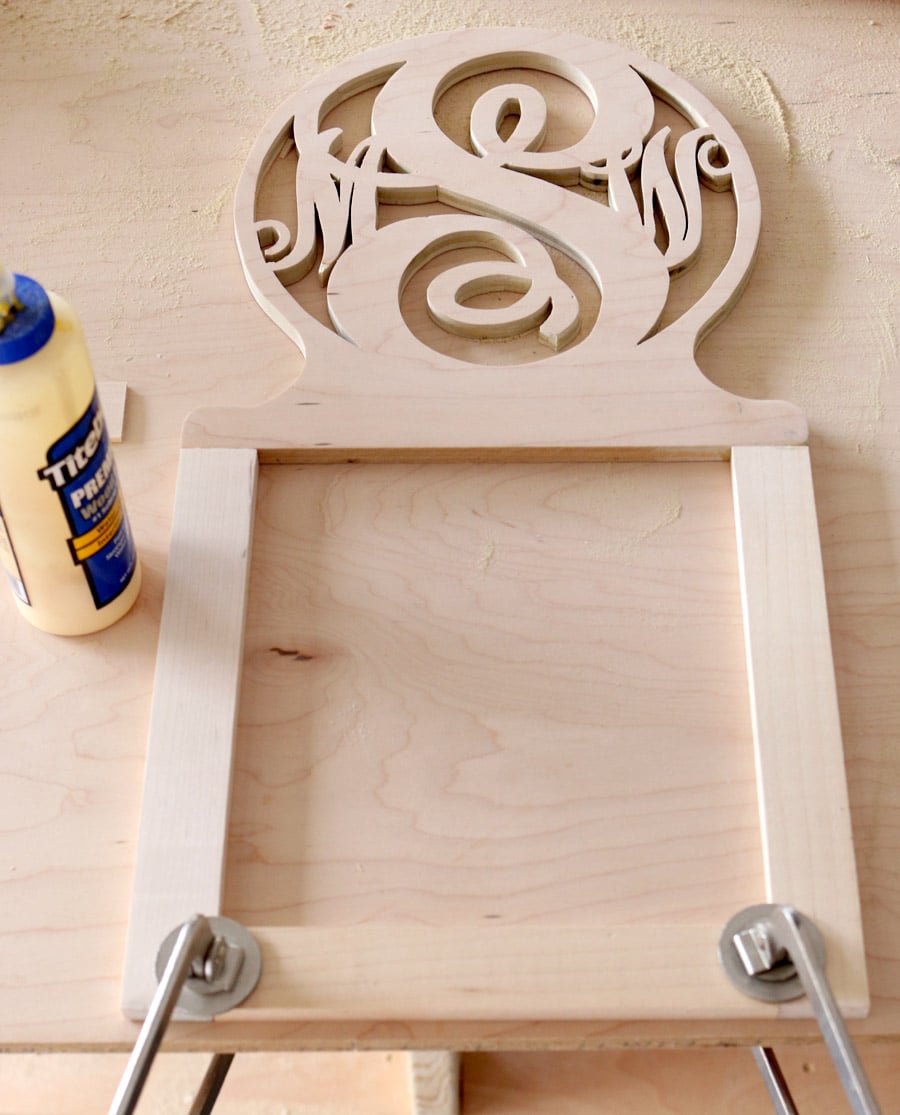
I’ve gotten pretty handy (see what I did there?) at using a jigsaw because I sell these custom wood name signs in my Etsy shop, so I knew cutting out the monogram wouldn’t be too difficult. It was a bit time-consuming, especially because I had to break out the scroll saw for those teeny tiny spaces, where my jigsaw blade wouldn’t fit. As you can see, I am less adept at using a scroll saw.

Then I dug through my scrap wood pile and found a few 1×2 boards, which I planed down to 1/2″ thickness, to match the thickness of the plywood. I used only wood glue to construct this entire thing – no screws or nails! Cut, join, glue, clamp, and dry.

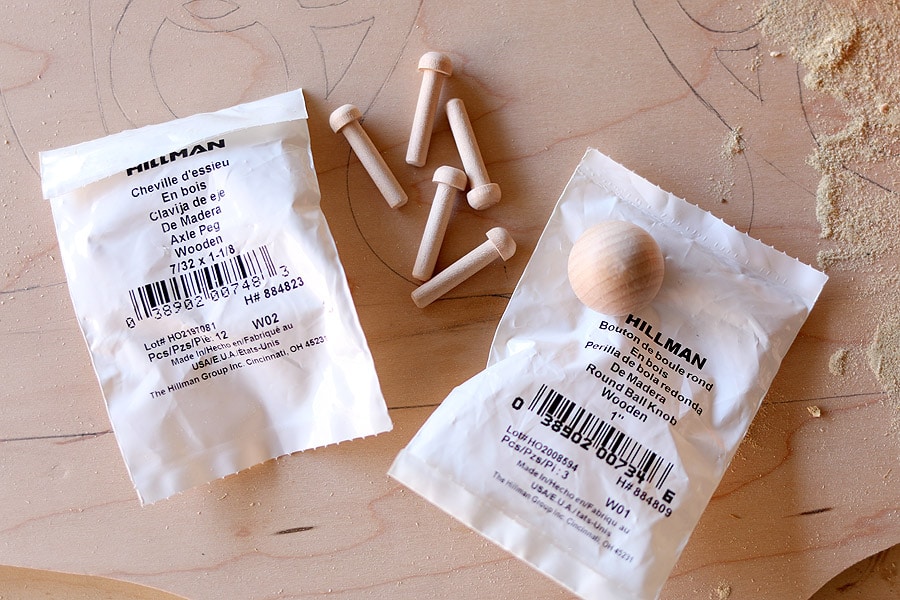
Then I picked up a couple packages of wooden pegs, round wooden balls, and a 3/8″ wooden dowel at the home improvement store. I found it in the hardware section, where all the different types of screws and fasteners are kept in those long metal drawers.

monogram03
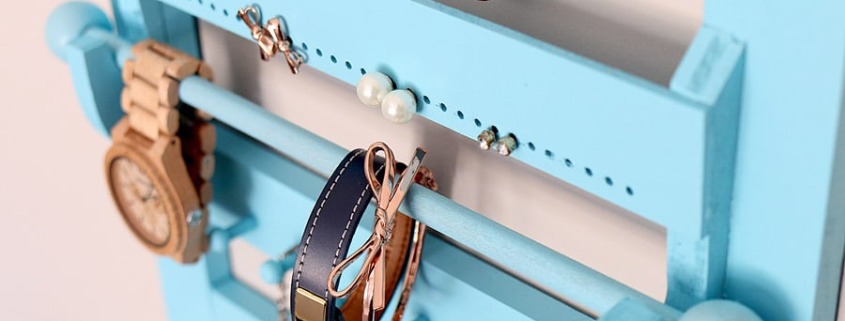
Next, I made a drilling template out of a piece of scrap wood, so that my drill holes would be evenly spaced and perfectly aligned. I used a 3/32″ drill bit for the small earring holes and a 13/64″ drill bit for the wooden pegs then hammered the pegs into place. Read more

state-pride-magnetic-key-holder-22

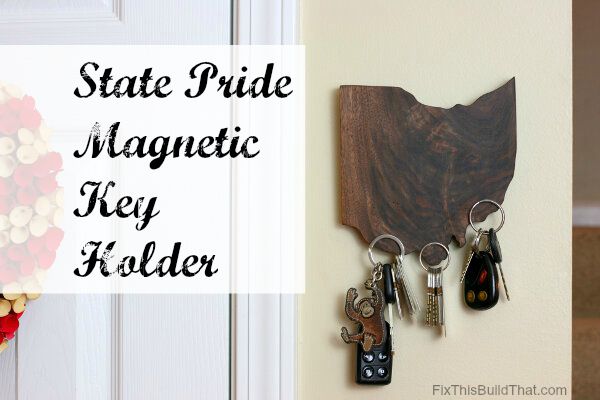
State Pride Magnetic Key Holder

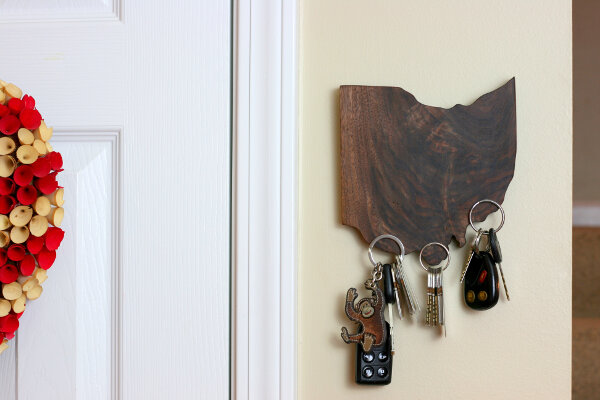
Today on the Rockstar DIY stage is Brad! Brad is our first guy rocker to join the tour. He has an amazing creative brain and woodworking skills that will blow your mind. Brad has created this State Pride Magnetic Key Holder for you to build. And if you look close you’ll notice that it’s magic because there are no hooks in sight!

I told you he’d blow your mind. Brad normally rocks on his home turf at FixThisBuildThat.

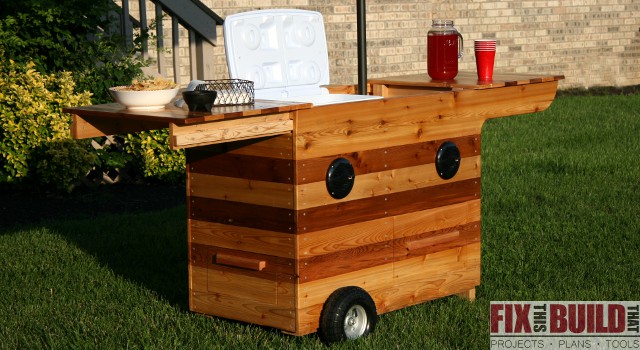
You may have seen his amazing Party Station recently. This cart comes complete with a spot for your beverage cooler, storage drawers and speakers. See, I told you he rocks!

Rockstar DIY Series

I hear the whine of the scroll saw now, so let’s give it up for Brad!

page_break_2

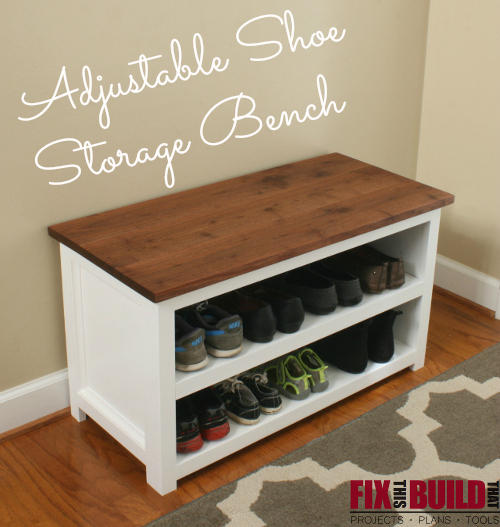
Hey, everyone! Like Brittany said, I’m Brad from FixThisBuildThat.com. My site is all about helping you with Woodworking & DIY Projects, Posts and Plans. And today I’m happy to be here on Pretty Handy Girl to show you how to make this fun State Pride Magnetic Key Holder. If you want to check out some of my other work you can see one of my most popular posts, the Adjustable Shoe Storage Bench.

I’ve always been in love with state signs and cut outs and I’ve made several large state signs. But I wanted do something smaller, and I also wanted to solve the issue of always looking for my keys. In my house finding a set of keys is a little like playing Marco Polo…except the keys don’t usually call back!

I had a really nice piece of figured walnut I wanted to use for something and that’s when it hit me. State sign + really nice wood + key holder = Awesome project. I’d seen some similar things around the interwebs so I knew the perfect project to solve my issue.

Here is what you’ll need for this project.

Materials:

  • Approx 6″x6″ piece of 3/4″ wood (size varies by state)
  • 12 neodynium super magnets – 0.47″ dia x 0.10″ thick
  • Quick set epoxy
  • Picture hanger hardware
  • Spray adhesive
  • Jigsaw or scroll saw
  • Drill
  • 1/2″ forstner drill bit (brad point or twist will work too)
  • Sandpaper
  • Stain/Finish of your choice

Instructions:

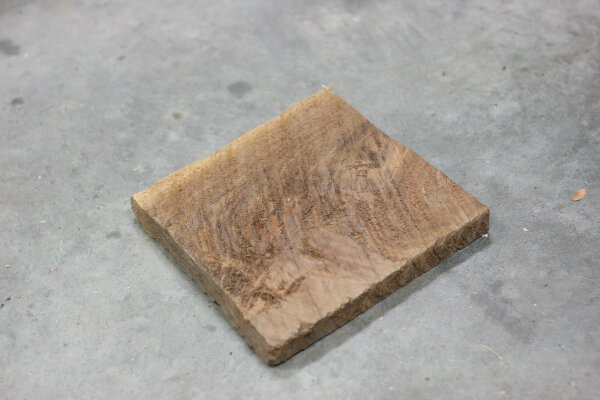
Here is the piece of wood I started with. It is approximately 6″ by 6″ rough cut walnut that was just under 7/8″ thick. I had to do some serious sanding to this thing, but knew there was beautiful grain underneath to uncover.

State Pride Magnetic Key Holder

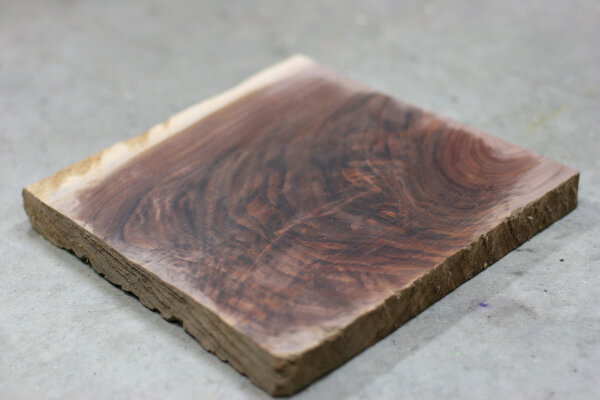
After a ton of sanding I got it down smooth to 3/4″ and here is what was underneath it…gorgeous! (I added a little mineral spirits to show off the grain)

State Pride Magnetic Key Holder

If you have a special small piece of wood this is the perfect project for it. If you don’t have any nice hardwoods laying around this could be your perfect chance to try working with walnut, cherry, maple, mahogany or something else. Go to your local woodworking or lumber store and see if they have any small offcuts. If you want to stay with wood from the home center then a 1×6 or 1×8 will do just fine as well.

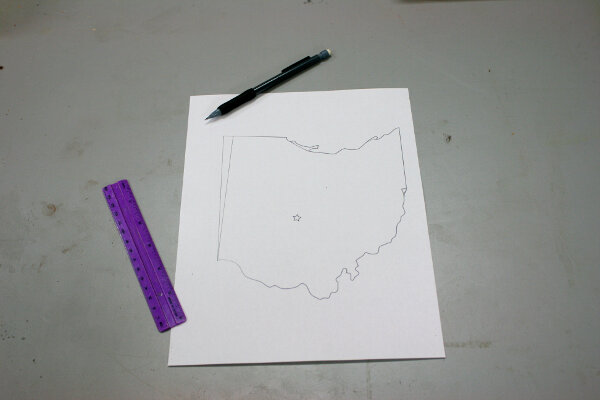
I decided to use Ohio as my state for this project. My wife and I lived there for 13 years, but really it’s just because it fit way better on my board than Tennessee would have 🙂 To get the state shape onto my wood I used a printed outline of Ohio. I found a site called Coloring Castle that has state outlines for kids to color. The outlines are softened a little so it was just what I wanted.

I copied the image of Ohio and pasted it into Powerpoint and sized the image until it fit my board the way I wanted it. You can use a host of different programs or photo editors to do this.

After I printed out the Ohio shape I decided to take a little creative license with the shape of the state. I wanted straight sides and didn’t want to mess with some of the more intricate tight curves like the peninsula up top. So I just drew in new lines where I wanted to cut. Empower yourself and redraw state lines as you see fit!

State Pride Magnetic Key Holder

Next you need to temporarily glue the outline to the wood. Cut the shape out leaving about 1/4″ around the edges. Then spray a light coating of spray adhesive onto the backside of the cutout. Don’t go crazy here or you won’t be able to get the paper off without scraping or sanding. Practicing with some scrap wood and paper will give you a feel for how sticky your specific spray adhesive is. Read more

DIY scalloped planter box centerpiece - free plans Hertoolbelt

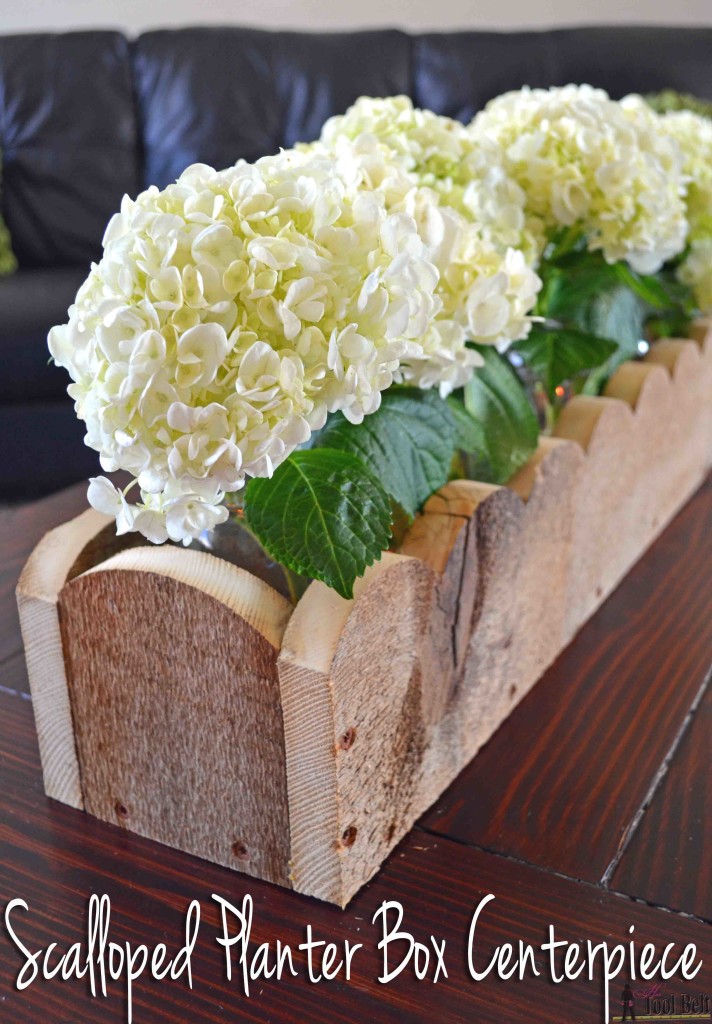
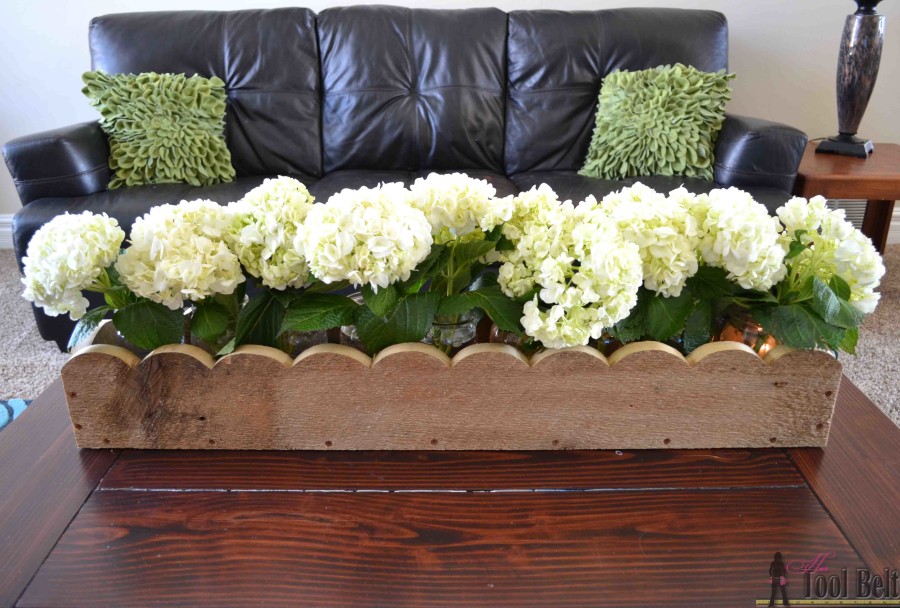
Today on the Rockstar DIY stage is Amy, with the tutorial to make this perfectly rustic Scalloped Planter Box Centerpiece.

Rockstar DIY Series

Amy is the creative artist and builder behind Her Tool Belt! You may remember her amazing rustic chevron twin bed that crashed Pinterest (well, not really, but it should have.)

Well, the very talented Amy is in the wings right now and I just got word that she’s headed to the stage. So, without any further delay, here’s AMY!

page_break_2

Hi! I am Amy from Hertoolbelt and I’m so excited to be visiting with you today. A couple of years ago I dismantled an old barn at my parents farm, now I have a good supply of barn wood. I enjoy building projects with barn wood because of the unique weathered and rustic look of each piece. It works great for planter box centerpieces. I like to have a few planter boxes on hand for party decorations. I wanted to make this one have a more feminine feel, so I added scallops.

DIY scalloped planter box centerpiece - free plans Hertoolbelt

How to Build a Scalloped Planter Box Centerpiece

DIY scalloped planter box centerpiece - free plans Hertoolbelt

Materials

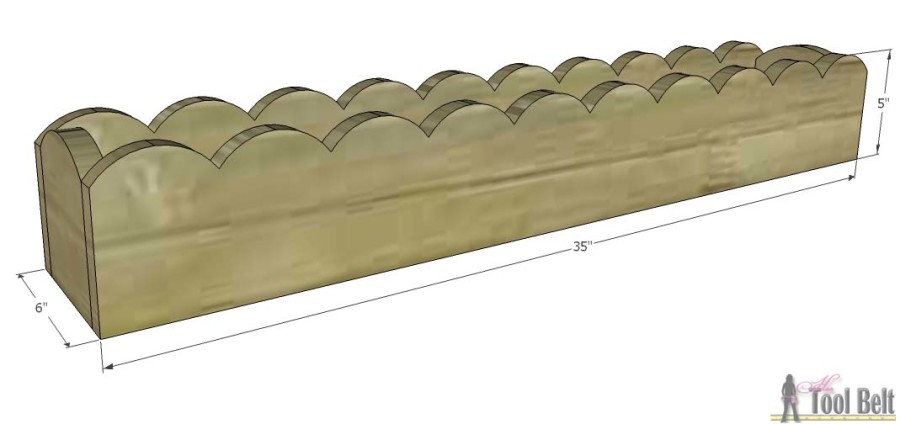
  • 2 – 1″ x 6″ x 6′ boards (or barn wood), actual 3/4″ x 5 1/2″
  • 1 1/2″ minimum length screws (I used 1 5/8″ deck screws)
  • wood glue
  • sand paper

You can modify these plans for whatever size of centerpiece you need. I designed the inside width to fit mason jars.

Cut List

  • 2 – 3/4″ x 5″ x 35″
  • 2 – 3/4″ x 5″ x 4 1/2″
  • 1 – 3/4″ x 4 1/2″ x 33 1/2″

Step 1

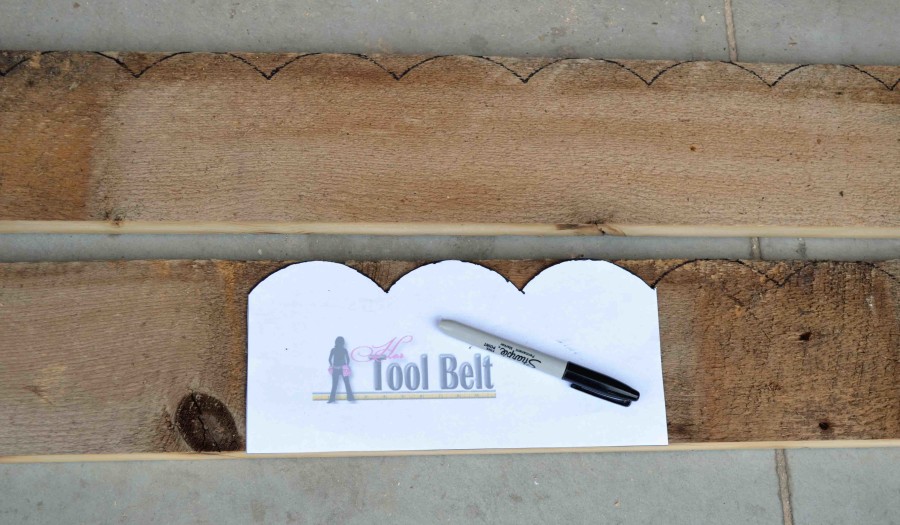
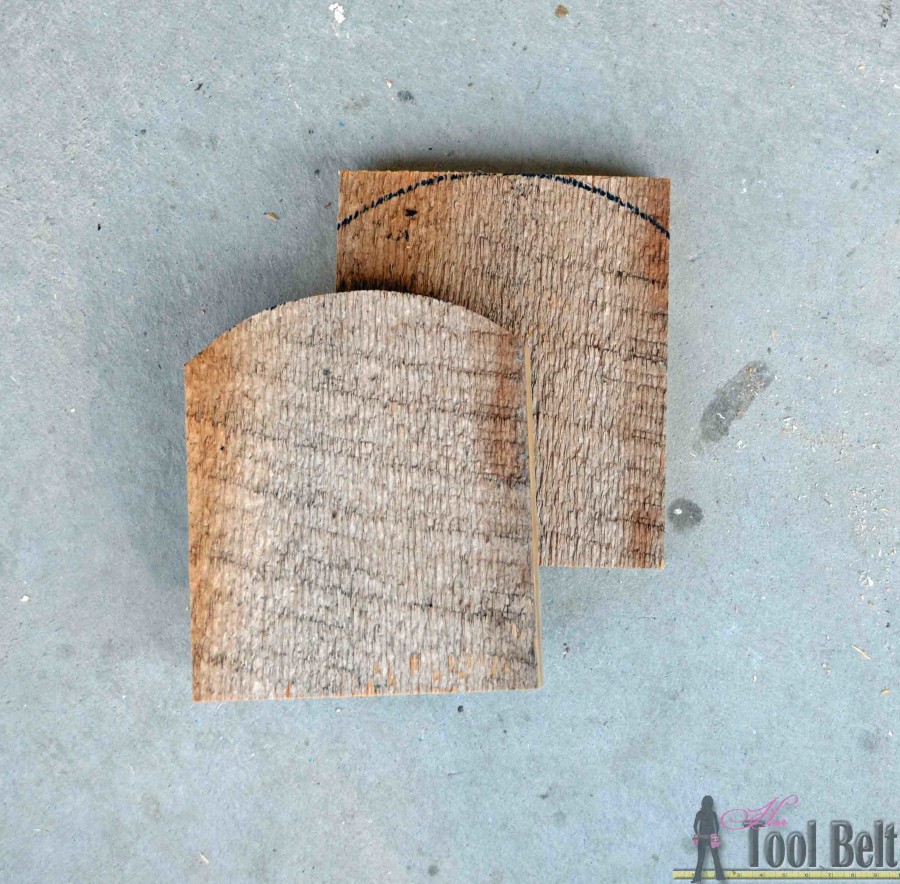
Cut the boards out according to the cut list above. Download and print the pattern for the scallop. When printing make sure your print settings are on 100%, not fit to page. Cut out the pattern and trace it on the 2 – 35″ boards.

DIY scalloped planter box centerpiece - free plans Hertoolbelt

Use a band saw, jig saw or scroll saw to cut out the scallop design (I used a band saw). Sand the cut edges as necessary.

On the end pieces, if you want a curve, use a paint can to trace a curve. Cut out the curve and sand if needed.

DIY scalloped planter box centerpiece - free plans Hertoolbelt

Step 2 Read more

Create this fabulous knock-off West Elm wooden framed mirror without any fancy power tools. Just use a 1x6 tongue and groove board which is the perfect fit to insert an inexpensive IKEA mirror.

Today on the Rockstar DIY stage is Kim, with the tutorial to make this beautiful money saving West Elm Inspired Framed Mirror!

Rockstar DIY Series

Kim is the power DIY blogger behind The Kim Six Fix. She shares the belief that there isn’t any project big or small that she can’t tackle. Currently Kim lives in California with her husband and three little ones. But, she used to live practically in my backyard in Durham, NC. Unfortunately we never met before she moved. #MissedOpportunity Because if we had, we probably would have fixed up an entire block of houses together!

Kim Six

Today Kim is here with the genius solution to building a West Elm Inspired Framed Mirror using tongue and groove boards. Those saws have started buzzing, so I know she’s ready…take it away Kim!

page_break_2

I’m so excited to be here on Brittany’s blog today! I have been a HUGE fan since I first started blogging about my DIY projects and so it is surreal to be actually posting here…  ON HER BLOG!!! Squee!!  Of course I want to thank her so much for this opportunity, and I hope you all enjoy my project.

Okay, enough fan-girling.. On to the post: 

If you know me, you know I am a big fan of knocking off overpriced high priced name brand home decor. There is almost a challenge to it.  And when I saw this simple mitered block wood mirror on the West Elm website I knew I could create the look for a lot less.

Create this fabulous knock-off West Elm wooden framed mirror without any fancy power tools. Just use a 1x6 tongue and groove board which is the perfect fit to insert an inexpensive IKEA mirror.
Now, unlike a lot of the other guest bloggers who have been sharing their amazing tutorials, I don’t yet have a fabulous tool stash (something I am trying to remedy.)  What that means for you is that you don’t need a big tool stash either! We’re in this together!

So in this case, when I saw the mirror had the glass inset into the wood, (something typically achieved with a table saw or a router) I knew I would have to think outside of the box. How could I get the wood to wrap around the mirror without cutting it myself?

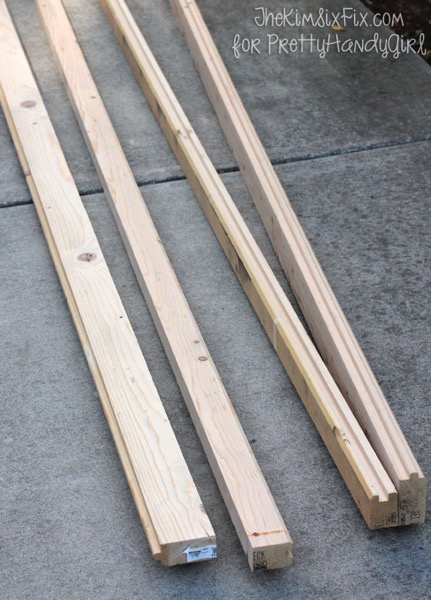
A trip down the lumber aisle of the hardware store revealed the answer: Tongue and Groove 2×6 boards  (typically used on walls or floors).  It has a ’tongue’ on one side which insets into the ‘groove’ on the other.  Perfect: A board with a built-in mirror holder!

2x6 southern yellow pine tongue and groove flooring 425
The boards they had in stock at the big box home improvement store weren’t anything super special, and they weren’t very expensive. For my project I only needed two 8 foot boards at $8 each.

Usually these types of boards are made of whitewood (or pine) since that is the least expensive. However, my store actually used Cypress (a whitewood alternative), which was a fun change for me. This was my first project with that wood type and it pretty much acted like pine.. .so I was in my comfort zone. You could do this with cypress or pine (or even hardwood).

Now that I had the boards, I had to get them down to the correct dimensions, and I didn’t want the tongue, only the groove.  The first thing I did was rip the boards down to the width I wanted for the mirror frame.  Now, once again, most people would do this on a table saw, but I don’t have one.  I only have a circular saw, so I used it plus the Kreg Rip Cut, to cut the boards down lengthwise:
Next I sanded them like crazy.  The circular saw doesn’t leave the cleanest cut, and the boards were in pretty rough shape.  Nothing a random orbital sander couldn’t help.

Sanding boards for mirror frame
Here is a good closeup of how exactly the mirror fits in the groove.   You can see where the mirror (a $9 one I picked up at IKEA) fits into the groove of the board. And although it isn’t obvious, each side of the groove is actually shaped differently. On one side it was squared off, while the other was rounded down.  You can use either edge as the ‘front’ of the mirror frame, but just make sure you are consistent!

Channel in 2x4 for framing Mirror
I liked the square edge facing out (I thought it was closest the inspiration piece.)

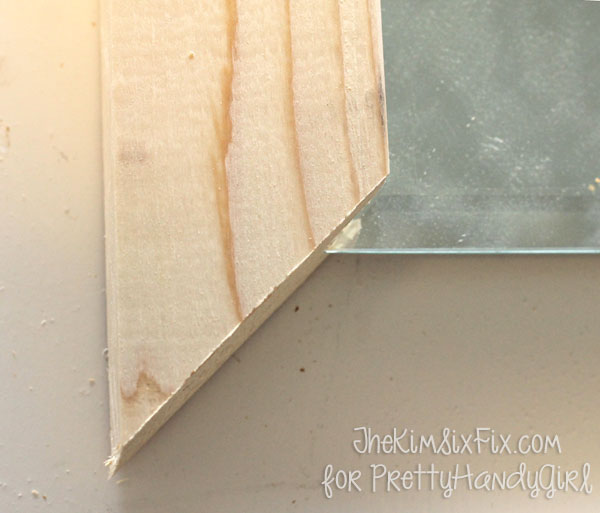
Also, be aware when measuring your mirror, that it will extend down into the mitered corner.  You can’t just measure the perimeter of the mirror and cut the frame the exact same size.   The frame will actually be slightly smaller.
Inseting mirror into frame groove

I measured by putting the mirror into the notch of the board and sliding the 45 degree pre-mitered corner down onto the perpendicular board (which should also have the mirror placed in the groove.) Where the point of the mitered board hits the perpendicular board is where you should put a mark. Then miter the second board at a 45 degree angle with the longest point hitting that mark.

Measuring and Marking Mitered frame
You want a pretty tight fit because the only thing holding the mirror into the frame will be that channel. If you cut the edges too long, the mirror will want to fall out.  Be as accurate as you can, and make sure you make plenty of dry fitting before you start the assembly process: Read more
one of the easiest pallet projects ever

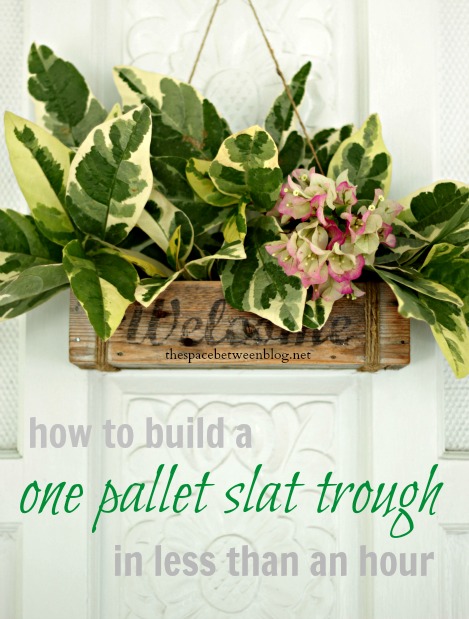
A DIY Pallet Slat Bin makes a hanging display box or centerpiece. Today on the Rockstar DIY stage is Karah, with the tutorial to make this beautiful pallet bin.

Rockstar DIY Series

If you haven’t met Karah yet, I know you’ll be fast friends. Karah blogs at the space between.

Both Karah & I love serious DIY. We both grew up in houses that were always at one stage or another of completion, which has probably heightened our ability to deal with all of the house projects we seem to always be tackling. Karah is kicking off our Rockstar DIY Series straight from the beautiful beaches of Aruba (lucky duck!) Take it away Karah!
page_break_2

Hey everyone! I’m Karah and I blog at thespacebetweenblog.net. If you’ve been a Pretty Handy Girl reader for a while you might remember me as the one who PHG was separated from in childhood.

separated-at-childhood

If we haven’t met before, hey there! Nice to e-meet you. And no, I don’t always wear matching shirts with my friends. Only when we know there are cameras close. 😉

By way of introduction, my blog is about DIY and home improvement with a focus on all things repurposed, re-invented or upcycled. The blog is also a journey through our evolving life that brings us all over as we follow my husband’s career. Which right now finds us living in Aruba (I know!), so I am also all about the super simple projects that don’t pull me away from the beach, or just staring at the view, for too long. 😉

Palm Beach Aruba rainbow

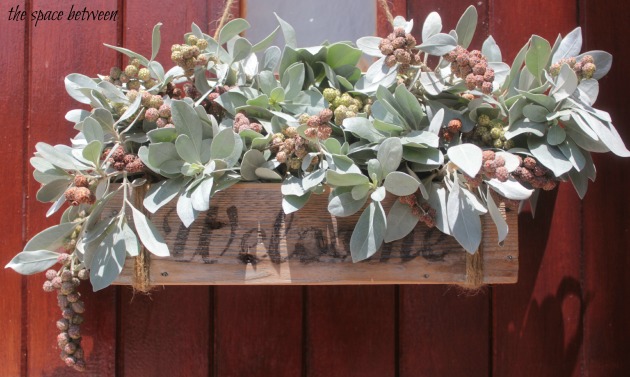
So here is an easy upcycling idea using only one pallet slat that makes a great project that you could hang on your front door, or use as part of a table arrangement or centerpiece.

welcome to fall

Project: DIY Pallet Slat Bin

Materials:

  • 1 pallet slat
  • handful of small finish nails
  • jute twine (optional)
  • 150 grit sandpaper

Tools:

  • pry bar
  • hammer
  • tape measure
  • saw

I didn’t even use any power tools to make this but you could speed up the already quick process by using a nail gun (like this one) or a miter saw (like this). (affiliate links)

Instructions:

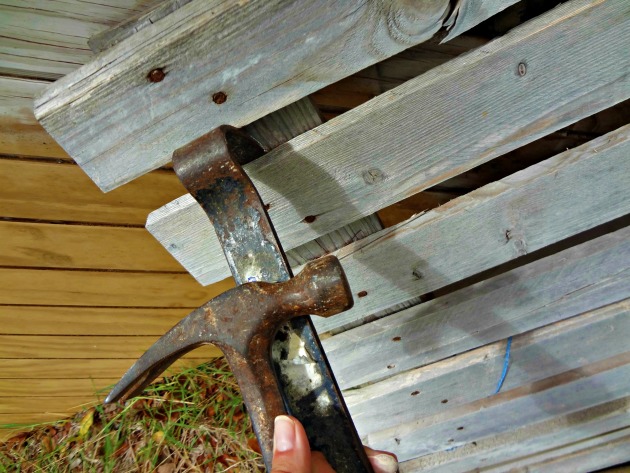
Step 1: If you’re not lucky enough to happen to have just a single pallet slat on hand use the hammer and pry bar to remove one pallet slat from a pallet.

12May wonder bar hammer pallet

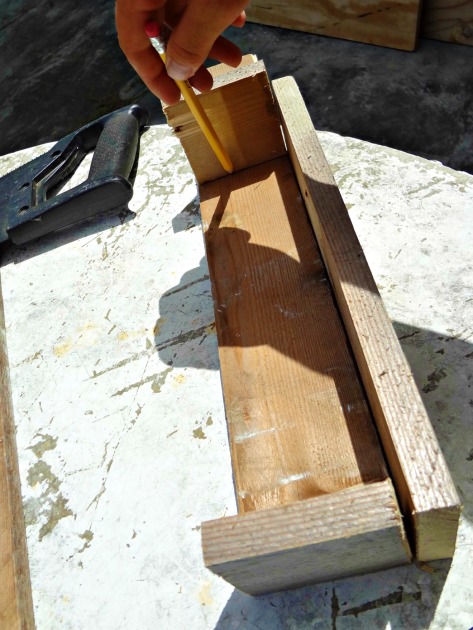
Step 2: Use your saw to cut two pieces 12 inches long (for the front and back) and two pieces 3 inches long (for each end), then put them together like this to mark where to cut the piece for the bottom.

12May cut pallet slats.jpg

Step 3: Use the hammer and nails, rusty finish nails optional, to put it all together. Read more