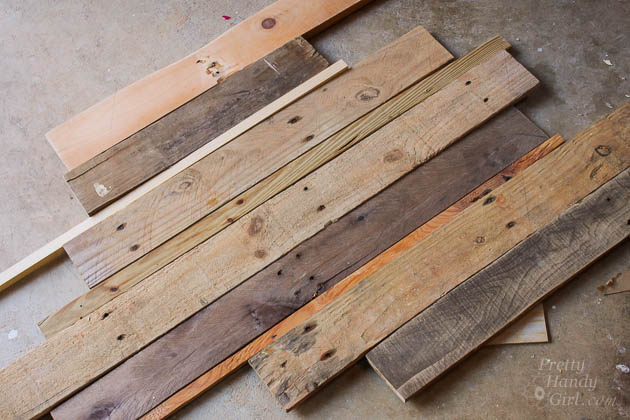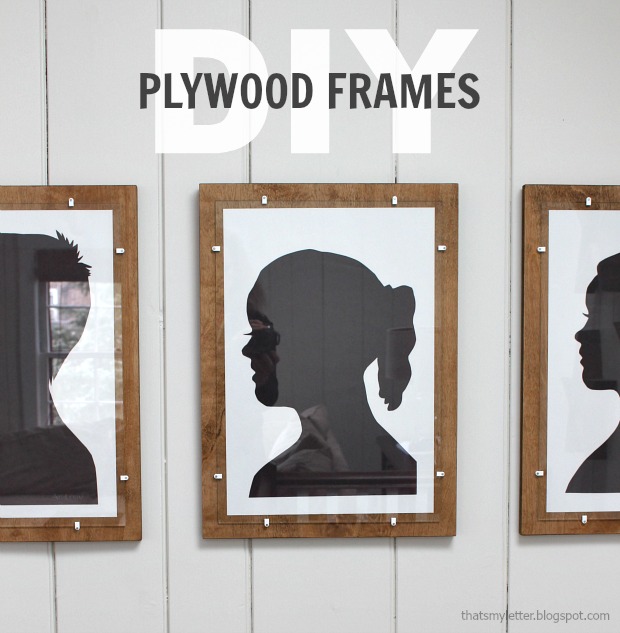
They say necessity is the motherhood of invention. Today’s project post on DIY Plywood Frames with Glass fits well with that saying. Jaime at That’s My Letter here sharing how I took scrap plywood and made it into frames for my kids’ silhouettes. Custom framing is not cheap and sometimes you have odd-sized pictures or artwork that just won’t work in a typical store bought frame. This DIY plywood frame is a great solution for those situations.
There are tons of DIY wood frame ideas out there, but the difficulty lies in actually getting glass into the frame especially if you don’t have a router. (To be honest I do have a router, but hate using it!) The solution to this problem is to place the glass on the surface and to do that I had to find clips to hold the glass in place. My first thought was mirror clips but they are rather large and deep, typical framing glass is 1/8″ thick and the mirror clips are meant to hold mirrors which are slightly thicker.
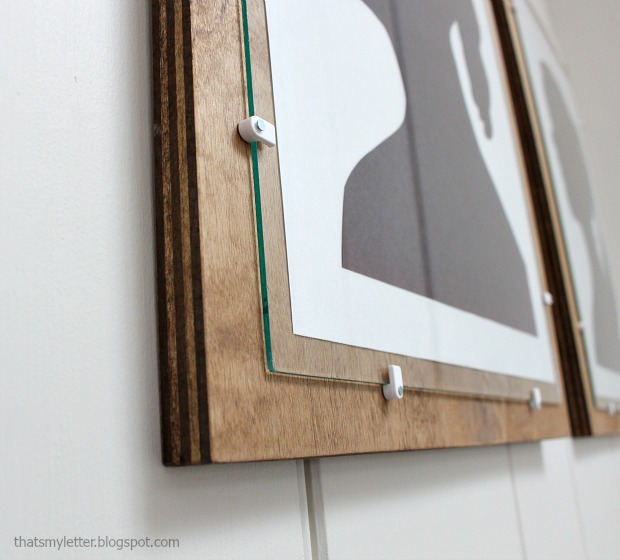
So after much perusing of the electrical aisle I decided to try low volt staples. They aren’t clear like mirror clips but they are smaller and have the proper depth for frame glass. The only issue is the small lip edge that’s meant to hold electrical wires in place:
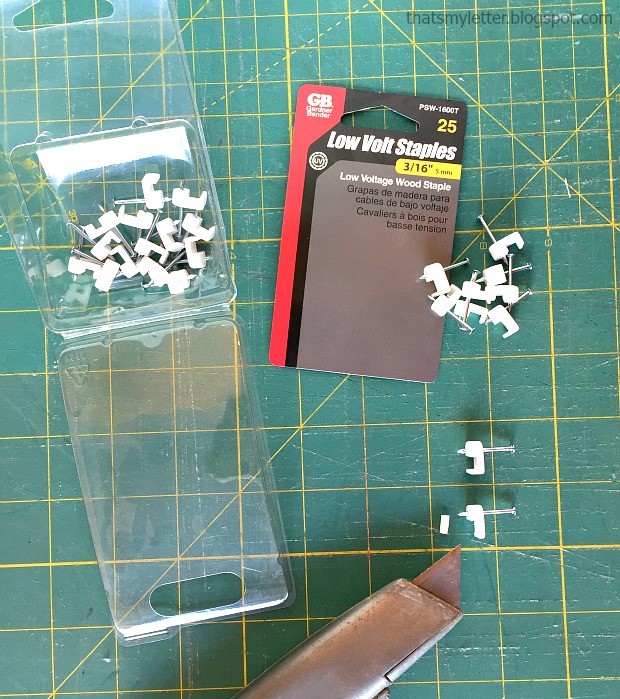
No problem. The low volt staples are plastic and I was able to easily slice off the lip edge with my utility knife! I think they come in black too if you don’t like white. You could spray paint them any fun color to highlight your artwork being framed.
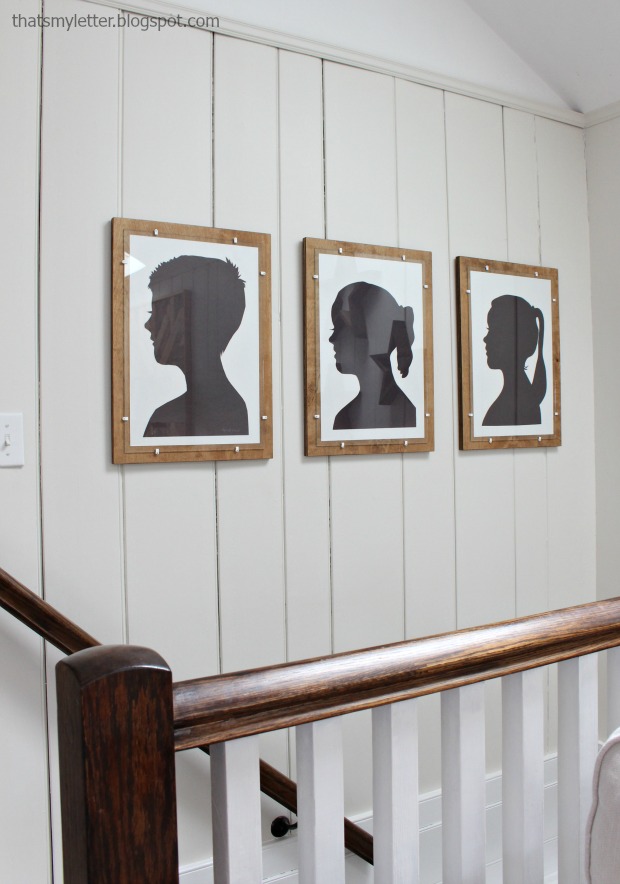
I ordered the glass in the size I needed (I paid $18 for all 3 pieces) and had the scrap plywood on hand. The low volt staples are $2 for 25 staples, so this entire project cost me just about $20. The joy on my kids’ faces when seeing their Kindergarten silhouettes hung was priceless. Below are step-by-step instructions to make plywood frames with glass.
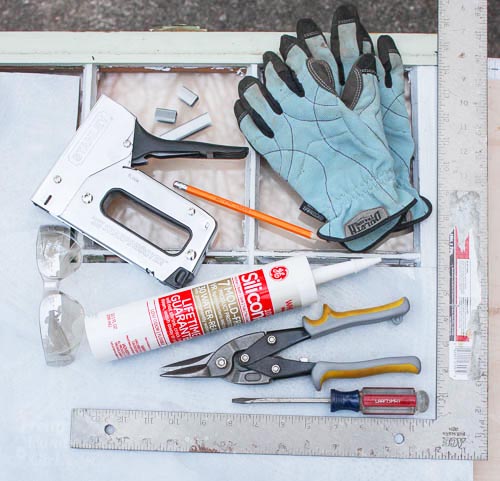
Materials:
- 3/4″ plywood (cut 1 1/2″ larger than artwork on all sides)
- 1/8″ clear glass (cut 1/2″ larger than artwork on all sides)
- 3/16″ low volt plastic staples
- wood stain
- 3/4″ wood screws
- picture hanging wire
- utility knife
- double stick tape
- measuring tape & pencil
- drill
- 1/8″ drill bit
- hammer
Instructions:
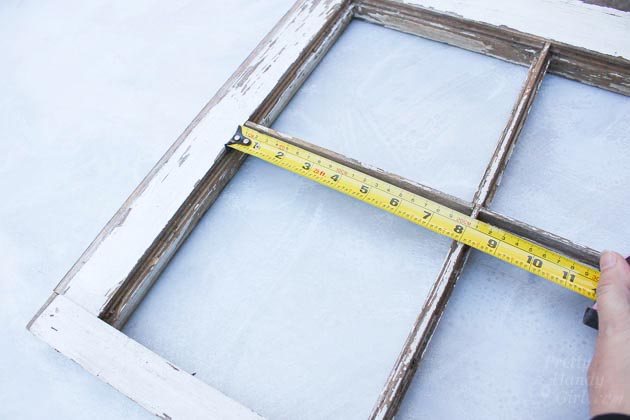
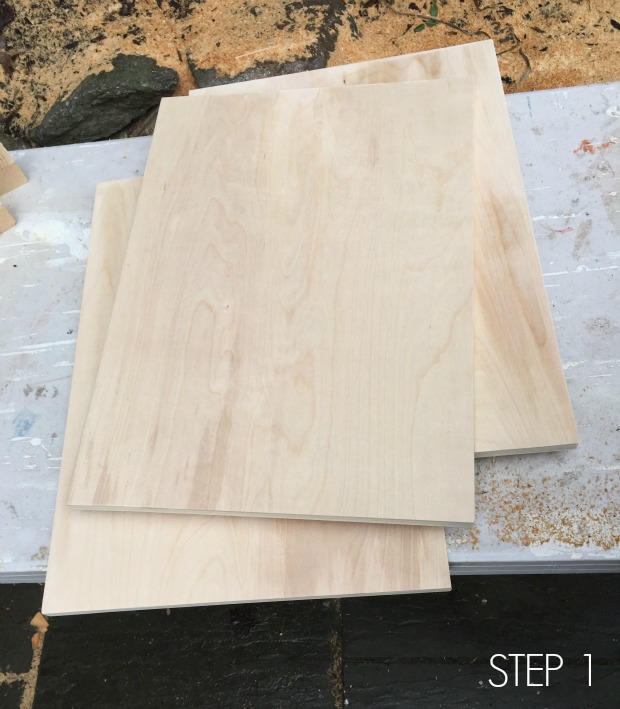
Step 1: Cut 3/4″ plywood to size. Add 1 1/2″ on all sides of artwork to create frame similar to my version above. Sand edges smooth.
Step 2: Stain frame. (I used Minwax Early American.) Let dry thoroughly. Read more