Make a Faux Stone Vase from a Recycled Bottle | Pretty Handy Girl

Make a Faux Stone Vase from a Recycled Bottle | Pretty Handy Girl

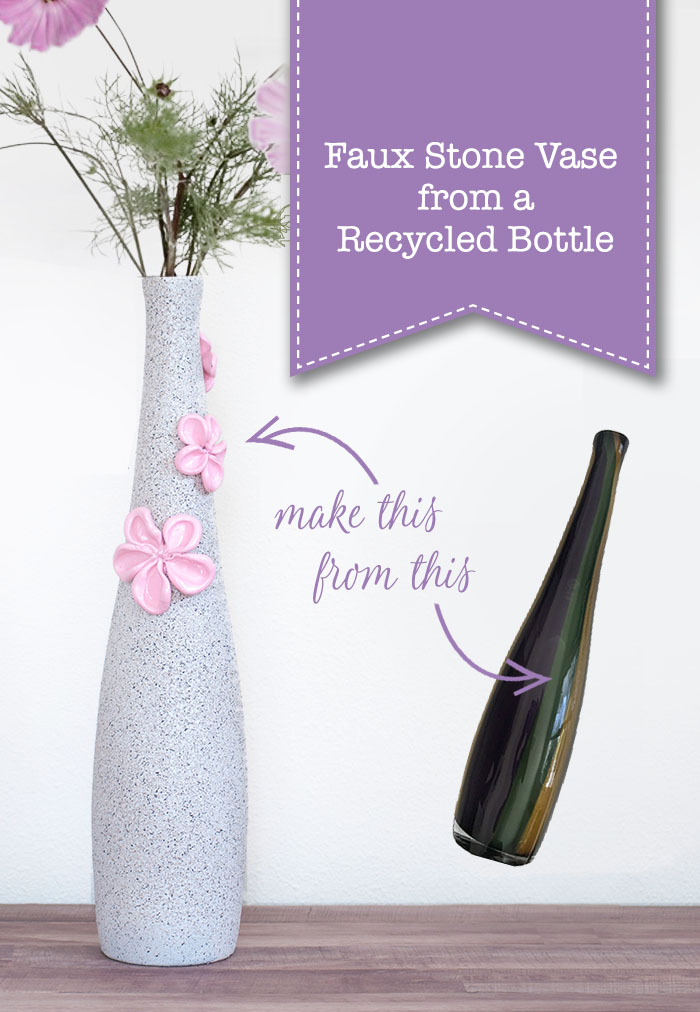
Hey, guys!! It’s Anika from Anika’s DIY Life back again with a quick and easy project. I hoard glass bottles and vases.  My garage has an entire shelf full of bottles and I love giving them fun updates like this 5 minute marbled vase and the upcycled spice bottle “wind-chime”.  Recently I turned my attention to this bottle vase and decide to make a Faux Stone Vase from a Recycled Bottle.
A quick and easy updated to an old glass vase using stone spray paint and clay flowers

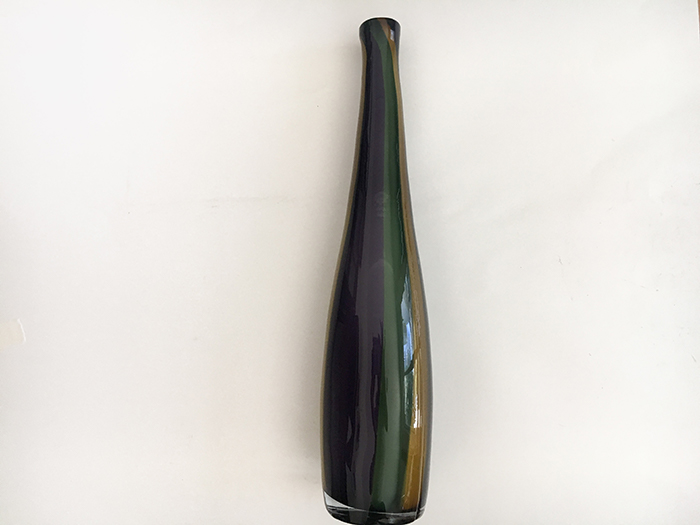
I bought the bottle vase at a yard sale about 8 years ago for $0.50. At the time, it “kind of” fit in with my decor, but over time it started to look out of place and needed an update. Nothing a little bit of spray paint and clay flowers can’t fix. Want to see how to create your own Faux Stone Vase from a Recycled Bottle with 3-D Clay Flowers?

Materials:

(I’ve included affiliate links for your convenience. I earn a small percentage from a purchase using these links. There is no additional cost to you. You can read more about affiliate links here.)

Instructions:

Step 1 – Use rubbing alcohol or lemon oil to remove any sticker residue. Clean the vase well with soapy warm water to remove any old dirt and grime.

Step 2 – Give the bottle a couple coats of spray primer. Allow to dry.  Coat the bottle with a few layers of stone spray paint. (Tip: when using the stone spray paint, use quick short bursts. This gives the best coverage and texture.)
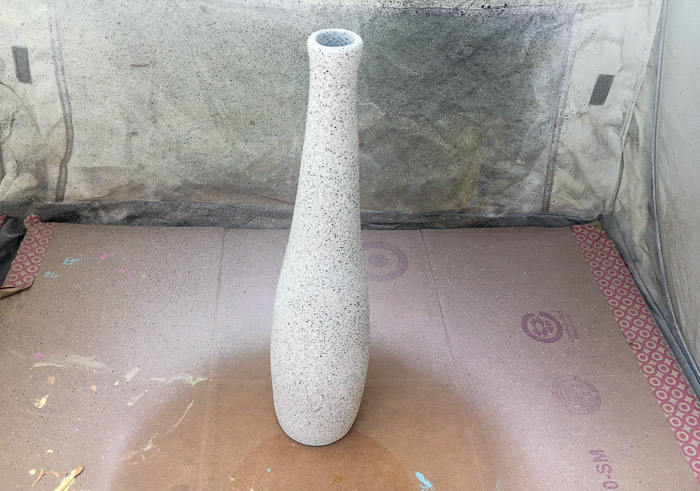
Recycled glass vase with stone spray paint and clay flowers

Step 3 – Mold the oven bake clay into flower shapes. You can make flower petals by rolling a ball, then press it between your fingers into shape.
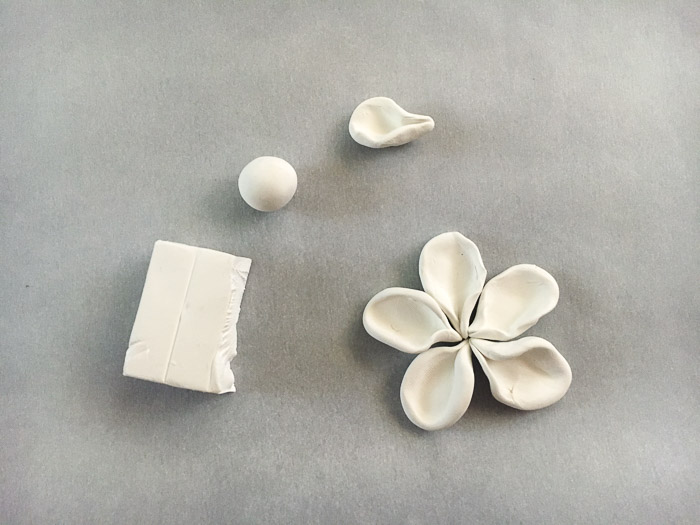
Recycled glass vase with stone spray paint and clay flowers

Step 4 – Bake flower petals in the oven per manufacturer instructions. After they cool, spray paint them to your desired color (or leave them the color of your clay.)
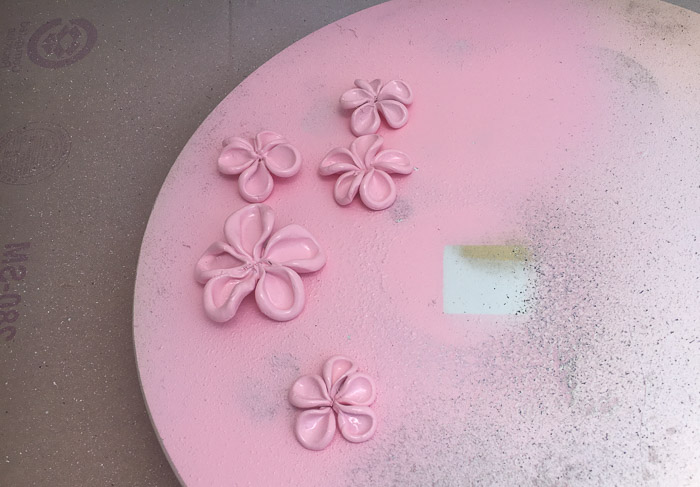
Recycled glass vase with stone spray paint and clay flowers

Step 5 – Glue the flowers onto the vase using hot glue.
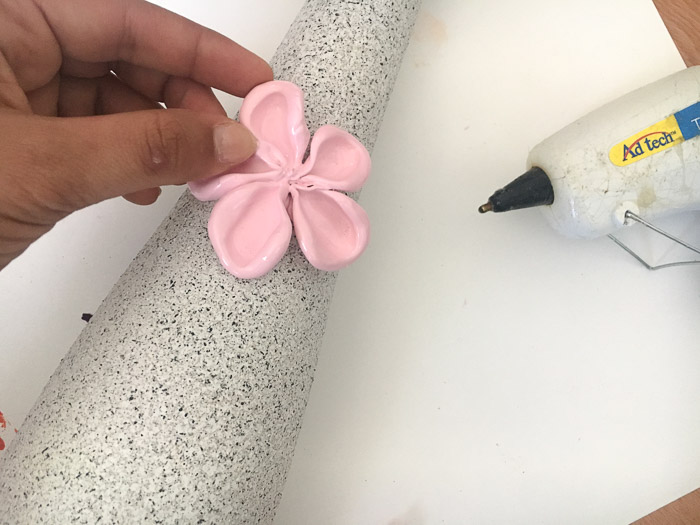
Recycled glass vase with stone spray paint and clay flowers

What do you think of the Faux Stone Vase from aRecycled Bottle? That’s a big change. I love the texture of stone and the chic vibe of the pink flowers!
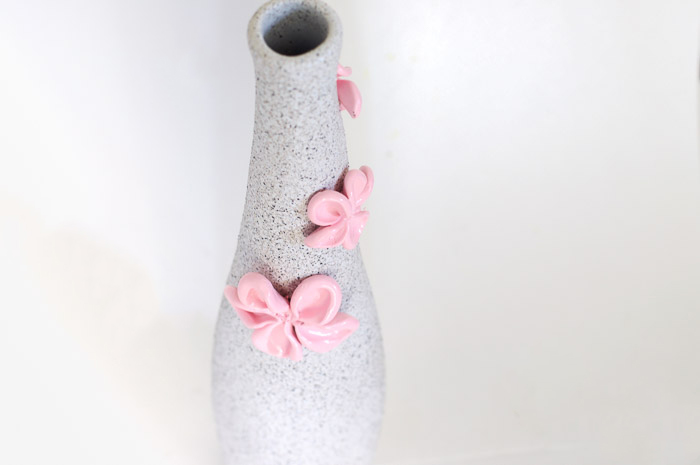
Recycled glass vase with stone spray paint and clay flowers

If you like hoarding recycled glass jars and bottles, you’ll love these 20 upcycled bottle and jar ideas:
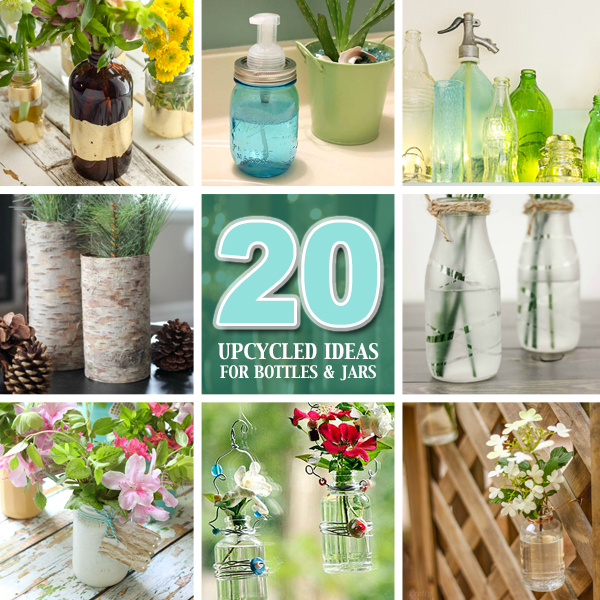
20 Upcycled Ideas for Recycled Glass Jars and Bottles | Pretty Handy Girl

Until next time,

Read More of Anika’s Tutorials ~
 

20 Upcycled Ideas for Recycled Glass Jars and Bottles | Pretty Handy Girl

I have a hard time throwing away glass bottles and jars. Even though I recycle glass, I see amazing potential for those pretty glasses and jars. With that confession out of the way, I have 20 Upcycled Recycled Glass Crafts to share with you today.

Painted recycled glass jars and bottles give them a colorful new look. Luckily, you aren’t restricted to just one type of paint. Available options are chalk paint, glass frosting paint, even straight latex paint will work if you prime your surface first. Here are a few ways to paint recycled glass jars and bottles:

Farmhouse Painted (chalk like paint) Jar Vases | Pretty Handy Girl

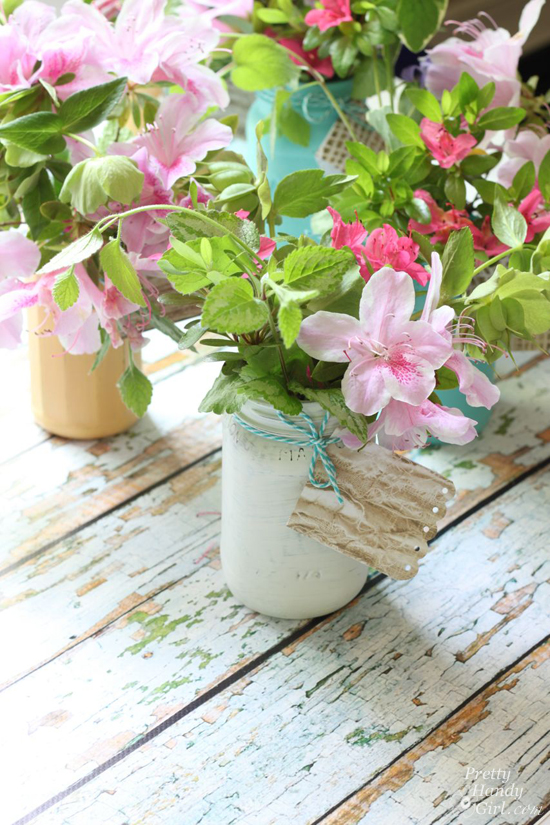
Shabby Chic Chalk Painted Vases

Radiant Orchid Vases from Recycled Cans & Jars | #upcycling | Pretty Handy Girl

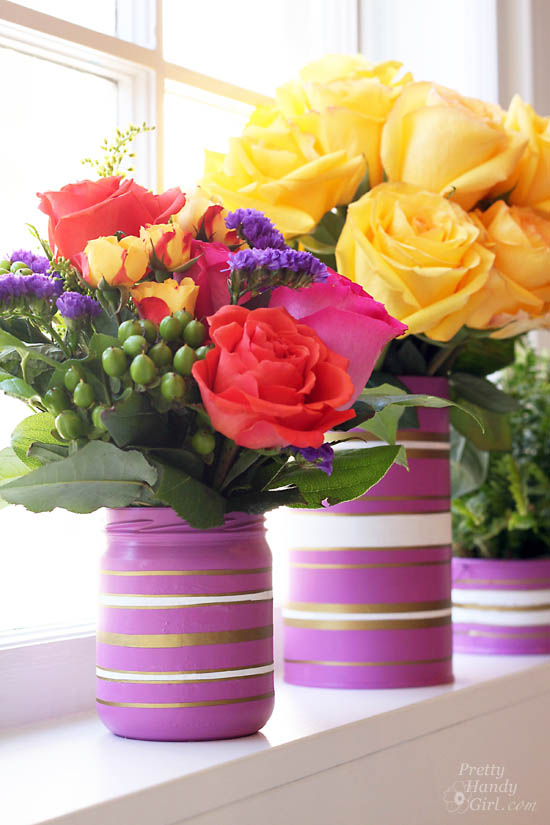
Paint and Gold Striped Vases


Spraypainted Bottle Vases

Spray Painted Recycled Bottles


Frosted and etched bottles can give a classy look to your recycled bottles. Try one of these techniques to transform your recyclables into collectible vases or dispensers:

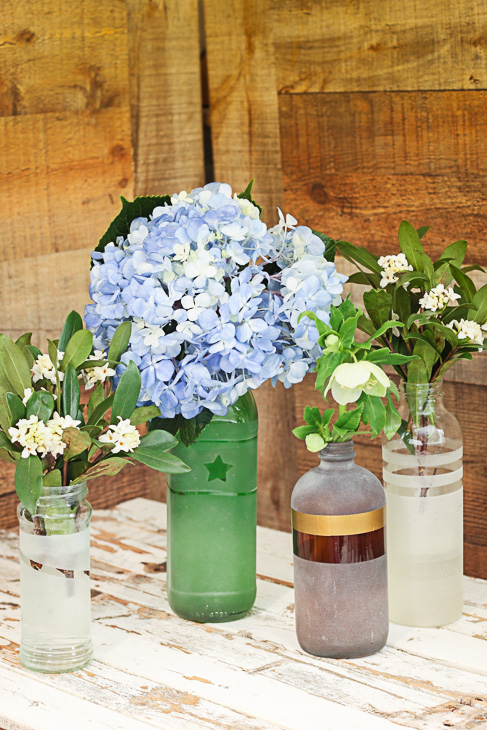
Frosted Vases from the Recycling Bin | Pretty Handy GirlGlass Frosting Spray Painted Bottles


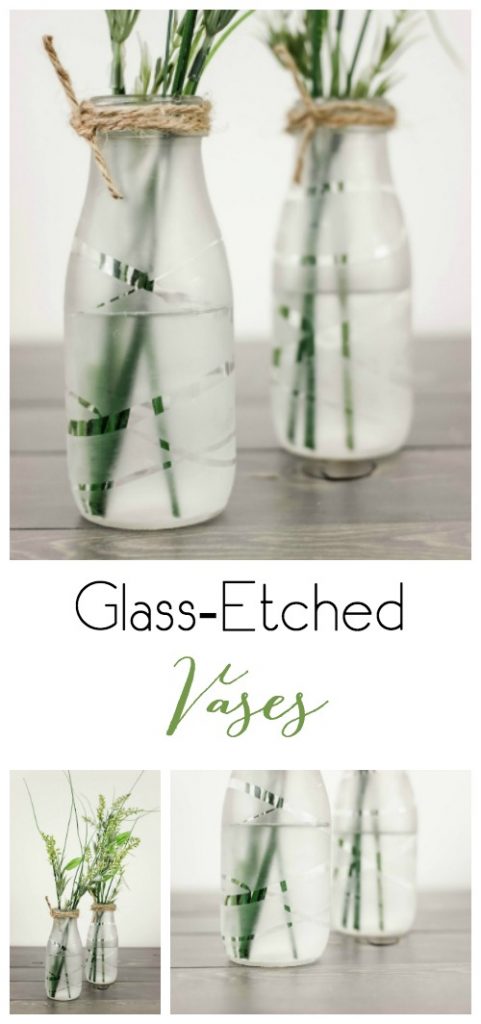
Upcycle some old milk bottles or glass containers into these beautiful and chic Glass Etched Vases!

Etched Vases using Etching Cream


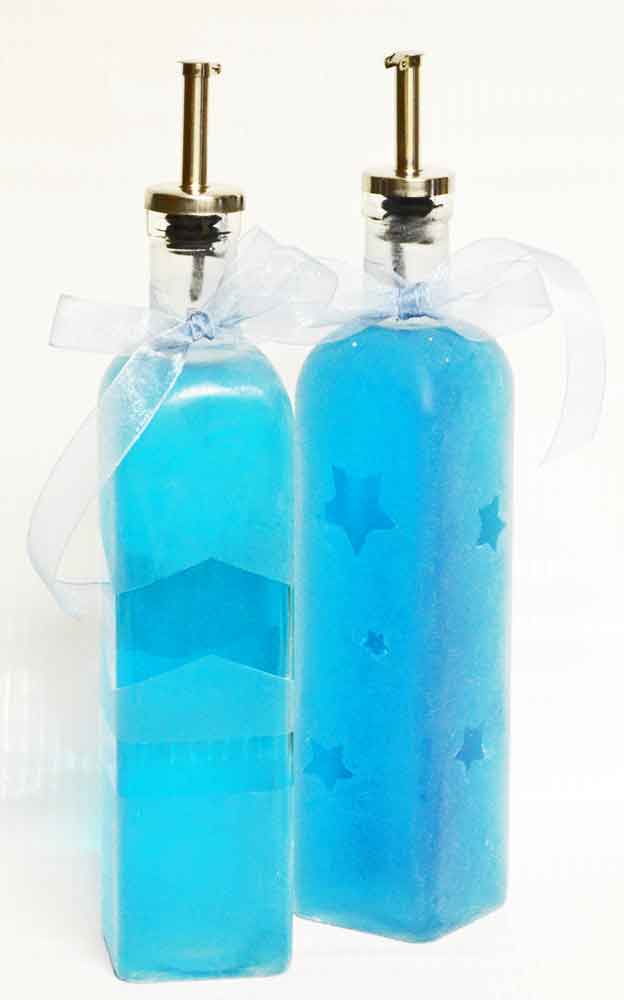
Faux Etched Soap Dispenser

Faux Etched Soap Dispenser


It’s amazing how easy it is to transform regular recycled glass with a few embellishments. Use paper, beads, wires, washi tape, glitter and more to make a recyclable a collectible!

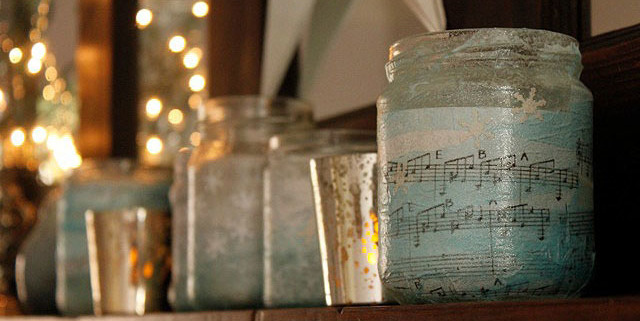
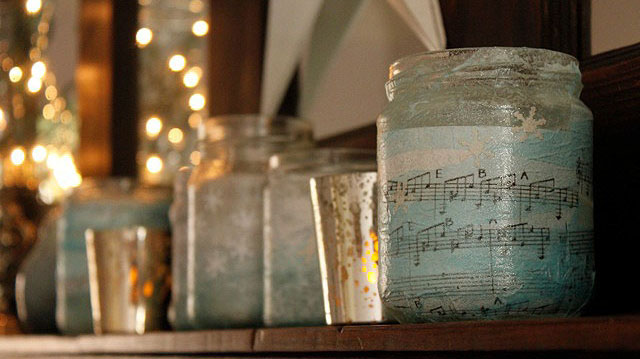
Holiday Votive Holders


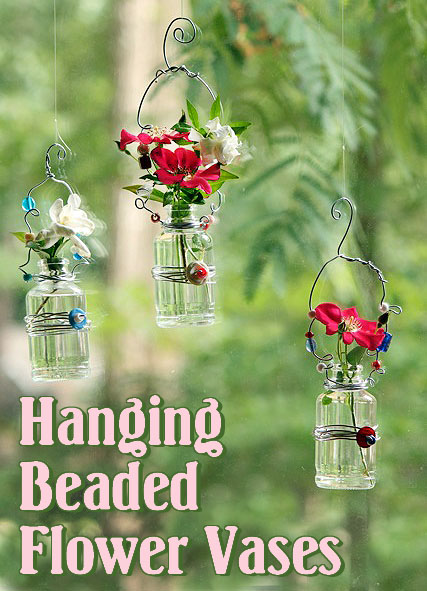
Hanging Beaded Vases


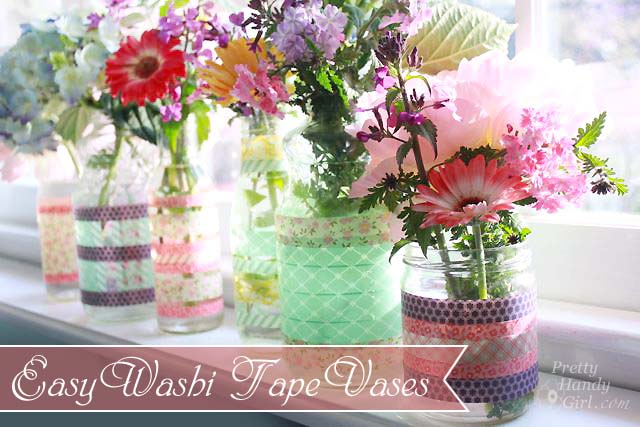
Easy Washi Tape Vases

Washi Tape Decorated Jars and Bottles


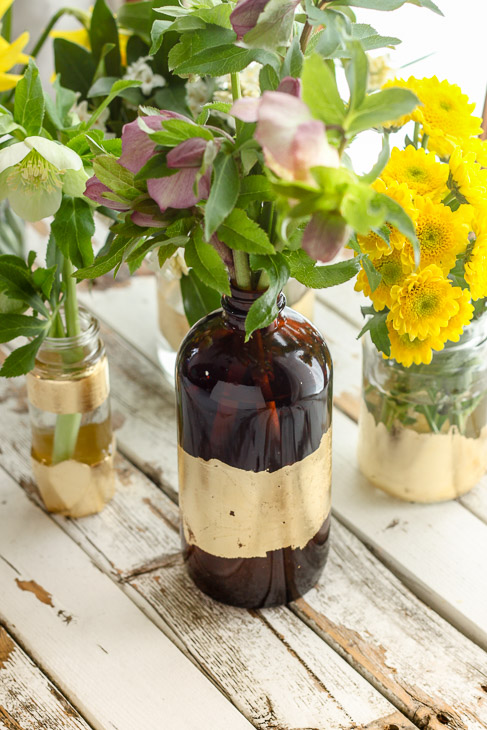
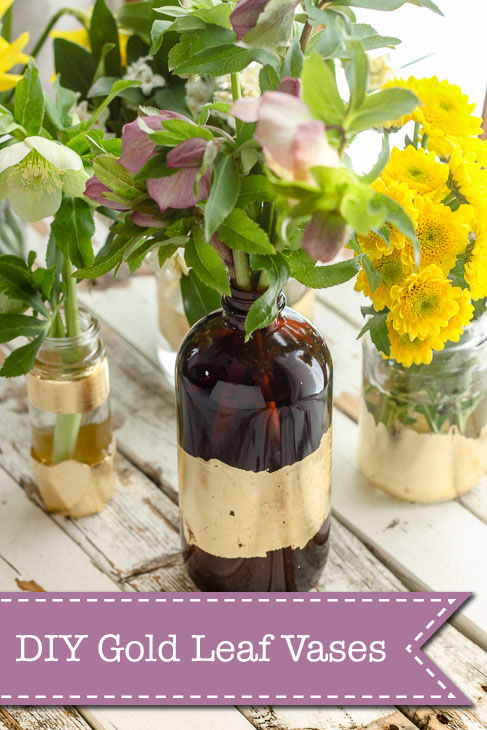
DIY Gold Leaf Vases from Recycled Bottles | Pretty Handy Girl

Gold Leaf Vases


Sometimes you can reuse those glass jars and vases to create a vase out of an object that otherwise isn’t water tight. Check out these fun ideas:

Spring Foyer Vignette | Pretty Handy Girl

Spring Showers Boot Vase


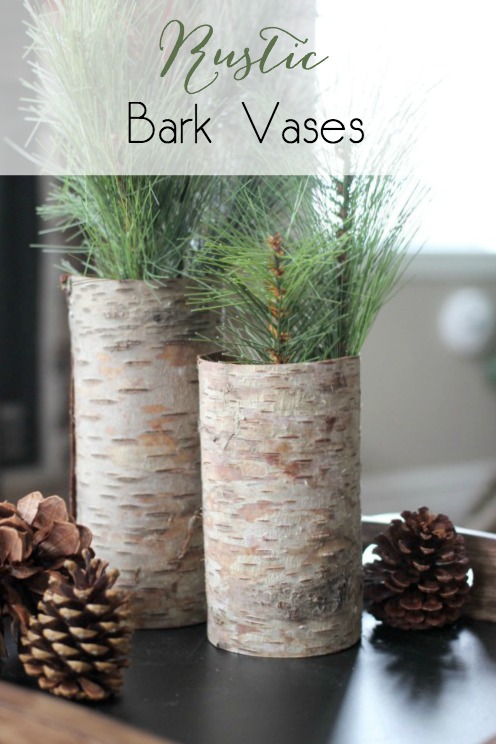
Beautiful rustic DIY decor for any room in your home!

Birch Bark Vases


Pounded Flower Paper Vase


Fake Flower Arranging

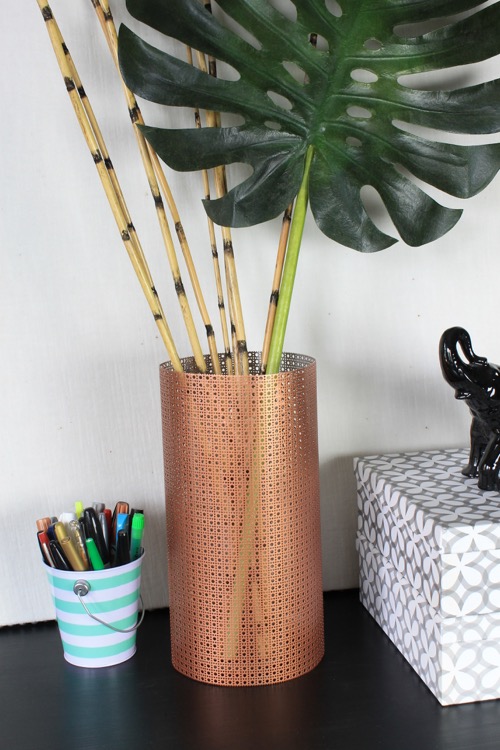
DIY Copper Sheet Metal Vase

Ready to break out the power tools? If you dare, you can transform recycled wine bottles and mason jars into something new and unique:

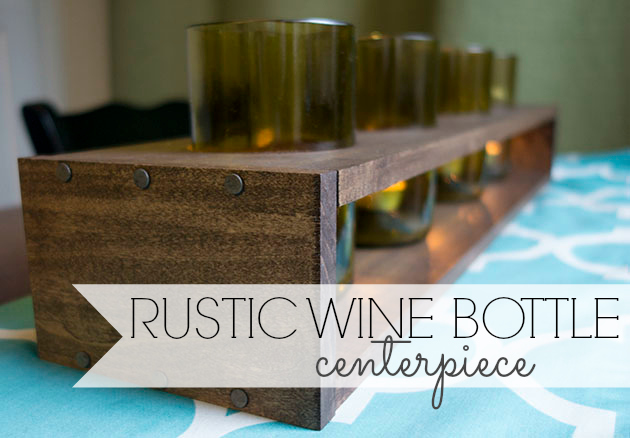
Wine Bottle Centerpiece


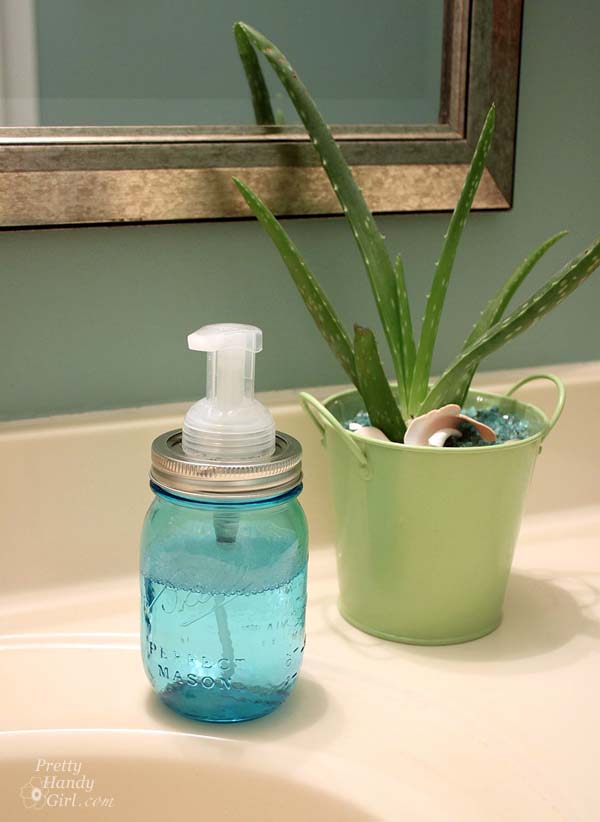
DIY Foaming Soap Dispenser


Sometimes a recycled jar or bottle doesn’t need anything but a beautiful spot to be displayed. You’ll love how easy it is to upcycle these recycled glass bottles:

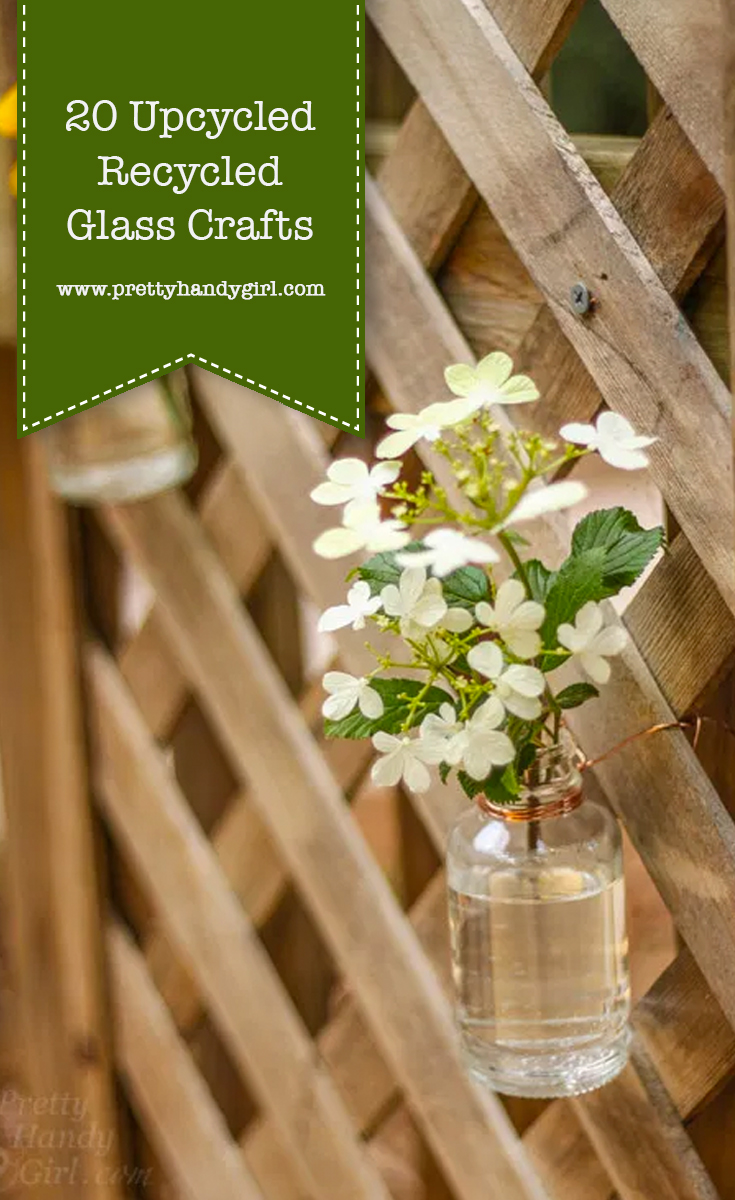
Create a Living Wall Lattice Privacy Screen | Pretty Handy Girl

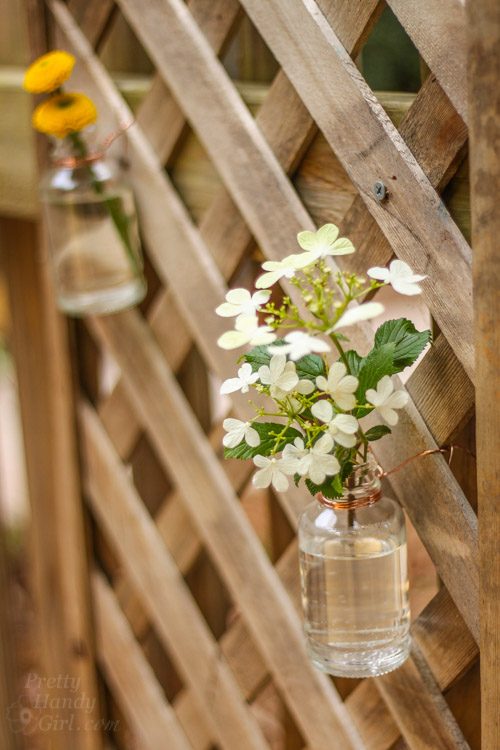
Living Trellis Screen


Vintage Coat Hook Wall Vase | Pretty Handy Girl Guest Post

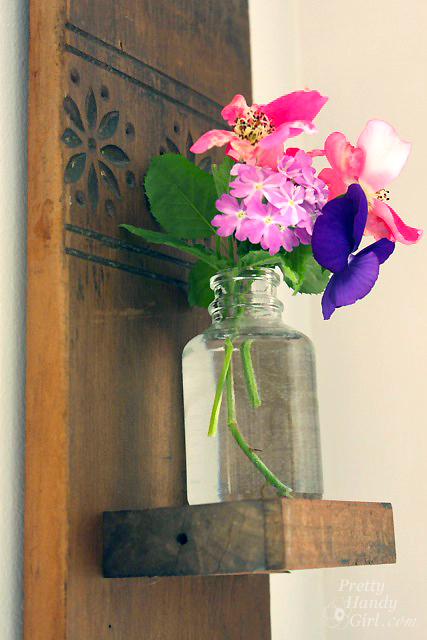
Wall Sconce Vase


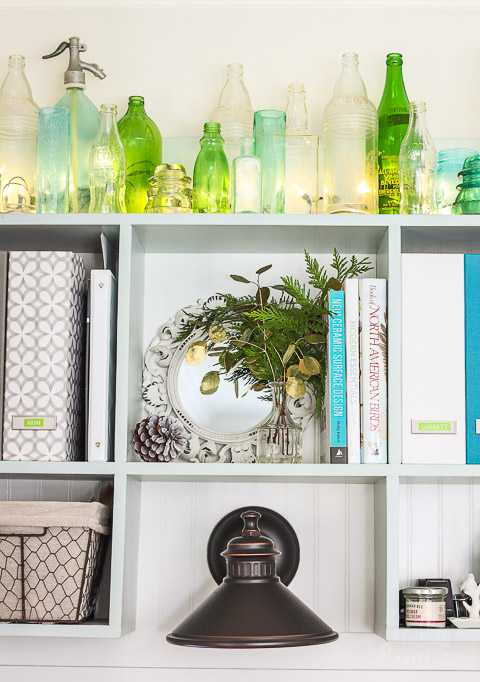
Holiday Home Tour - Kitchen | Pretty Handy Girl

Colorful Mini Light Lit Bottles


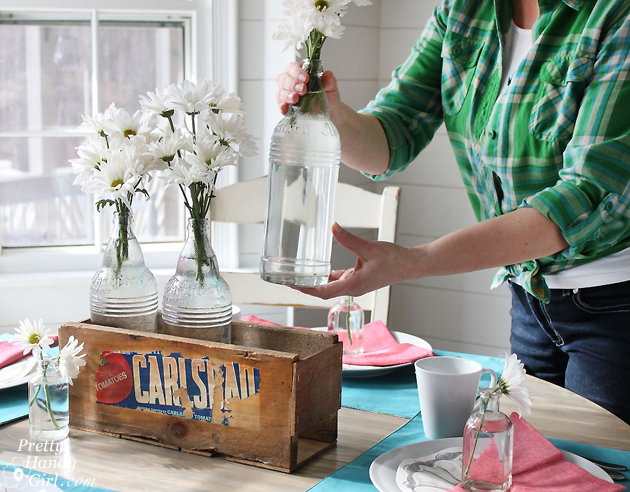
How to Build a Rustic Crate Centerpiece (No Power Tools Needed!) #DIYCourage | Pretty Handy Girl

Easy No Power Tool Table Centerpiece

Tell me, will you ever look at those recycled jars or bottles the same way again? I thought not. 😉


Pin for later!

20 Upcycled Recycled Glass Crafts | Pretty Handy Girl

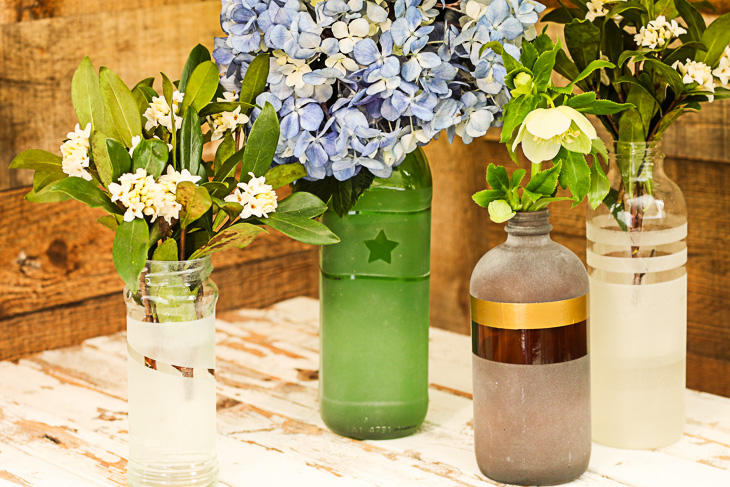
Frosted Vases from the Recycling Bin | Pretty Handy Girl

Frosted Vases from the Recycling Bin | Pretty Handy Girl

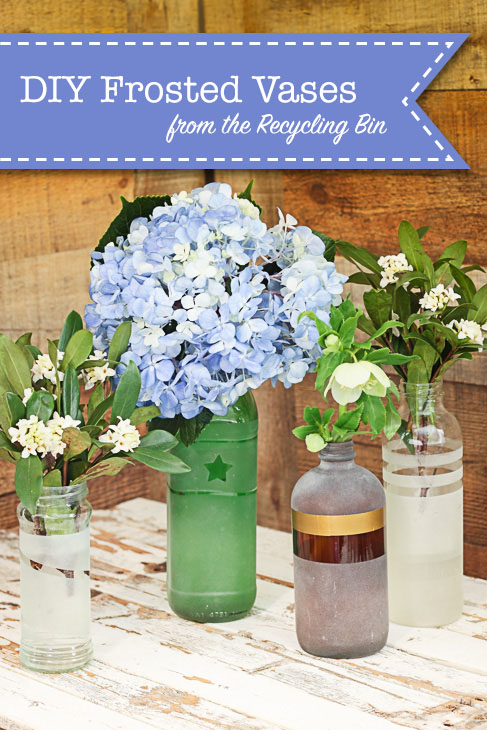
I love a good upcycle project, especially when it involves recycled bottles and jars. Now that Spring is here, I love cutting fresh flowers from the yard to give to friends and family. Giving flowers in a handmade vase is always a nice way to show someone they are appreciated. With that in mind, today I have a tutorial to make these adorable Frosted Glass Vases from the Recycling Bin!

Frosted Vases from the Recycling Bin | Pretty Handy Girl

Ready to get started? Here’s a few things you’ll need.

Materials:

(I’ve included affiliate links for your convenience. I earn a small percentage from a purchase using these links. There is no additional cost to you. You can read more about affiliate links here.)

Optional: 

Preparing Recycled Jars and Bottles:

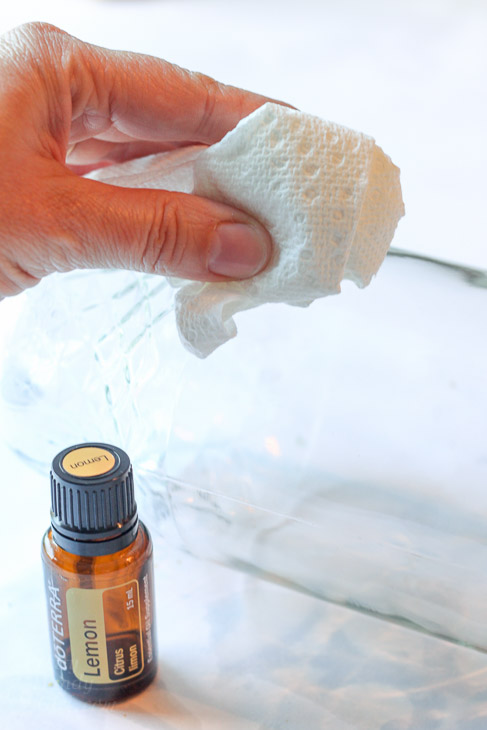
Clean out your bottles and jars with soap and water. Soak them to remove the labels. Any gummy label residue can be removed with Lemon Essential oil (my favorite non-toxic glue residue remover).

DIY Gold Leaf Vases from Recycled Bottles | Pretty Handy Girl

The lemon oil works faster and doesn’t leave any toxic or drying chemicals on your skin. But, if you don’t have any lemon essential oil on hand, use Goo Gone or rubbing alcohol (be sure to wear gloves or wash your hands immediately after use.)

DIY Gold Leaf Vases from Recycled Bottles | Pretty Handy Girl

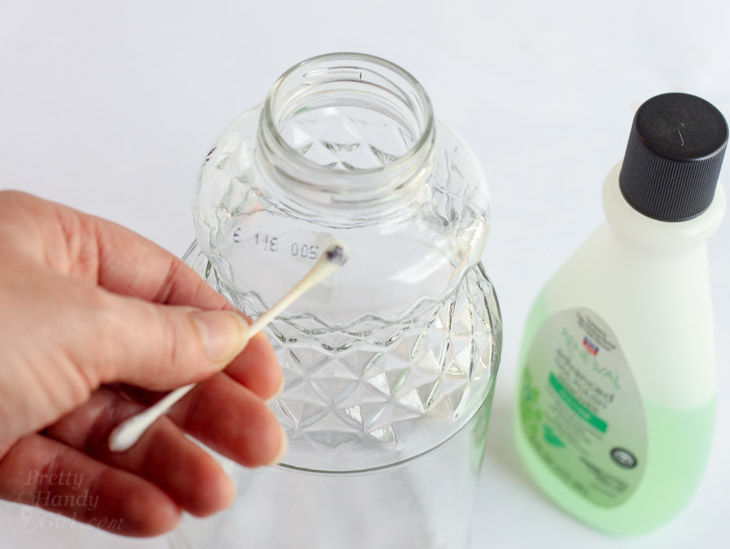
If there are any date stamps on your bottle, you can remove it with a Q-tip and Acetone based Nail Polish.

Instructions:

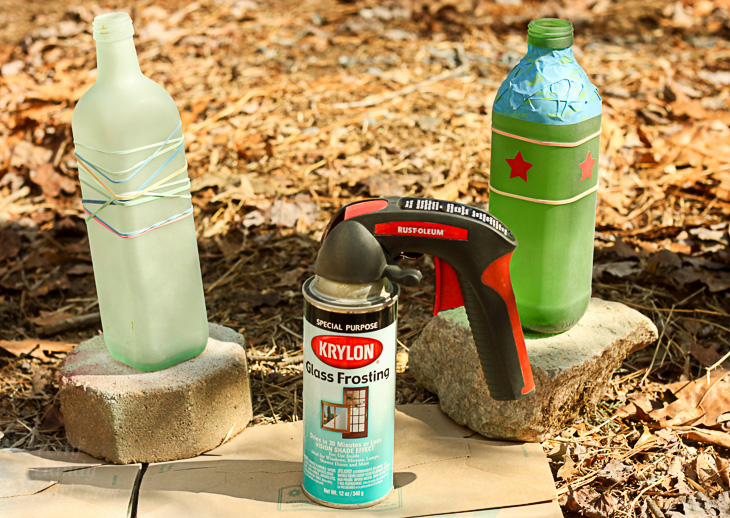
Wrap your bottle with rubber bands, painter’s tape or stickers. Anywhere that is covered on your bottle will remain clear.

Frosted Vases from the Recycling Bin | Pretty Handy Girl

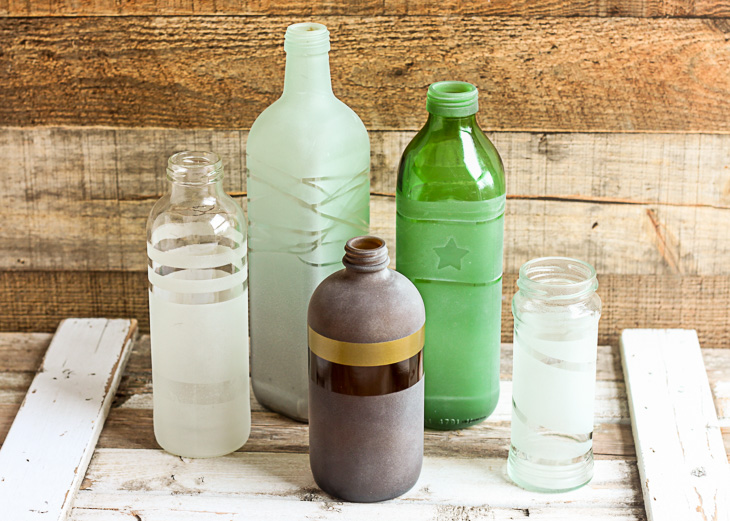
Spray a light coat of Glass Frosting spray paint on your bottles. Let dry and repeat with one to two more coats.

Frosted Vases from the Recycling Bin | Pretty Handy Girl

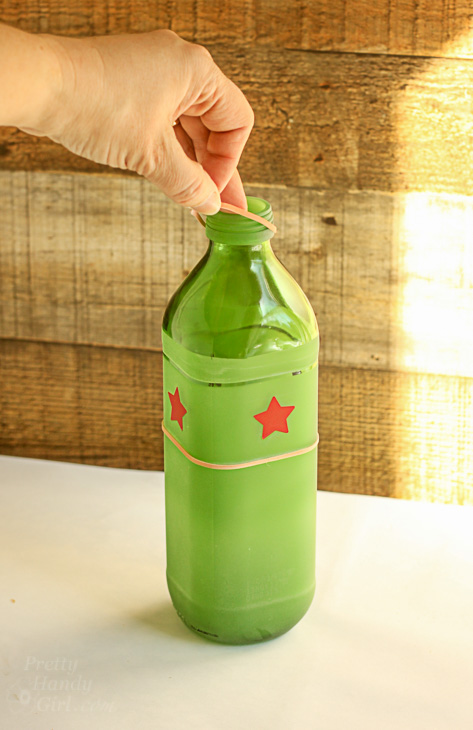
After the spray frosting has thoroughly dried, remove the stickers, tape or rubber bands to reveal your design.

Frosted Vases from the Recycling Bin | Pretty Handy Girl

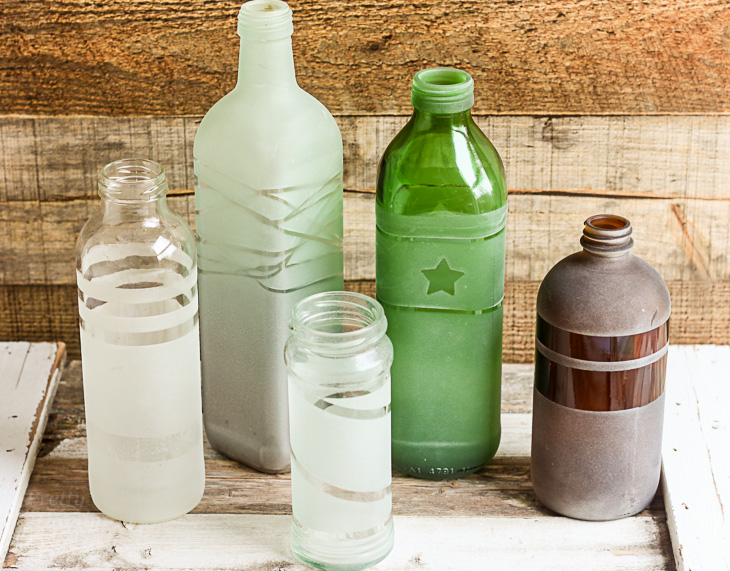
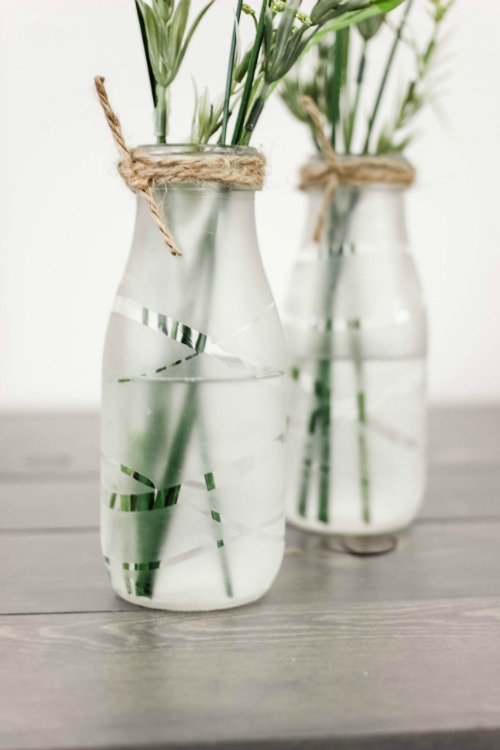
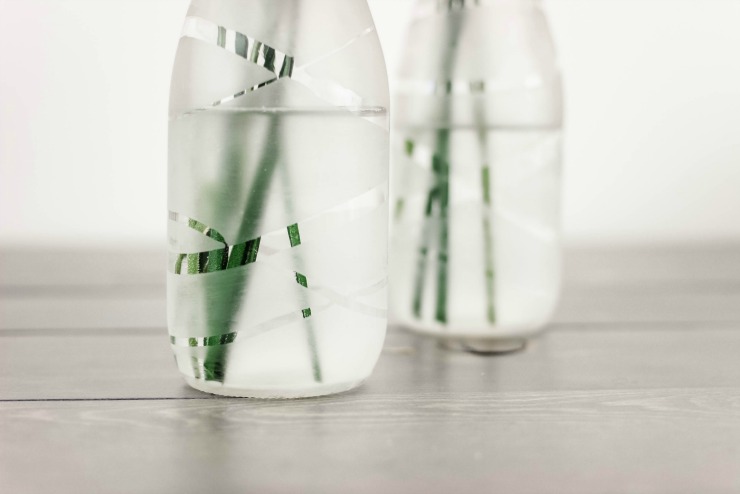
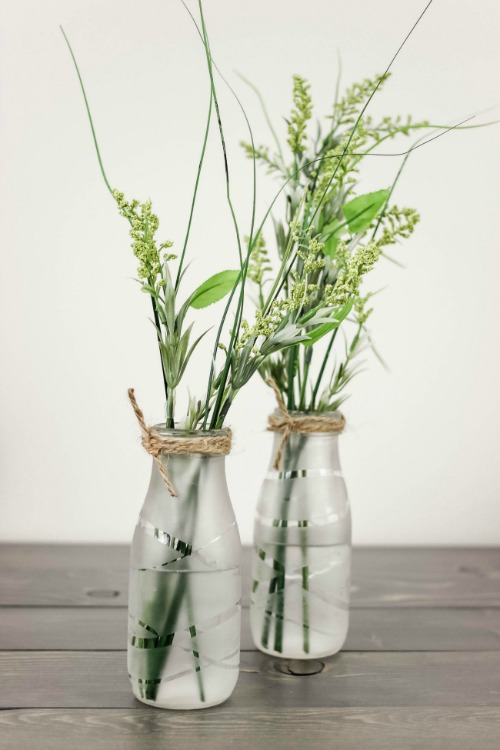
Aren’t these beautiful Frosted Glass Vases from the Recycling Bin? It’s lots of fun to play with different patterns and textures on your bottles.

Frosted Vases from the Recycling Bin | Pretty Handy Girl

You can also add washi tape to your frosted vases for more variety.

Frosted Vases from the Recycling Bin | Pretty Handy Girl
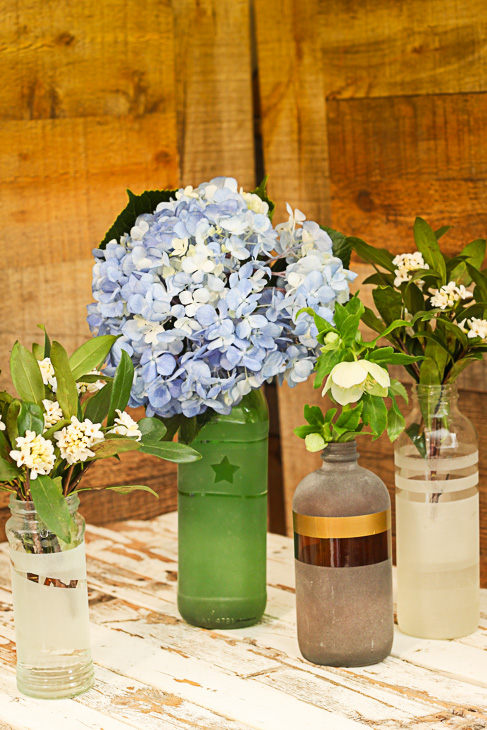
Fill the vases with water and flowers and you are ready to give them as gifts.

Unfortunately the frosted glass vases aren’t dishwasher proof. Frankly even a light washing will probably remove the glass frosting. But, they make quick and easy gift vases to make in a few minutes for next to nothing. If you want a more permanently frosted vase, try these DIY Glass Etched Vases:

Upcycle some old milk bottles or glass containers into these beautiful and chic Glass Etched Vases!

Want to try another easy upcycled craft? You’ll love these easy DIY Gold Leaf Vases:

DIY Gold Leaf Vases from Recycled Bottles | Pretty Handy Girl

Enjoy and be sure to raid your recycling bin more often!

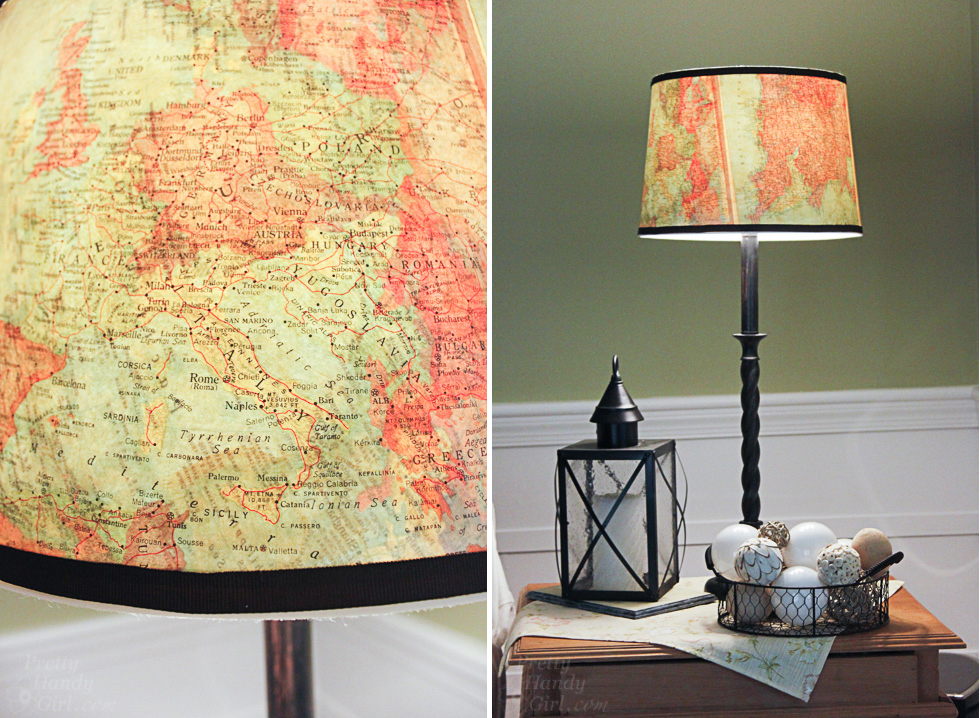
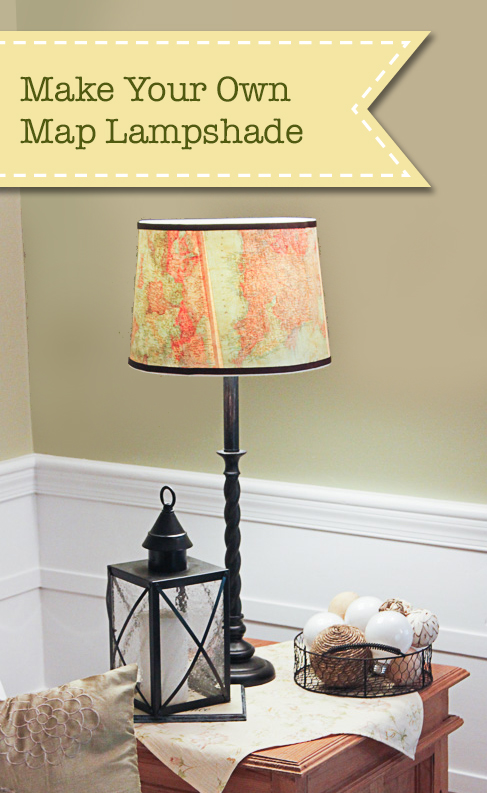
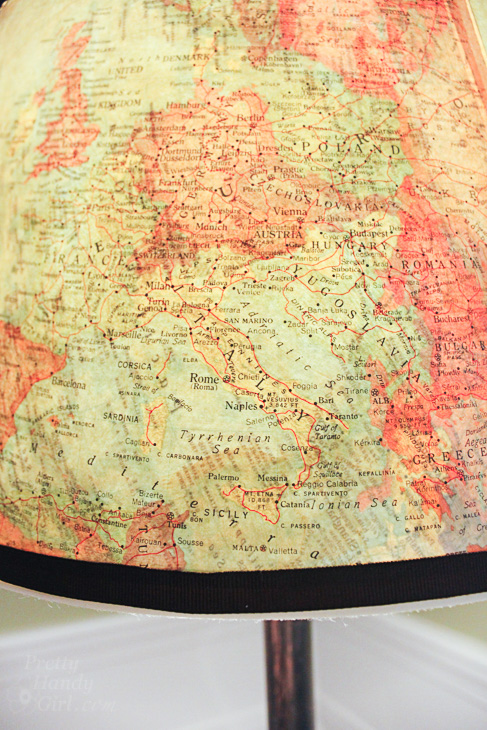
Vintage Map Lampshade | Pretty Handy Girl

Vintage Map Lampshade | Pretty Handy Girl
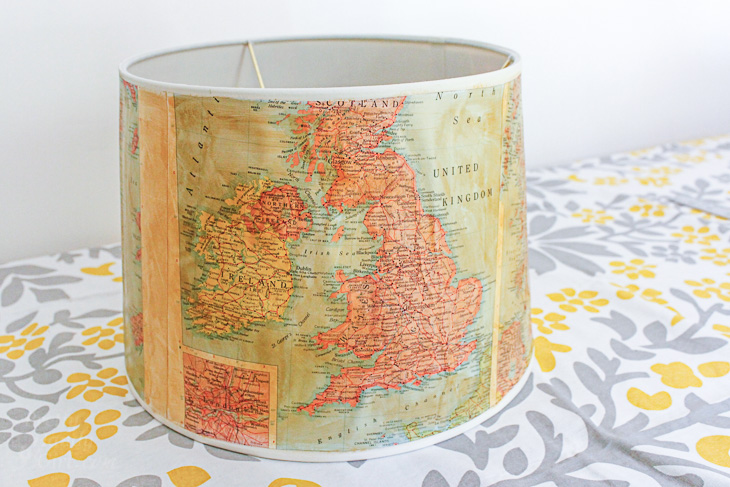
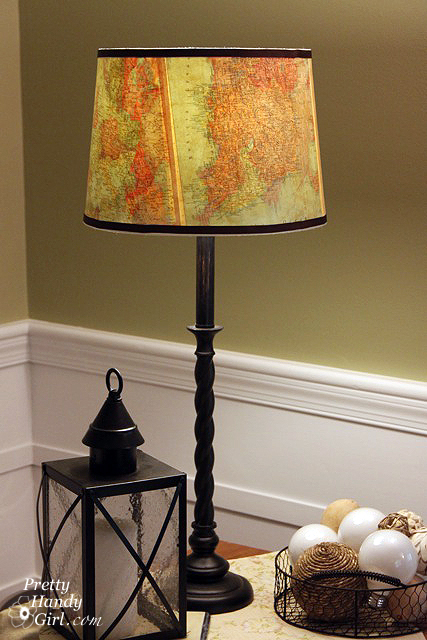
Do you want to update a plain vanilla lamp shade? Do you have a vacation you want to remember? You can do both with this vintage map lampshade!

The process to create a Vintage Map Lampshade is easy, especially if your lamp shade is close to a perfect cylinder. But, what do you do when you have a cone shaped shade? The instructions are a little more complicated, but I can show you how.

Pull up a seat and I’ll show you how to create a cool decorated lampshade. (Keep in mind you don’t have to use maps. You could use wallpaper, fabric, a poster, or anything you want!) Let’s do this.

Vintage Map Lampshade | Pretty Handy Girl

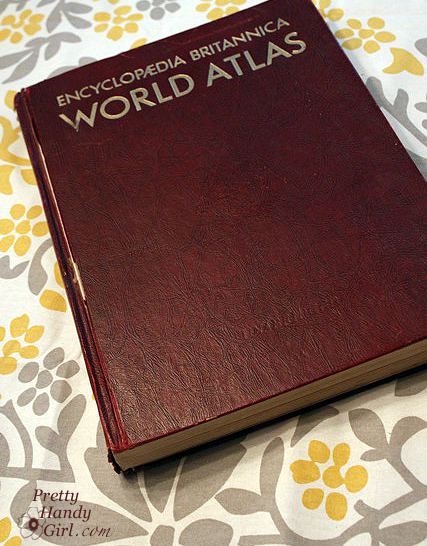
During a trip to my local thrift store, I discovered an old atlas and knew I could use it for oodles of projects. As I walked out of the store a flood of ideas came to me. One of them was to make a Vintage Map Lampshade.

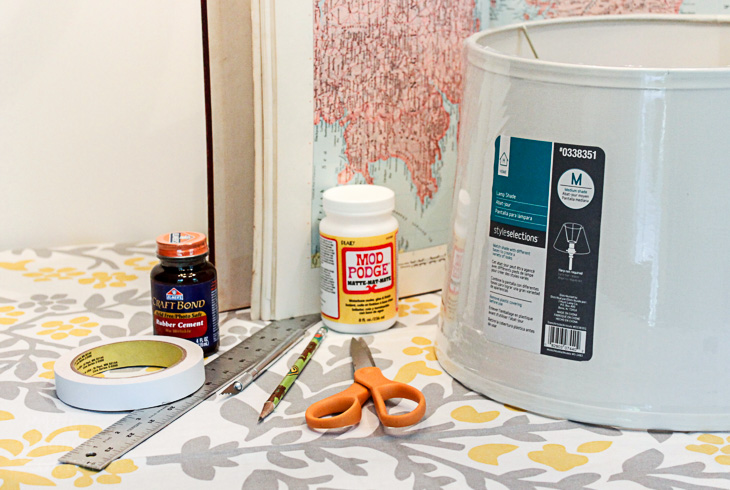
Materials:

(I’ve included affiliate links for your convenience. I earn a small percentage from a purchase using these links. There is no additional cost to you. You can read more about affiliate links here.)

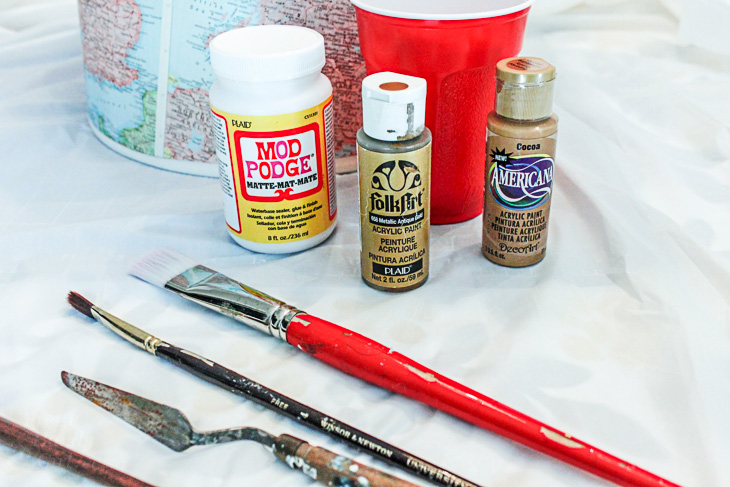
To add a vintage glaze you will also need:


Instructions:

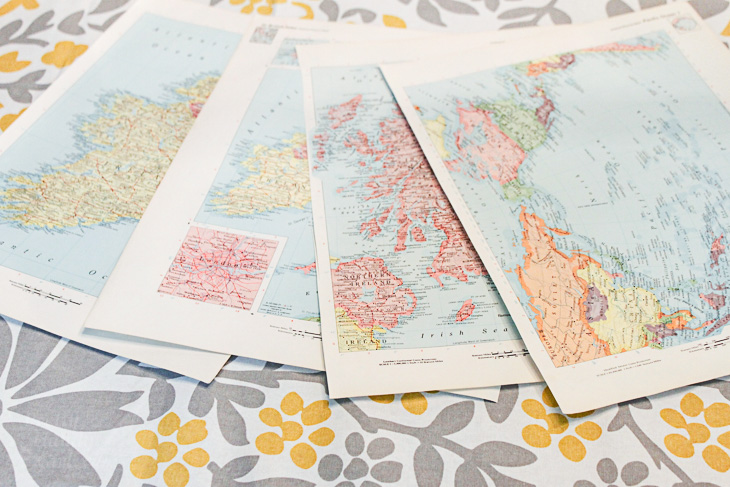
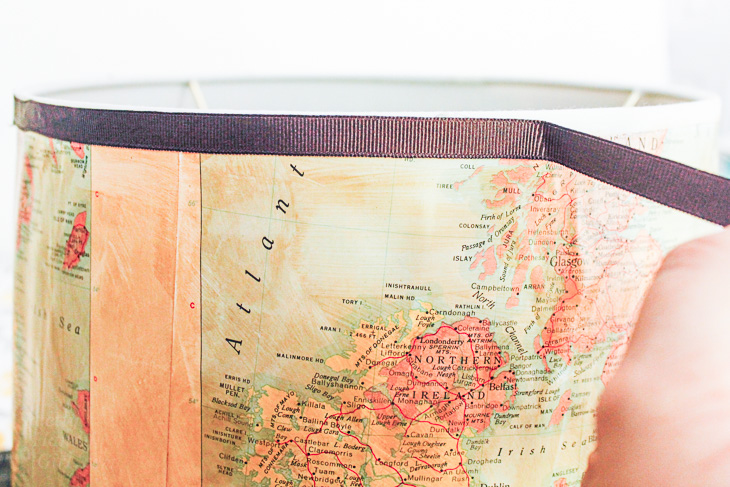
Start by selecting the maps or paper you want to use. Carefully cut them out along the spine using a fresh x-acto blade — don’t let your blade get dull. (I use a new one for each project. Your cuts are much cleaner when working with a fresh blade.)

Set your pages aside for now.

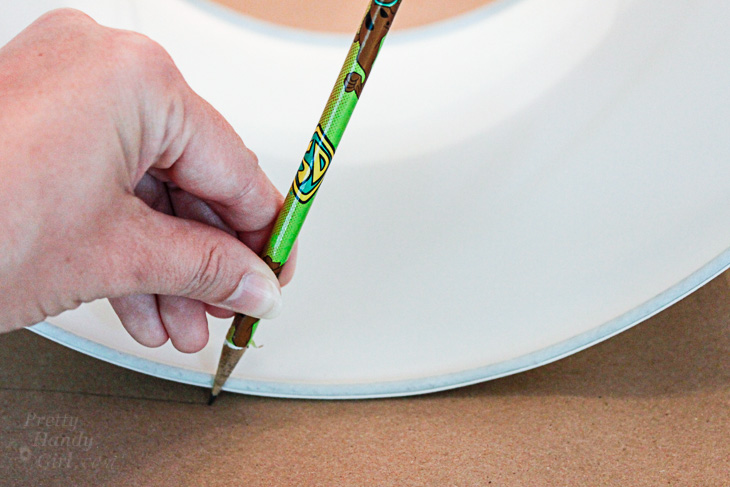
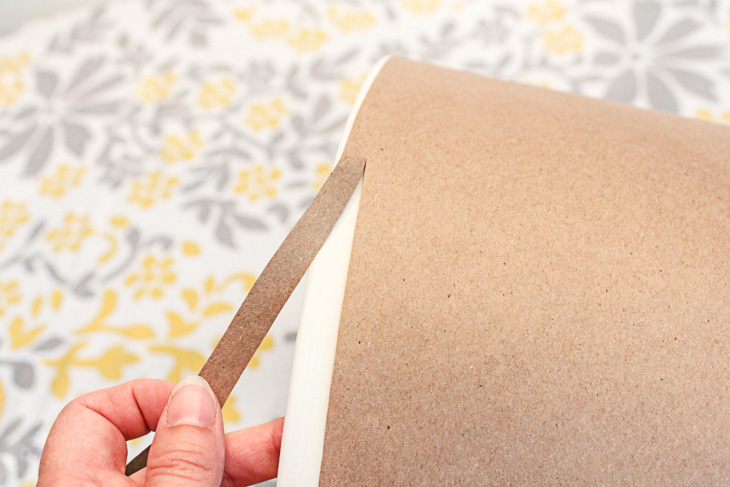
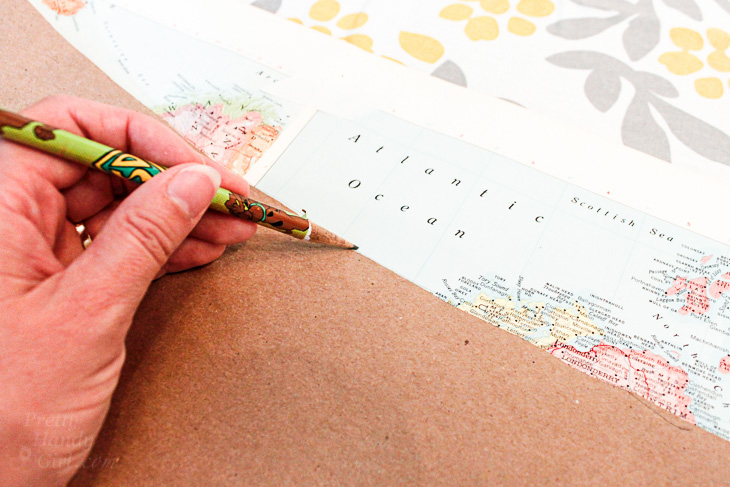
To make a template for your shade, roll out a large piece of craft paper. Lay your lampshade on the craft paper. Start at the vertical seam on the shade (to give you a visual of where to start and stop) and set your pencil along the bottom edge of the lampshade.

Gently roll the shade on the paper and mark along the bottom edge of the shade.

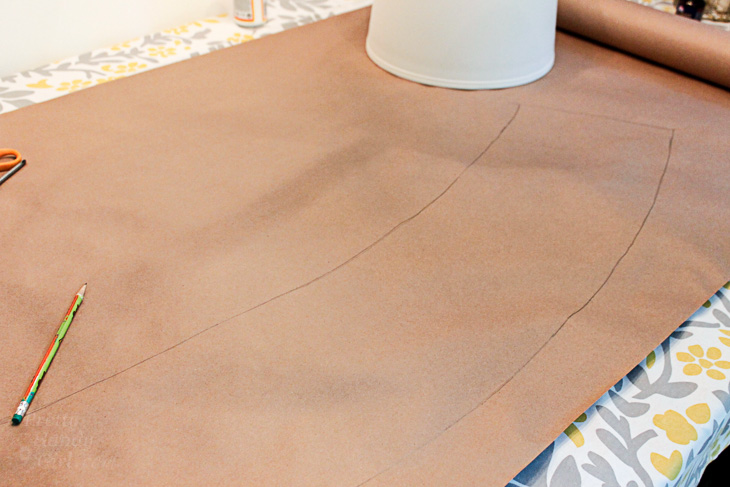
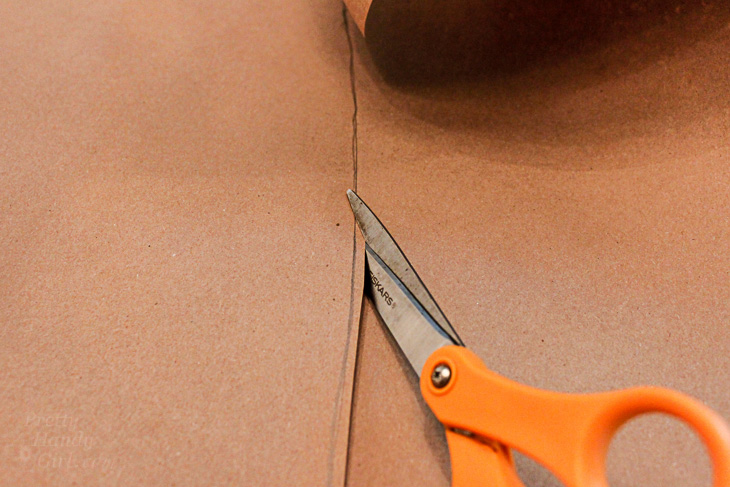
When you reach the end, reverse your shade and draw along the top edge. At the end, add an inch or two for overlap. Cut along the outlines to create your lampshade template.

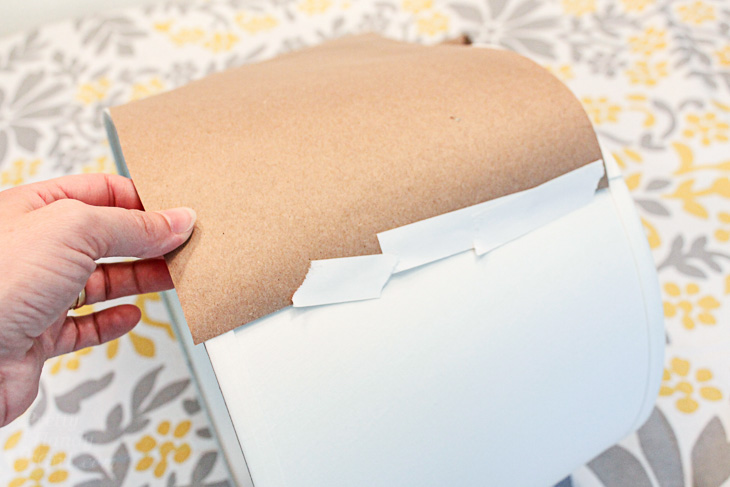
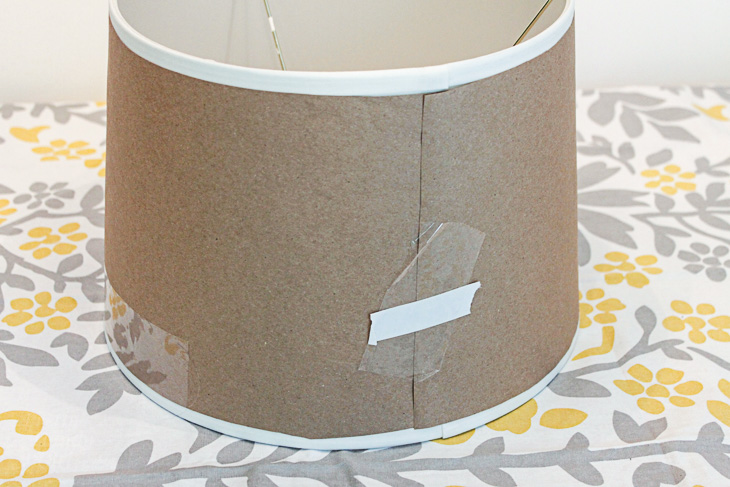
Tape the template onto your lamp shade using the low tack tape. Make sure it fits snugly.

Trim any excess from the edge of your template. Should you choose, trim excess to allow room for the grosgrain ribbon.

Make sure your template fits perfectly before you proceed.

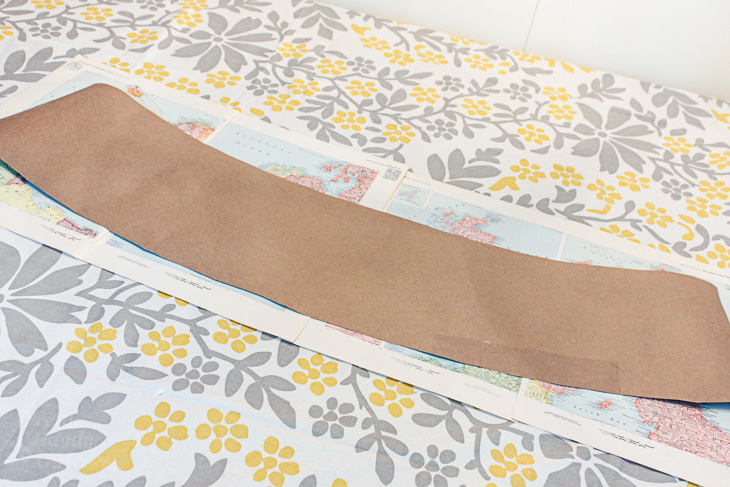
Lay out your craft paper template on top of the map pages. Make any adjustments to the page layout.

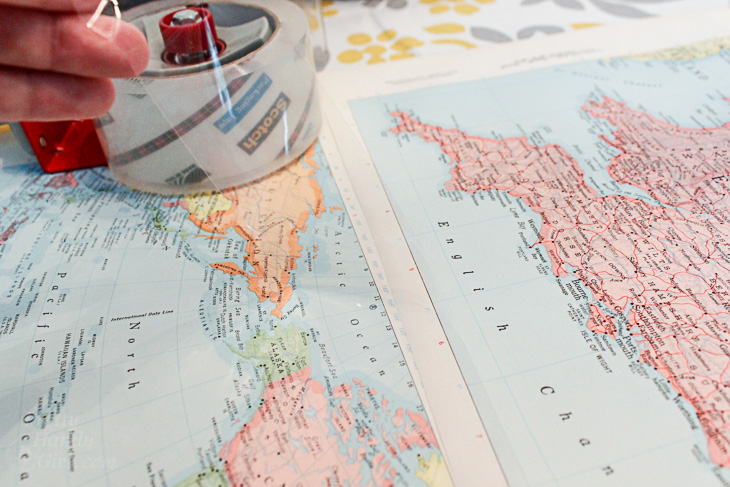
Tape your map pages together using clear packing tape on the inside only.

Trace the template on top of the map pages.

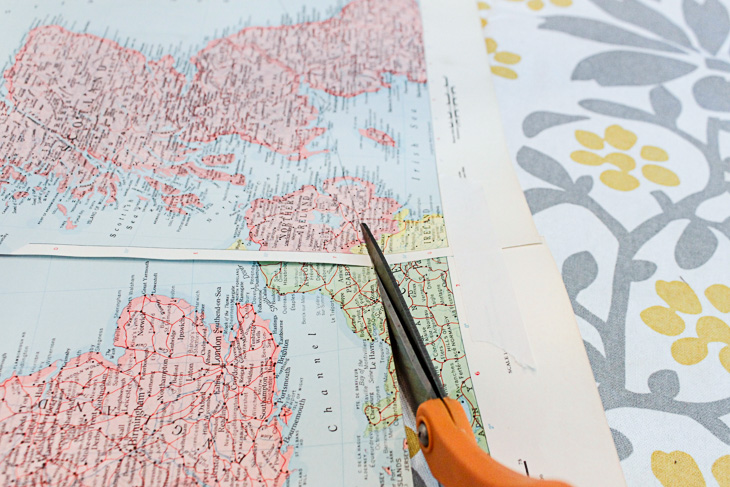
Cut out the shape along the pencil line.

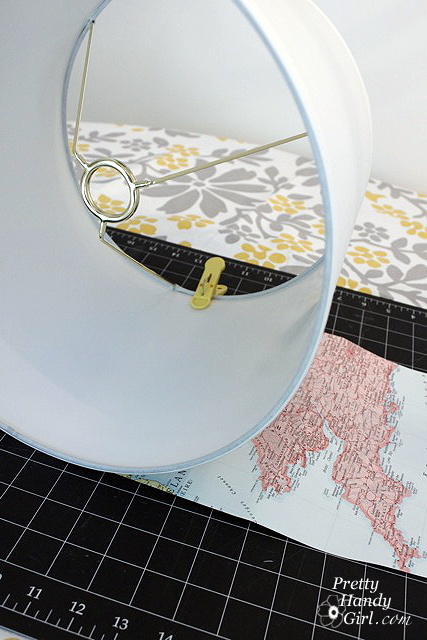
Wrap the lampshade with your cut out map pages.  Clip the edges with clothes pins.

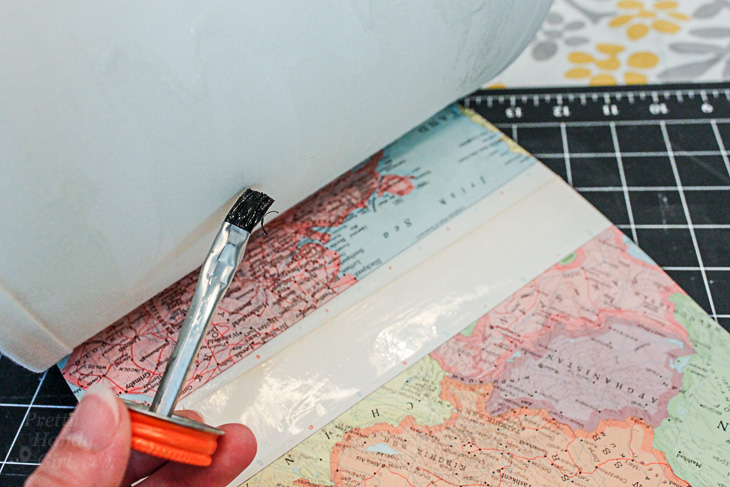
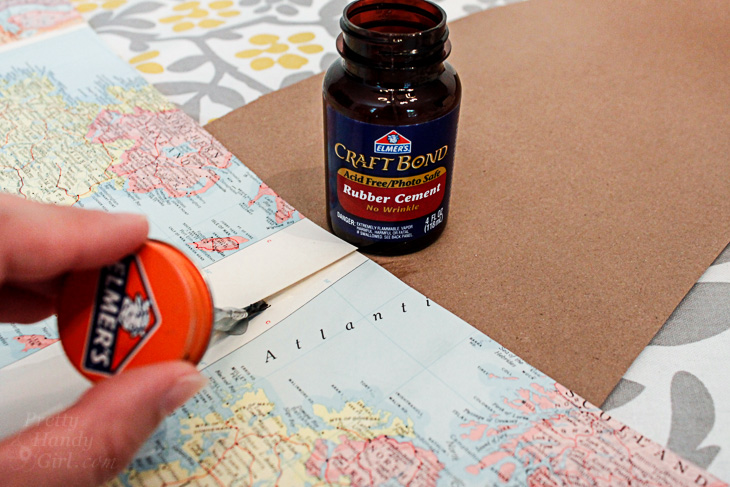
Working in small 8″ sections, brush rubber cement onto the map and the lamp shade. Wait a minute or two for the glues to dry. Then press them together. This is the best way to get maximum adhesion when using regular rubber cement. It creates a stronger bond than just one coat applied and joined while it is still wet. Alternatively you could use spray adhesive (especially if you are using fabric.)

Continue by gluing another section until you reach the end. To finish the seams on the outside, brush some rubber cement under the seams where your maps overlap. Press and hold them down until the glue dries.

Add a Vintage Aged Glaze:

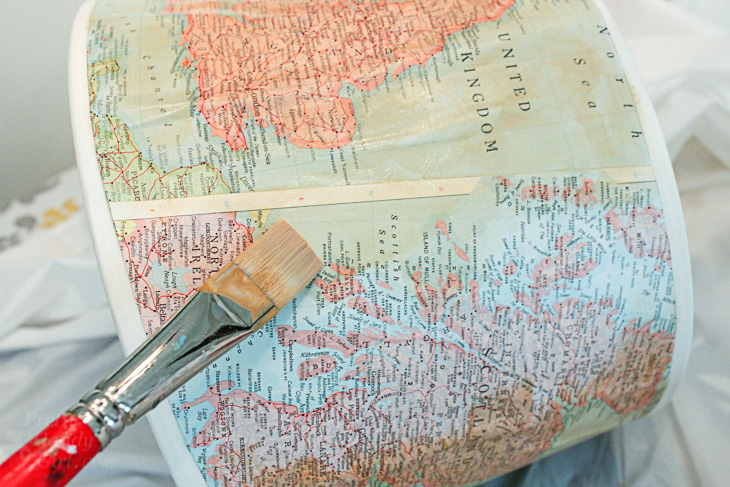
Time to give your maps a vintage aged look! Pour 2 parts mod podge into an empty cup. Add about 1 part cocoa paint. Mix them together. Test some of the glaze on a scrap piece of paper. If you like the glaze color, start brushing it onto the lamp shade. Be careful not to use too much of the glaze or the paper will start to wrinkle. (If it does, no worries, some of the wrinkles will come out when it dries. Any remaining wrinkles make it look old.)

Let the glaze dry.

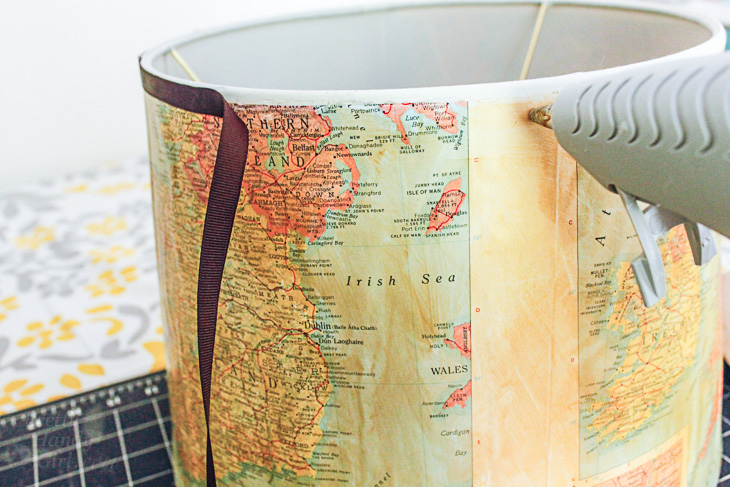
Cut two strips of grosgrain ribbon the circumference of your lamp shade plus an inch for overlap.

Hot glue the ribbon onto the top and bottom edges of your lamp shade. (Please, please, protect your fingers, read my hot glue gun safety post before working with hot glue!)

Put your lampshade on your favorite lamp.

Admire your unique lamp shade that brings back fond memories of a special trip.

If you make one of these, what map would be on your’s? Your home state? The place you were born? Where your family’s heritage resides? Or something completely different? I would love to hear your ideas.

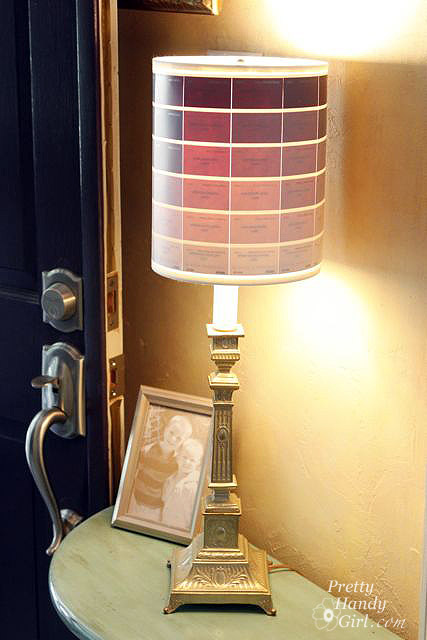
Did you like this tutorial? Want to learn how to revamp another lamp shade with paint chips!

The result are a beautiful ombré lamp that is fun and colorful.


Upcycle some old milk bottles or glass containers into these beautiful and chic Glass Etched Vases!

Happy New Year! This is Lindi, visiting again from Love Create Celebrate. How many of you are deep into cleaning and purging mode?! My husband and I have already cleaned out FIVE closets since the New Year! We’re pretty proud actually! lol. When I was cleaning, I came across these old milk bottles and had the perfect idea to DIY them! I can’t wait to show you how easy it was to make these Glass-Etched Vases.

Upcycle some old milk bottles or glass containers into these beautiful and chic Glass Etched Vases!

I’m ALL about quick and easy DIYs. I try to make things that are easy, functional, and that I will be proud to display in my home. Since I didn’t want to purge these old bottles, I found the perfect solution.

Materials: 

(I’ve included affiliate links for your convenience. I earn a small percentage from a purchase using these links. There is no additional cost to you. You can read more about affiliate links here.)

Instructions: 

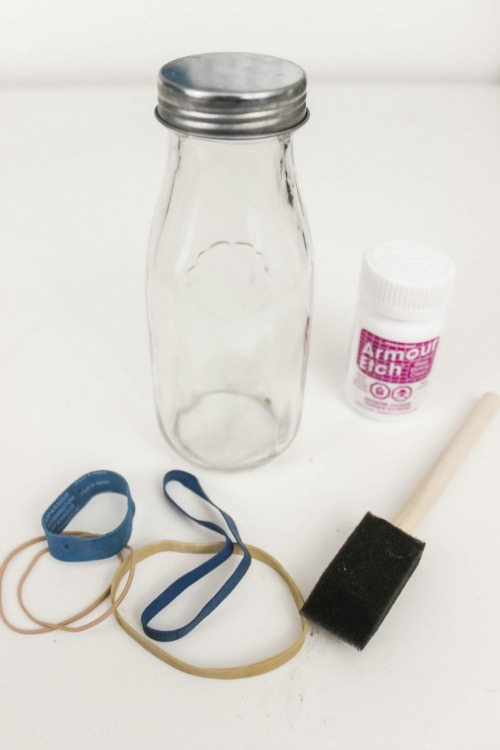
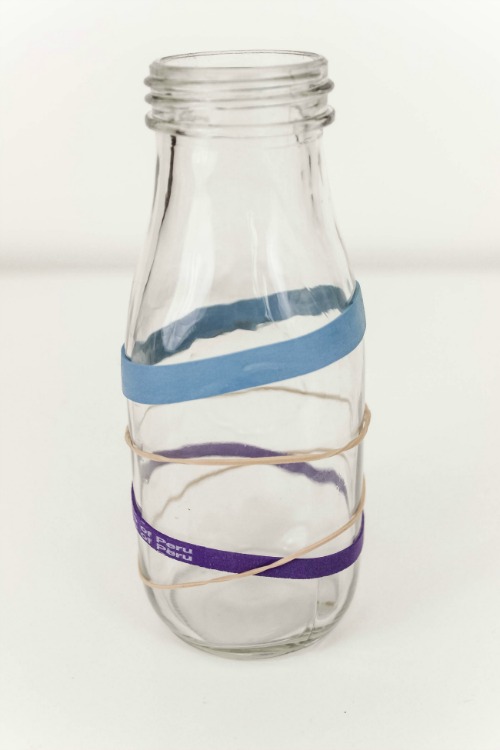
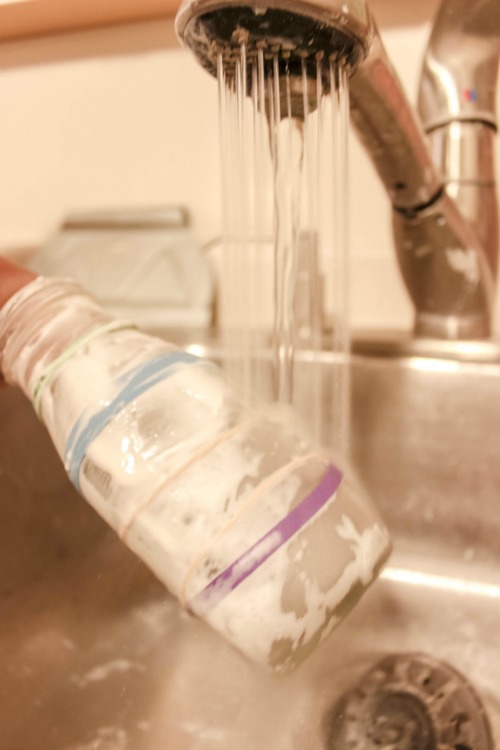
Start by placing your elastic bands at various angles around your bottle or vase. Make sure that the elastics are tight (so they don’t slip) and flat.

Upcycle some old milk bottles or glass containers into these beautiful and chic Glass Etched Vases! Upcycle some old milk bottles or glass containers into these beautiful and chic Glass Etched Vases!

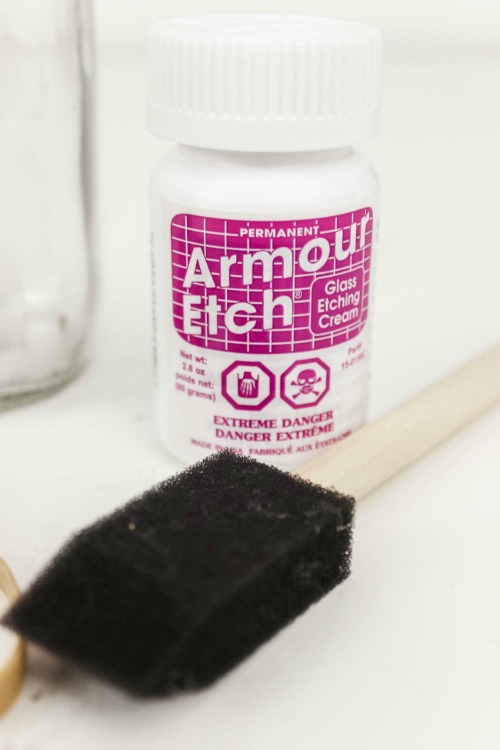
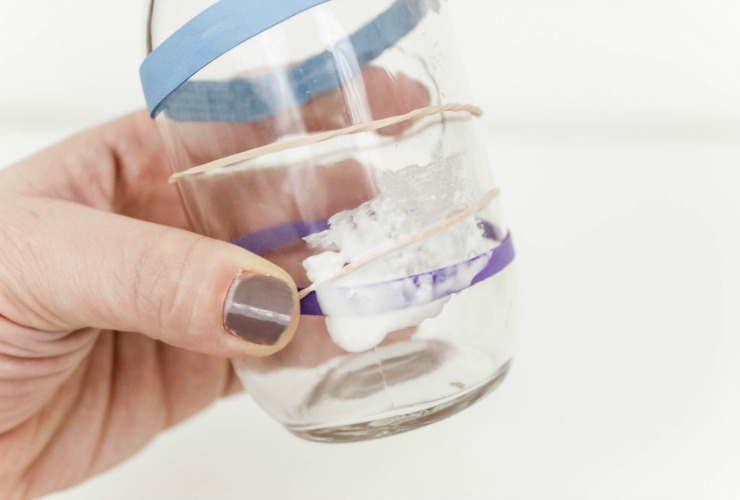
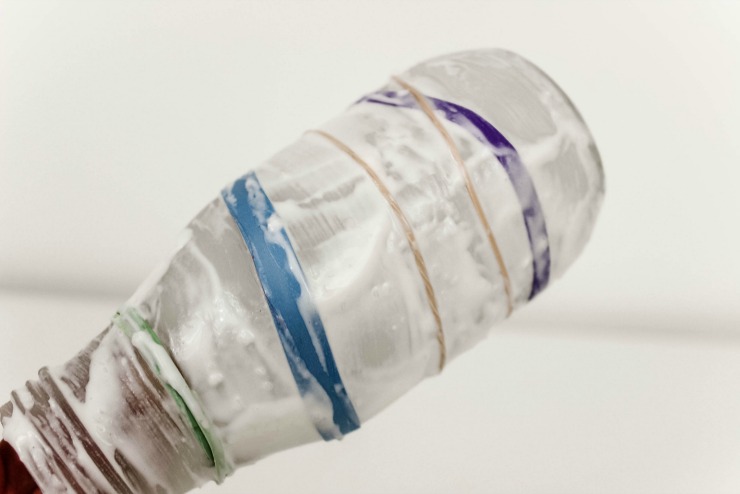
Using your foam brush, dab the glass etching cream onto the bottle in a thick layer, covering all of the outside glass.

Upcycle some old milk bottles or glass containers into these beautiful and chic Glass Etched Vases!

Once the entire glass is covered, let it sit according to the instructions on your bottle of glass-etching cream.

Upcycle some old milk bottles or glass containers into these beautiful and chic Glass Etched Vases!

When ready, simple run the bottle under a tap to rinse off all of the cream, and remove the elastics.

Upcycle some old milk bottles or glass containers into these beautiful and chic Glass Etched Vases!

I LOVE how they turned out! A beautiful way to display all of those fresh spring flowers once the seasons change 🙂

Upcycle some old milk bottles or glass containers into these beautiful and chic Glass Etched Vases! Upcycle some old milk bottles or glass containers into these beautiful and chic Glass Etched Vases! Upcycle some old milk bottles or glass containers into these beautiful and chic Glass Etched Vases!

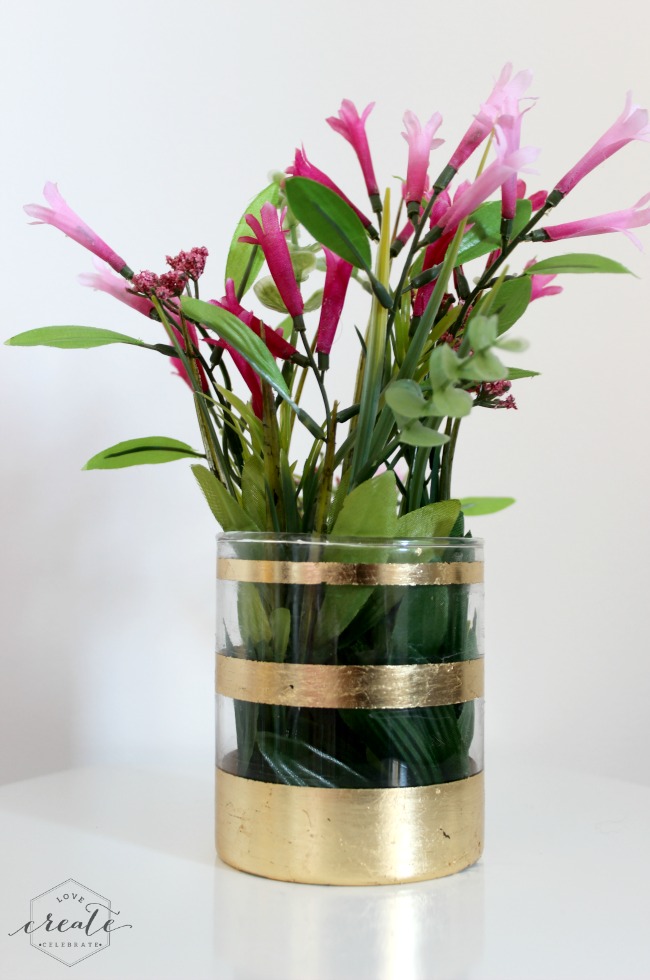
If you like chic vases, check out these easy Gold-Leafed DIY Vases too!

Gold Leaf Vase

For more chic DIY inspiration visit Love Create Celebrate.

Lindi Signature~ view more projects by Lindi ~