Easy Clipboard Stand | Pretty Handy Girl

Easy Clipboard Stand | Pretty Handy Girl

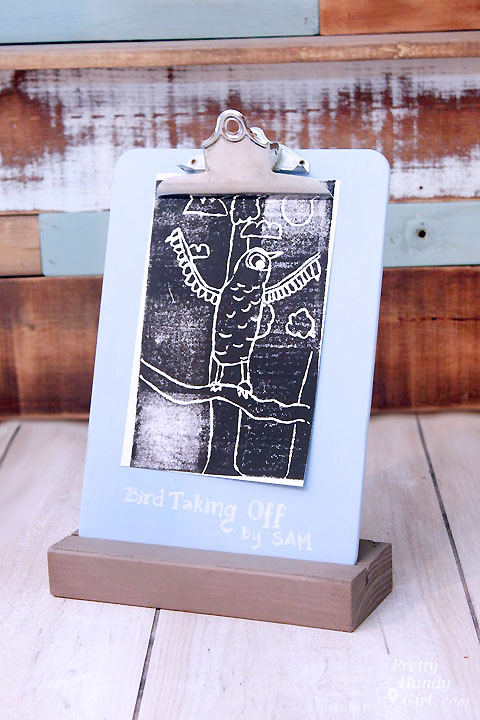
Today’s project is so easy, I named it the Easy Clipboard Stand (catchy name, no?) This is a great way to upcycle an old clipboard and a scrap 2×4. This clipboard stand is super versatile. It can be used as a traditional stand for announcements; a copy stand; a recipe holder; an art frame or anything you need to bring attention to. Plus, if you use a dark chalk paint color, it can be used as a chalkboard sign. Bonus.

Materials:
(contains affiliate links)

Tools:

Instructions:

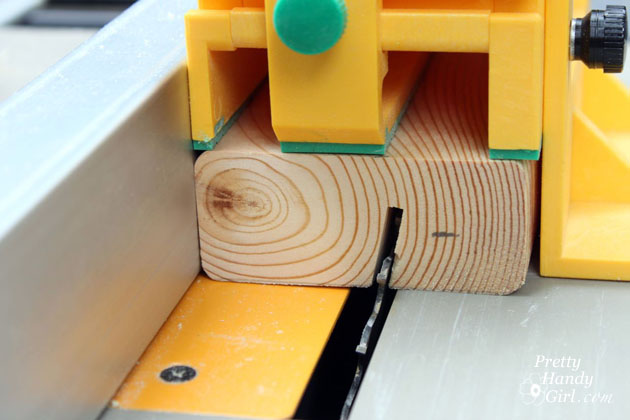
Cut the 2×4 scrap to the same width as the clipboard. Set your table saw blade approximately 2/3 height of the 2×4 block. Angle the blade to 15 degrees. Carefully slide the block over the blade. You’ll notice I use a GRR-Ripper Push Block to keep my hands away from the blade. (If you own a table saw, you need one of these!)

Easy Clipboard Stand | Pretty Handy Girl

The 2×4 should look like the photo below.  Read more

Reversible Tote Bag Tutorial by Sawdust Girl | Pretty Handy Girl

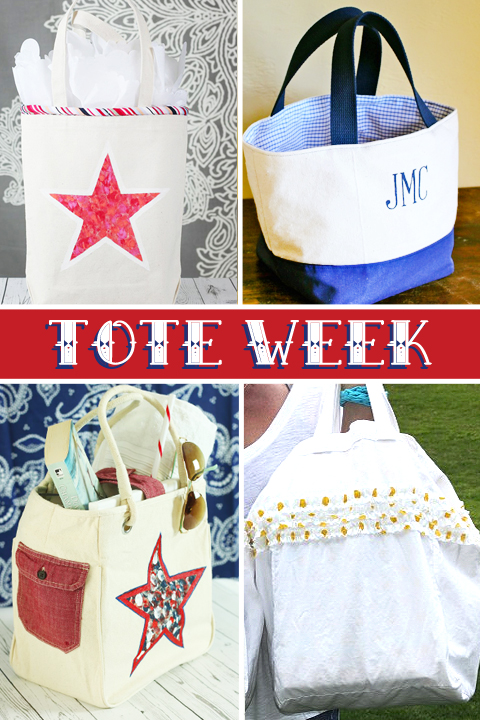
Are you enjoying Tote Week?!

Tote Week | Pretty Handy Girl

If you’re just joining in here’s the line up:

Today I have one of my closest friends and blogging buddies here. If you don’t know who I’m talking about, she’s the amazing, the incredible and the always vivacious Sandra from SawdustGirl.com. And she’s going to give you a tutorial for sewing those cute reversible and reusable tote bags!

page_break_2

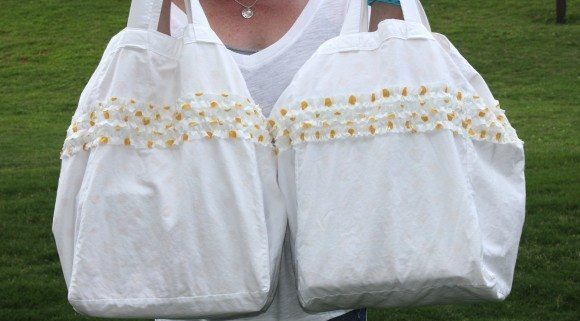
Howdy Handy friends! I’m Sandra of Sawdust Girl – formerly Sawdust and Paper Scraps. I try to reduce, reuse and recycle anyway so this tutorial for reusable, reversible, ruffled totes is fitting. Don’t ya’ think? I like to use my totes as grocery bags and have given a pair of these as gifts along with a few reusable produce bags found at the dollar store.

Reversible Tote Bag Tutorial by Sawdust Girl | Pretty Handy Girl

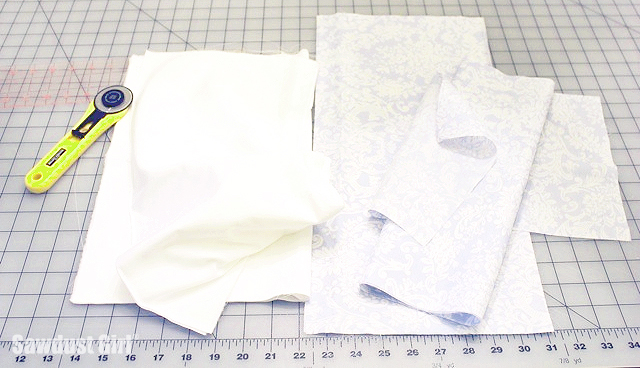
I used an old sheet and a set of pillowcases to make mine but for a gift item, maybe use new fabric. If you look for sheets on clearance you can get a LOT of fabric for just a few dollars.

Reversible Tote Bag Tutorial by Sawdust Girl | Pretty Handy Girl

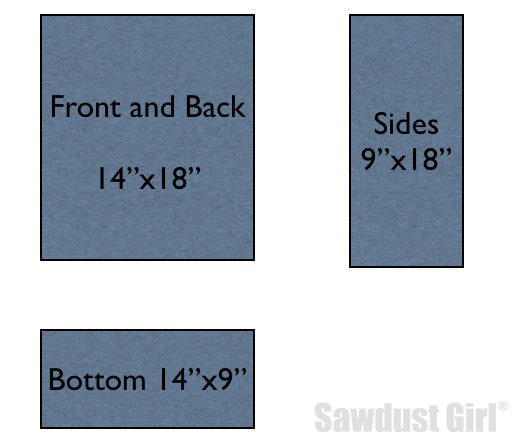
This is a really easy pattern that I made from looking at a canvas tote. (It fits perfectly on a standard pillowcase.)

*Seam allowance? I run the fabric along the right side of the foot. I think it’s a waste to take a wide allowance and then trim!

Instructions:

1. Use the same pattern for the bag and the liner. You could use the same fabric for both or mix it up for fun. I like to use 2 different fabrics so I can flip it inside out and have a totally different bag!

Reversible Tote Bag Tutorial by Sawdust Girl | Pretty Handy Girl

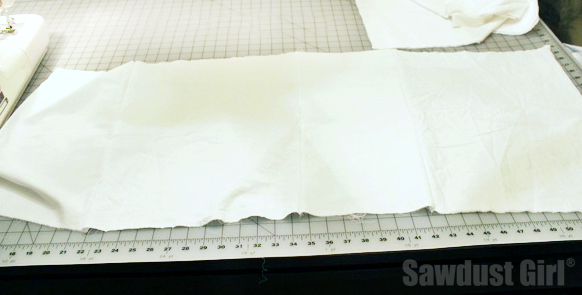
2. Sew all 4 pieces (excluding the bottom) together like this: front/side/back/side making one long piece of fabric.

Reversible Tote Bag Tutorial by Sawdust Girl | Pretty Handy Girl

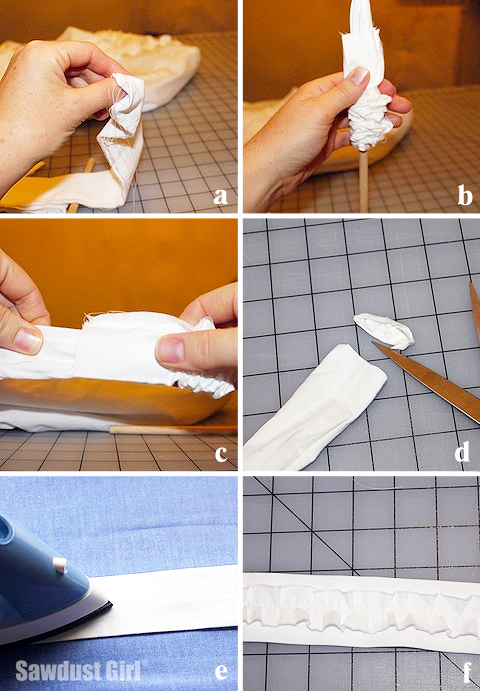
3. If you are going to add any kind of embellishment, now is the time. I’m adding three rows of ruffles! Read more

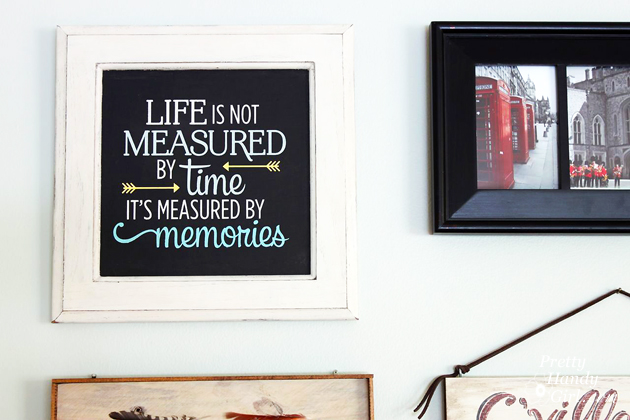
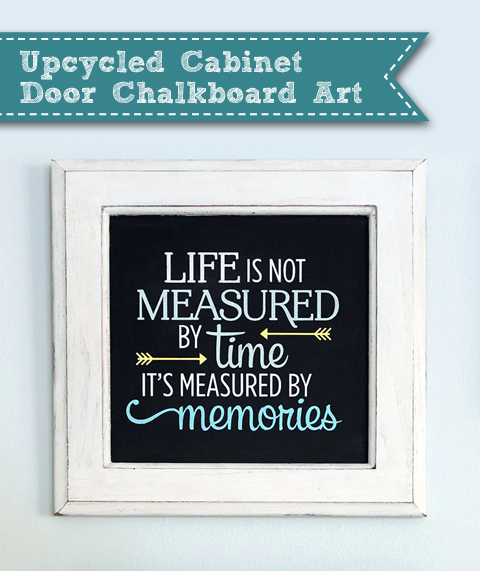
Upcycled Cabinet Door Quote Art | Pretty Handy Girl

Upcycled Cabinet Door Quote Art | Pretty Handy Girl

What do you do with an old cabinet door? Besides keep it with your wood scraps for ten years like I did (not recommended.) You can create pre-framed art! Today I have an easy Upcycled Cabinet Door Chalkboard Art project for you. If you have an old cabinet door, some paint, and a stencil, you can have yourself a unique and personalized art piece for your wall! Easy art!

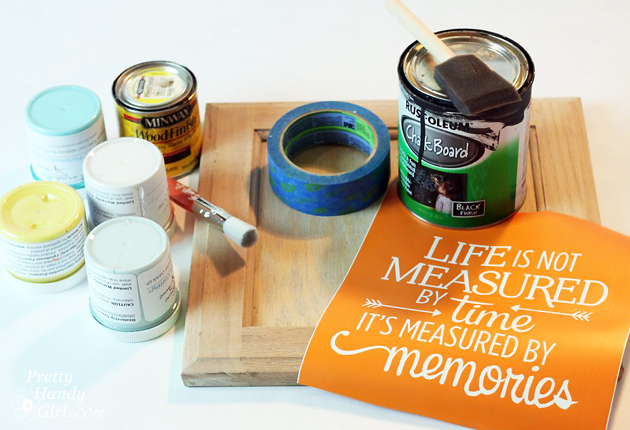
Materials:

Upcycled Cabinet Door Quote Art | Pretty Handy Girl

  • Cabinet door
  • Chalkboard paint
  • Foam brush
  • Sandpaper
  • Antiquing wax
  • Wax brush
  • Clean rag
  • Craft paint or chalky paint
  • Stencil brush
  • Painter’s Tape
  • Pencil
  • Stencil or cut vinyl

Optional: Stain and foam brush

Instructions:

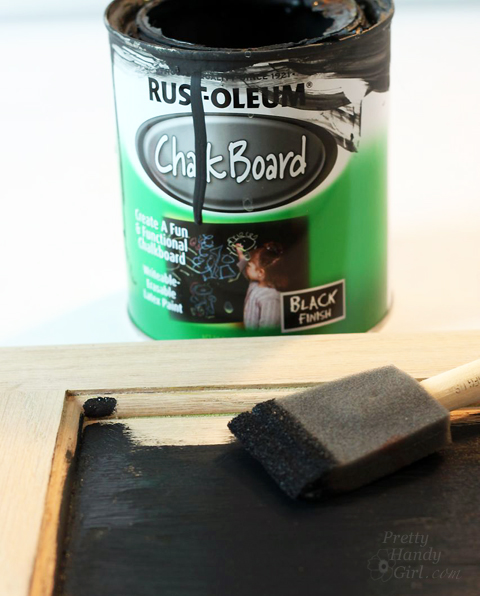
Paint the inside panel of your cabinet door with chalkboard paint. After the paint has dried, lightly sand any imperfections. Apply a second coat, brushing the paint in the opposite direction as the first coat.

Upcycled Cabinet Door Quote Art | Pretty Handy Girl

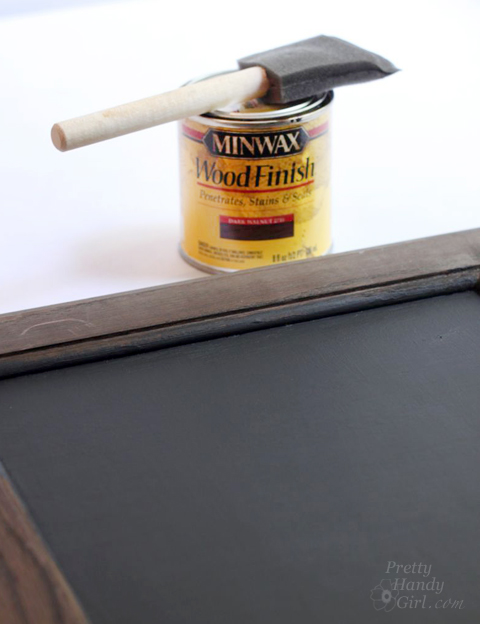
If you have an unstained cabinet door, you may want to stain it for an aged look.

Upcycled Cabinet Door Quote Art | Pretty Handy Girl

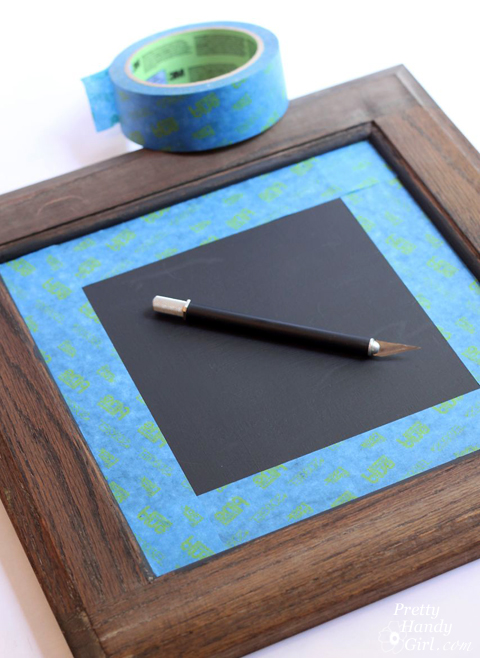
Apply painter’s tape to the inside face of the cabinet door.

Upcycled Cabinet Door Quote Art | Pretty Handy Girl

Paint the frame portion of the cabinet door. Allow to dry and apply a second coat of paint. Read more

Installing a Wall Mount Flat Screen TV + Hiding Cords | PrettyHandyGirl

Installing a Wall Mount Flat Screen TV + Hiding Cords | PrettyHandyGirl

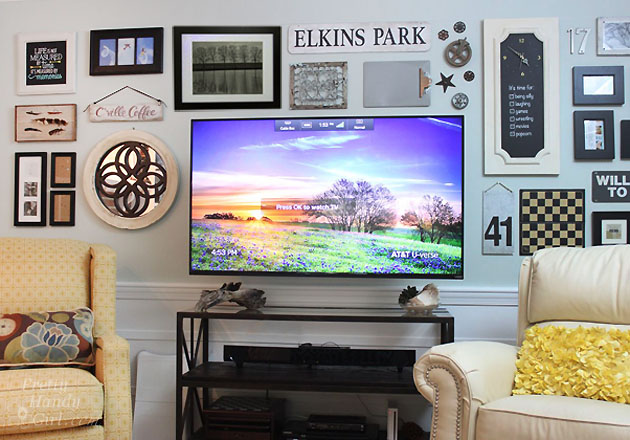
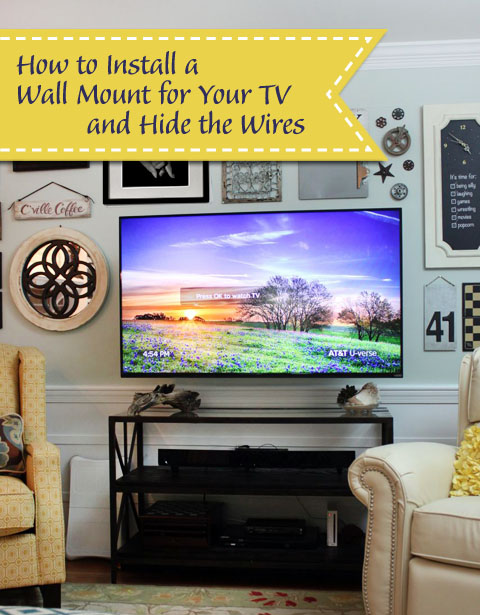
Do you have a flat screen TV? Do you have children? Wish you could mount your TV on the wall for space and safety? Or have you already mounted your TV, but the wires are visible and hang below your screen? GASP—not the dreaded visible wires syndrome!

Installing a Wall Mount Flat Screen TV + Hiding Cords | PrettyHandyGirl

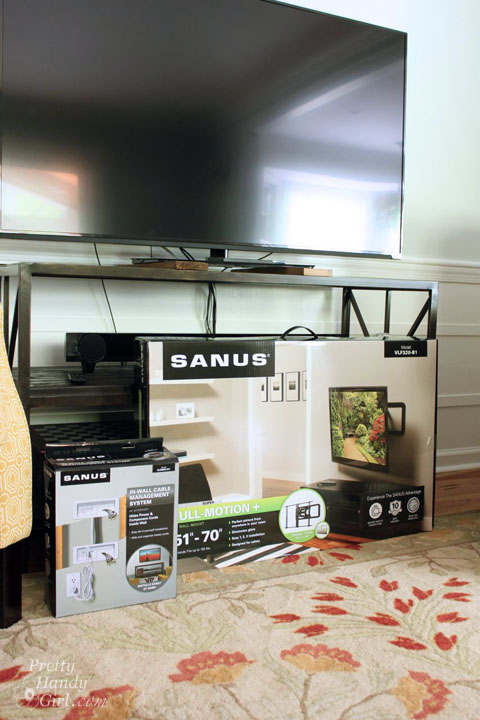
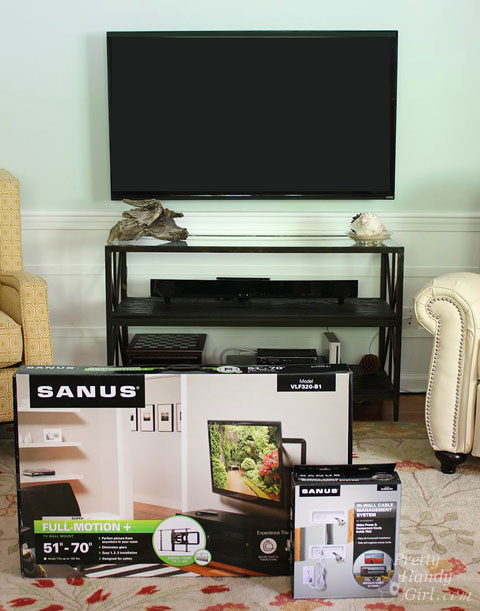
Today I have a tutorial to show you How to Install a Wall Mount for your TV AND How to Hide those Unsightly Wires in a cable management system. SANUS sent me their Full-Motion TV Wall Mount and In-Wall Cable Management to use for this tutorial. Before you start thinking that you can’t do this, or that you have to hire an electrician to run power behind the TV, you don’t! And this is a very easy DIY project! The SANUS In-Wall Cable Management System is the coolest product. It allows you to hook up to an existing outlet elsewhere (within 60″ horizontally from your TV)! (Per FTC regulations, you should know that this is a sponsored post for SANUS, but I approached them after researching TV mounts and cable management systems. )

Genevieve Gorder has some good information about why you want to use a SANUS mount in this short video:

Why did I want to use the SANUS mount? Here’s just a few reasons:

Installing a Wall Mount Flat Screen TV + Hiding Cords | PrettyHandyGirl

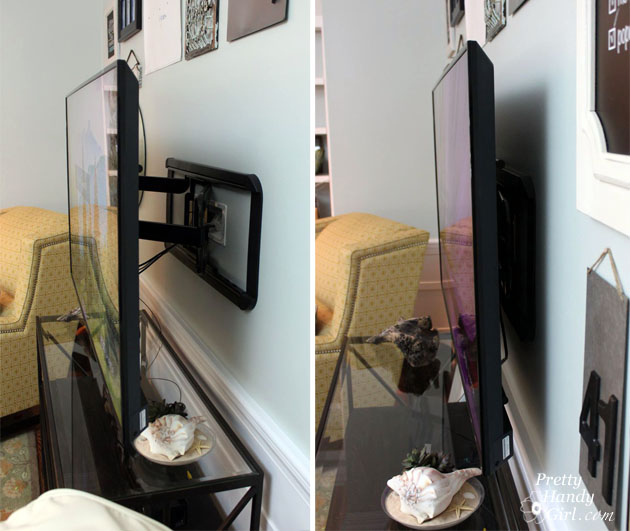
You can pull your screen out from the wall or press it back to just a few inches away. (The arms extend a full 20″. Further than shown, because our cables are too short to fully extend.)

The power cord plugs into an ultra low profile in wall cable system. All wires are hidden behind the TV.

Installing a Wall Mount Flat Screen TV + Hiding Cords | PrettyHandyGirl

The TV can also extend and swivel from left to right. This allows us to be able to watch TV from the adjacent room! Which means the kids can eat pizza AND watch a movie because they can safely sit at the kitchen table and view the movie in the living room. Score one for Mom!  No more pizza stains on the rug or sofa.

Installing a Wall Mount Flat Screen TV + Hiding Cords | PrettyHandyGirl

Ready to learn how you can easily mount your flat-screen TV on the wall AND hide the wires? Let’s get to it! Read more

Chalkboard Arrow Sign (Mystery Thrift Off) | Pretty Handy Girl

Chalkboard Arrow Sign (Mystery Thrift Off) | Pretty Handy Girl

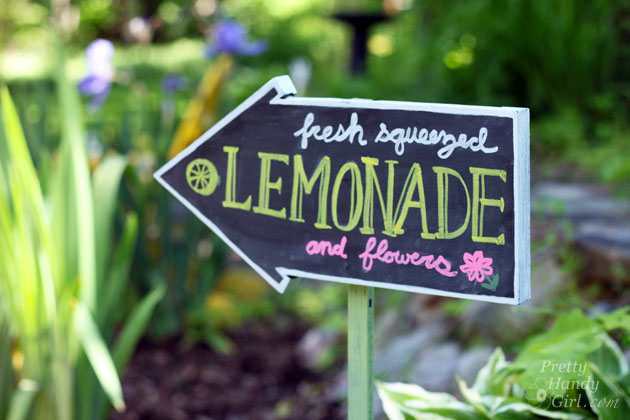
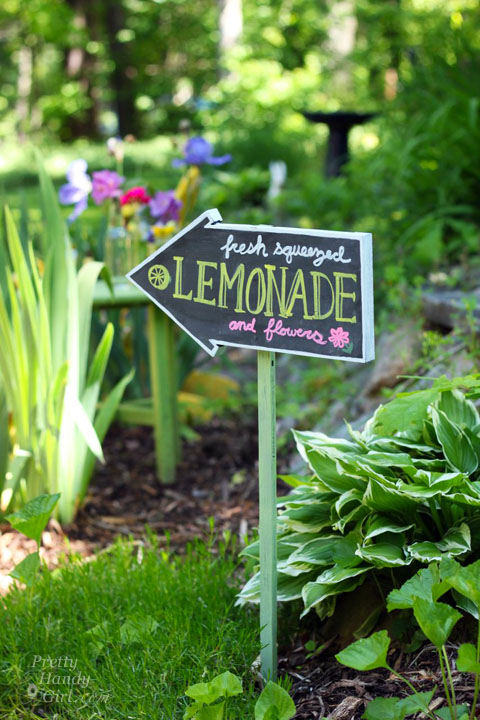
Are you having a yard sale, a lemonade stand or an open house? This Chalkboard Arrow Sign is an easy DIY project that will bring more attention to your event.

But, let me back up to explain exactly how this Chalkboard Arrow Sign came to be. Have you been following #TheMysteryThriftOff challenge? This is the brainchild of Lindsey from Better After. She chose a handful of people to take part in this challenge. After scouring her local thrift shops for ugly and hopeless items, she shipped off the chosen items to those of us in the challenge. I signed up—because frankly—I love a challenge. And, I love saving ugly items from the landfill. This week she’ll be revealing all the Mystery Thrift Off participants transformations and you can vote on your favorite!

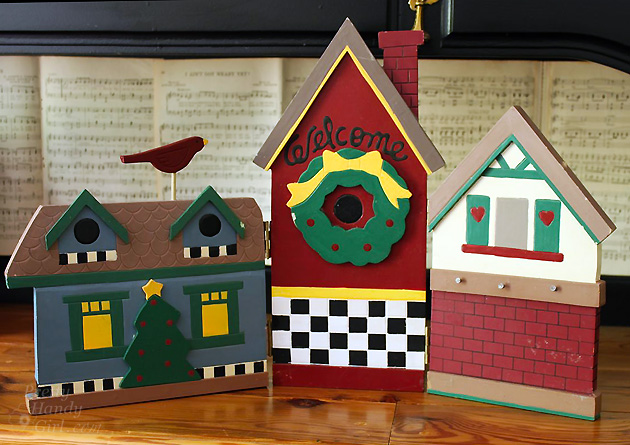
But, when the box arrived from Lindsey, I was terrified to open it up! I mean what if she had sent me a ceramic scabies bear!  Yikes. You can imagine my relief when I opened the box to reveal this dated Christmas village.
Chalkboard Arrow Sign (Mystery Thrift Off) | Pretty Handy Girl

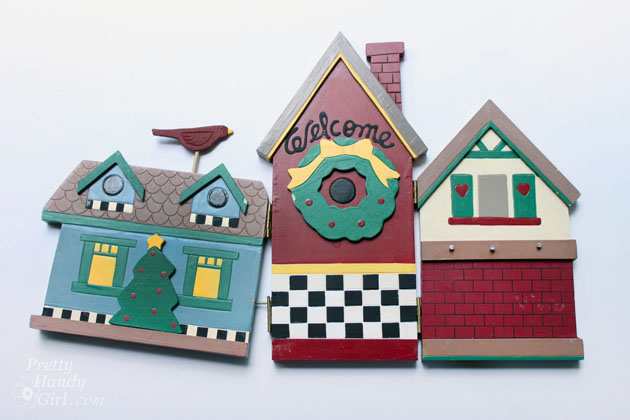
Not too bad looking is it.? Truth be told, it was falling apart and the colors were hunter green, colonial blue, mauve and fleshy tan.
Chalkboard Arrow Sign (Mystery Thrift Off) | Pretty Handy Girl

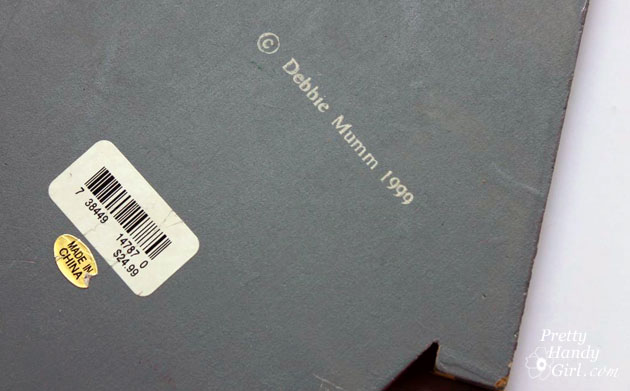
I flipped it over to reveal that this was the fine art of Ms. Debbie Mumm in 1999. And someone paid $24.99 for it! I certainly hope Lindsey didn’t spend that much. I think 1999 is calling and they want their village back.
Chalkboard Arrow Sign (Mystery Thrift Off) | Pretty Handy Girl

I’ll quickly show you how I transformed this village and then we’ll get to the tutorial for how you can make your own Chalkboard Arrow Sign.

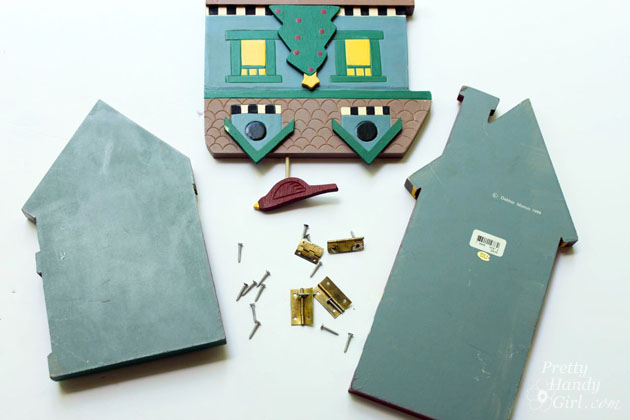
The hinges were easy removed from between the houses. I kept them for another project.
Chalkboard Arrow Sign (Mystery Thrift Off) | Pretty Handy Girl

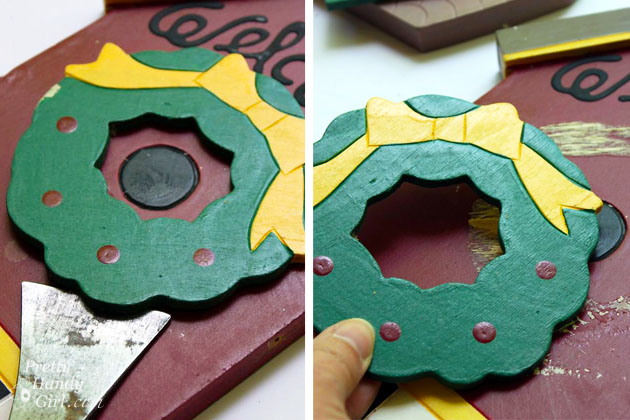
The wooden embellishments were popped off with a pry bar.
Chalkboard Arrow Sign (Mystery Thrift Off) | Pretty Handy Girl

I also saved these embellishments for a future project.

Chalkboard Arrow Sign (Mystery Thrift Off) | Pretty Handy Girl

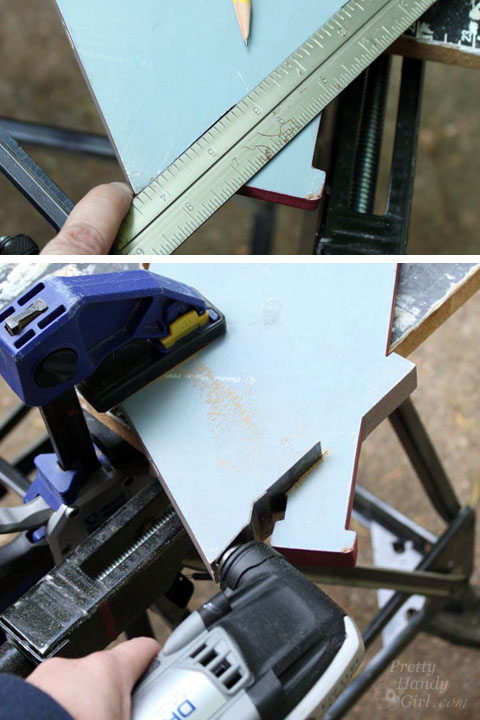
To create the arrow shape, I chose the middle tall building and cut off the chimney with my Dremel Multi-max.
Chalkboard Arrow Sign (Mystery Thrift Off) | Pretty Handy Girl

Here’s where you can pick up the tutorial. 🙂

Materials:

  • 9″ x 14″ piece of smooth plywood, masonite or wood board
  • Jigsaw
  • Sander
  • Valspar Gray Spray Primer
  • Chalkboard paint
  • Foam roller
  • Chalk Ink
  • 1″ x 1″ square garden stake (look in the garden section of Lowe’s)
  • Finish Nails
  • Wood glue

Instructions:

Print out the Chalkboard Arrow Template. It should fit on a legal sheet of paper. Cut out the template and transfer the shape to your wood.

Use a jigsaw to cut out the shape. Sand any rough edges from your plywood. Read more