Housewarming Gift Crate | Pretty Handy Girl

Housewarming Gift Crate | Pretty Handy Girl

Do you have a new neighbor or know someone who just moved? It’s time to celebrate with them by giving them a housewarming gift caddy! This is an easy gift tote that you can customize to any size you like. Plus, the recipient can use the caddy for storage or display after the gift has been enjoyed.

Before we begin, I need to back up and tell you that this project is part of The Mystery Thrift Off.

#TheMysteryThriftOff is the brainchild of Lindsey from Better After. She chose a handful of people to take part in this challenge. After scouring her local thrift shops for ugly and hopeless items, she shipped off the chosen items to those of us in the challenge. I signed up—because frankly—I love a challenge. And, I love saving ugly items from the landfill. Be sure to see some of the other Mystery Thrift Off transformations at Better After and vote for your favorite.

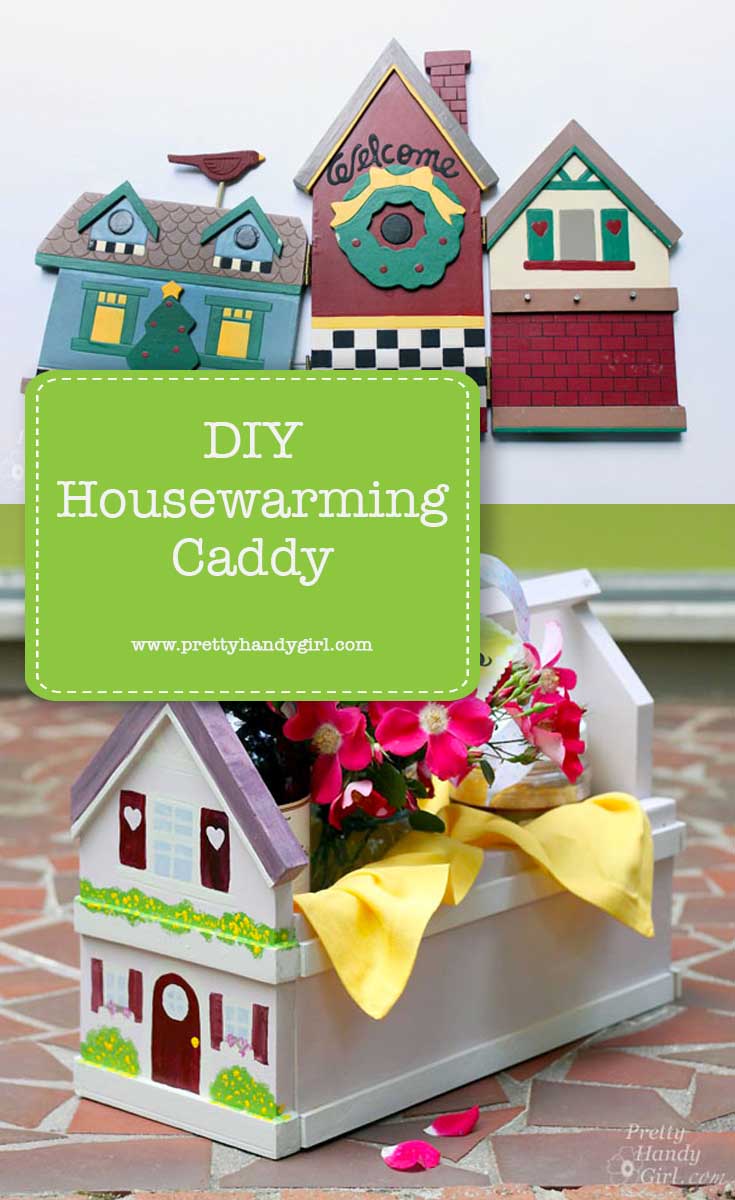
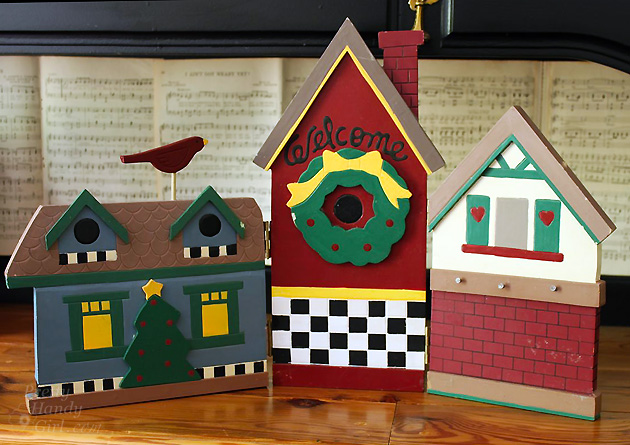
But, when the box arrived from Lindsey, I was terrified to open it up! I mean what if she had sent me a ceramic scabies bear!  Yikes. You can imagine my relief when I opened the box to reveal this dated Christmas village.
Chalkboard Arrow Sign (Mystery Thrift Off) | Pretty Handy Girl

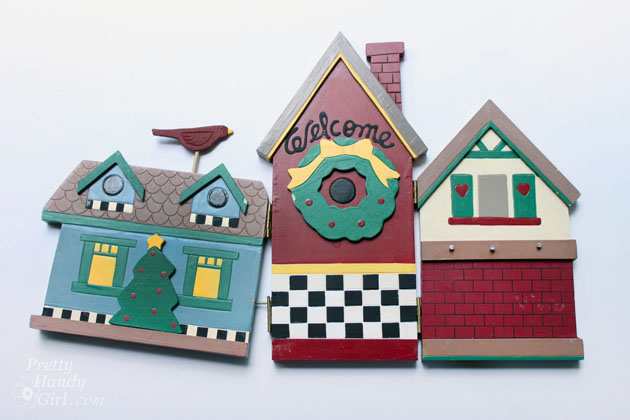
Not too bad looking is it.? Truth be told, it was falling apart and the colors were hunter green, colonial blue, mauve and fleshy tan.
Chalkboard Arrow Sign (Mystery Thrift Off) | Pretty Handy Girl

I quickly pulled the three houses apart and began to transform them into A Chalkboard Arrow Sign, a Little Playhouse and the Housewarming Gift Caddy I’m going to show you today.

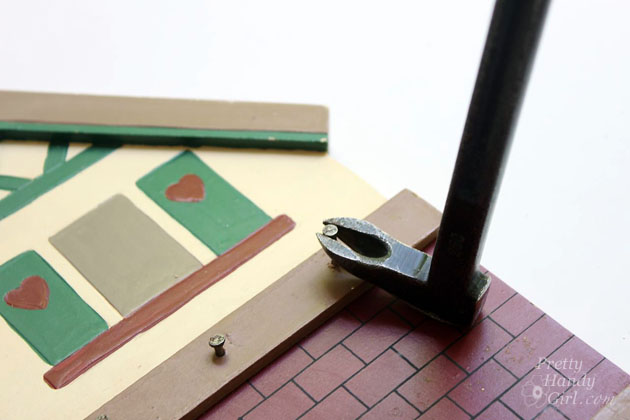
Before I got started, I removed some nails from the house on the right. And then I was ready to get building.
Housewarming Gift Crate | Pretty Handy Girl

Ready to create your own caddy? Let’s get to it.

Materials:

  • 1″ x 6″ board
  • Wood glue
  • Finish nails
  • 1″ x 1″ square dowel
  • 1/2″ lattice trim (or other decorative trim)
  • 2″ screws
  • Spray primer
  • Paint (used Botanical Home Decor Paint)
  • Craft paint
  • Paintbrushes
  • Patch-plus-primer
  • Putty knife
  • Sandpaper

Instructions:

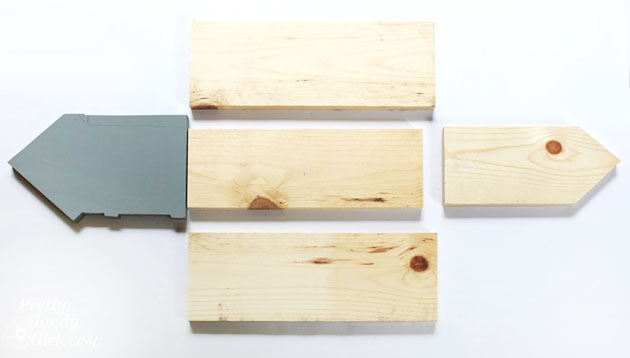
Cut the 1″ x 6″ into 5 pieces:
Housewarming Gift Crate | Pretty Handy Girl

  • 2 – 6″ x 15″sides
  • 1 – 6″ x 15″ base
  • 2 – 6″ x 11″ front & back pieces with a 45 degree corners cut into the tops

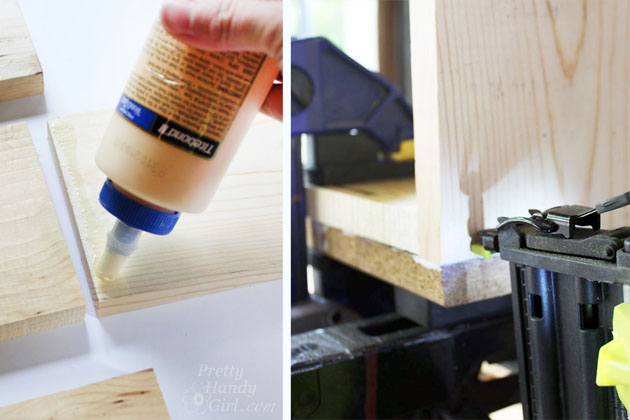
Add a line of glue along the bottom of the front and back of the caddy.  Attach them to the base with finish nails.
Housewarming Gift Crate | Pretty Handy Girl

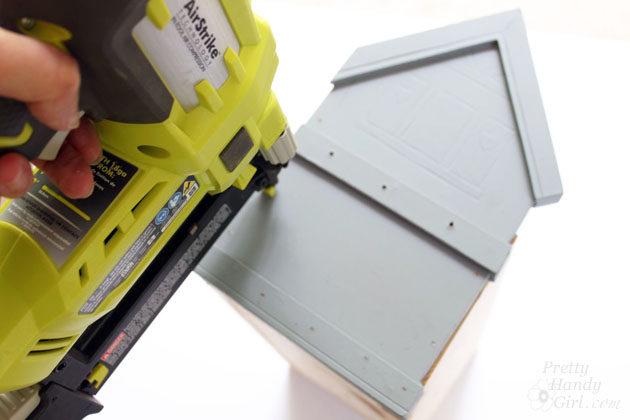
Add a line of glue to cut ends of the sides and add a line of glue to the bottom of the sides.  Attach the front to the sides with finish nails. Repeat for the back piece.
Housewarming Gift Crate | Pretty Handy Girl

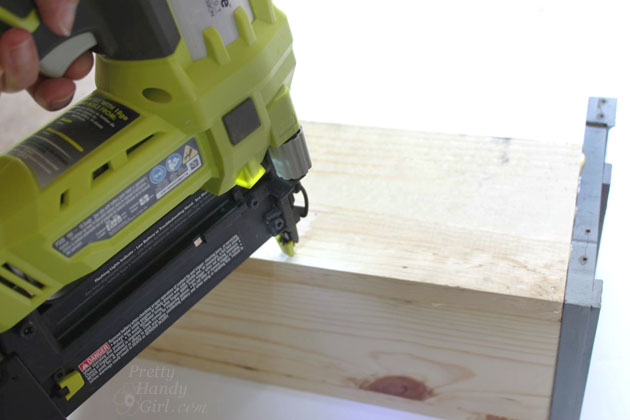
Attach the sides by nailing through the bottom and into the sides.
Housewarming Gift Crate | Pretty Handy Girl

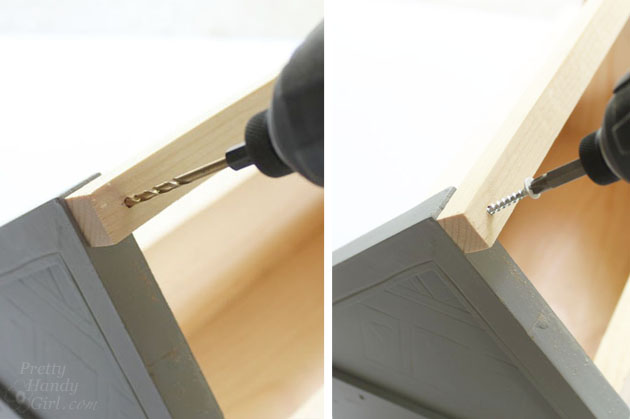
Pre-drill a hole into each end of the 1″ x 1″ square dowel. Attach the square dowel to the top of the front and back pieces with the 2″ screws.

Housewarming Gift Crate | Pretty Handy Girl

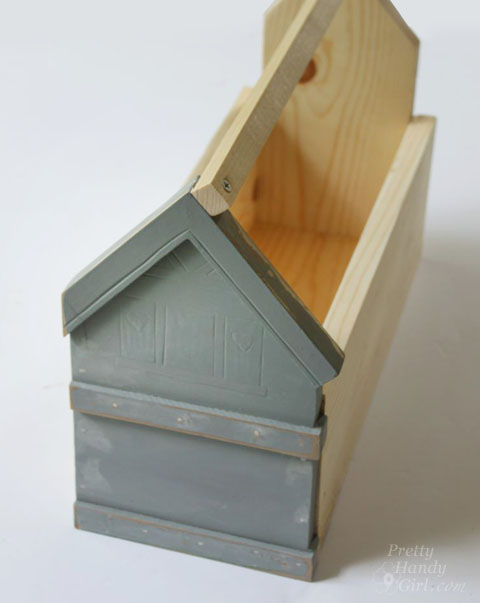
The completely assembled crate should look like this:
Housewarming Gift Crate | Pretty Handy Girl

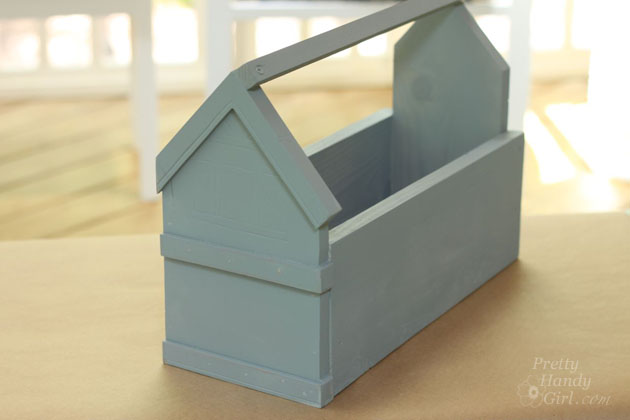
Spray the caddy with spray primer inside and out.
Housewarming Gift Crate | Pretty Handy Girl

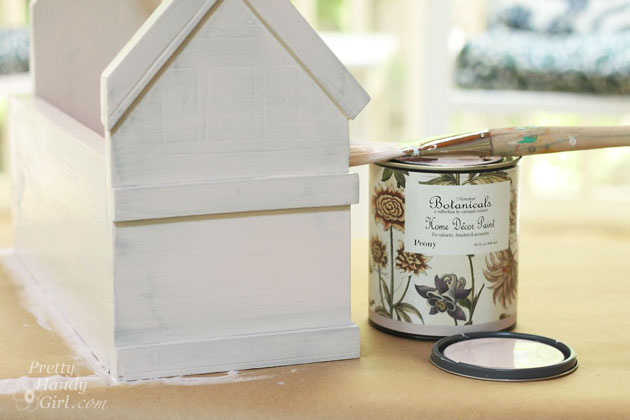
Paint caddy with a solid color first. (I used a new paint and love the texture and coverage. Botanicals Home Decor Paint in Peony went on smoothly like chalky paints.)
Housewarming Gift Crate | Pretty Handy Girl

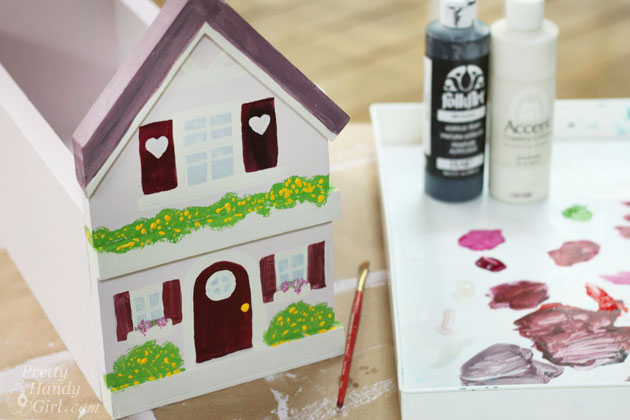
Use the craft paints to paint details like windows, shutters and a door onto the front of the caddy. If you’re feeling truly artistic, you can paint the back too.

Housewarming Gift Crate | Pretty Handy Girl

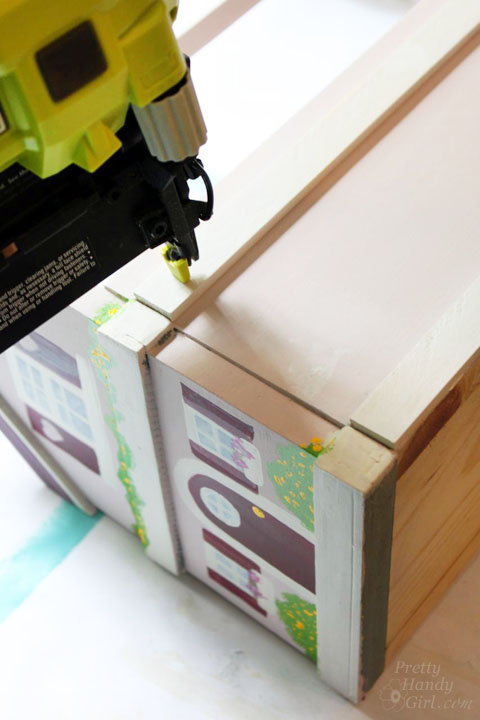
Nail the lattice trim pieces to the sides of the caddy for a little decoration.

Housewarming Gift Crate | Pretty Handy Girl

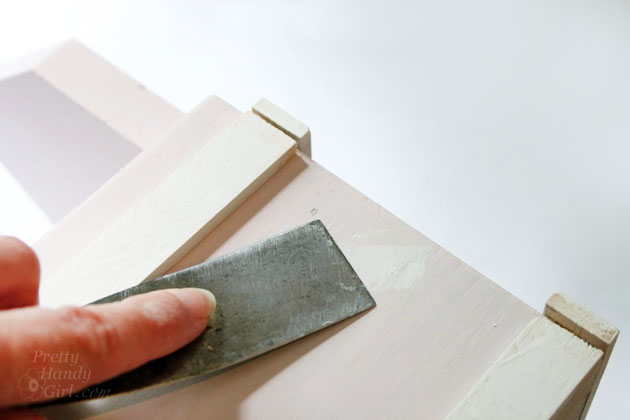
Putty all nail holes.

Housewarming Gift Crate | Pretty Handy Girl

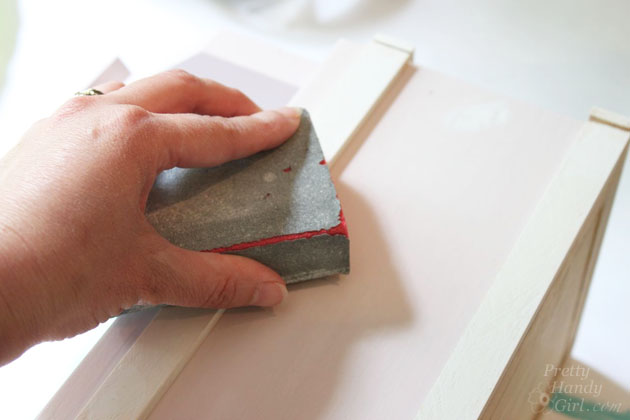
Sand the putty smooth after it has dried. Touch up paint the putty holes.

Housewarming Gift Crate | Pretty Handy Girl

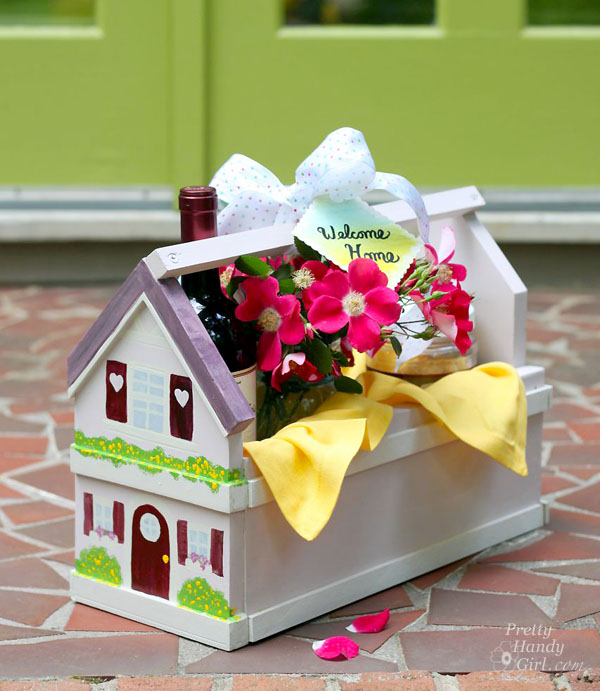
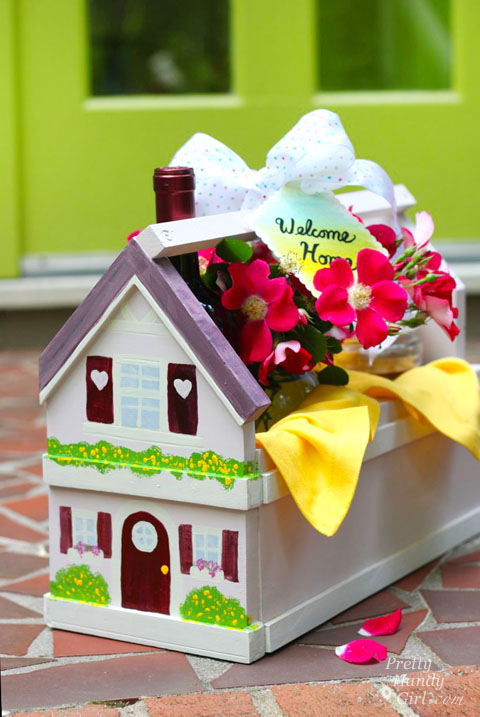
Fill your caddy with wine, flowers, food or other goodies to celebrate the new homeowners.

Housewarming Gift Crate | Pretty Handy Girl

The recipient will be tickled pink. Haha, get it, a little pink house?

PHGFancySign


Pin for later!
Chalkboard Arrow Sign (Mystery Thrift Off) | Pretty Handy Girl

Chalkboard Arrow Sign (Mystery Thrift Off) | Pretty Handy Girl

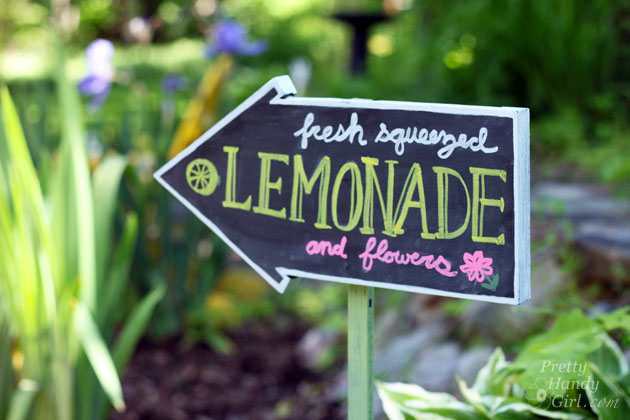
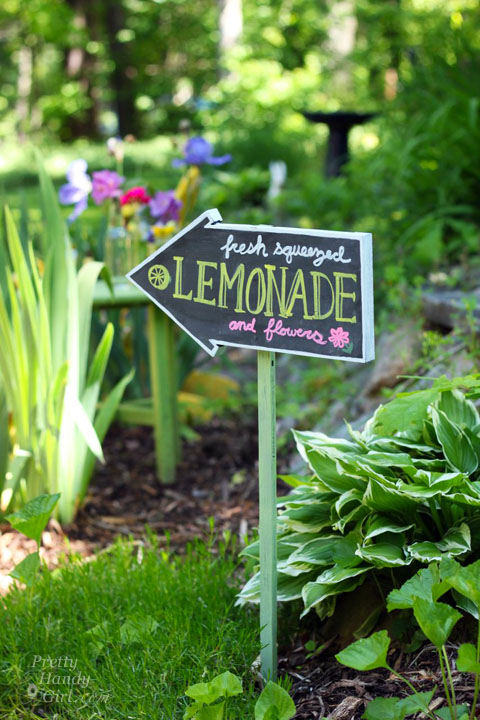
Are you having a yard sale, a lemonade stand or an open house? This Chalkboard Arrow Sign is an easy DIY project that will bring more attention to your event.

But, let me back up to explain exactly how this Chalkboard Arrow Sign came to be. Have you been following #TheMysteryThriftOff challenge? This is the brainchild of Lindsey from Better After. She chose a handful of people to take part in this challenge. After scouring her local thrift shops for ugly and hopeless items, she shipped off the chosen items to those of us in the challenge. I signed up—because frankly—I love a challenge. And, I love saving ugly items from the landfill. This week she’ll be revealing all the Mystery Thrift Off participants transformations and you can vote on your favorite!

But, when the box arrived from Lindsey, I was terrified to open it up! I mean what if she had sent me a ceramic scabies bear!  Yikes. You can imagine my relief when I opened the box to reveal this dated Christmas village.

Chalkboard Arrow Sign (Mystery Thrift Off) | Pretty Handy Girl

Not too bad looking is it.? Truth be told, it was falling apart and the colors were hunter green, colonial blue, mauve and fleshy tan.

Chalkboard Arrow Sign (Mystery Thrift Off) | Pretty Handy Girl

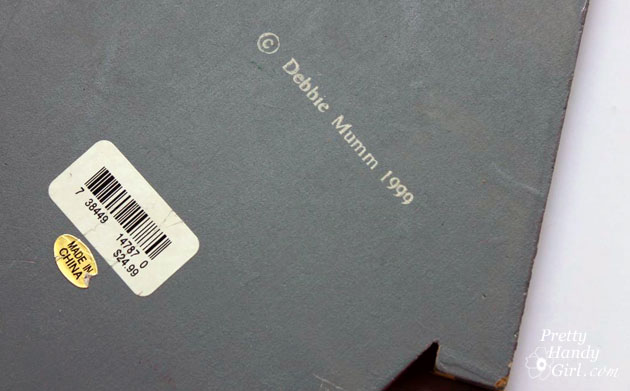
I flipped it over to reveal that this was the fine art of Ms. Debbie Mumm in 1999. And someone paid $24.99 for it! I certainly hope Lindsey didn’t spend that much. I think 1999 is calling and they want their village back.

Chalkboard Arrow Sign (Mystery Thrift Off) | Pretty Handy Girl

I’ll quickly show you how I transformed this village and then we’ll get to the tutorial for how you can make your own Chalkboard Arrow Sign.

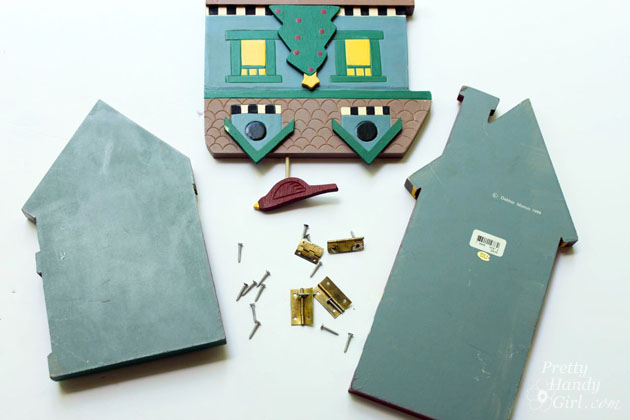
The hinges were easy removed from between the houses. I kept them for another project.

Chalkboard Arrow Sign (Mystery Thrift Off) | Pretty Handy Girl

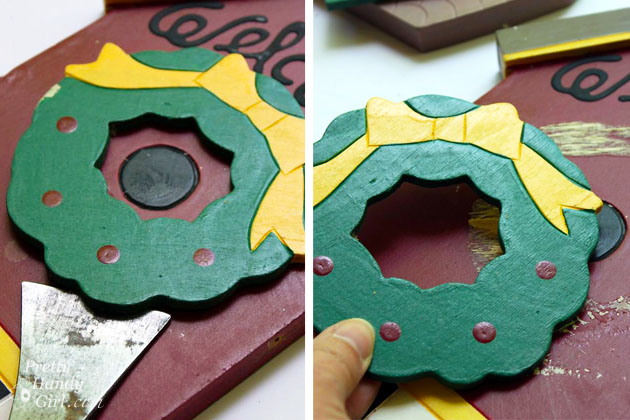
The wooden embellishments were popped off with a pry bar.

Chalkboard Arrow Sign (Mystery Thrift Off) | Pretty Handy Girl

I also saved these embellishments for a future project.

Chalkboard Arrow Sign (Mystery Thrift Off) | Pretty Handy Girl

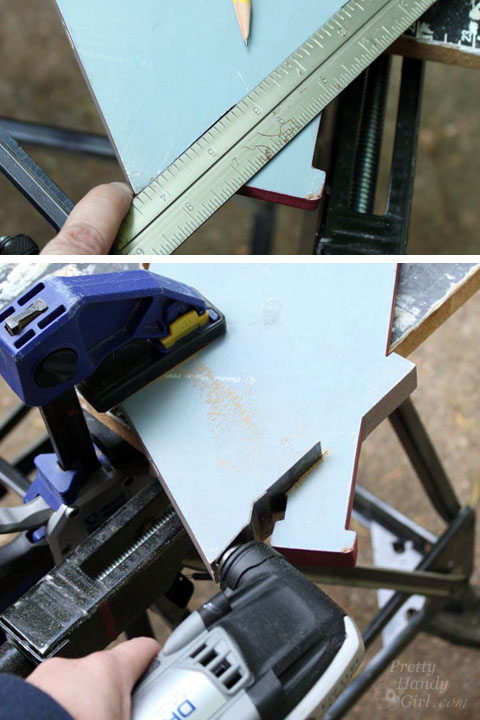
To create the arrow shape, I chose the middle tall building and cut off the chimney with my Dremel Multi-max.

Chalkboard Arrow Sign (Mystery Thrift Off) | Pretty Handy Girl

Here’s where you can pick up the tutorial. 🙂

Materials:

  • 9″ x 14″ piece of smooth plywood, masonite or wood board
  • Jigsaw
  • Sander
  • Valspar Gray Spray Primer
  • Chalkboard paint
  • Foam roller
  • Chalk Ink
  • 1″ x 1″ square garden stake (look in the garden section of Lowe’s)
  • Finish Nails
  • Wood glue

Instructions:

Print out the Chalkboard Arrow Template. It should fit on a legal sheet of paper. Cut out the template and transfer the shape to your wood.

Use a jigsaw to cut out the shape. Sand any rough edges from your plywood. Read more

Dragonfly Garden Decor using a Dollar Store Whisk and Skewer | Pretty Handy Girl

Dragonfly Garden Decor using a Dollar Store Whisk and Skewer | Pretty Handy Girl

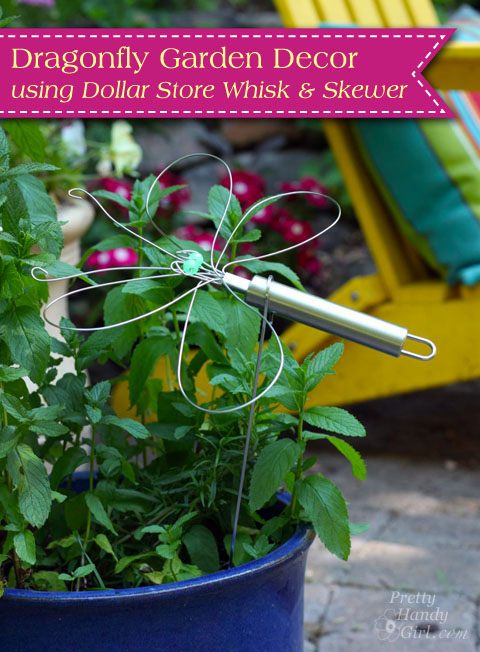
Summertime is coming and I’m enjoying spending more time in our garden. I’m always looking for cute craft ideas that I can do with the kids while school is out. When I saw this great idea for making a wire whisk dragonfly on Morena’s Corner, I knew I had to try it. I altered Morena’s plans slightly using plastic beads and used a skewer for the plant stake. The cost and materials are minimal to make this Dragonfly Garden Decor using a Dollar Store Wire Whisk and Skewer. This craft can be done with the kids, but you’ll need to be the one to cut and bend the wires and watch out for the pokey edges with real little kids.

Dragonfly Garden Decor Materials:

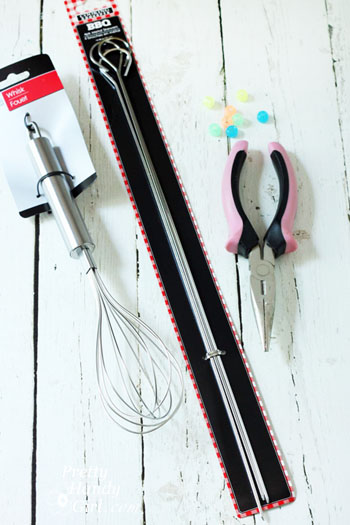
Dragonfly Garden Decor using a Dollar Store Whisk and Skewer | Pretty Handy Girl

  • Wire whisk
  • Wire skewer
  • Beads
  • Needle-nosed pliers

Dragonfly Garden Decor Instructions:

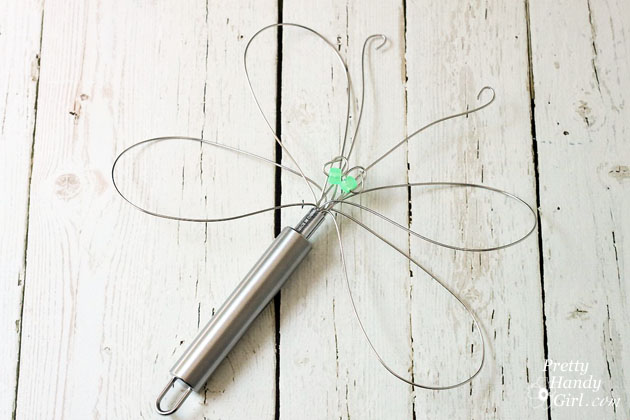
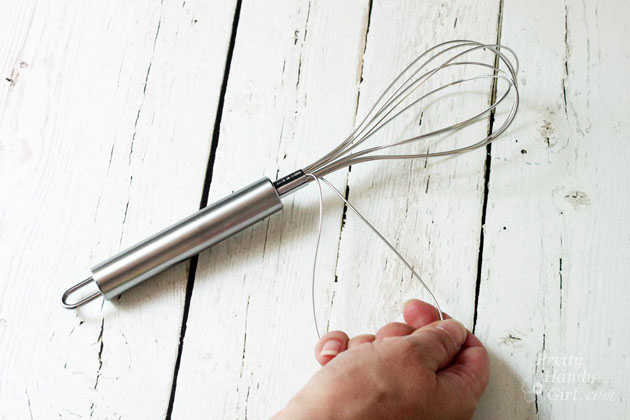
Begin by bending the first wire loop out to the side to create a wing.

Dragonfly Garden Decor using a Dollar Store Whisk and Skewer | Pretty Handy Girl

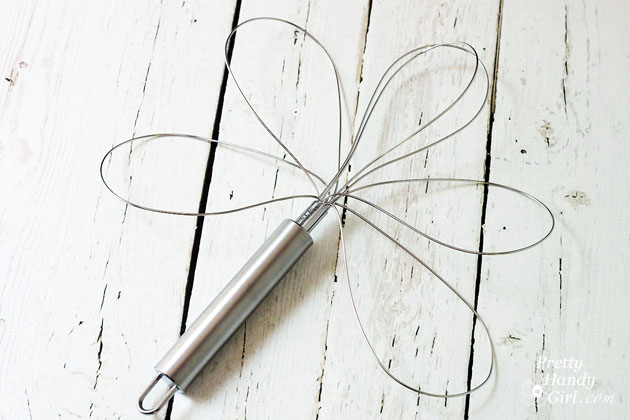
Repeat with three more loops (2 on each side).

Dragonfly Garden Decor using a Dollar Store Whisk and Skewer | Pretty Handy Girl

Use the needle-nosed pliers to cut one wire loop into two short pieces as shown below. (You might need to twist the pliers back and forth to cut the wires.) Read more

How to Refinish Rusted & Scratched Appliances | Pretty Handy Girl

How to Refinish Rusted & Scratched Appliances | Pretty Handy Girl

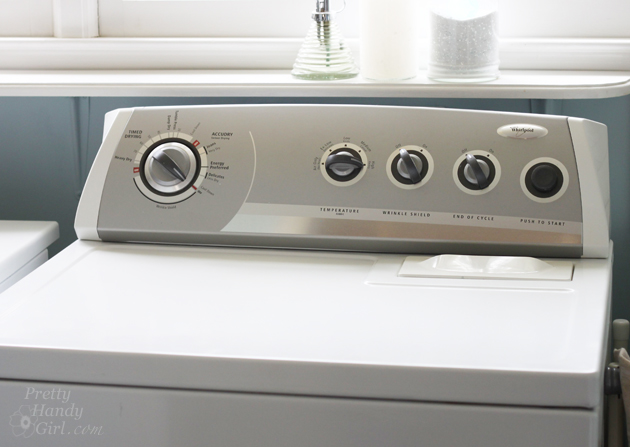
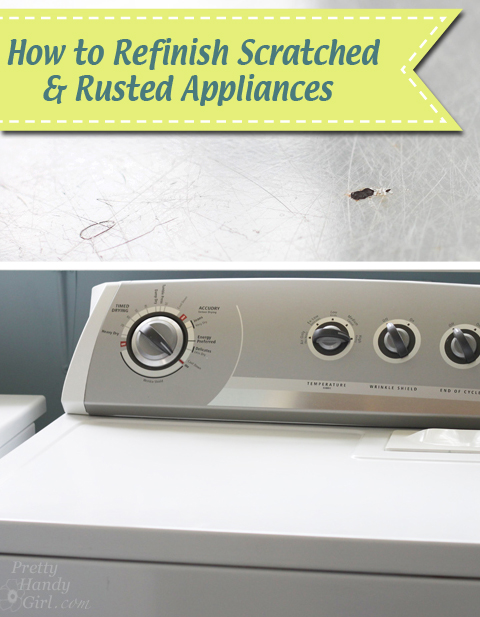
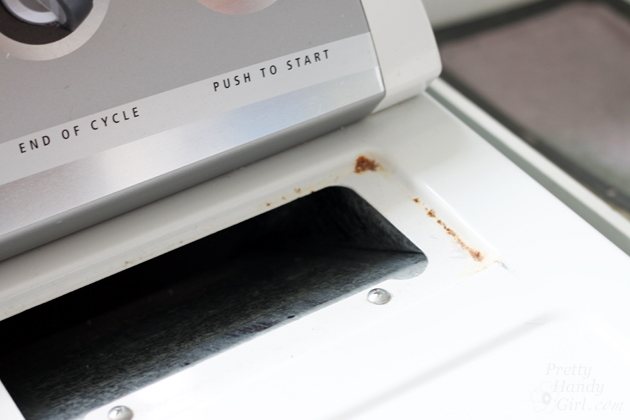
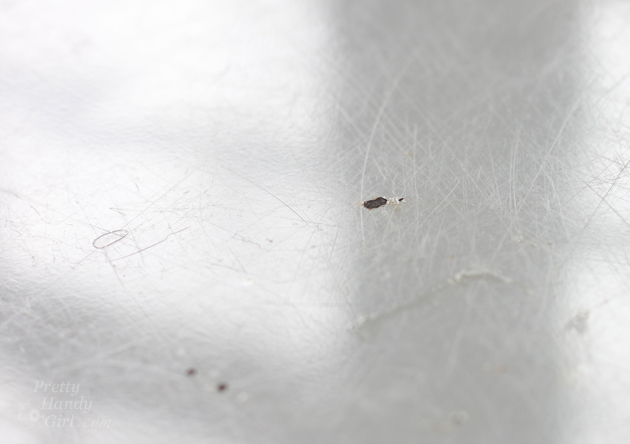
Do you have an appliance that has scratches and/or rust spots? Unfortunately over time the rust will get worse if you don’t deal with it.

How to Refinish Rusted & Scratched Appliances | Pretty Handy Girl

Today I want to show you how to refinish scratched and rusted appliances so you can extend the life of your appliances and make them look almost like new again.

How to Refinish Rusted & Scratched Appliances | Pretty Handy Girl

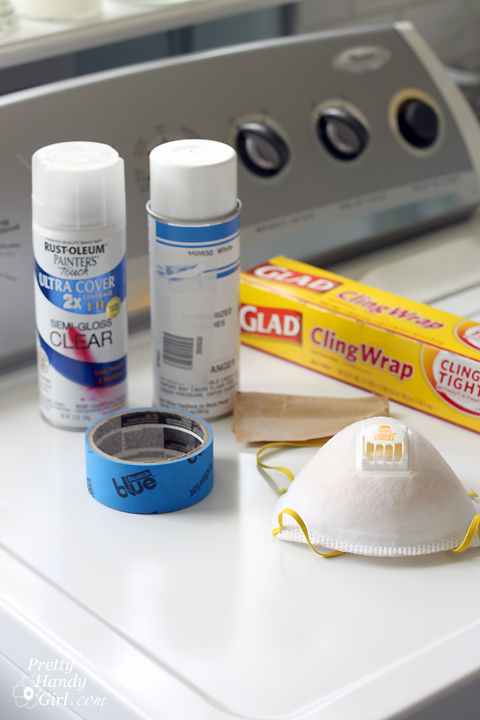
Before you get ready to tackle this project, you’ll need to order spray paint specifically for your appliance. If your brand doesn’t carry a touch up spray paint you can try the universal spray paint by Rustoleum. Or buy the liquid touch up paint and only paint the rust spots.

Be aware that all white paint is not the same color. However,  typically the colors are usually the same within a specific brand. (i.e. All Whirlpool white appliances are painted with the same white.)

How to Refinish Rusted & Scratched Appliances | Pretty Handy Girl

Materials:

Instructions:

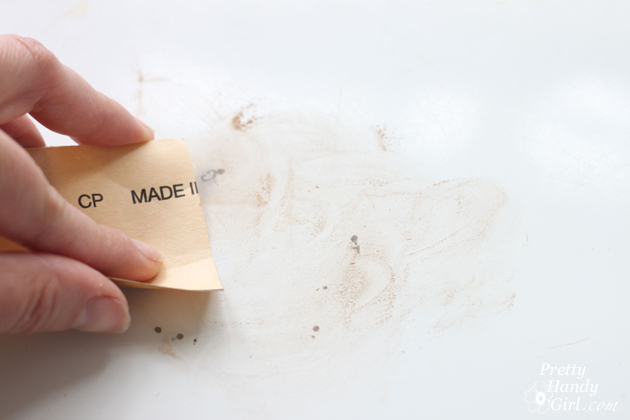
Begin by sanding any rust spots down to the metal. Sand the entire surface lightly to minimize scratches.

How to Refinish Rusted & Scratched Appliances | Pretty Handy Girl

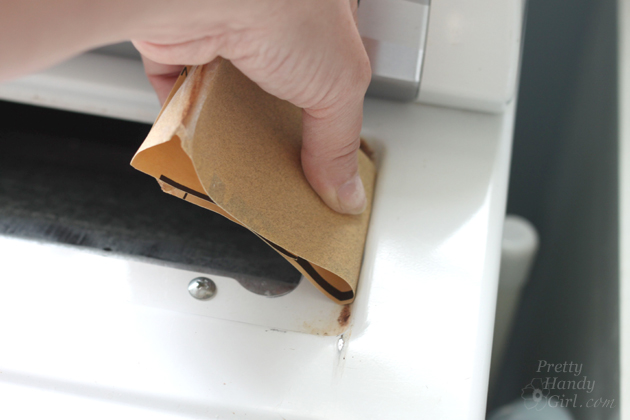
Fold the sandpaper in half to get into grooves and tight spots.

How to Refinish Rusted & Scratched Appliances | Pretty Handy Girl

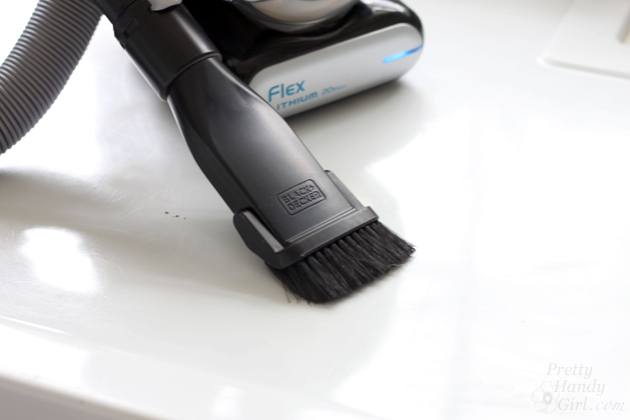
Vacuum up any sanding dust and dirt.

How to Refinish Rusted & Scratched Appliances | Pretty Handy Girl

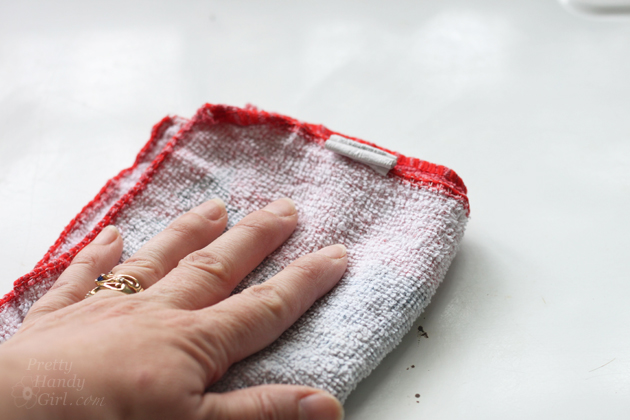
Use a clean damp cloth to wipe any additional dust off your appliance.

How to Refinish Rusted & Scratched Appliances | Pretty Handy Girl

If you can drag your appliance outside, that’s the best way to spray paint it. But, if you can’t, you can mask off an area around your appliance with cardboard and newspaper. You can also use saran wrap to mask off tricky areas.

How to Refinish Rusted & Scratched Appliances | Pretty Handy Girl

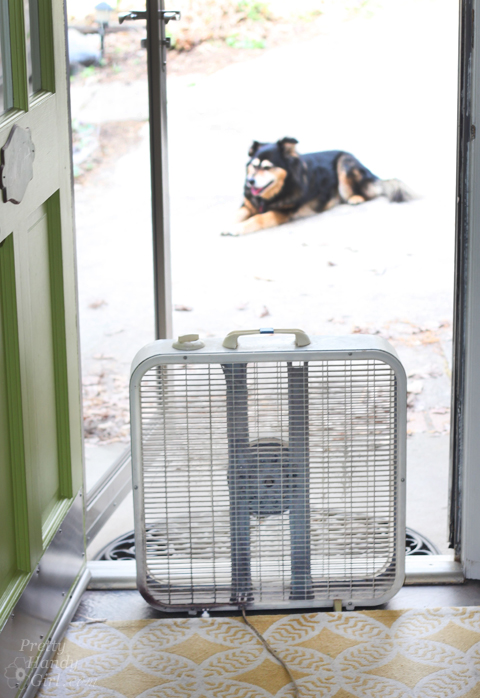
If you are working inside, crack a window and open a door. Use a fan to pull air away from your work area. Send the kids and pets outside if you are painting indoors.

How to Refinish Rusted & Scratched Appliances | Pretty Handy Girl

Put the respirator mask on. Spray the appliance with the spray paint. Use back and forth strokes that extend off the appliance and onto the masked area. If you stop at the edge you’ll have puddles of paint. A light coat is all you need for your first coat. Read more

How to Build a Rustic Crate Centerpiece (No Power Tools Needed!) #DIYCourage | Pretty Handy Girl

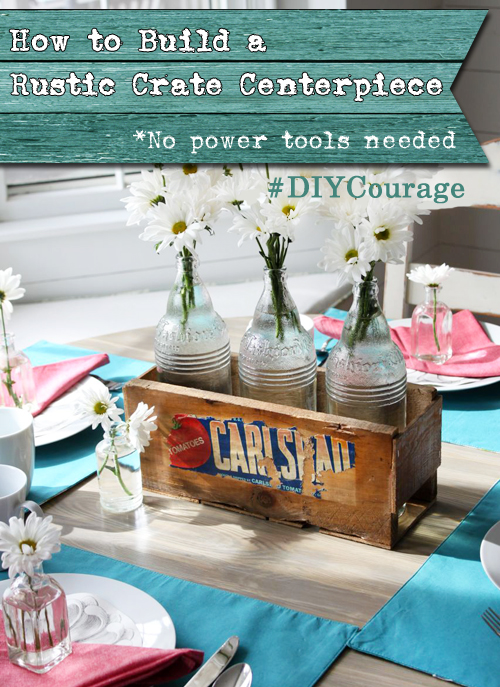
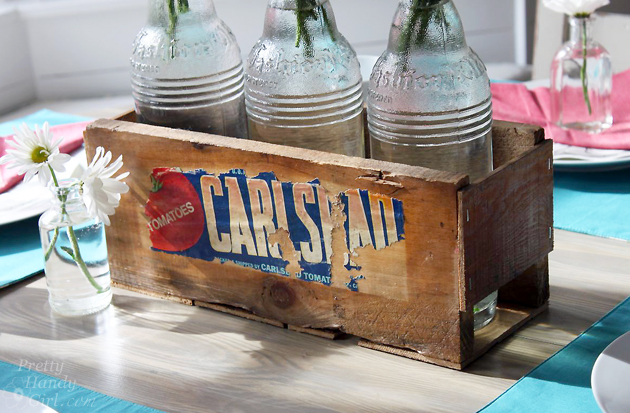
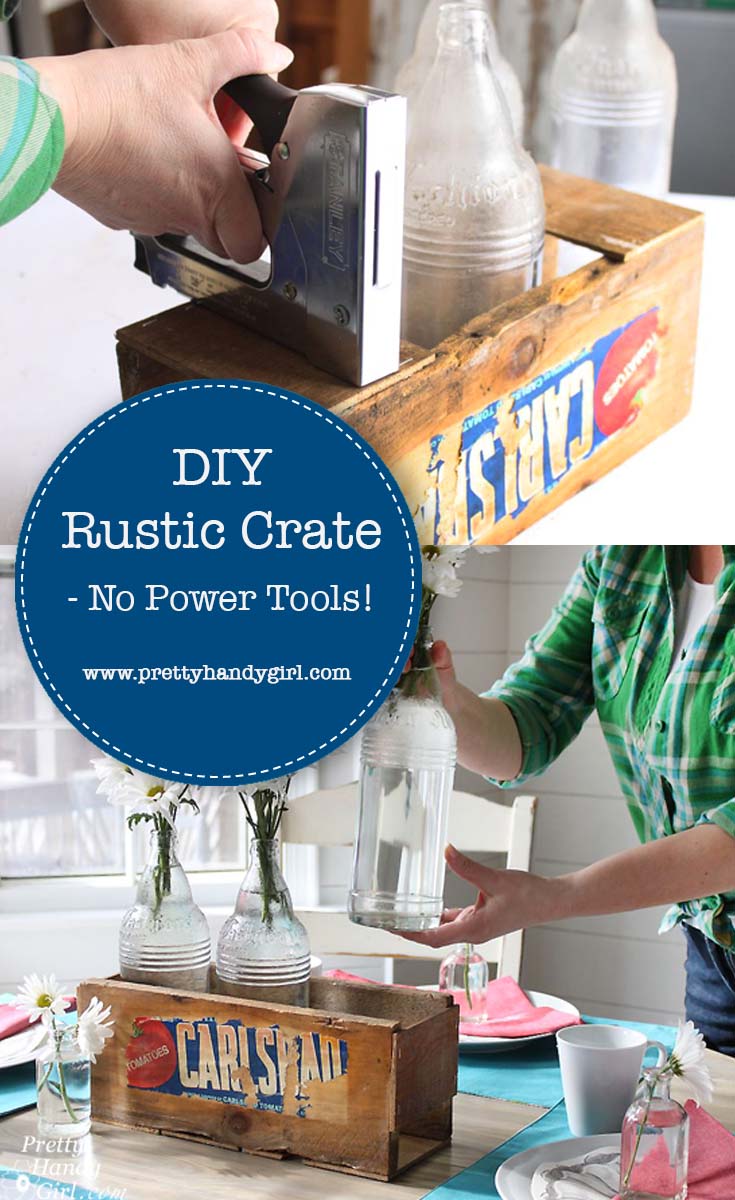
It occurred to me the other day that many woodworking projects may deter people simply because they don’t have power tools or they don’t know how to use them yet. For that reason, I created this tutorial to help you Build a Vintage Produce Crate Centerpiece using no power tools!
How to Build a Rustic Crate Centerpiece (No Power Tools Needed!) #DIYCourage | Pretty Handy Girl

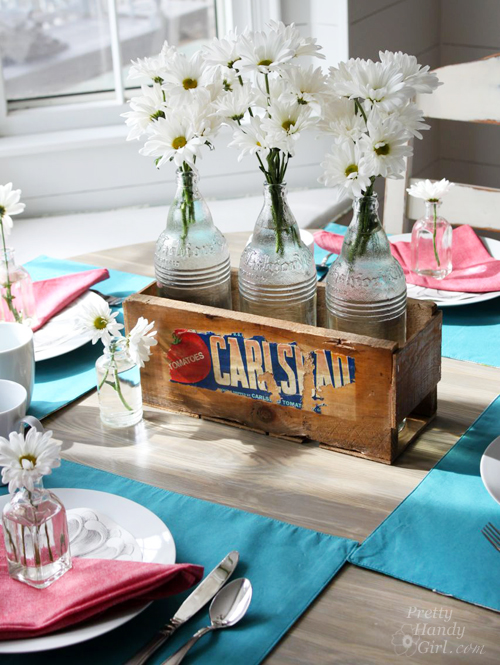
Build a Vintage Produce Crate Centerpiece – No Power Tools!

Many people are turned off by DIY projects because they fear using a power tool. Although I can tell you, I know you can learn how to use power tools safely, let’s go ahead and skip them today so you can get your hands busy creating a beautiful crate. This little vintage produce crate can be used anywhere in your house on display. Use it as a centerpiece, or in the office to hold files or utensils, or fill it with flowers or small items to give as a gift.

Regardless of how you use this little vintage crate, you’re going to love making it.

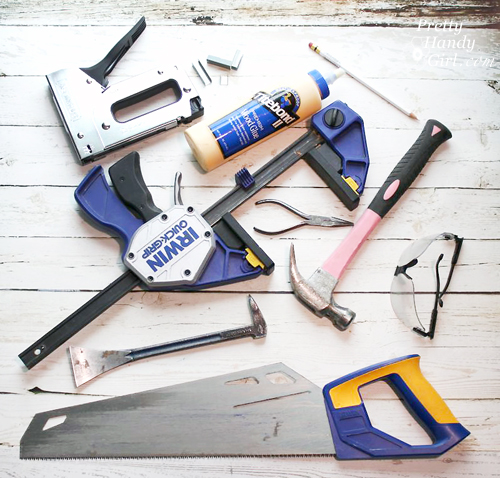
Materials:

(I’ve included affiliate links for your convenience. I earn a small percentage from a purchase using these links. There is no additional cost to you. You can read more about affiliate links here.)

How to Build a Rustic Crate Centerpiece (No Power Tools Needed!) #DIYCourage | Pretty Handy Girl

Optional: 

Instructions:

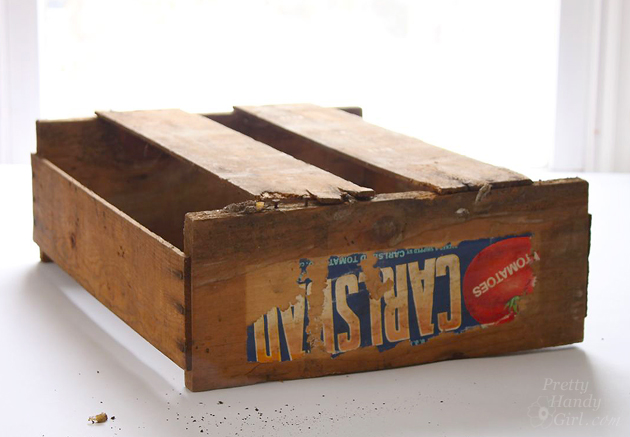
I happen to stumble across this vintage produce crate and vintage bottles that a neighbor was giving away. If you don’t have a neighbor who periodically gives away vintage produce crates, you can ask your local grocery store for produce crates you can salvage. Or you can purchase a produce crate on Amazon. Or look for thin slats at the hardware store to use for this crate. (Then you can learn how to fake the Aged Wood Look yourself.)

How to Build a Rustic Crate Centerpiece (No Power Tools Needed!) #DIYCourage | Pretty Handy Girl

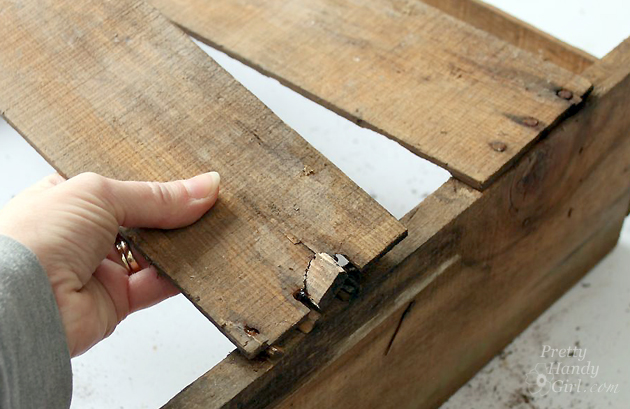
The crate I had was very rustic. So rustic, that I was able to pull the bottom slats off the crate with my bare hands. (In hindsight, I should have been wearing my gloves to avoid splinters.)

How to Build a Rustic Crate Centerpiece (No Power Tools Needed!) #DIYCourage | Pretty Handy Girl

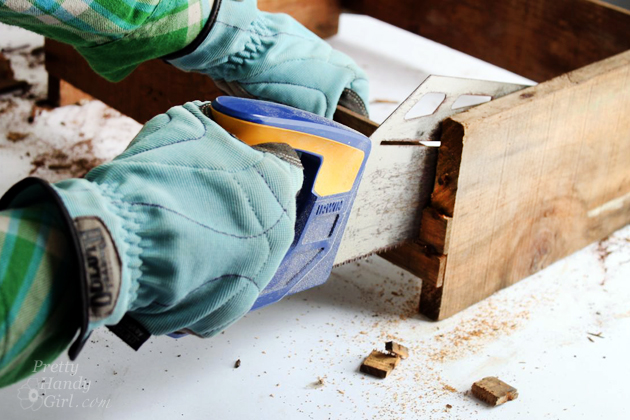
If you want to spare your hands, use a handsaw to remove the slats. Set them aside for use later.

How to Build a Rustic Crate Centerpiece (No Power Tools Needed!) #DIYCourage | Pretty Handy Girl

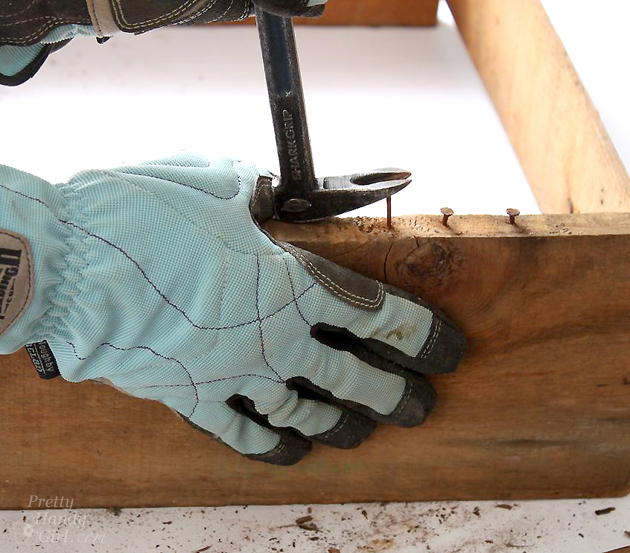
After removing the slats, pry up the nails with a prybar. Be sure to wear gloves to protect your hands. Stubborn nails can usually be wiggled out with the needle-nosed pliers.

How to Build a Rustic Crate Centerpiece (No Power Tools Needed!) #DIYCourage | Pretty Handy Girl

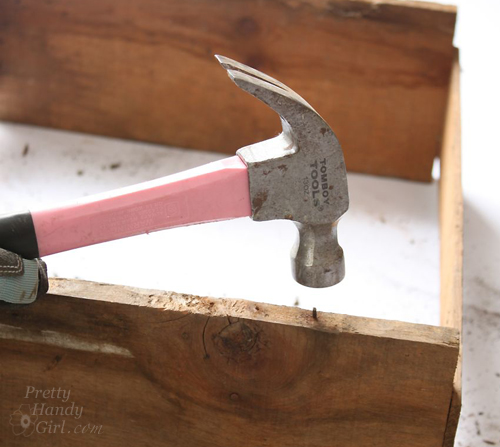
Any nails that are too rusty to remove can be hammered into the wood.

How to Build a Rustic Crate Centerpiece (No Power Tools Needed!) #DIYCourage | Pretty Handy Girl

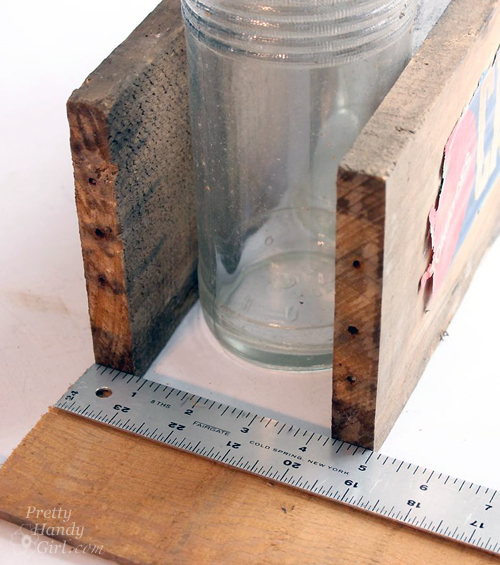
Align the front and back of the produce crate with the bottles or vases you will display in your crate. Or use 5″ as a general measurement from the outside front to outside back. Measure the distance to cut your sides, or just lay one of the slats next to the front and back and mark where to cut it with a pencil.

How to Build a Rustic Crate Centerpiece (No Power Tools Needed!) #DIYCourage | Pretty Handy Girl

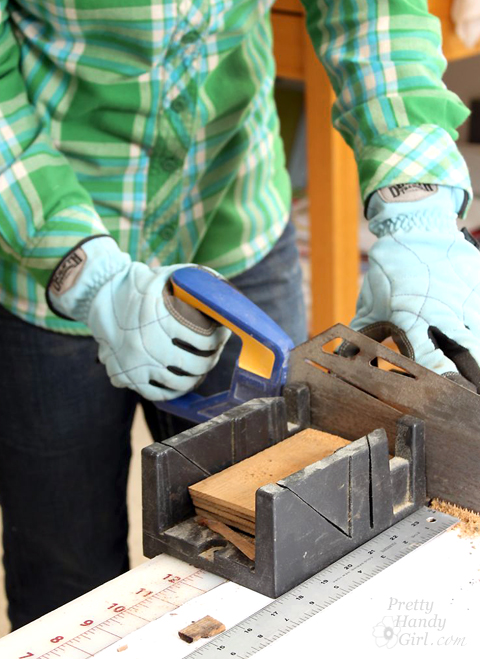
Cut down the salvaged slats to 5″ widths (or your own bottle measurement). Using a miter box will help keep your cuts square.

How to Build a Rustic Crate Centerpiece (No Power Tools Needed!) #DIYCourage | Pretty Handy Girl

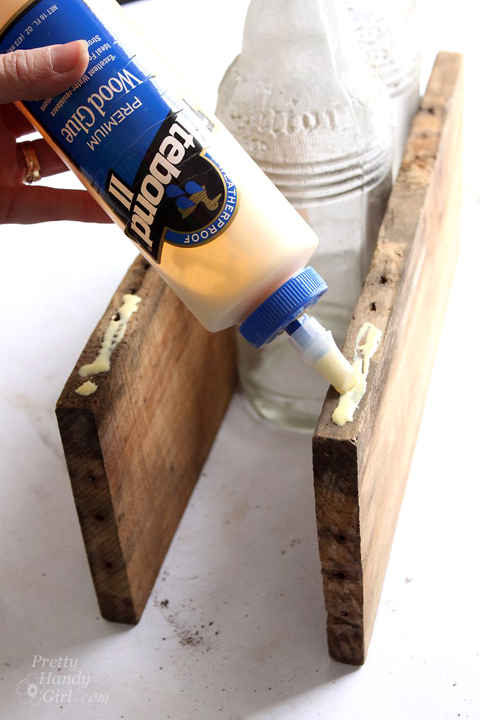
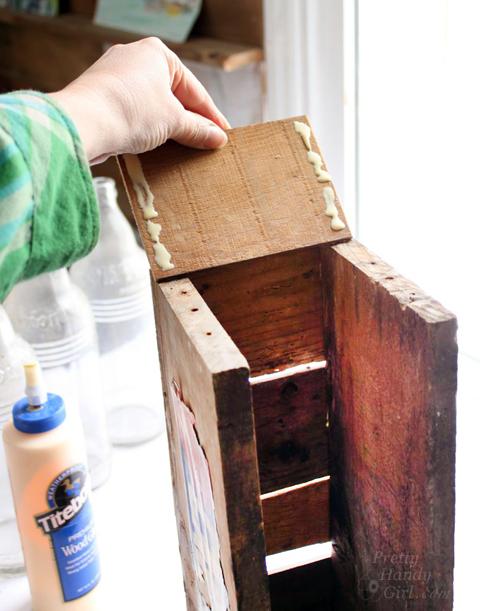
Squeeze wood glue onto the bottom of the produce crate front and back pieces.

How to Build a Rustic Crate Centerpiece (No Power Tools Needed!) #DIYCourage | Pretty Handy Girl

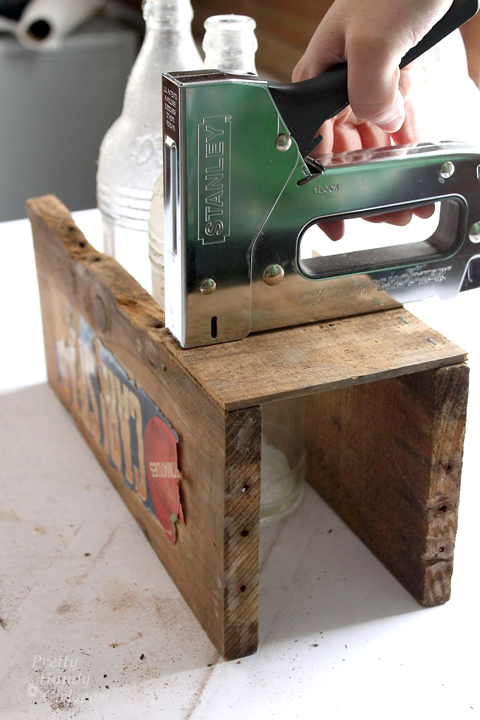
Set one of the 5″ slats into the glue and staple the slat into the crate front and back. Three staples per side should hold the slat while the glue dries. If the slat doesn’t lie flush with the crate, you might need to clamp the slat while the glue dries.

How to Build a Rustic Crate Centerpiece (No Power Tools Needed!) #DIYCourage | Pretty Handy Girl

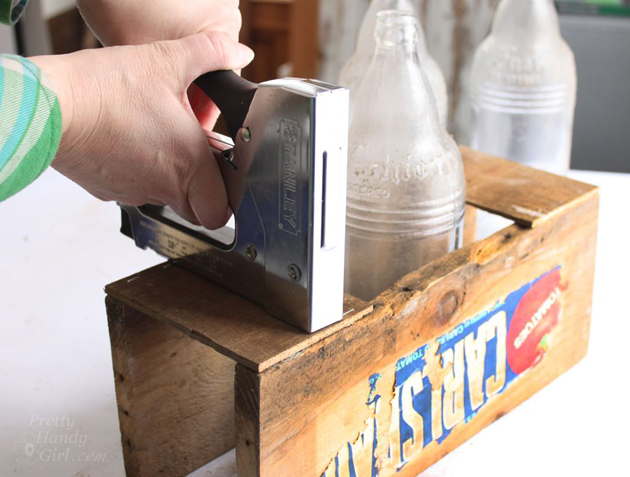
Repeat for the opposite side by stapling the slat to the bottom. Continue working toward the center of your crate.

How to Build a Rustic Crate Centerpiece (No Power Tools Needed!) #DIYCourage | Pretty Handy Girl

Attach one slat to the sides of the crate with wood glue and staples.

How to Build a Rustic Crate Centerpiece (No Power Tools Needed!) #DIYCourage | Pretty Handy Girl

You’ll notice I left spaces between the slats for that vintage produce crate look. If you want, you can butt the slats tight up against one another. Clamp your crate as the wood glue dries.

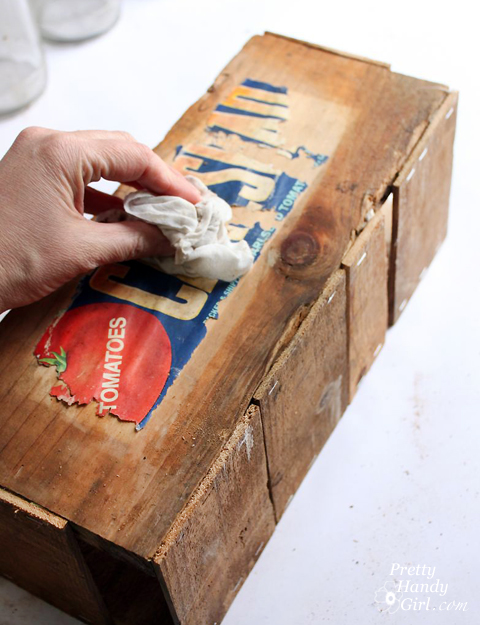
If you have a true vintage produce crate, you might need to secure what is left of the label. Gently wipe the crate and label with a damp rag.

How to Build a Rustic Crate Centerpiece (No Power Tools Needed!) #DIYCourage | Pretty Handy Girl

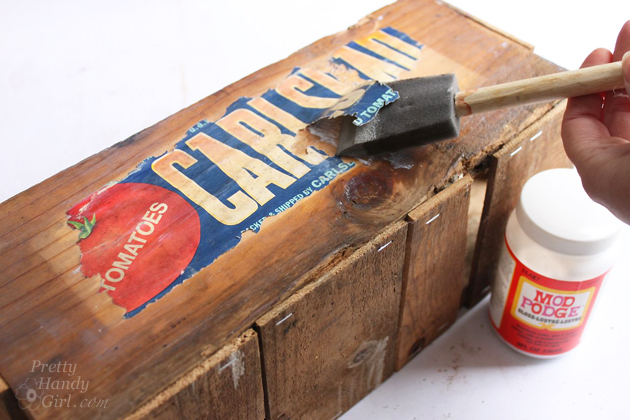
Apply a coating of Mod Podge to the underside of any parts of the label that are peeling up. Then apply a second coat of mod podge over the entire label to seal it to the crate.

How to Build a Rustic Crate Centerpiece (No Power Tools Needed!) #DIYCourage | Pretty Handy Girl

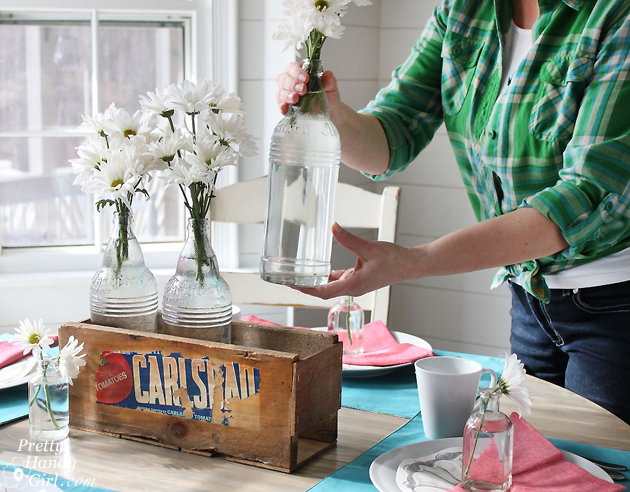
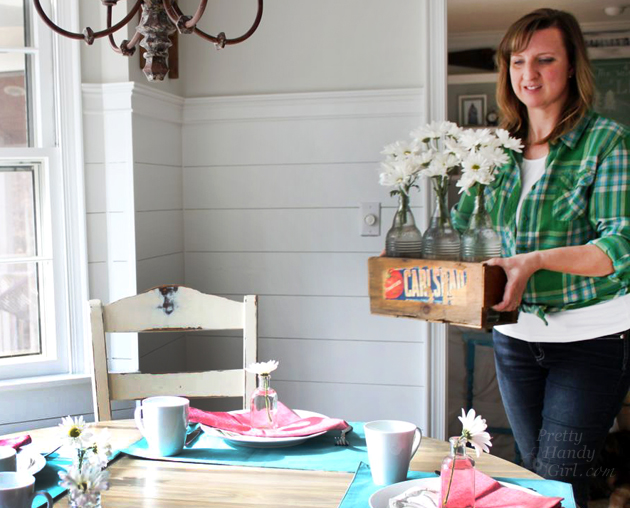
When the crate is dry, load it up with vintage bottles filled with fresh flowers.

How to Build a Rustic Crate Centerpiece (No Power Tools Needed!) #DIYCourage | Pretty Handy Girl

Place it on your table and invite a friend for lunch.

How to Build a Rustic Crate Centerpiece (No Power Tools Needed!) #DIYCourage | Pretty Handy Girl

The conversation will surely turn to your Rustic Produce Crate Centerpiece you made yourself.

How to Build a Rustic Crate Centerpiece (No Power Tools Needed!) #DIYCourage | Pretty Handy Girl

Which you can proudly say you made…by hand…without any power tools.

How to Build a Rustic Crate Centerpiece (No Power Tools Needed!) #DIYCourage | Pretty Handy Girl

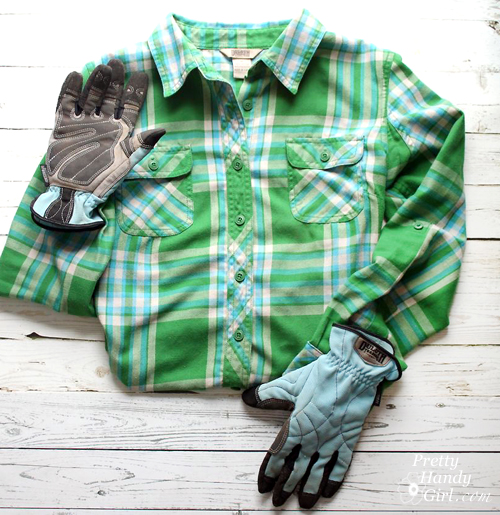
Want to know where I got my shirt? The Duluth Trading Company Crosscut Performance Flannel Shirt is super comfortable. It’s like wearing your PJs all day. The flexible gussets in the back give you more freedom of movement while working. FYI, the crosscut flannel shirt is on clearance right now. If you don’t see the color you want, check back in early fall to snag your favorites (but don’t wait, they go fast.)

How to Build a Rustic Crate Centerpiece (No Power Tools Needed!) #DIYCourage | Pretty Handy Girl

PHGFancySign


Pin for later!
Build a Vintage Produce Crate Centerpiece using no power tools whatsoever! | Pretty Handy Girl #DIY #rusticcrate #DIYcrate