I was really inspired by Laura Putnam’s new book: DIY Rustic Modern Metal Crafts. I love the look of aged galvanized metal and knew that our home needed more of it. Today I’ll share with you a tutorial to create your own Rustic Metal Magnetic Window Frame, inspired by Laura’s Vintage Window Memo Board. But, you’ll definitely want to get a copy of Laura’s book to learn how to make 34 more storage and decor items using galvanized metal!
Materials:
(contains affiliate links)
- Old window
- Galvanized Metal
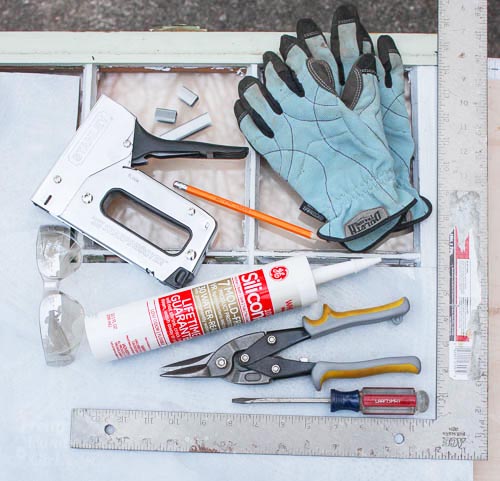
- Pencil
- Ruler or Carpenter square
- Tin snips
- Flat head screwdriver
- Staple gun with staples (1/2″ or longer)
- Gloves
- Safety glasses
Optional: Silicone Caulk (for more secure metal)
Instructions:
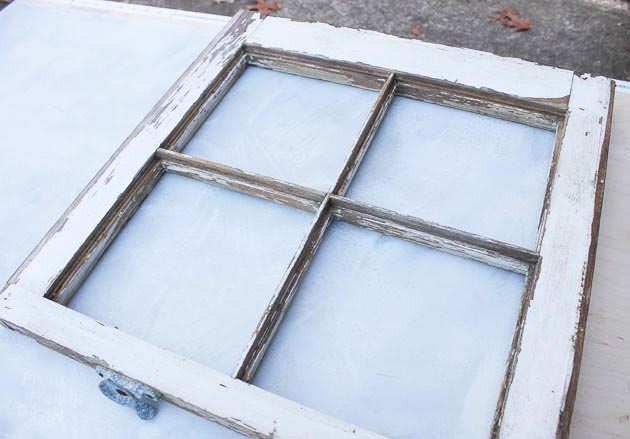
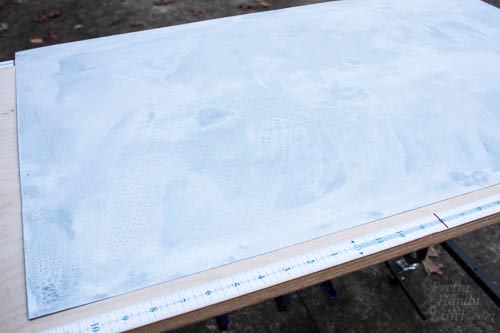
Ready to make your own Rustic Metal Magnetic Window Frame? If you have newer galvanized metal, you can easily add an aged patina to metal following this tutorial. Prepare ahead of time, because it might take up to 8 hours to get the look you want. The sheet you see below was left overnight in the solution to get a nice white patina.
Remove the glass panes from your old window.
Measure the size of each pane.
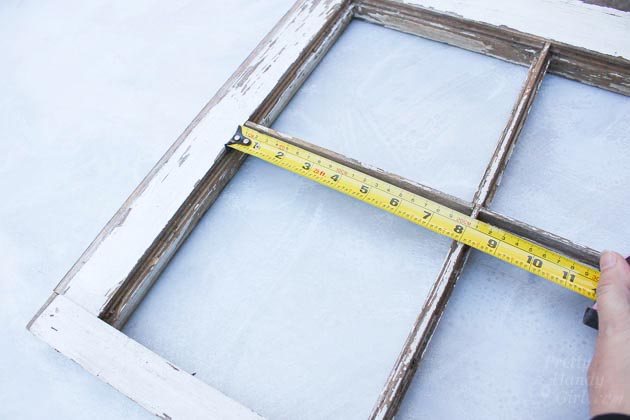
Transfer your measurements onto the galvanized metal sheet. Read more