Rustic Scrap Wood Shadow Box Frame | Pretty Handy Girl

Okay all you woodworkers. You know as well as I do that you have an ever growing scrap wood pile that you don’t want to throw away because you know you’ll use it one day.

Rustic Scrap Wood Shadow Box Frame | Pretty Handy Girl

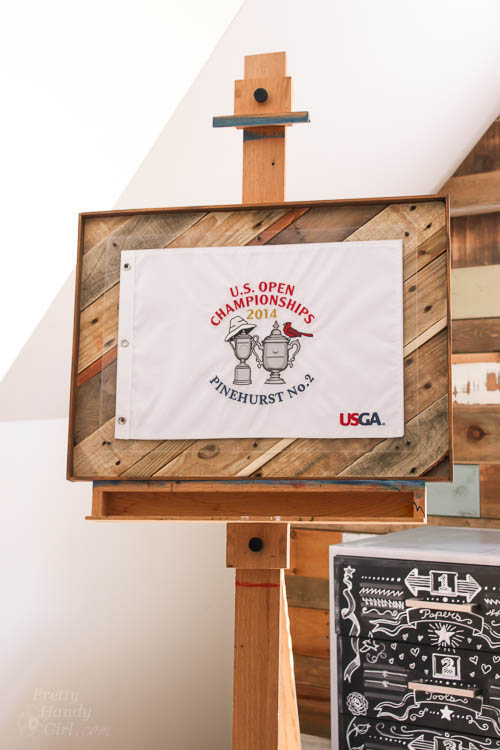
Well, today is that day! I challenge you to use some of that scrap wood to make a Scrap Wood Shadow Box Frame like this one.

But, if this isn’t your cup of tea, Sawdust Girl has an entire link up party of scrap wood projects. And you can link up your own scrap wood challenge too!

Okay, so the truth behind this project is that Pretty Handsome Guy has been begging me to frame his U.S. Open flag from Pinehurst almost two years ago. My poor hubby rarely asks for anything, and I figure he waited long enough.

Materials:

  • Scrap wood
  • Backer board (scrap bead board, masonite, thin plywood)
  • Construction glue
  • Lattice edging
  • Wood stain
  • Plexi-glass
  • D-hooks
  • Drill bit
  • Drill
  • Double stick foam tape
  • Brad nails
  • Nail gun or hammer
  • Machine screws
  • Saw (miter, jigsaw or Dremel UltraSaw)

Optional: Gorilla Glue

Instructions:

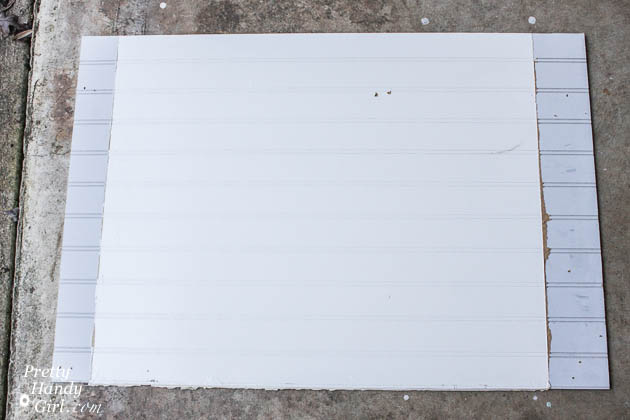
Cut backer board to the size you want for your frame.

Rustic Scrap Wood Shadow Box Frame | Pretty Handy Girl

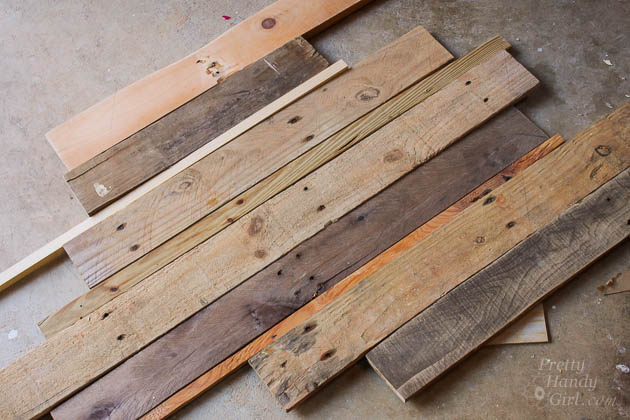
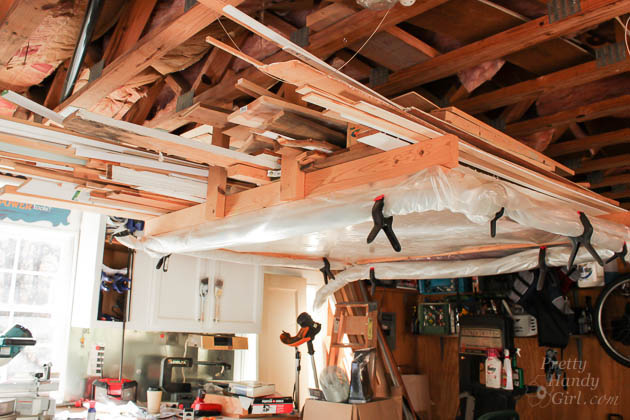
Lay out your scrap wood on top of the backer board until it is covered completely.

Rustic Scrap Wood Shadow Box Frame | Pretty Handy Girl

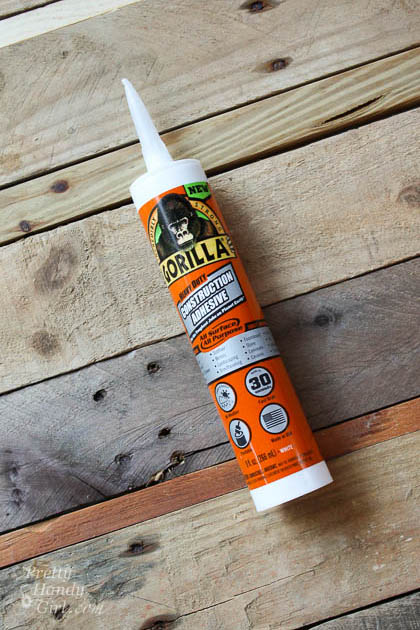
I tried Gorilla Glue Construction Adhesive on this project (Gorilla Glue sent me a tube of glue to try out.) It dried and held all the scrap wood firmly.

Rustic Scrap Wood Shadow Box Frame | Pretty Handy Girl

Lift up one piece of scrap wood at a time and apply construction glue onto the backer board. Read more

door stop title

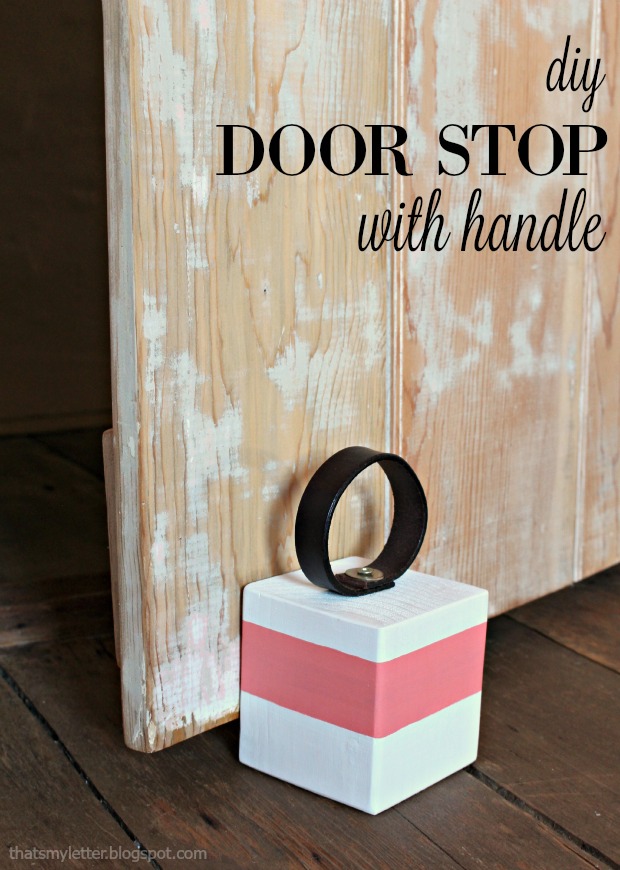
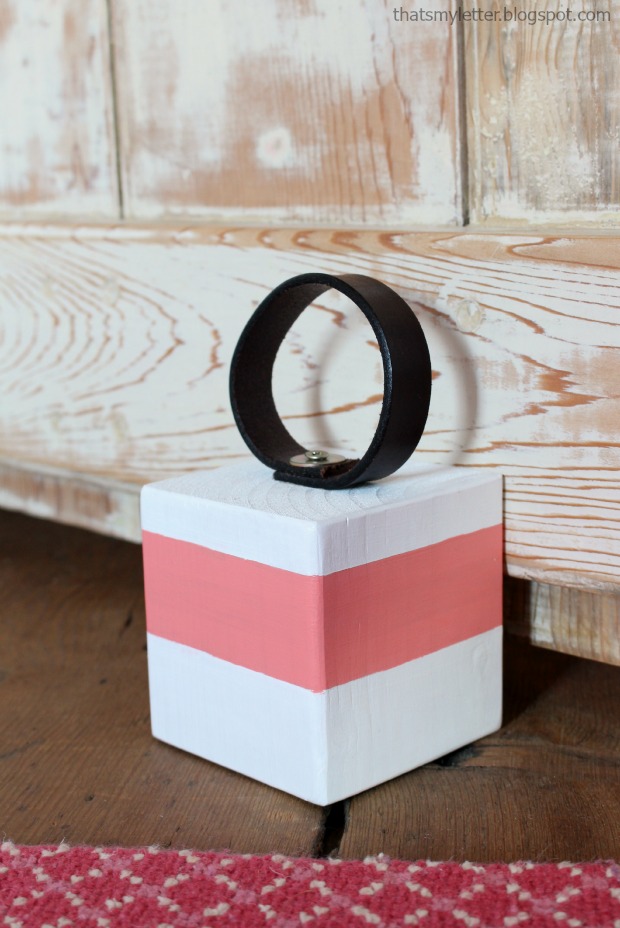
Hi Pretty Handy Readers!  Jaime here from That’s My Letter sharing a quick and easy scrap wood project.  Today I’ll show you the step by step tutorial for how to make a DIY Door Stop with a Leather Handle.

door stop 1

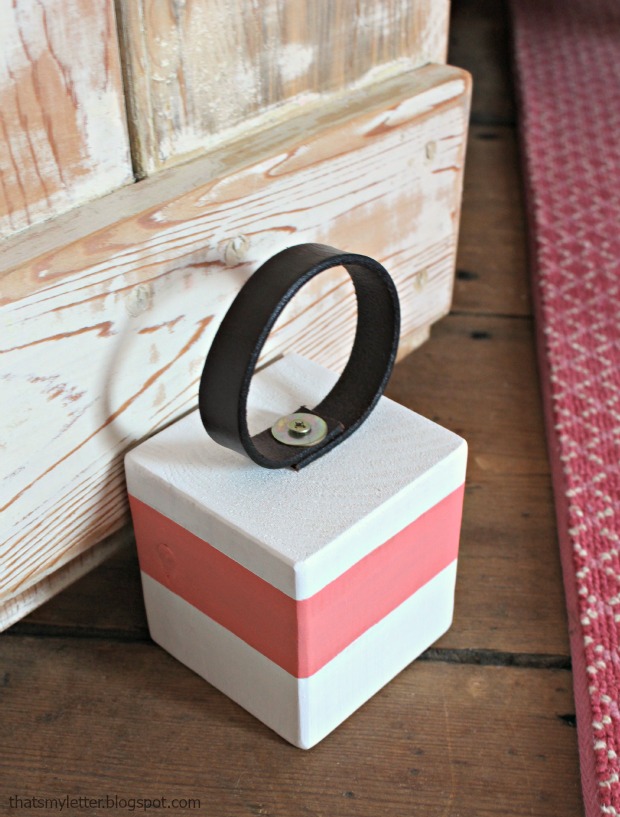
They say necessity is the mother of invention and this is clearly a case in point.  My girls’ bedroom door wouldn’t stay completely open on its own.  You might have a similar door in your home that you want to stay wide open except gravity keeps pulling it closed?  In our house nothing is level so naturally the door wants to close and we needed a door stop that was easy for my girls to use.

door stop 3

I used a piece of scrap 4×4 wood and made a simple leather loop handle so now my girls can easily move the door stop when they want to shut the door.  (Please note our door is solid wood and moderately heavy but if you have a very heavy door you might want a larger piece of wood.)

door stop 2

In addition to using the door stop to keep the door wide open, my girls also use it to keep the door slightly ajar at night.

Supplies:

  • 1 – 4×4 scrap wood @  3 1/2″
  • 1 – leather belt scrap 1/2″ w x 9″ l
  • 1 1/2″ wood screw
  • washer
  • drill & drill bits
  • glue
  • sandpaper
  • paint

Instructions:

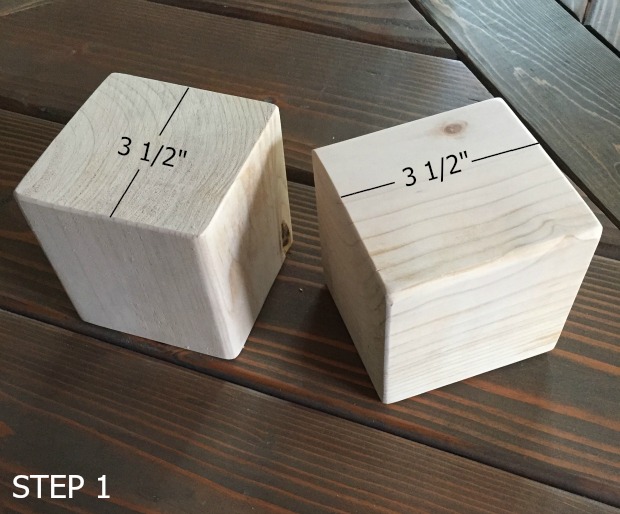
Step 1: Cut the 4×4 scrap wood at 3 1/2″ (or longer if you have a heavy door).  Sand edges smooth.

door stop step 1

Step 2: Paint as desired.  I used painters tape to mask off a portion to make the pink stripe. Read more

state-pride-magnetic-key-holder-22

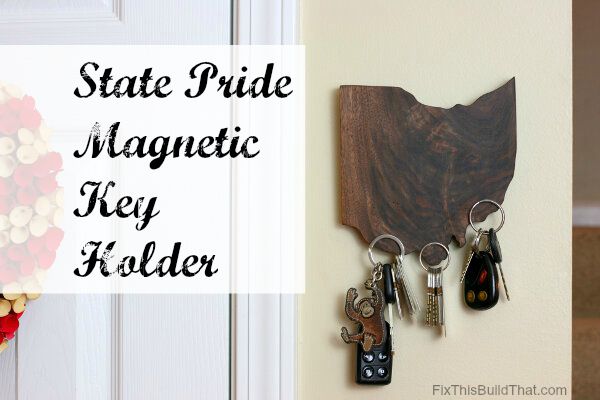
State Pride Magnetic Key Holder

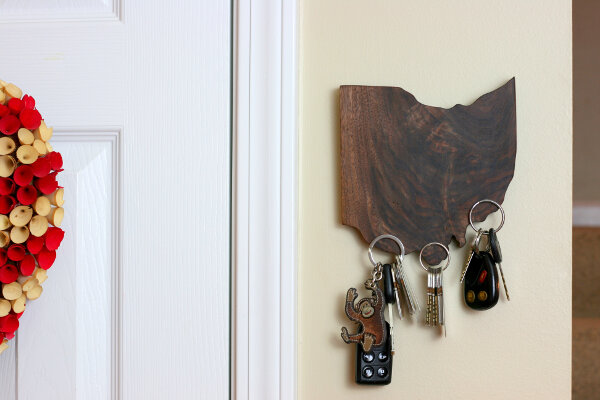
Today on the Rockstar DIY stage is Brad! Brad is our first guy rocker to join the tour. He has an amazing creative brain and woodworking skills that will blow your mind. Brad has created this State Pride Magnetic Key Holder for you to build. And if you look close you’ll notice that it’s magic because there are no hooks in sight!

I told you he’d blow your mind. Brad normally rocks on his home turf at FixThisBuildThat.
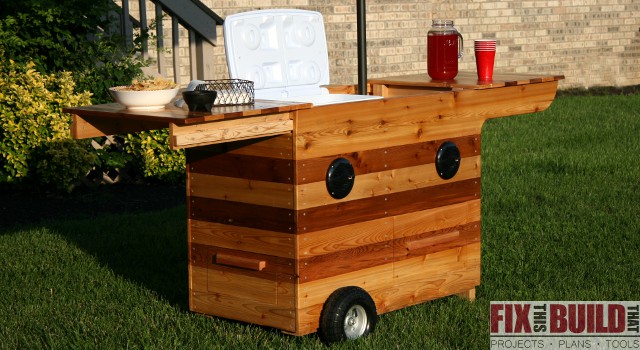
You may have seen his amazing Party Station recently. This cart comes complete with a spot for your beverage cooler, storage drawers and speakers. See, I told you he rocks!

Rockstar DIY Series

I hear the whine of the scroll saw now, so let’s give it up for Brad!

page_break_2

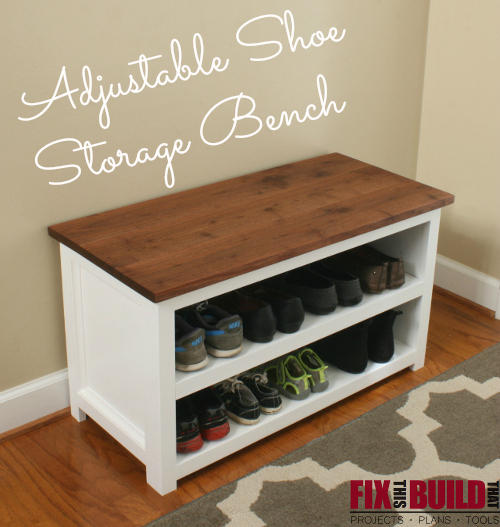
Hey, everyone! Like Brittany said, I’m Brad from FixThisBuildThat.com. My site is all about helping you with Woodworking & DIY Projects, Posts and Plans. And today I’m happy to be here on Pretty Handy Girl to show you how to make this fun State Pride Magnetic Key Holder. If you want to check out some of my other work you can see one of my most popular posts, the Adjustable Shoe Storage Bench.
I’ve always been in love with state signs and cut outs and I’ve made several large state signs. But I wanted do something smaller, and I also wanted to solve the issue of always looking for my keys. In my house finding a set of keys is a little like playing Marco Polo…except the keys don’t usually call back!

I had a really nice piece of figured walnut I wanted to use for something and that’s when it hit me. State sign + really nice wood + key holder = Awesome project. I’d seen some similar things around the interwebs so I knew the perfect project to solve my issue.

Here is what you’ll need for this project.

Materials:

  • Approx 6″x6″ piece of 3/4″ wood (size varies by state)
  • 12 neodynium super magnets – 0.47″ dia x 0.10″ thick
  • Quick set epoxy
  • Picture hanger hardware
  • Spray adhesive
  • Jigsaw or scroll saw
  • Drill
  • 1/2″ forstner drill bit (brad point or twist will work too)
  • Sandpaper
  • Stain/Finish of your choice

Instructions:

Here is the piece of wood I started with. It is approximately 6″ by 6″ rough cut walnut that was just under 7/8″ thick. I had to do some serious sanding to this thing, but knew there was beautiful grain underneath to uncover.
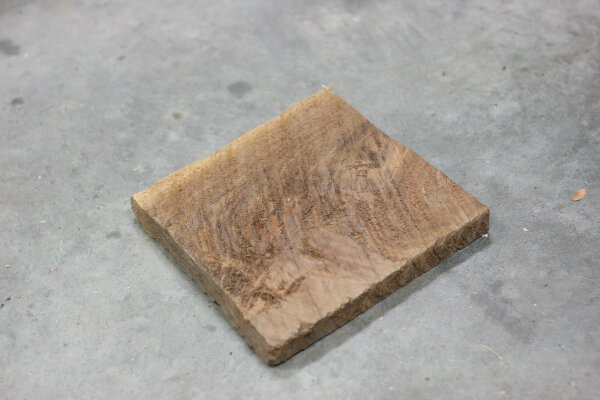
State Pride Magnetic Key Holder

After a ton of sanding I got it down smooth to 3/4″ and here is what was underneath it…gorgeous! (I added a little mineral spirits to show off the grain)
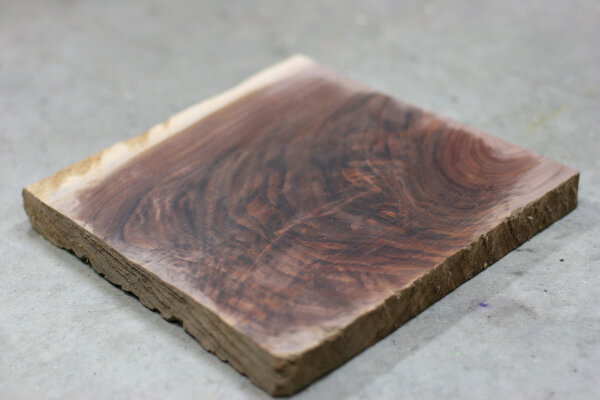
State Pride Magnetic Key Holder

If you have a special small piece of wood this is the perfect project for it. If you don’t have any nice hardwoods laying around this could be your perfect chance to try working with walnut, cherry, maple, mahogany or something else. Go to your local woodworking or lumber store and see if they have any small offcuts. If you want to stay with wood from the home center then a 1×6 or 1×8 will do just fine as well.

I decided to use Ohio as my state for this project. My wife and I lived there for 13 years, but really it’s just because it fit way better on my board than Tennessee would have 🙂 To get the state shape onto my wood I used a printed outline of Ohio. I found a site called Coloring Castle that has state outlines for kids to color. The outlines are softened a little so it was just what I wanted.

I copied the image of Ohio and pasted it into Powerpoint and sized the image until it fit my board the way I wanted it. You can use a host of different programs or photo editors to do this.

After I printed out the Ohio shape I decided to take a little creative license with the shape of the state. I wanted straight sides and didn’t want to mess with some of the more intricate tight curves like the peninsula up top. So I just drew in new lines where I wanted to cut. Empower yourself and redraw state lines as you see fit!
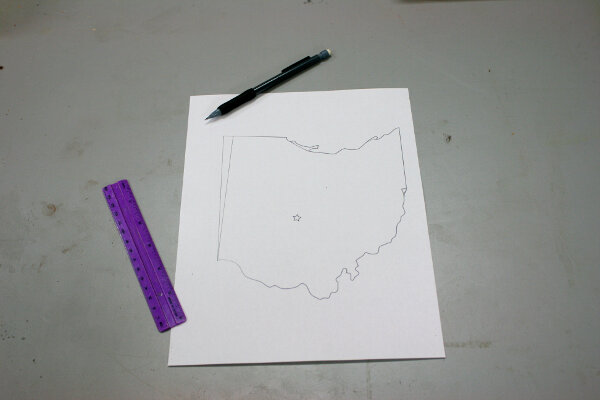
State Pride Magnetic Key Holder

Next you need to temporarily glue the outline to the wood. Cut the shape out leaving about 1/4″ around the edges. Then spray a light coating of spray adhesive onto the backside of the cutout. Don’t go crazy here or you won’t be able to get the paper off without scraping or sanding. Practicing with some scrap wood and paper will give you a feel for how sticky your specific spray adhesive is. Read more
wood-block-picture-frames

Wood Block Floating Picture Frames | Pretty Handy Girl

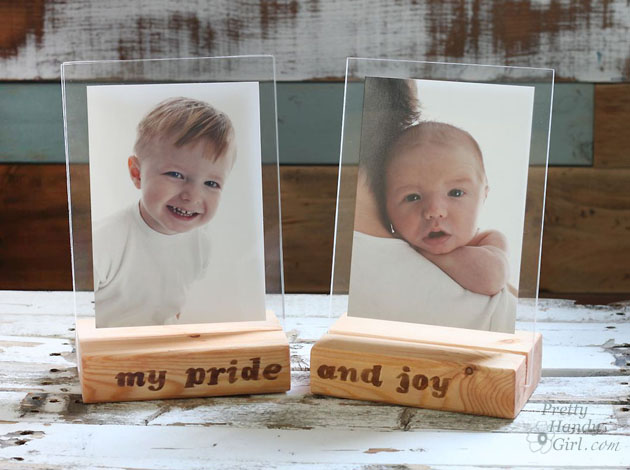
We are days away from Christmas and I’m sure there is someone on your list that you just can’t figure out what to get for them. I have the perfect solution! Make them a wood block floating picture frame using scrap 2×4″ lumber and plexiglass.

If you don’t have scrap 2×4’s lying around, you can purchase a 2x4x8 foot stud for less than $4! You could make 16 photo frames out of that one board! (Granted, you’ll need to buy the plexiglass for each.)

Materials:

  • 2 – 2 x 4s (cut to 6″ lengths)
  • 4 – 6″ x 9″ pieces of plexiglass (3/32″ thickness)
  • Ipswich Pine Stain
  • gel stain or Minwax Express color
  • small detail paint brush
  • pencil or pen
  • photos
  • tape
  • rag
  • optional: scrapbook paper, double stick tape

Tools:

Instructions:

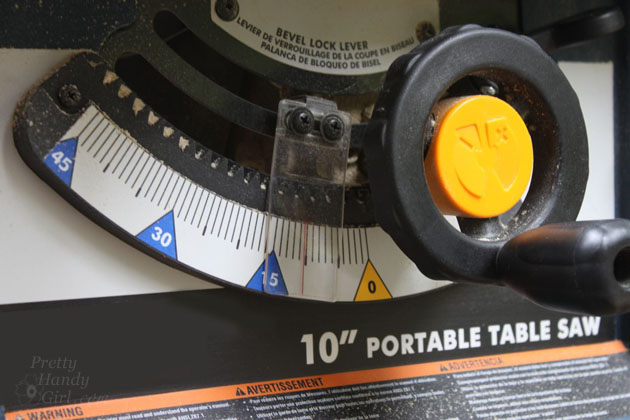
Set your table saw to a 10 degree bevel.

Wood Block Floating Picture Frames | Pretty Handy Girl

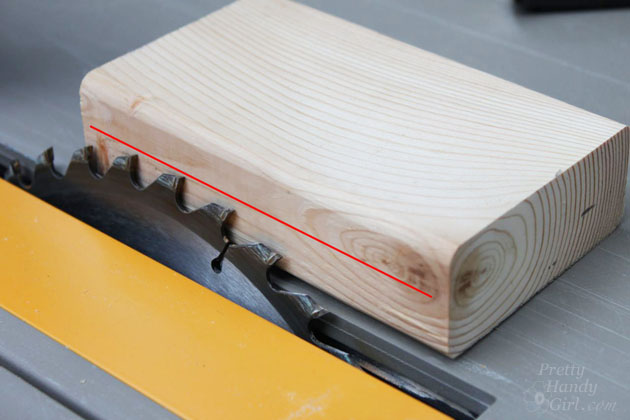
Set the saw blade to a depth halfway through your block (about 7/8″ deep.) Set the fence to 2″ from the blade.

Wood Block Floating Picture Frames | Pretty Handy Girl

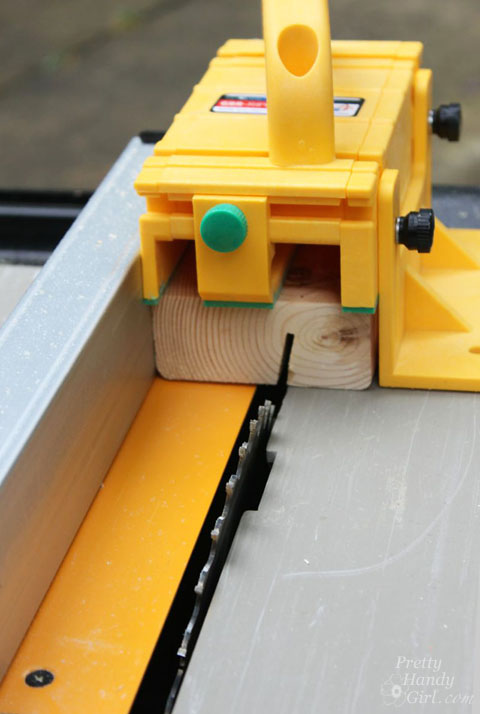
Use your GRR-RIPPER to safely guide the 2×4 over the saw blade. Check to see if two pieces of plexiglass will fit in the groove created by the saw blade.

Wood Block Floating Picture Frames | Pretty Handy Girl

If not, nudge the fence over slightly and make a second pass over the blade. Check to see if the plexiglass will fit now. If not, repeat the process until they fit snugly. Read more
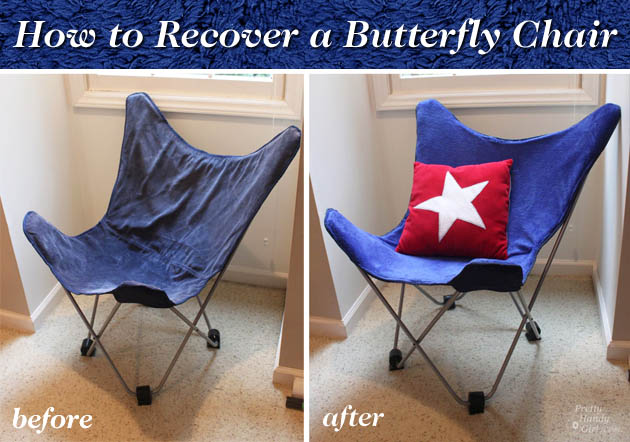
How to Recover a Butterfly Chair | Pretty Handy Girl

How to Recover a Butterfly Chair | Pretty Handy Girl

Happy St. Patrick’s Day! Do you have a butterfly chair that is sun-faded or has hideous fabric on it? I bet you thought it was a lost cause, right? Nope! With a sewing machine, some new fabric and a little spare time you can recover that ugly butterfly chair and have a new one. Okay, so I didn’t recover it with green fabric in honor of St. Patrick, but what could be greener than a good old upcycling project! Believe it or not, this was a much easier project than I had anticipated, so don’t get scared by the curves. You can “sew” do this! 😉

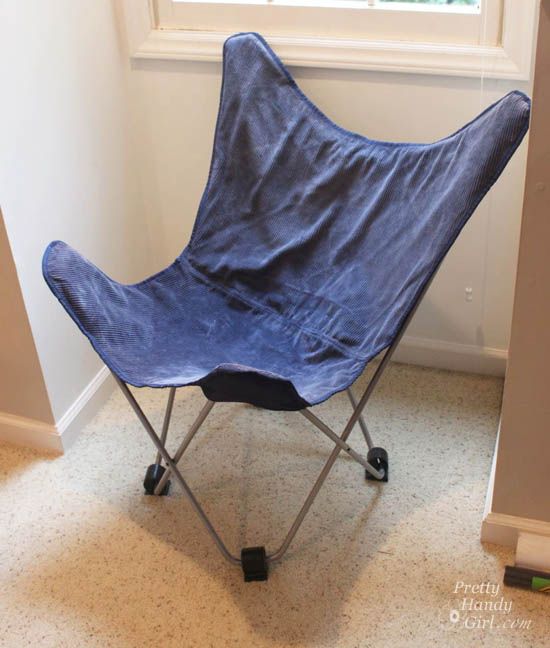
How to Recover a Butterfly Chair | Pretty Handy Girl

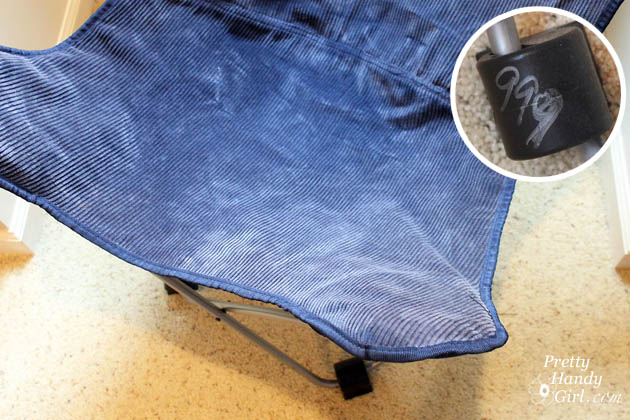
I stumbled upon this chair at Goodwill for $9.99. Normally I wouldn’t spend this much for a sun-faded chair, but because I was working on the school library makeover project — and we needed more comfortable seating — I bought it.  After all, we would have had to pay at least double for another comfy chair.

How to Recover a Butterfly Chair | Pretty Handy Girl

Luckily, I had some soft leftover fleece fabric that I could use to recover the chair. I wish I had measured how much I used, I think it was a little less than 2 yards.

Materials:

  • 2 yards of fabric
  • Coordinating thread
  • Pins
  • Scissors
  • Old butterfly chair + old cover

Instructions:

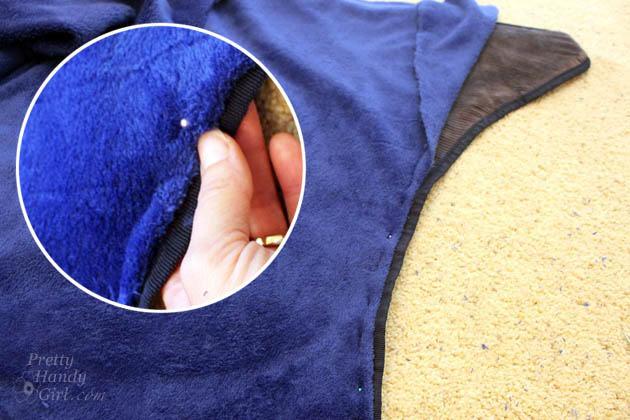
1. Remove the old cover from the butterfly chair frame. Lay it on top of your fabric (both right sides up.) Read more