DIY Loft Bed | Pretty Handy Girl

blue-loft-bed

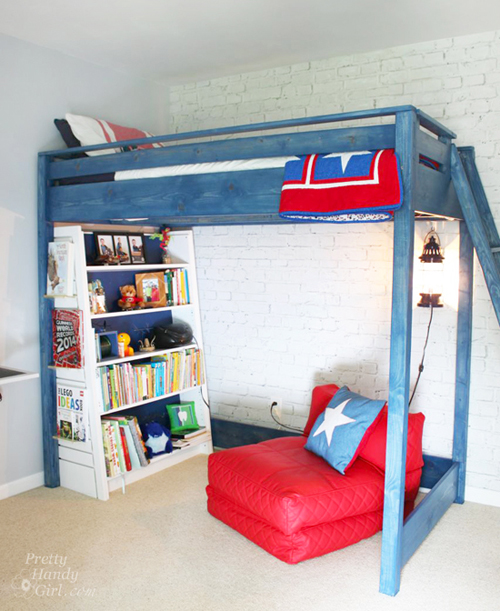
Guys and Gals, I am here today to tell you that you can build a loft bed for your child! However, unlike most of the tutorials you find on my site, building this loft bed is not one of them. Instead, loads of gratitude goes to Ana White and her fabulous plans for building a loft bed. You can follow her plans for the build. I assure you, they are detailed and easy to follow.

DIY Loft Bed | Pretty Handy Girl

The only modification I made to the plans was to move the ladder to the foot of the bed instead of the side. What I will show you is how to color stain the bed blue in two simple steps. I’m absolutely in love with the Minwax Express Color wiping stains. They go on super easily, and clean up is a snap with soap and water. Then you seal it as easily as you stained it. Coolest product EVER!

(I’ve included affiliate links for your convenience. I earn a small percentage from a purchase using these links. There is no additional cost to you. You can read more about affiliate links here.)

Materials:

Read more

How to Make an Old Sign

How to Make an Old Sign

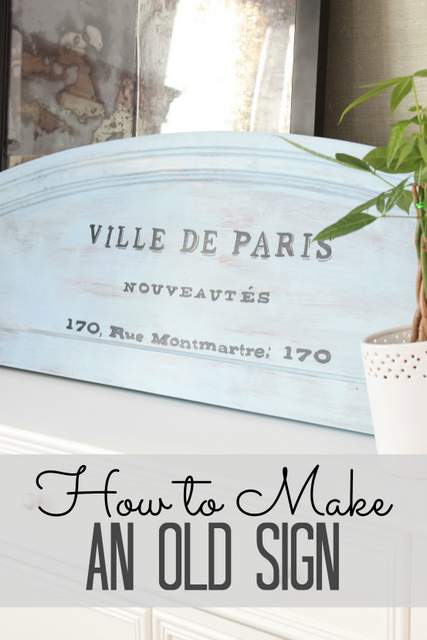
One project I really wanted to make was an old wooden-looking sign. I hoped to stumble upon a salvaged piece or something found. Lucky enough, I happened to find a foot board from a bed right down the street. It was the perfect shape to make into a sign. When someone throws something out, I usually take it for a project! With some paint and lettering, you can make this or any piece into an old sign. Here’s how!

Materials

  • Foot board – You could pick one up at a thrift or salvage store for only a few dollars
  • Sand paper
  • TSP
  • Chalk paint or regular paint
  • Paint brush
  • Sealant like wax or polycrylic
  • Printer and paper
  • Scissors, tape, ballpoint pen

Instructions:

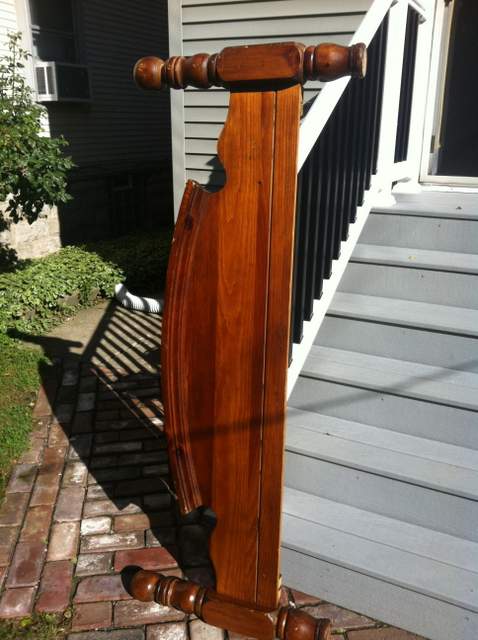
This was the foot board I scored on the curb. It had a perfectly rounded top with molding on it and had the shape of an antique sign. I remember seeing one like this at Ballard Designs that sells for hundreds of dollars. Since I had all the supplies for this, it cost me nothing! The legs were really neat, but we ended up cutting them off to make this a sign. I thought it would look better that way. Who knows, maybe I’ll make something else out of the legs?

Foot Board Before

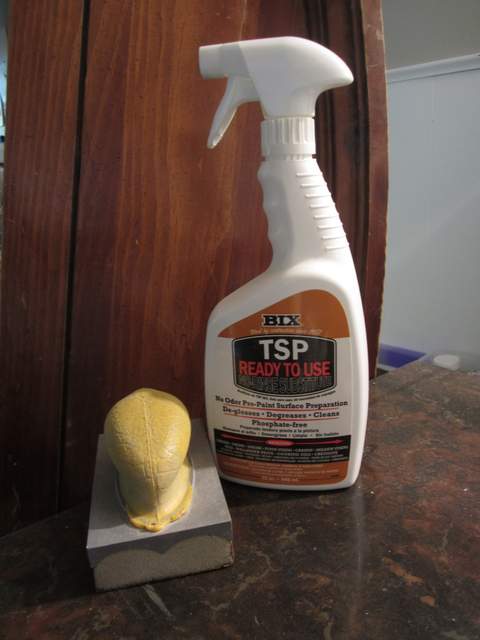
Lightly sand down the foot board and clean it with TSP. This will prep it for painting and take off any dirt.

Sanding and TSP Read more

Easy Added Color to a Dresser | Pretty Handy Girl

Easy Added Color to a Dresser | Pretty Handy Girl

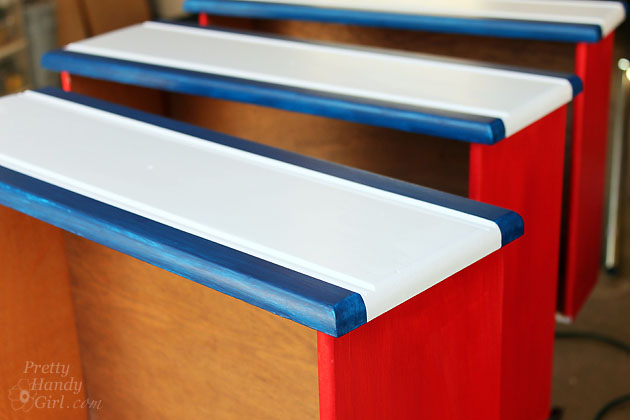
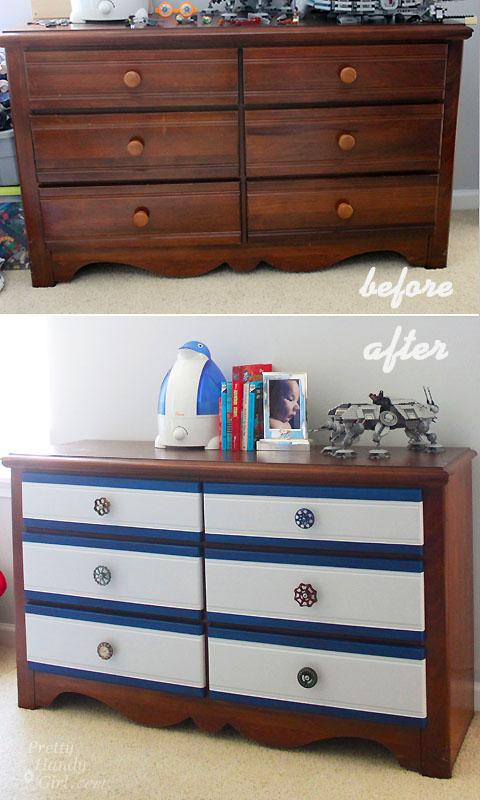
Adding color to dresser drawers is definitely an easy way to add a pop of color to an otherwise boring piece of furniture. Add some new knobs and your dresser will look like a new piece of furniture! (Tutorial for creating custom knobs coming soon.)

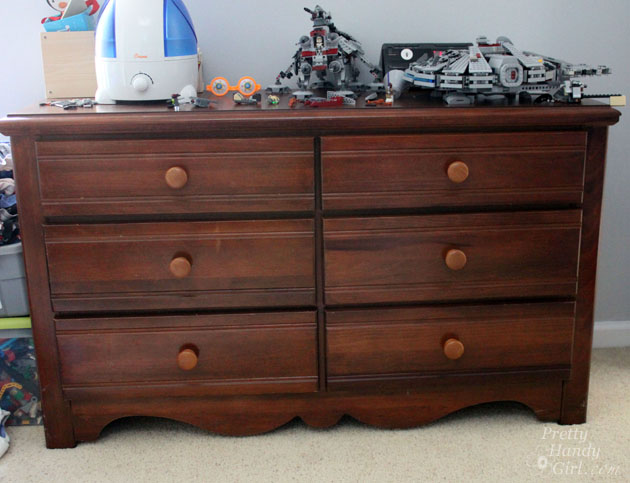
You could say that I finally got that Kick in the Pants I needed to start working on my son’s room. One makeover I had in mind was giving his dresser a pop of color.  The top and sides of the dresser were in great shape and it has a tough laminate top. Instead of painting the entire dresser, I decided to paint only the drawers because — knowing my little guy — he would have it scratched up in no time.

Easy Added Color to a Dresser | Pretty Handy Girl

Materials:

Instructions:

Start by removing clothing from the drawers. Then firmly pull the drawers all the way out. Some drawers have a clip at the end, just pull straight toward you. Others may require you to lift up on the front to release the drawers from the track. Mark the inside of the drawer so you know which slot to return it to.

Read more

Knock off Partridge Garden Table Tutorial

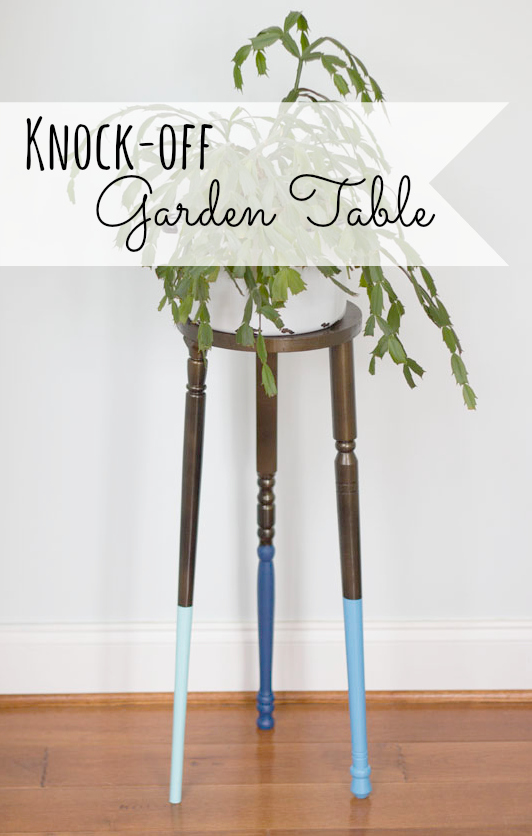
I often find myself searching online looking at furniture and decor on sites that I consider full of unique items.  I recently came across the Anthropologie Partridge Garden Table and fell in love.  The creative use of old mismatched legs was awesome.  Then I saw the price; a mere $ 148.00.  As cool as it is, spending that much for a plant stand is way more than I could ever justify.  I knew I could make it cheaper and am excited to show you how to make your own!

Materials

  • 3 different banister Spindles or table legs
  • 10″ clock face round
  • Wood Glue
  • Nail Gun
  • Wood Filler
  • Painters Tape
  • Three different colors of Paint
  • Sliding T-Bevel Square
  • Miter Saw
  • Spray Paint (Rust-Oleum Rustic Mist)
  • Spray Paint (High Gloss Sealer)

Round Legs

Instructions

1.  Lay  out the spindles and decide which sections will be used for the legs. Read more

Faux Weathered Gray Wood Grain Tutorial | Pretty Handy Girl

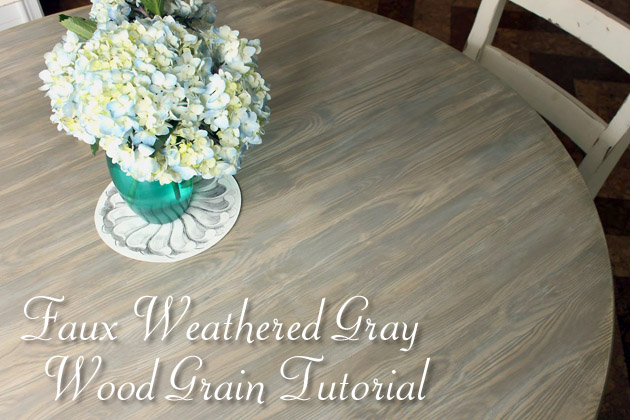
Faux Weathered Gray Wood Grain Tutorial | Pretty Handy Girl

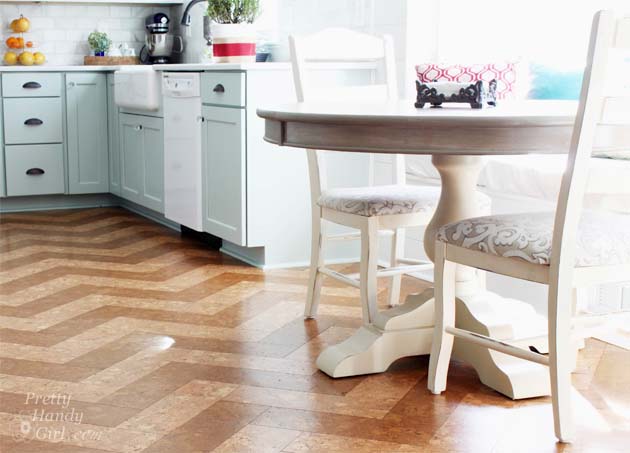
Do you love the Restoration Hardware tables that have that beautiful gray (driftwood-like) weathered wood? Me too. But, I can’t justify spending thousands of dollars on their furniture. Instead, I found a Craig’s List pedestal table that had the right shape and size for our kitchen. It was a cherry veneer finish, but after some paint you’d never know!

Faux Weathered Gray Wood Grain Tutorial | Pretty Handy Girl

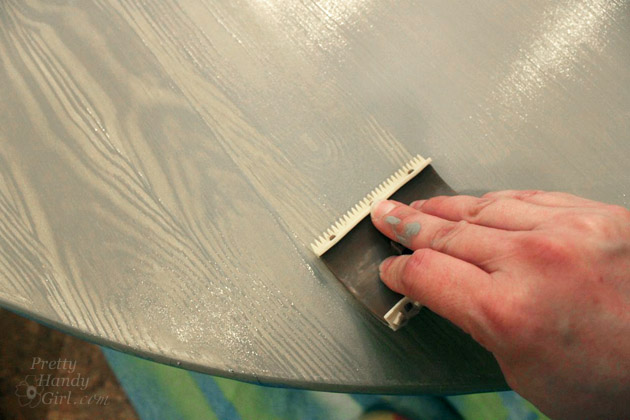
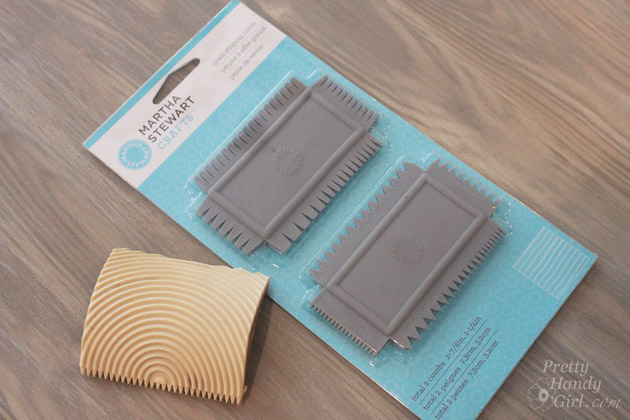
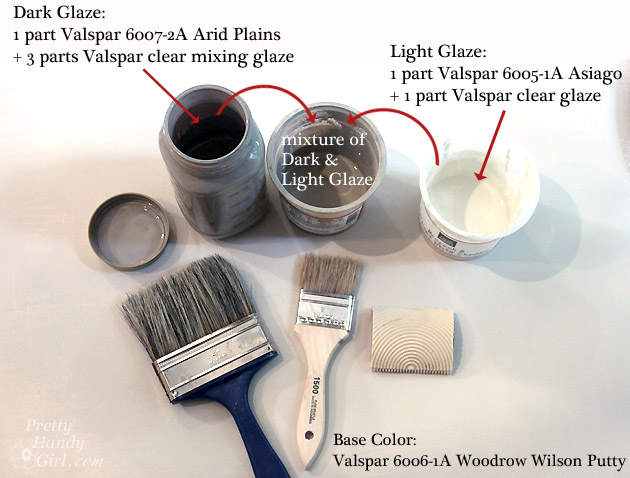
And then, I created my own Faux Weathered Gray Wood Grain top. All you need are some Valspar paint samples, some wood grain tools and a dry brush to achieve this look.

Ready to get started?

Faux Finish Weathered Wood Grain Materials:

(I’ve included affiliate links for your convenience. I earn a small percentage from a purchase using these links. There is no additional cost to you. You can read more about affiliate links here.)

Faux Weathered Gray Wood Grain Tutorial | Pretty Handy Girl

Faux Finish Weathered Wood Grain Base Coat and Glazes:

Faux Weathered Gray Wood Grain Tutorial | Pretty Handy Girl

Before you begin creating your wood grain, you should paint your surface with Valspar Woodrow Wilson Putty and allow it to dry.

Faux Weathered Gray Wood Grain Tutorial | Pretty Handy Girl

If you are painting furniture, lightly sand the piece. And be sure to use Valspar Paint + Primer in one. This will allow you to paint directly onto the furniture and skip the primer. Read more