One of the easiest storage solutions is to create your own DIY ladder display shelves using an old ladder for the frame. Not only will you save time, but the money saved makes this project a winner in my book!
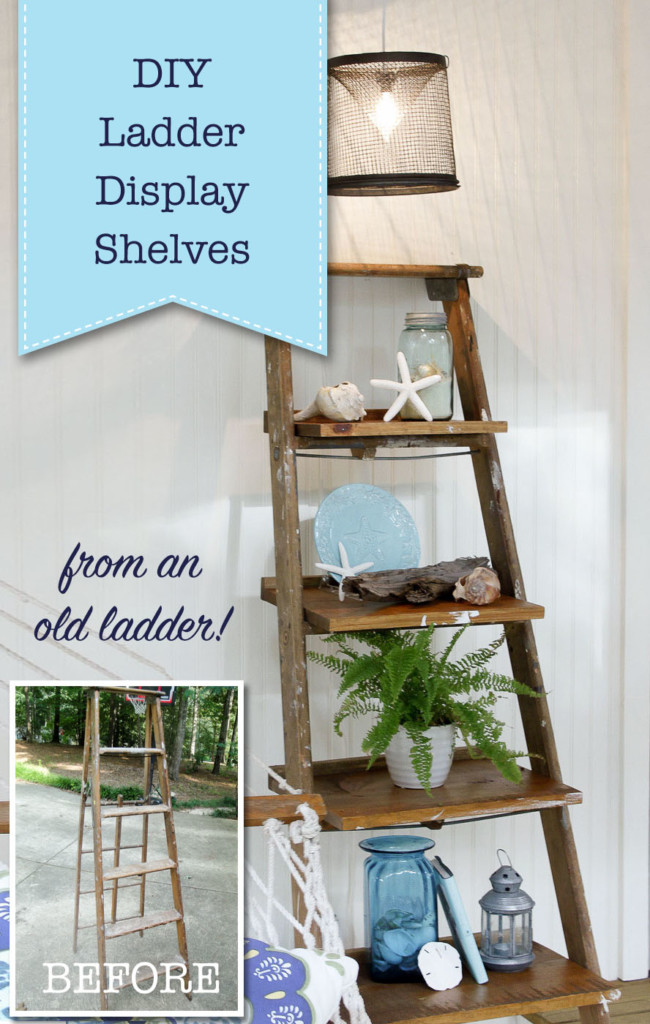
DIY Ladder Display Shelves
If you’ve been around for a while, you know these ladder display shelves start at $99 and go up depending on size. But, today’s tutorial shouldn’t cost you much and the result will be more personalized to your style (depending on how you finish it.)
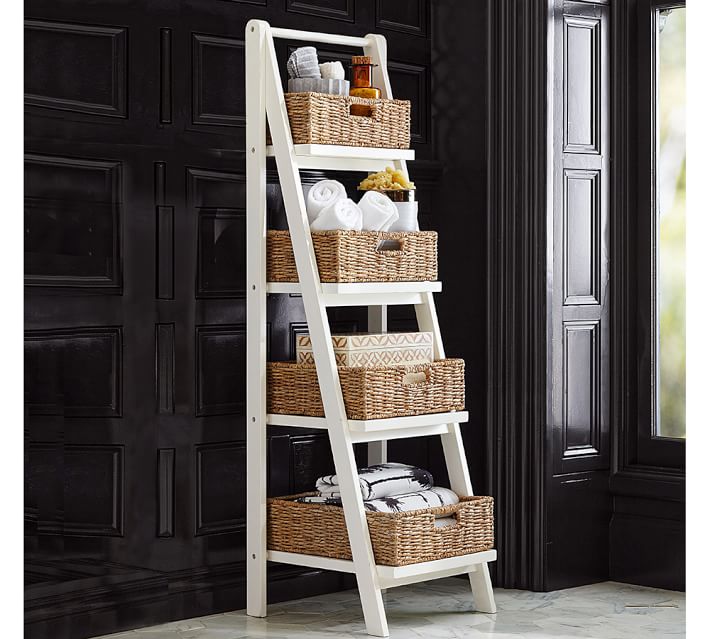
I know you’ve seen them, those adorable ladder display shelves, I really wanted one. But, the price tags were enough to send me running from the store with my purse gripped tightly in my hands. I mean, really? The one above from Pottery Barn costs $229! I don’t know about you, but I really don’t like spending more than $50 on something I can build myself.
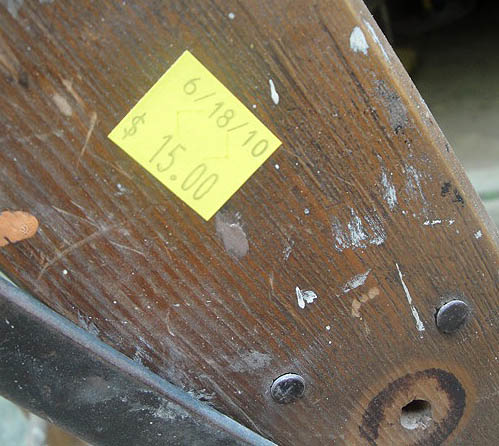
Fast forward a few weeks, and when I saw this ladder at the Habitat ReStore for $15, I knew it had the potential to fulfill my ladder display shelf dreams.
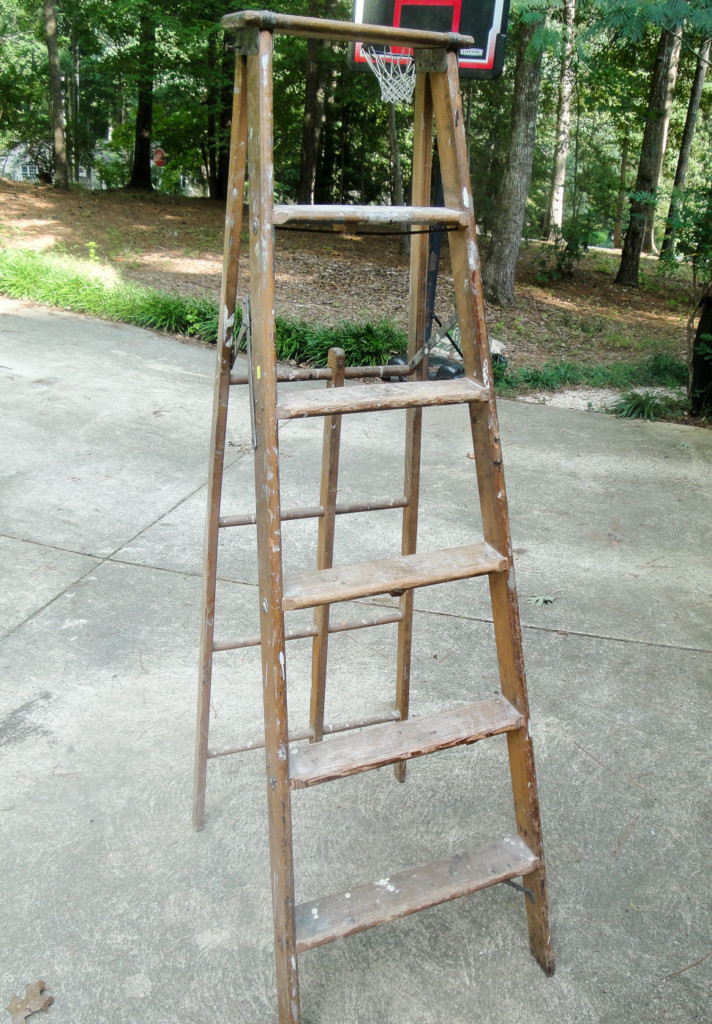
The skeptical cashier tried to persuade me not to buy the ladder, warning me not to climb on it because it was too rickety. But, who cares about rickety, I was in love with the paint splashes all over it!
So, I hauled the old ladder home (and received funny looks along the way because it was hanging several feet out the back of my car.) Little did they know that I was about to transform that old ladder.
Materials:
(I’ve included affiliate links for your convenience. I earn a small percentage from a purchase using these links. There is no additional cost to you. You can read more about affiliate links here.)
- Drill
- Drill bits
- Wood Glue
- Tape Measure
- 1 5/8″ Wood screws
- Combination Square
- Miter Saw
- Brad Nailer (optional)
- Clamp (optional)
- Paint or Stain to finish
- 1″ x 12″ boards
- 1″ x 2″ trim pieces
Instructions for Building DIY Ladder Display Shelves:
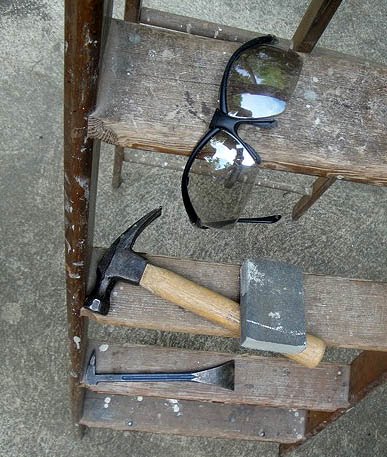
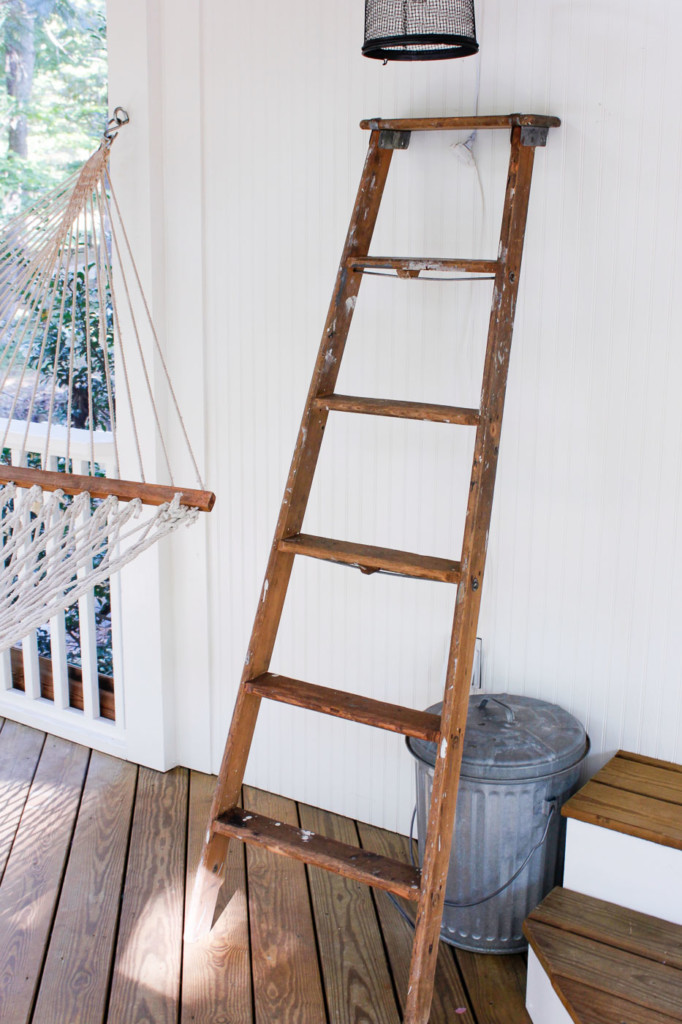
For this project, you can leave the back of the ladder intact, or pry off the top rivets to separate the front from the back. This gave me the ability to make two things from one ladder. (Be sure to read to the end to find out what I made with the backside!)
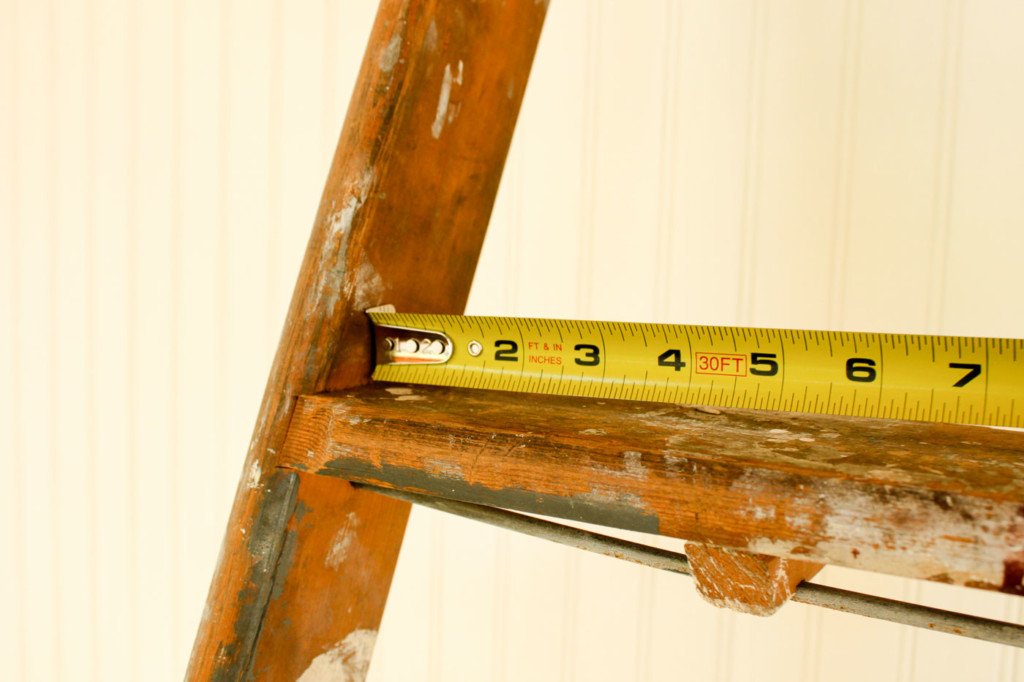
Start by measuring the width of each step (and subtract 1/8″ to account for the slant of the ladder.)
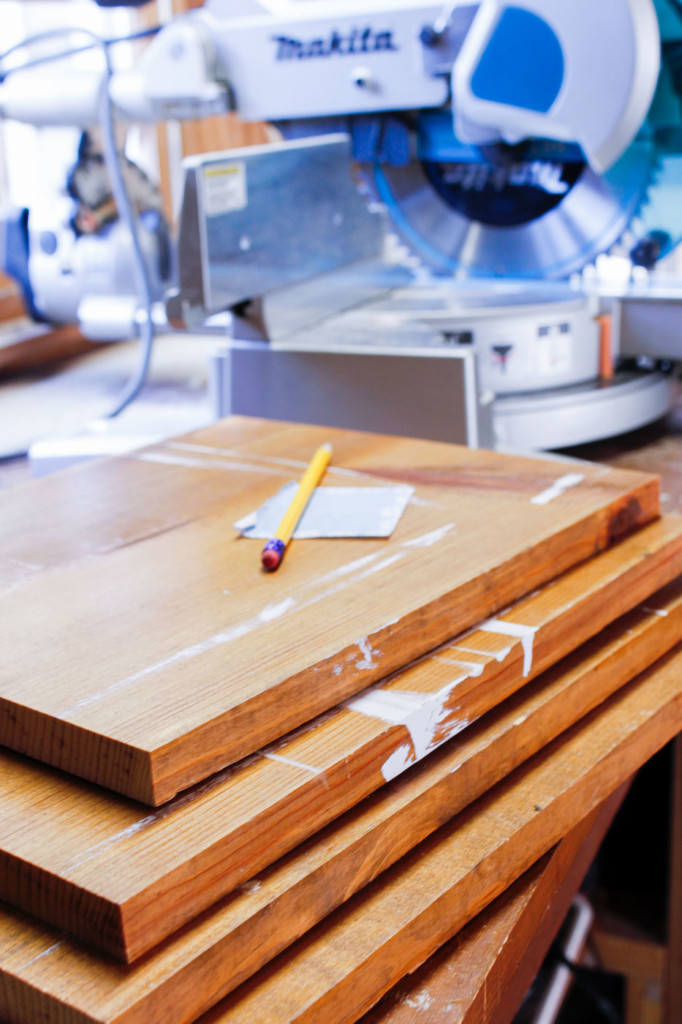
Use 1″ x 12″ pine boards or any size you choose. (I had some leftover shelving material I bought from a yard sale, so it was already pre-finished.)
Cut the boards to the appropriate width on a miter saw or ask the lumber store to cut them for you. Yes, it was a total coincidence that my boards were covered in paint splotches too!
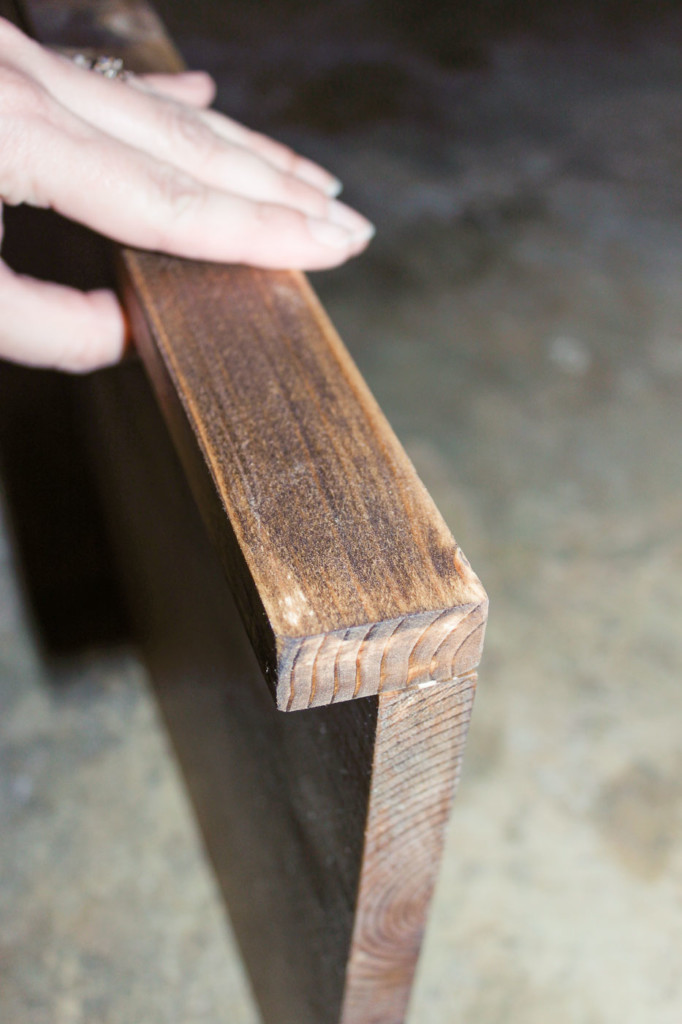
Dry fit the boards to make sure they fit your ladder. My heart was thumping now because I could really see the project taking shape!
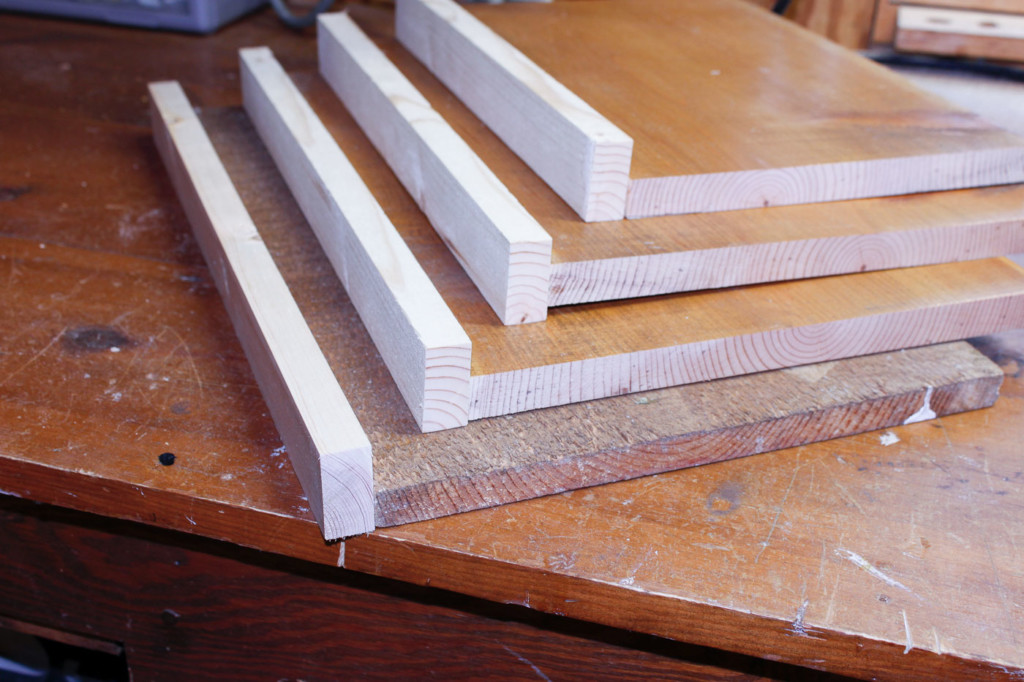
Next cut some 1″ x 2″ strips the same width as each shelf. These are for the backs of your shelves. If necessary stain your shelves or paint them to match your ladder. Or paint the entire ladder and shelves with chalk paint or a paint plus primer.
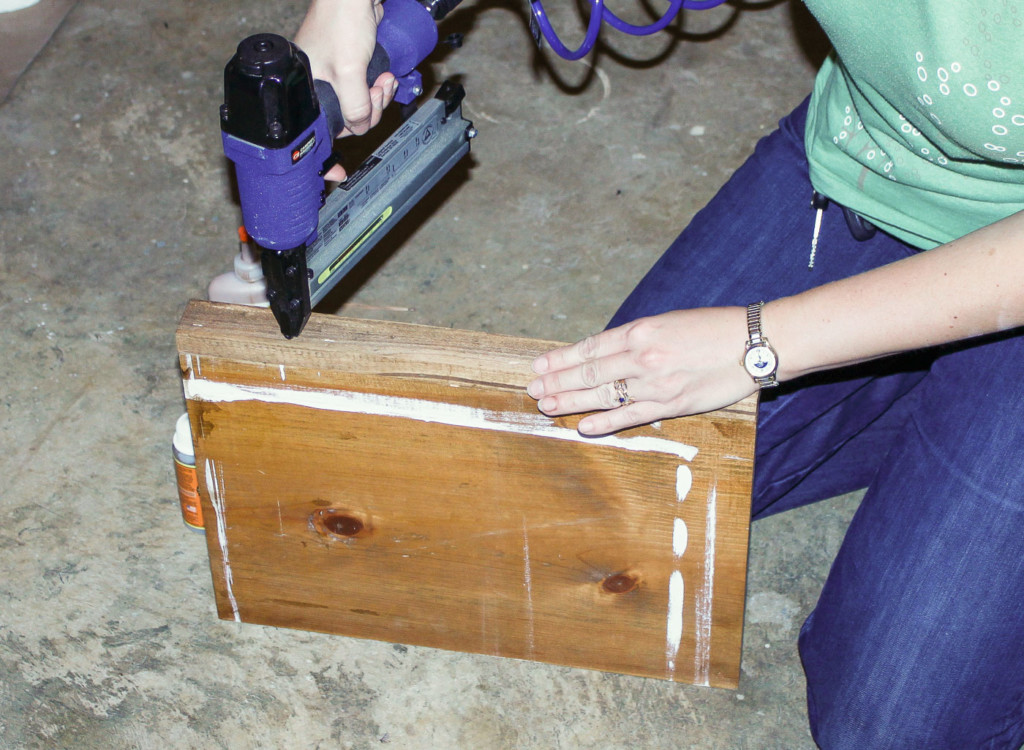
Attach the 1×2 strips to the back of the shelves, using wood glue.
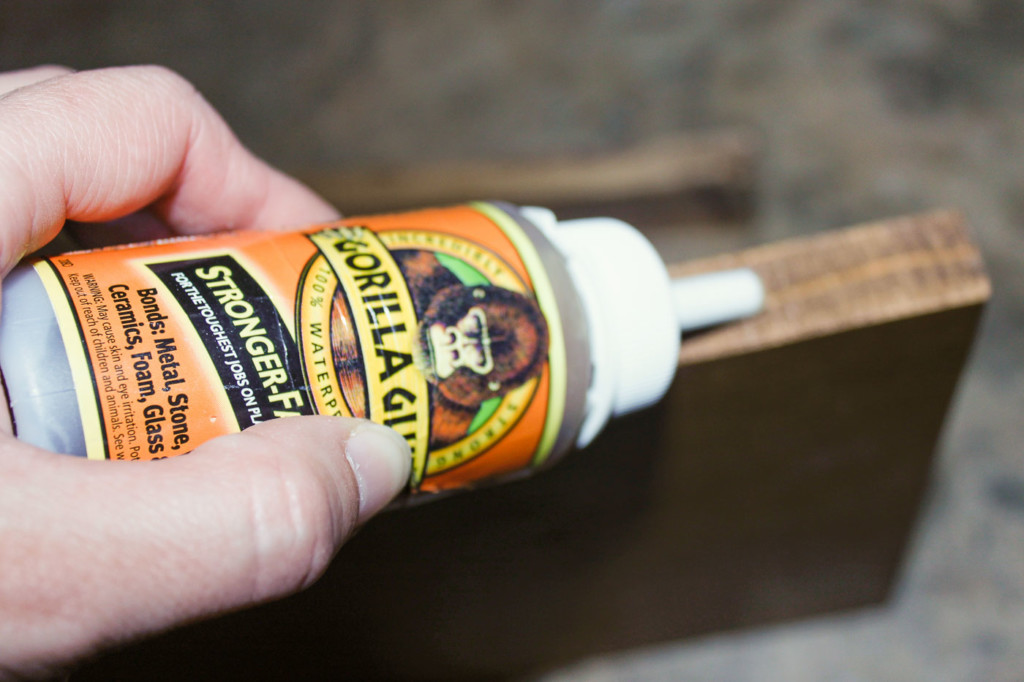
Hold until the glue has gripped the trim piece.
Or nail the 1″x2″ pieces to the shelves.
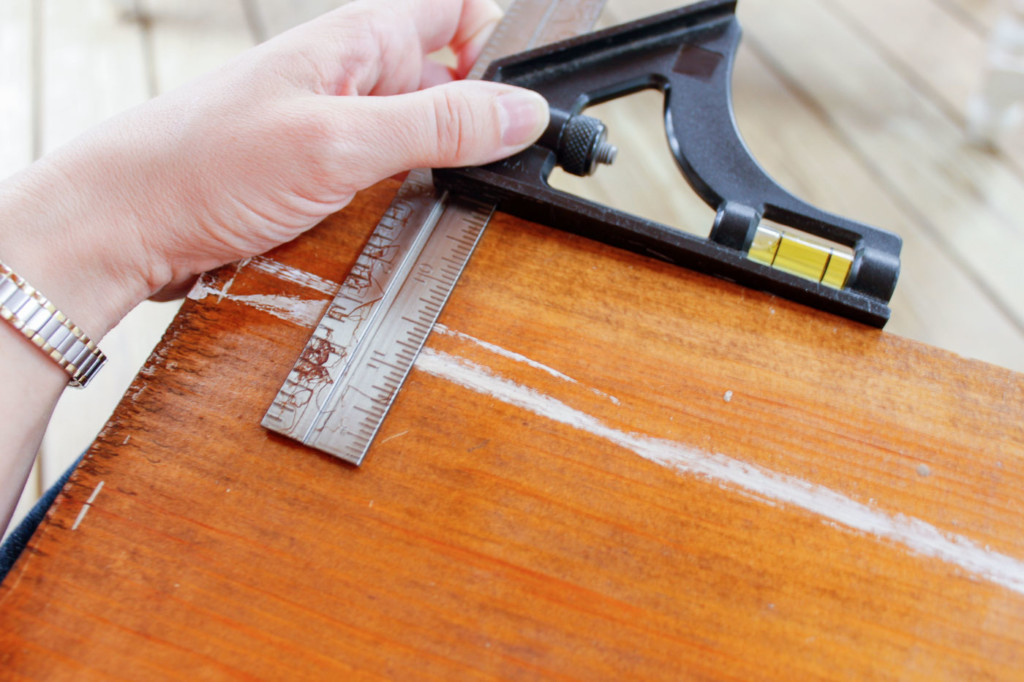
Choose how far back you want your shelves to rest on the ladder steps. Using a combination square or ruler, mark a line on all the shelves. (I chose a 3″ setback.)
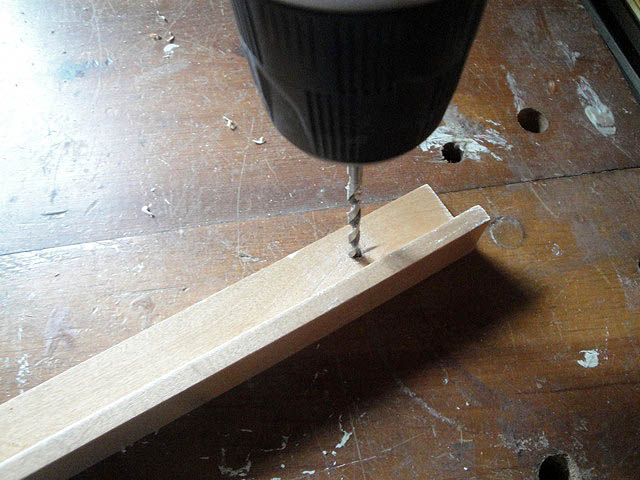
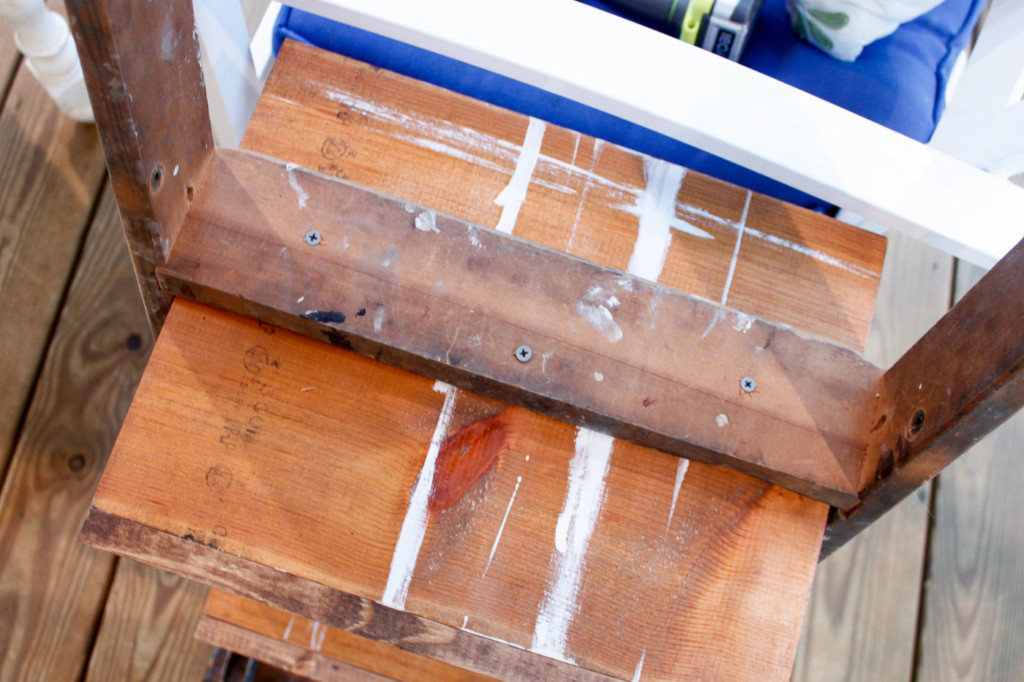
Pre-drill the location for the screws on each ladder step. Turn your ladder upside down and set the screws inside the holes. Line up your pencil lines on the shelf to your ladder step.
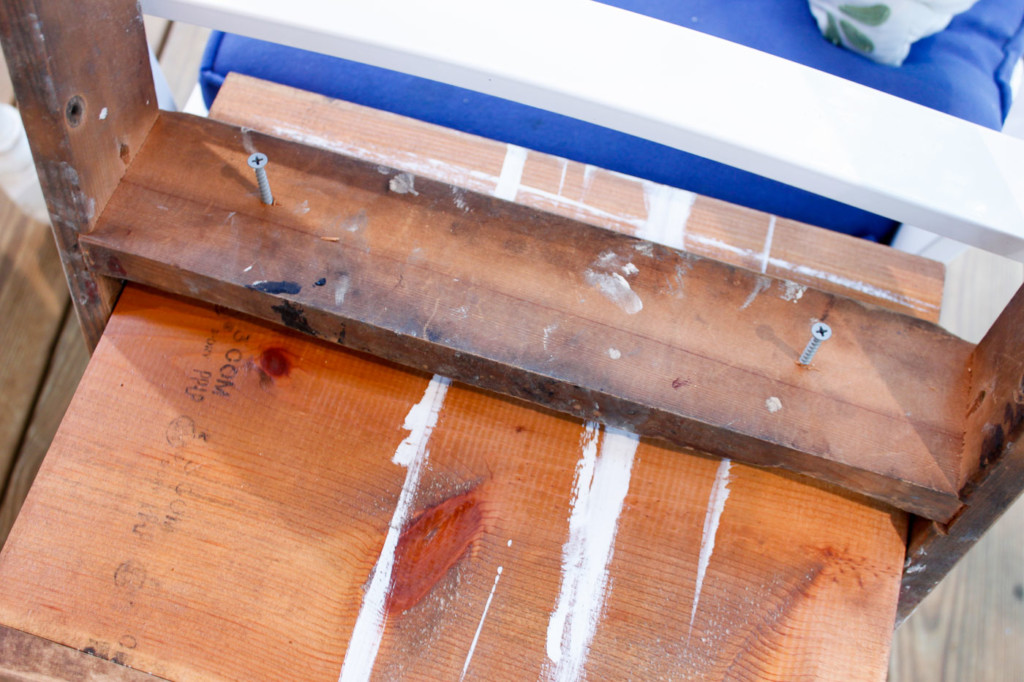
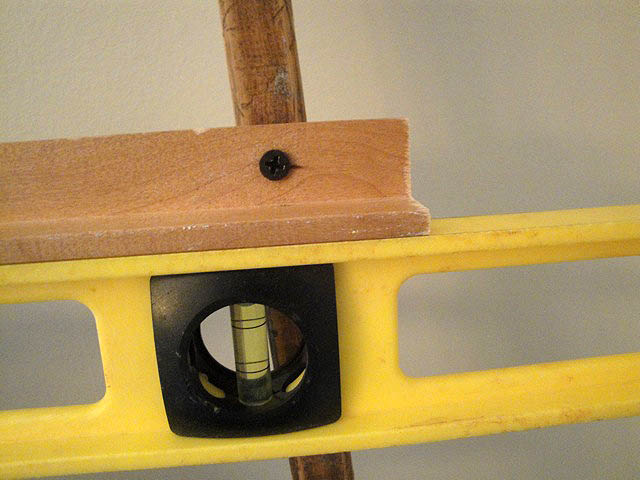
Clamp the shelf, or get a buddy to hold the shelf as you drive the screws into the bottom of each. Repeat the process for all the shelves.
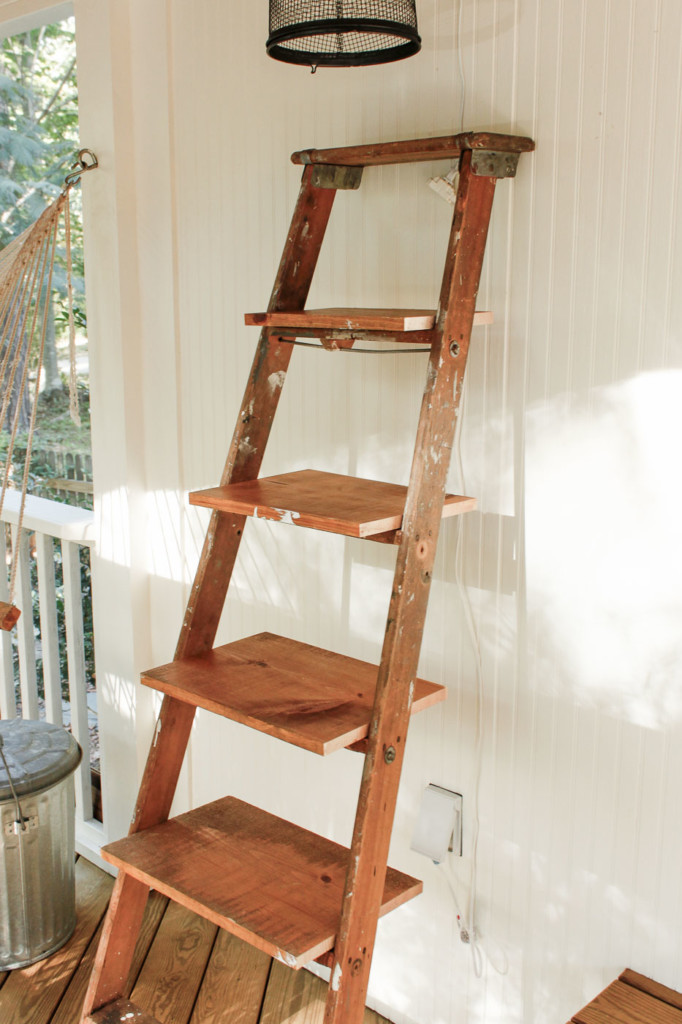
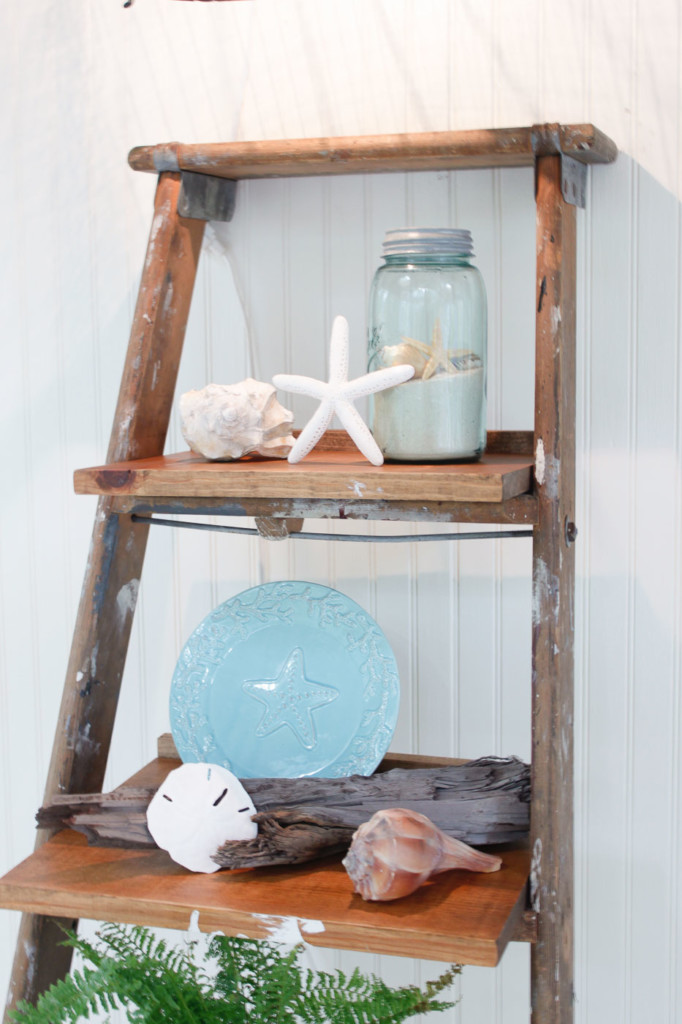
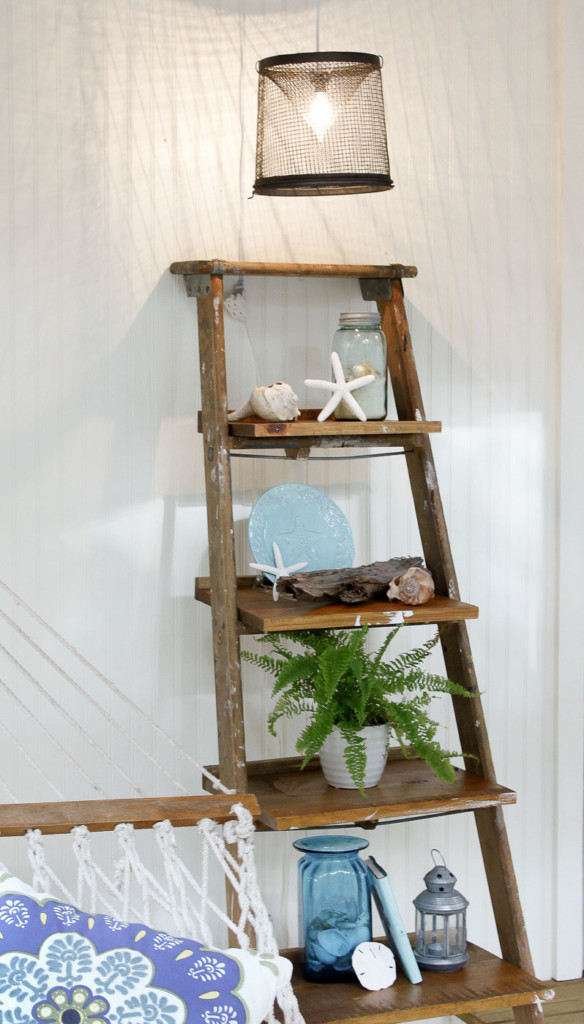
Then flip the ladder back over and admire! My total cost was $15 because I had the other materials on hand. But, even if you have to buy the screws and lumber, it should cost a lot less than a Pottery Barn shelving unit at $299!
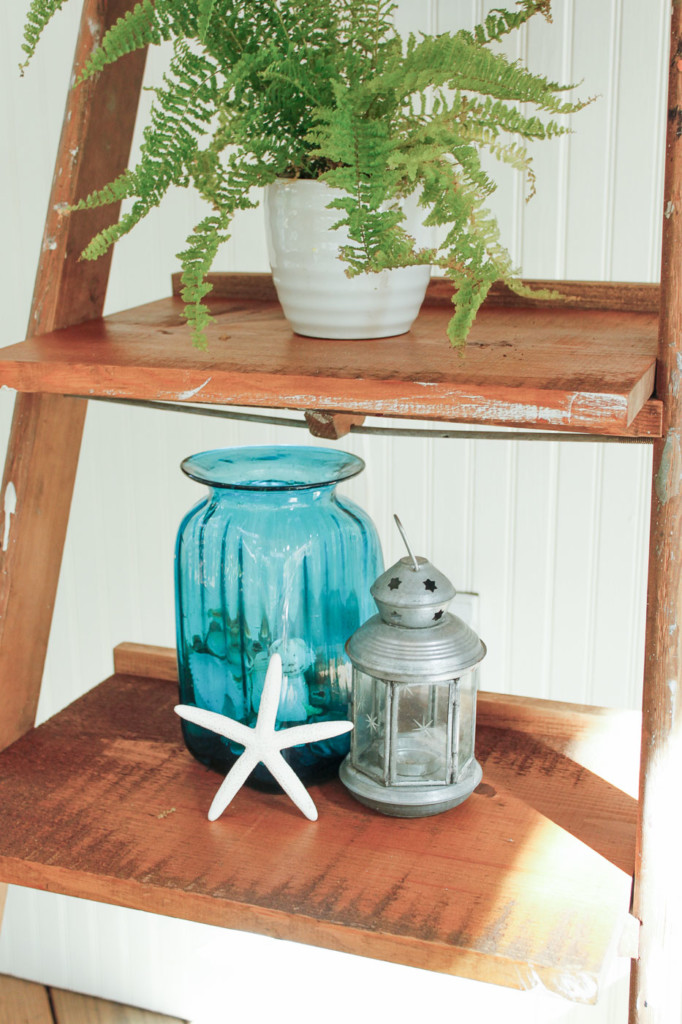
My favorite part about this shelf is the paint splashes.
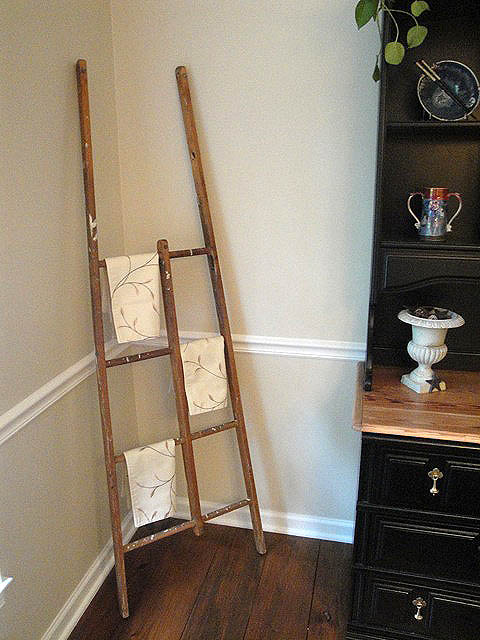
This DIY Ladder Display Shelf sits on our screen porch. But, this beauty would look good anywhere in your home.
I’m contemplating making one for my new master bathroom.
The minnow trap hanging pendant light is also an easy DIY project.
So what do you think? Do you like it? I bet you could build one of these ladder display shelves for yourself in an hour or two.
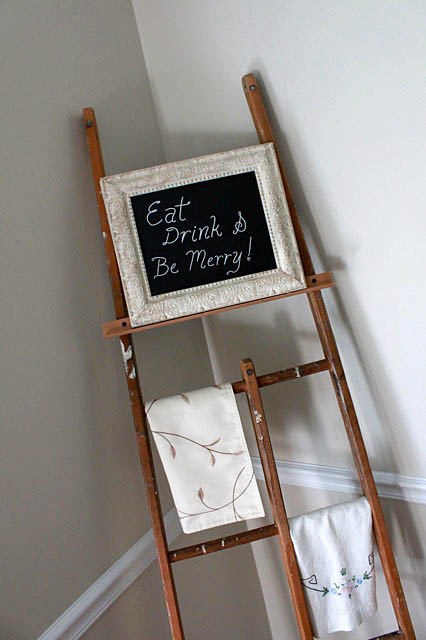
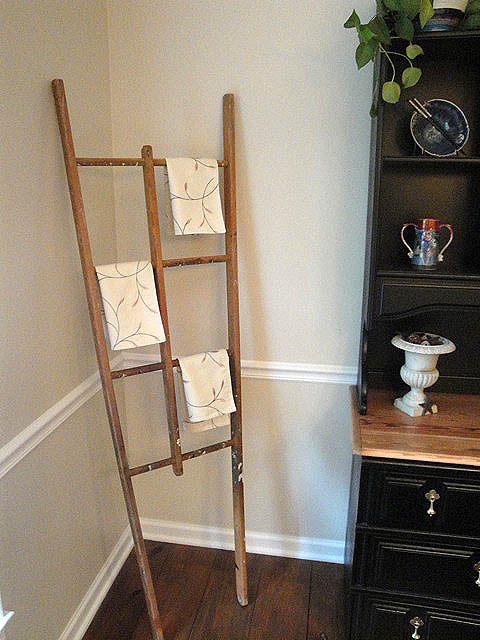
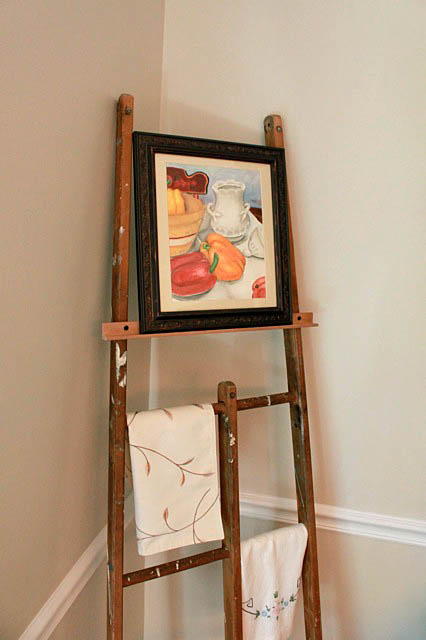
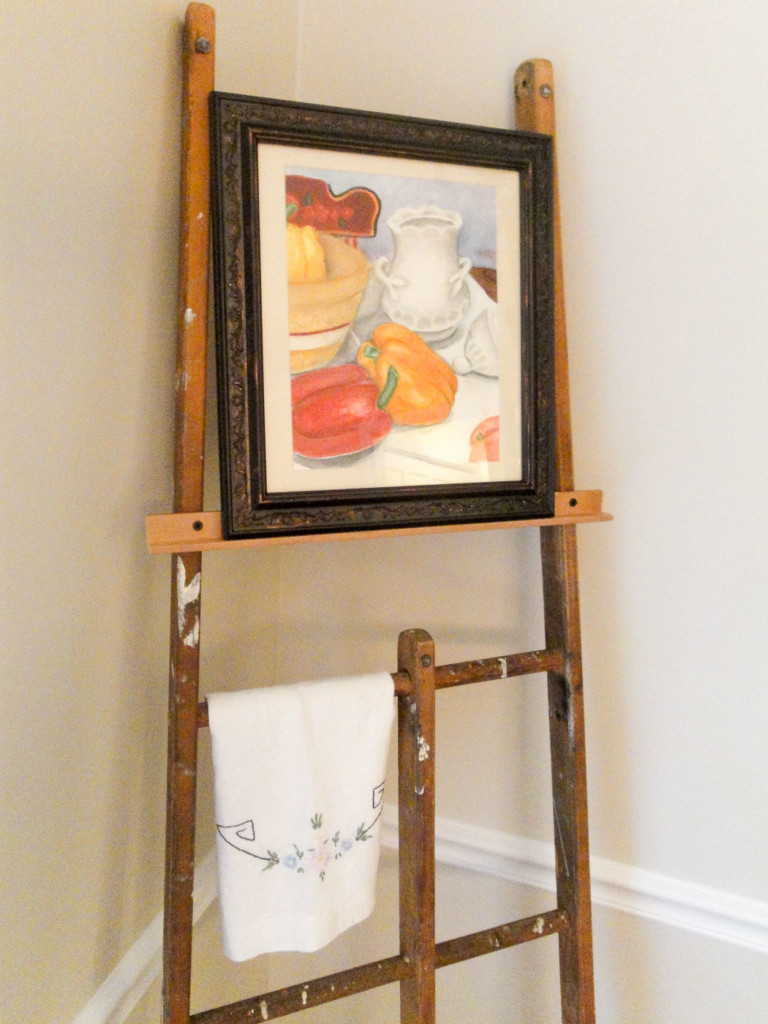
Oh, I almost forgot, if you are wondering what I did with the back of the ladder. You can see how I gave it a quick makeover turning it into a display easel.
Have a great week and I’ll see you soon.

Pin this project to save it or share with a friend!