DIY Chalkboard Memo Board (4th grade project) | Pretty Handy Girl

DIY Chalkboard Memo Board (4th grade project) | Pretty Handy Girl

Before the end of the school year a REALLY GOOD friend of mine asked if I would give a talk in her daughter’s class about what I do for a living. I hemmed and hawed because I rarely have the free time. But, the main reason I was hesitant was because I didn’t know how to talk to 4th graders about what I do. Saying I’m a blogger is something that is hard for me to vocalize. “I write a blog” sounds simple and easy. But, in actuality, I do so many other things to make this blog a reality. Just a few of my job descriptions are: writer, photographer, builder, crafter, teacher, photo editor, business woman, manager, social media coordinator, graphic designer, web designer and all around handy girl! How could I explain all of that to the students?

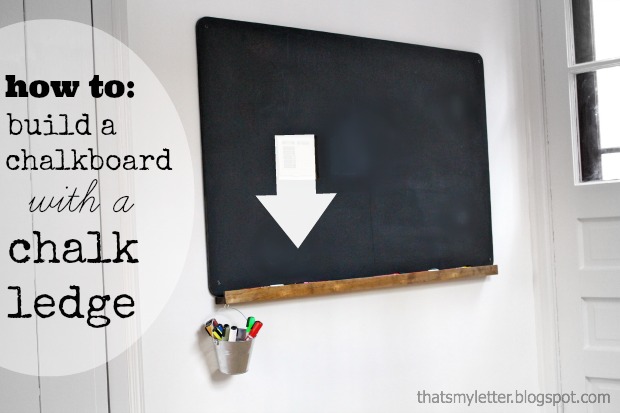
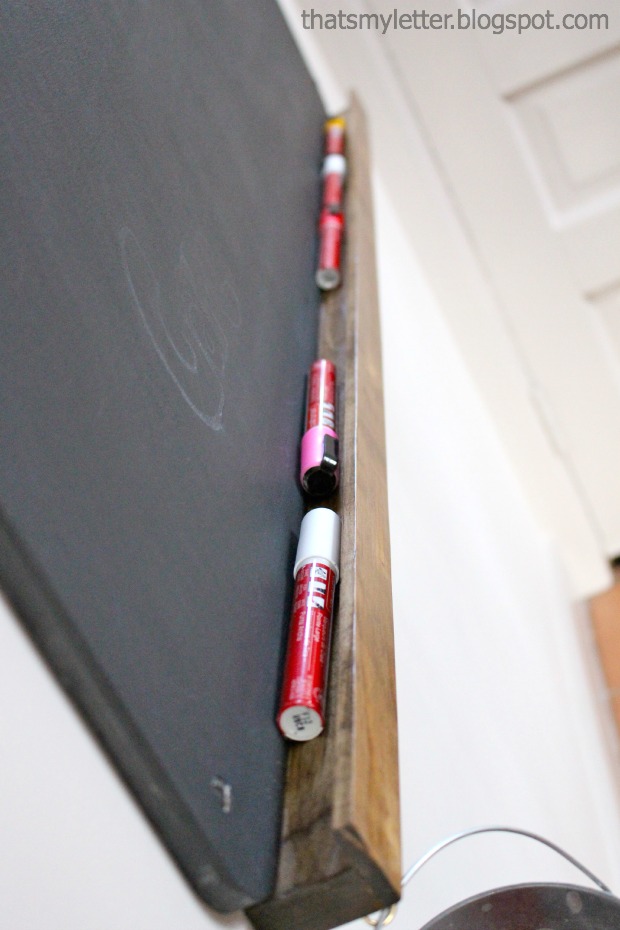
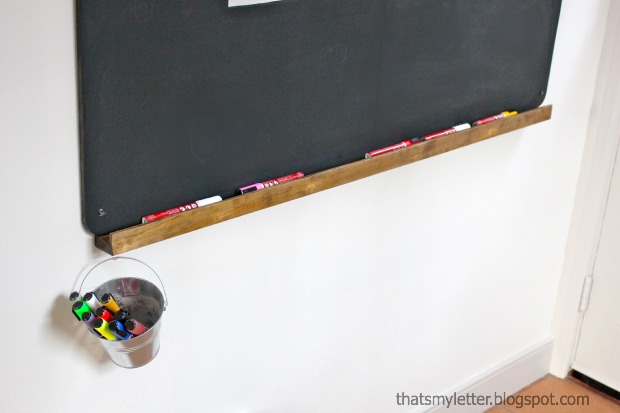
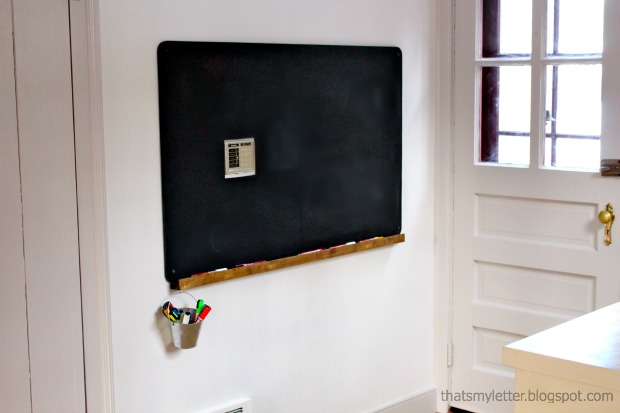
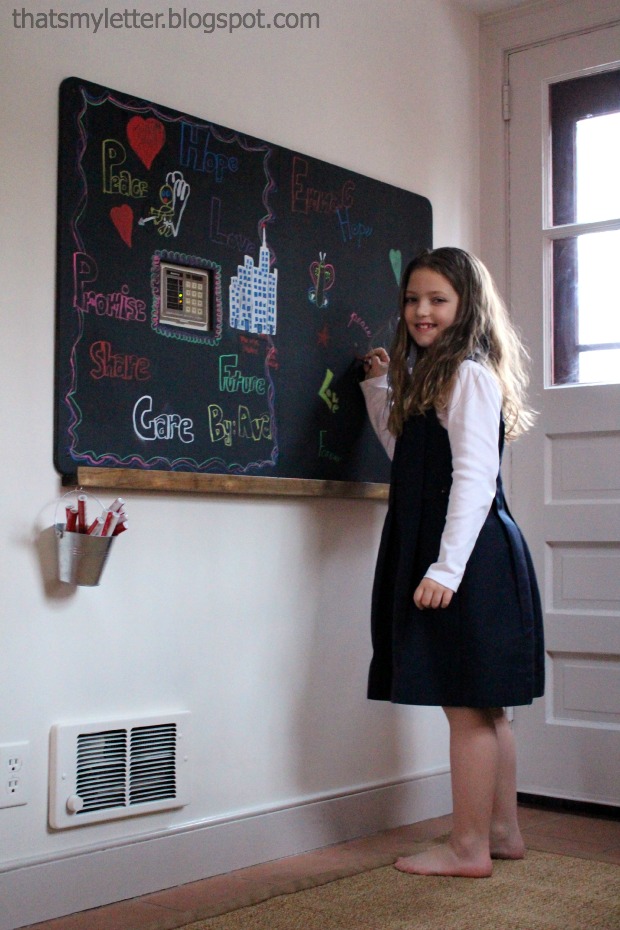
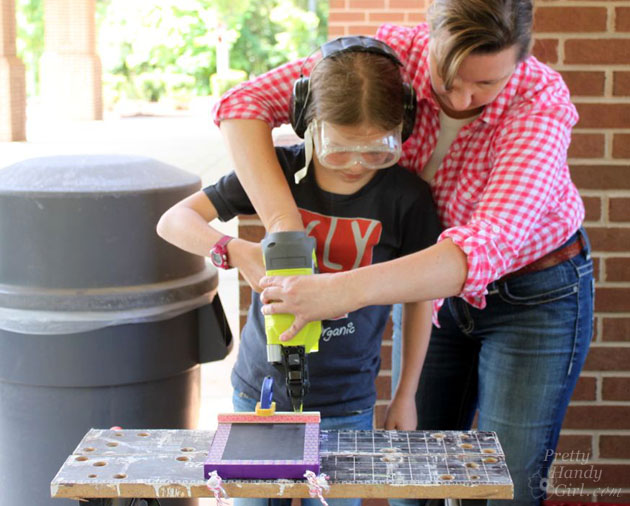
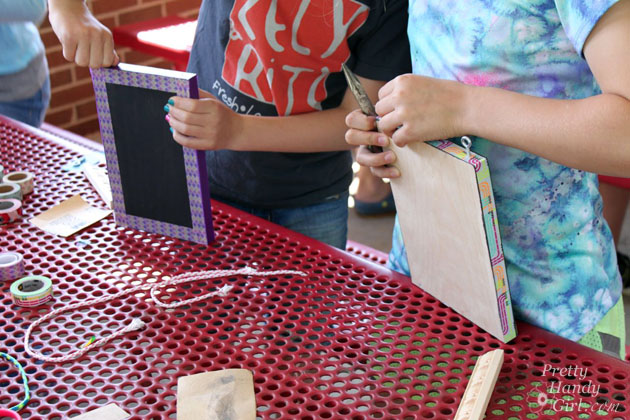
Suddenly, an idea hit me! I would waltz into that classroom and use my platform to break down the stereotypes about women and handy people within 30 minutes (or less!) Then I’d empower the 4th grade students by letting them build their own chalkboard memo board AND use a power tool! Lofty goals, but I felt sure I could do it. Little did I know that the students wouldn’t be the only one empowered.
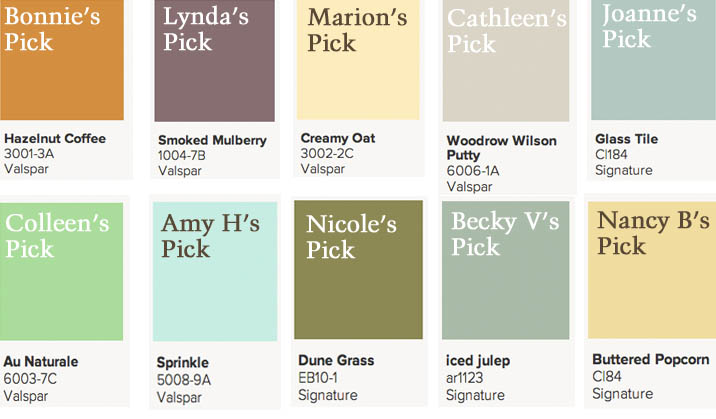
The quiz:

I started out by talking to the kids about what a handy person is. They shared terms that fit the definition of a handy person: fixes things, builder, carpenter, plumber, woodworker, and home improvement specialist. Then I showed them a slide presentation and gave the kids a quiz asking them to tell me which of these people are handy:

DIY Chalkboard Memo Board (4th grade project) | Pretty Handy Girl

I showed them one picture at a time and as expected, they got all of the answers wrong.

The answers: Read more

DIY Marble Toss Game | Pretty Handy Girl

DIY Marble Toss Game | Pretty Handy Girl

The summer is dragging on and the kids don’t have any summer camps for the next few weeks. That means: 1) I need to find a way to keep the kids entertained. 2) I need to keep them from pushing me over the brink of insanity. 3) I need to keep them from pushing each other off a cliff.

engraved-marble-toss

I came up with a fun marble toss game that will keep them busy. It was an easy game to make and I used some of the scrap wood laying around my workshop. Feel free to substitute materials and make modifications.

I enjoyed using the Dremel Fortiflex to carve the intricate letters and numbers. I have to admit I’m enjoying working as a brand ambassador for Dremel and testing their tools.

Let’s get your marble game face on!

(I’ve included affiliate links for your convenience. I earn a small percentage from a purchase using these links. There is no additional cost to you. You can read more about affiliate links here.)

Materials:

Optional: White pin stripes

Cut list:

  • 1 – 1/4″ x 10.5″ x 24.5″ plywood (face)
  • 1 – 1/2″ x 23″ x 9.25″ plywood (for side supports)
  • 2 – 1×3″ cut to 8.5″ (for base supports)
  • 1 – 2×4″ cut to 8.5″ (for upper support)

Tools Used:

Instructions:

Begin by drawing a horizontal line across the 1/2″ plywood.

mark-triangle-half

The angle will be approximately 22˚degrees.

22-degrees

Use the Dremel Ultra-Saw (jig saw or circular saw) to cut your plywood board in half diagonally.

cut-on-line-ultra-saw

You should have two identical triangles for the side supports. Read more

easy diy yardstick star

Hi there! It’s Melissa from The Happier Homemaker again and I’m excited to share a super easy little DIY decor project with you today!  A few weeks back I was at Lowe’s on a Saturday morning (isn’t that where we all are on the weekends?) While shopping around I saw a bucket of yardsticks in the paint section and had a stroke of inspiration to create this adorable little yardstick star for my mantel! This was one of my favorite types of projects (simple and inexpensive) and I hope you enjoy it as much as I did!

Materials

  • 3 wood yardsticks
  • Saw (I used a circular saw but almost any type will work)
  • Wood Glue
  • Stain

Instructions:

materials yardstick star

Use a saw to cut each of your yardsticks in half at the 18″ line. Set one segment aside so you have 5 total pieces to work with. Read more

wall chalkboard

Chalkboards are popping up everywhere (like Brittany’s DIY chalkboard calendar from last week) and you can easily make one, but how about upping the usefulness by making a chalkboard WITH a chalk ledge?  Jaime here from That’s My Letter to show you how easy it is to add a chalk ledge to your chalkboard.

chalkboard with ledge

You definitely need a place to put all that chalk (or chalk markers like we prefer).  This chalk ledge protudes a minimal  1 3/4″ from the wall but still has space enough to hold lots of chalk.

chalkboard with ledge 5

I also attached a galvanized pail for more chalk markers.

chalkboard with ledge 1

wall chalkboard 1

I installed this chalkboard near our back door mudroom area.  Unfortunately the key pad for our alarm system is nearly smack in the middle of that wall.  I simply cut out a square in my plywood using a jig saw to accommodate the key pad.  My kids love their new chalkboard and somehow the key pad isn’t quite so obvious once they start drawing around it.

chalkboard with ledge 2

Supplies:

  • 1/2″ plywood (cut to desired size)
  • 1×2 pine board (cut to length of plywood)
  • 1 3/8″ x 1/4″ thick flat trim moulding (cut to length of plywood)
  • black chalkboard paint
  • blue painters tape
  • stain
  • polyurethane
  • foam brushes
  • drill
  • Kreg pocket hole jig (not necessary but definitely easier if you have one)
  • 1″ pocket hole screws
  • wood glue
  • 3/4″ trim nails
  • countersink bit
  • 2 1/2″ toggle bolts
  • 5/8″ spade bit (check toggle bolt requirements)
  • pencil
  • level

Instructions:

Step 1: Cut your plywood to size, using your Kreg pocket hole jig make pocket holes every 8″ along bottom edge of plywood (on back side). (I used the portable base with automaxx clamp here, much easier that slipping a large piece of plywood into the jig.) Read more

School Library Painted with Montpelier Wedgewood | Pretty Handy Girl

School Library Painted with Montpelier Wedgewood | Pretty Handy Girl

Remember last week when we were picking colors for the school library? Well, I’m back to show you how everything came together!

But first, I’d like to announce the winners of the Valspar paint samples:

Valspar_color_winners


Congrats to Bonnie, Lynda, Marion, Cathleen, Joanne, Colleen, Amy H., Nicole, Becky V. and Nancy B!

page_break_2

To quickly review, we painted the walls and ceiling tiles using Valspar Montpelier Wedgewood. Then we stenciled stars on the ceiling.  After installing the ceiling tiles the library looked like this. Better, but still a bit ho-hum.

School Library Painted with Montpelier Wedgewood | Pretty Handy Girl

I had much bigger plans and was far from finished. I called in some expert help from my friend Leen the Graphics Queen and her husband. They cut and installed all the silver trees and birds. We had an absolute blast working together. There were several birds leftover, so Leen played hide and seek by putting a few birds elsewhere in the library. The kids (and I) had fun trying to find them over the next few days. Read more