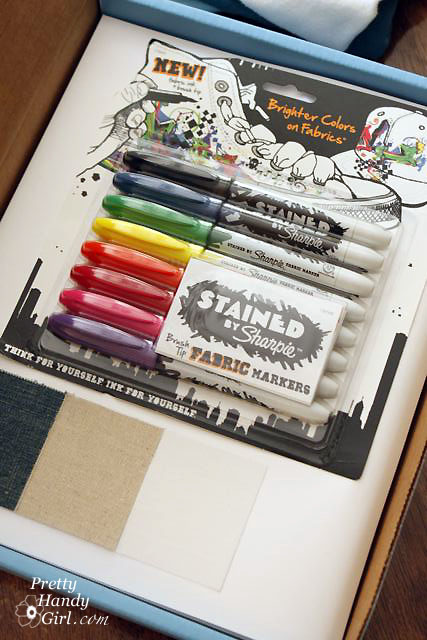
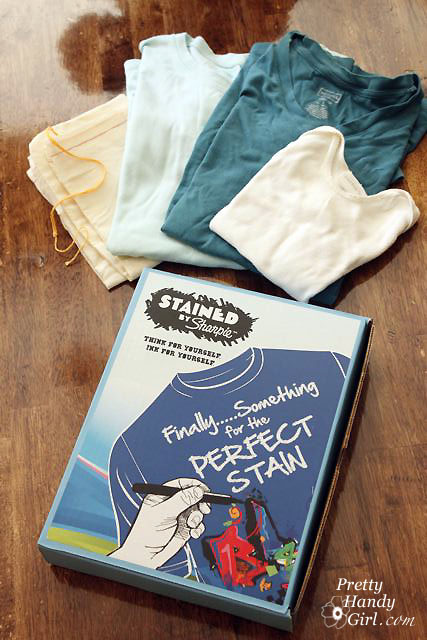
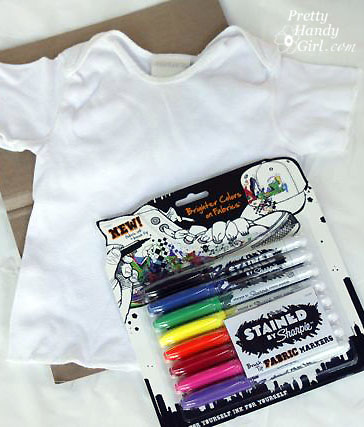
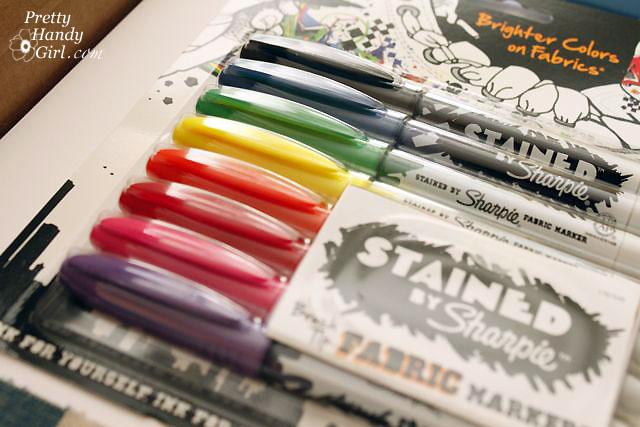
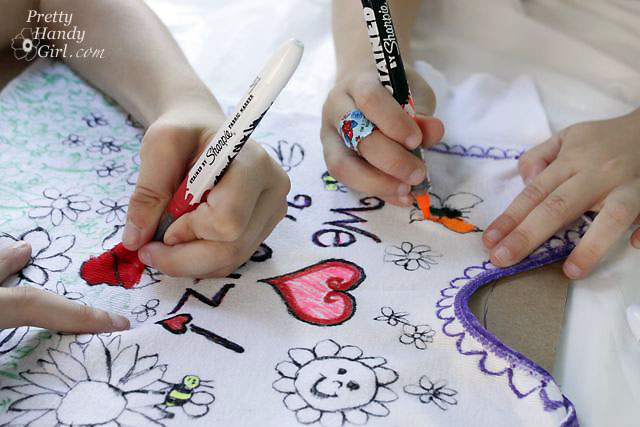
Sharpie just sent me a new line of markers they just released. They are called Stained by Sharpie. The markers are permanent fabric markers and let you get creative on anything fabric, canvas or cloth.

They couldn’t have arrived at a better time. The kids were home for summer break and were itchin’ for something fun to do.

I pulled out some old t-shirts I had stored away to tie dye (several of them had stains on them. So, I had planned to renew them anyway.)

The shirts are easiest to draw on if they are stretched taut over cardboard.

I decided it would be fun to let the boys decorate a baby shirt for their new little niece who will be born in September.

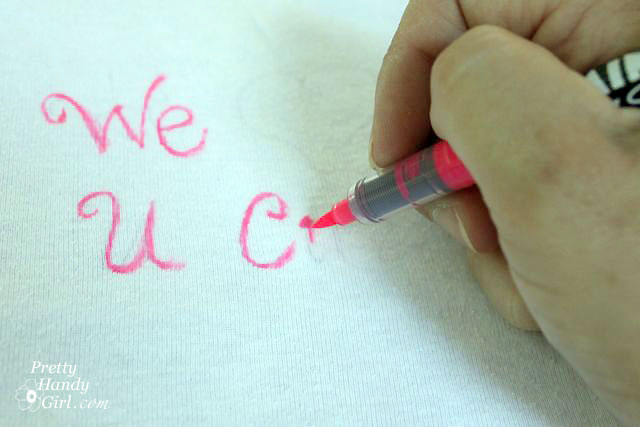
I drew out my words with pencil on the baby shirt. Then started using the Stained markers.

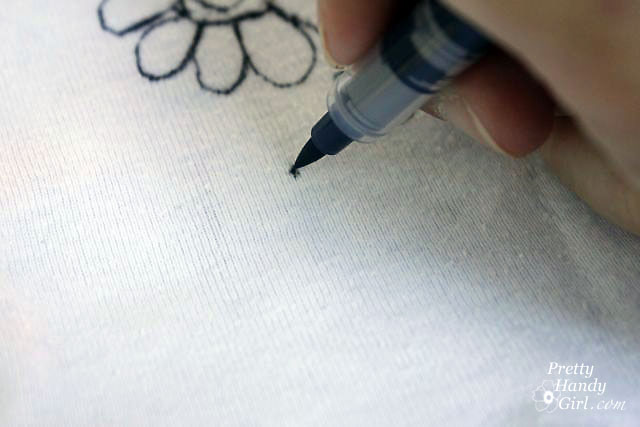
The markers are very easy to use. They will drag or bleed on the fabric if you use too much pressure. But, if you draw lightly and quickly they are just like using a pen.

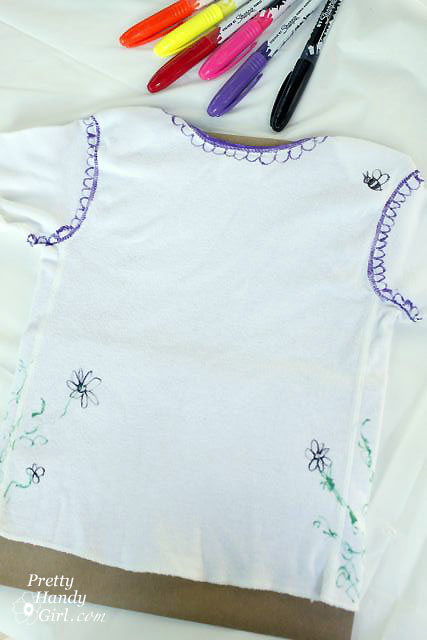
I doodled flowers and a design using black, purple and green.

Then carried the design over to the back (including a strategically placed bee covering up what might have been a spit up stain. Shhhh, don’t tell my sister.)

Then I called in my little Picassos and turned them loose.

They really had fun coloring in the lines. They left no section of shirt uncolored. (Aren’t band-aids just the cutest on little kid fingers. It makes me want to kiss the little boo boo.)

Our only complaint (being the artistic family that we are) is that we really wanted more colors! A light blue and light green would be nice. With all the colors regular Sharpies have, we hope the company will not disappoint and will soon have the same rainbow of assortment for the Stained Fabric Markers.

I gave the shirt to my sister for the new baby while I was visiting her. She already washed it once and reported that the ink held up just fine.

Isn’t this a cute keepsake for a new cousin? We think so. What would you use Stained markers on? I’m already thinking a plain canvas tote may look nice decorated with some art.


Disclosure: This is not a sponsored post. Sharpie sent me a set of complimentary Stained markers to try. I was not paid for this post or told what to write. All projects and opinions are my own.

 

The end of the school year has come and now it is time to load up on craft supplies to keep the kids entertained. My elementary school friend Megan asked me if I had any summer craft ideas to share.

So, Megan, this post is for you!

Sun Prints!

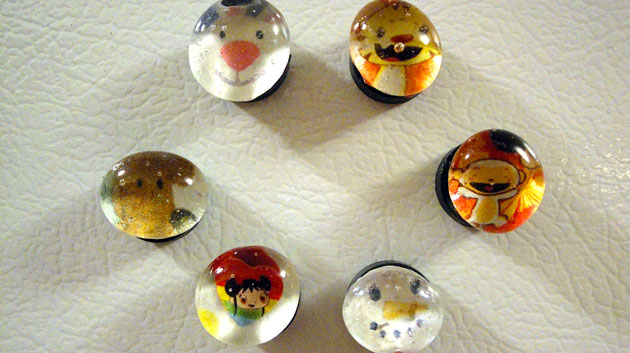
Glass Bead Character Magnets

Planning a beach vacation? Why not bring a few craft supplies to create some beach themed crafts!

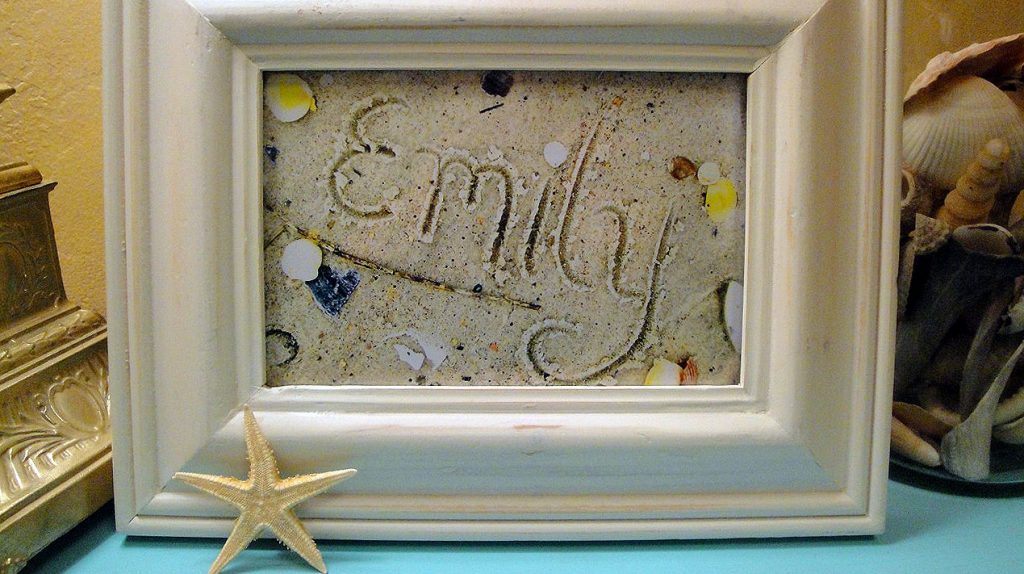
Sand Writing Photo

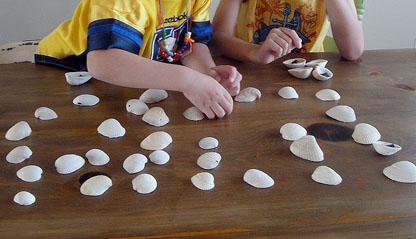
Sea Shell Memory Game

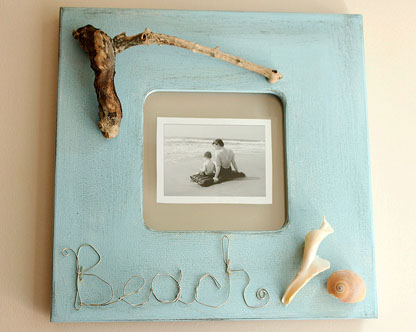
Beach Inspired Picture Frame

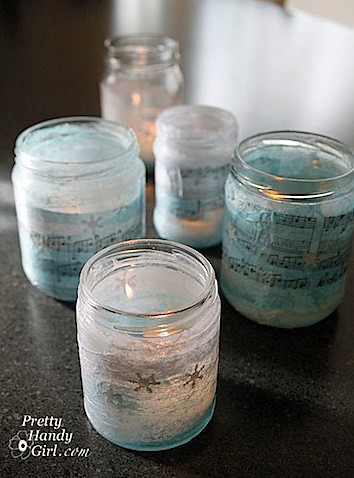
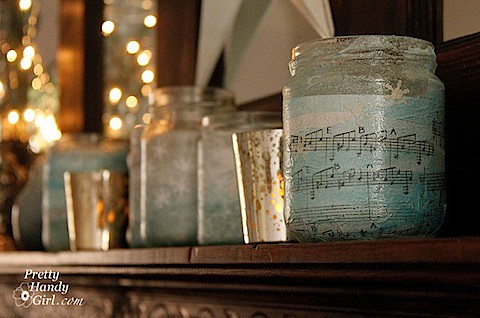
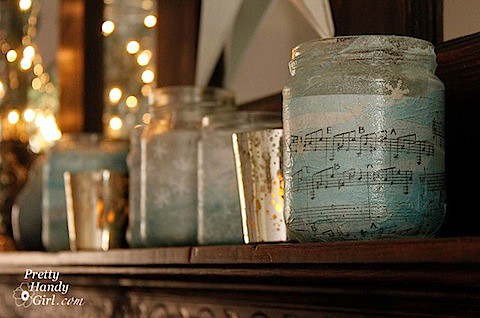
Although this craft was actually created in December, we love to create decorated jars for any season! How about affixing some of your vacation photos on a jar?

Glass Jar Decorating

Finally, this craft is a little more involved (for the parent) but it was well worth it!

Magnetic Mailbox Cover

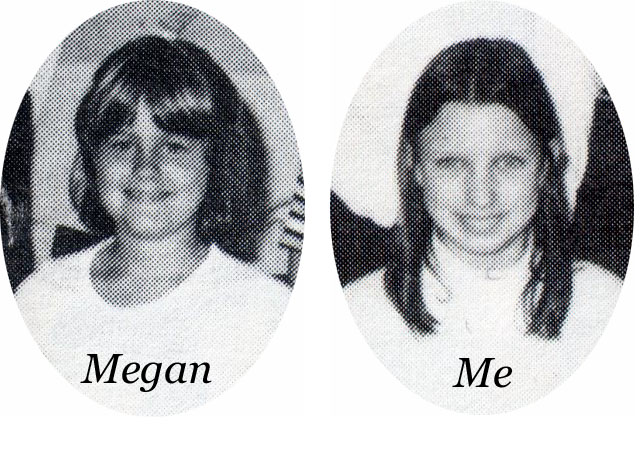
At the risk of Megan hunting me down and egging my house, this is what we looked like in fourth grade:

Isn’t Megan cute? Me on the other hand, I never had much style to my hair. Just a plain old hippie cut (did I tell you my parents were at Woodstock?)

VotivesonShelf.jpg
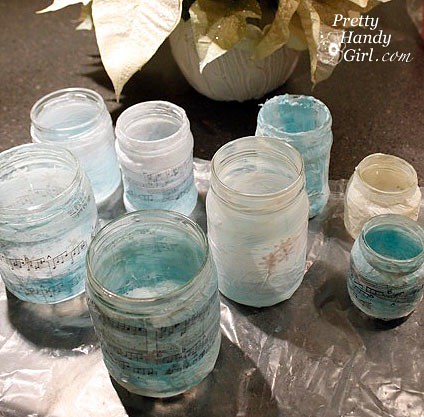
Glass Jar Votive Holders

This has to be one of my favorite activities to do with the kids!

Start by saving jars for a month or more! Salsa, jelly, vegetable, and baby jars all work well. Soak the jars to remove the labels and scrub any excess glue off.

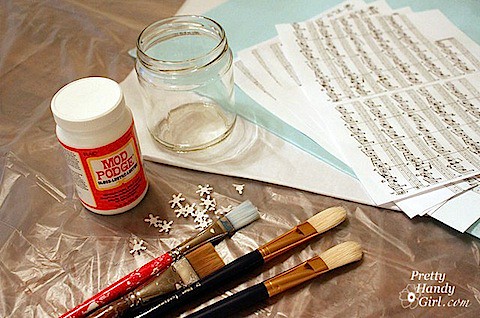
Materials:
Materials.jpg
  • Clean Jars
  • Mod Podge (or diluted School Glue)
  • Brushes
  • Jar of water to rest brushes in
  • Tissue Paper (I limited the palette to whites and blues)
  • Magazine cut outs, sheet music, stickers, or decorative hole punches
  • Plastic tablecloth or sheet to cover your work area

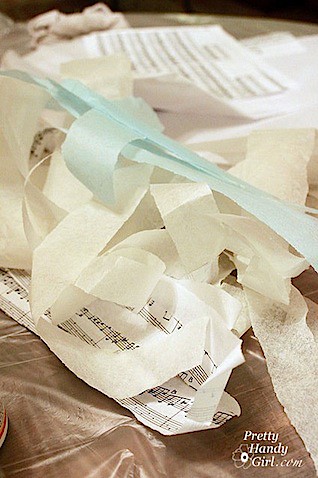
1. Tear your tissue paper, sheet music, or other paper into small strips and/or cut magazine pictures into small pieces.

TornPaper.jpg

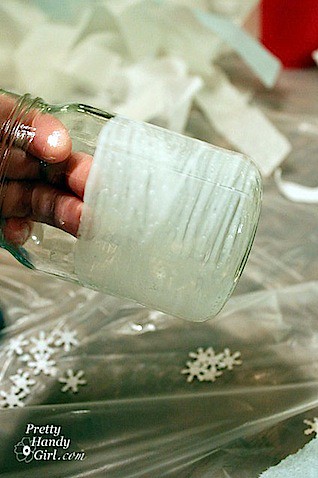
2. Brush a coating of Mod Podge onto the outside of the jar.

1stCoatModPodge.jpg

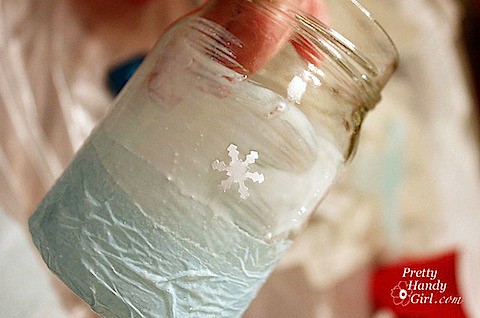
3. Lay down your first layer of papers. (You be the creative genius here! You really can’t go wrong.)

AddTissueSnowFlake.jpg

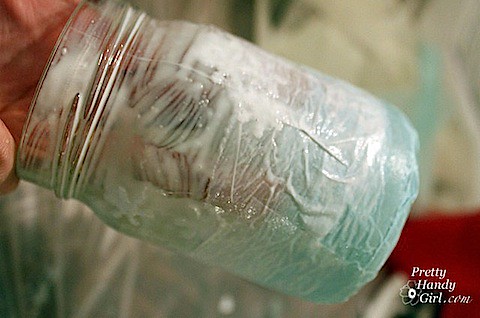
4. Coat the top of your paper layer with more Mod Podge and continue until the jar has been covered. It is okay to and encouraged to overlap layers. (Again, you are the creative genius!)

2ndCoatModPodge.jpg

5. Finish your jar by brushing on a final coating of Mod Podge. Be sure everything has been coated.

DryingJars.jpg

6. Rest your votive holders on wax paper to dry. (Did you know that I never buy wax paper anymore? I use recycled cereal bags.) After an hour, flip your jars over to allow the other end to dry.

VotivesonCounter.jpg
Insert your tea lights or use flame-less candles and enjoy!


They are so adorable, that after the season has passed, I’ve been known to use these for pencil holders, for makeup brushes or impromptu vases for a bud or two. They also make a great gift from your child to an adoring Grandparent!  What do you think? Are they gift-worthy?

Magnetic Mailbox Cover | Pretty Handy Girl

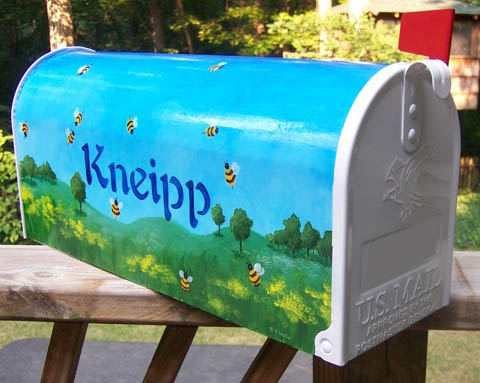
Several years ago I painted a mailbox for my stepmom (the wonderfully talented author, Diane Chamberlain). Her house was on a busy street and the mailboxes on this street were a prime target for mailbox baseball. I wanted to paint her mailbox as a surprise for her birthday, but the thought of spending hours painting the mailbox only to have it bashed did not appeal to me. Plus, this was supposed to be a surprise, and she might notice if her mailbox was gone for a few days (you think?!)

I came up with a solution that worked brilliantly! I painted the design onto automobile magnetic sign material (purchased from a sign shop for about $20). Wrapped it around her metal (won’t work on plastic mailboxes) mailbox and drilled the mounting screws through the magnetic material and the mailbox.

Believe it or not, that mailbox never took a hit by a bat (to my knowledge).

Here is how I did it:
First I wrapped the magnetic around her mailbox and cut it down to size. Then I traced the locations that needed to be cut out (bottom door hinges and flag bracket). The magnetic material cuts very easily with an x-acto knife or utility knife. Read more

Sunprints | Pretty Handy Girl

A few years ago while I was trying to entertain my toddler, we made sun prints on a hot summer day.

What! You’ve never heard of sunprints? Well, you really need to get your crafty hands on this hot product. Visit the Sunprints.org website to see all the details, plus a gallery of sunprint artwork!

Okay, don’t feel bad. I never saw it either until I happened upon this pack at our art museum gift shop. I bought some in the hopes of filling an hour of some weekday while waiting patiently for my hubby to come home.

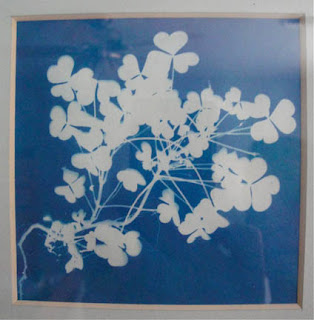
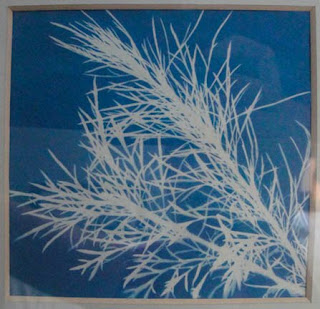
As nature lovers, we collected grass, leaves, and even weeds from our yard. Then we had a blast laying the leaves on top of the sunprint paper. After 2-5 minutes of exposure, we dipped the paper in cold water. It was fun watching the paper turn blue and the silhouetted images appear before our eyes. (Okay, I won’t pretend that we didn’t enjoy playing in the bucket of cool water too!)

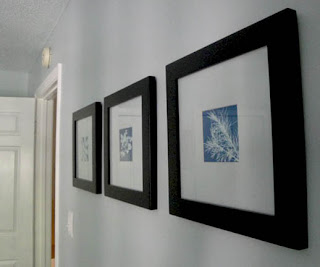
Several of them turned out so nice that I decided to frame them as art. Not only did I like the graphic look of the images, but the soft blue colors really appealed to me. I became so attached to the colors in the artwork that we painted our whole master bedroom the light color of the sunprints.


 Mimosa tree


Clover


Some weed in our garden

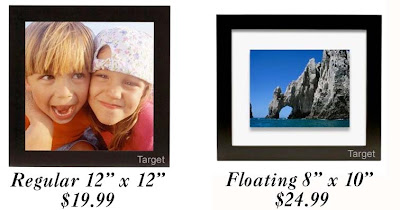
I found it a bit difficult to find the perfect square floating frames. Instead, I found regular square frames at Target for $19.99 a piece, and decided to buy them on the spot.  When I got home I had a brilliant idea on how to fake the floating glass frame look.

After we painted the room, I took some mat board and rolled the wall color on the mats. (It works best to use a mat that is somewhat close to the color of your walls.)

When the boards dried, I used my logan mat cutter and created custom mats.

Can you tell they are matted vs. floating? Maybe if you look close, otherwise, they appear to float in the frame!

So, you are accomplished at hanging three pictures so they are equal distance and the same height, right? If not, check back for my post on how to hang pictures to perfection.