My kids like to raid our recycling bin. They make the most imaginative things out of milk jugs, strawberry pints and toilet paper rolls. In fact, my five year old has been making his own Halloween costume from paper bags and tape. So, when #CollectiveBias sent out a challenge to make trick or treat bags with Elmer’s Craft Bond Glue Spots and Elmer’s Foam Board, I knew right where to head for supplies: Walmart AND the recycling bin! I hereby invite you to join me (and my escort) as we gather the supplies for this project.
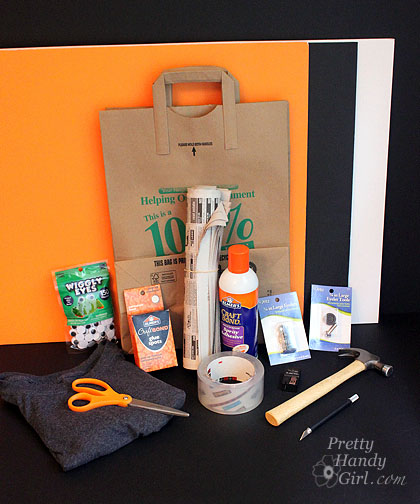
Materials:
Instructions:
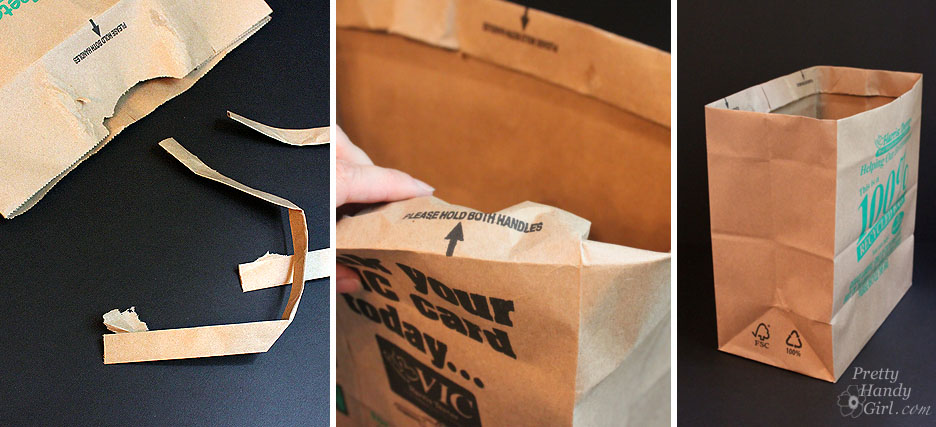
Start by removing the handles from the paper grocery bag and then cuff the top of the bag by rolling it under two times.
Pick out two sheets of newspaper (I used the obituaries. Truly Halloweeny don’t you think?!) and bring the paper bag and newspapers outside and spray them with spray adhesive.

It is important to wrap the paper bag with the newspapers as soon as possible for a maximum bond.
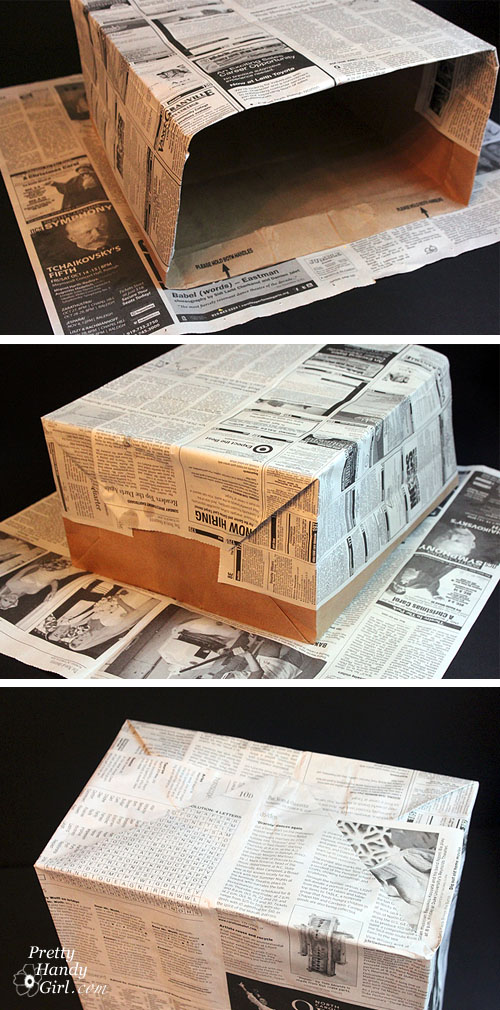
Wrap the bag neatly like a present with the newspaper. Use clear packing tape to tack any loose edges down. Also add a strip of packing tape to the inside of the bag cuff for extra support for the handle (should your child bring home pounds of candy!)
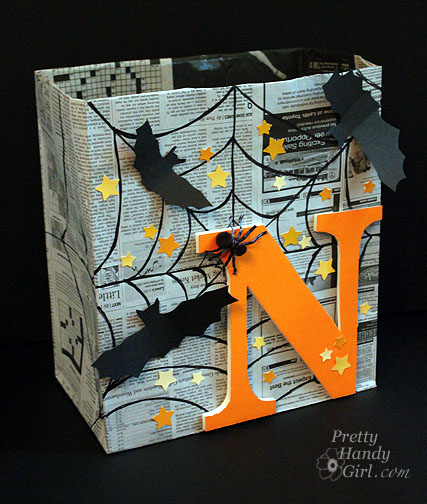
Take out your sharpie pen and draw lines in a spiderweb pattern on the bag.

Set the bag aside and collect the orange foam board, x-acto knife (with a fresh blade), pencil and the letter print out.
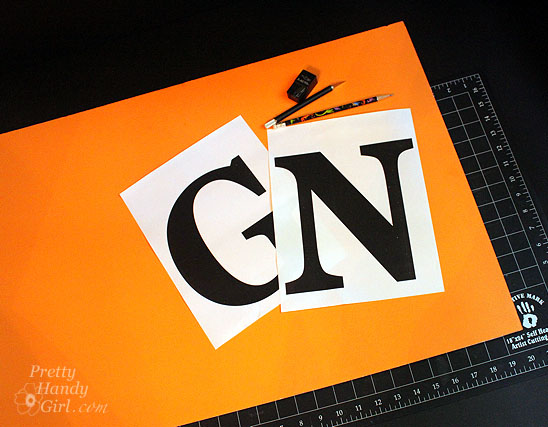
Set the letter on top of the foam board. I usually line the edge of the letter up with the edge of the foam board for less material waste.
Press firmly with the pencil as you trace around the letter. When you remove the print out you should see an indented outline.
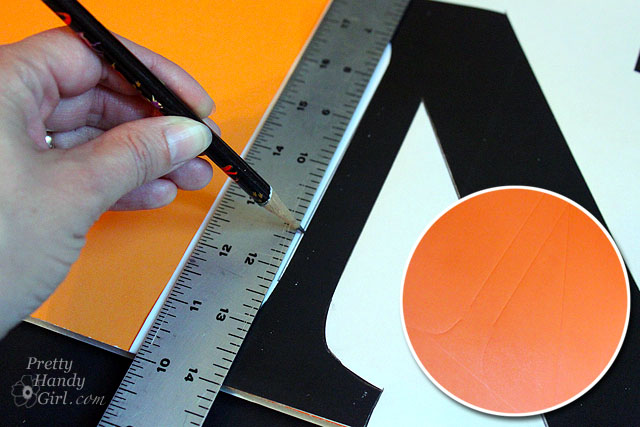
Using the x-acto knife, cut out your letter shape. Use a metal ruler to cut straight lines. If your knife starts to tug and pull at the foam board, put a new blade in.
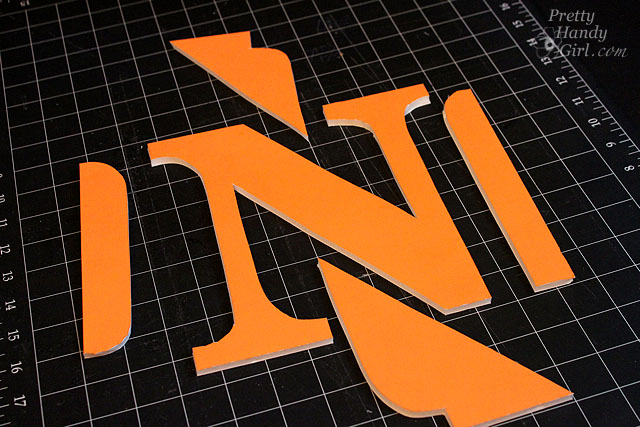
Clean up any ragged edges with the x-acto knife.

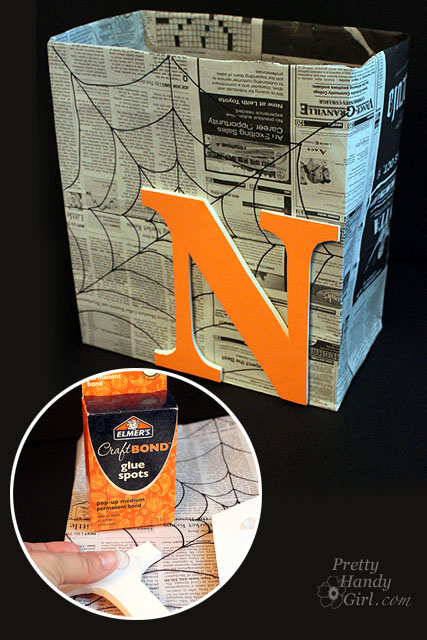
Use a few Elmer’s Craft Bond glue spots to affix the Elmer’s foam board letter to the bag.
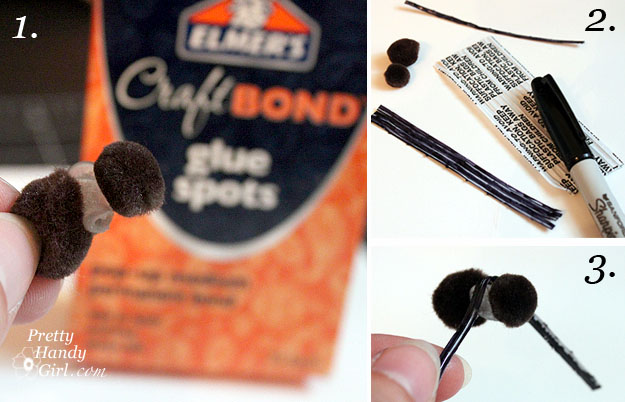
To create a little spider, glue two pom-poms together with another glue spot. If you have black twisty-ties you are good to go aren’t you special, you don’t have to color them. (I only had white ties so I colored them with the black sharpie.) Wrap four twisty-ties around the middle to create the spider’s eight legs.
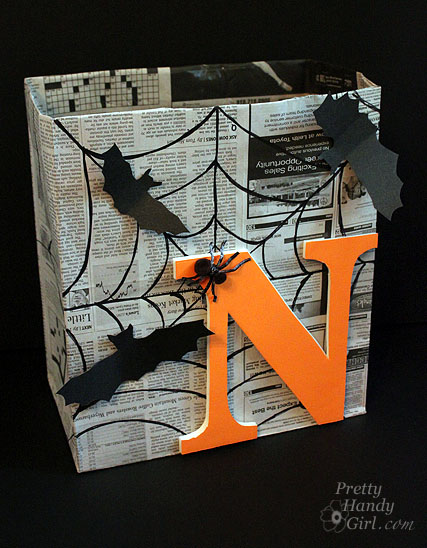
Use another glue spot to glue the spider to the bag.

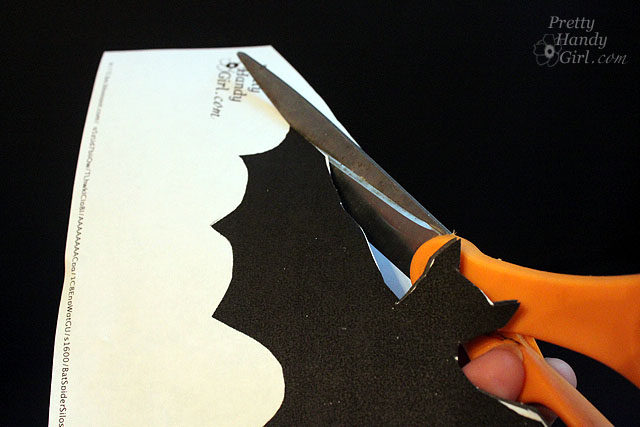
Print out a bat silhouette downloadable template and layer it on top of black poster board. Cut out a few bat silhouettes.
Use a glue spot on the center of each bat to glue them to the bag. Fold the bats wings up for more dimensional interest.
Add stickers (or pre-punched paint chip stars using Elmer’s Glue-All multi-purpose glue) to the bag.

I incourage you to decorate your bag anyway you like. Bust out your craft supplies for inspiration.
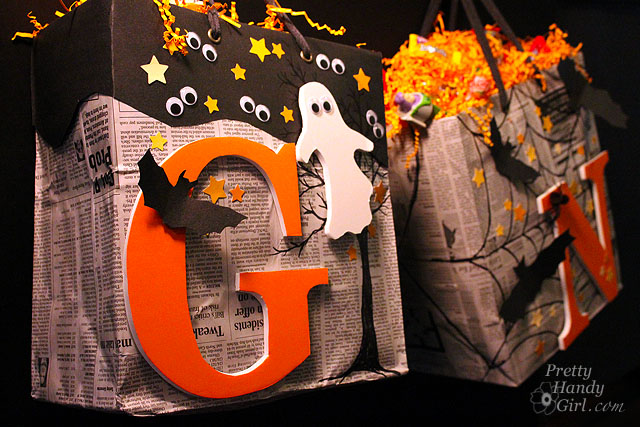
If spiders and bats aren’t your thing. How about spooks and spirits?
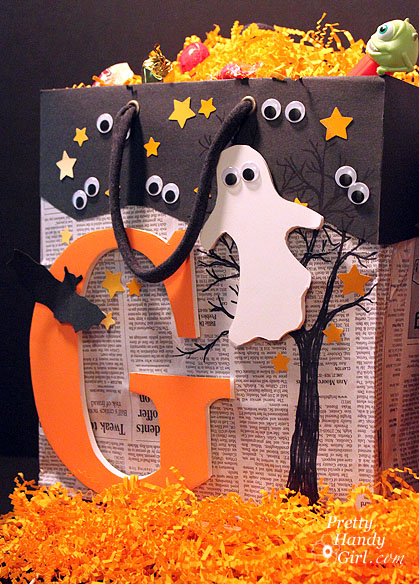
To add the handles, follow the directions on your grommet kit. 1. Punch a hole in the bag at the top of the bag using a hole punch. 2. Insert a long grommet through the hole. Lay a short grommet on top. 3. Hammer the grommets together using the metal rod tool that came with the grommet kit.

Cut off the sleeves from a t-shirt. Cut two 2.5 – 3″ wide strips. Then stretch the sleeve loop in opposite directions. This will make the shirt material roll.

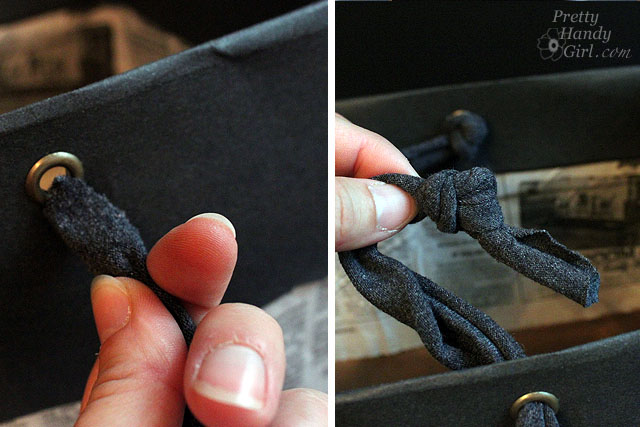
After you have stretched and rolled the sleeve loops, cut them at the seam. Then thread each end through the grommets on the bag and tie a double knot on the inside of the bag.
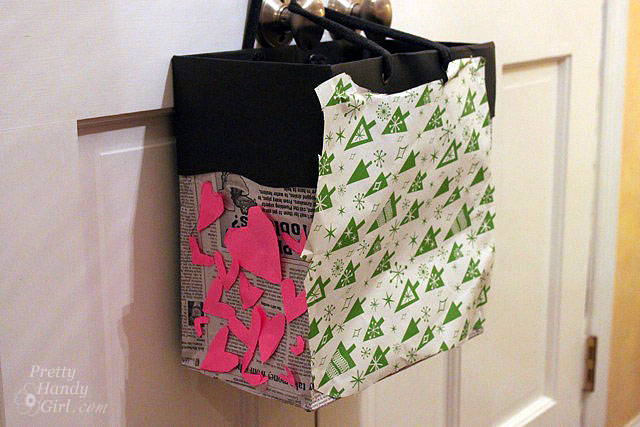
Now gather up your little trick-or-treater and give him this unique candy collection bag! My sons’ had the biggest smiles on their faces. Definitely worth the effort to make these bags.

This eency weency spider is my favorite!

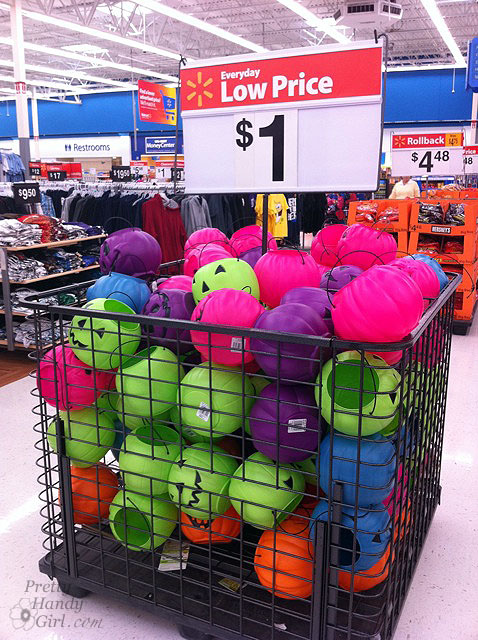
Way more personalized than these generic plastic pumpkins, don’t you think?!
Which one is your favorite? I can’t decide, because I love them equally as much. Spook or Spider?
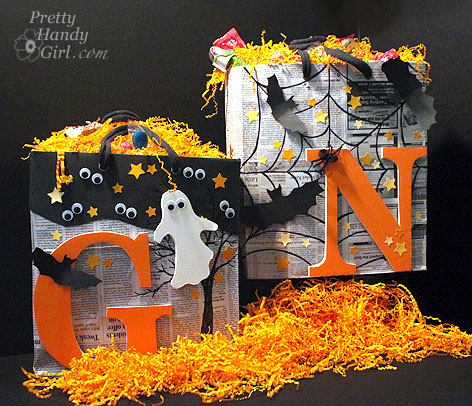
Eeeeeekkk, we can hardly wait for October 31st!
Disclosure: This project has been compensated as part of a social shopper insights study for Elmer’s #gluenglitter #CollectiveBias #CBias. The ideas and opinions shared in this post are purely my own from my own crazy creative head.
Follow up: Well, my youngest loves his bag so much that he told me, “Mom, we should decorate every side with a different holiday.” And that is exactly what he did today during quiet time. I just want to stop time and keep him five forever!


