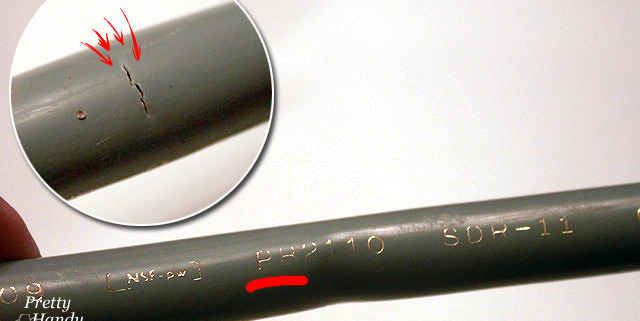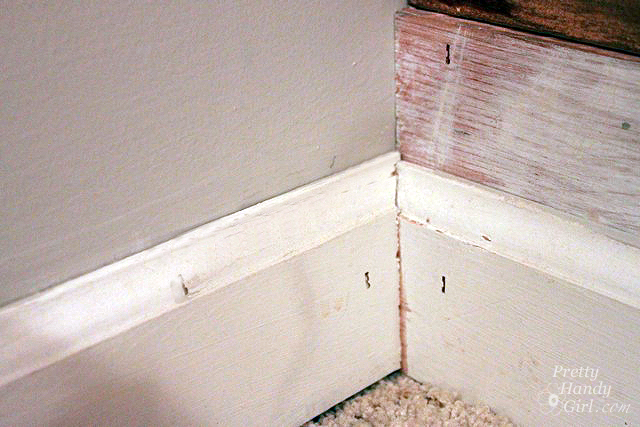
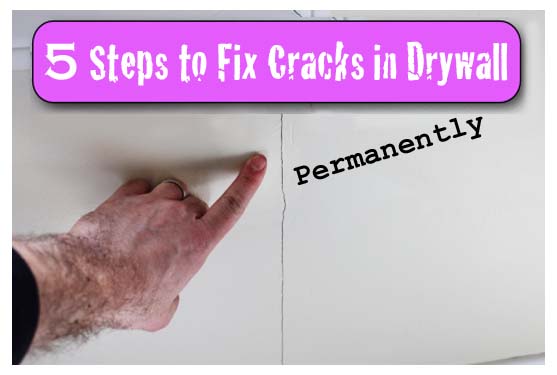
Do you have a crack in your drywall that keeps coming back?
Today’s post will help you fix this annoying problem in 5 easy steps using 3M’s Patch Plus Primer.
This weekend I was cleaning out the guinea pig cage that sits in our living room (did you know guinea pigs can live from 5 to 8 years, what the!!!) and noticed a crack in our wall under the window.
Apparently the previous homeowners tried to fix it since there was evidence of old joint compound around the crack.
Dealing with old rental homes has taught me a thing or two about drywall and plaster. After reading this post I guarantee you’ll be able to permanently fix any drywall crack in no time.
(I’ve included affiliate links for your convenience. I earn a small percentage from a purchase using these links. There is no additional cost to you. You can read more about affiliate links here.)
Materials:
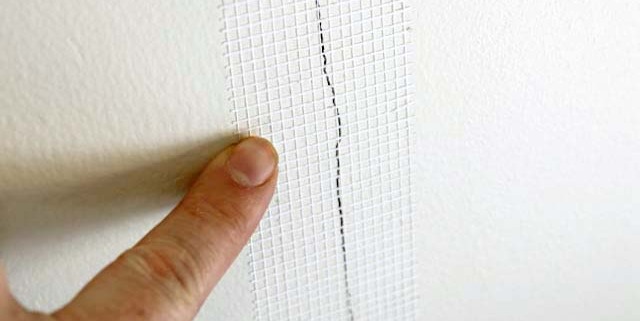
- Fiberglass mesh drywall tape
- 3M Patch Plus Primer
- Putty knife
- 6 inch drywall knife
- Joint compound mud pan
- Sanding sponge
- Towel for your floor
- Your wall paint
- 2 to 3 episodes of Big Bang Theory
That’s not a bad supply list. My grocery list puts it to shame and is far more expensive (and that’s without buying Dogfish Head IPA beer).
Let’s get started and eliminate your cracked drywall 🙂 Read more