How to Trim Closet Doors with Dremel UltraSaw | Pretty Handy Girl

How to Trim Closet Doors with Dremel UltraSaw | Pretty Handy Girl

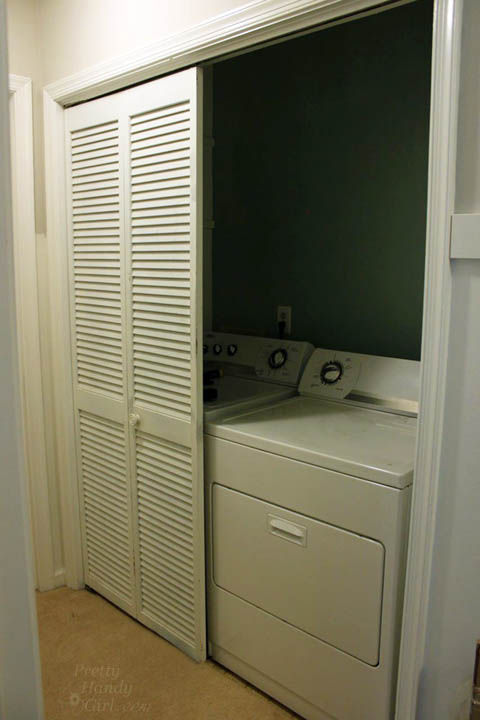
I have a friend named Holly. She and I live in the same neighborhood and we help each other out with DIY projects. Last week she asked me to help her come up with a solution to hide her dirty laundry.
How to Trim Closet Doors with Dremel UltraSaw | Pretty Handy Girl

Holly and I were trying to figure out how to replace her sad laundry room door(s). The right side door had broken off and was unusable. We floated several ideas, originally thinking about creating inexpensive sliding barn doors. But, we scaled back that idea after realizing that inexpensive pipe hardware (spanning over 8 feet) was still too expensive for the budget. We began discussing buying cheap bi-fold doors and dressing them up. However, even new bi-folds aren’t super cheap. I mentioned she “might” have luck going to the Habitat ReStore to find the exact size doors. We both knew that was a slim chance. Then an idea hit me like a bi-fold door falling off its hinges! Among the multitude of things I have stored in my attic, were two sets of closet doors! One that used to be on my son’s reading nook closet. And the second set used to be on the pantry.

Would it be fitting that the only before pictures I have of the pantry doors are these gems?

How to Trim Closet Doors with Dremel UltraSaw | Pretty Handy Girl
The Streaker

How to Trim Closet Doors with Dremel UltraSaw | Pretty Handy Girl
The Goofball

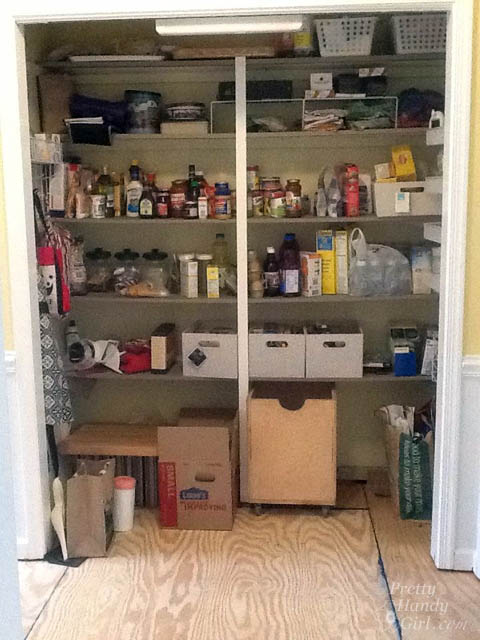
You get the picture. They are ordinary bi-fold doors. After the doors were removed from our pantry I liked how open it was. Although sometimes I wonder if I am just too lazy to open and shut the doors every time I want food.
How to Trim Closet Doors with Dremel UltraSaw | Pretty Handy Girl

Regardless, I liked the open concept, but not necessarily our food being constantly ON DISPLAY. I have plans to add built-in cabinets and shelving to the pantry, similar to what my friends The DIY Village created, but for now we just have it open.

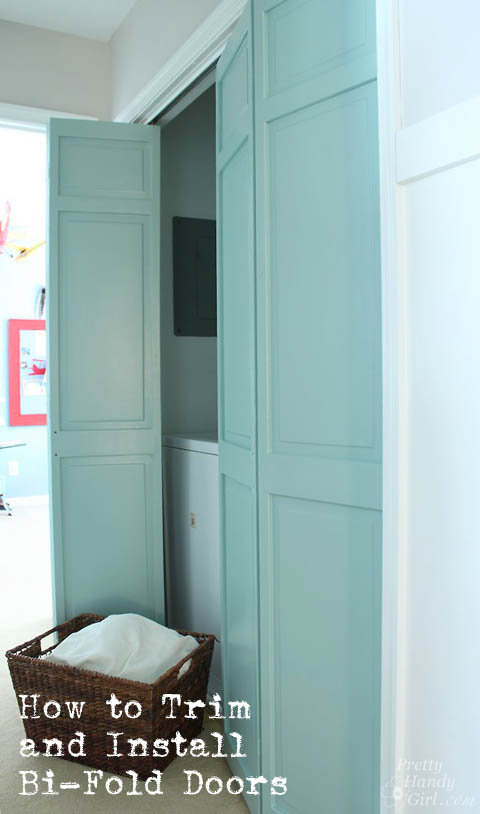
I ran home to dig through the attic and find the two sets of doors that might work for Holly. I held my breath (partly because the attic was stifling hot) as I measured the doors. My son’s closet doors were…too narrow. Whomp wah. The pantry doors were… a perfect width!!! But, they were 2″ too tall. No worries, I knew I could trim them down.

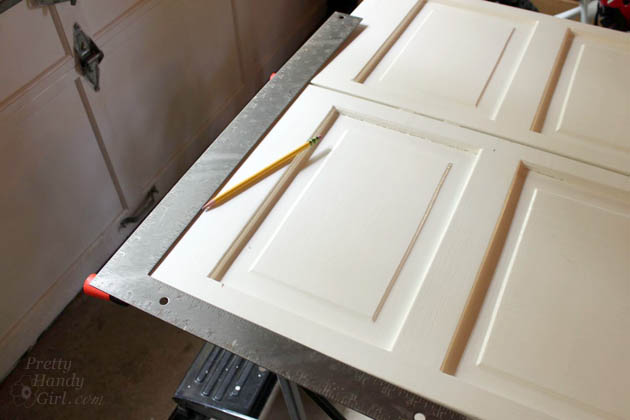
Here’s how to remove (and install) closet doors and cut them down to size using a Dremel Ultra-Saw:

Read more

5 Minute Ceiling Fan upgrade | Pretty Handy Girl

5 Minute Ceiling Fan Update | Pretty Handy Girl

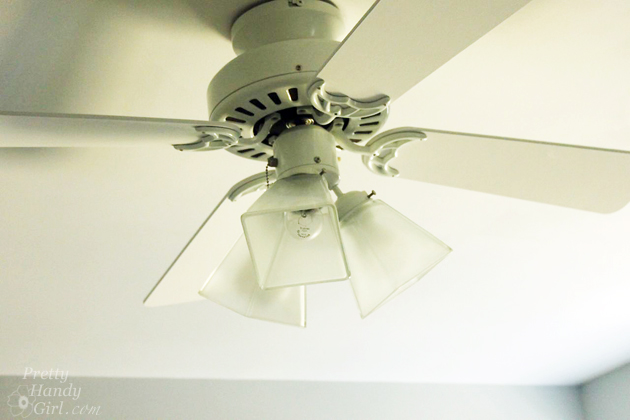
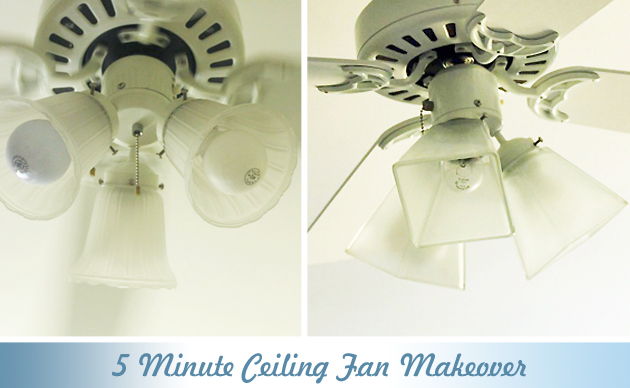
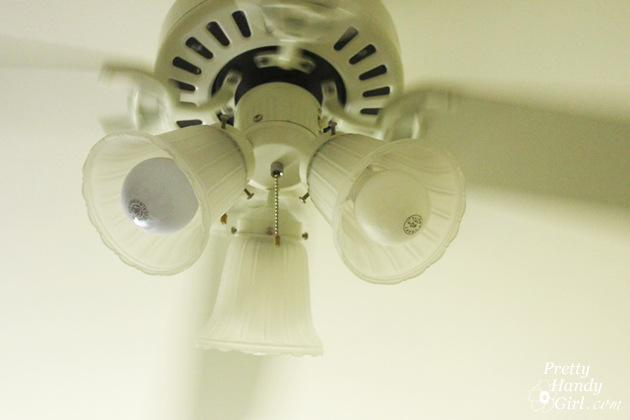
When I was updating my son’s bedroom, I gave the ceiling fan a 5 minute update! You can easily change the look of a ceiling fan by quickly swapped out the light shades. I removed the scalloped edged glass shades and replaced them with square ones for a more “gender neutral” look.

5 Minute Ceiling Fan upgrade | Pretty Handy Girl

New glass shades cost anywhere from $3 – $10 each at Lowe’s or other home improvement stores. The shade size is pretty much universal, but make sure you are buying the smaller shades versus larger ones that are sold for pendant lights. To be sure, bring one of the old shades with you or measure the diameter of the mouth on the existing shades.

Here’s the quick 5 minute how to swap out your ceiling fan light shades: Read more

Easy! How to Install a New Showerhead | Pretty Handy Girl

Easy! How to Install a New Showerhead | Pretty Handy Girl

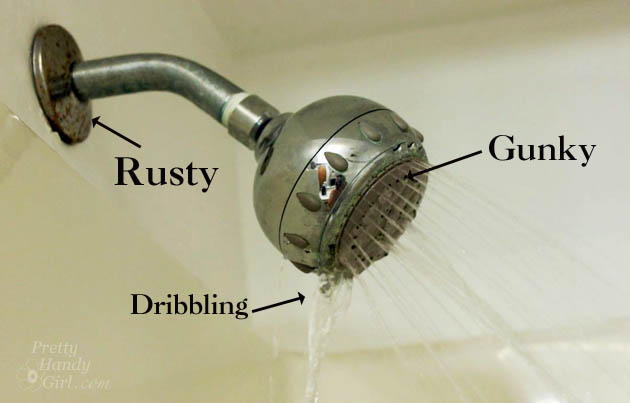
Raise your hand if you have a sad excuse for a shower head! Is it drippy, rusty or clogged? If you answered yes to any of those questions, I’m about to show you why there is no excuse for you being able to install a new shower head yourself! It’s super easy.

Easy! How to Install a New Showerhead | Pretty Handy Girl

Materials:

(I’ve included affiliate links for your convenience. I earn a small percentage from a purchase using these links. There is no additional cost to you. You can read more about affiliate links here.)

Easy! How to Install a New Showerhead | Pretty Handy Girl

Easy! How to Install a New Showerhead | Pretty Handy Girl

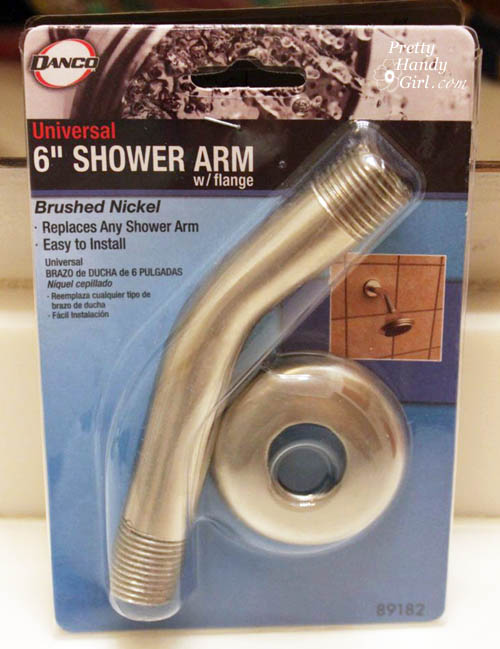
  • Optional: Shower arm & flange, rag to protect new shower arm

Instructions:

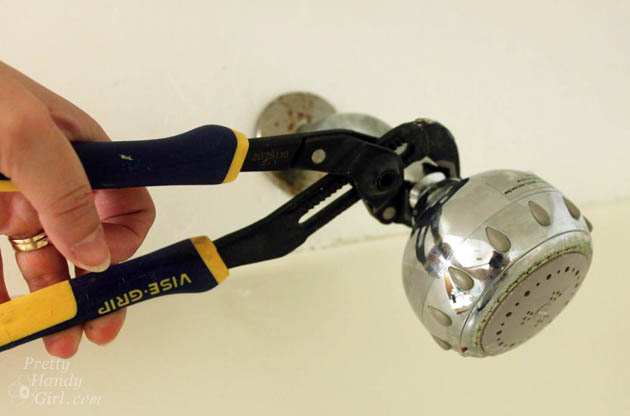
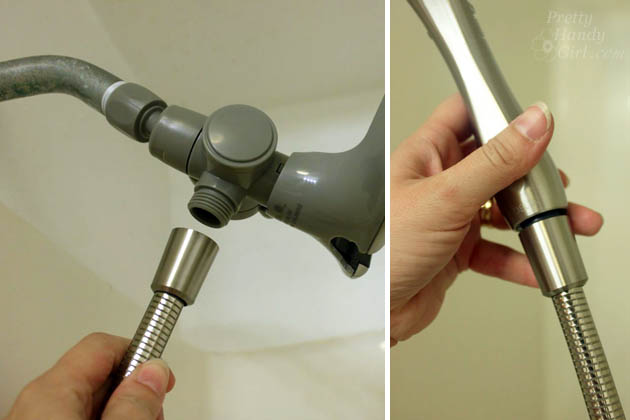
1. Remove the old shower head by unscrewing it from the pipe arm. Use pliers to help get it started.

Easy! How to Install a New Showerhead | Pretty Handy Girl

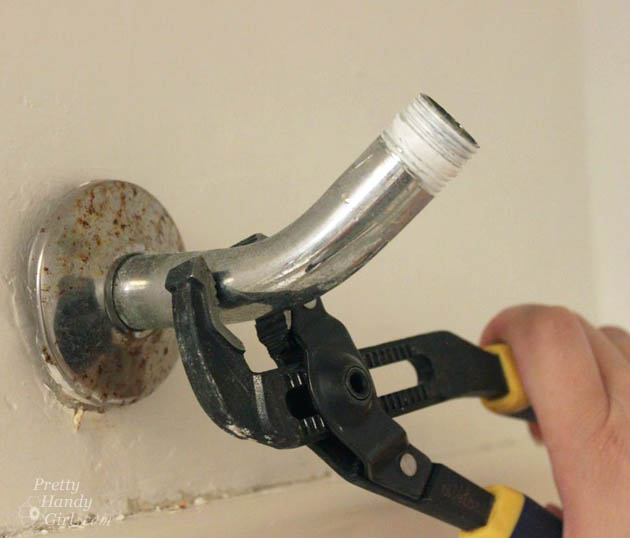
2. Unscrew the old shower arm if it is rusty or won’t match the new shower head. Remove that rusty flange (now is the time to do it! Don’t put it off any longer.)

unscreEasy! How to Install a New Showerhead | Pretty Handy Girlw-old-shower-arm

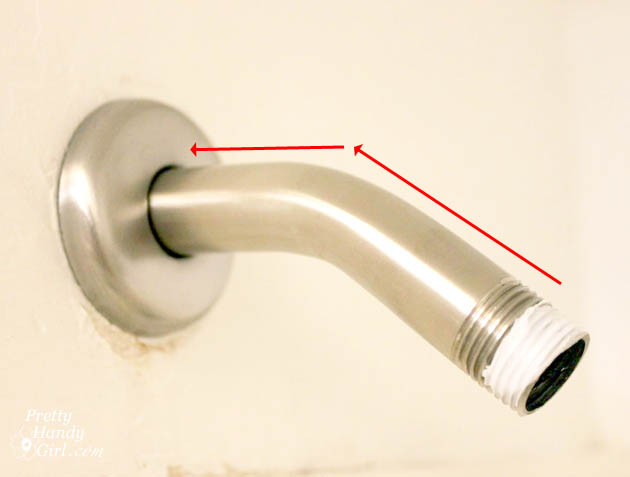
3. Replace the old shower arm with new one by screwing it into the plumbing pipe in the wall. Then slide the new flange over the arm.

Easy! How to Install a New Showerhead | Pretty Handy Girl

Wrap the end of the shower arm with plumber’s tape (wrap it clockwise to keep it from bunching up when you attach the new shower head.)

Easy! How to Install a New Showerhead | Pretty Handy Girl

4. Screw the new shower head onto the end of the shower arm. Hand tighten the head. Then put the rag over the spot base of the shower head and use the pliers to tighten it 1/4 turn.

Easy! How to Install a New Showerhead | Pretty Handy Girl

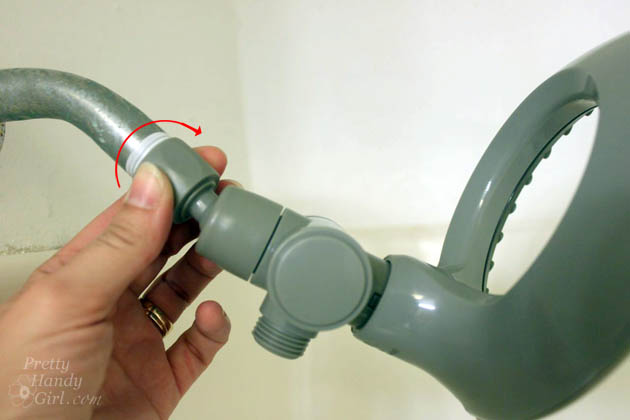
5. If your shower head has an extension hose, attach that at this time by screwing it onto the shower head and attaching the other end to the body sprayer.

Easy! How to Install a New Showerhead | Pretty Handy Girl

Turn on the water and test the spray! Beautiful! No drips or clogs? If you have some leaks anywhere, give an extra 1/4 to 1/2 turn to tighten it the shower head or hose.

I installed the Delta In2ition shower head in the Topsail Beach Condo we renovated. I’ve been intrigued by this shower head and after trying it out, I love it!!!

Easy! How to Install a New Showerhead | Pretty Handy Girl

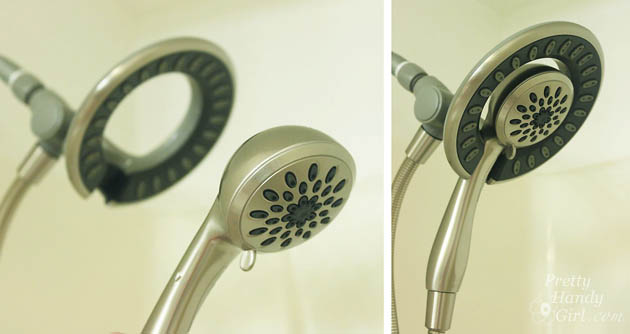
Because who wouldn’t love a shower head that sprays from the top even when you want a body spray too?

The interior head is fully removable and nests back into the outer ring when done body spraying.

Easy! How to Install a New Showerhead | Pretty Handy Girl        

The only initial drawback I found was getting used to setting the body sprayer back into the ring. Once I realized you have to push it in and down firmly, there was no problem.

Wasn’t that easy? Go on and replace your shower head today if you’ve been putting it off!

PHGFancySign

Disclosure: No disclosure necessary. I wasn’t paid or provided with the Delta In2ition shower head. My stepmom paid for it to be installed in the beach condo. I chose this shower head because I wanted to try it out.  


Pin for later!

How to Easily Install a New Shower Head

how_to_move_floor_vent

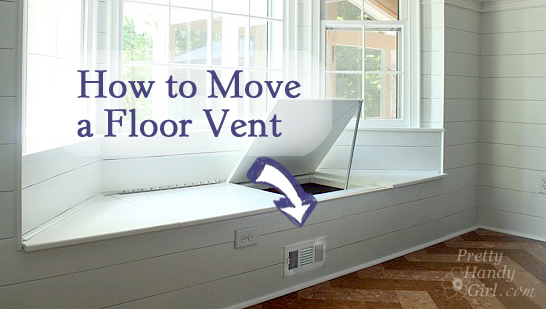
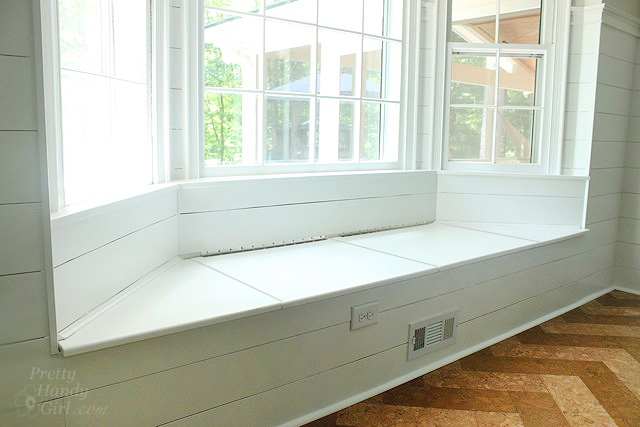
Remember last month when I showed you how to build a window seat in a bay window? I had promised to share with you how to move the floor register. I’m true to my word and am back with the tutorial today.

window_seat_bay_window_storage

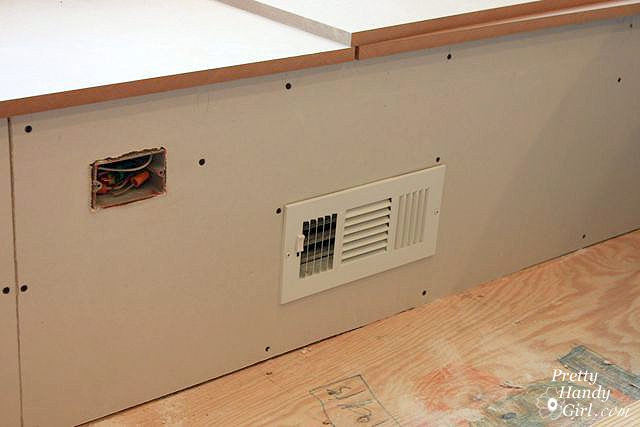
When I built our kitchen window seat, I had two obstacles in my path. The first was moving the wiring for the outlet, the electrician and I simply pulled the wiring down from the outlet on the wall and re-routed it into the new outlet box in the front of the window seat. A relatively easy task. Moving the HVAC vent wasn’t very difficult, it just involved a little more cutting and measuring. But, this is a task you can handle!

I have seen some other methods for re-routing the floor vent. One such method involved building a wooden box to channel the air out the front. I caution you from doing this if you live in a humid climate. Mold can grow inside the wooden box. You could build a channel with HVAC rigid ductwork, but you’d be adding an extra turn which can cut down on the airflow. Another alternative would be to move the register to another location in the floor. I chose to move it to the front of the window seat.

How to Move a Floor Register Materials:

  • Carpenter’s Square
  • Pencil
  • 90 degree Ductwork (if you can’t use the existing)
  • Wall register
  • Small level
  • Roofing nails
  • Zip tie
  • Foil duct tape
  • Dremel Multi-Max
  • Drill with bits

Instructions: Read more

fix drywall cracks permanently

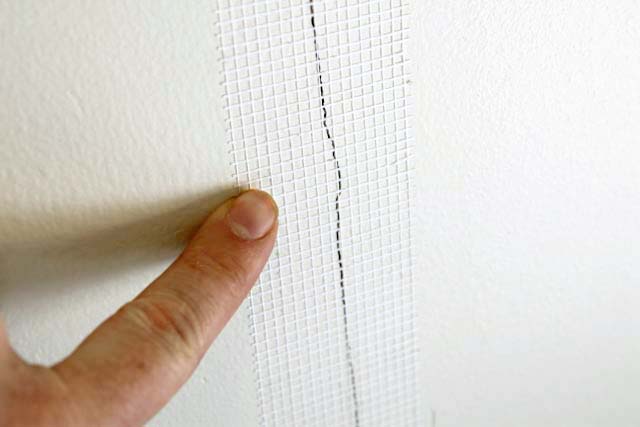
Do you have a crack in your drywall that keeps coming back?

Today’s post will help you fix this annoying problem in 5 easy steps using 3M’s Patch Plus Primer.

This weekend I was cleaning out the guinea pig cage that sits in our living room (did you know guinea pigs can live from 5 to 8 years, what the!!!) and noticed a crack in our wall under the window.

Apparently the previous homeowners tried to fix it since there was evidence of old joint compound around the crack.

Dealing with old rental homes has taught me a thing or two about drywall and plaster. After reading this post I guarantee you’ll be able to permanently fix any drywall crack in no time.

(I’ve included affiliate links for your convenience. I earn a small percentage from a purchase using these links. There is no additional cost to you. You can read more about affiliate links here.)

Materials:

That’s not a bad supply list.  My grocery list puts it to shame and is far more expensive (and that’s without buying Dogfish Head IPA beer).

Let’s get started and eliminate your cracked drywall 🙂 Read more