31 Days of Handy Home Fixes | Pretty Handy Girl

Welcome to Day 2 of my 31 Days of Handy Home Fixes. Today I’m going to show you a tip for fixing a rubbing or sticking door.

Day 2. Fixing a Sticking Door

Do you have a door in your home that rubs on the frame or gets stuck certain times of year? Our bathroom door used to stick in the summer (but not the winter.) The excess humidity in the air caused the door to swell just enough that it rubbed at the top of the frame. The fix literally took less than five minutes!

Take a look at your door and determine where the door is rubbing. Assess which direction you need to nudge the door to break the contact.

The simplest fix is to try loosening or tightening the door hinge screws. Take a look at the door below. The door was too tight in the upper left corner. To relieve the rubbing loosen the screws a half turn in that top hinge. Test the door again. You may also need to loosen the screws on the middle hinge and tighten the screws on the bottom hinge.

Is your door still sticking? Try removing the screws completely from the door frame. Instead of shimming with a wooden shim (which would be too thick) cut a piece of thin cardboard (think cereal boxes and product packaging) and inserted it behind the hinge. Then drive the screws back in.

Shim a door hinge

95% of the time the above two tips will resolve your issues. If your door is still sticking, you may have to take more drastic measures like routing out more material from the door frame with a Dremel or using a power planer to trim down your door.

PHGFancySign

Check out other participants in Nester’s 31 Days Challenge.

31 Day Writing Challenge

Don’t miss a single tip! Sign up to get all the tips in your email:


Sign Up for Email Subscription


Other tips in the 31 Days of Handy Home Fixes series:


Water alarm

31 Days of Handy Home Fixes | Pretty Handy Girl

Welcome to Day 1 of my 31 Days of Handy Home Fixes. I am always amazed at how a great house can fall into disrepair. This doesn’t have to happen. Each day you can learn a quick fix for your home. For the entire month of October I’ll be bringing you tips and fixes you can do to protect your home, save money and save time. Follow along to learn a new tip each day. Also check out other participants in Nester’s 31 Days Challenge.

31 Day Writing Challenge

Day 1. Protect Your Home from Water Leaks

If you’ve been following my blog for a while, you probably read about the great leak of 2012. We ended up having to gut our kitchen and rebuild it. Unless you want to rebuild your kitchen from scratch, there’s a simple device you can use to protect your home from a costly leaks.

Simply purchase a few of these Water Sensor and Alarms:

Water alarm

They cost $10 each, but they can save you thousands of dollars! Add batteries and put one underneath every sink. Place one behind the clothes washer and your fridge too!  Speaking of your fridge, here’s how to prevent an ice maker leak.

protect_from_ice_maker_line_leaks

Stick around to learn more tips tomorrow. Sign up to get all the tips in your email:


Sign Up for Email Subscription


Pin for later!

water detector picture

Other tips in the 31 Days of Handy Home Fixes series:


Benjamin Moore Yellow Highlighter Painted Interior Doors | Pretty Handy Girl

Benjamin Moore Yellow Highlighter Painted Interior Doors | Pretty Handy Girl

I painted my interior front doors Benjamin Moore’s Yellow Highlighter. It’s my way to start my day off on the right foot. When I get up in the morning and head downstairs, I see my front doors and immediately Good Day Sunshine starts to play in my head!

Let me tell you how this happened. Remember when I was in the middle of the DIY project from HELL?! I tried to paint our front doors on the outside and the paint was peeling off. I wanted to curl up in a ball and cry. I wanted to run down the street screaming. Instead, what did I do? I decided to create a cheerful view when I go downstairs every morning. I put stripping the outside of the doors on hold for a day or two and focused my efforts inside.

Benjamin Moore Yellow Highlighter Painted Interior Doors | Pretty Handy Girl

The solid wood doors are original to our house and had cracks in them.

Benjamin Moore Yellow Highlighter Painted Interior Doors | Pretty Handy Girl

Instead of replacing the doors, I fixed them by scraping the edges until they were smooth and devoid of bumps. Read more

How to Add Security Film to Glass Doors & Windows | Pretty Handy Girl

How to Add Security Film to Glass Doors & Windows | Pretty Handy Girl

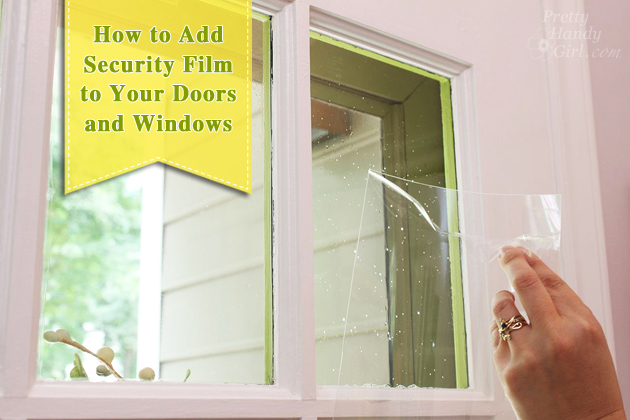
The folks at Allstate Insurance have graciously sponsored this post, which will help you learn how to install security film to safeguard your doors (or windows) from a potential break-in! It’s a simply DIY solution that could potentially save you the heartache of having your home burglarized.

I’ve noticed an unsettling trend in our area. There are more thefts popping up around our neighborhood. Luckily the majority of them are burglaries with no violence. But, it’s still unsettling. If you want the latest on crimes around you, sign up for SpotCrime.com. Simply enter your address and you’ll get emails when crimes are reported around you. Then again, this could lead to a bit of paranoia {raising hand.}

SpotCrime.com map

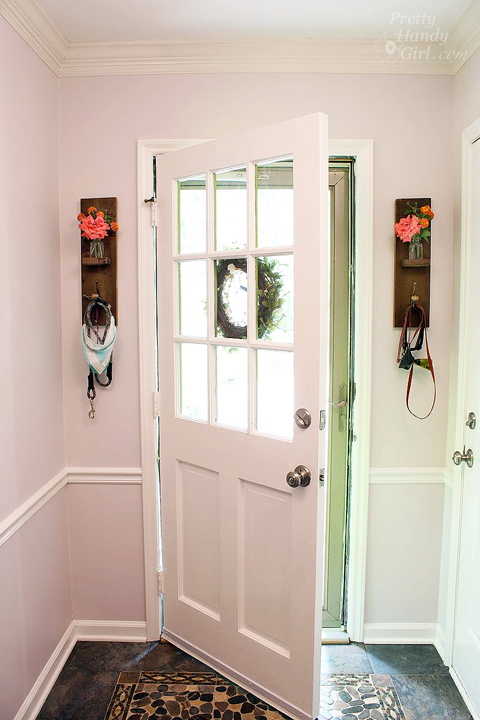
Regardless, there are two doors in our home that have always caused me some concern. We have two half window doors that needed some added security measures. The first one is the entrance to our mudroom. The second one is the back door to our garage (and you know I’d be heartbroken if anyone stole my power tools!)

How to Add Security Film to Glass Doors & Windows | Pretty Handy Girl

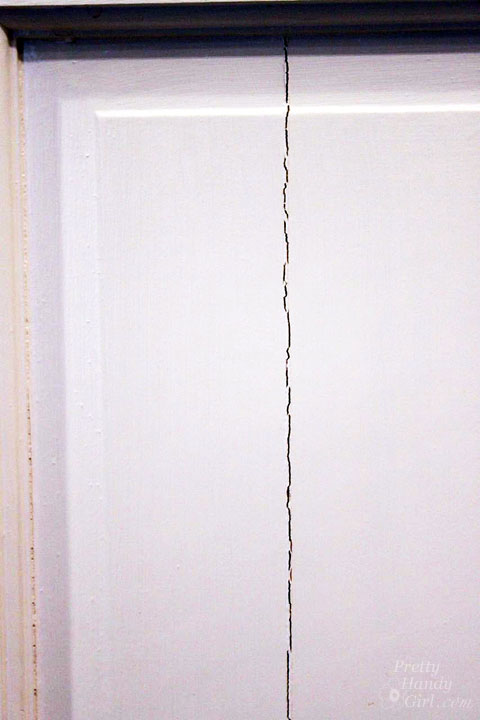
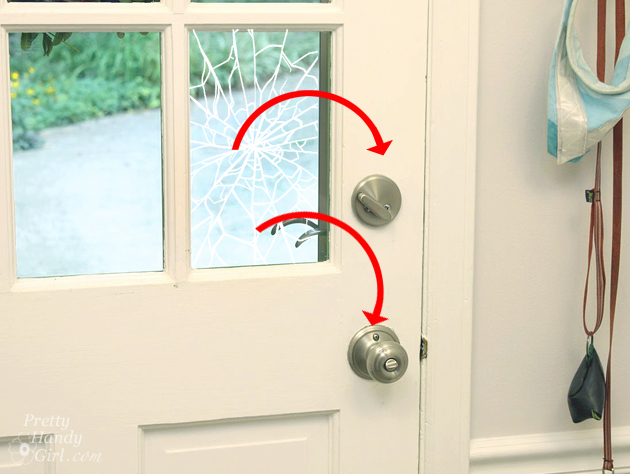
If you have a door like this, a burglar can simply break the pane of glass closest to the knob, reach in and turn the deadbolt and handle. One option is to install a two-sided keyed entry deadbolt lock. Because we have little children, I worried about them not being able to find the key and get out of the house in the event of a fire.

How to Add Security Film to Glass Doors & Windows | Pretty Handy Girl

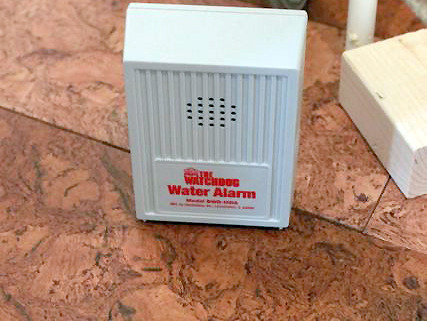
This past week I happened to hear about security film and did a little research. I was skeptical until I tested the material myself. The results seriously amazed me! You can watch my test in the video later in this post.

In the meantime, here are the supplies you’ll need and the very simply installation instructions!

(I’ve included affiliate links for your convenience. I earn a small percentage from a purchase using these links. There is no additional cost to you. You can read more about affiliate links here.)

Materials:

 Instructions:

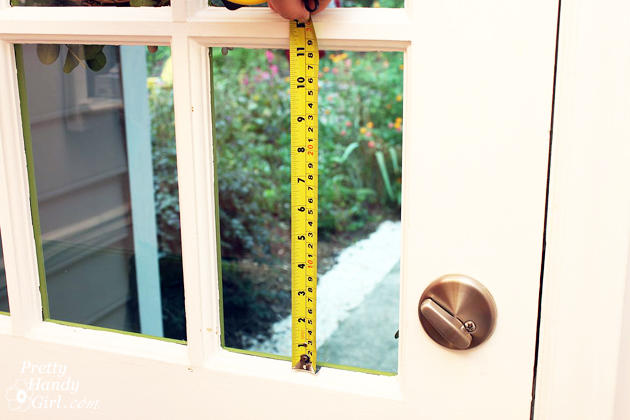
1. Begin by removing the grill if you have one solid piece of glass with faux dividers (see my video below for more details on removing the grill.) If you have true divided light, move on to the next step.

2. Measure your windows. Reduce the size by 1/8″ to leave space at the edges for the water to escape. Transfer the measurements onto the film with pen. Cut the window film with the x-acto knife and ruler. (You could use scissors in a pinch.)

How to Add Security Film to Glass Doors & Windows | Pretty Handy Girl Read more

Flying Yellow Jacket | Pretty Handy Girl

Honeybee vs. Yellow Jacket | Pretty Handy Girl

Summertime is here and I can’t keep shoes on the kids…

Honeybee vs. Yellow Jacket | Pretty Handy Girl

…or clothes for that matter.

Honeybee vs. Yellow Jacket | Pretty Handy Girl

I think my kids inherited it from me. I have fond memories of running around our backyard as a child barely clothed. I also have a not so fond memory of stumbling upon a yellow jacket nest. I ran until my little legs gave out and I hit the ground face first as those little devils stung my backside several times. Nothing puts a damper on summer fun like a bunch of yellow jacket stings on your hiney. Two years ago, my oldest son had the unfortunate experience of stumbling upon a nest in our yard. If I could have taken the stings for him, I would have. Lucky for us, he didn’t experience an allergic reaction on top of the stings. But, allergic or not, yellow jackets are not welcome in my yard!

That summer that I got stung, I learned to tell the difference between yellow jackets and honeybees. Do you know how to tell the difference? It’s important to stop and take a moment to identify which you are dealing with. Did you know that honeybees and yellow jackets are very different in appearance? Once you know what to look for, you can easily identify them: Read more