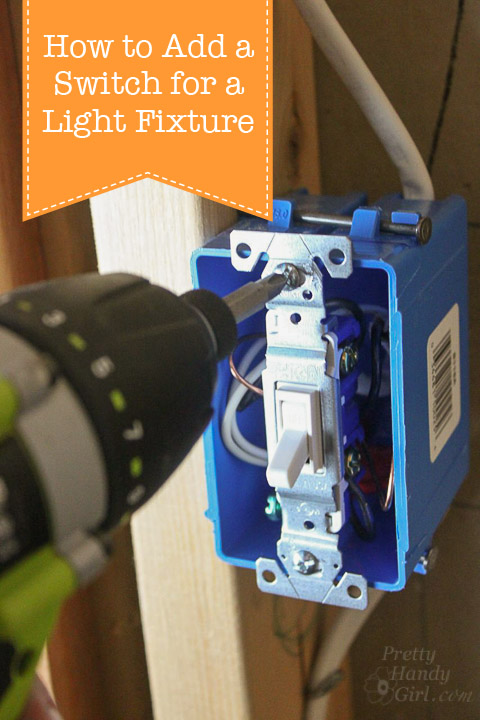
Have you ever wanted to replace a pull chain light with a standard light fixture and a switch? If so, I have a tutorial for you on How to Add a Switch for a Light Fixture!
A while ago my sons and I watched the movie, A Series of Unfortunate Events. When the movie was over my oldest son said he loved the library scene in the movie.

I’m not surprised. Both our boys are voracious readers and have amassed quite the collection of books. Handy Boy #1 lamented the fact that we didn’t have a library and asked if I could build one in our home. I escaped with a non-committal answer.
A few weeks passed and that library seed in my head had begun to plant itself firmly in my mind. I began to form a plan about where I could add a library in our home. It became clear when I opened the toy closet in the bonus room and found myself getting angry that it was (once again) a mess. As I began clearing a path on the floor of the closet, it occurred to me that 90% of the toys in the closet were for young children and my boys had grown beyond them. I spent the afternoon clearing out the closet…
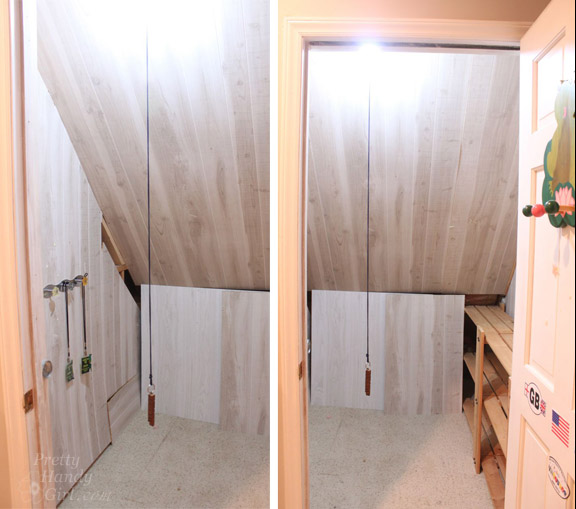
…and soon it looked like this:

When, I clean, I really clean! Ha. I should explain that the room used to have paneling and scraps of carpeting. But, this closet was always freezing in the winter and hot in the summer. I was determined to get to the source of the lack of climate control. After adding more insulation and filling all the cracks and voids with Great Stuff, I framed out a second wall. Let me just say that some jack ass didn’t bury 12 wires in the wall, but instead wrapped them around the studs. Can you say, “NOT TO CODE!” Instead of hiring an electrician to re-run all those wires, I came up with the ingenious idea to add a second wall to encase the wiring mess. Then I moved on to the lighting situation.
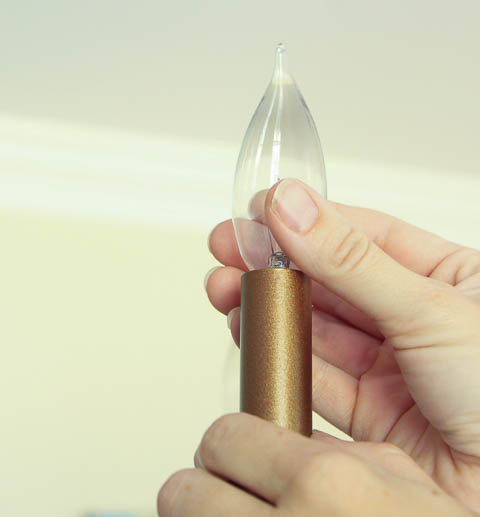
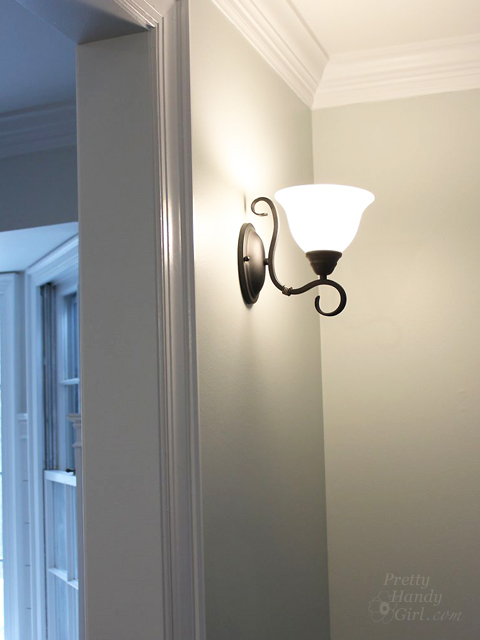
The light in the closet was a pull chain. If you have children, you know that nothing is more irresistible than a dangling rope that turns a light on and off and on and off and on…until the chain breaks. I decided to add a switch to the light fixture. While I was at it, I also added a new LED light fixture that wouldn’t create heat or add to our energy bill if it was left on.
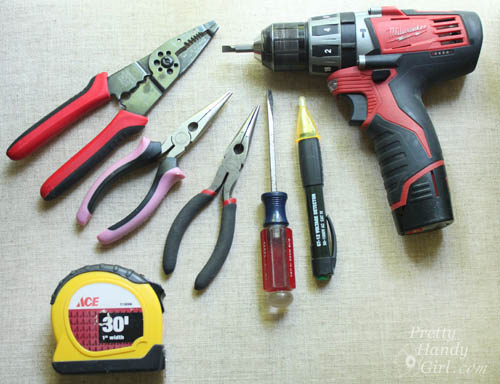
Materials:
(contains affiliate links)
- 14/2 Romex wiring (but, check your home to make sure you use the same wiring)
- Wire strippers
- Flat head screwdriver
- Philips head screwdriver
- Hammer
- Wire nuts
- Electrical staples
- Single outlet box (new work if you have the walls open. Old work for slipping inside sheetrock.)
- Voltage tester
- Needle-nosed pliers
- Single pole switch
- LED Light fixture
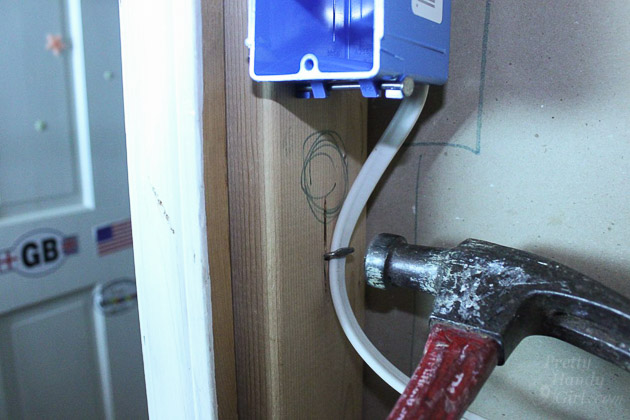
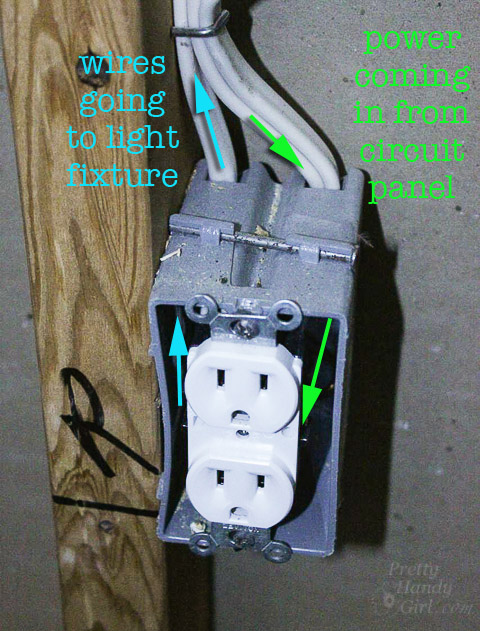
Before we begin, I want to show you the wiring configuration we have to start:
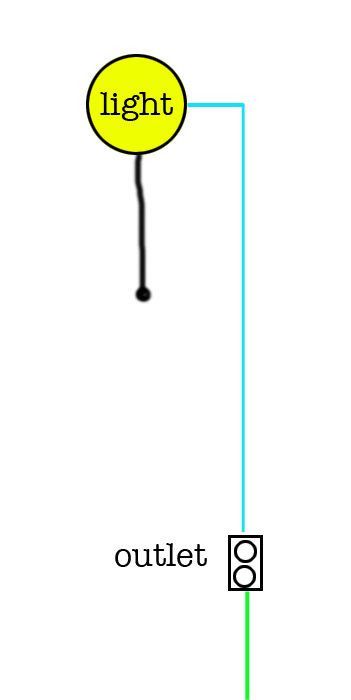
The green line represents the wiring coming from the home circuit panel. The blue line shows the power continuing from the outlet to the light with a pull chain. (If you have an eagle eye you’ll notice a third wire in the outlet box below. The other wire goes to another outlet.)
This next diagram shows the configuration we need to add a switch: Read more