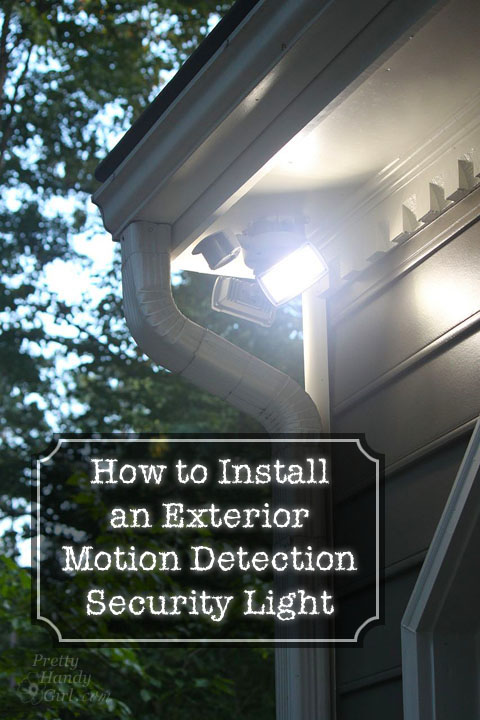
Nothing deters a thief like a well lit area. But truth be told, I needed this light to illuminate the path when taking out the trash. There is nothing like walking out the door with the trash in your hands after dark and realizing that you forgot to turn on the exterior light. I should mention that our neighborhood is popular with the copperheads. Need I say more?
Installing any light fixture is a relatively easy DIY project, and installing an exterior light is no exception if you have a junction box or light already installed.
Materials:
- Motion Activated LED Floodlight
- Voltage Detector
- Needle Nose Pliers
- Screwdrivers
(flat & philips)
- Ladder
Optional: Drill
Required Safety Instruction:
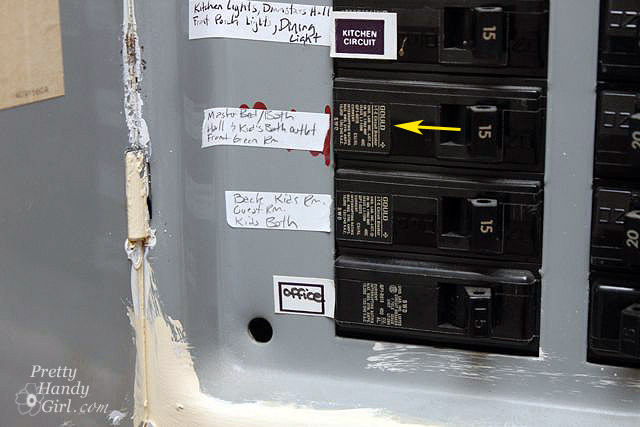
Turn off the power to the light fixture you are working on. I highly recommend turning on the light you will be working on, then shut off the circuit at your circuit breaker and check to see that the light has gone out. Also note that just because the light fixture power is turned off, it doesn’t necessarily mean that other outlets or lights in the same area are on the same circuit. Always check for the presence of power before you work on it.
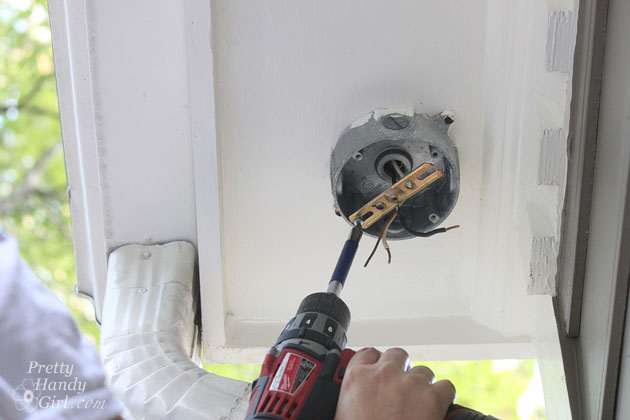
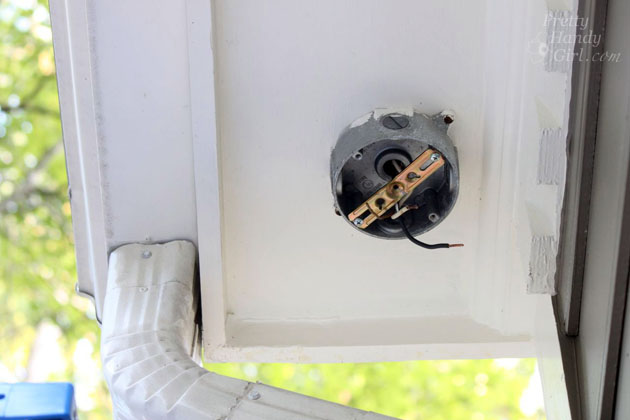
If you have an existing light fixture remove it before installing the new fixture. For this tutorial, we’re starting with a bare junction box:
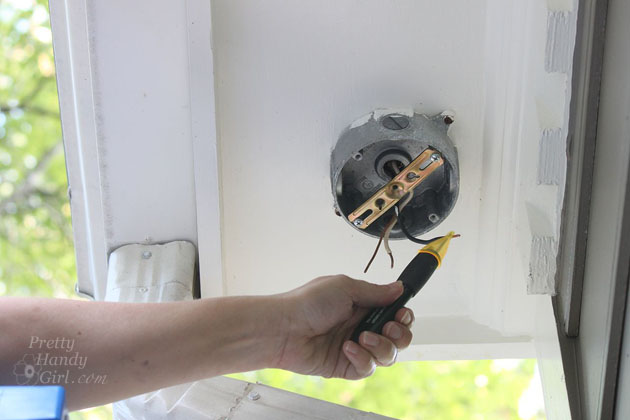
Test the black or hot wire with the voltage tester to be certain the power is turned off.
Remove the existing mounting bracket if there is one installed.