Inexpensive Faux Copper and Patina Metal | Pretty Handy Girl

inexpensive faux copper metal patina

Do you love the look of copper, but the price makes your head whip the other way? Have no fear my dear! You can create inexpensive faux copper and patina for a fraction of the cost.

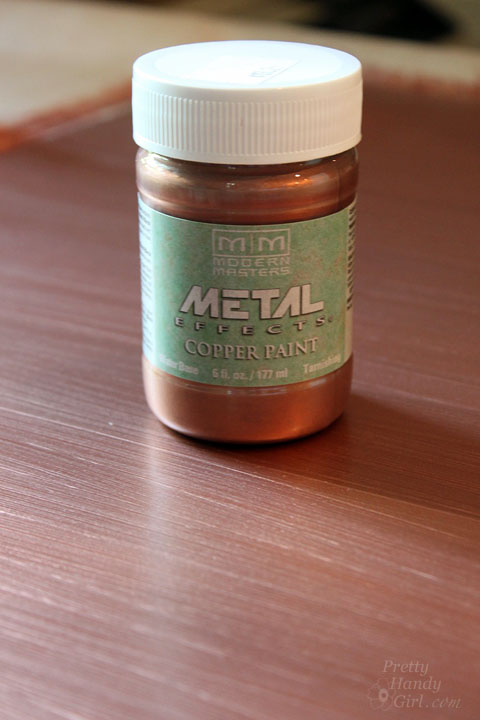
I was introduced to Modern Masters Metal Effects at Haven last year and the finish definitely fooled me. I honestly thought it was real copper. When I read up on the product, I realized that there are real copper particles in the paint which allows it to react and patina with the Metal Effects Green Patina Solution. (affiliate link)
Inexpensive Faux Copper and Patina Metal | Pretty Handy Girl

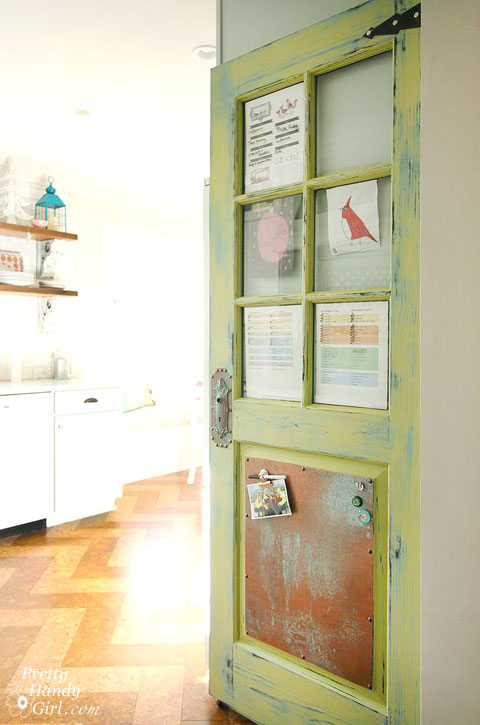
The uses for this paint are limitless! Discount light fixtures can be transformed into luxury copper versions with a little paint and patina spray. Paint inexpensive statues to look like real metal. Even Virgin Records and Ceasar’s Palace have used the paint and patina on exterior roof surfaces to fake the look. You may have seen the copper panel on our family organization center door. Today I want to show you how to create Inexpensive Copper Metal and Patina using Metal Effects!

Family Organization Door | Pretty Handy Girl

Materials:

(I’ve included affiliate links for your convenience. I earn a small percentage from a purchase using these links. There is no additional cost to you. You can read more about affiliate links here.)
Inexpensive Faux Copper and Patina Metal | Pretty Handy Girl

Optional: Sea sponge

Instructions:

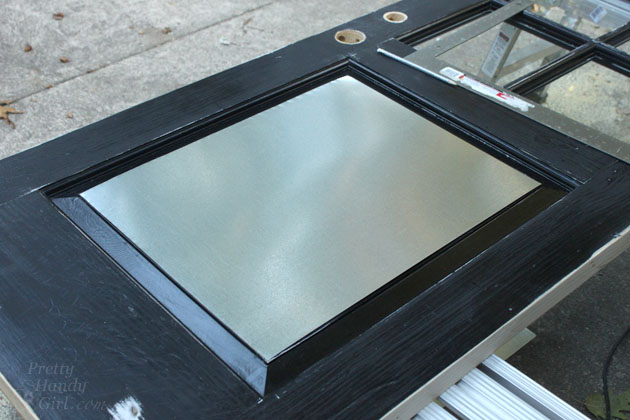
Cut your piece of sheet metal to size using tin snips.  Be sure to wear work gloves to avoid cutting yourself on the metal. Wipe off any dirt or grease.
Inexpensive Faux Copper and Patina Metal | Pretty Handy Girl

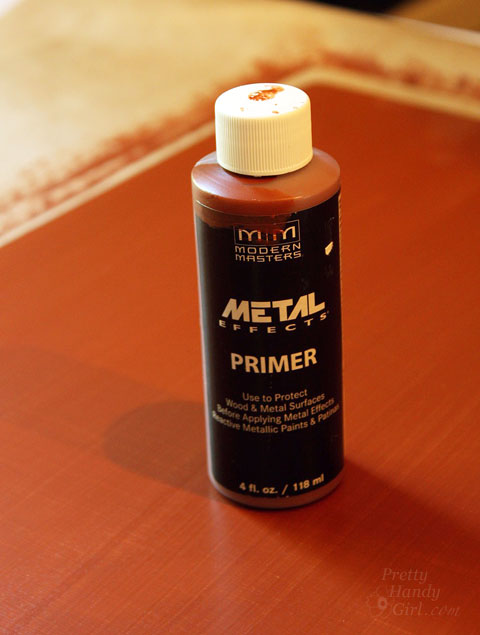
Coat the metal with one coat of primer. Let it dry and apply a second coat of primer.
Inexpensive Faux Copper and Patina Metal | Pretty Handy Girl

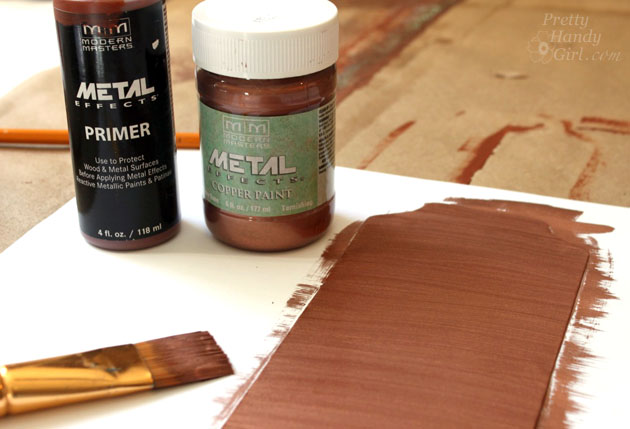
After the primer has dried, add one coat of the Metal Effects copper paint. After that dries, add a second coat. Read more

Family Organization Door | Pretty Handy Girl

Family Organization Door | Pretty Handy Girl

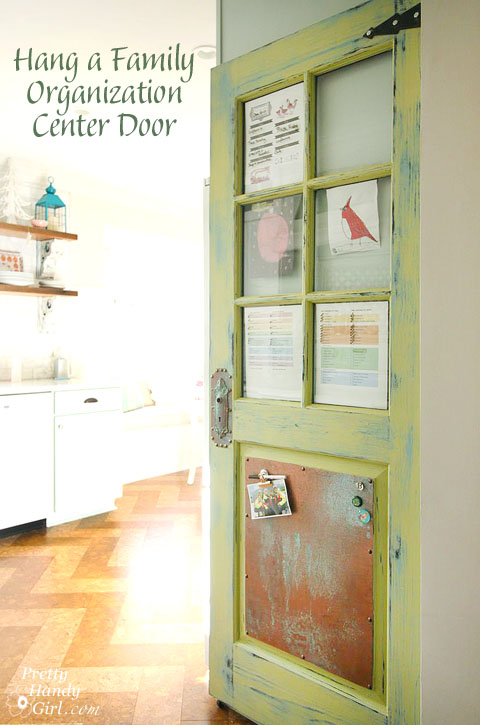
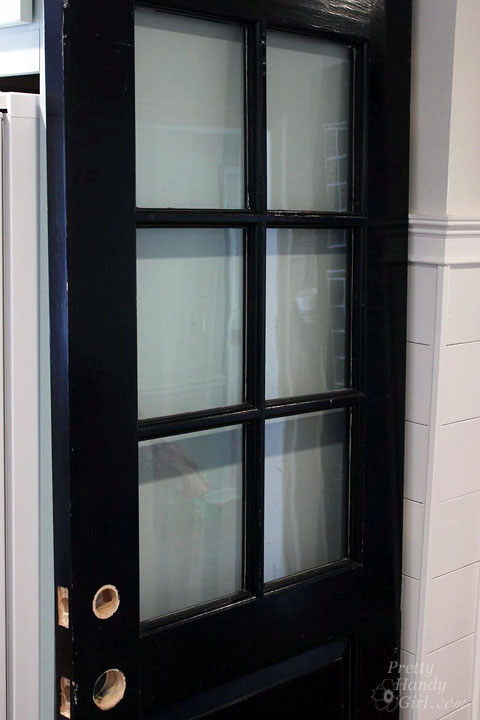
It’s hard to stay organized when you are a DIY blogger, Mom, wife, cook, cleaner, taxi driver, and a student (taking evening classes for the general contractor exam.) I’ll be the first to admit that I’ve dropped a few balls in this massive juggling act. But, I strive to improve and part of that effort involved hanging a Family Organization Center Door next to the refrigerator.  Did you know there was such a thing? Ha, me either until I saw this half window door at our local Habitat ReStore.

Family Organization Door | Pretty Handy Girl

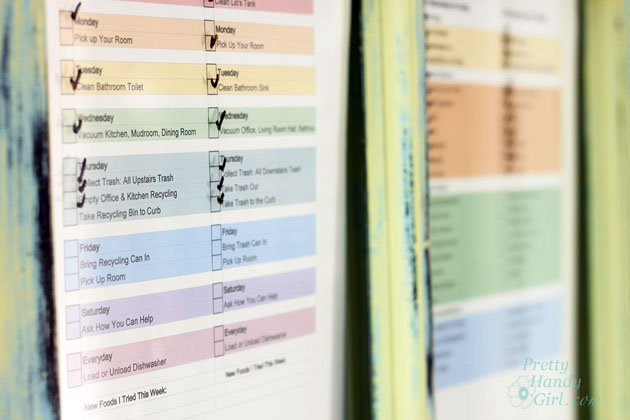
A vision of a place to plan meals, keep track of chores and keep reminders became clear in my head when I first saw it. Want to see how I took this old door and turned it into a family organization center? Hang around for a few minutes to find out.

Materials:
(contains some affiliate links)

Optional:

Instructions:

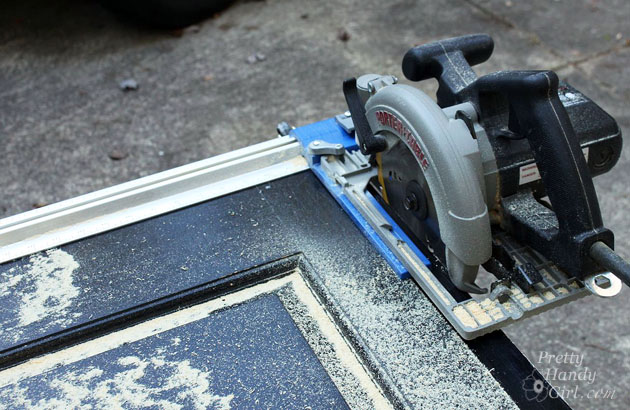
After finding a door for your organization center, you may need to trim down the sides to fit your space. I had to trim an inch off each side of my door to fit on the side of our refrigerator cabinet. Use a circular saw to trim the door. Using a Kreg Rip Cut will help keep the saw straight.

Family Organization Door | Pretty Handy Girl

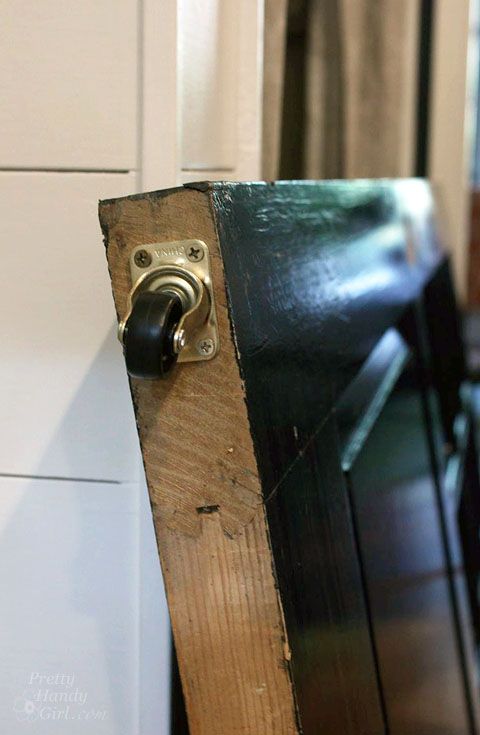
For extra stability, you may want to add a caster on the bottom of the door (opposite the hinge side). This is not necessary, but will add extra support.

Family Organization Door | Pretty Handy Girl

Cut scraps of coax cable to fit into the tops of the windows. Read more

12 Ways to Burglar Proof Your Home

Thanksgiving is next week and it’s the biggest traveling holiday of the year. Taking steps to burglar proof your home can put your mind at ease as you travel and keep your home and valuables safe.

The experts at Allstate have offered 12 Ways to Burglar Proof Your Home for the holidays. Of course, these tips will keep your home safe 365 days of the year!

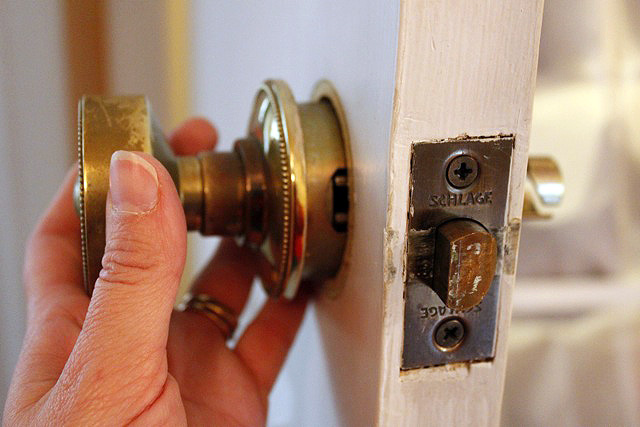
1. Change the locks – Remember to change all the locks when you move into a new house. You’ll never know who had access to the keys before you moved in. If you lose the keys to your house, you should also replace all the locks for the maximum home security.

Changing_out_brass_door_knob

2. Invest in an Alarm – There are many companies that will install and monitor a home alarm system for a very little monthly fee, however sometimes you do not need an additional monthly expense. If an alarm company is not an option for you, you can visit your local hardware store to invest in home alarms that take seconds to install. They will make very loud and obnoxious sounds if the doors or windows are open. This is a very inexpensive option but can be a large deterrent from theft. Read more

31 Days of Handy Home Fixes | Pretty Handy Girl

Welcome to Day 2 of my 31 Days of Handy Home Fixes. Today I’m going to show you a tip for fixing a rubbing or sticking door.

Day 2. Fixing a Sticking Door

Do you have a door in your home that rubs on the frame or gets stuck certain times of year? Our bathroom door used to stick in the summer (but not the winter.) The excess humidity in the air caused the door to swell just enough that it rubbed at the top of the frame. The fix literally took less than five minutes!

Take a look at your door and determine where the door is rubbing. Assess which direction you need to nudge the door to break the contact.

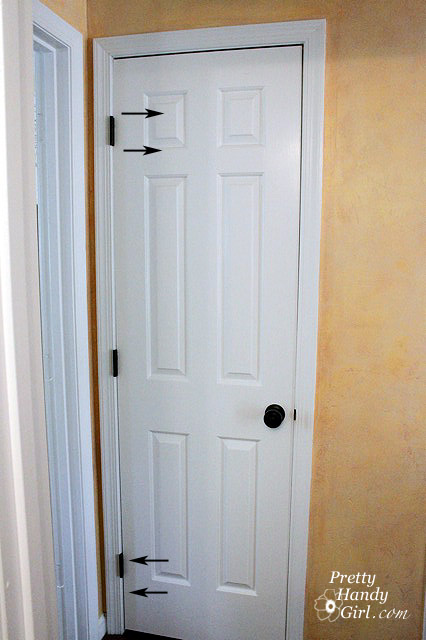
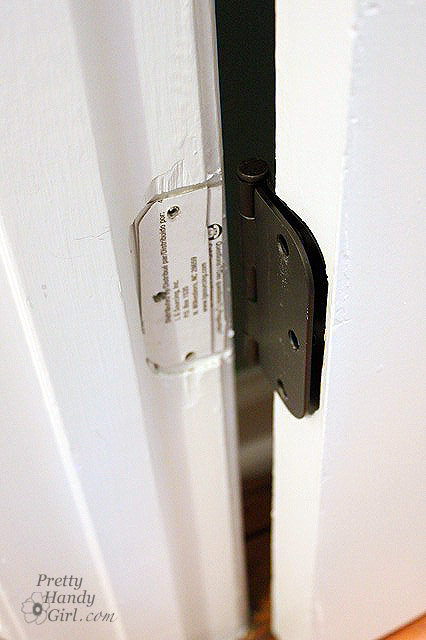
The simplest fix is to try loosening or tightening the door hinge screws. Take a look at the door below. The door was too tight in the upper left corner. To relieve the rubbing loosen the screws a half turn in that top hinge. Test the door again. You may also need to loosen the screws on the middle hinge and tighten the screws on the bottom hinge.

Is your door still sticking? Try removing the screws completely from the door frame. Instead of shimming with a wooden shim (which would be too thick) cut a piece of thin cardboard (think cereal boxes and product packaging) and inserted it behind the hinge. Then drive the screws back in.

Shim a door hinge

95% of the time the above two tips will resolve your issues. If your door is still sticking, you may have to take more drastic measures like routing out more material from the door frame with a Dremel or using a power planer to trim down your door.

PHGFancySign

Check out other participants in Nester’s 31 Days Challenge.

31 Day Writing Challenge

Don’t miss a single tip! Sign up to get all the tips in your email:


Sign Up for Email Subscription


Other tips in the 31 Days of Handy Home Fixes series:


Benjamin Moore Yellow Highlighter Painted Interior Doors | Pretty Handy Girl

Benjamin Moore Yellow Highlighter Painted Interior Doors | Pretty Handy Girl

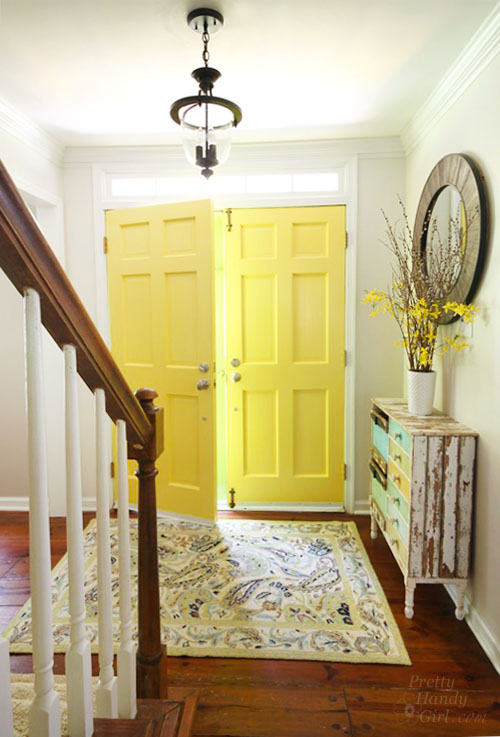
I painted my interior front doors Benjamin Moore’s Yellow Highlighter. It’s my way to start my day off on the right foot. When I get up in the morning and head downstairs, I see my front doors and immediately Good Day Sunshine starts to play in my head!

Let me tell you how this happened. Remember when I was in the middle of the DIY project from HELL?! I tried to paint our front doors on the outside and the paint was peeling off. I wanted to curl up in a ball and cry. I wanted to run down the street screaming. Instead, what did I do? I decided to create a cheerful view when I go downstairs every morning. I put stripping the outside of the doors on hold for a day or two and focused my efforts inside.

Benjamin Moore Yellow Highlighter Painted Interior Doors | Pretty Handy Girl

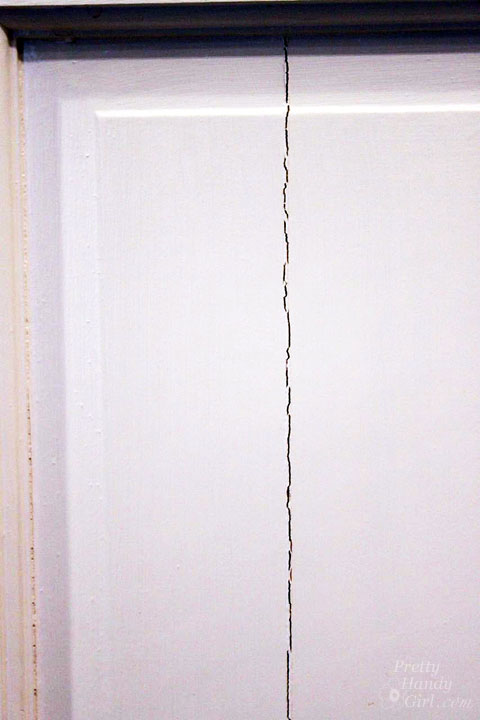
The solid wood doors are original to our house and had cracks in them.

Benjamin Moore Yellow Highlighter Painted Interior Doors | Pretty Handy Girl

Instead of replacing the doors, I fixed them by scraping the edges until they were smooth and devoid of bumps. Read more