How to Add Security Film to Glass Doors & Windows | Pretty Handy Girl

How to Add Security Film to Glass Doors & Windows | Pretty Handy Girl

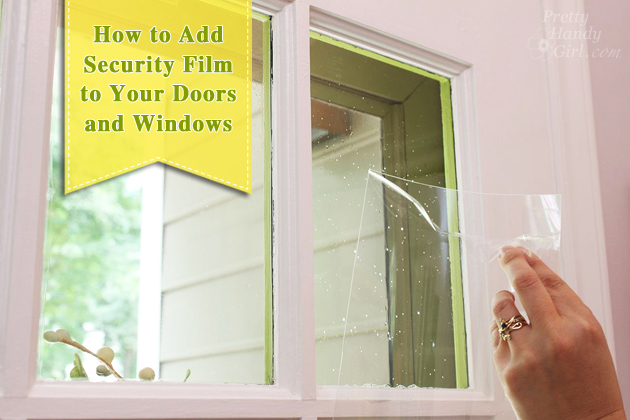
The folks at Allstate Insurance have graciously sponsored this post, which will help you learn how to install security film to safeguard your doors (or windows) from a potential break-in! It’s a simply DIY solution that could potentially save you the heartache of having your home burglarized.

I’ve noticed an unsettling trend in our area. There are more thefts popping up around our neighborhood. Luckily the majority of them are burglaries with no violence. But, it’s still unsettling. If you want the latest on crimes around you, sign up for SpotCrime.com. Simply enter your address and you’ll get emails when crimes are reported around you. Then again, this could lead to a bit of paranoia {raising hand.}

SpotCrime.com map

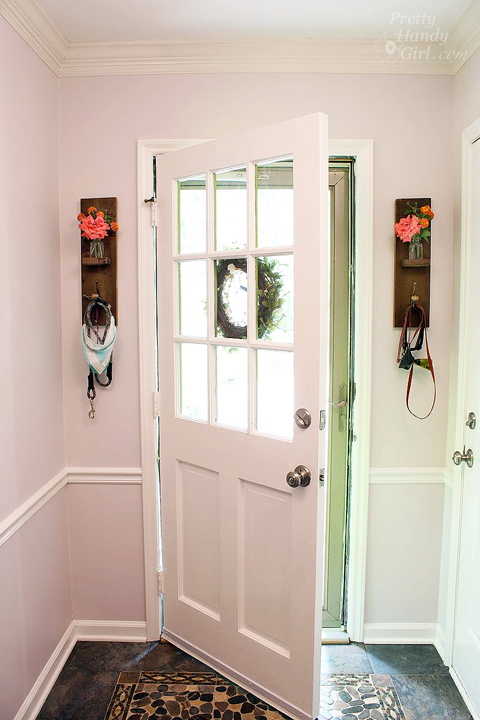
Regardless, there are two doors in our home that have always caused me some concern. We have two half window doors that needed some added security measures. The first one is the entrance to our mudroom. The second one is the back door to our garage (and you know I’d be heartbroken if anyone stole my power tools!)

How to Add Security Film to Glass Doors & Windows | Pretty Handy Girl

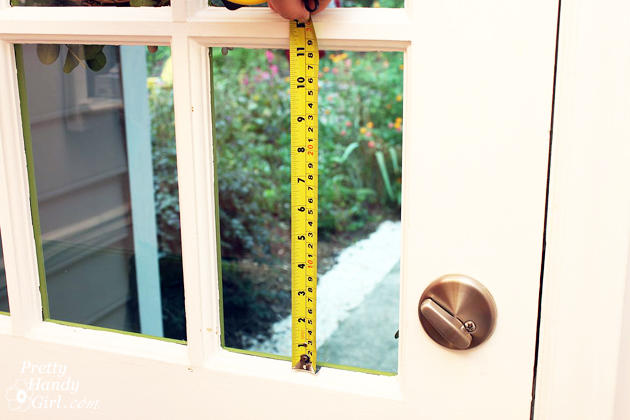
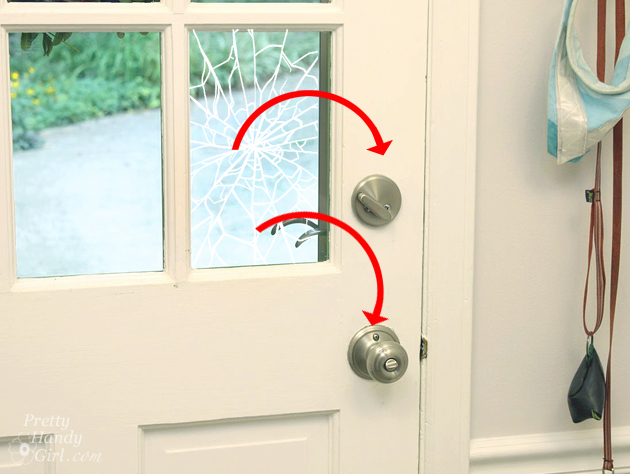
If you have a door like this, a burglar can simply break the pane of glass closest to the knob, reach in and turn the deadbolt and handle. One option is to install a two-sided keyed entry deadbolt lock. Because we have little children, I worried about them not being able to find the key and get out of the house in the event of a fire.
How to Add Security Film to Glass Doors & Windows | Pretty Handy Girl

This past week I happened to hear about security film and did a little research. I was skeptical until I tested the material myself. The results seriously amazed me! You can watch my test in the video later in this post.

In the meantime, here are the supplies you’ll need and the very simply installation instructions!

(I’ve included affiliate links for your convenience. I earn a small percentage from a purchase using these links. There is no additional cost to you. You can read more about affiliate links here.)

Materials:

 Instructions:

1. Begin by removing the grill if you have one solid piece of glass with faux dividers (see my video below for more details on removing the grill.) If you have true divided light, move on to the next step.

2. Measure your windows. Reduce the size by 1/8″ to leave space at the edges for the water to escape. Transfer the measurements onto the film with pen. Cut the window film with the x-acto knife and ruler. (You could use scissors in a pinch.)

How to Add Security Film to Glass Doors & Windows | Pretty Handy Girl Read more

32 Colorful Doors

32 Colorful Doors

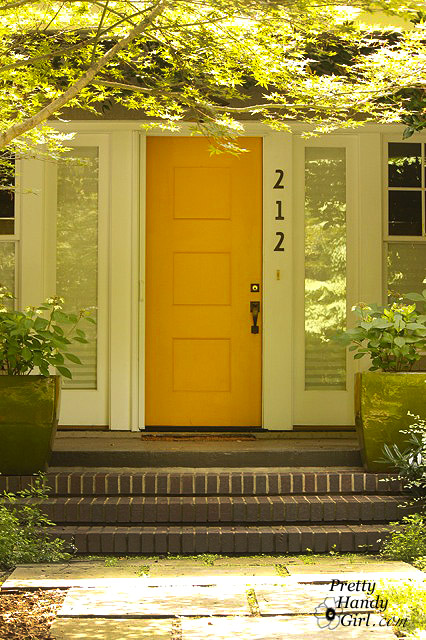
Hello Pretty Handy readers! I’m Colleen from Just Paint It! Blog and today I have a collection of 32 gorgeous colorful doors to inspire your next curb appeal project. With warmer temps here, most of us are spending more time outside, sprucing up our yards and outdoor spaces. One simple way to make a big impact is to paint the front door (and if you have to strip it first, check out this great tutorial for stripping paint with video tutorial.)

While I don’t see this done too much here in California, Brittany found most of these bright and cheery portals in a local neighborhood in Raleigh! Although a few doors are from her visit to the U.K and Scotland. See if you can guess which ones!

A Sherwin Williams color deck was used to approximate the paint colors of these doors. Keep in mind when painting your own, it may require two or more coats to get some of the rich tones in this collection. It’s always wise to paint a sample board to hold up to your door so you can see how the natural lighting affects that particular hue.

Let’s start out with some sunny yellows.

Lantern_Yellow_SW6687

Lantern Yellow SW6687

Bee_SW6683

Bee SW6683


This next door is close to Chartreuse, a blend between yellow and green. Read more

How to Trim Closet Doors with Dremel UltraSaw | Pretty Handy Girl

How to Trim Closet Doors with Dremel UltraSaw | Pretty Handy Girl

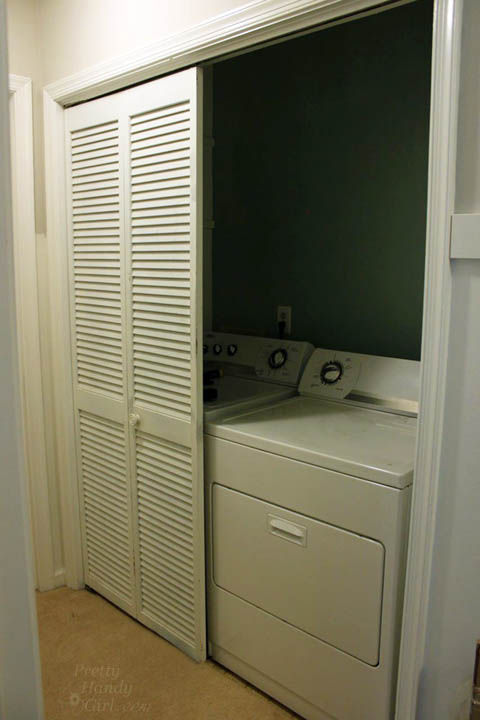
I have a friend named Holly. She and I live in the same neighborhood and we help each other out with DIY projects. Last week she asked me to help her come up with a solution to hide her dirty laundry.

How to Trim Closet Doors with Dremel UltraSaw | Pretty Handy Girl

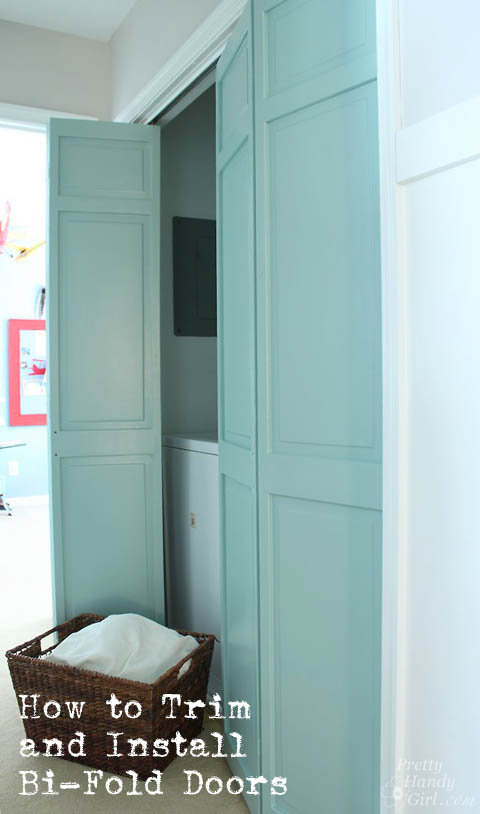
Holly and I were trying to figure out how to replace her sad laundry room door(s). The right side door had broken off and was unusable. We floated several ideas, originally thinking about creating inexpensive sliding barn doors. But, we scaled back that idea after realizing that inexpensive pipe hardware (spanning over 8 feet) was still too expensive for the budget. We began discussing buying cheap bi-fold doors and dressing them up. However, even new bi-folds aren’t super cheap. I mentioned she “might” have luck going to the Habitat ReStore to find the exact size doors. We both knew that was a slim chance. Then an idea hit me like a bi-fold door falling off its hinges! Among the multitude of things I have stored in my attic, were two sets of closet doors! One that used to be on my son’s reading nook closet. And the second set used to be on the pantry.

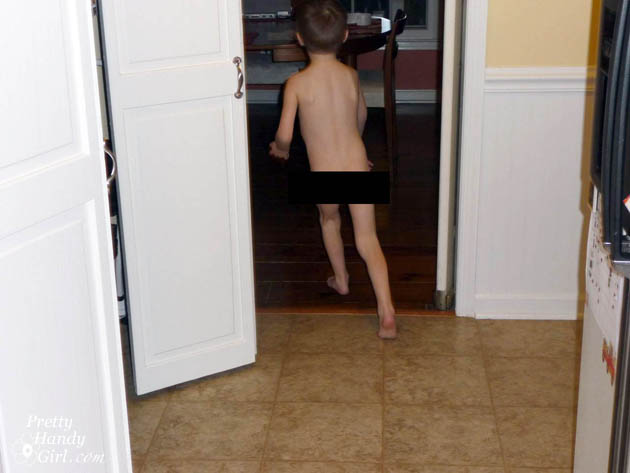
Would it be fitting that the only before pictures I have of the pantry doors are these gems?

How to Trim Closet Doors with Dremel UltraSaw | Pretty Handy Girl
The Streaker

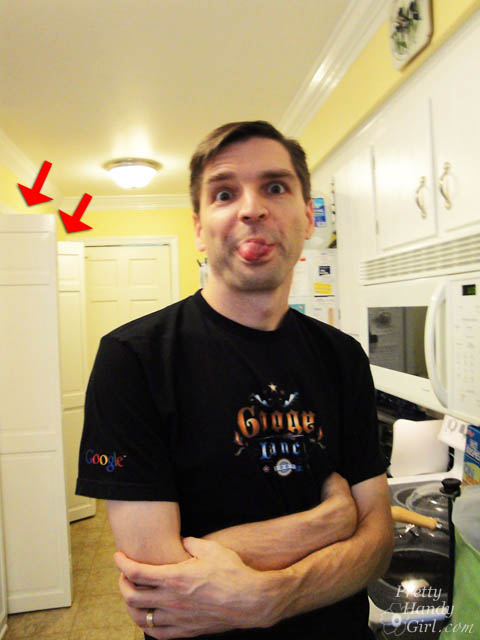
How to Trim Closet Doors with Dremel UltraSaw | Pretty Handy Girl
The Goofball

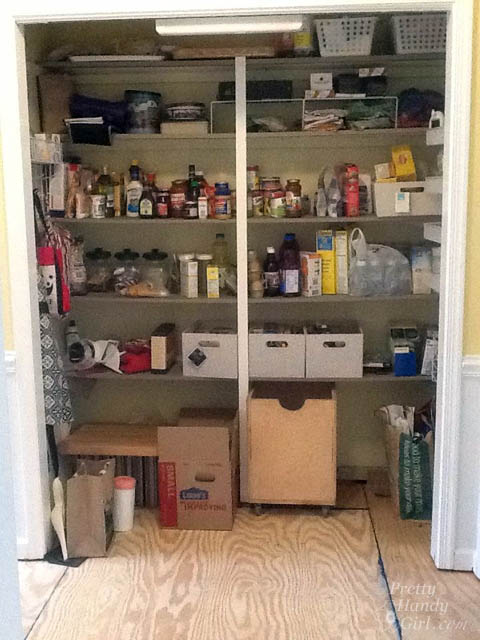
You get the picture. They are ordinary bi-fold doors. After the doors were removed from our pantry I liked how open it was. Although sometimes I wonder if I am just too lazy to open and shut the doors every time I want food.

How to Trim Closet Doors with Dremel UltraSaw | Pretty Handy Girl

Regardless, I liked the open concept, but not necessarily our food being constantly ON DISPLAY. I have plans to add built-in cabinets and shelving to the pantry, similar to what my friends The DIY Village created, but for now we just have it open.

I ran home to dig through the attic and find the two sets of doors that might work for Holly. I held my breath (partly because the attic was stifling hot) as I measured the doors. My son’s closet doors were…too narrow. Whomp wah. The pantry doors were… a perfect width!!! But, they were 2″ too tall. No worries, I knew I could trim them down.

Here’s how to remove (and install) closet doors and cut them down to size using a Dremel Ultra-Saw:

Read more

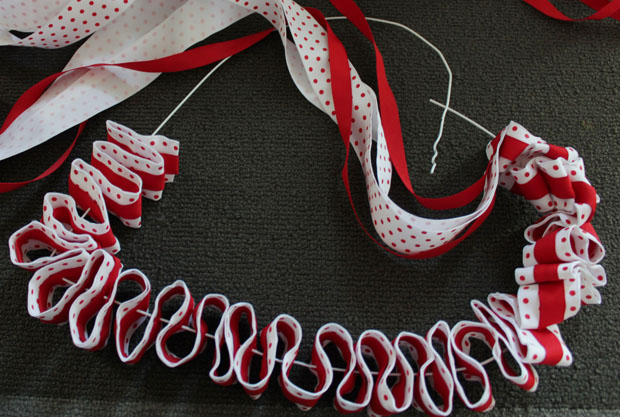
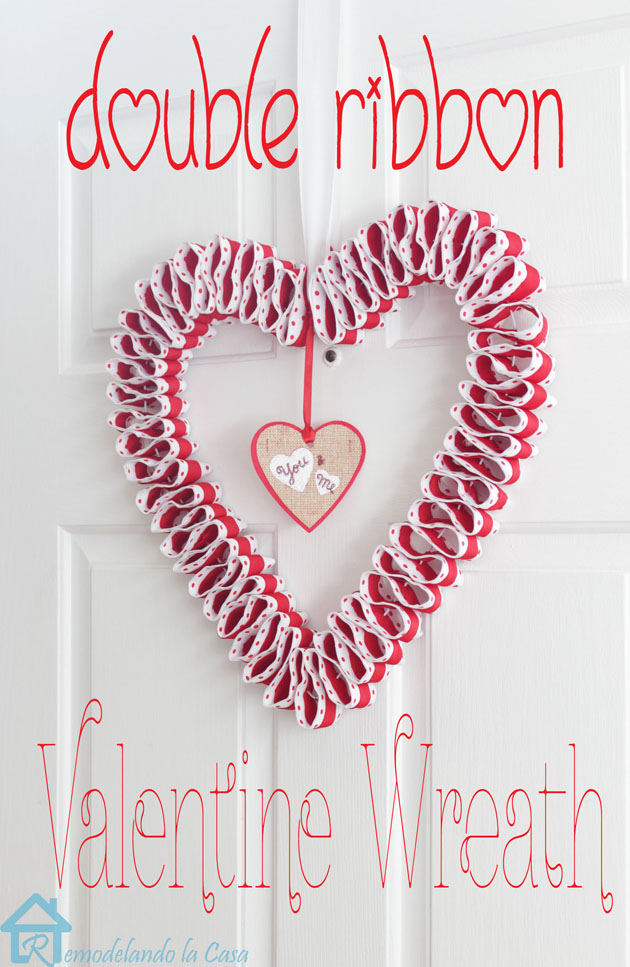
double ribbon heart wreath on door 1-l

Hi, this is Cristina from Remodelando la Casa, I’m so glad to be here once again, sharing with you a cute and easy project just in time for Valentine’s day.

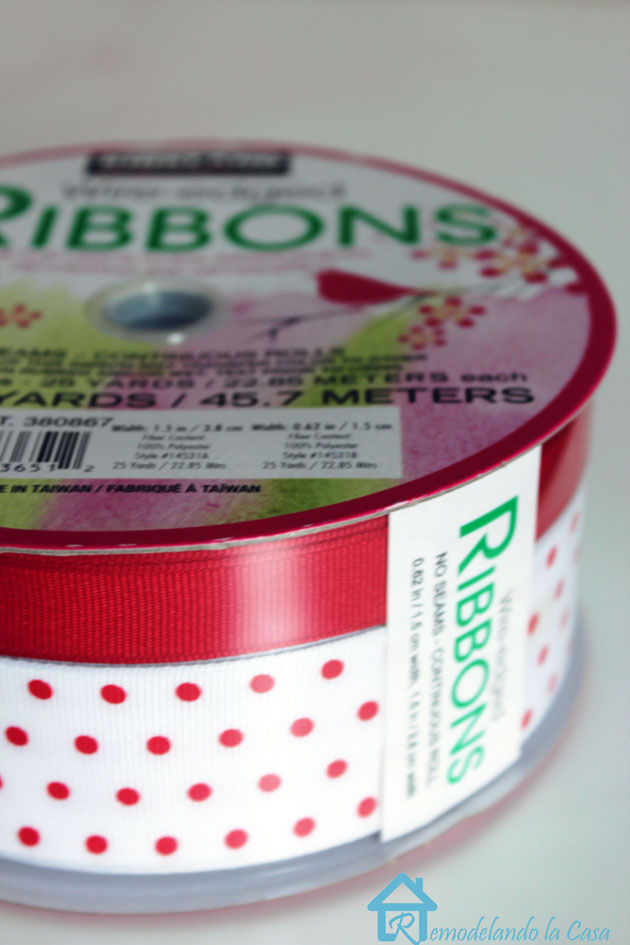
While walking through Costco (it always happens there, you go for groceries but come back home with so many things that weren’t on your list!), I spotted some gigantic spools of ribbon that for only 8 bucks, so I grabbed one and my project began taking shape inspired by a wreath created by Jessica.

2 ribbon spool

Materials:

  • One wire hanger
  • 15 yd. wired edge ribbon (1.5″ wide)
  • 15 yd. wired edge ribbon (.62″ wide,  a contrasting color from the previous one)
  • Pliers
  • Awl
  • Small decoration to hang in the center of wreath
  • 2 yd. decorative ribbon to hang the wreath in place
  • Scotch tape or glue gun

Instructions:

Using pliers, unravel the coil on the hanger.  Make a heart shape out of the hanger. Read more

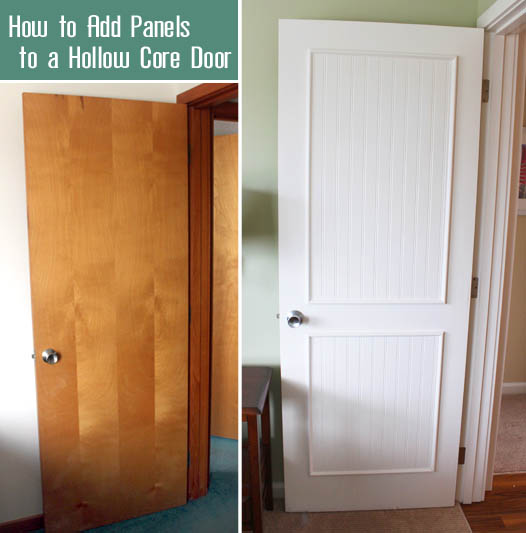
How to Add Panels to Flat Hollow Core Door | Pretty Handy Girl

How to Add Panels to Flat Hollow Core Door | Pretty Handy Girl

When my sister brought me on to the Topsail Beach condo renovation, she had a laundry list of DIY projects she wanted me to complete. One of them was dressing up the hollow flat doors with moulding panels. She showed me a pin that led to One Life to Love’s DIY beadboard panel doors. After seeing the photo, I knew it would be a great DIY upgrade to make. But, we decided to use real beadboard (instead of beadboard wallpaper) because it had to hold up to the stress of being a rental.

To Begin:

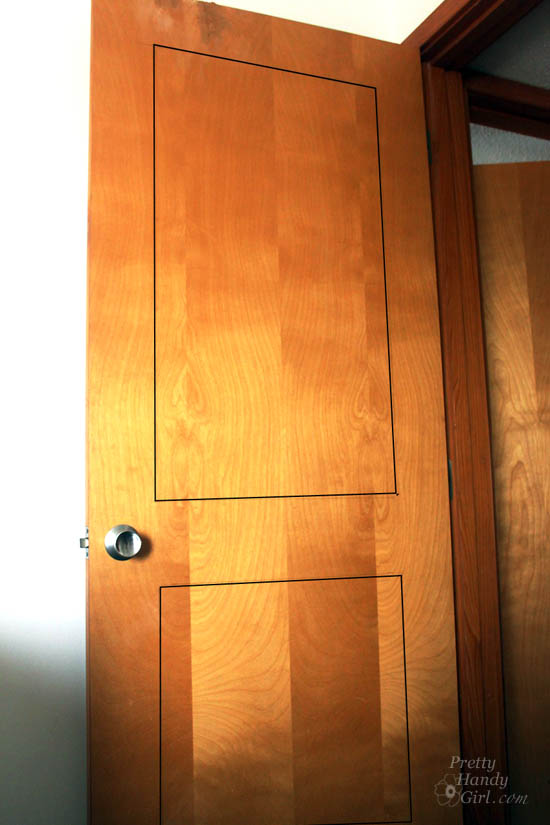
Start by measuring and marking the doors to determine the size of your panels.

How to Add Panels to Flat Hollow Core Door | Pretty Handy Girl

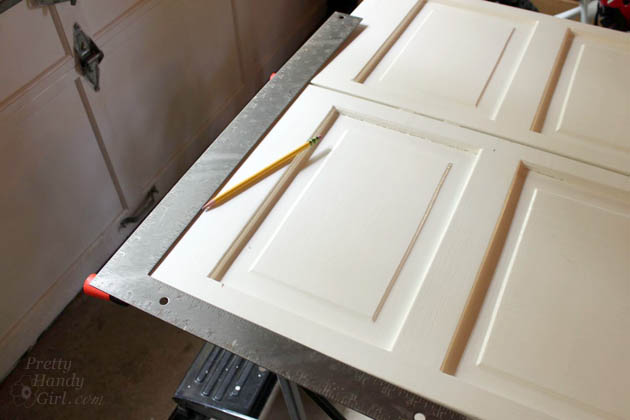
Draw lines 5″ in from the top and two sides of your door.  Draw the bottom line  6″ up from the bottom. Finally, leave 5″ between the top and bottom panels.

How to Add Panels to Flat Hollow Core Door | Pretty Handy Girl

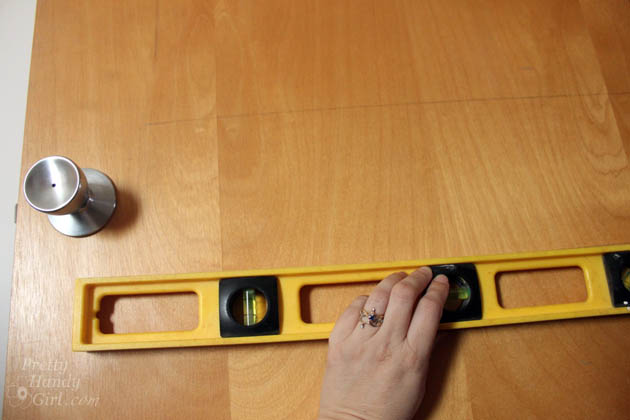
When marking your doors, use a pencil and level to draw your lines.

How to Add Panels to Flat Hollow Core Door | Pretty Handy Girl

After we had our panel measurements, Caitlin and I headed to Lowe’s. But, she refused to push me in the cart (party pooper!)

DIY Add Molding Panels Flat Door

We pulled some 4′ x 8′ beadboard panels and took them to the lumber cutting area. We gave the Lowe’s employer our measurements and asked him to cut the boards for us. While he cut our beadboard, Caitlin and I gathered the rest of our supplies.

Materials: Read more