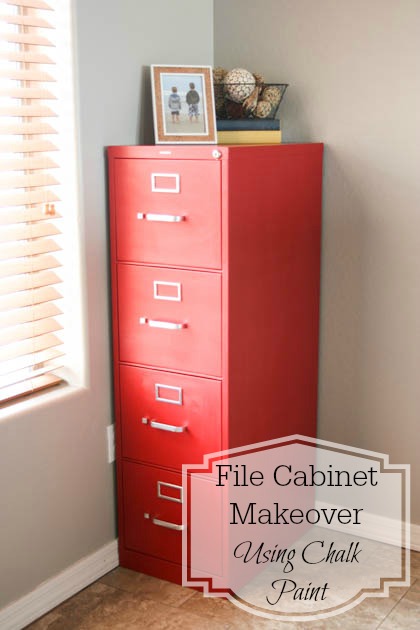
File Cabinet Makeover Using Chalk Paint

Hey there everyone!  I’m working in my craft room to give it a major overhaul and make it a much more functional and creative space.  It also doubles as an office that I share with my husband.  It’s not always the easiest thing to do, partly because of a lack of organization. One of the biggest projects we’re taking on is completely making over the closet.  I’ve already replaced the closet doors with curtains and I love how much easier it has made it to get to things in the closet.

File Cabinet Makeover Using Chalk Paint
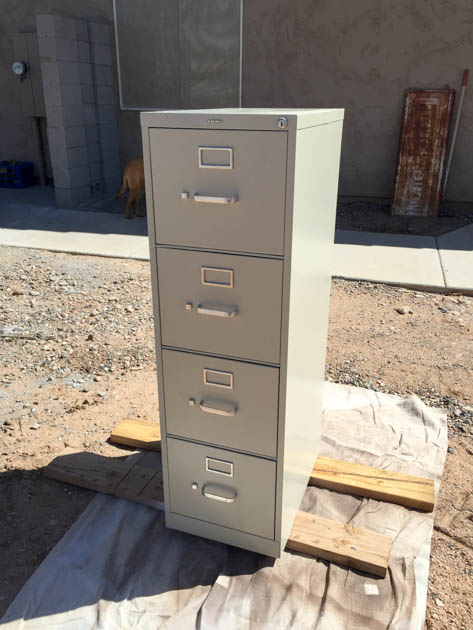
edited-8164

This file cabinet is one of the things that goes in that closet.  When we finish making over the closet, it will be moved to a more prominent location that will be more visible, especially if the curtains are left open.  Because of that, I decided that the boring beige color had to go and I gave it a quick and SUPER cheap makeover!

Here’s what you’ll need to do this project yourself!

File Cabinet Makeover Using Chalk Paint Materials:

File Cabinet Makeover Using Chalk Paint Instructions:

Unless you plan on painting it, you want to remove all of the hardware off of your file cabinet.  I wasn’t quite sure how this would go, but it was extremely easy to remove everything.  Just a couple of bolts and I was pretty much done!

edited-8166

To protect the inside of the cabinet from overspray or paint dripping through, cover all of the holes from the inside using masking or painter’s tape.
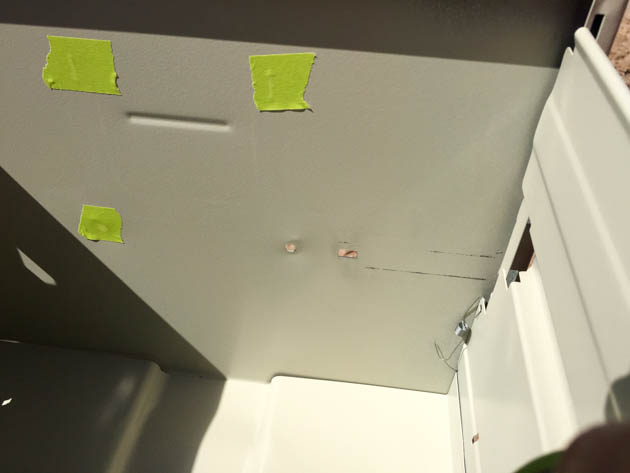
edited-8168

Time to mix your chalk paint.  What I love so much about BB Frösch Chalk Paint Powder is that there’s virtually no waste.  You mix as you go.  I like using the sample-sized paint containers because they’re cheap and if it’s a project where I’m not sure how much paint I’ll need, at least I know I won’t go way over by buying a quart.  The other amazing thing is that there’s virtually no prep work.

Wipe down the file cabinet with a wet cloth and that is it!
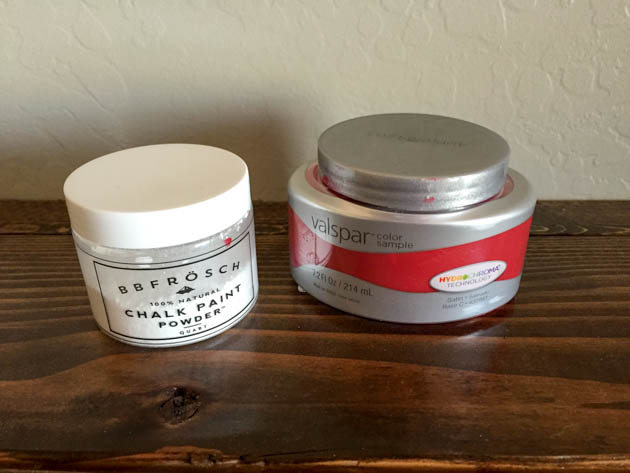
edited-8170

If you choose to paint your cabinet using a roller or paint brush, you can get started from this point.  If you plan to use a paint sprayer, you’ll need to prep the paint.  First and foremost, strain your paint!  Lowe’s sells little cone paint strainers (they look like coffee filters) for $.98 a four pack.  Once your paint is strained, you need to thin it with water.  The HomeRight paint sprayer that I use comes with everything you need to do this, plus great instructions. Read more
finish-nailer-comparison

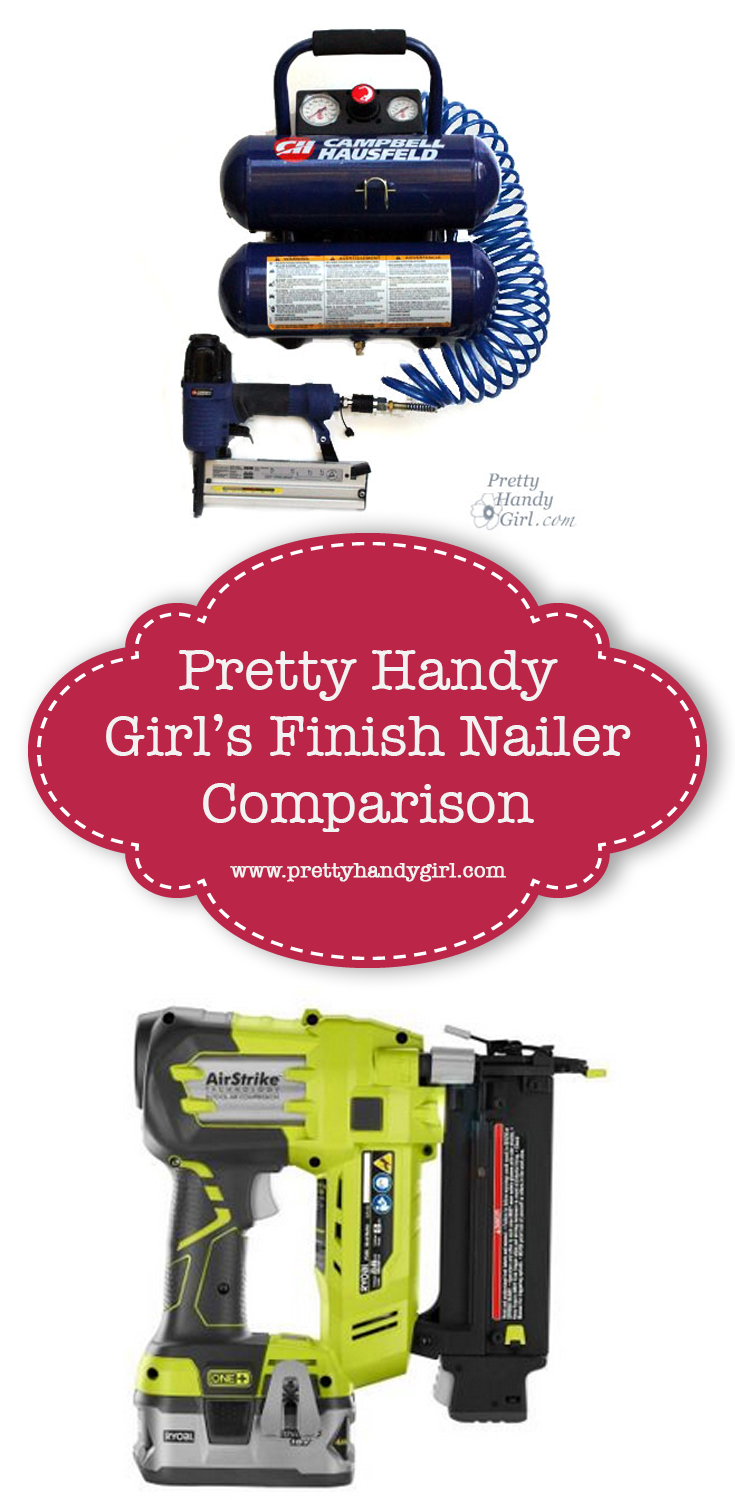
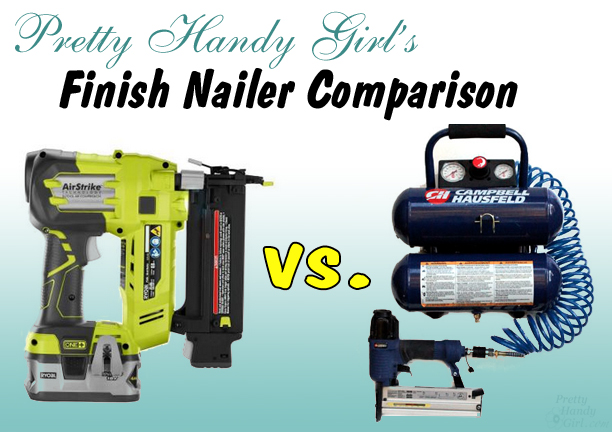
A finish nailer is a great tool to have in your workshop.  It’s great for small projects, installing moulding, wall planking and more. After using both types of finish nailers for many projects, I wanted to break down the pros and cons of each.
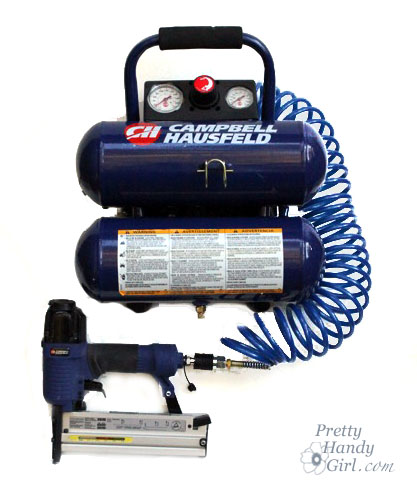
Compressor_finish_nailer_combo_kitI was able to score this Campbell-Hausfeld nailer and compressor combo around Father’s Day at Lowe’s for $69! (Normal MSRP is $99.) I’ve used the compressor-powered nailer for many years on an assortment of DIY projects (like my Art & Craft Studio scrap wood wall.)  I haven’t had any problems with it. It’s reliable, lightweight and can fire a variety of length finish nails and U-staples. For the value, you can’t go wrong. The cons of the Campbell Hausfeld are mostly related to the compressor. It is very loud when the air tank is recharging. It’s a little bulky to store and haul around. You are limited to the length of your air hose and a power source. And you must empty the tank and maintain it periodically.

PostBreakblue

Ryobi-nail-strike

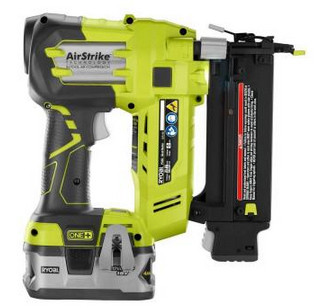
In all the ways that the Campbell-Hausfeld fails, the Ryobi Air Strike excels. It doesn’t take up as much room to store. No compressor needed because it is essentially built into the tool. As long as the battery is charged you are ready to fire nails on a moment’s notice. The light helps illuminate in dark working areas. You aren’t tethered to an air hose or compressor. This allows you the freedom to wander anywhere with the nail gun. And it is quiet (with the exception of the bang when firing the nail.)

The downsides are it doesn’t shoot U-staples. The gun itself is heavier to hold because of the battery and size of the gun. If you lose charge in the battery you have to wait a while for it to charge. Finally, the price is slightly higher than the MSRP of the Campbell-Hausfeld at $129.

Update: I’ve had a few occasions where my Ryobi Air Strike has quit firing. Usually I can get it working again by unlatching the front of the gun and checking it for jams or reloading with new nails. Recently at a DIY conference, I learned that I’m not the only person who has had this problem. So far the nail gun still works, hopefully it will continue to do so.

2nd Update: After another winter of the Ryobi Air Strike refusing to fire after every other nail, I’ve finally decided to pitch it. I’m in the process of testing a Porter-Cable 18 gauge 20 volt brad nailer and a DeWalt 16 gauge Angled Finish Nailer.

I hope this comparison helps you select your own finish nail gun.

PHGFancySign


Want to learn how to use a finish nailer? Check out my tool tutorial videos and more!


Pin for later!


Xtend + Climb Telescoping Ladder Review | Pretty Handy Girl

Xtend + Climb Telescoping Ladder Review | Pretty Handy Girl

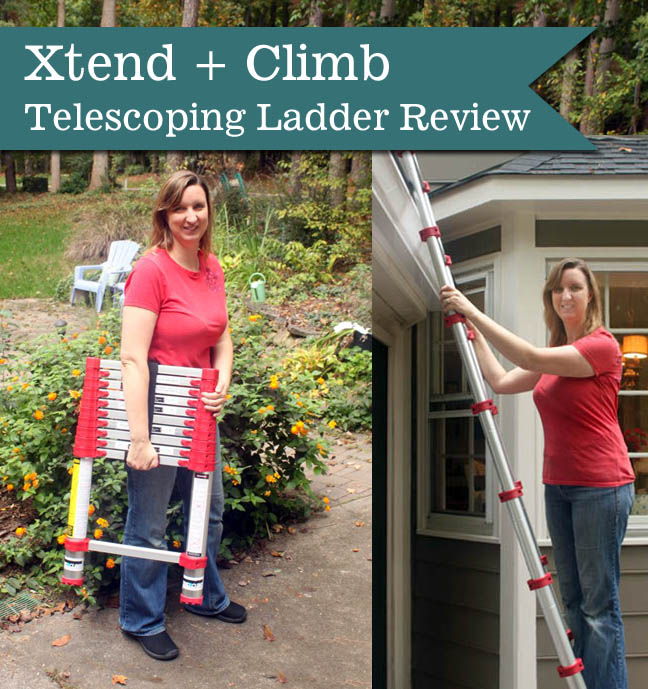
A few months ago I got an email asking me if I wanted to test an Xtend + Climb telescoping ladder. I said I’d be happy to try it, but I couldn’t promise I’d blog about it. I try lots of products, but only the ones I love get mentioned on the blog. The litmus test is if I would recommend it to a close friend. If I would, then I share it with you (because y’all are like friends I just haven’t met yet.)

Xtend + Climb Telescoping Ladder Review | Pretty Handy Girl

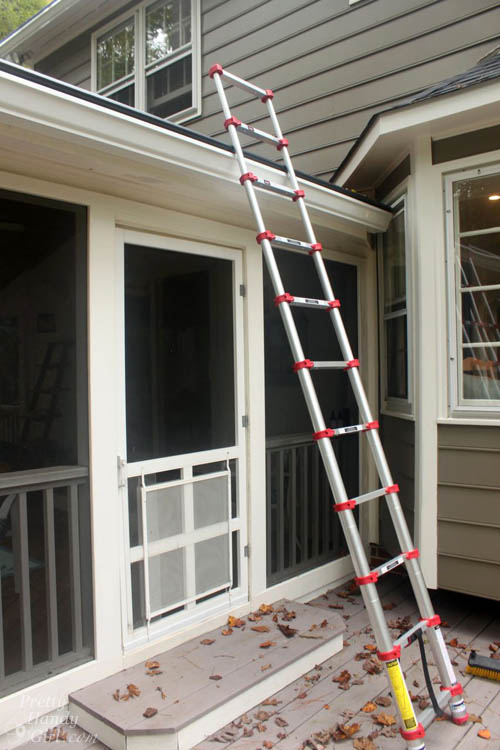
The 760P Xtend + Climb ladder arrived in a compact box. When it arrived, I doubted that it really contained a 14.5ft ladder. But, sure enough inside was the telescoping ladder. Over the course of three months, I truly gave it a work out. I used it to clean the gutters and… Read more

10 DIY Gift Ideas for the Rock Star DIYer

10 DIY Gift Ideas for the Rock Star DIYer

Christmas is next week? Christmas is next week! Who else is still running around buying those last minute gifts? {Me raising my hand.}

If you have someone on your list who is an avid DIYer, I have a new list of the Top 10 Gift Ideas for the Rock Star DIYer in your life! These tools will transform the newbie DIY junkie giving them better street cred and true rock star status! (Results may vary.) In all seriousness, these are the tools and products that I found helpful this year.

In order from  least to most expensive Top 10 DIY Gift Ideas: Read more

Cable Installation Splitter

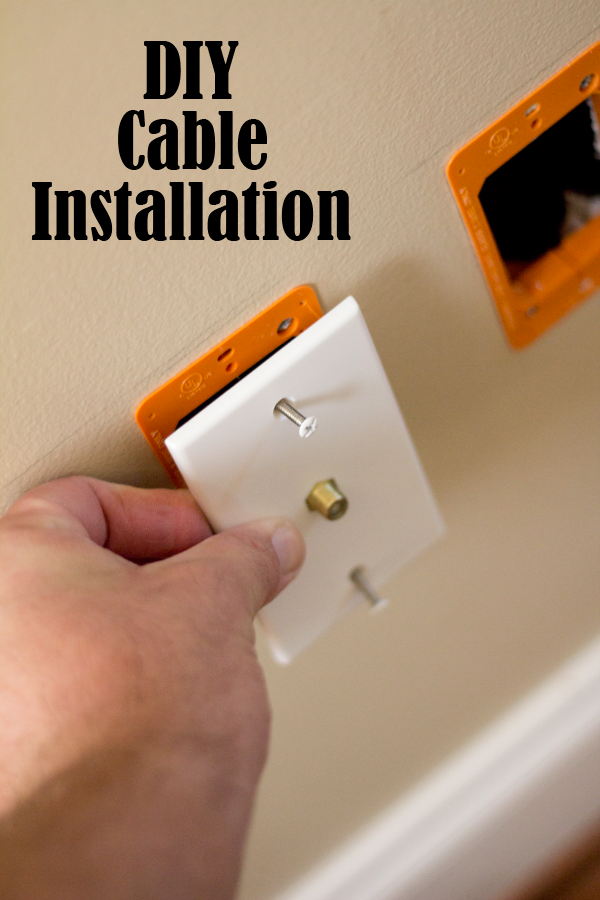
It would seem that every time I’ve considered moving my TV to a new spot in the house, that there’s never a cable outlet where I need one. I recently remedied this issue and wanted to share with  you how to tackle your own DIY Cable Installation!

DIY Cable Outlet Installation

This tutorial is specific to installing “through the wall” cable lines in houses with a crawl space.  Since many cable customers have HD receivers, I think it’s important to install a home run aka an uninterrupted run of cable.  Doing so will result in a higher signal and better quality picture.  With that being said, let’s take a look at what you’ll need.

Materials List

(I’ve included affiliate links for your convenience. I earn a small percentage from a purchase using these links. There is no additional cost to you. You can read more about affiliate links here.)

Instructions for Installing Your Own Cable Outlet:

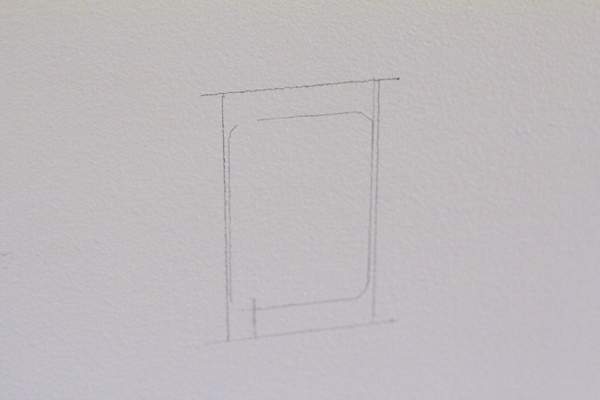
When you’ve decided where to install the new cable outlet, measure up 15″ and mark an area 1-1/2″ x 3-3/4″ .

Marking for Cable Installation

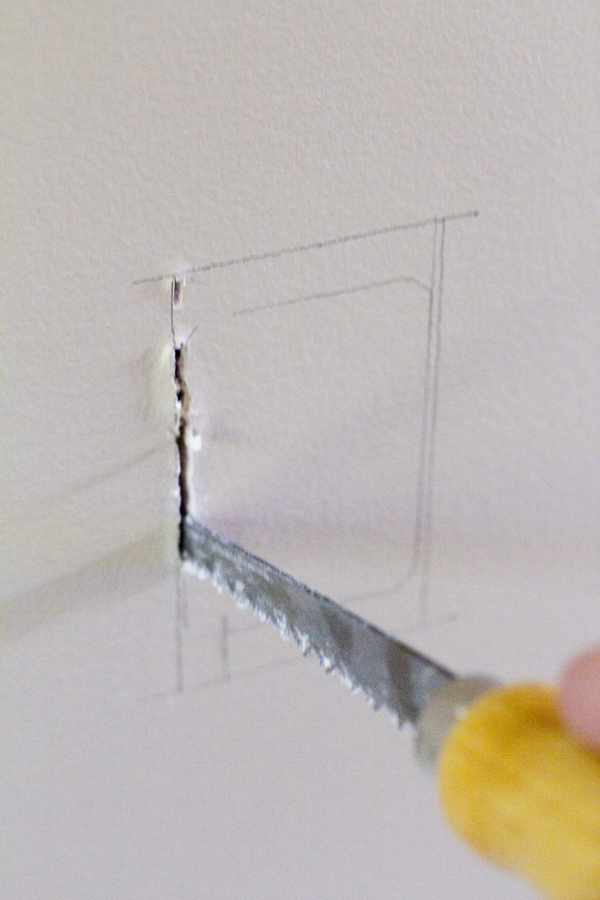
Using a keyhole saw, cut through the drywall to create the opening for the installation of a low voltage electrical box.

Cutting Drywall With a Keyhole Saw

Before you complete the next step, make sure that the area you plan on drilling into, doesn’t contain any hazards (i.e. electrical cable, duct work, gas lines, etc.) With open access into the wall, place the tip of the auger bit into the cutout and drill into the bottom of the stud wall to gain access into the crawlspace below. Read more