Boy's Red, White & Blue Themed Room | Pretty Handy Girl

Boy's Red, White & Blue Themed Room | Pretty Handy Girl

Happy Friday!!! I finally finished my son’s room makeover. Poor kid has been asking for over two years when I was going to work on his room.

Boy's Room Before | Pretty Handy Girl

It feels so good to be done and be able to share the final reveal with you. The theme started four years ago when I converted his extra closet into a reading nook. The blue, white and red work beautifully together.  Read more

Wall-mounted IKEA LILLÅNGEN Mirrored Cabinet turned Stuffed Animal Storage | Pretty Handy Girl

Wall-mounted IKEA LILLÅNGEN Mirrored Cabinet turned Stuffed Animal Storage | Pretty Handy Girl

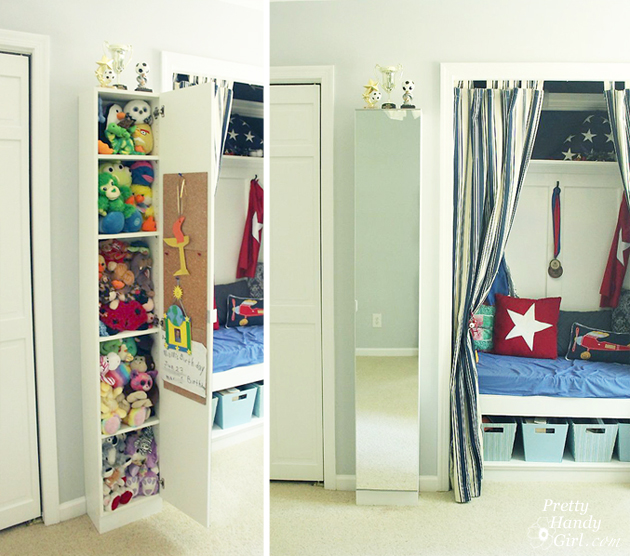
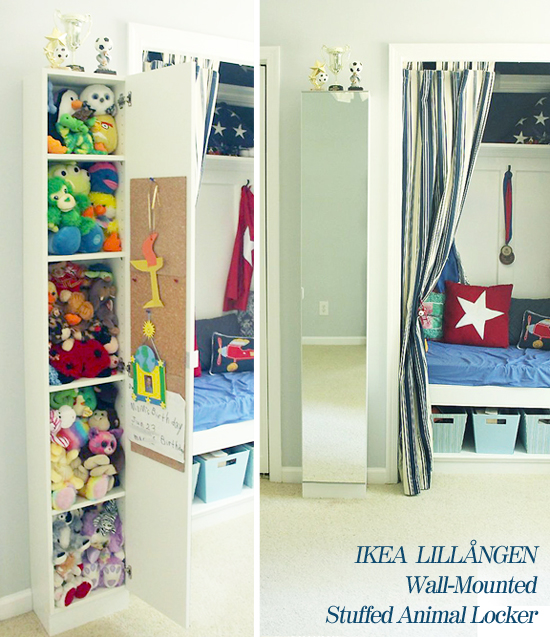
Have you ever shopped the “As Is” section at IKEA? There are some deals to be found there! Like this IKEA LILLÅNGEN Mirrored Cabinet. The cabinet had a small bent piece at the bottom and was therefore marked down to $60 from $100! Score! I easily bent the metal back in place with pliers once I got home. Then I decided to use it as a wall-mounted mirror locker for my son’s stuffed animals. Hang out for a few minutes and I’ll show you how to safely mount this cabinet AND move an outlet into the cabinet.

Wall-mounted IKEA LILLÅNGEN Mirrored Cabinet turned Stuffed Animal Storage | Pretty Handy Girl

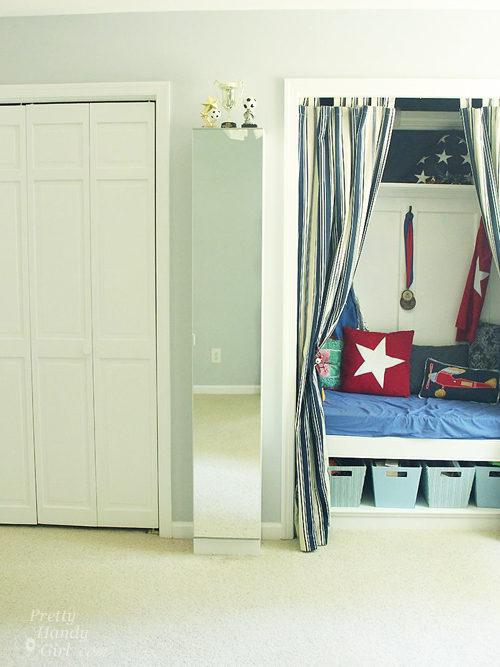
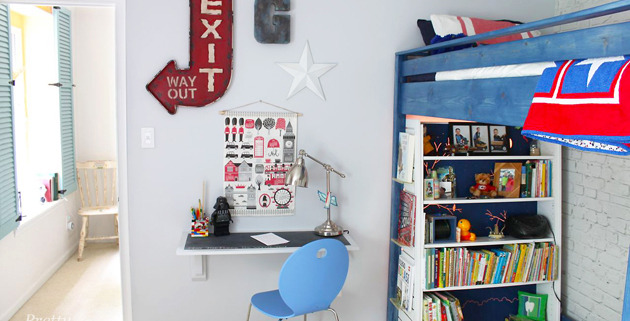
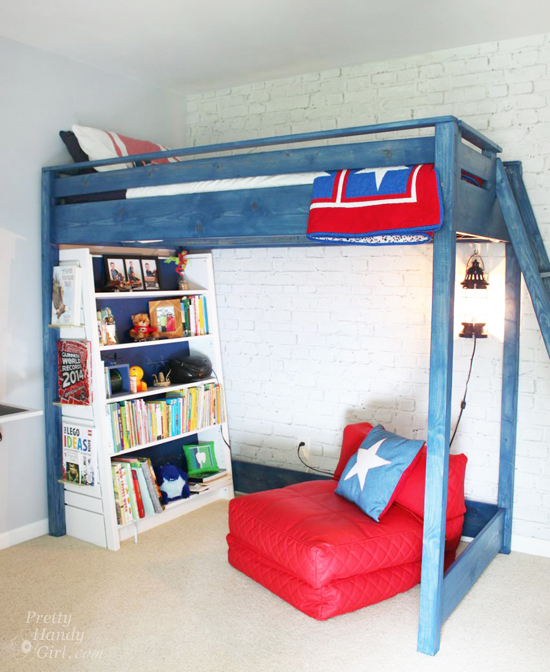
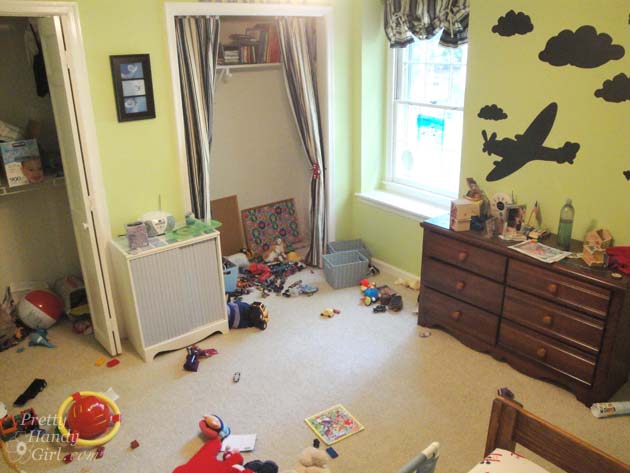
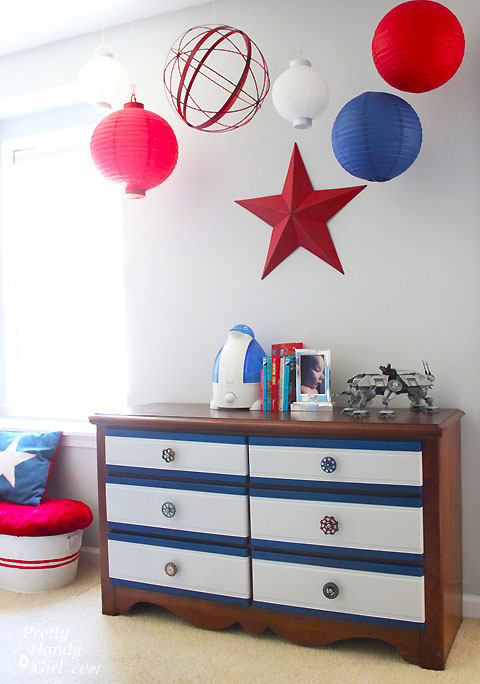
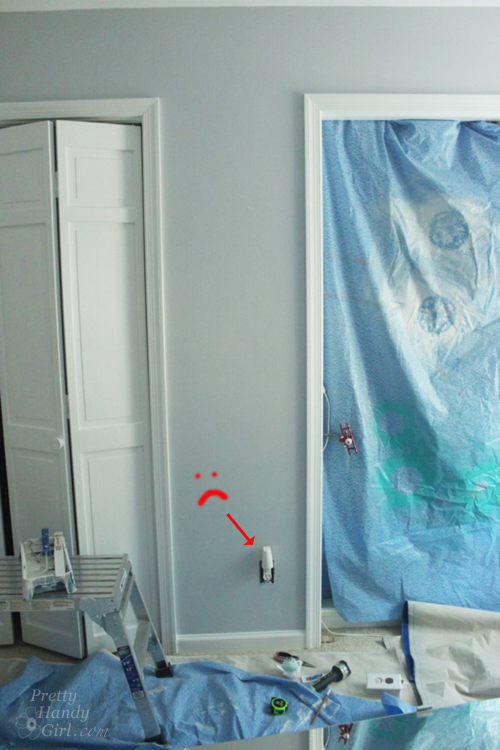
Handy Boy #2 had a narrow spot between his closet and reading nook that I knew would be perfect for this cabinet. The idea was to give him some storage for his ever multiplying stuffed animals. (They are seriously like rabbits! It never ends. I might need to look into a forced sterilization program.) Knowing my son and his antics (have I told you how he can climb his way around the room without setting foot on the floor. It’s amazing, albeit scary to watch. I’ll have to video him sometime.) I knew that I needed to secure this locker to the wall. But, there was an outlet in my way. And this is the outlet that gives power to the copper wall sconce in his reading nook. Therefore, I had to have access to the outlet. Plus, when he gets older he could charge his electronics in the locker.

Wall-mounted IKEA LILLÅNGEN Mirrored Cabinet turned Stuffed Animal Storage | Pretty Handy Girl

(I should note that I neglected to buy the optional base for this cabinet. Instead, I built a quick one using 2×4’s and 1×4’s.) 
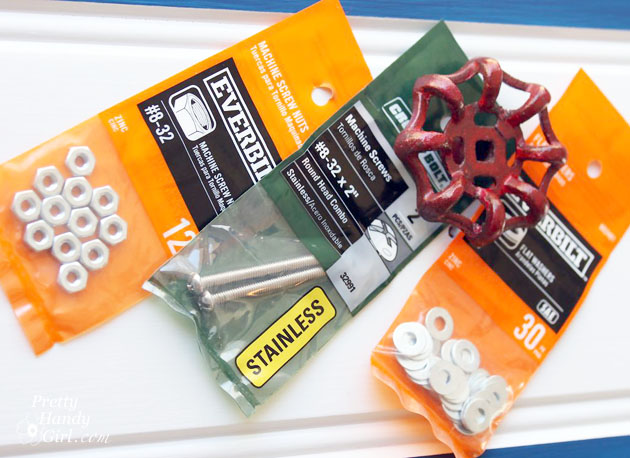
Materials:

  • Drill
  • Quilting pin
  • Measuring tape
  • Pencil
  • Outlet extender
  • Multi-purpose tool
  • Toothpaste
  • Screwdriver

Instructions:

First I located the stud in the center of the wall. Locating studs is easy by using a quilting pin. Read more

pom pom pillows

Hi Pretty Handy Readers, Jaime here from That’s My Letter  sharing another fun DIY project.  Today it’s pom pom placemat pillows. Yes, please!

pom pom pillow 5

We just amped up the fun factor with these cute pom pom placemat pillows and they are a cinch to make.

pom pom pillow 6

Pom Pom Placemat Pillows

You make a placemat sandwich with pom pom trim in between and no turning right side out!  Simply fill with stuffing and sew shut.

The red and white is classic and bold. But, I loved this simple sewing project so much that I made another set of pom pom pillows for my girls summer bedding.

pom pom pillows 4

A pretty set of yellow placemats with light pink pom pom trim will be the perfect accent pillow on their beds.

Pom Pom Placemat Pillows Materials: Read more

Hanging Ceiling Art | Spheres & Lanterns | Pretty Handy Girl

Hanging Ceiling Art | Spheres & Lanterns | Pretty Handy Girl

It’s Monday, and I have a cure for the Monday doldrums! Let’s hang some fun colorful spheres and lanterns to lift your spirits!

I came up with a great way to hang lanterns and spheres from the ceiling (regardless of where the studs were.) Plus, I reduced the holes from 7 down to 4 in the ceiling.

This is a simple project, here’s what you’ll need:

Materials:

materials

  • 1 – 8′ long slim piece of flat moulding painted with ceiling paint
  • Tape measure
  • Pin
  • Pencil
  • Drill with drill bits
  • 2″ wood screws
  • Cup hooks
  • Finishing line
  • Paper lanterns and a sphere (or other objects to hang)
  • Scissors
  • Touch up ceiling paint
  • Small paint brush

Instructions:

Start by determining where you want to hang your art. Begin by knocking on the ceiling (or use a stud finder) to determine where your first stud is. Gently insert the pin until it stops (indicating a stud there.) Read more

Spigot Faucet Drawer Knobs Tutorial | Pretty Handy Girl

Spigot Faucet Drawer Knobs Tutorial | Pretty Handy Girl

Remember my son’s dresser that I gave a pop of color? As promised I’m back today to show you how I made the spigot handle drawer knobs. I purchased my vintage spigot handles from Etsy seller, Anything Goes Here. She has some other vintage handles available, so snatch them up quick. The only other materials you need can easily be picked up from the hardware store.

Materials:

Spigot Faucet Drawer Knobs Tutorial | Pretty Handy Girl

  • Spigot faucet handles
  • #8 – 32 Machine screw nuts
  • #8 – 32 x 2″ Threaded machine screws
  • Washers
  • Needle-nosed pliers
  • Phillips head screwdriver

Optional: Clear sealer spray to protect knobs

Instructions:

Making these adorable vintage spigot knobs is an easy project. Line up your parts per handle. You’ll need 1 machine screw, 4 washers, and 3 nuts per handle. Start by threading one washer onto the machine screw. Thread the spigot handle onto the screw. Read more