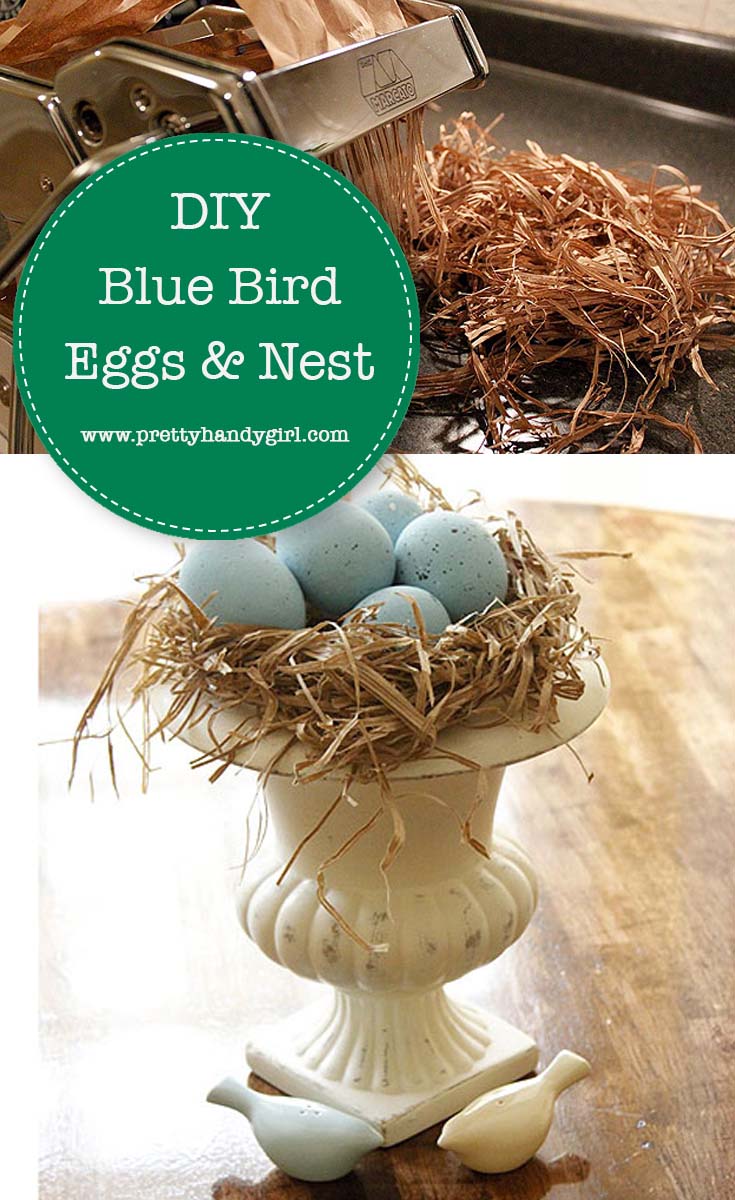
Can you think of anything more spring-like than a nest full of blue eggs? Today I want to show you how to make Faux Blue Speckled Bird Eggs and a Nest!
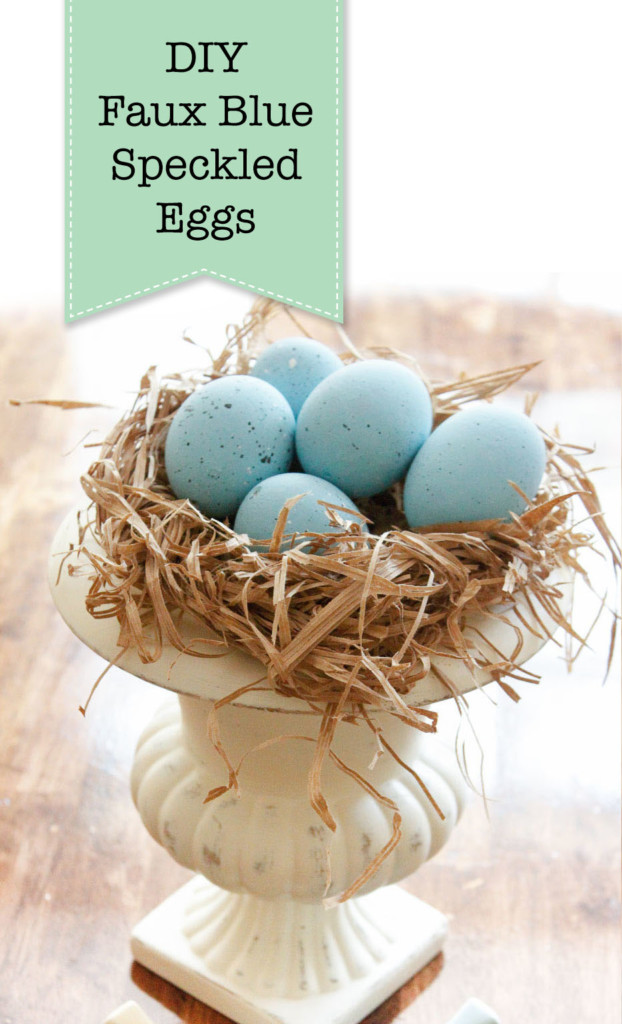
Faux Blue Bird Eggs and Nest
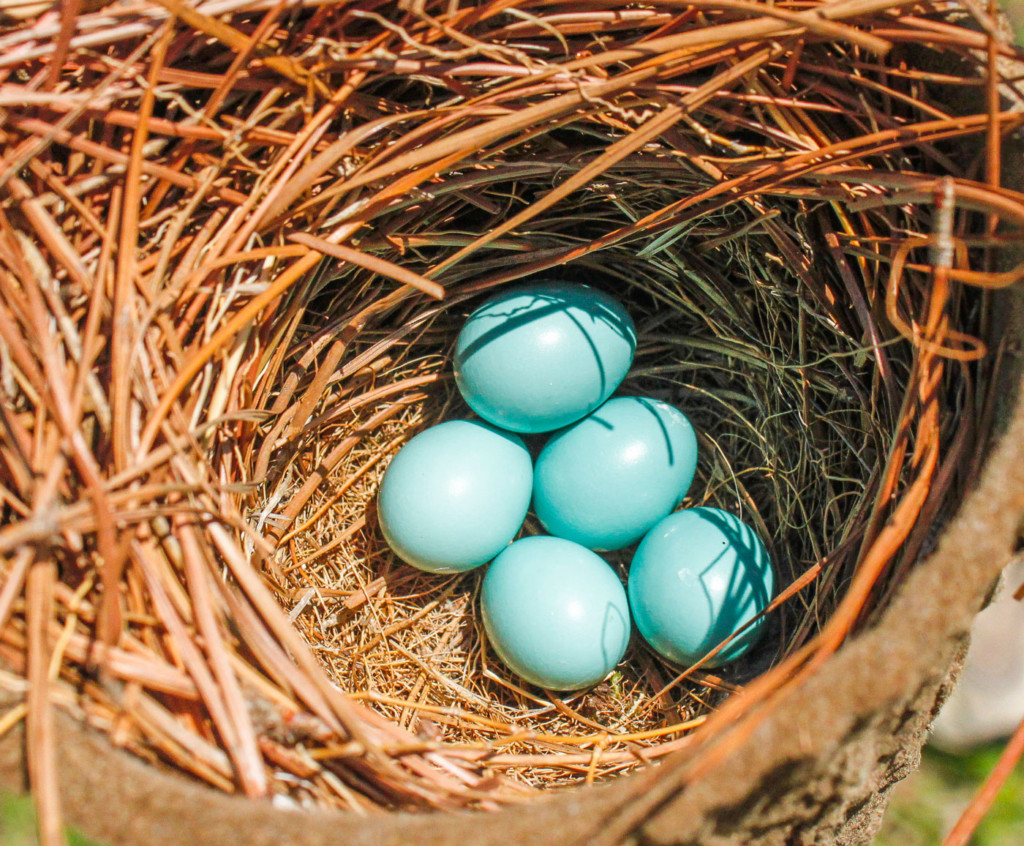
Spring has arrived in North Carolina and I want to dance and sing and tiptoe through the tulips. Now that Valentine’s Day has come and gone, it is the perfect time to start decorating for Easter! A nest of Blue Speckled Bird Eggs makes a beautiful centerpiece! Mother Robin sure does create beautiful blue eggs, but we’d never think of disturbing those precious eggs.
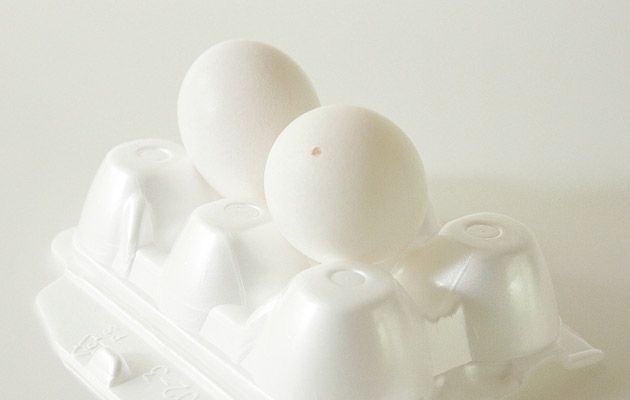
Instead, I’ll show you how to turn regular chicken eggs…
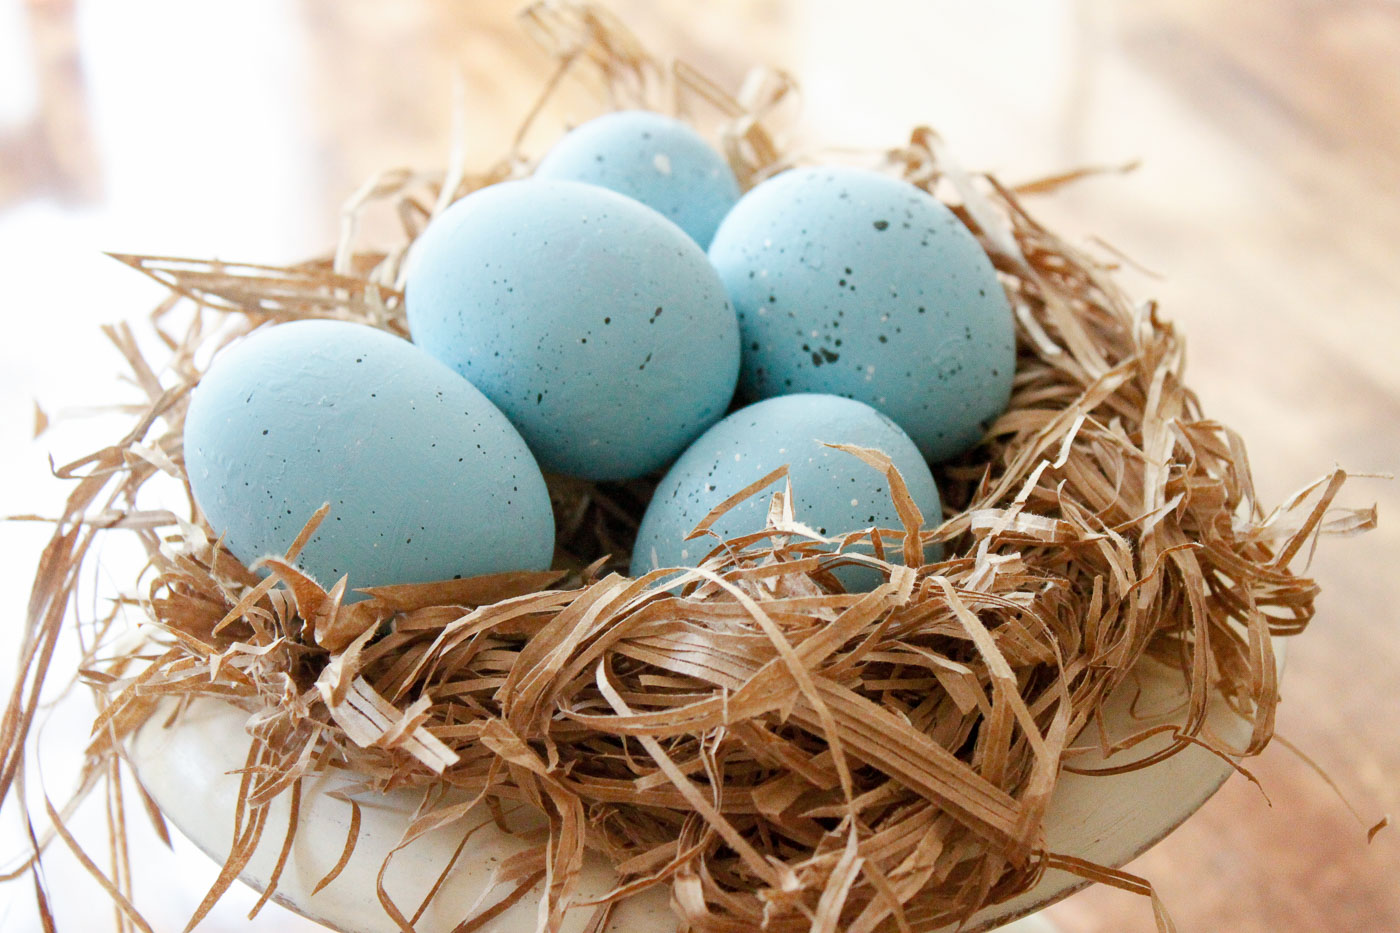
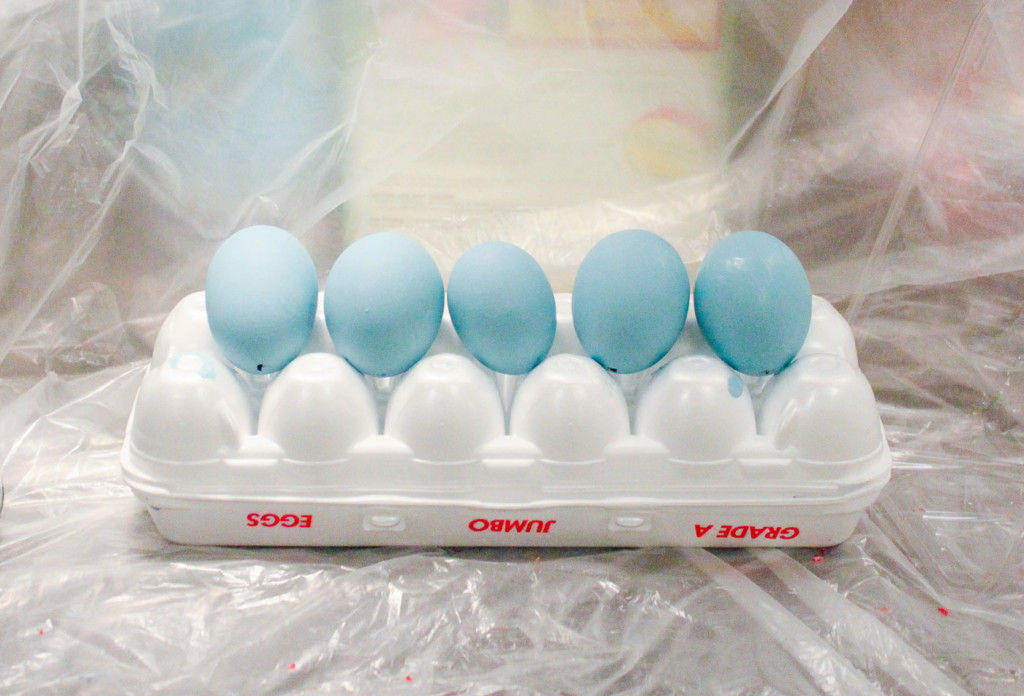
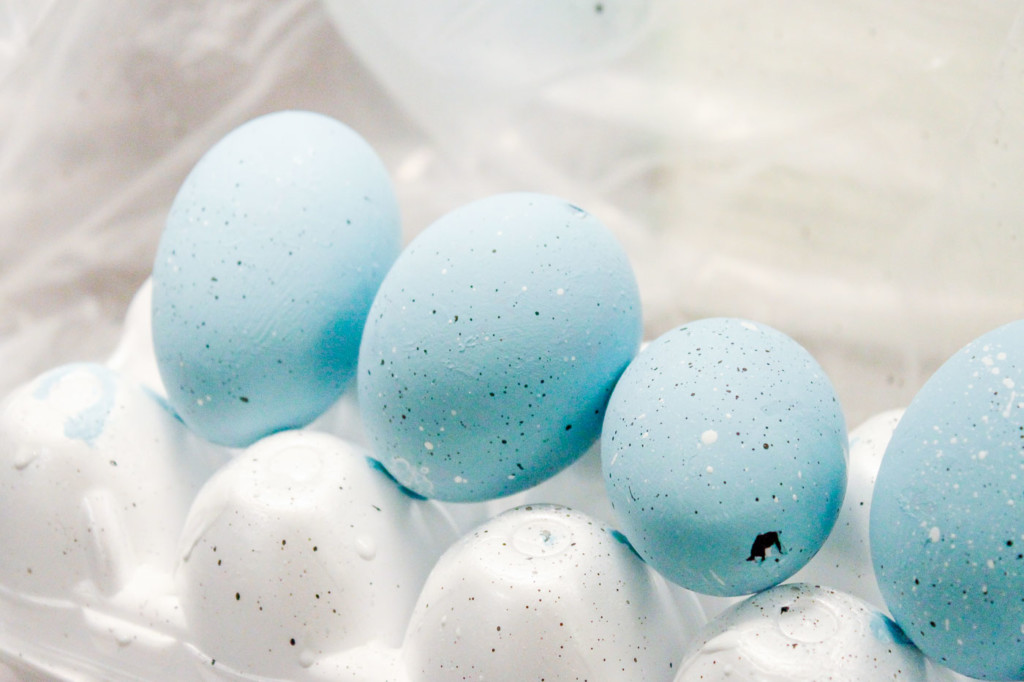
…into a beautiful nest of blue speckled eggs to decorate for Easter or Spring.

Materials:
(I’ve included affiliate links for your convenience. I earn a small percentage from a purchase using these links. There is no additional cost to you. You can read more about affiliate links here.)
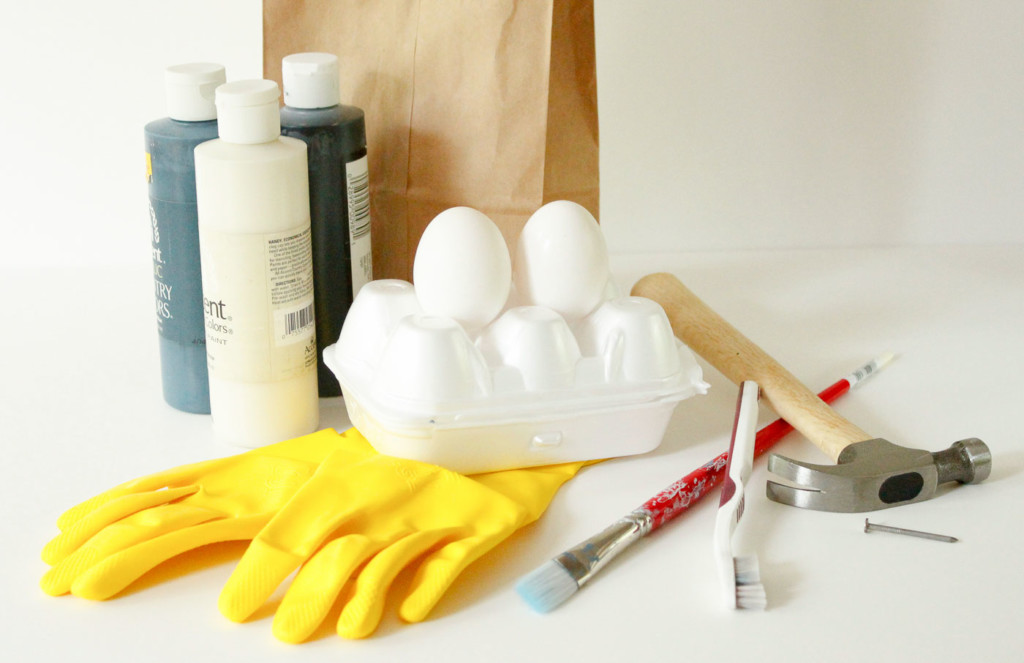
- Eggs (5-6)
- Egg Carton
- Rubber Gloves
- Bowl
- Old Toothbrush
- Acrylic Paint: (at least have White, Black and Robin’s Egg Blue)
- Paint brush
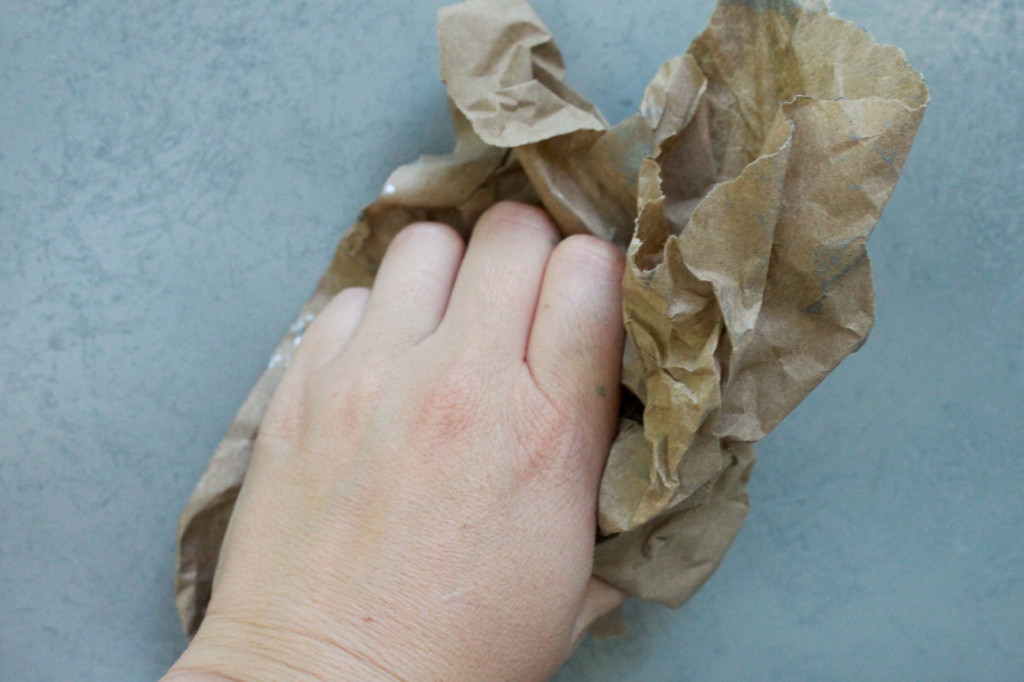
- Paper Bag
- Paper Plate
- Pasta Maker, Paper Shredder or Scissors
- Plastic Drop Cloth
- Hammer
- Nail
Instructions:
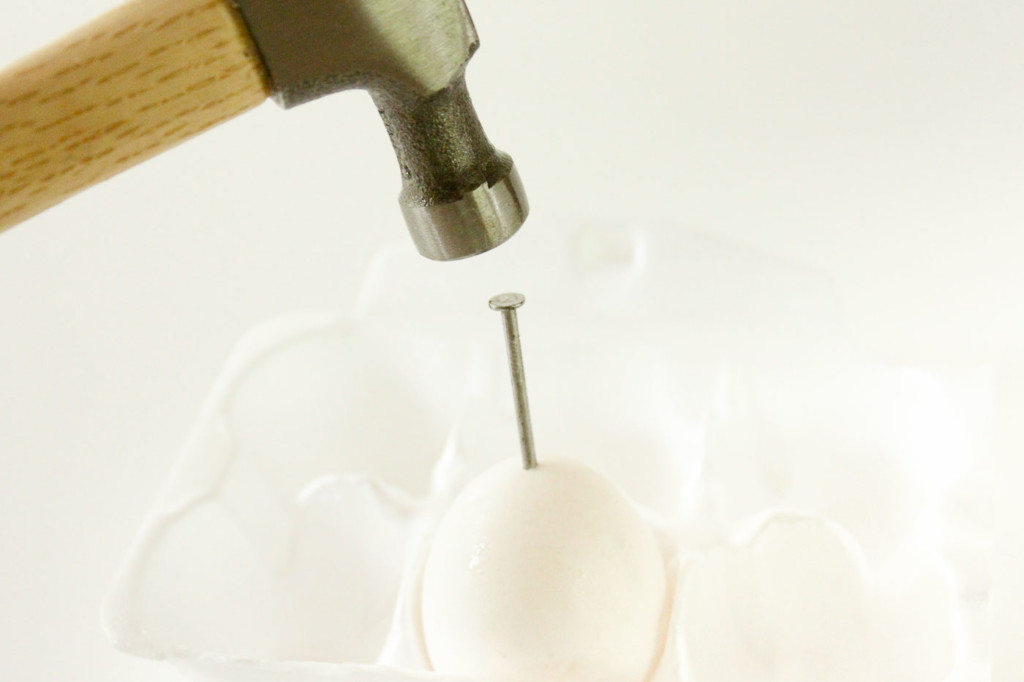
It’s time to get messy. Put down a drop cloth or tarp to cover your work area (and beyond.) First, I’ll show you a magic trick! Learn how to remove the white and yolk out of eggs without breaking the shell. Rest an egg inside the empty carton. Gently tap a nail into the top of your egg.
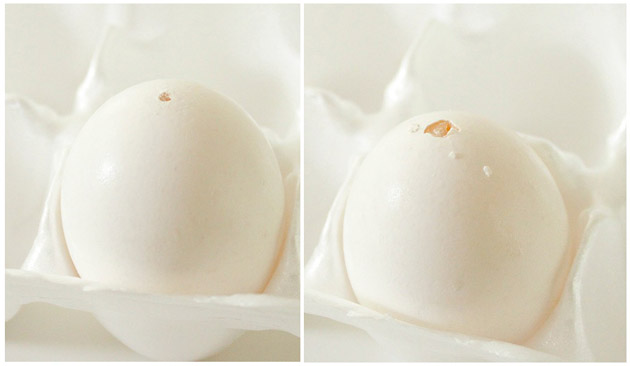
Turn the egg upside down and put another hole into the other side. Typically you’ll need one hole slightly larger.
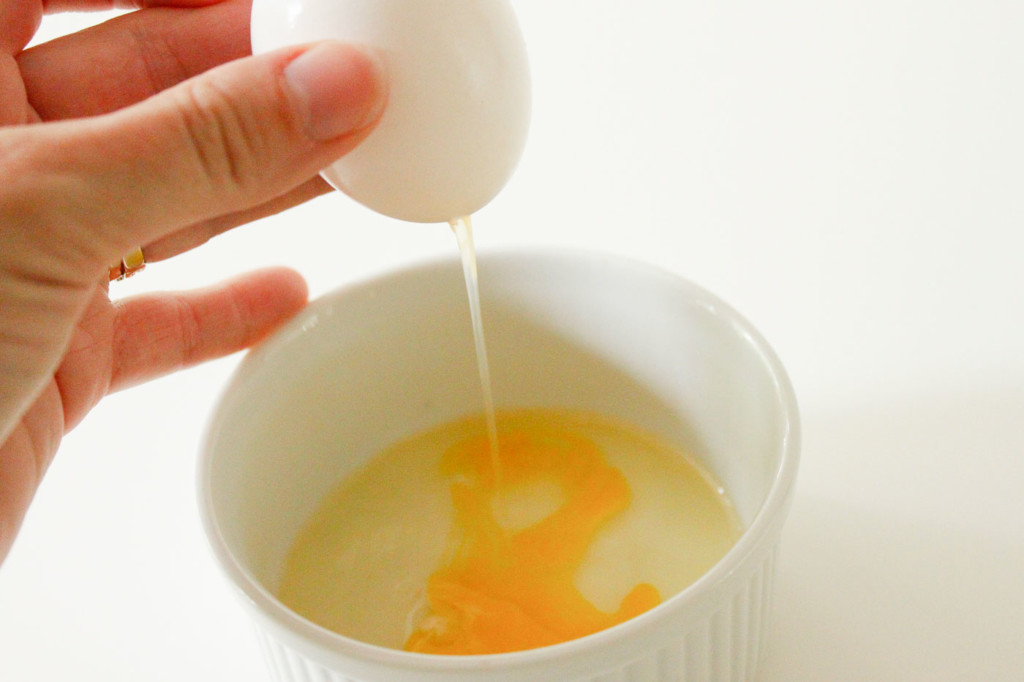
Pucker up and blow through the smaller hole until the egg white and yolk drain out the larger bottom hole. (Of course, you’ll probably want to save the eggs for omelets or scrambled eggs.)
Once you have emptied your eggs, clean them off. Then close your egg carton and flip it upside down to create a raised support for your eggs.
Gather your blue, black, and white acrylic paints. Paint the egg a robin’s egg blue color and allow them to dry.
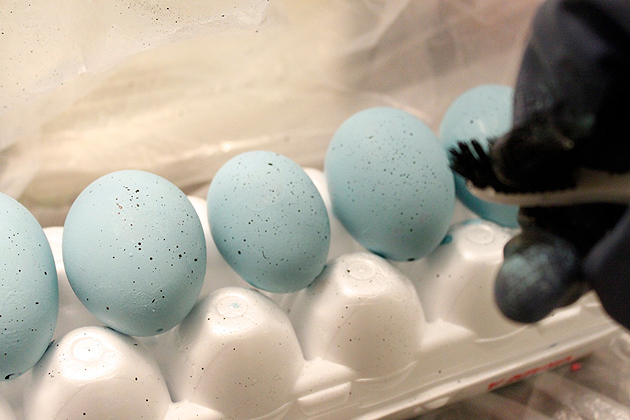
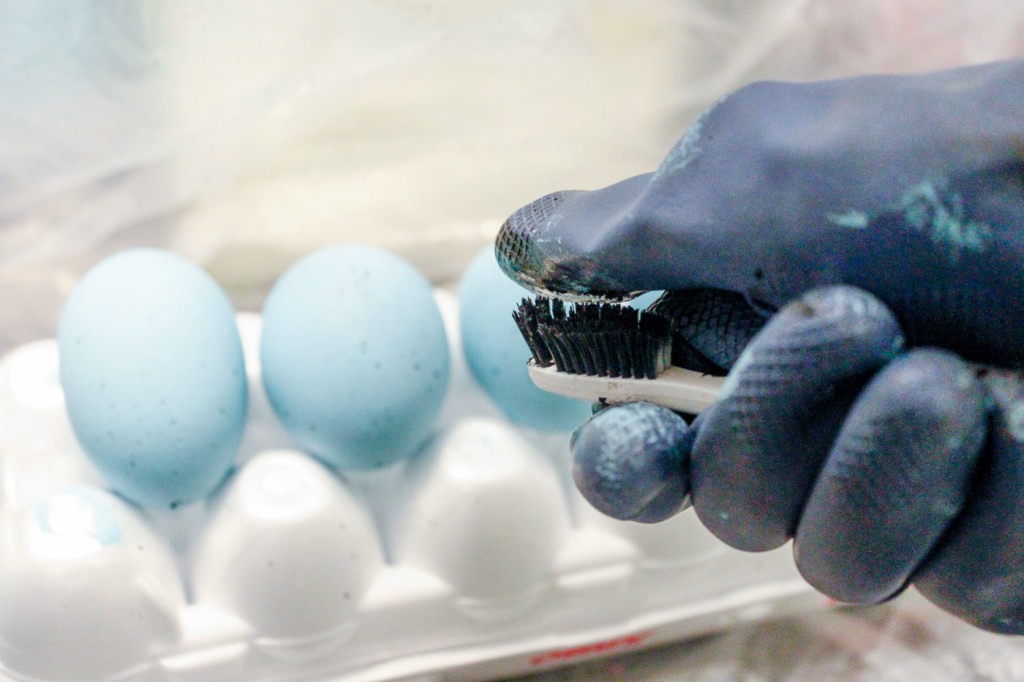
Put on rubber gloves. Pour a small amount of black acrylic paint onto a paper plate. Add a little water to create a runny consistency. Dip the toothbrush into the paint mixture. Aim the toothbrush at the eggs and stroke your finger along the bristles to spatter black dots all over the eggs.
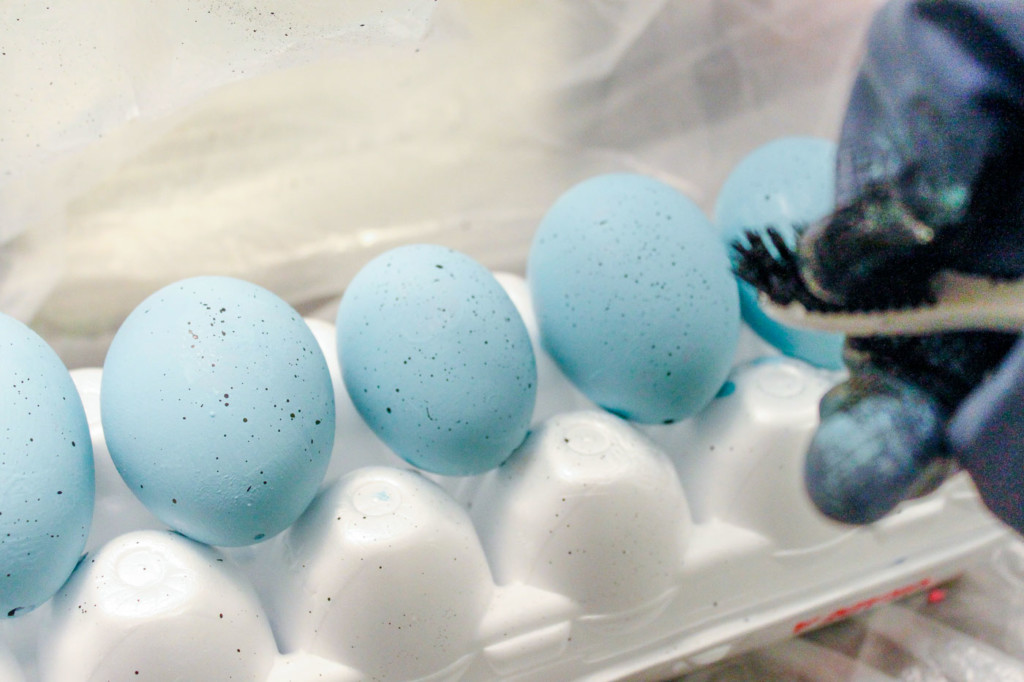
Allow the black speckles to dry and repeat the process using the white paint.
While the eggs are drying, pull out your pasta maker. (Am I the only one who never uses my pasta maker for making pasta?) Cut the paper bag into sections wide enough to fit into the pasta maker.
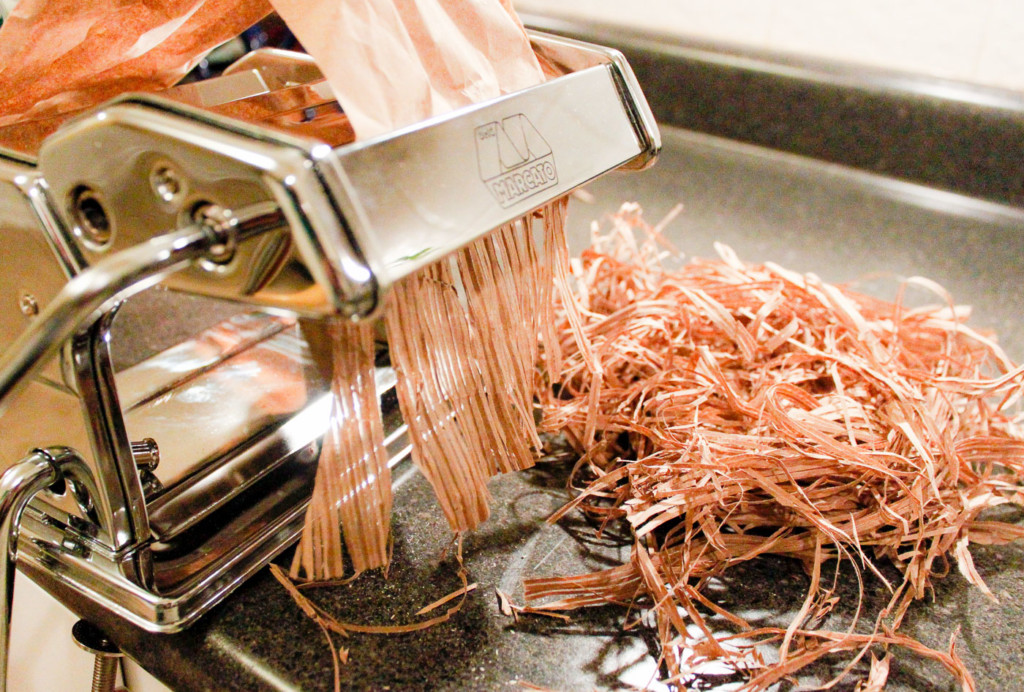
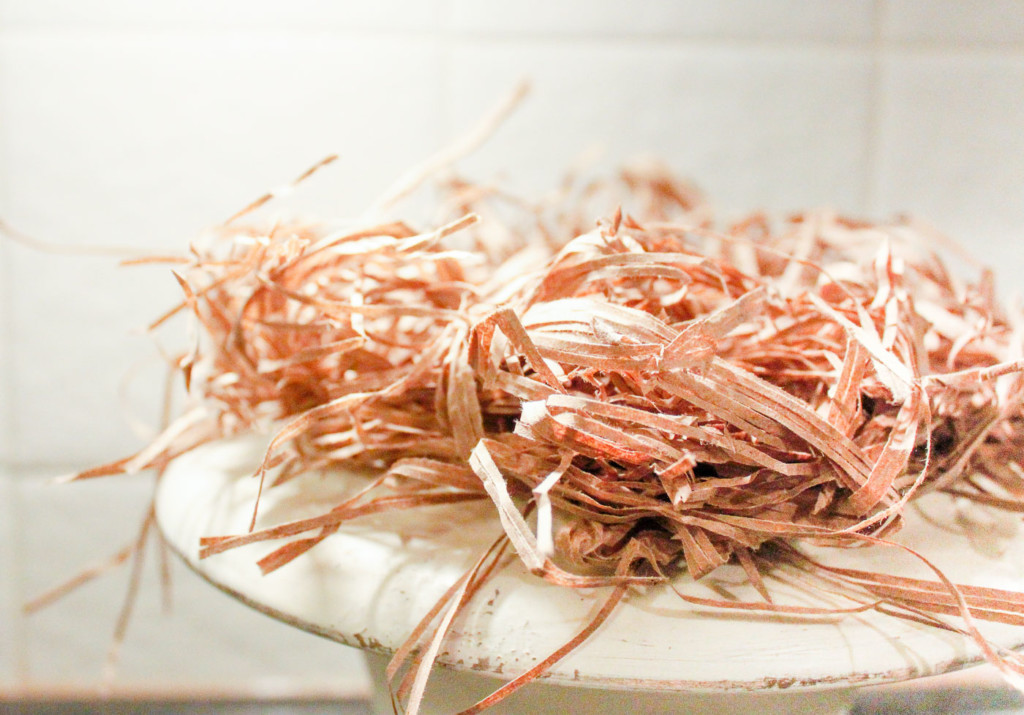
Feed the paper bag through the pasta maker to shred it. (You can shred the bag with a paper shredder or scissors if you don’t have a pasta maker.) Arrange the shreds into a nest form in a bowl, urn, or basket.
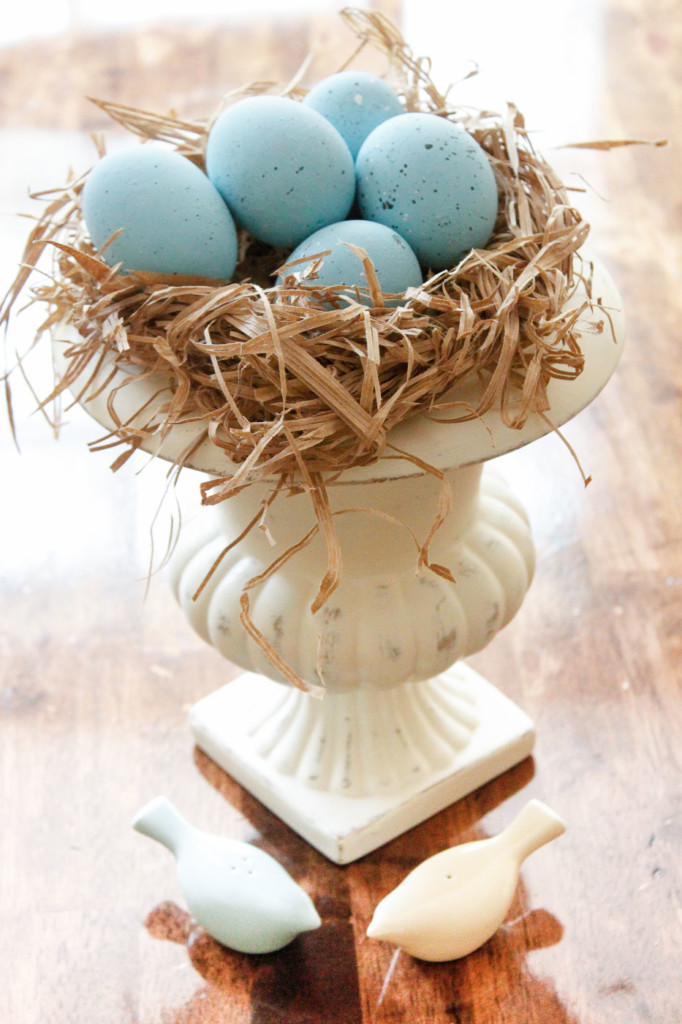
Set your faux blue bird eggs into the nest and admire your beautiful Spring décor!
This centerpiece can be left out until you are tired of looking at it. Then store the eggs in the carton and bring them out again next year.
Have a great week! I hope the weather is warming up where you are!

Pin for later!


