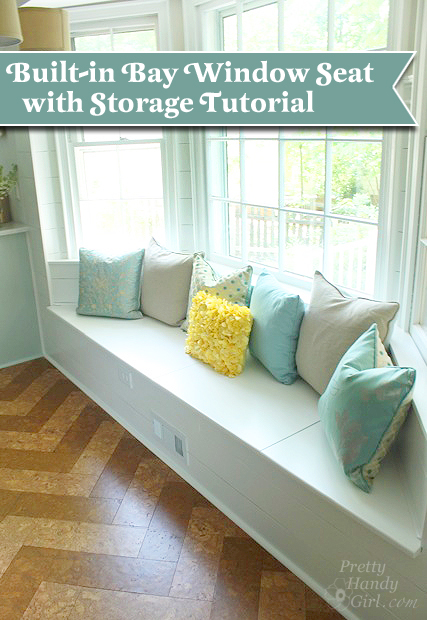
 Building a Window Seat with Storage in a Bay Window
You know when you dream about the finished product on something that you’ve been planning for a long time? And then you finish and your dream becomes a reality? And you think to yourself, am I still dreaming? All those sentiments and more have been going through my head since I finished the building this built-in window seat with storage in our bay window. This window seat is divine! In fact, I’ve begun calling it the Queen’s seat in the hopes that it will deter any male folks from claiming it in our household.
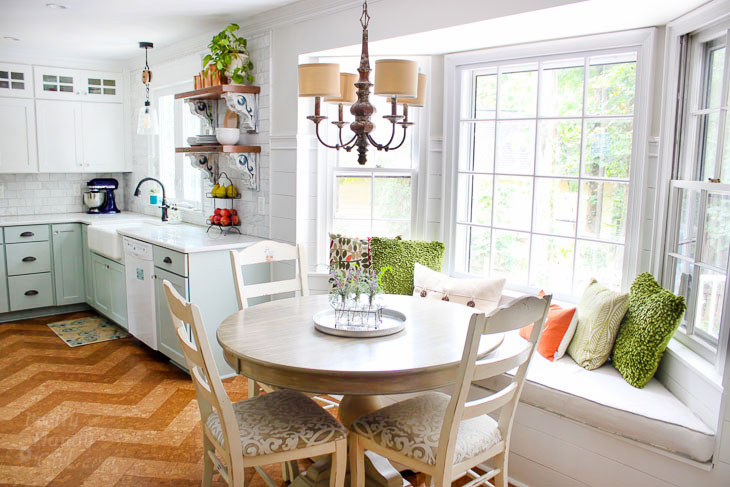
Several of you have asked for the tutorial to build the window seat. I have that for you, but I want to mention that this is a slightly more advanced project. Halfway into writing this tutorial, I realized there was no way I could show you each and every cut, step, and trick without this being the world’s longest blog post/tutorial. If you have some basic carpentry skills (you know how to hammer, nail, use some power tools and you know how to attach a 2×4″ securely to a wall), you should be able to handle this. With that being said, I do want to offer any help if you should have any questions during the process of building this bench, please feel free to email me and I will do my best to help you.
I also want to mention that I did have to move the HVAC vent forward so it came out the front of the window seat. Here’s the tutorial to move a floor vent. I do want to caution you against building over a vent. We have a bookcase that was built over the register and the wood inside grew mold because there wasn’t enough force to blow the air and moisture out the front of the bookcase. Just a warning, don’t take the easy way out.
Basics for Building a Built-in Window Seat in a Bay Window: Read more

