diy owl bookends

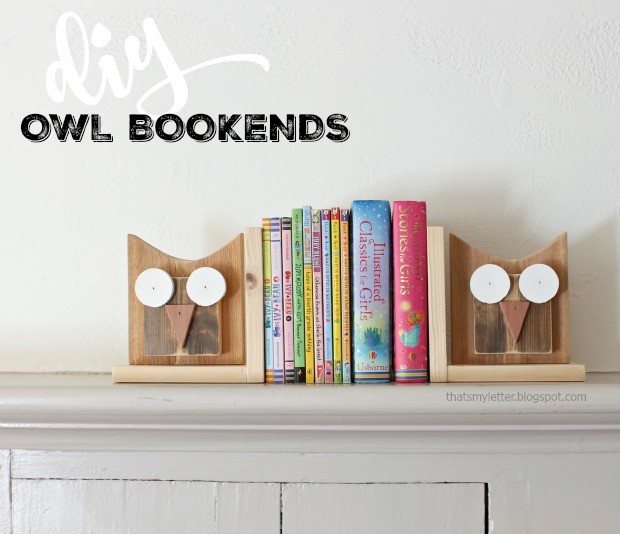
Pretty Handy readers Happy New Year!  Jaime here today from That’s My Letter to share how to make scrap wood DIY Owl Bookends.  It’s January and everyone is in cleaning, purging, and organizational mode.  While you’re cleaning out the scrap wood bin, save a few scraps to make these cute owl bookends. They are adorable and will help straighten up your bookshelf, too.

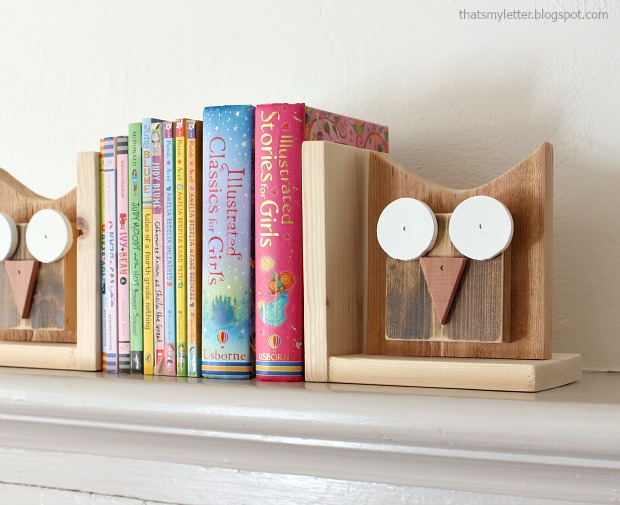
I used scrap wood pieces straight from my cut off bin to quickly put together these bookends.  These wood pieces happen to be different colors (some stained, some cedar, some painted) but you could easily use new lumber and paint the owls in fun colors.

owl bookends 1

This is a great gift idea for adults and kids alike!  I sent this pair off to my sister who happened to have an owl get down her chimney (someone left the flue open!) and was flying around in her house.

owl bookends 3

Below are the step-by-step instructions including materials and a cut list.  Always follow all safety precautions when using power tools.

owl bookend tml

Materials: Read more

Rustic Scrap Wood Shadow Box Frame | Pretty Handy Girl

Okay all you woodworkers. You know as well as I do that you have an ever growing scrap wood pile that you don’t want to throw away because you know you’ll use it one day.

Rustic Scrap Wood Shadow Box Frame | Pretty Handy Girl

Well, today is that day! I challenge you to use some of that scrap wood to make a Scrap Wood Shadow Box Frame like this one.

But, if this isn’t your cup of tea, Sawdust Girl has an entire link up party of scrap wood projects. And you can link up your own scrap wood challenge too!

Okay, so the truth behind this project is that Pretty Handsome Guy has been begging me to frame his U.S. Open flag from Pinehurst almost two years ago. My poor hubby rarely asks for anything, and I figure he waited long enough.

Materials:

  • Scrap wood
  • Backer board (scrap bead board, masonite, thin plywood)
  • Construction glue
  • Lattice edging
  • Wood stain
  • Plexi-glass
  • D-hooks
  • Drill bit
  • Drill
  • Double stick foam tape
  • Brad nails
  • Nail gun or hammer
  • Machine screws
  • Saw (miter, jigsaw or Dremel UltraSaw)

Optional: Gorilla Glue

Instructions:

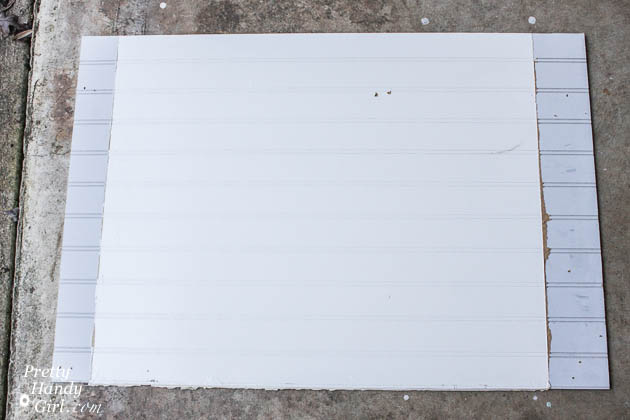
Cut backer board to the size you want for your frame.

Rustic Scrap Wood Shadow Box Frame | Pretty Handy Girl

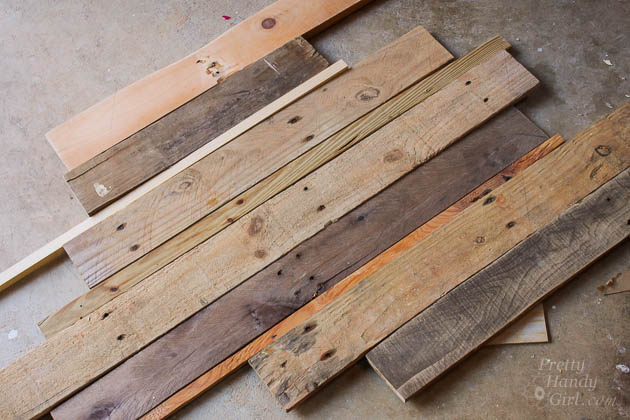
Lay out your scrap wood on top of the backer board until it is covered completely.

Rustic Scrap Wood Shadow Box Frame | Pretty Handy Girl

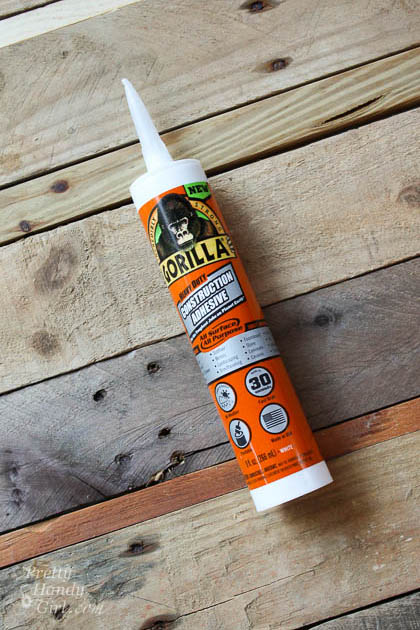
I tried Gorilla Glue Construction Adhesive on this project (Gorilla Glue sent me a tube of glue to try out.) It dried and held all the scrap wood firmly.

Rustic Scrap Wood Shadow Box Frame | Pretty Handy Girl

Lift up one piece of scrap wood at a time and apply construction glue onto the backer board. Read more

door stop title

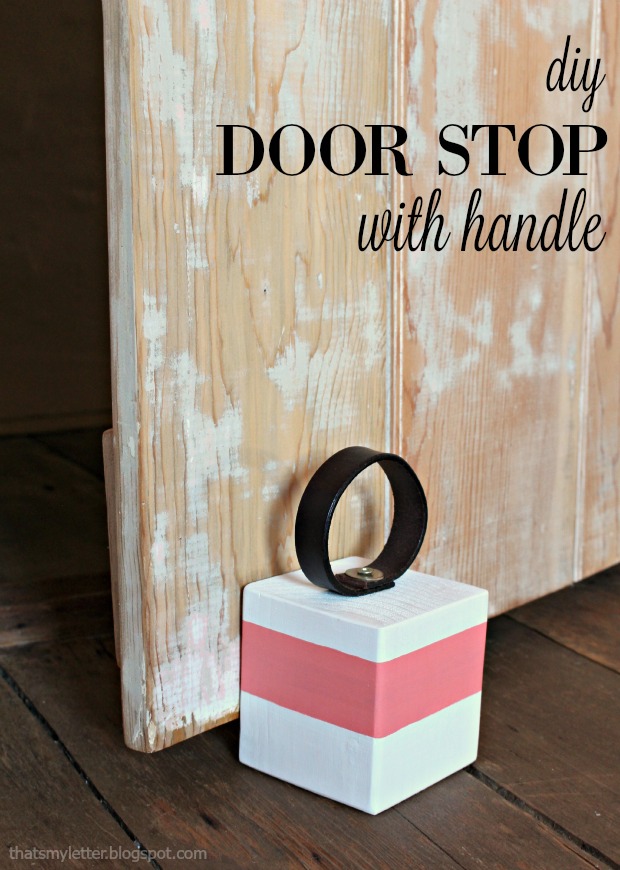
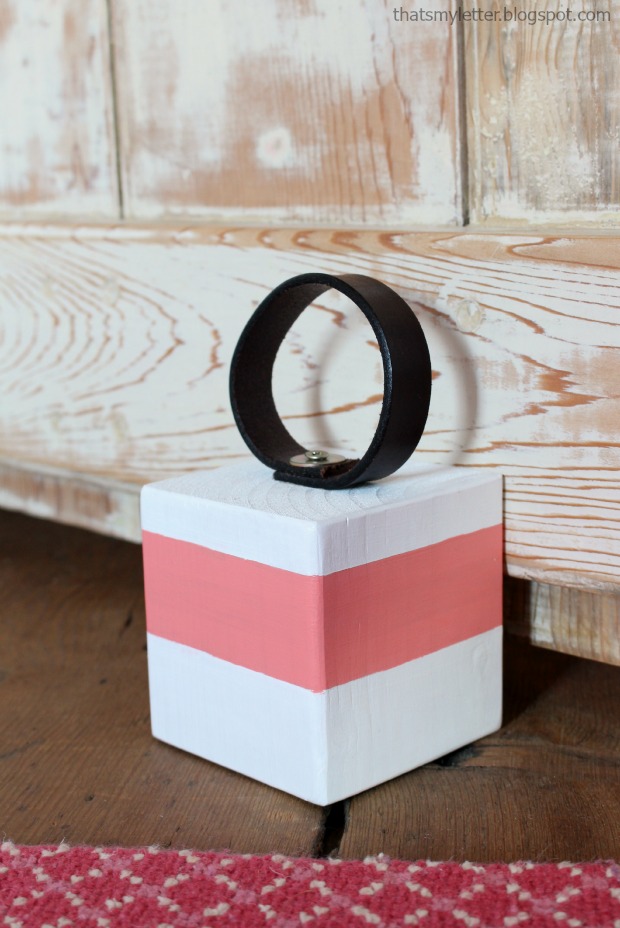
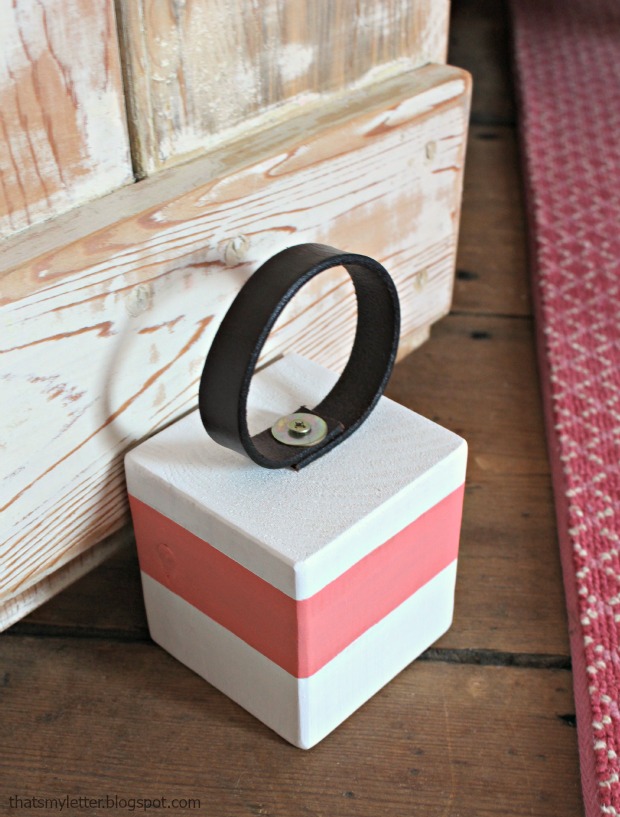
Hi Pretty Handy Readers!  Jaime here from That’s My Letter sharing a quick and easy scrap wood project.  Today I’ll show you the step by step tutorial for how to make a DIY Door Stop with a Leather Handle.

door stop 1

They say necessity is the mother of invention and this is clearly a case in point.  My girls’ bedroom door wouldn’t stay completely open on its own.  You might have a similar door in your home that you want to stay wide open except gravity keeps pulling it closed?  In our house nothing is level so naturally the door wants to close and we needed a door stop that was easy for my girls to use.

door stop 3

I used a piece of scrap 4×4 wood and made a simple leather loop handle so now my girls can easily move the door stop when they want to shut the door.  (Please note our door is solid wood and moderately heavy but if you have a very heavy door you might want a larger piece of wood.)

door stop 2

In addition to using the door stop to keep the door wide open, my girls also use it to keep the door slightly ajar at night.

Supplies:

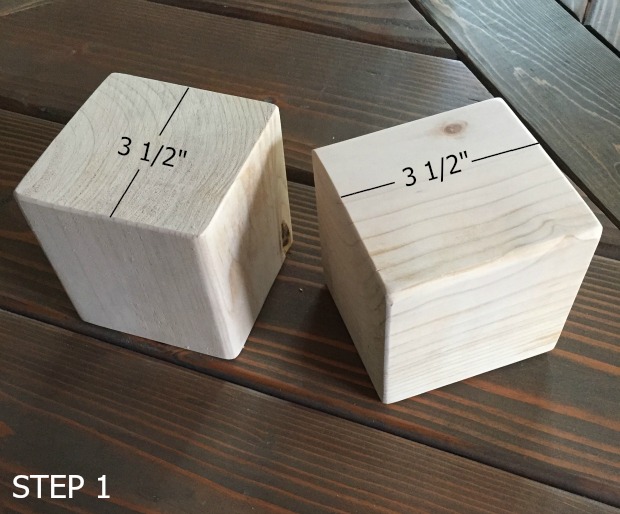
  • 1 – 4×4 scrap wood @  3 1/2″
  • 1 – leather belt scrap 1/2″ w x 9″ l
  • 1 1/2″ wood screw
  • washer
  • drill & drill bits
  • glue
  • sandpaper
  • paint

Instructions:

Step 1: Cut the 4×4 scrap wood at 3 1/2″ (or longer if you have a heavy door).  Sand edges smooth.

door stop step 1

Step 2: Paint as desired.  I used painters tape to mask off a portion to make the pink stripe. Read more

50+ DIY Gift Ideas

50+ DIY Gift Ideas

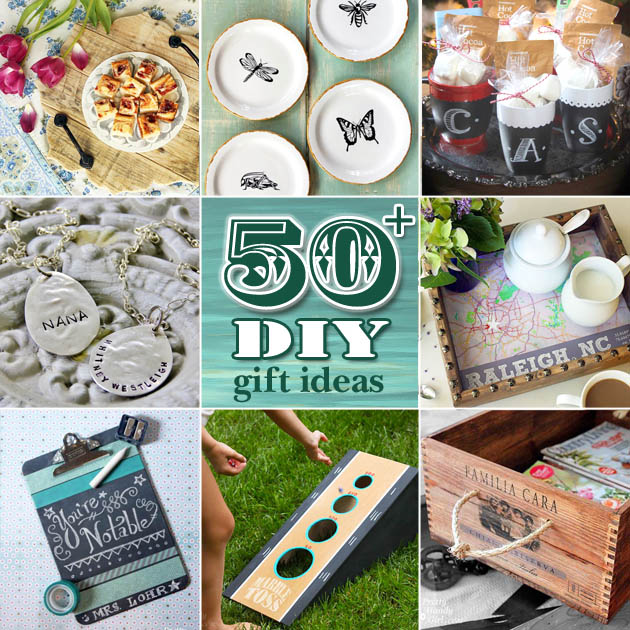
Hello again, it’s Colleen from Just Paint It with another fabulous homemade gift collection. Today we have 50+ DIY Gifts for practically everyone on your list! This is a diverse group including painting, quick crafts, woodworking and so much more. I’m sure you’ll find plenty of inspiration.

Have fun checking these DIY Gifts out!

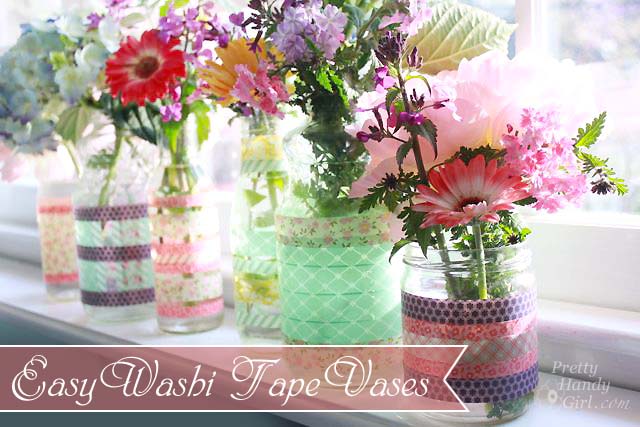
Washi Tape Gift IdeaWashi Tape Gift Idea


Spraypainted Bottle VasesSpraypainted Bottle Vases


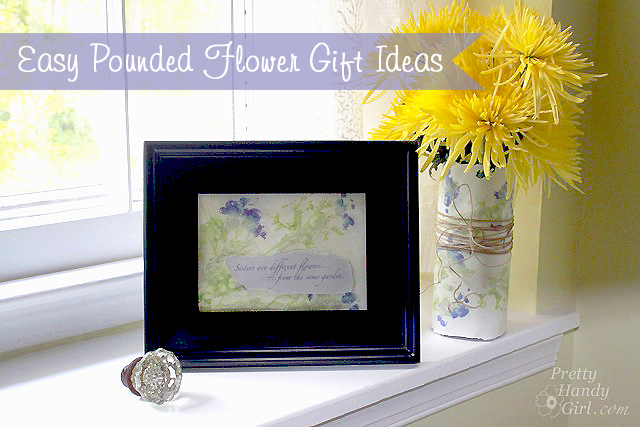
easy_pounded_Flower_Gift_ideasjpg
Easy Pounded Flower Gift Ideas


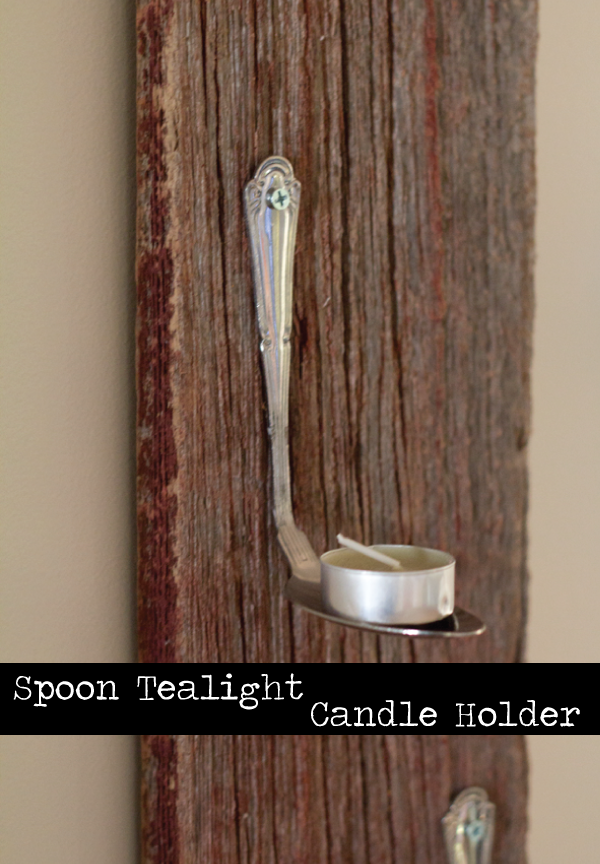
Spoon Tealight CandleholderSpoon Tealight Candleholder


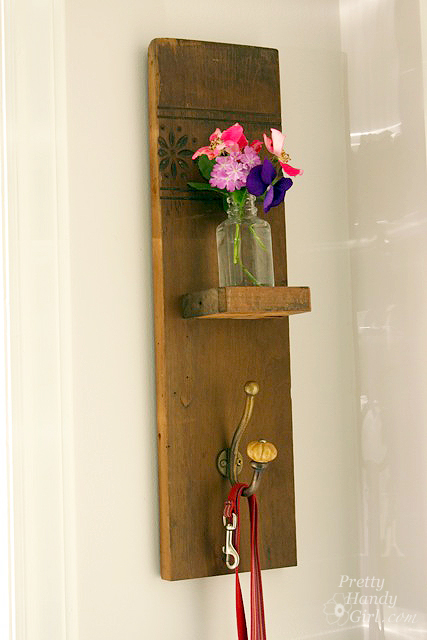
DIY Sconce HookDIY Sconce Hook


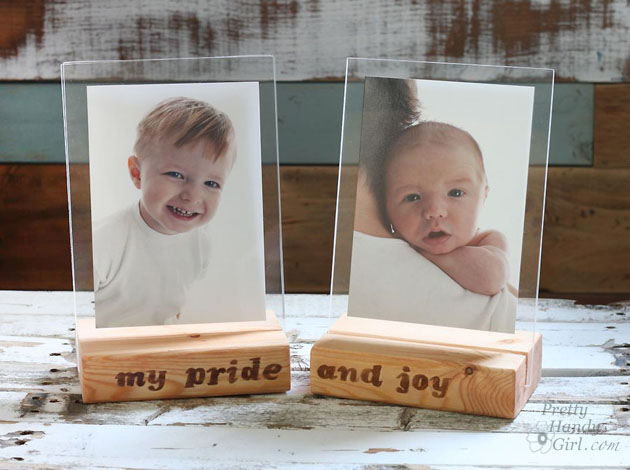
Wood Block Floating Picture Frames | Pretty Handy Girl
Wood Block Floating Frames Read more

These DIY Stacking Cubbies are a great storage solution for stuffed animals, shoes, and more! The plans and tutorial make it easy to build as many as you like!

Hey everyone!  It’s Katie again from Addicted 2 DIY.  Today I’ve got a project to help keep things organized around the house.  These stacking storage cubbies are perfect for stashing away those growing stuffed animal collections, shoes, toys, books, etc.  They were so simple to build and they are easy to customize to fit your needs.  I’ve got the step-by-step tutorial for you below, and you can also stop by my site to download the printable plans.

Materials:
(contains affiliate links)

  • 2 – 1″ x 12″ x 8′ pine boards
  • 1 – 1″ x 6″ x 8′ pine board
  • 2′ x 4′ sheet of 1/4″ plywood (I used some that I already had on hand)
  • Kreg Jig
  • Brad Nailer
  • 1 1/4″ pocket screws
  • 1 1/4″ brad nails
  • 5/8″ brad nails
  • Kreg Rip-Cut
  • wood glue
  • orbital sander
  • 220 grit sandpaper

Cut list (for each storage cubby):

  • 2 – 1″ x 12″ @ 12″ (sides)
  • 1 – 1″ x 12″ @ 15″ (bottom)
  • 1 – 1″ x 12″ @ 16 1/2″ (top)
  • 1 – 1″ x 6″ @ 16 1/2″ (front)
  • 1 – 1/4″ plywood @ 12 3/4″ x 16 1/2″ (back)

Instructions:

Start by cutting all of your pieces for the cubbies.  Drill 3/4″ pocket holes into the bottom 1×12 pieces.

These DIY Stacking Cubbies are a great storage solution for stuffed animals, shoes, and more! The plans and tutorial make it easy to build as many as you like!

Attach the sides to the bottom using wood glue and 1 1/4″ pocket screws. Read more