I like to think of myself as an organized person, but that isn’t 100% true. I spend 15 minutes searching for my son’s baseball hat on the way out the door to his game; I shuffle papers from one pile to another; and I have that dreaded “drop spot” in my kitchen where everything seems to land when I walk in the door. The one thing I am good at is putting things back where they belong. If an item has a spot to live in my home, it is easy for me to put it there.
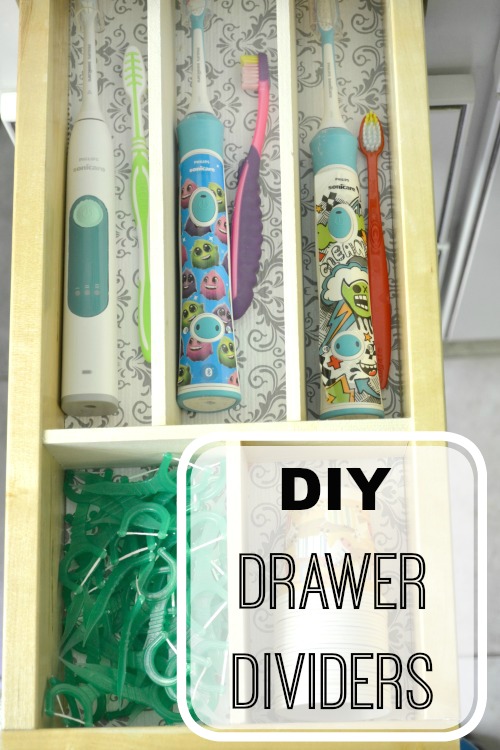
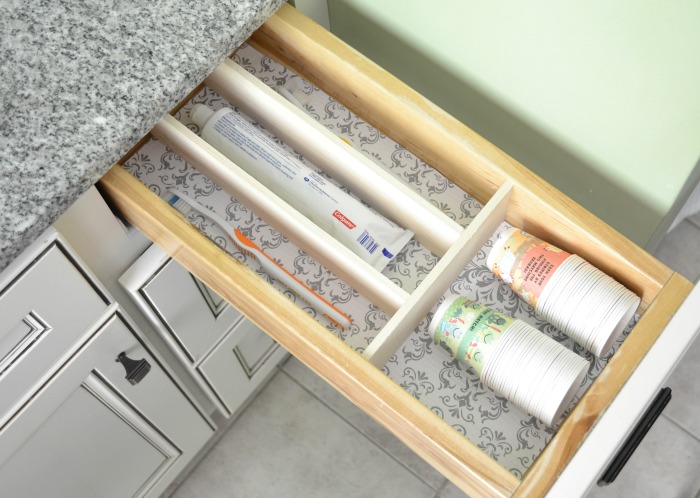
Drawers can be tricky when it comes to organization because when you toss things that belong in, they can still become cluttered. DIY Drawer Dividers help get your drawers more orderly and I can show you how to build them to suit your exact needs!
Materials:
1/4″ poplar hobby boards (width and length will be determined by the size of your drawer)
Wood glue
Shelf paper
Old newspaper or other scrap paper
Painter’s tape
Tools:
Hand saw or miter saw
Instructions:
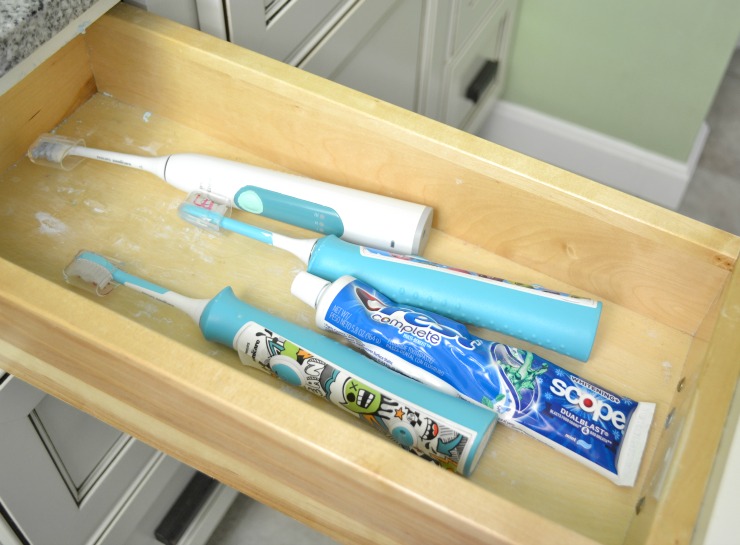
The first step is the most important. Clean out your drawer. By emptying it completely and then adding back what you intend to keep, you are designing your storage around things you actually need.
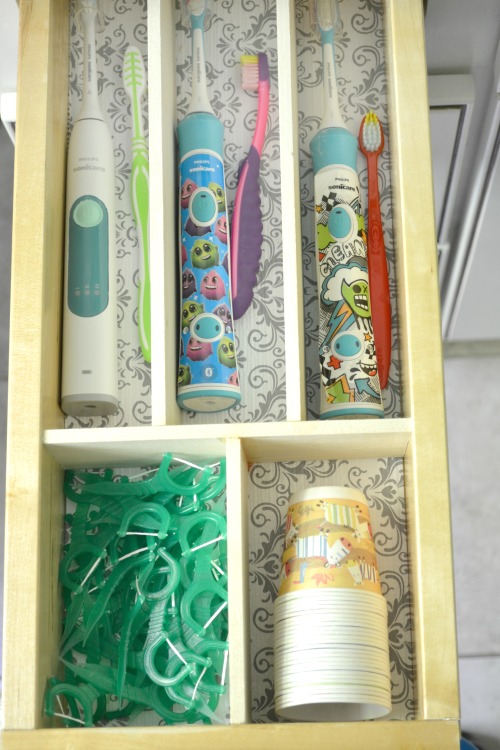
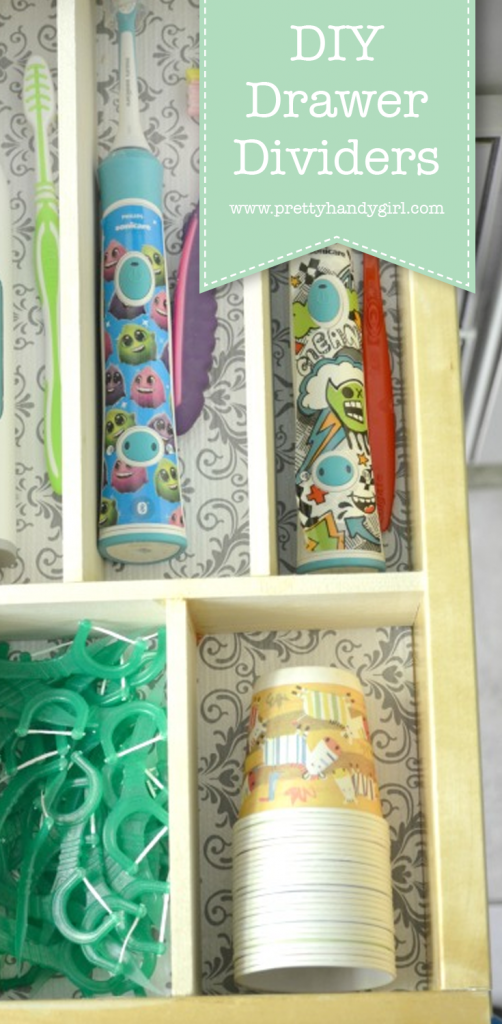
I built my dividers for my bathroom drawers that hold our toothbrushes, toothpaste and floss so there wasn’t much to throw away, but there was plenty of cleaning to do.
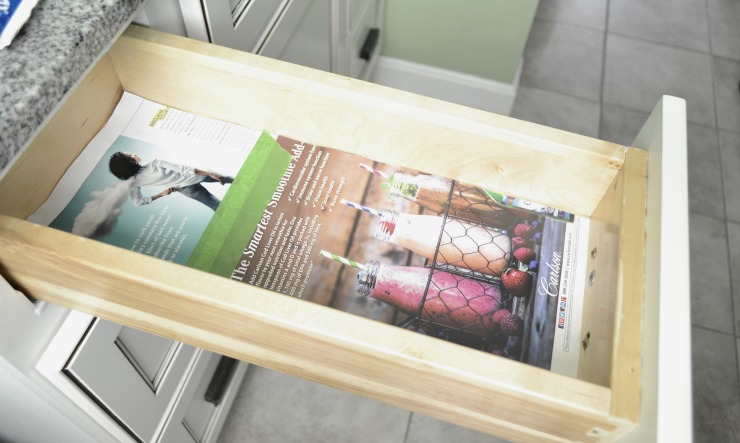
Once your drawer is cleaned out, line it with some pages from an old magazine or craft paper. This will protect the drawer from the wood glue later on.
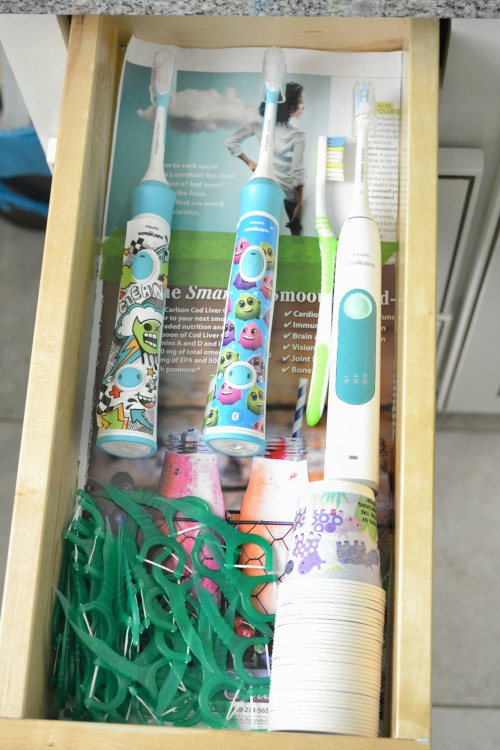
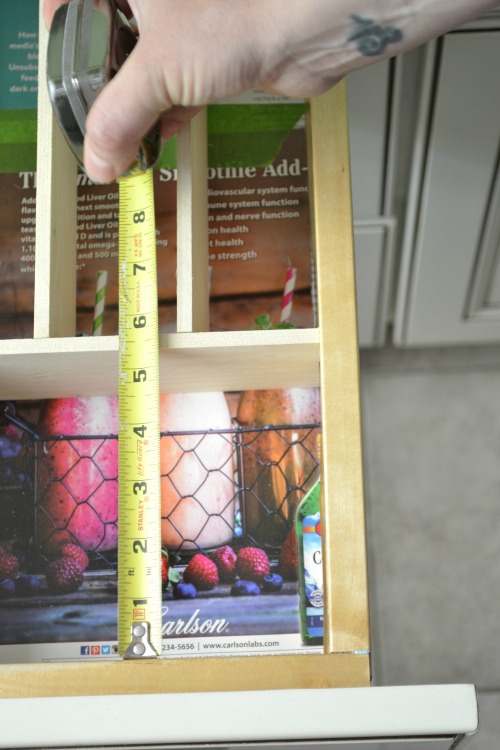
Next, add back the items you want to keep in your drawer. This will help you with measuring and planning where the dividers will go. Use a marker to map out the compartments by drawing lines on the magazine pages.
Take your measurements and cut your wood. Then place them in the drawer for a dry fit.
You may need to do this in sections to get the right measurements.
If you have a section that will run the entire width of the drawer, you can cut that piece to fit snug so it stays in place and then glue other pieces to it.
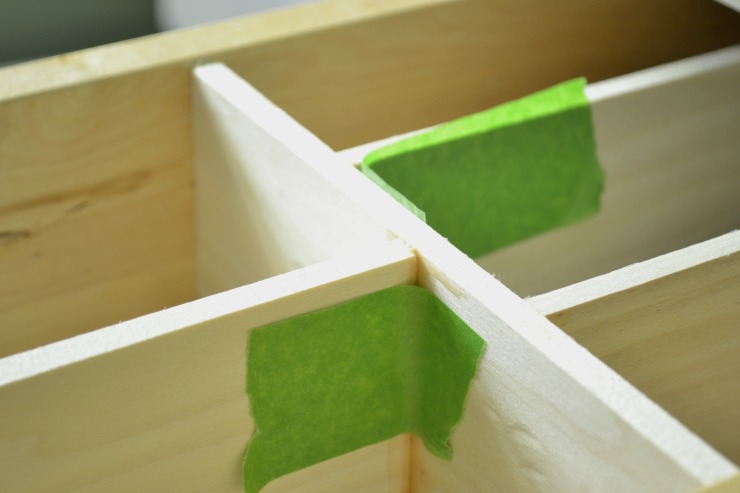
Glue the pieces together in your desired configuration and use the painters tape to hold them while the glue dries.
(I don’t recommend gluing the dividers to your drawer sides. You never know when you may want to change the configuration. By only gluing the sections to each other, you can remove them easily to clean without any damage to your drawers.)
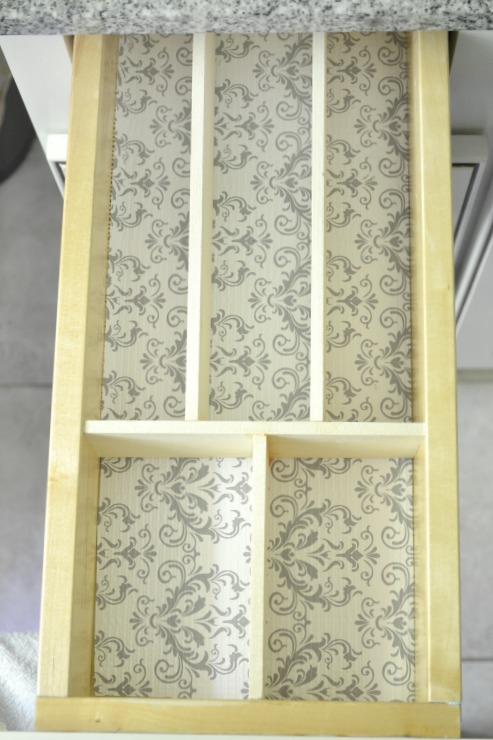
After the glue has dried, remove the dividers from the drawer and remove the tape. Add shelf paper to the bottom of the drawer and put your dividers in place.
All that’s left to do is add in all your perfectly organized items.
This project was so easy, I made a DIY Drawer Divider. My kids aren’t the only ones who need organized toothbrushes. Now my husband and I have ours neat and tidy too.
By creating custom drawer dividers you save time, effort and money. I have tried so many different ways to organize these drawers with no success. These DIY drawer dividers have finally made this storage space work for me. I hope you have the same success.
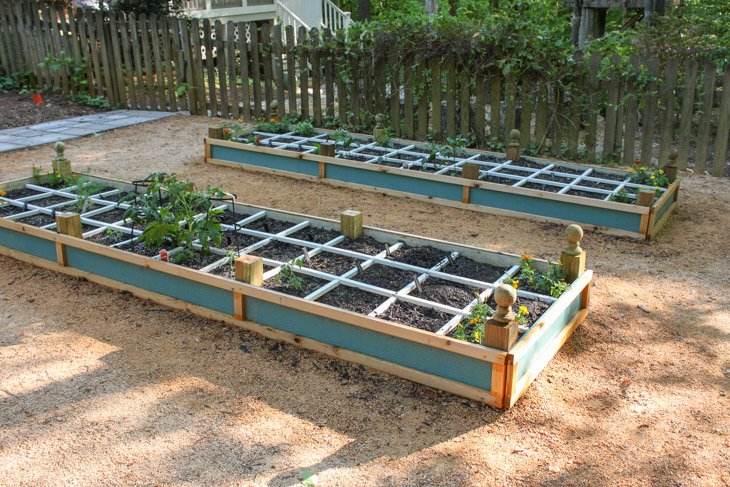
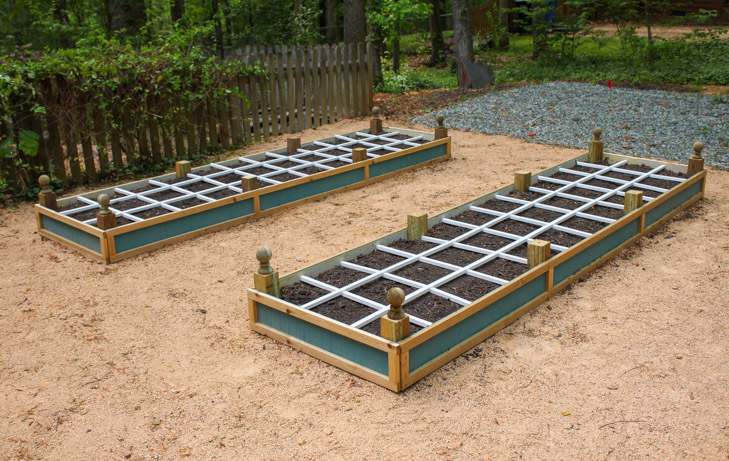
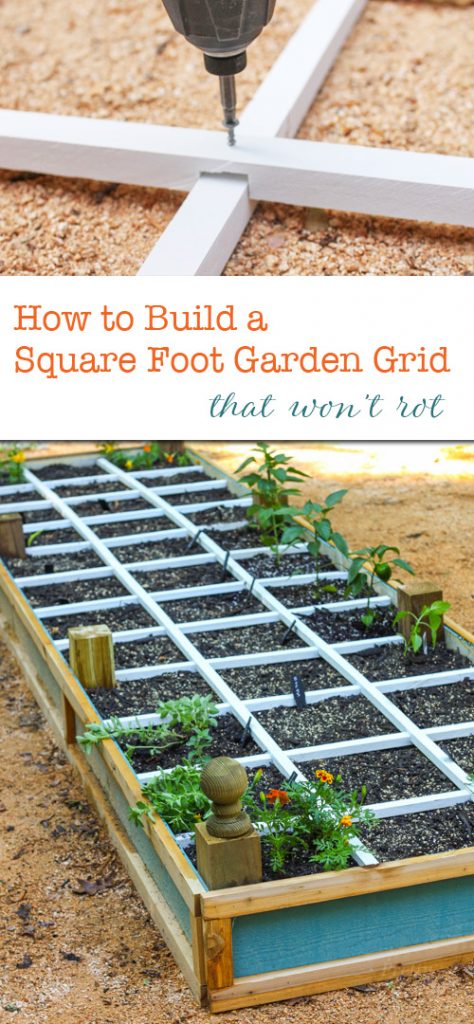
I’ve wanted to start a vegetable garden for three years! Each Spring something comes up and it doesn’t happen. This year is the year, I told myself. I’m going to build Raised Planter Beds that are rot-resistant (because who wants to build anything that has to be re-built after a few years. Not me!) Luckily, the spot I had in mind gets plenty of sunshine throughout the day.
I spent some time researching and pricing the materials for this project. My criteria was:
Rot-resistant
Minimal chemicals for rot-resistancy
Easy on my budget
Attractive to look at
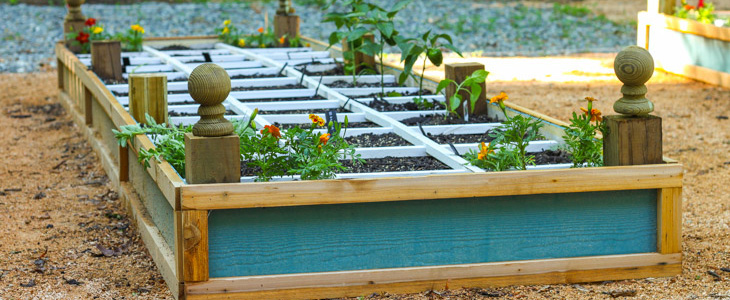
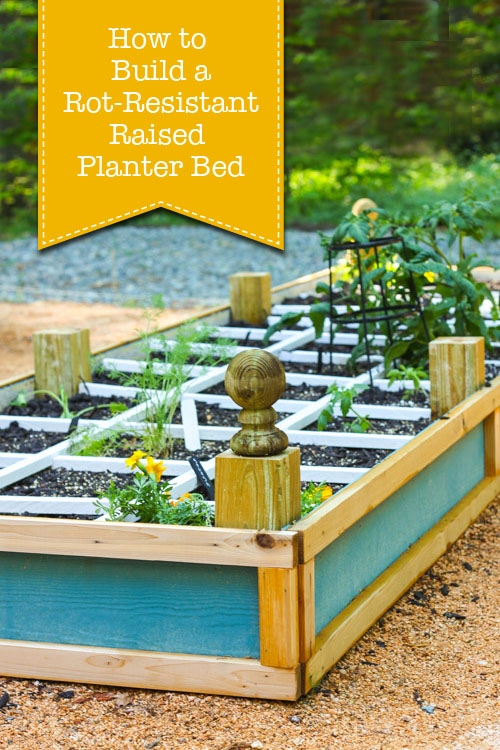
These Raised Rot-Resistant Planter Beds check off all those requirements!
The main material for the beds is fiber-cement siding aka Hardi-Plank. The material is a cement-based product meant for exterior application on houses. It is also bug-resistant which means it should hold up.
The one negative about fiber-cement siding is that it is very flexible and cannot be used without a structural support. To solve that problem I decided to add a beautiful cedar trim on the outside of the siding. And internally, I created support with pressure-treated 4×4’s and an internal 2″x4″ pressure treated support. (These are the only chemical-treated lumber I used in this build. If you are concerned about leaching, you can prime your lumber before using it in your planter bed. Instead of priming, I chose to plant flowers closest to the posts and plant the vegetables further away.)
(Be sure to read to the bottom to get the 9 year update on my rot-resistant planter.)
Are you ready to learn how to Build your own Rot-Resistant Raised Planter Beds?
(I’ve included affiliate links for your convenience. I earn a small percentage from a purchase using these links. There is no additional cost to you. You can read more about affiliate links here.)
Tools & Materials:
1 – 4″x4″x 8′ pressure-treated post
3 – 8″ x 12′ hardi-plank (cement siding)
6 – 1″ x 1 1/2″x 12′ cedar planks (if not available, you can rip them from a 1″ x 8″x 12′ plank on a table saw)
Cut your lumber per the cut list above. Cut your Hardi-Plank siding to size. (Note: You may want to use an old blade or a masonry blade in your saw for cutting. The cement siding can dull your blade.)
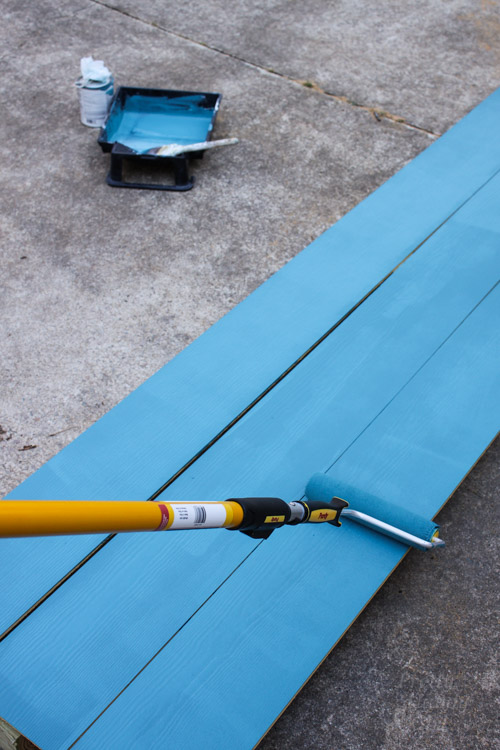
Paint your siding the color of your choice. I used Calypso Blue by Benjamin Moore. Allow the siding to dry.
Instructions for Assembly:
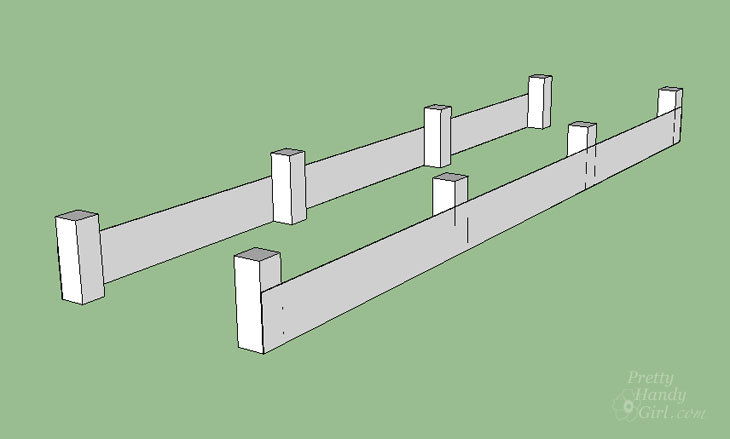
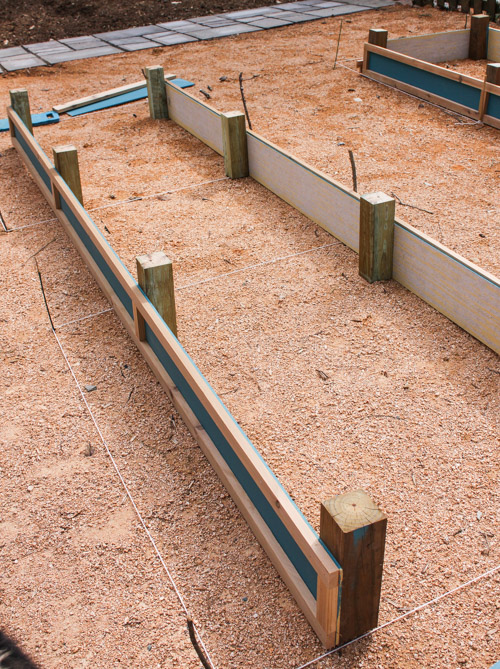
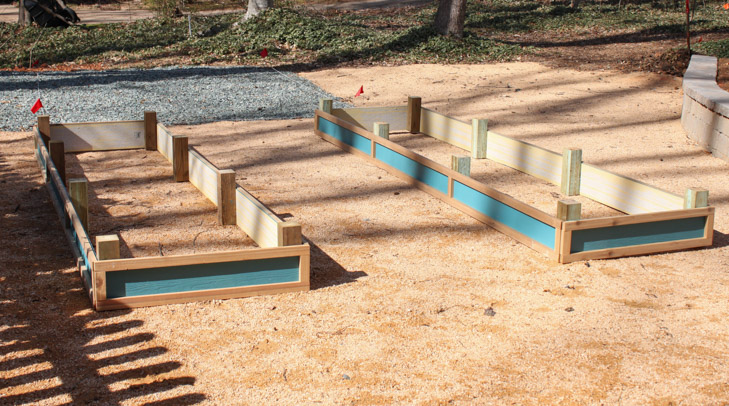
Line up four 4″x4″x12″ posts on the ground. Lay your hardi-plank siding on top of the posts. Line up the siding with the bottom of the posts. Space one post at each end and the two posts in the middle. The middle posts will line up at 4′ and 8′
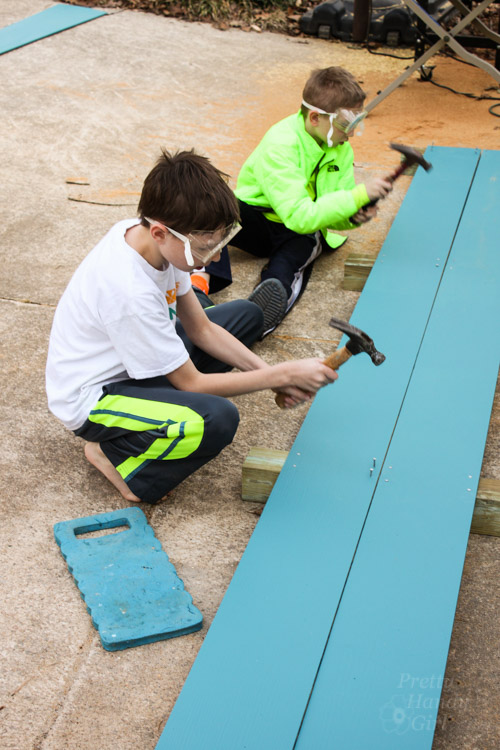
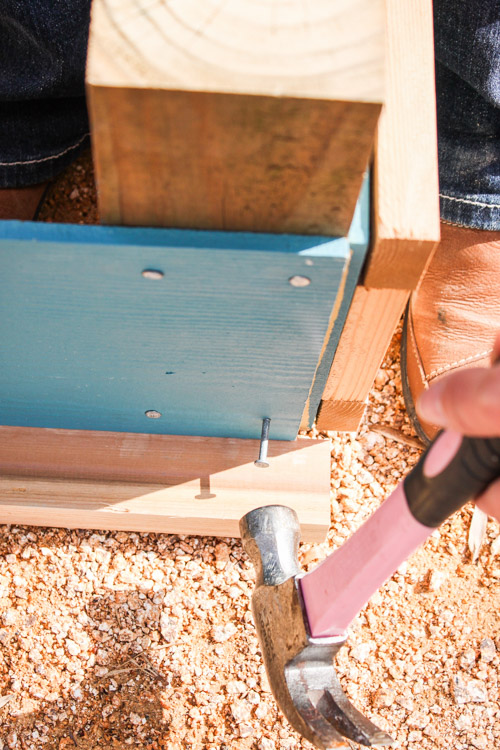
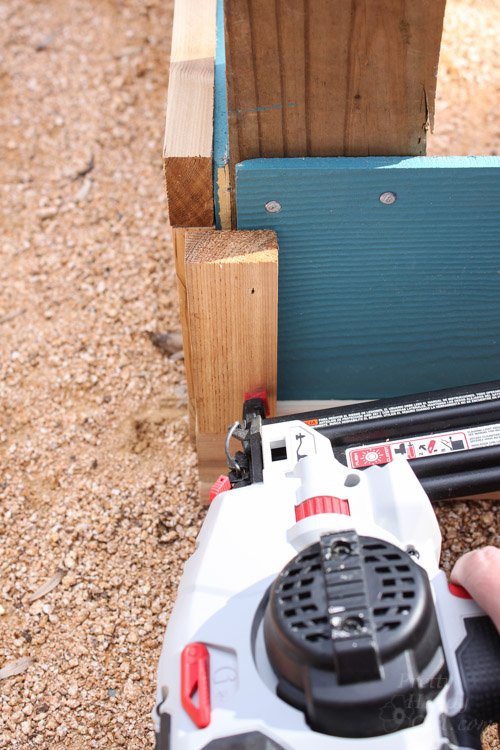
Nail the siding to the 4″x4″ posts. (Or enlist your little laborers to do it for you. LOL.) Be careful not to nail the nails too deep or it will crack the cement siding.
Repeat for the opposite side.
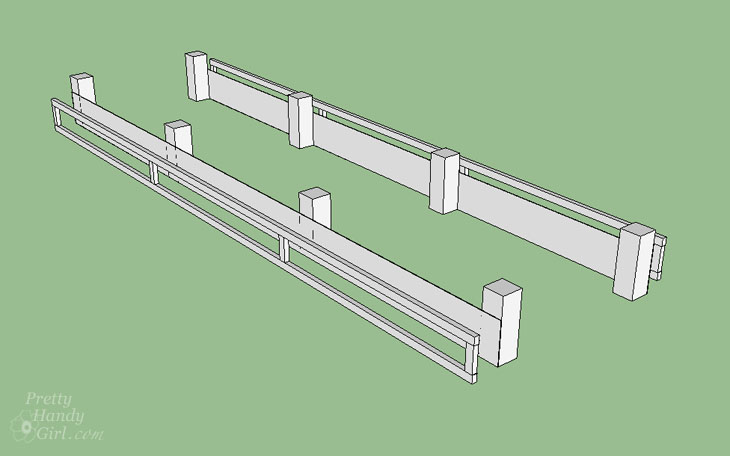
Lay out the cedar trim pieces on top of the siding.
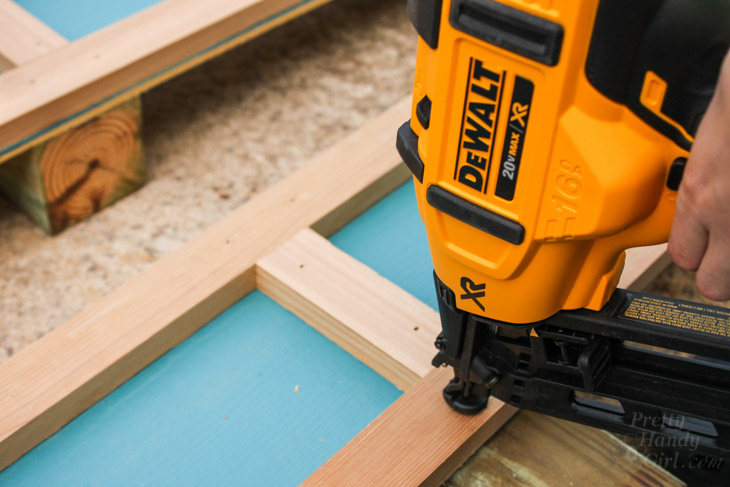
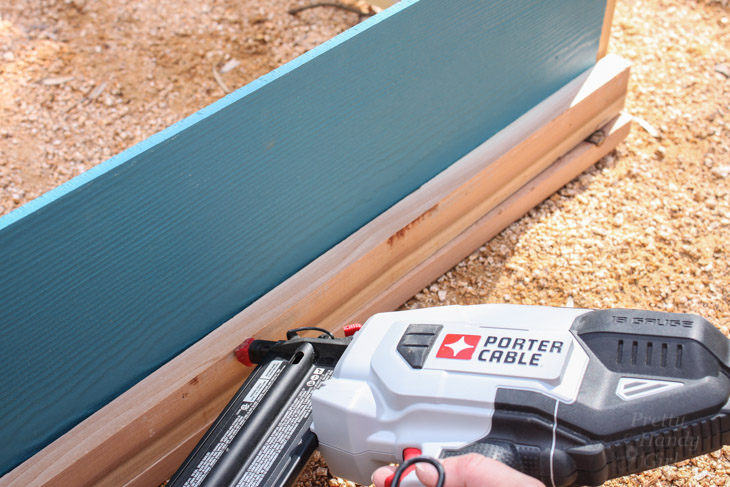
Nail the 12′ lengths of cedar trim to the top and bottom.
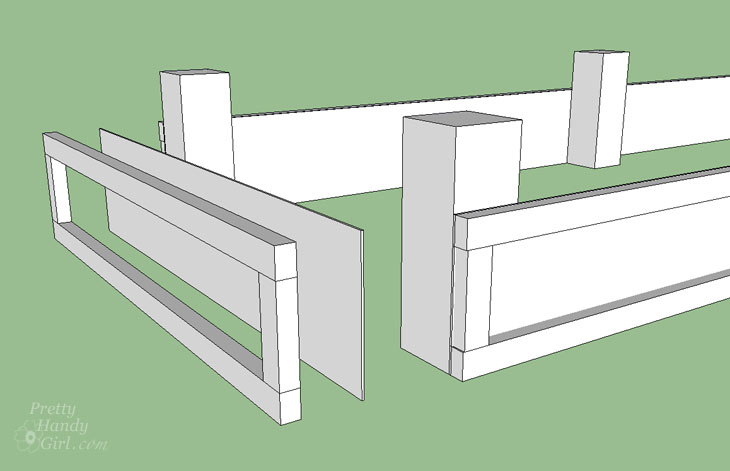
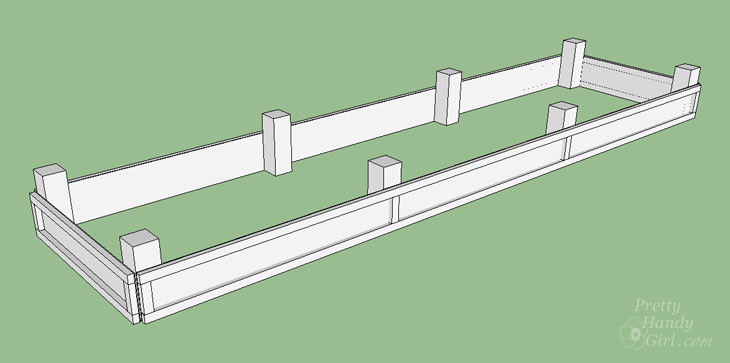
Nail the 5″ pieces on the sides and at the 4′ and 8′ mark (where the posts are.) See diagram below:
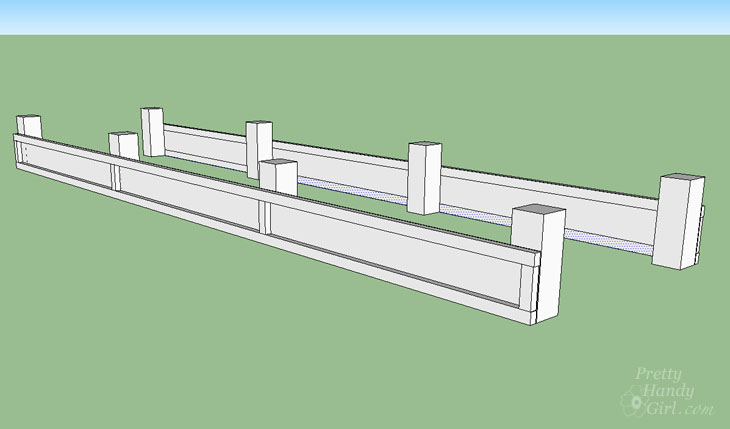
You should have the two sides of your planter bed completed now.
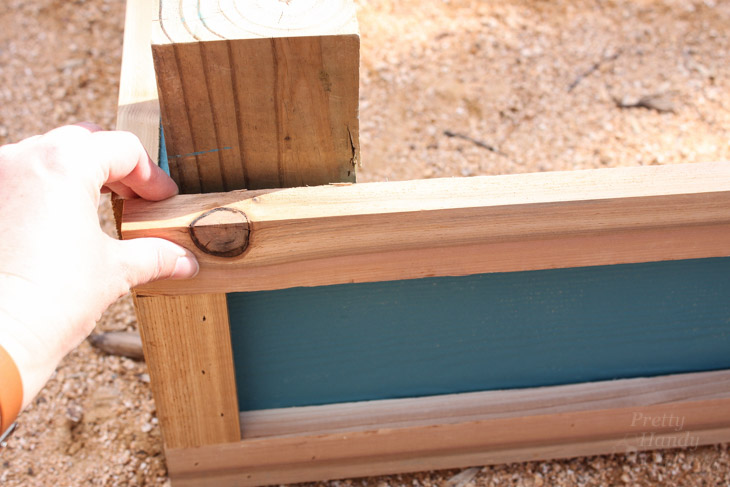
Position the two sides 3′ apart. Line up the 3′ section of hardi-plank siding against the edges of the 4×4 corner posts.
Nail the siding to the corner posts.
Line up one of the 1″ x 38″ pieces of cedar on the bottom of the siding. Nail it into place with finish nails.
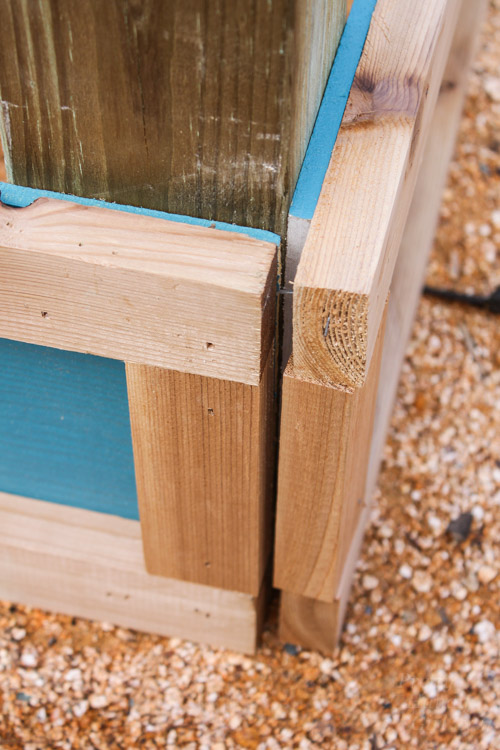
Next, nail the 1″ x 5″ cedar trim pieces over the ends of the siding and into the adjoining sides of the planter bed.
You may have a slight gap, but that’s okay. I won’t tell anyone if you don’t.
Position the remaining 1″ x 38″ piece of cedar trim at the top of the siding and secure with finish nails.
Now that the one end is secured, repeat for the opposite side.
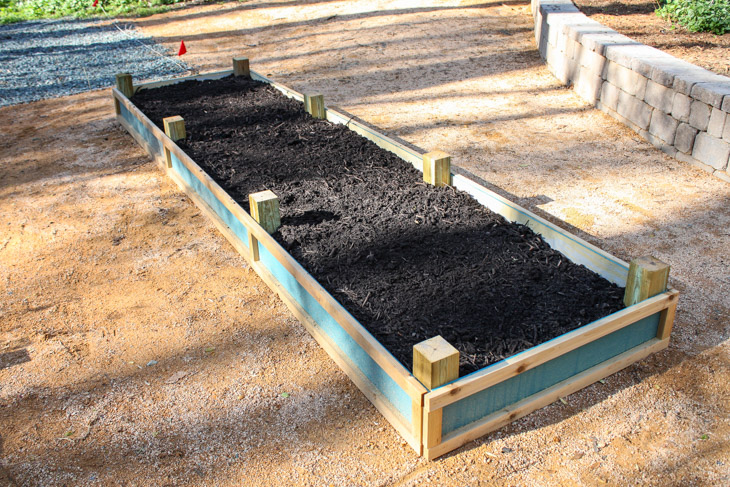
Your bed should look like this:
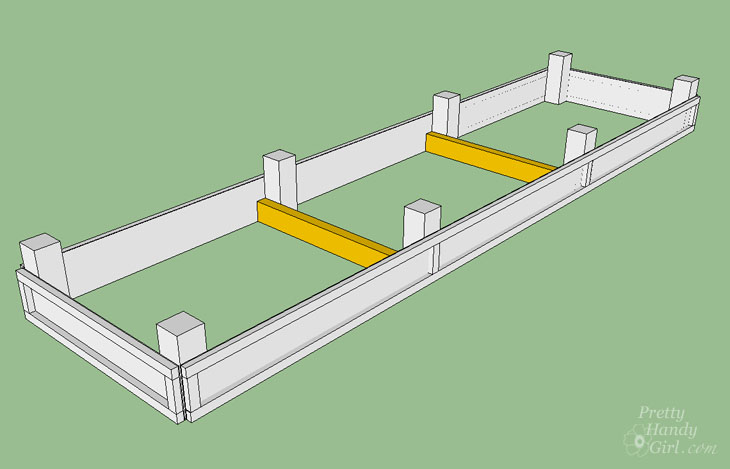
Before filling the planter beds with dirt, you must secure two 2″ x 4″ x 36″ support pieces inside the planter with 2 1/2″ wood screws.
The support pieces are installed at the 4′ and 8′ location inside the planter. This prevents the sides of the planter bed from bowing out.
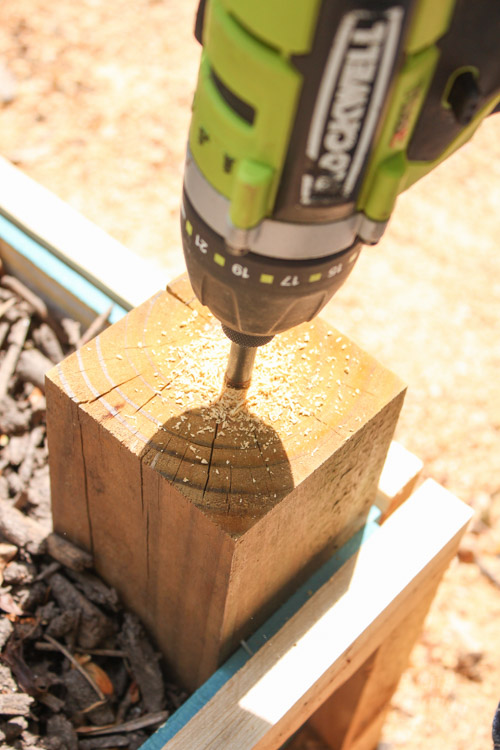
For a decorative touch (and for adding trellis supports later) drill a hole into the 4×4 posts of the planter bed.
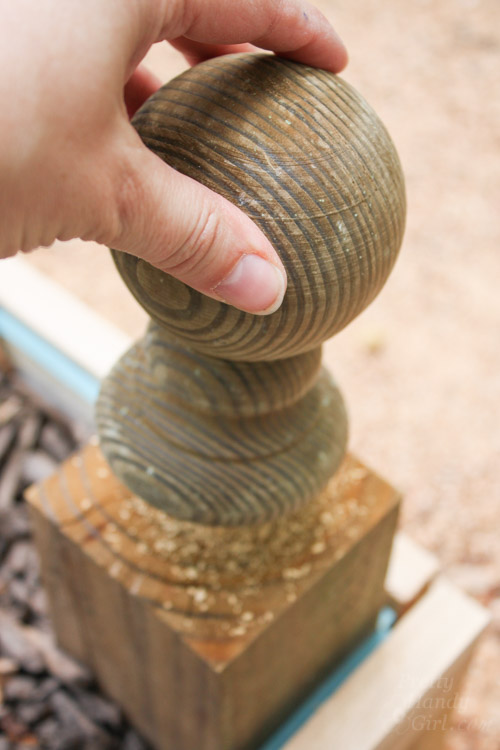
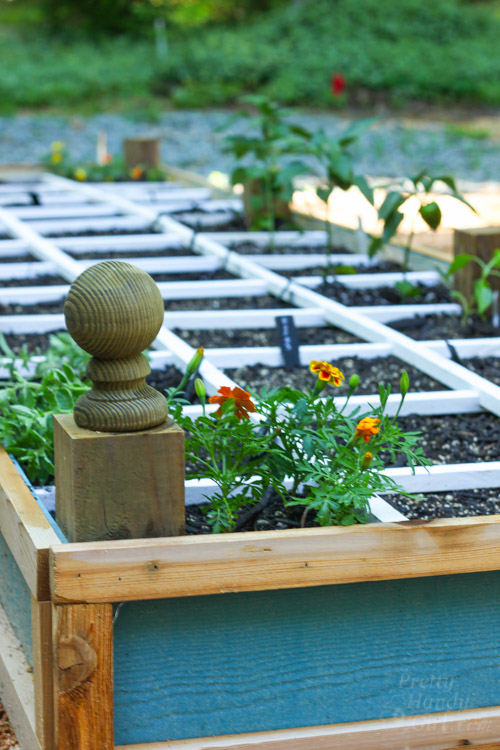
Add a finial post cap to the corner posts.
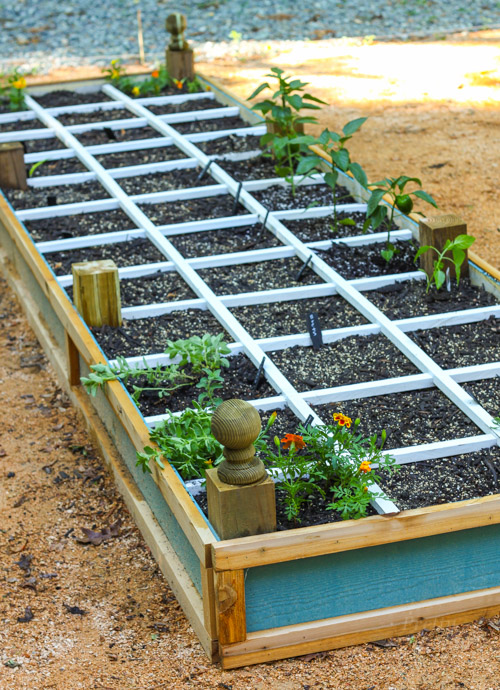
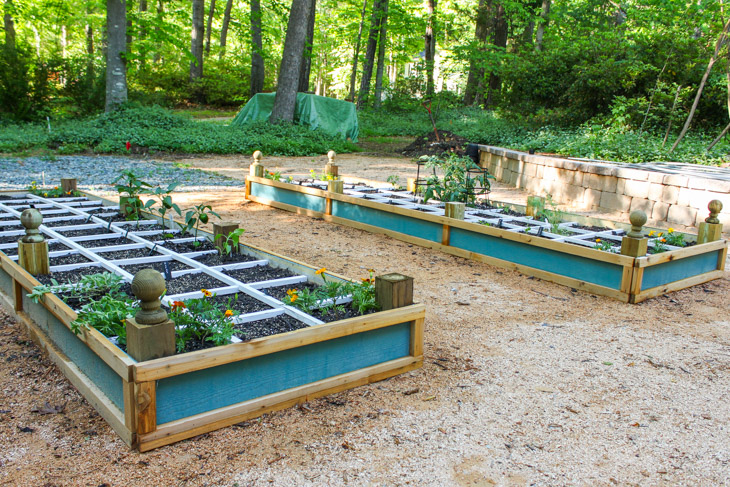
Will you look at that handsome planter bed!
Tips for Planting Your Garden:
Your raised beds may be well built, but what you fill the beds with is equally important for a successful garden. Plants need good nutrients. Fill your planter with good quality compost. (Because I needed a lot of compost, I chose to buy it from our local county yard waste facility by the pick up truck full. Consequently, I had to mix in several bags of vermiculite to improve the soil quality in my beds.)
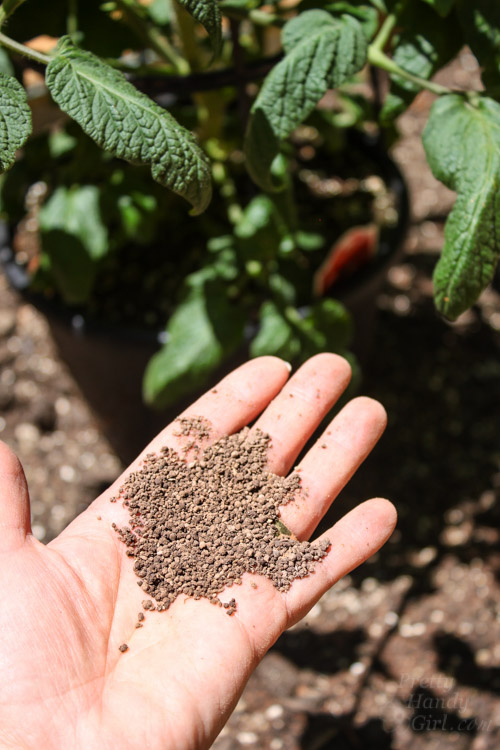
You may also like to add fertilizer specifically formulated for the plants you plant in your garden. Spread fertilizer by hand around your plants…
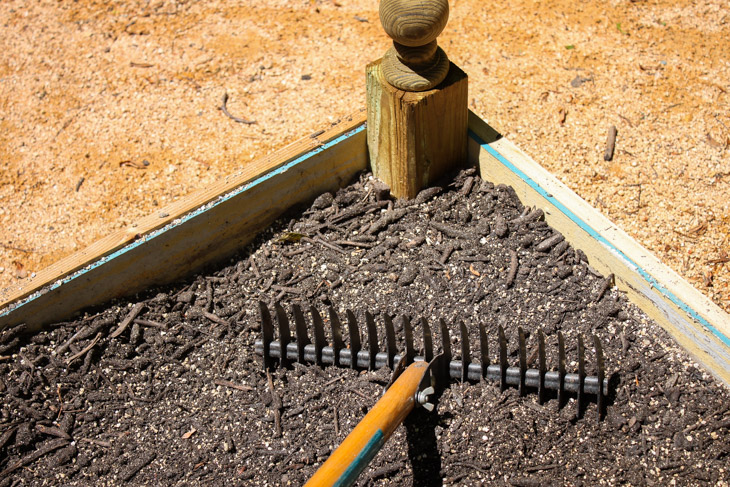
…or you can work it into your soil before planting.
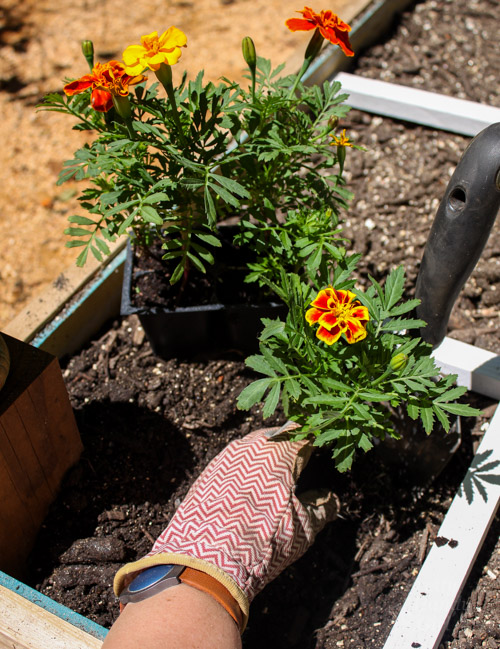
Add your plants to the raised bed.
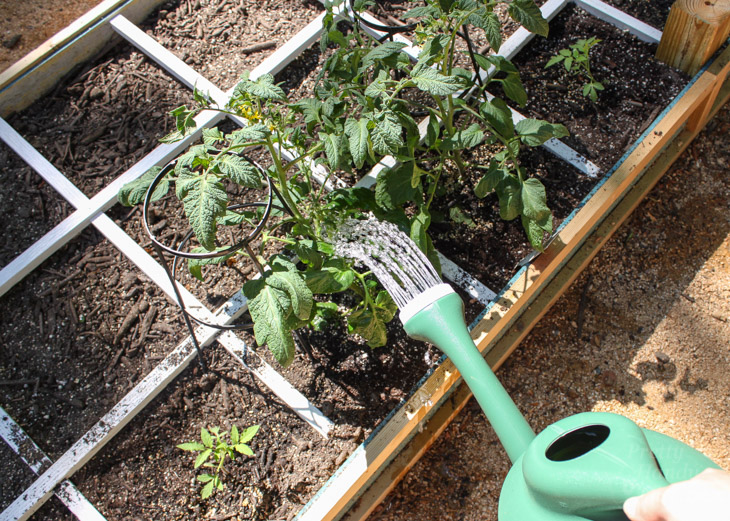
Water the plants and soil well. Water daily until the plants are thriving. Then keep an eye on them and water when the soil starts to dry.
In my squares, I have some sections that are started from seed and others that were purchased as plants. Plus, there are a few self-starter plants from my compost pile! Hello, pumpkins.
What do you have growing in your garden?
9 Year Update on Rot-Resistant Planters:
After 8 years, I began to see the fiber cement siding was splitting slightly. Over the years, any water that got into the top of the siding expanded when we had freezes. Also, the cedar trim boards on the ground that were on the shady side started to rot. At 9 years, I decided to re-build the planters, but I wanted to create a design that had a built in arch trellis, wildlife gates, and sub-irrigation. You’ll want to see the plans for the Ultimate Raised Garden Beds with Arched Trellis.
https://prettyhandygirl.com/wp-content/uploads/2016/05/rot-resistant-raised-planter-bed-feature.jpg300730Brittany Baileyhttps://prettyhandygirl.com/wp-content/uploads/2021/07/PHG-logo-tagline-2020-1030x211-R.jpgBrittany Bailey2016-05-06 07:00:002025-08-22 11:57:26How to Build a Rot-Resistant Raised Planter Bed
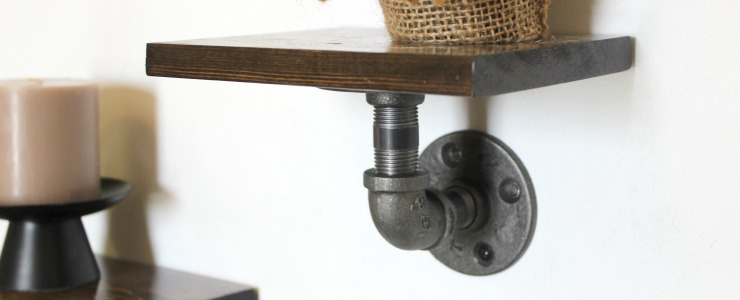
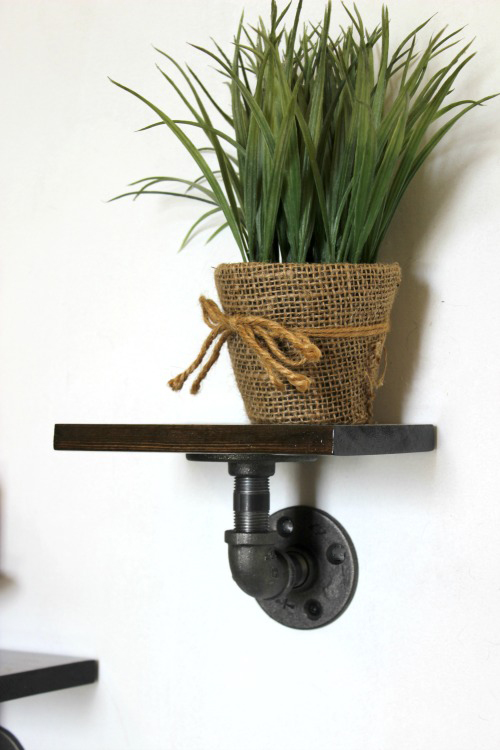
Hello! My name is Lindi. I normally blog at Love Create Celebrate, but I couldn’t be happier to contribute some great ideas at Pretty Handy Girl! I love the look and style of industrial home decor. On my blog, Love Create Celebrate, I recently started an industrial guest bedroom renovation, and I’m taking you through the entire process. These Industrial Display Shelves are the perfect addition to the decor in the room, and I’m thrilled to share this tutorial with you today.
Materials:
1″ x 6″ x 2′ board
6 – 1/2″ black steel flanges
6 – 1/2″ (diameter) x 2″ (length) black steel pipes
12 – #10 1/2″ wood screws (flange to shelf connection)
Wood Stain
Varnish (gloss)
Acetone
Clear coat
Tools:
Chop saw (or circular saw)
Sander
Drill
Planer (optional)
Instructions:
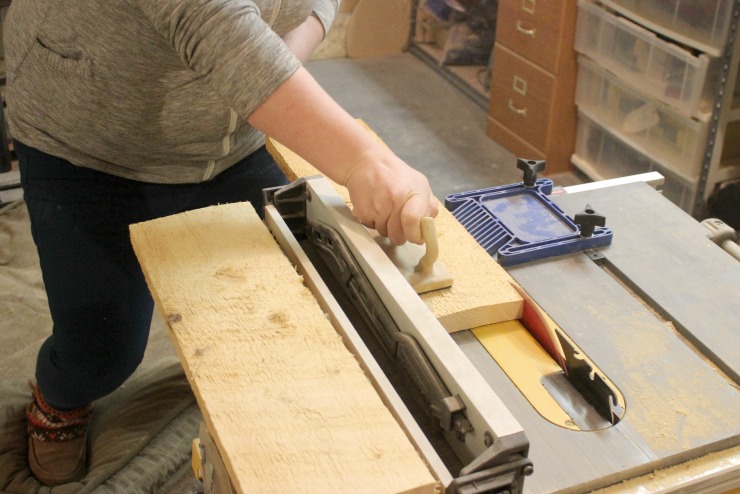
To begin, use the table saw or circular saw to cut the width of the board to 5″ for your shelves (you need a total of 21″ in length). If you are using rough wood, you may want to run the wood through the planer to make it flat and smooth. (If you bought wood that was straight, you don’t need to worry about this step.)
Grab your 1×6″ board and cut the board to 7″ inches in length.
Use either a miter saw (chop saw) or a circular saw for this cut.
Next, pick up your sander and sand down all sides of your wood. Stain the wood with any color stain you chose. Read more
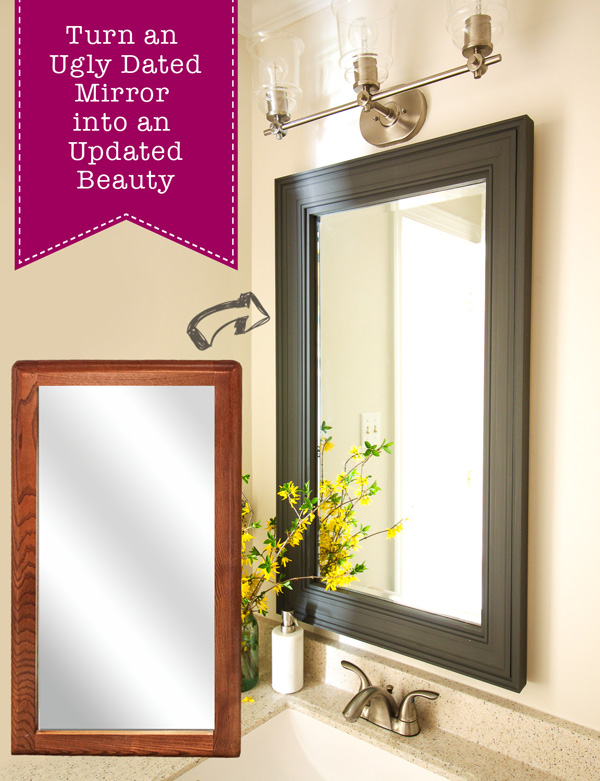
Have you ever wished you could ditch that ugly dated mirror and replace it with a beautiful updated mirror? You may have held off doing so for several reasons. Your budget may be tight or you can’t stand to throw away a perfectly good mirror. Learn how to frame a dated mirror.
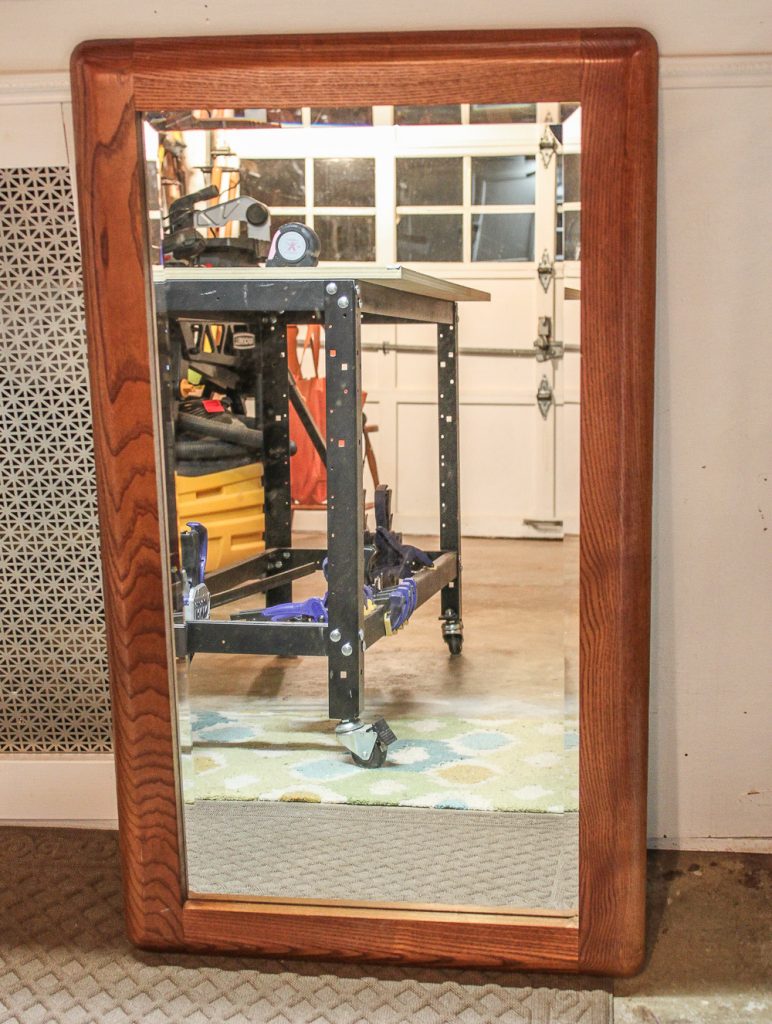
Today I have the answer for both of your concerns! How to Frame a Dated Mirror for next to nothing! Behold this ugly specimen mirror straight from the 1980’s:
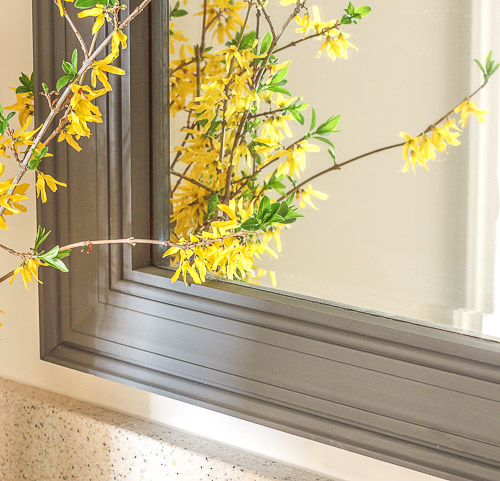
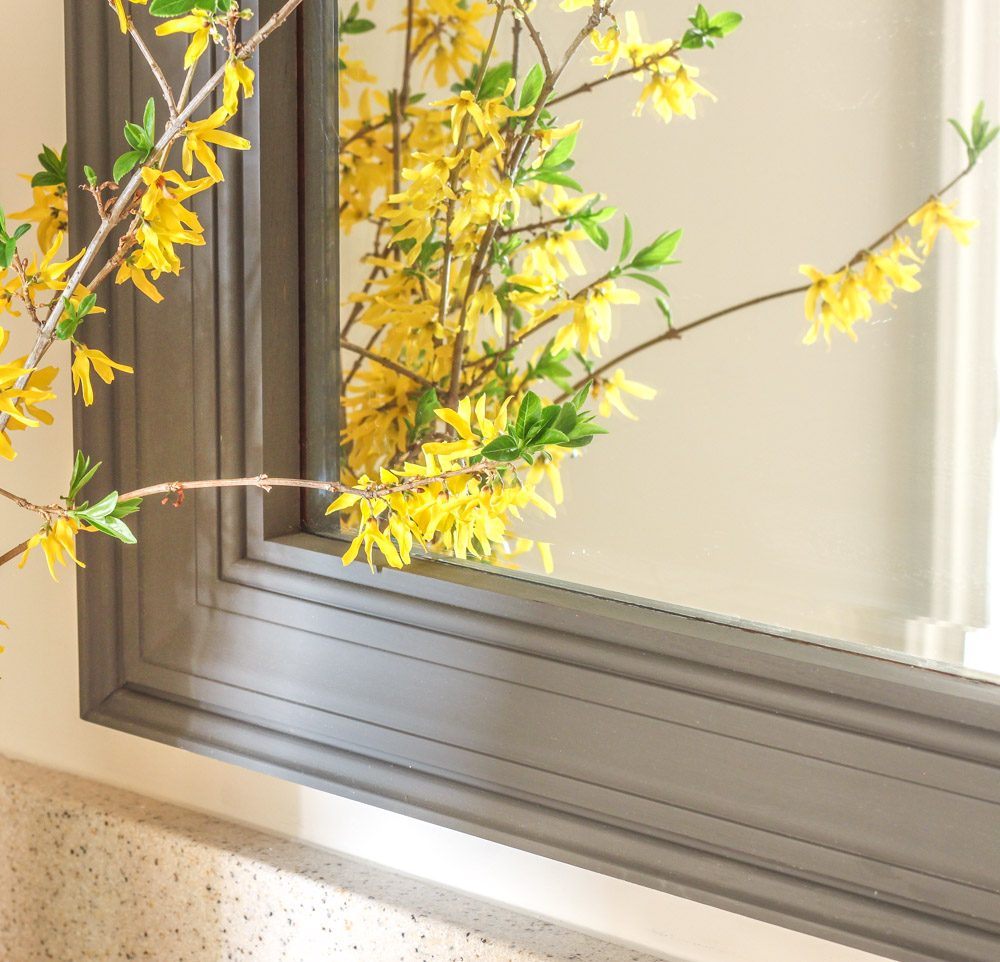
Want to see how to turn it into this beauty?
Does your bathroom need a life buoy to save it from a bygone era? Do you wish you had the budget to replace that dated mirror over your vanity?
Wait no longer, today is the day to learn how to build a new frame for that dated mirror.
(I’ve included affiliate links for your convenience. I earn a small percentage from a purchase using these links. There is no additional cost to you. You can read more about affiliate links here.)
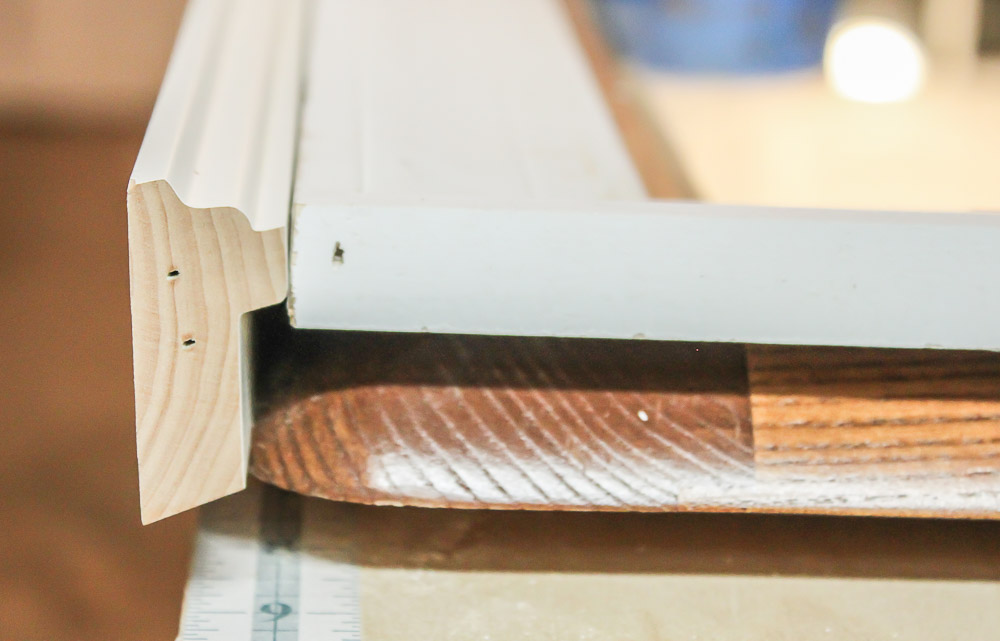
Shop for inexpensive mirrors in thrift stores, Habitat ReStore, Craig’s List, yard sales or flea markets. Look for a mirror with a solid wood frame and good condition glass. Shop at your local home improvement store for decorative moulding to frame your mirror. Window and door casing is a good base moulding to use. Chose a thicker moulding like backer band to cover the sides of your mirror. Alternatively, you could use a simple piece of lath to cap the edges.
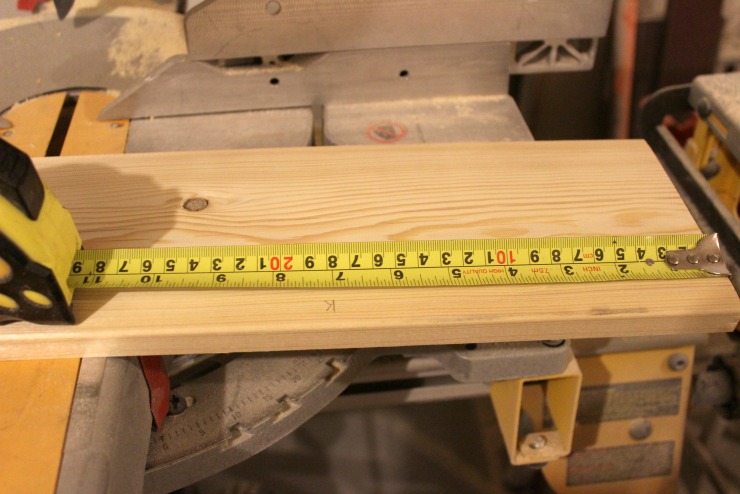
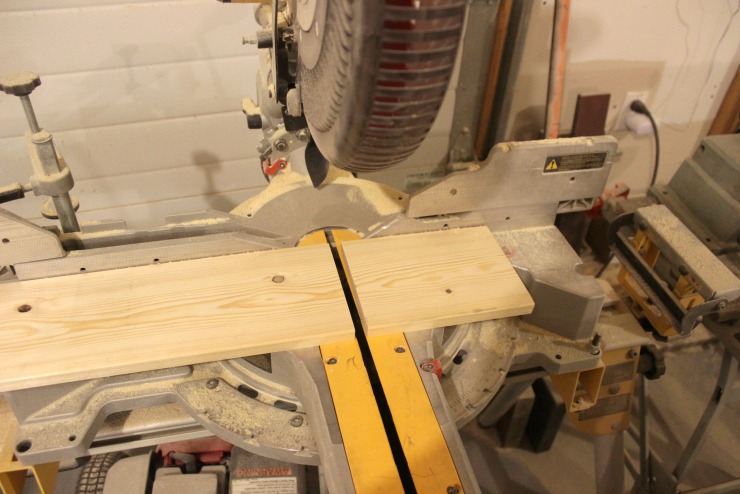
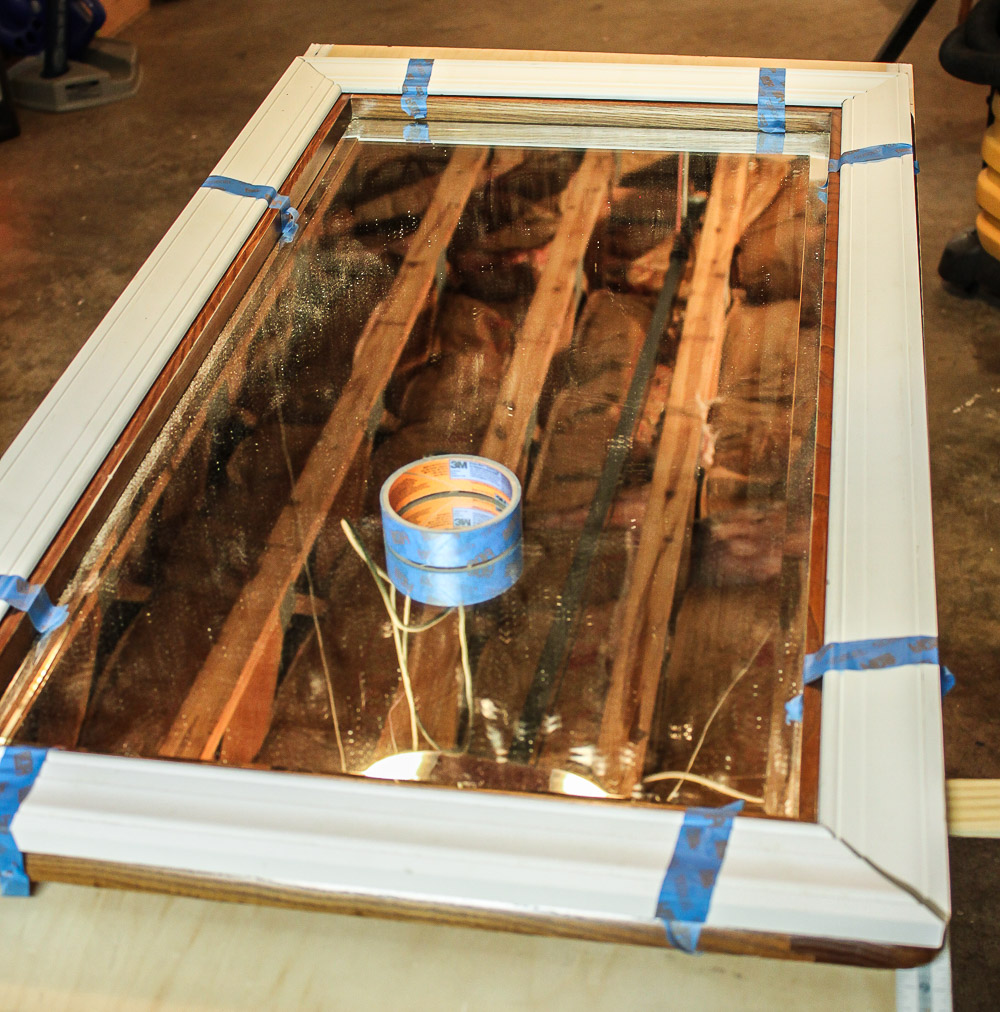
Measure and cut your moulding to fit around the mirror. Leave 1/4″ of the old mirror showing for more visual interest. Tape the moulding in place to make sure your miter cuts are a perfect fit.
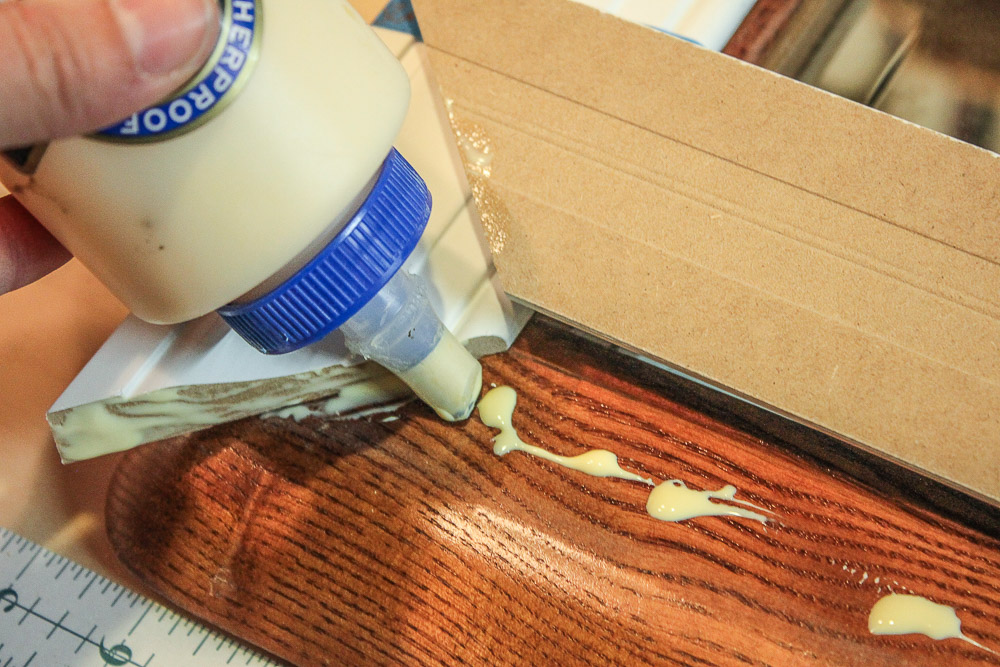
Lift up the casing and add a line of wood glue onto the mirror frame.
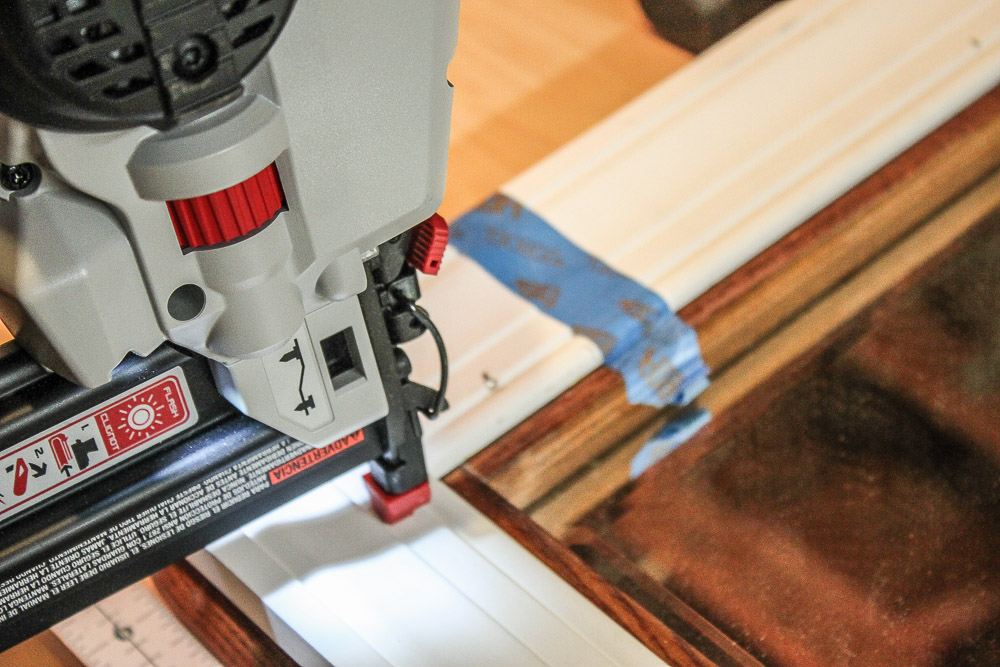
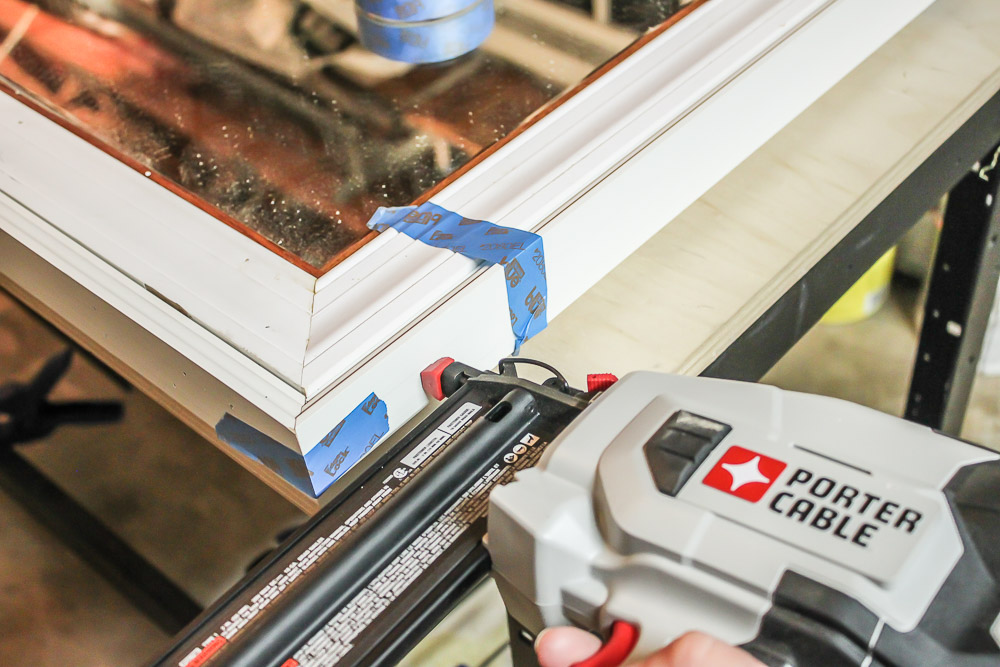
Secure the casing with finish nails.
Add the backer band to the sides and secure with finish nails into the mirror frame.
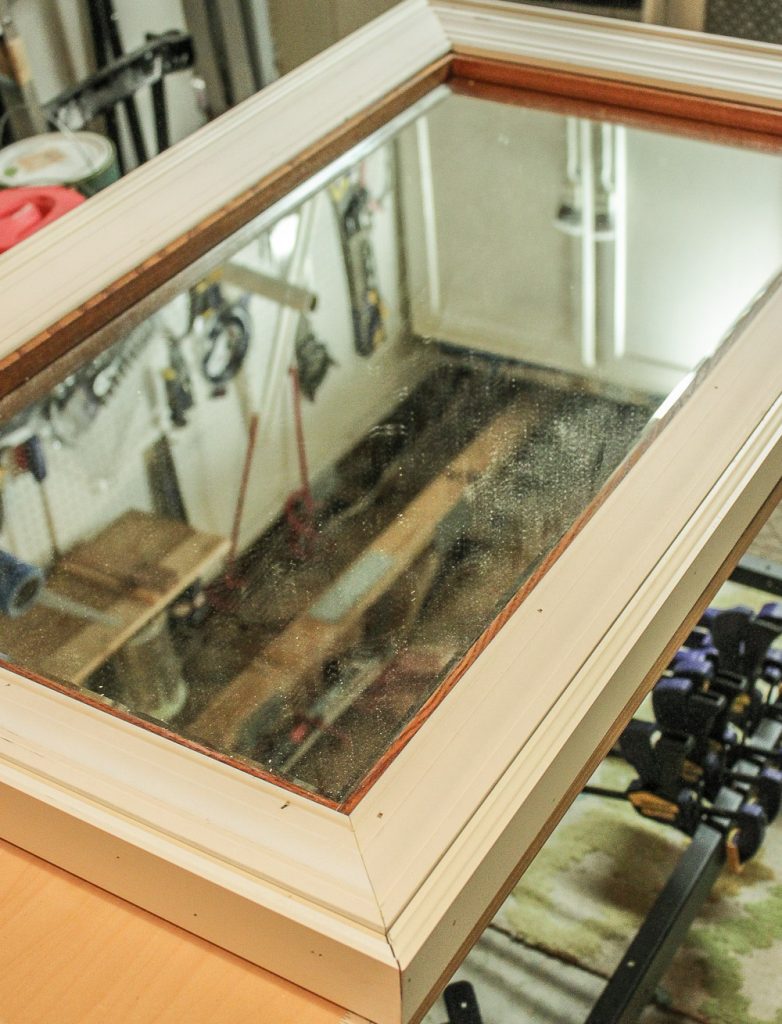
The frame is finished, but you need to fill nail holes and seams before painting.
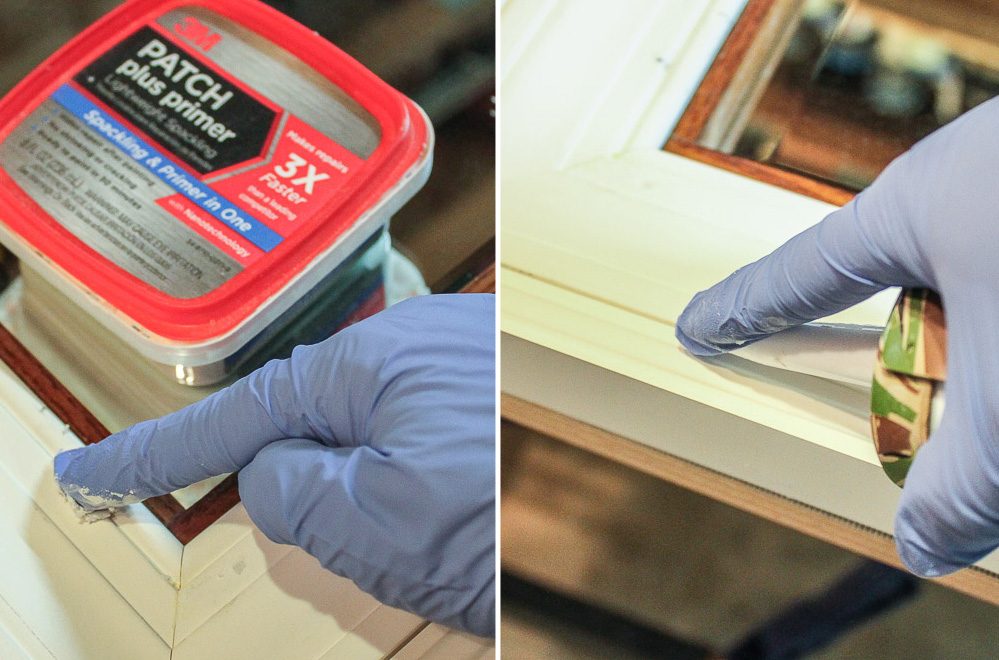
Fill nail holes with joint compound or 3M Patch plus Primer and fill seams with caulk.
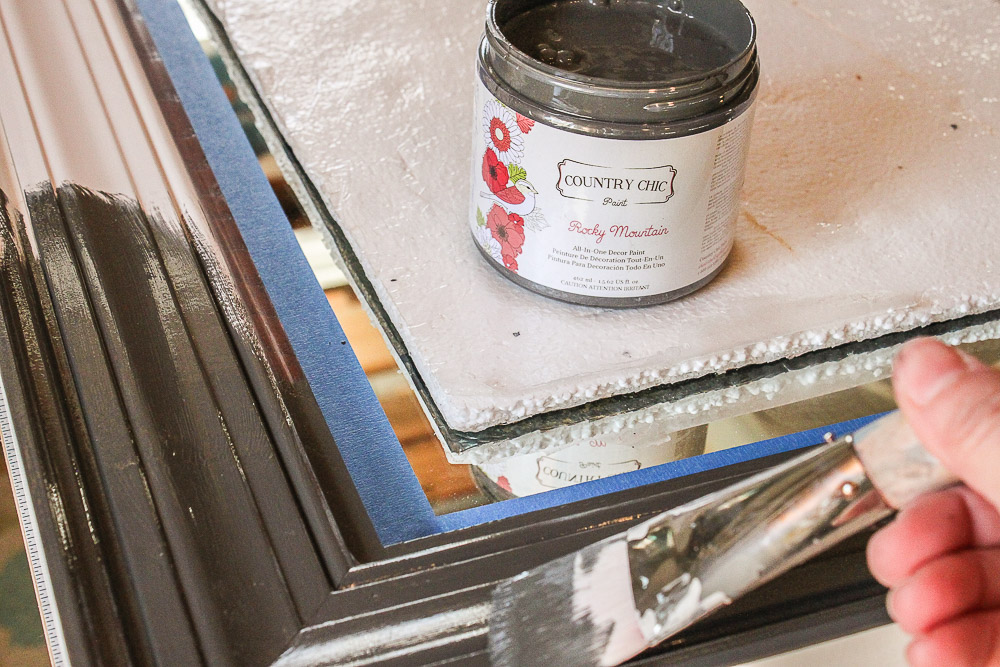
Allow the caulk and patch to dry. Line the edge of the mirror glass with painter’s tape. Paint two coats of chalk paint on your frame.
Protect your finished frame with a coat of wax or at least two coats of polycrylic. Hang up your new mirror and enjoy the money you saved.
https://prettyhandygirl.com/wp-content/uploads/2016/04/how-to-update-mirror-feature.jpg300740Brittany Baileyhttps://prettyhandygirl.com/wp-content/uploads/2021/07/PHG-logo-tagline-2020-1030x211-R.jpgBrittany Bailey2016-04-08 07:00:002022-09-19 17:30:48How to Frame a Dated Mirror
Hi everyone! I’m Jillian and I am so excited to be sharing my tutorial today!
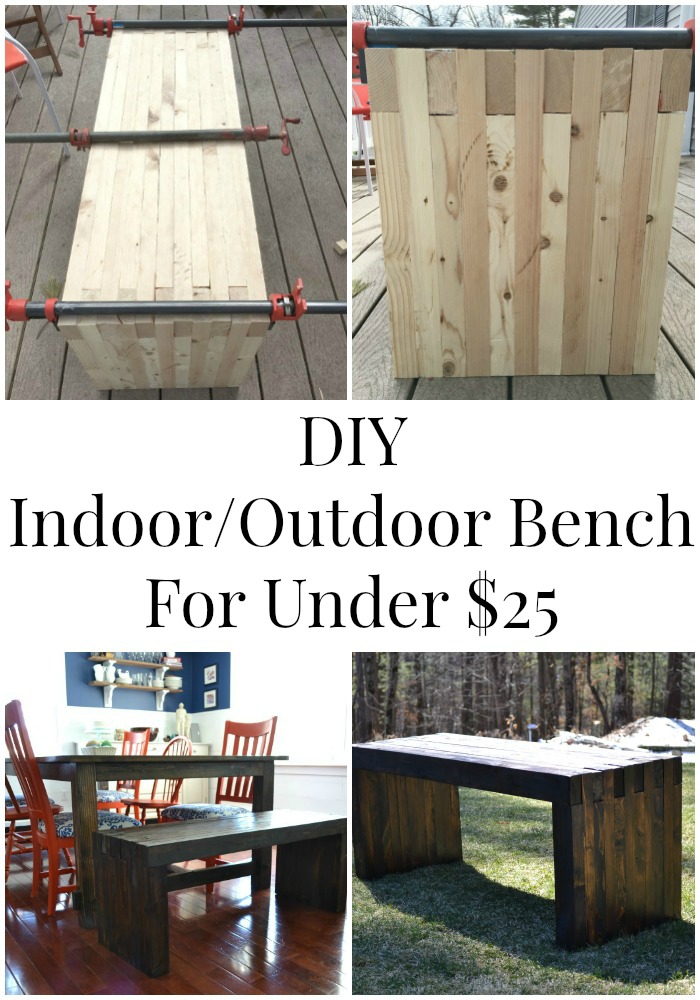
I love to build and I am constantly looking at online stores and magazines to find the next design to conquer. I recently found a bench at AllModern that intrigued me. I perfer a bit more rustic farmhouse than modern, but the simplicity of this particular bench appealed to me. I just had to figure out how to build something like it.
I’ve watched a ton of videos of people making cutting boards because it fascinates me that such a useful tool is held together by wood glue and hope. I thought I could get this bench to stay together. Nothing but wood and glue (throw in a little hope!) Can you handle that? I know you can!
Let’s get started building a DIY Indoor/Outdoor Dining Bench.
Materials:
11-2x4x8 boards
Wood Glue (don’t skimp on a dollar store version. This is the screws and nails of this project.)
Bar Clamps
Miter Saw
Table Saw
Paint brush or foam roller
Stain of your choice
Indoor/outdoor polyurethane
Sander with 120 and 220 grit sandpaper
Scraper or putty knife
Cut List:
12- 2×4 @ 16”
10- 2×4 @ 19” Approximate
6- 2×4 @ 47”
5- 2×4 @ 44″ Approximate
Instructions:
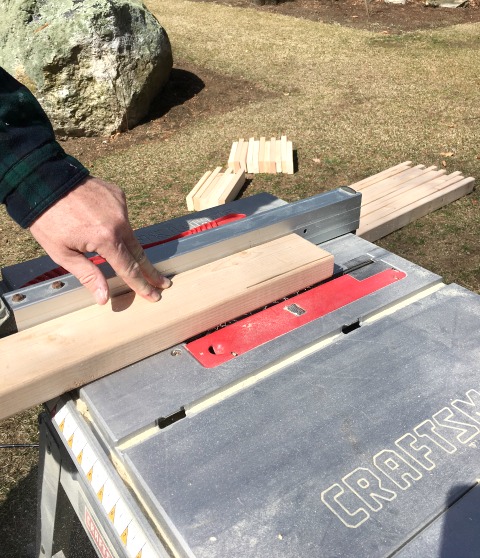
The first part to this puzzle is to rip all of the rounded edges off your 2×4 boards. This is why 1/2 of the cuts on the cut list are approximate. You will need to measure the width of your boards after ripping them and adjust the measurements accordingly. The objective is to make all the sides of the bench flush with each other.
Set your table saw to take off the minimal amount necessary to flatten one side on all of your 2x4s and then readjust the guide to do the same for the other side. This will make all of your pieces consistent widths.
Cut all the 16” pieces and use two as a guide to figure the exact length of 19” pieces by making a “T.” The combined length of the “T” will be the correct length for your 19” pieces. Read more