Rustic Ironing Board Holder | Pretty Handy Girl

DIY Industrial Ironing Board Rack

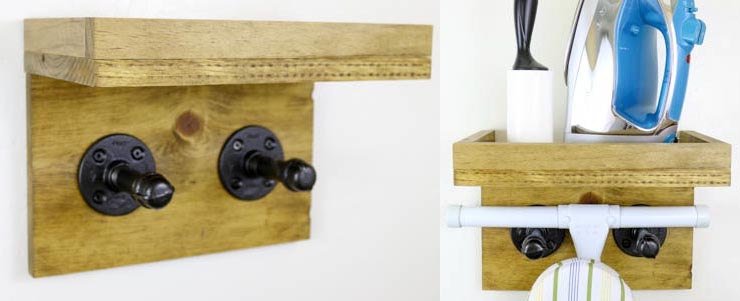
Hey there, everyone!  It’s Katie from Addicted 2 DIY again.  Today, I have a project that is not only quick and easy to put together, but it’s also made of scrap wood!  My lumber rack is getting a bit full, so I’ve been on a scrap wood purge kick lately.  If you remember, last month I shared a tutorial for how to build a rustic wine holder out of scrap wood.  This time I wanted to make a project that would solve two problems.  The first being my growing scrap pile, and my second being that I hate not really having a good space to store my ironing board.  I came up with a solution that took care of both of those problems and it was so fast to put together!

Materials:

  • 1×8 scrap wood (or purchase a 6′ x 1″ x 8″ pine board)
  • 3/4″ square dowels (I used leftover scraps from some wood I ripped down)
  • Kreg Jig
  • 1 1/4″ pocket screws
  • Brad nailer
  • 1 1/4″ brad nails
  • wood glue
  • two 1/2″ steel pipe flanges
  • two 3 1/2″ steel threaded pipe sections
  • two 1/2″ steel pipe caps
  • oil rubbed bronze spray paint
  • 3/4″ wood screws
  • D ring photo hooks

Instructions:

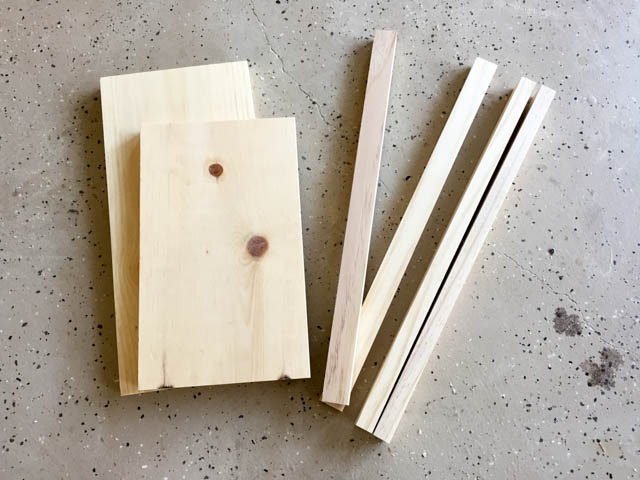
STEP 1:  Dig through your scrap pile or head to your local home improvement store to gather your wood pieces together.  I used 1×8 pieces of pine and rather than purchase 3/4″ dowels, I used 1″ scrap pieces that were leftover from some boards I had ripped down from another project.  Cut the 1×8 pieces to 12″ long.  Cut one 3/4″ dowel to 12″.  Cut two 3/4″ dowels to approximately 6 1/2″.  You’ll want to measure the exact length as not all woods are created equal and sometimes the thickness varies slightly.

Scrap_wood_ironing_board_rack

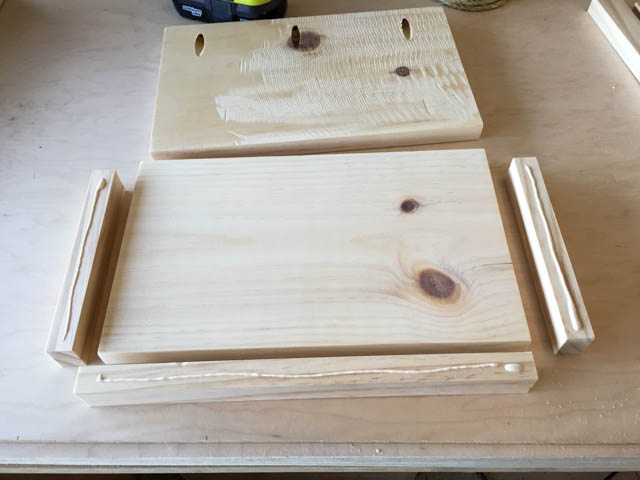
STEP 2:  Choose the board for the backing of the ironing board rack and drill 3/4″ pocket holes into the long edge of the piece.  Apply glue to the square dowels to attach to the piece that will become the shelf.

assemble_shelf

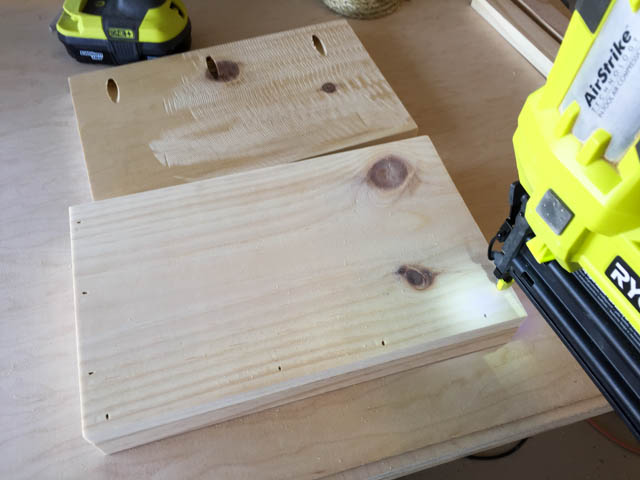
STEP 3:  Line the dowels up flush with the edges of the shelf and nail into place using 1 1/4″ brad nails.

nail_edges_to_shelf

STEP 4:  Attach the back to the shelf with wood glue and 1 1/4″ pocket screws. Read more
Add Decorative Hardware to Dress Up Your Plain Gate | Pretty Handy Girl

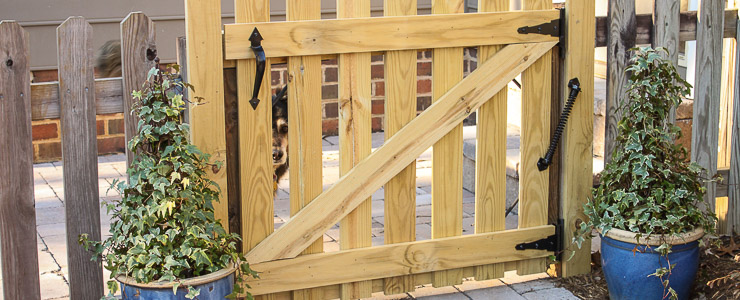
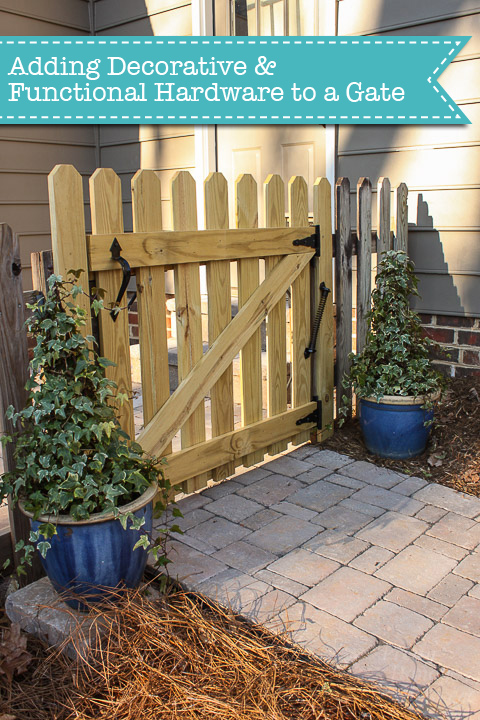
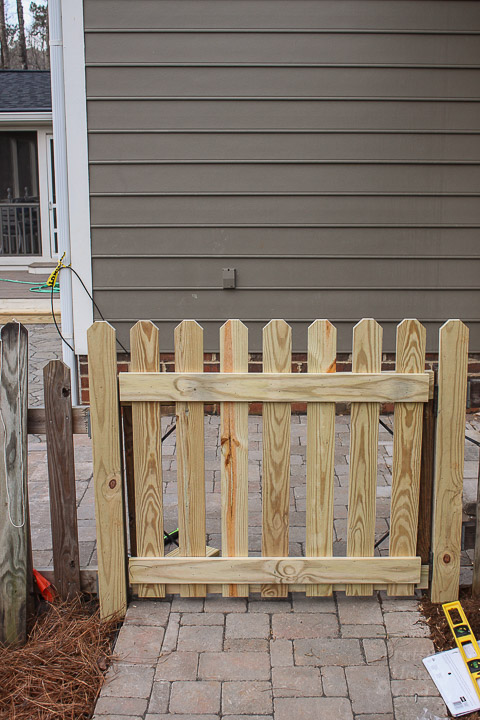
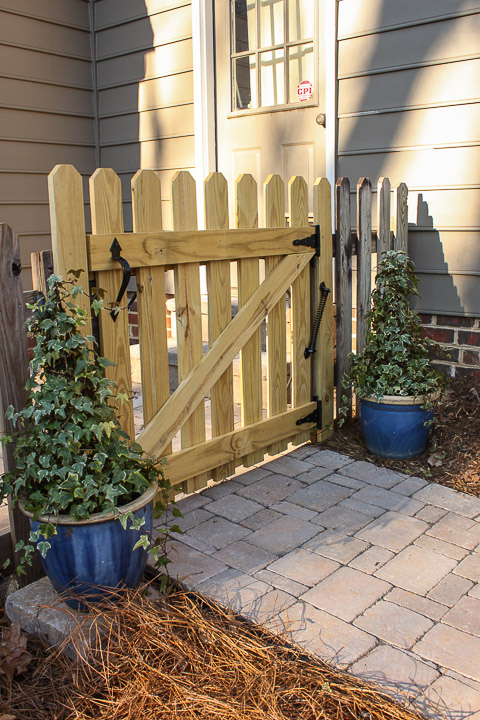
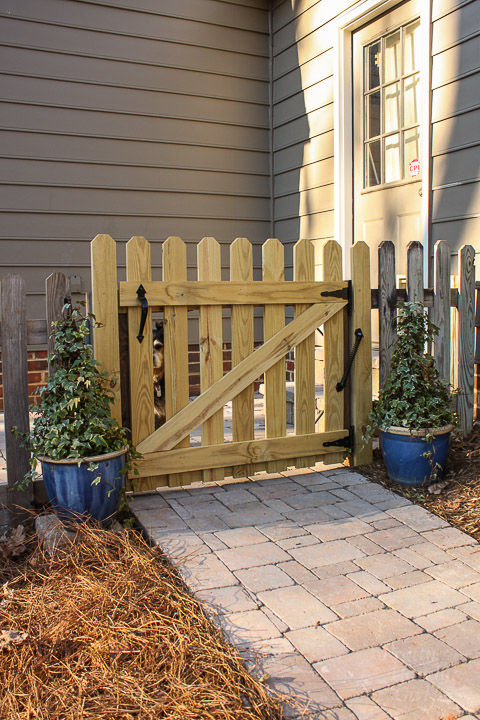
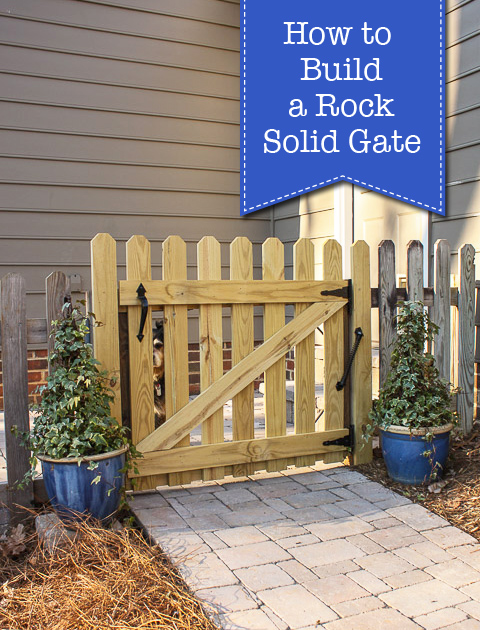
Earlier I showed you how to build a rock solid gate. The gate was solid, but not very attractive or functional. Today I’ll show you How to Add Decorative and Functional Hardware to Your Gate.

Adding Decorative and Functional Hardware to Your Gate | Pretty Handy Girl

This will take that ho-hum gate and turn it into a more attractive entrance to your yard. I’ll also show you a few pieces of hardware that will turn your gate into a self-closing and latching gate. This is a must have, especially if you have children and pets.

I’m honored to be representing National Hardware as a brand ambassador this year. I have been compensated for my time and for creating this sponsored post. I’ve been using their hardware for years on our exterior gates and fences. I can honestly say that they continue to hold up to the elements and work as well as when I first installed them.

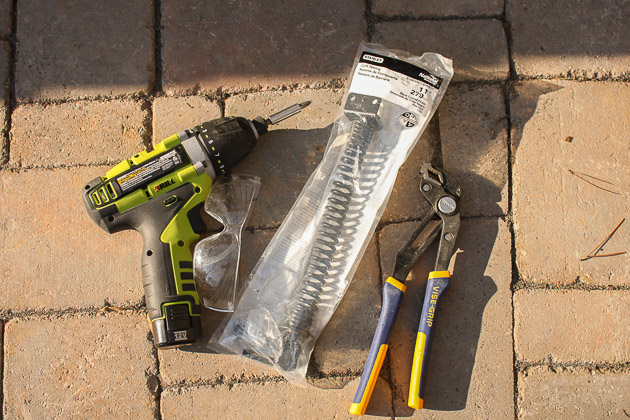
Ready to get started? Here’s what you’ll need.

Materials:

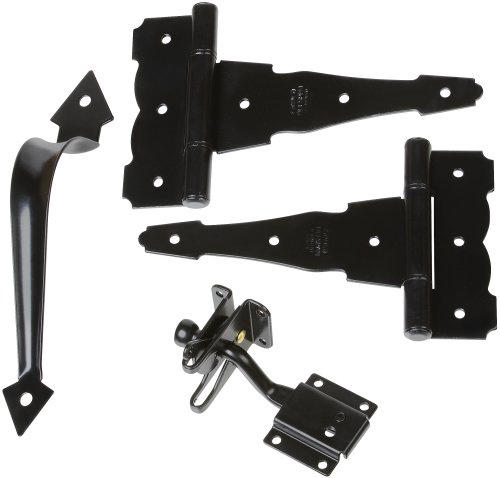
Decorative Gate Hardware Kit | Pretty Handy Girl

Adding Decorative and Functional Hardware to Your Gate | Pretty Handy Girl

(I’ve included affiliate links for your convenience. I earn a small percentage from a purchase using these links. There is no additional cost to you. You can read more about affiliate links here.)

Instructions:

Determine which way your gate opens (inward or outward.) Also determine where you want to locate the handle and separate latch.

Adding Decorative and Functional Hardware to Your Gate | Pretty Handy Girl

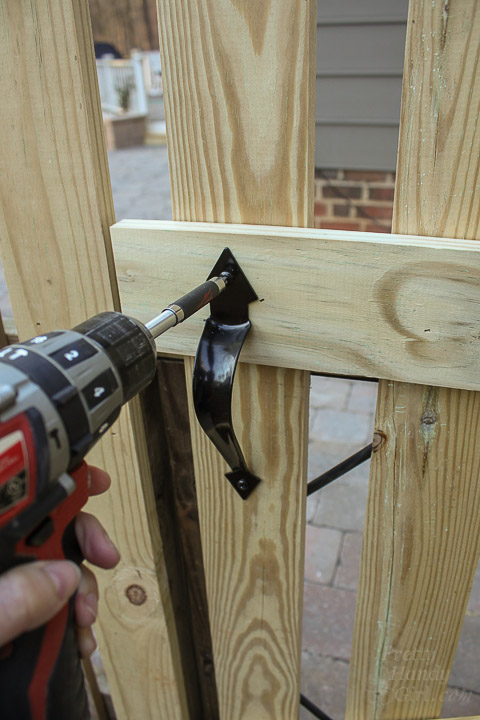
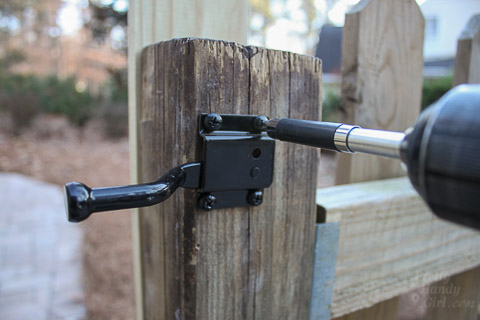
I chose to attach the gate handle to the side of the gate that pulls toward me.

Adding Decorative and Functional Hardware to Your Gate | Pretty Handy Girl

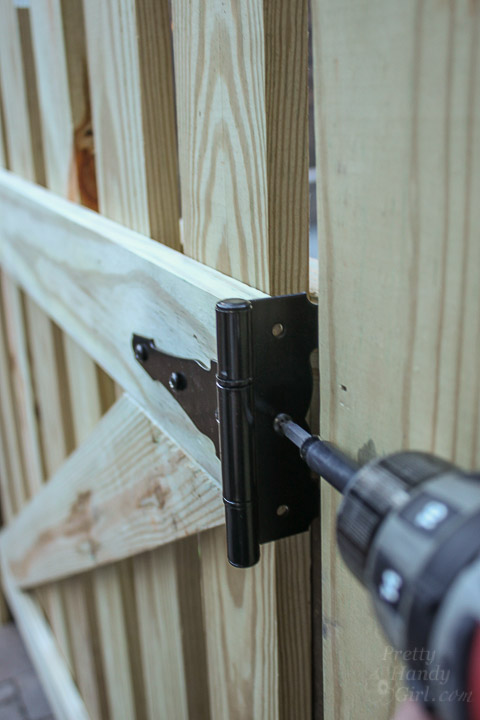
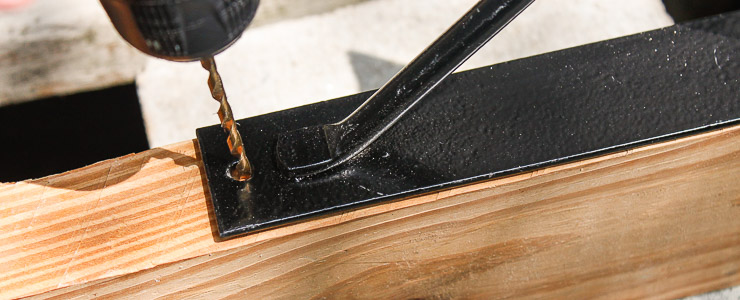
My gate has built in hinges in the gate frame, but I wanted to add extra charm to our gate by attaching decorative hinges to one of the exterior cross supports.

Adding Decorative and Functional Hardware to Your Gate | Pretty Handy Girl

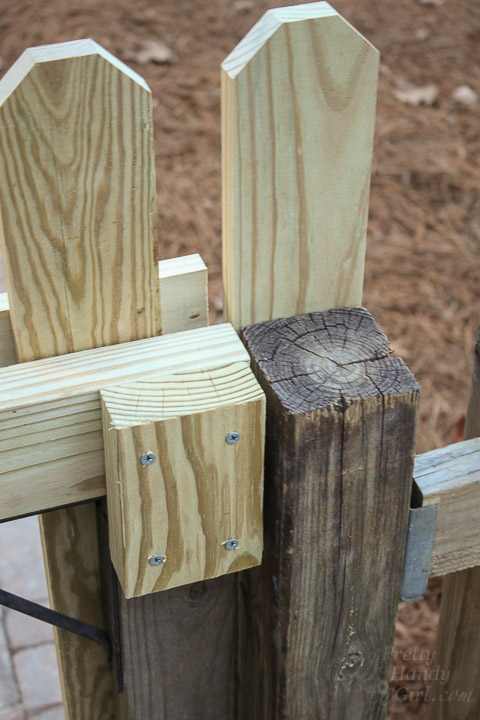
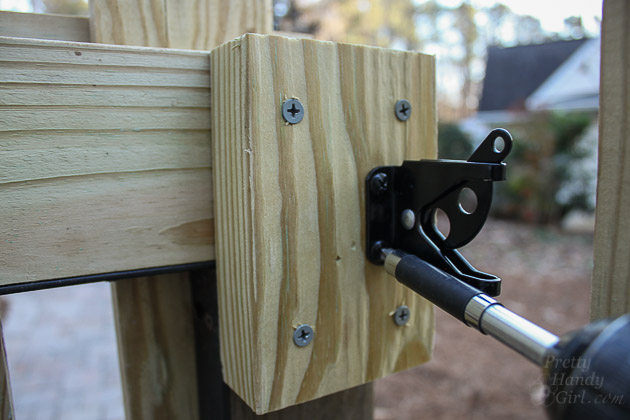
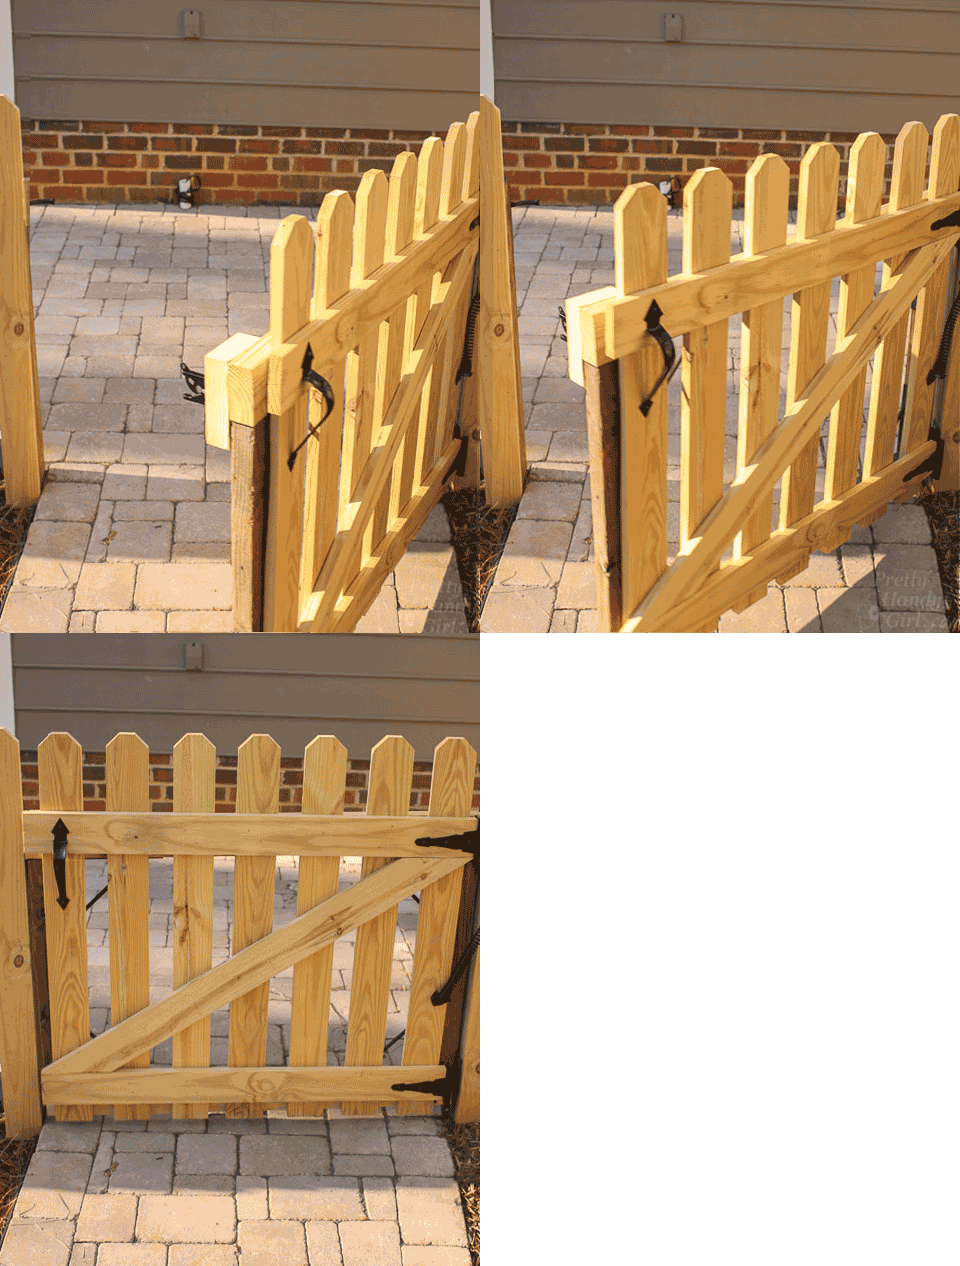
For our specific usage, I installed the latch on the inside of our gate so it won’t be visible to passersby. To bring the latch to the correct depth, you may need to install a scrap wood block onto the back of the gate support.

Adding Decorative and Functional Hardware to Your Gate | Pretty Handy Girl

Install the latch onto the outer post. (If you are installing onto the outward opening side, install your latch onto the gate.)

Adding Decorative and Functional Hardware to Your Gate | Pretty Handy Girl

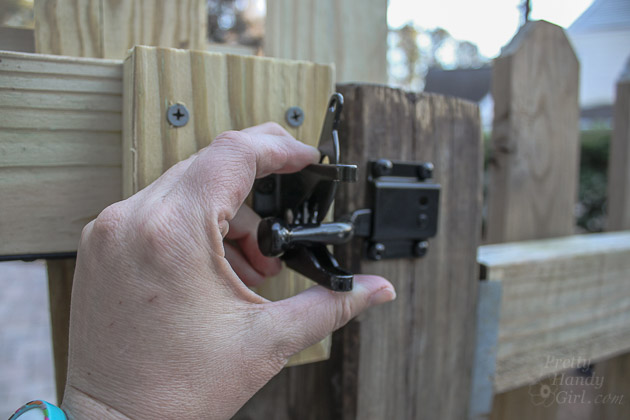
Hold the catch against the latch to determine the proper installation location.

Adding Decorative and Functional Hardware to Your Gate | Pretty Handy Girl

Attach the catch using the provided screws.

Adding Decorative and Functional Hardware to Your Gate | Pretty Handy Girl

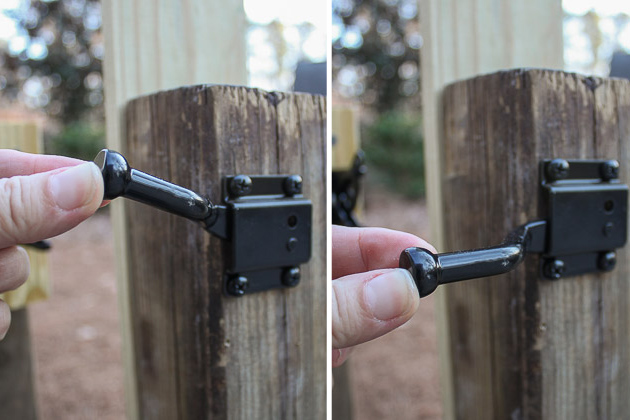
Luckily, the National Hardware latch has a flexible design that compensates for gate sag (or poor catch installation.) When the gate is closed, it will automatically latch.

Adding Decorative and Functional Hardware to Your Gate | Pretty Handy Girl

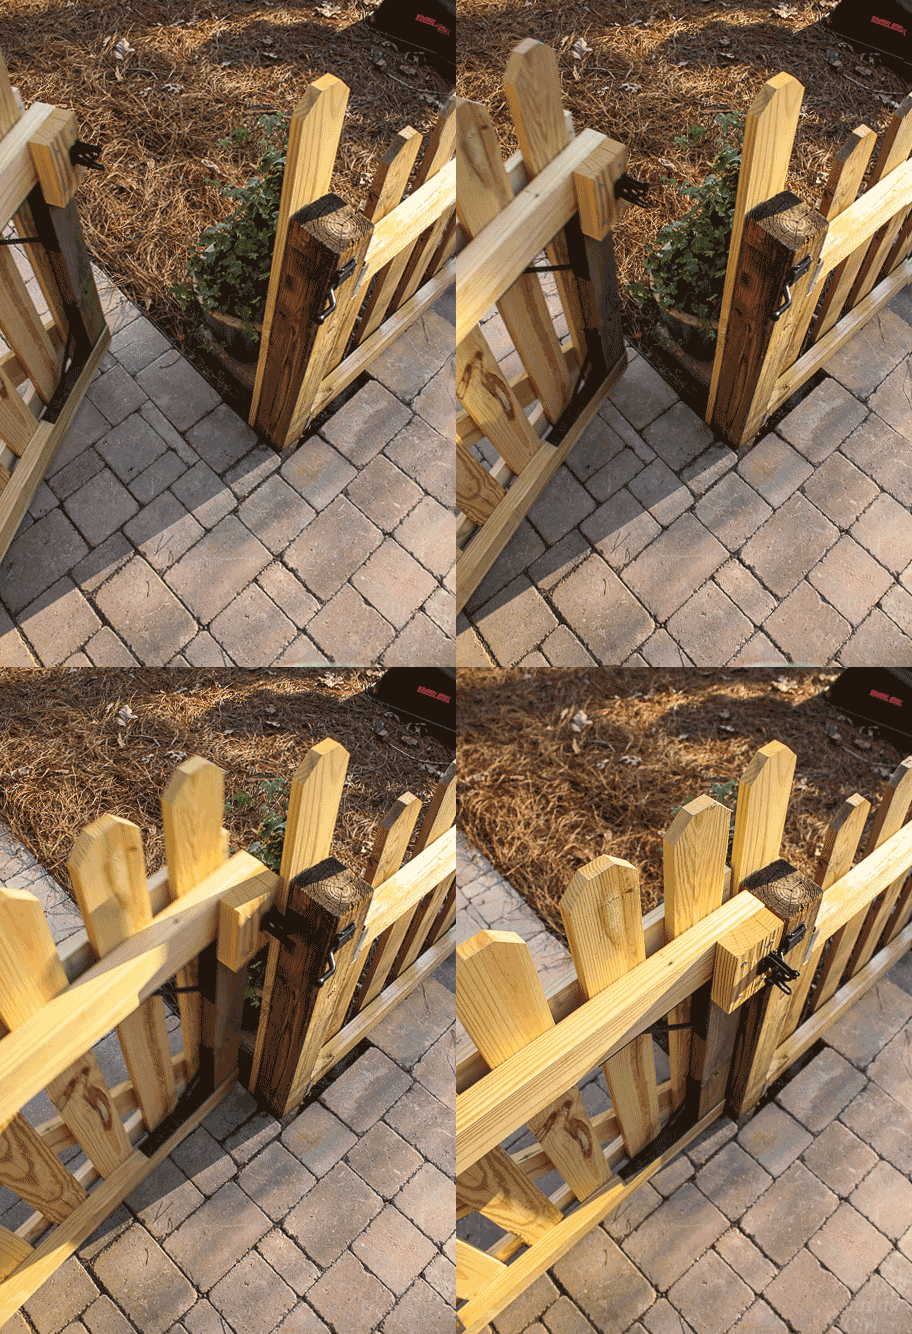
Here’s how the gate closes with the latch on the inside:

Self-closing gate spring | Pretty Handy Girl

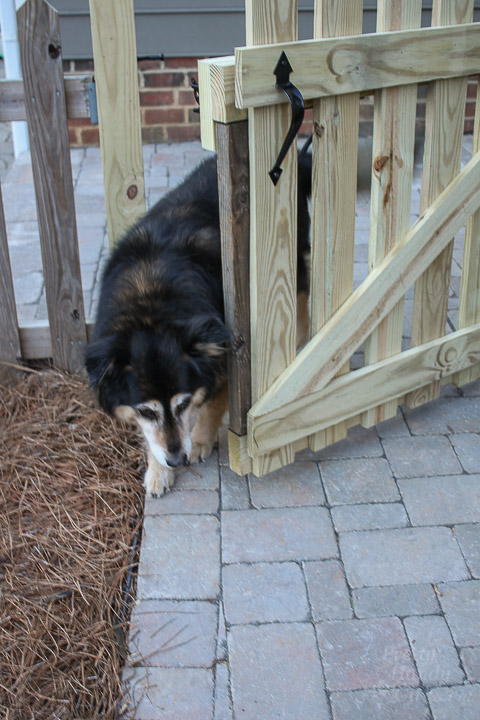
Unfortunately, the gate won’t close itself. If someone is caught up in a high stakes game of tag the gate will inevitably be left open. That’s when Handy Dog will take advantage of his new found freedom. (Luckily he won’t run away, but he will take a field trip to the creek and come back wet and dirty.)

Adding Decorative and Functional Hardware to Your Gate | Pretty Handy Girl

National Hardware has a nifty product that will close the gate every time (no matter how fun that game of tag is!)

Installing a Self-Closing Gate Spring:

Remove the spring from the package and hold up against the hinge side of your gate. The top should be on the side support post, the bottom on your gate.

Adding Decorative and Functional Hardware to Your Gate | Pretty Handy Girl

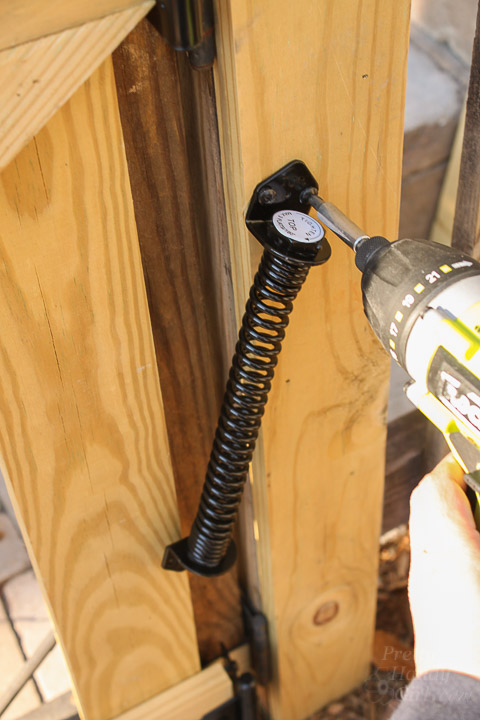
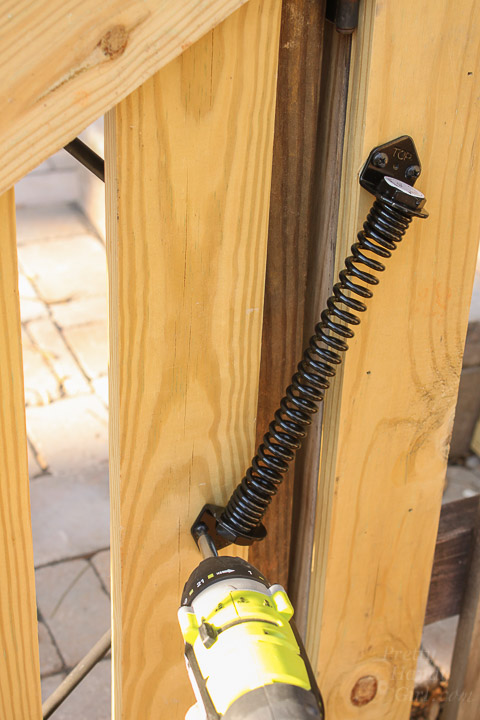
Attach the top with the provided screws.

Adding Decorative and Functional Hardware to Your Gate | Pretty Handy Girl

Attach the bottom to the gate with the provided screws.

Adding Decorative and Functional Hardware to Your Gate | Pretty Handy Girl

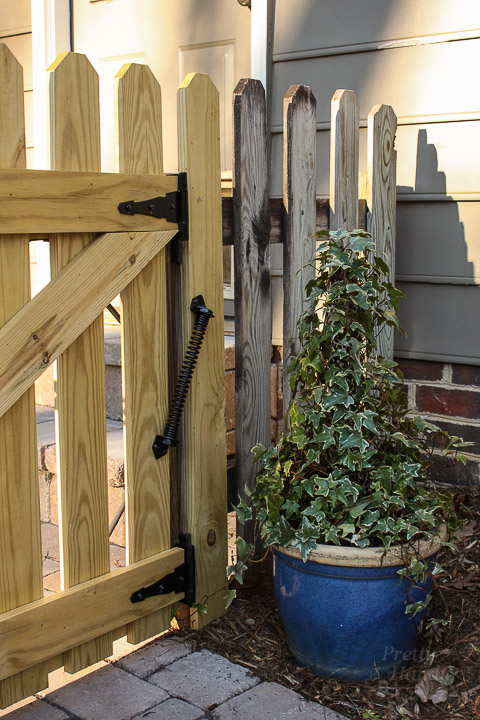
The spring should look like this.

Adding Decorative and Functional Hardware to Your Gate | Pretty Handy Girl

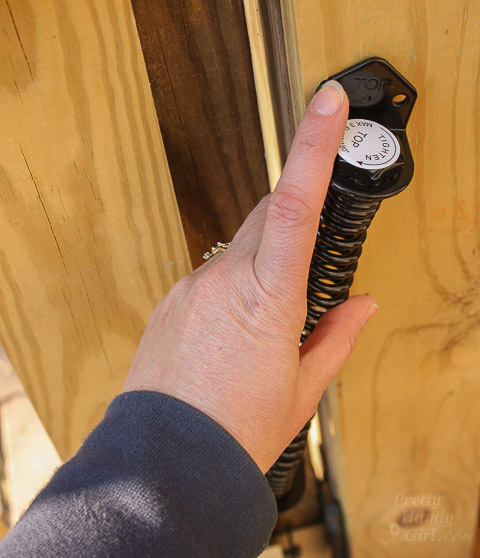
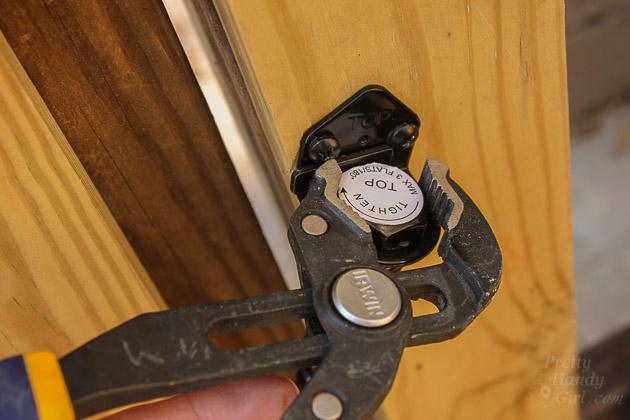
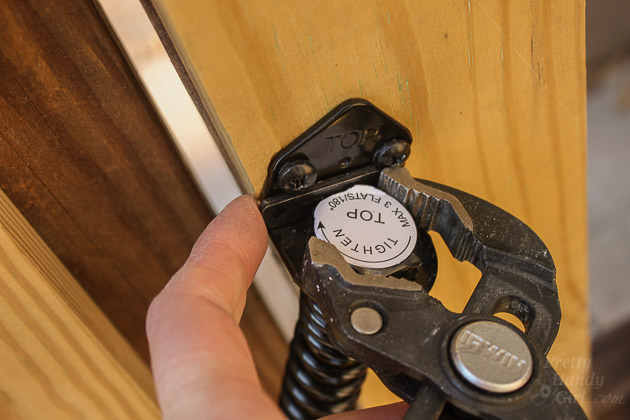
Use the pliers to turn the top of the spring 1-2 flat sides (depending on how heavy your gate is.)

Adding Decorative and Functional Hardware to Your Gate | Pretty Handy Girl

Slip the provided metal bar behind the top nut to hold it in place.

Adding Decorative and Functional Hardware to Your Gate | Pretty Handy Girl

Test your gate by opening it and let ‘er fly! If the gate doesn’t close completely, turn the top nut one more notch. If it slams too hard, loosen one notch.

Self-closing gate spring | Pretty Handy Girl

And that’s How You Add Decorative and Functional Hardware to Your Gate!

Adding Decorative and Functional Hardware to Your Gate | Pretty Handy Girl

I’m relieved I don’t have to nag my kids to close the gate anymore.

Adding Decorative and Functional Hardware to Your Gate | Pretty Handy Girl

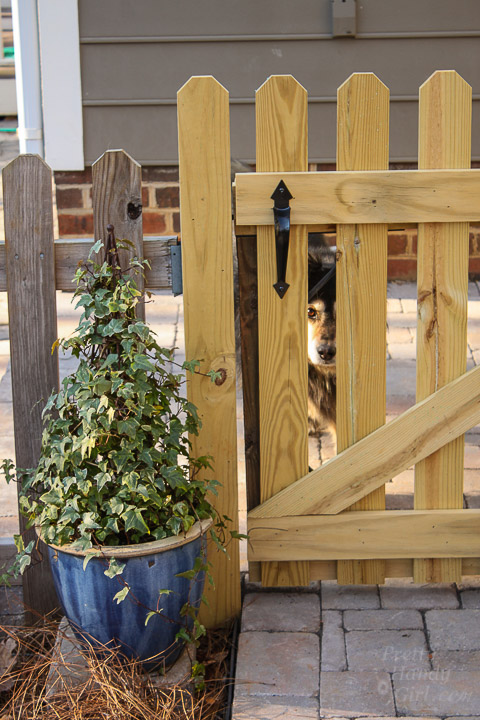
Of course Handy Dog is less than thrilled.

Adding Decorative and Functional Hardware to Your Gate | Pretty Handy Girl

It’s a tough life that Handy Dog has ;-D.

PHGFancySign

Disclosure: This is a sponsored post for National Hardware. I was provided complimentary hardware and was compensated for my time and efforts to promote National Hardware. I was not told what to write. All opinions are my own. I am particular about the brands I represent and will always let you know when you are reading a sponsored post.

How to Build a Rock Solid Gate | Pretty Handy Girl

How to Build a Rock Solid Gate | Pretty Handy Girl

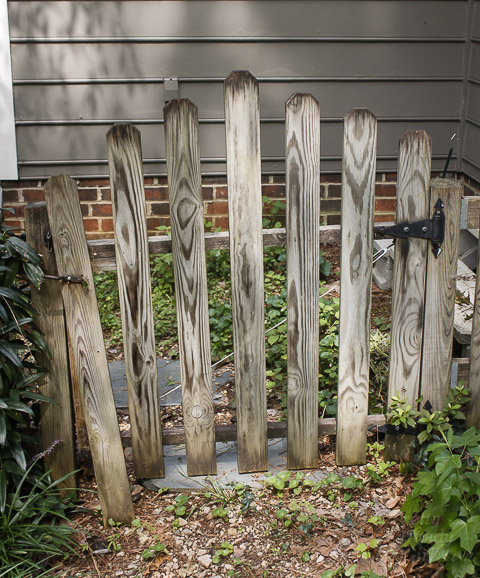
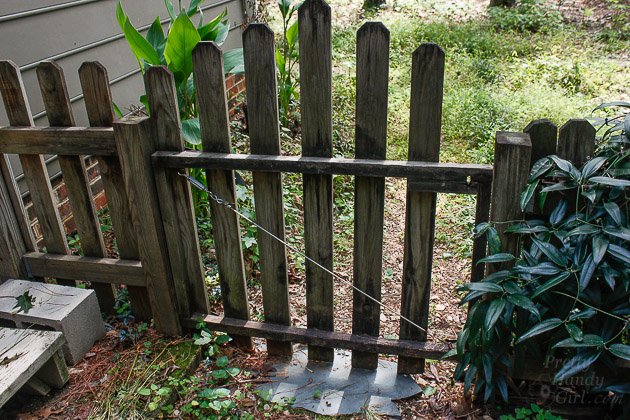
If you googled “Sad Excuse for a Gate”, this is the image that would pop up:

How to Build a Rock Solid Gate | Pretty Handy Girl

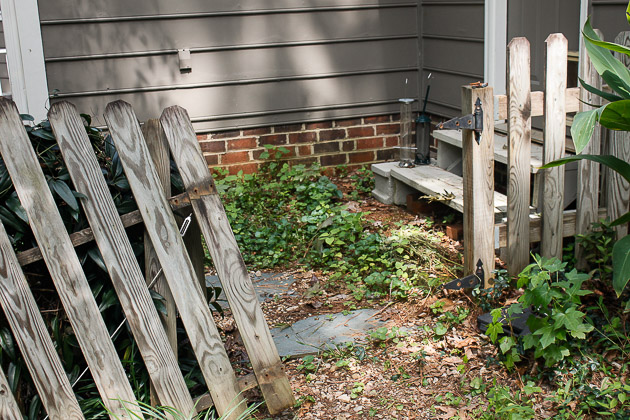
Rotted, sagging and falling apart are all words you could use to describe it.

How to Build a Rock Solid Gate | Pretty Handy Girl

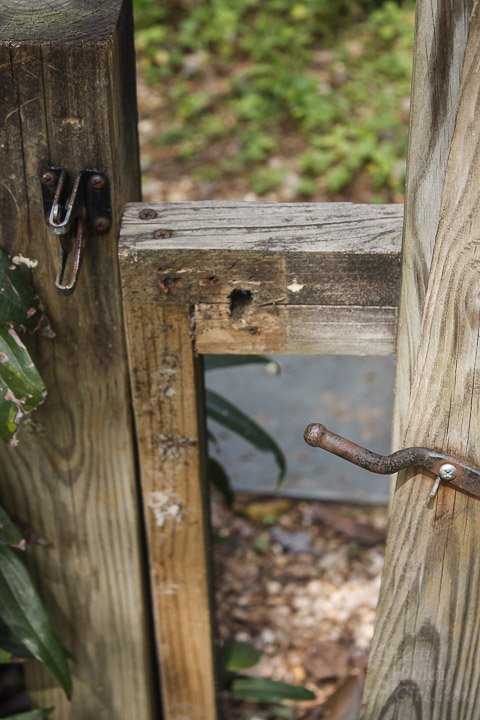
One of the main reasons this gate is in poor shape is because it wasn’t built rock solid! Building a rock solid gate requires a 2″x4″ frame, not these measly 2″x2″ pieces. The wire can only help so much with sag. This gate just wasn’t built to last.

How to Build a Rock Solid Gate | Pretty Handy Girl

Want to learn How to Build a Rock Solid Gate?

Let’s get building!

Materials:
(contains affiliate links)

How to Build a Rock Solid Gate | Pretty Handy Girl

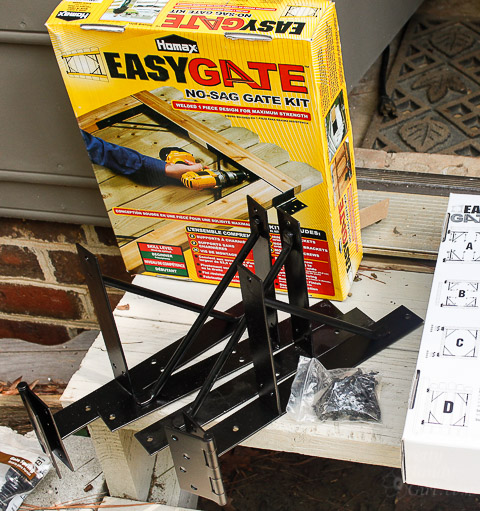
  • Homax Easy Gate Kit
  • 2″x4″ board(s)
  • Tape measure
  • Pencil
  • Hammer
  • Level
  • String
  • Shims
  • Drill
  • Saw

Instructions:

I’ve built several gates, but the Homax Easy Gate is the easiest way to build a Rock Solid Gate (NOT paid to say this!) The frame is custom sized to your gate by the length of the 2″x4″ boards. The hinges are integrated into the frame, making this one of the quickest and strongest gate kits I’ve ever built.

Start by removing your old gate. If the pickets are in good shape, save them for use on the new gate.

How to Build a Rock Solid Gate | Pretty Handy Girl

Measure the width of your opening.

How to Build a Rock Solid Gate | Pretty Handy Girl

Subtract 1.5″ from the width and cut two 2″x4″ boards to this dimension.

How to Build a Rock Solid Gate | Pretty Handy Girl

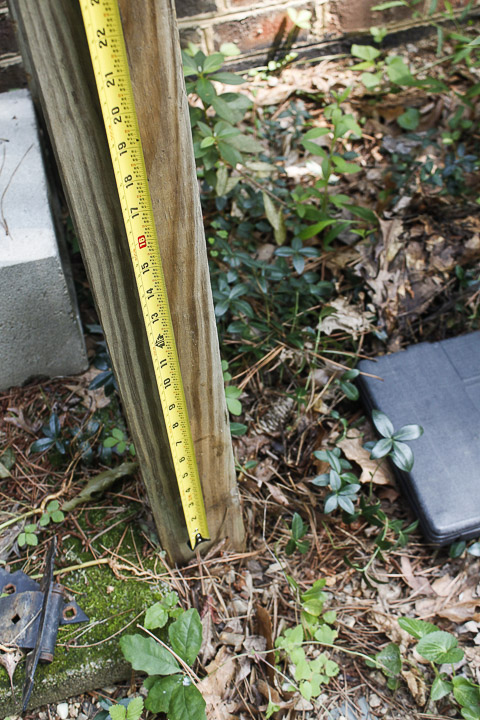
Measure the height of your adjacent fence posts.

How to Build a Rock Solid Gate | Pretty Handy Girl

Subtract a few inches from the height measurement to allow the gate kit hinge to secure to the post. (And to keep the bottom 2″x4″ a few inches above the ground to keep it from rotting.) Cut the two 2″x4″ boards to this measurement.

Insert your cut boards into the gate kit. You may need the hammer to force some stubborn studs into place. Read more

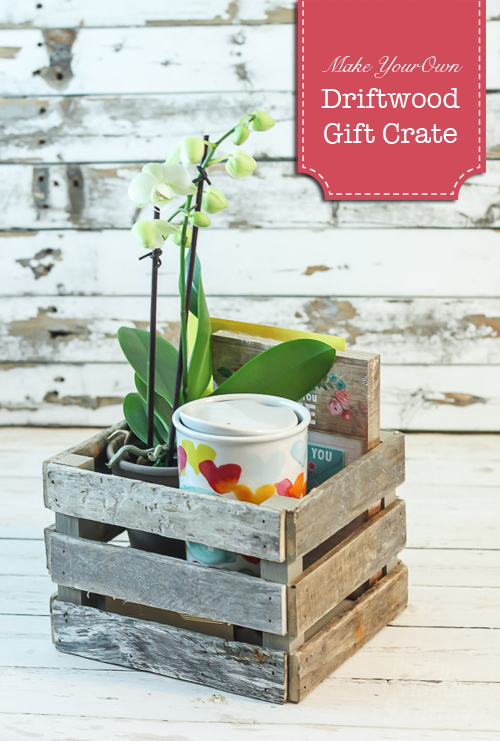
Make a Driftwood Gift Crate | Pretty Handy Girl

Make a Driftwood Gift Crate | Pretty Handy Girl

Make a Driftwood Gift Crate

I love making small crates or boxes to use as gift baskets for friends. It’s a great way to use up scrap wood and give a gift that can be used to organize a desk or shelf.  Stick around today and I’ll show you How to Make a Driftwood Gift Crate.

After a short walk on the beach, I was able to collect many broken pieces of dune fencing that had turned into nice weathered driftwood. I knew I could use it to make some beautiful gifts. Here is one idea.

Materials:

(I’ve included affiliate links for your convenience. I earn a small percentage from a purchase using these links. There is no additional cost to you. You can read more about affiliate links here.)
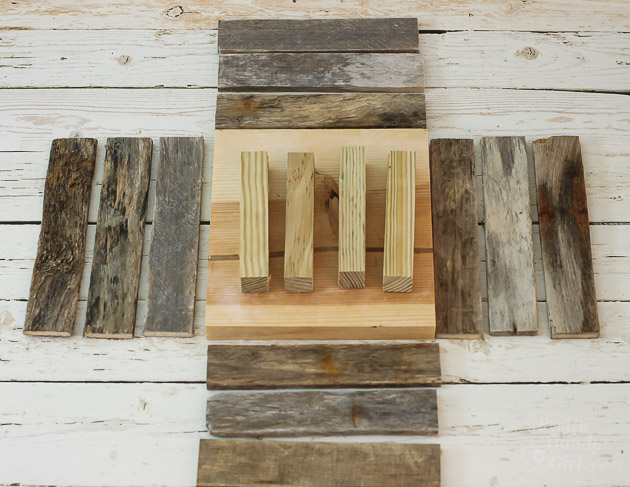
Make a Driftwood Gift Crate | Pretty Handy Girl

Optional: wood glue for stronger joints

Instructions:

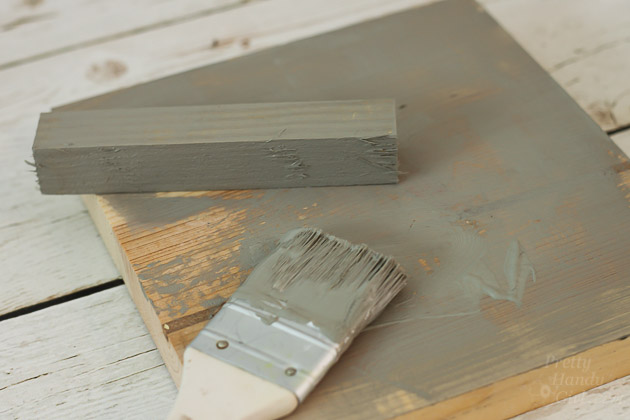
Paint the base and corner supports gray to blend in with the driftwood.

Make a Driftwood Gift Crate | Pretty Handy Girl

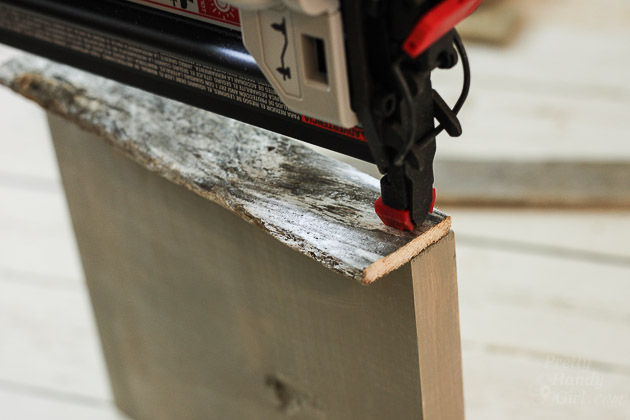
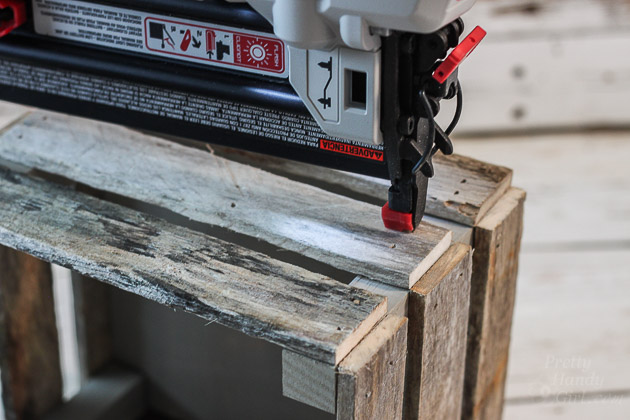
Allow paint to dry and nail strips of driftwood framing the 8″x8″ base. For a more secure hold, you can use wood glue around the base before nailing.
Make a Driftwood Gift Crate | Pretty Handy Girl

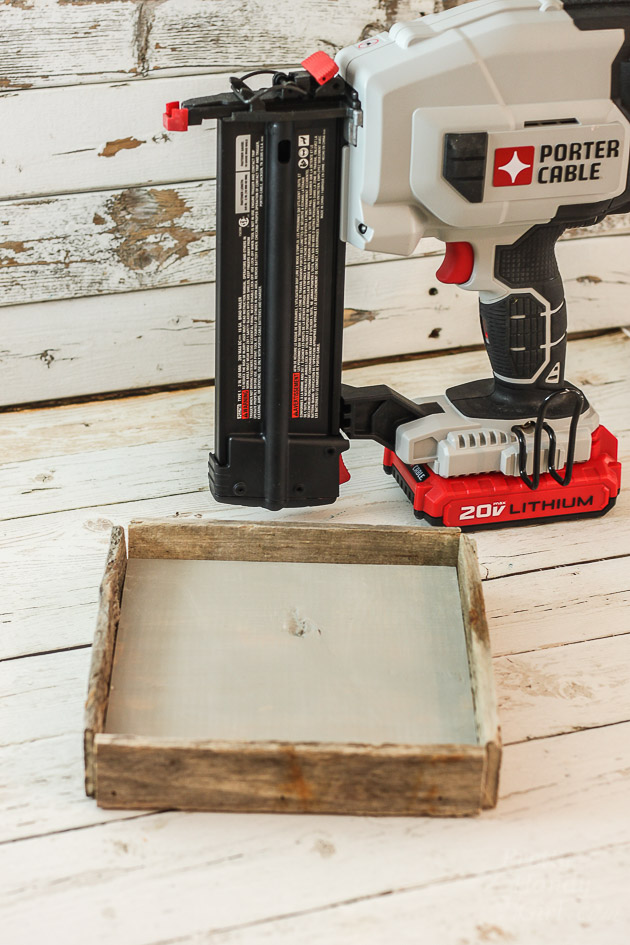
Can we take a one minute break so I can tell you about this Porter-Cable 20 volt Lithium 18 ga. air nailer? It is battery powered, no compressor needed and it is da’bomb! Porter-Cable sent it to me to try out a while ago. I’ve been using it all winter and have had no issues with jamming or misfiring (like my Ryobi Airstrike nailer frequently does.) The weight is a little heavier than a nailer that needs a compressor, but the benefits of being cordless and quiet in between firing makes it my go-to brad nailer. Sorry for the diversion. I just had to share a little more about my new favorite tool.
Make a Driftwood Gift Crate | Pretty Handy Girl

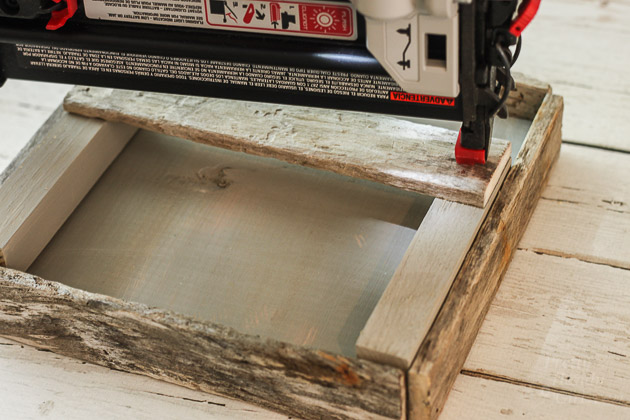
Finish framing the base. Add the top rail to the corner supports for two sides.

Make a Driftwood Gift Crate | Pretty Handy Girl

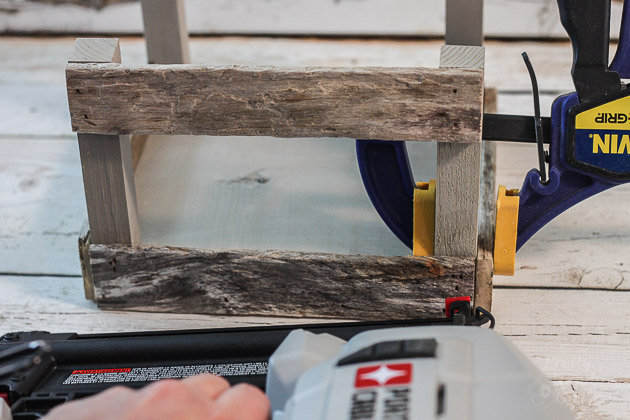
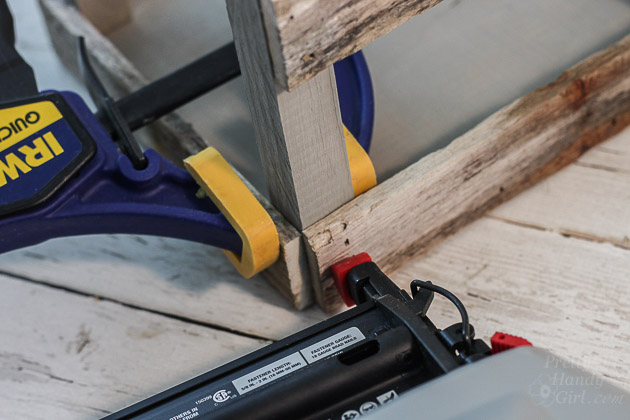
Stand up the connected corner supports and nail through the base into the corner support. A clamp will help hold the corner supports while you nail them.

Make a Driftwood Gift Crate | Pretty Handy Girl

Nail all corner supports into the base on two sides.

Make a Driftwood Gift Crate | Pretty Handy Girl

Continue attaching side rails until your crate is complete.

Make a Driftwood Gift Crate | Pretty Handy Girl

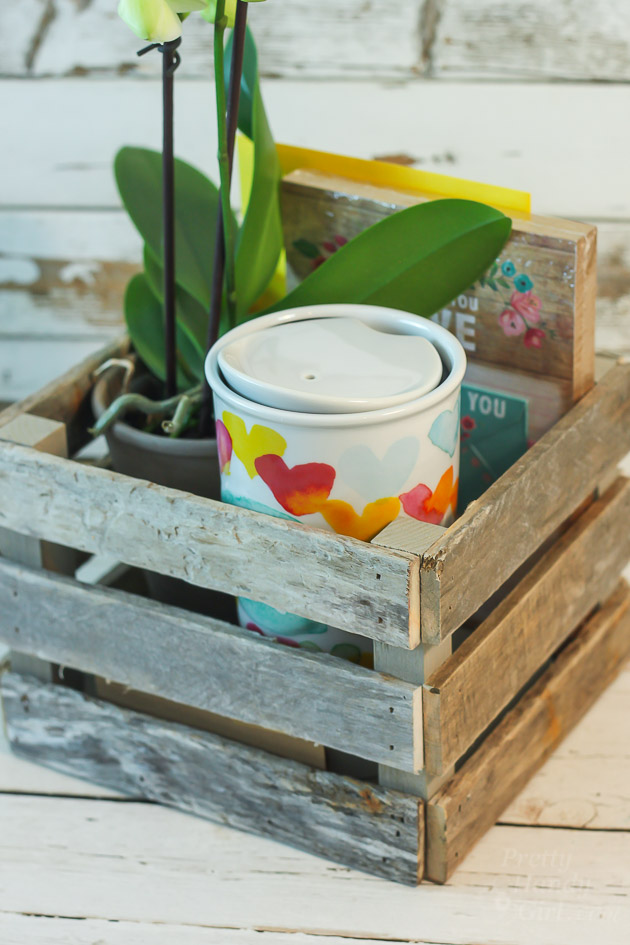
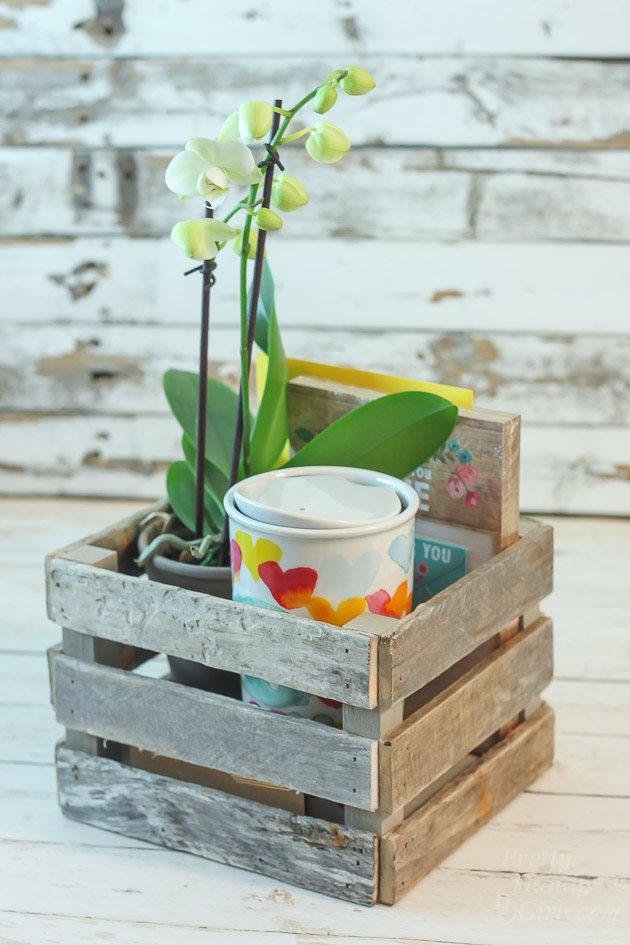
Fill your driftwood crate with goodies and give it to a friend.

Make a Driftwood Gift Crate | Pretty Handy Girl

They will surely enjoy receiving this little Driftwood Gift Crate.

drift-wood-gift-crate

Do you collect driftwood at the beach? Or do you have an excess of scrap wood you can use to make gift crates? If you don’t have driftwood, pieces of broken lattice or paint sticks will work just as nicely.

PHGFancySign

Disclosure: Porter-Cable sent the Porter-Cable 20 volt Lithium 18 ga. air nailer (affiliate link) to test. I was not paid to review this tool, nor was I told what to write. All opinions are my own. I am very particular about the products I share with you and will always let  you know when something was given to me to review.
 

Scrap Wood Wine Holder

Hey everyone!  Katie here from Addicted 2 DIY.  I don’t know about you, but I have a hard time letting go of good scrap wood.  If I think it could be used for anything in the future, I try to hold onto it.  Plus, my kids love to go through the scrap bin and see what they can put together.  It’s good, family fun!  I dug through my scrap pile recently and built this simple wine holder.  It was inspired by one that my aunt has in her kitchen that I just love.  It’s simple, it’s rustic, and it can be customized to hold however many bottles you like!

Materials:

  • 2 – 1×6 boards cut to 18″ long
  • 1 – 1×4 boards cut to 18″ long
  • 2 – 1×4 boards cut to 4 3/4″ long
  • brad nailer
  • 1 1/4″ brad nails
  • wood glue
  • drill
  • 2″ forstner bit or hole saw
  • 220 grit sandpaper
  • finish of your choice (I used Minwax stain in Espresso)

Instructions:

Step 1: Dig through your scrap pile and cut your wood pieces to size.

cut-wood-pieces

Step 2: Glue and clamp the 18″ 1×4 board flush with the top of the 1×6 boards.  Nail in place with 1 1/4″ brad nails.

glue-and-nail-front-and-back-pieces

Step 3: Glue and clamp the 1×4 ends and nail into place with 1 1/4″ brad nails.  This will form a box. Read more