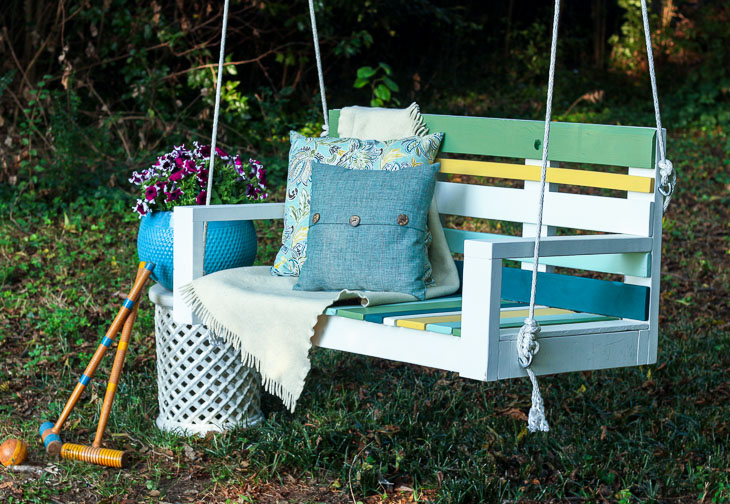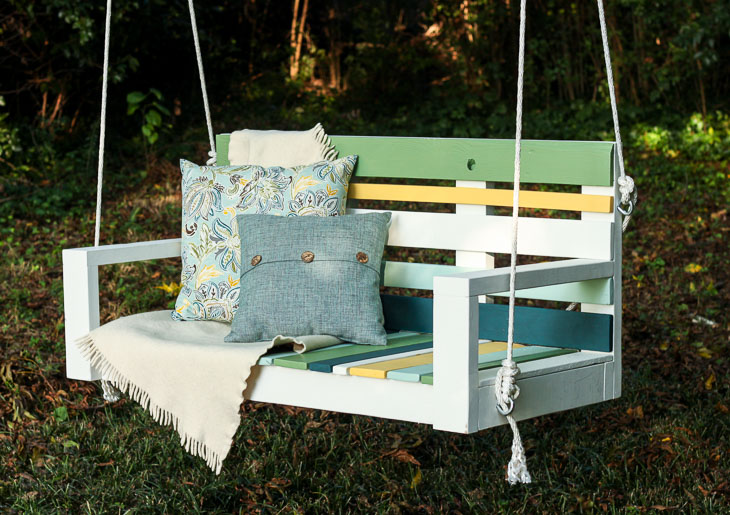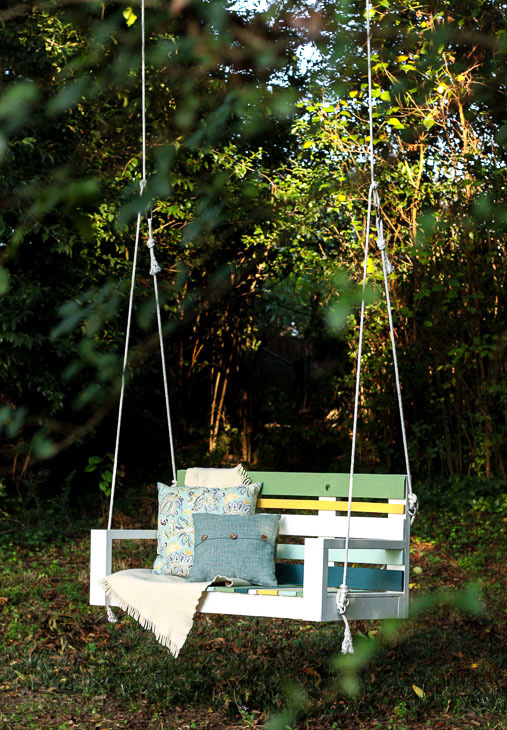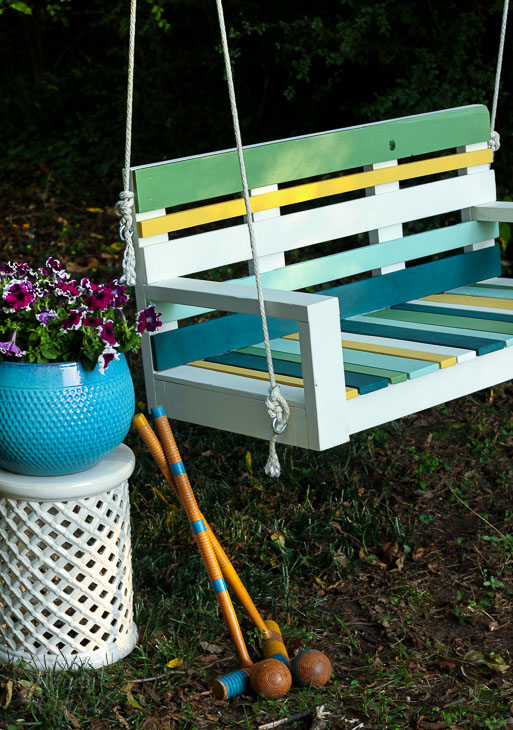
Building a Striped Porch Swing using Pallet Wood

pallet swing

When I first laid eyes on the backyard of my investment house, I pictured a porch swing hanging from the giant tree in the back yard. That image never left my mind, and I knew I’d have to build a porch swing soon so I could enjoy sitting on the swing in between copious amounts of demolition labor. Being on a tight budget, I didn’t want to buy a new swing. I challenged myself to use as much free wood as I could get my hands on.  Then Krazy Glue, who is sponsoring this post, threw on an additional challenge. They dared me to give up my conventional nail fasteners and use Krazy Glue to secure all the slats to the swing frame. Apparently Krazy Glue is one fast-drying glue that creates an instant bond when applied and can hold up to 2,000 pounds. Big claims meant I was anxious to put Krazy Glue to the test!

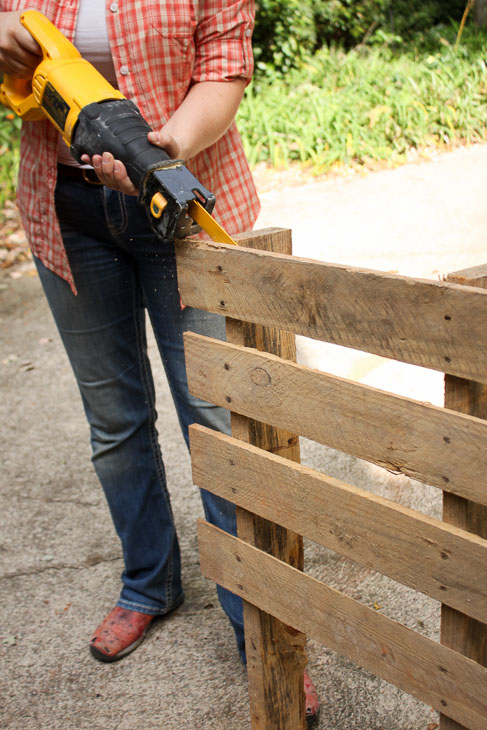
To start, I harvested the slats off of three pallets. (There are several ways to harvest pallet wood, a few of which I explain in this post.)

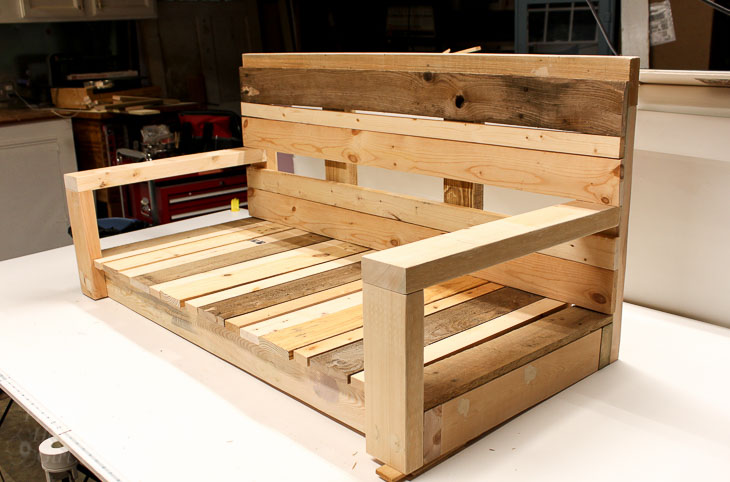
When all was said and done I had enough pallet wood to create all the slats on the swing. (And luckily I had a few scrap 2 x 4’s to build the swing frame, so my lumber costs were minimal.) I developed a plan to utilize and feature the varying widths of pallet wood, but used Ana White’s basic porch swing plan for inspiration and overall dimensions.

Ready to learn how to Build your own Striped Porch Swing using Pallet Wood? Let’s do this before the weather gets too cold to enjoy it.

Lumber:

  • 5 – 2″ x 4″ x 8′
  • 3 – 1″ x 4″ x 8′ (or use salvaged pallet wood)
  • 1 – 2″ x 2″ x 4′

Cut List:

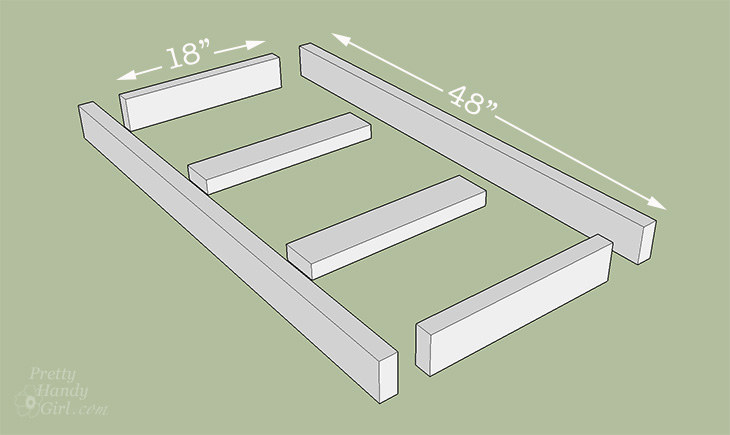
  • 3 – 2″ x 4″ x 4′
  • 4 – 2″ x 4″ x 18″
  • 1 – 2″ x 2″ x 45
  • 4 – 2″ x 4″ x 19 ¾”
  • 2 – 2″ x 4″ x 11 ¼”
  • 2 – 2″ x 4″ x 22 ½”
  • 2 – 1″ x 4″ x 21″ (if using pallet slats, use the widths you have, but cut to 21″ long)
  • 10 – 1″ x 4″ x 22″ (if using pallet slats, use the widths you have, but cut to 22″ long)
  • 4 – 1″ x 4″ x 48″ (if using pallet slats, use the widths you have, but cut to 48″ long)

Materials:

(I’ve included affiliate links for your convenience. I earn a small percentage from a purchase using these links. There is no additional cost to you. You can read more about affiliate links here.)

Instructions:

After you have harvested your pallet wood and removed any nails. Cut your lumber to size using the cut list above.

Assemble the Seat Frame:
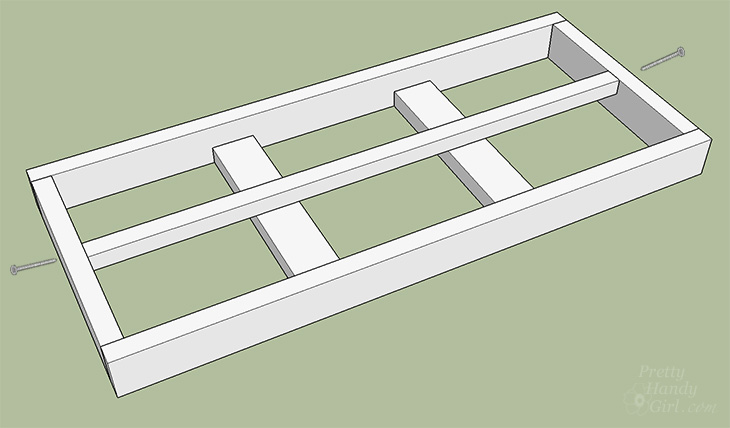
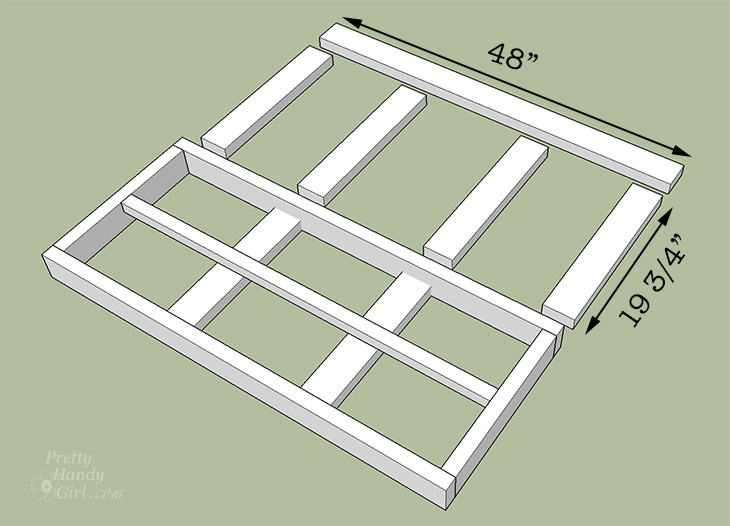
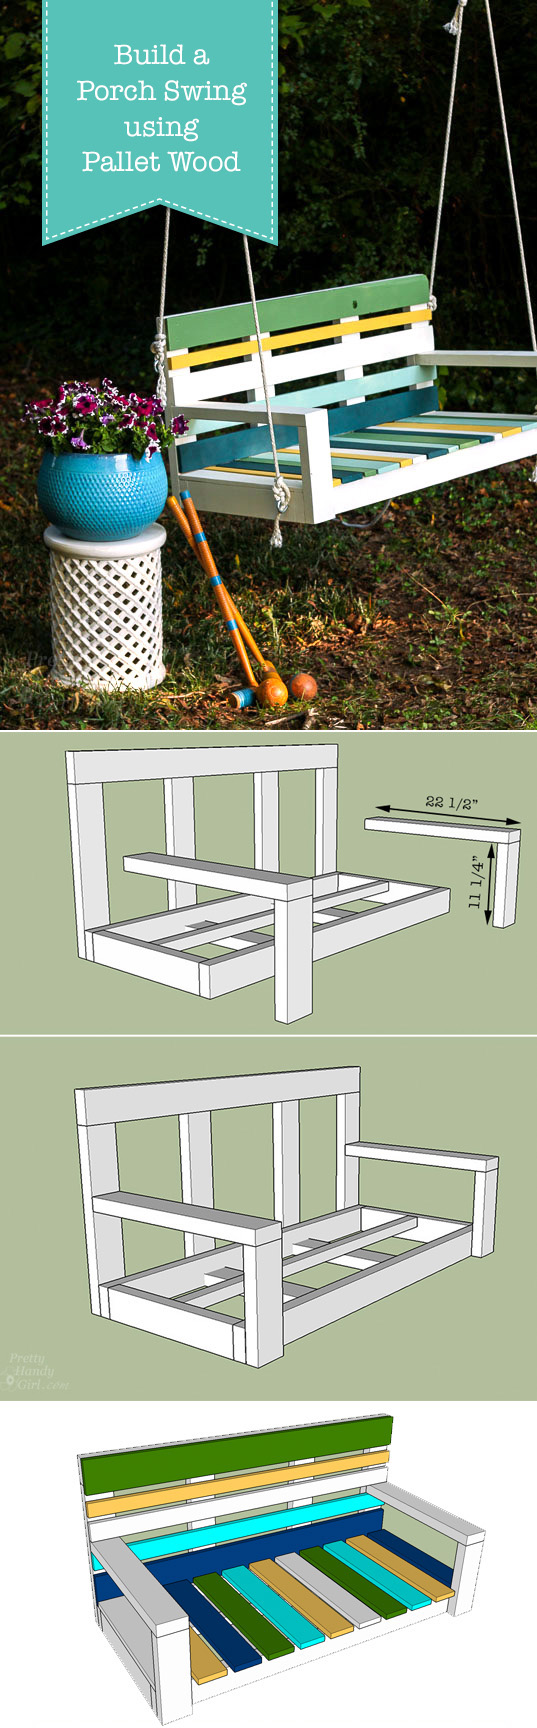
To assemble the seat frame, layout the 2×4’s as shown below. Turn the two middle boards on their sides.

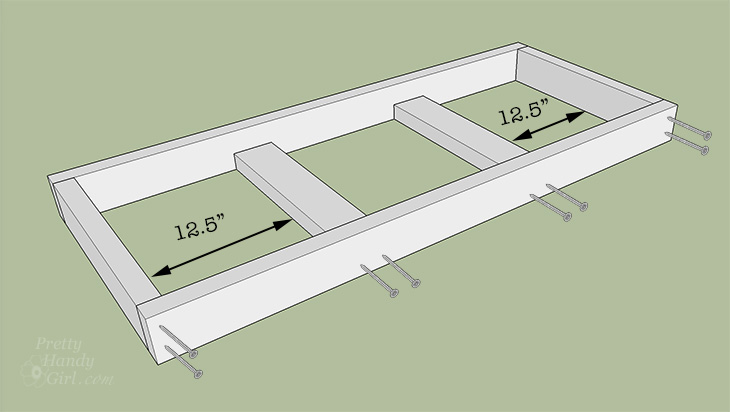
Assemble the seat as shown.

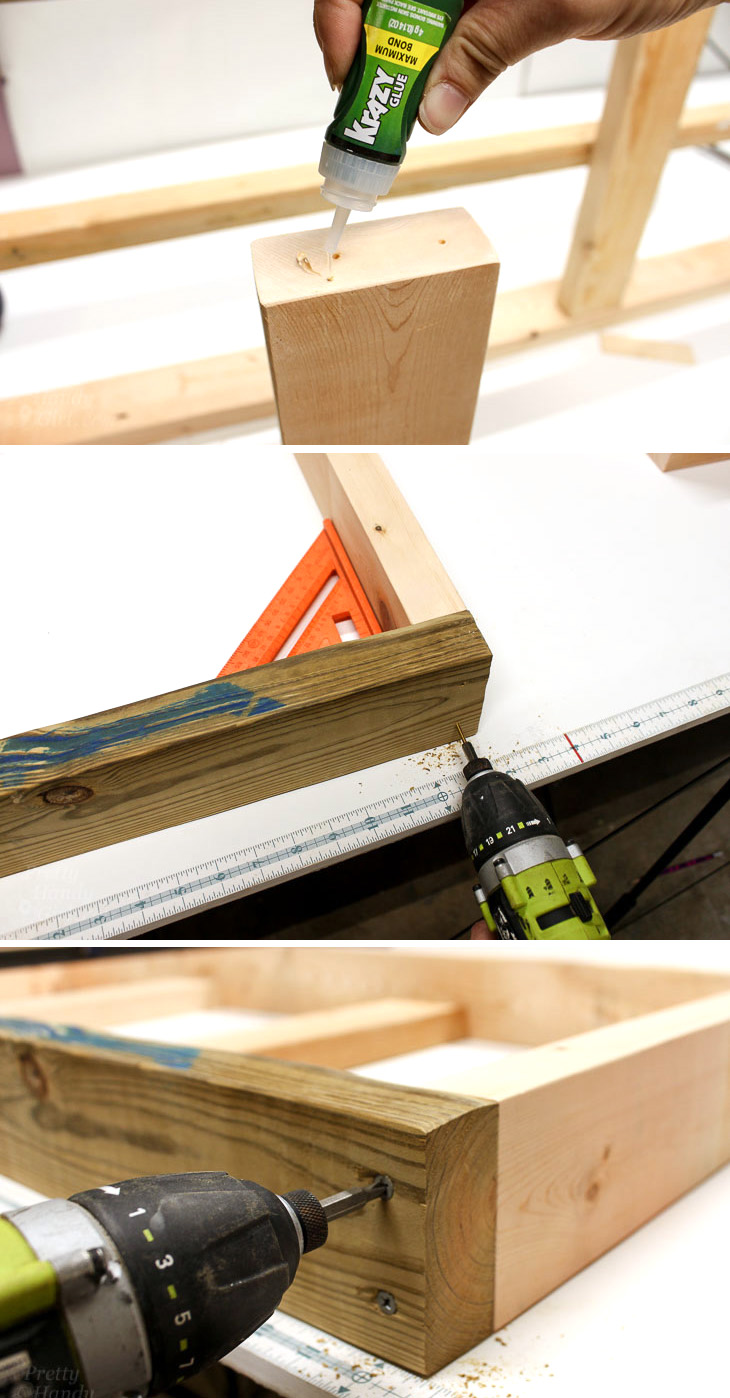
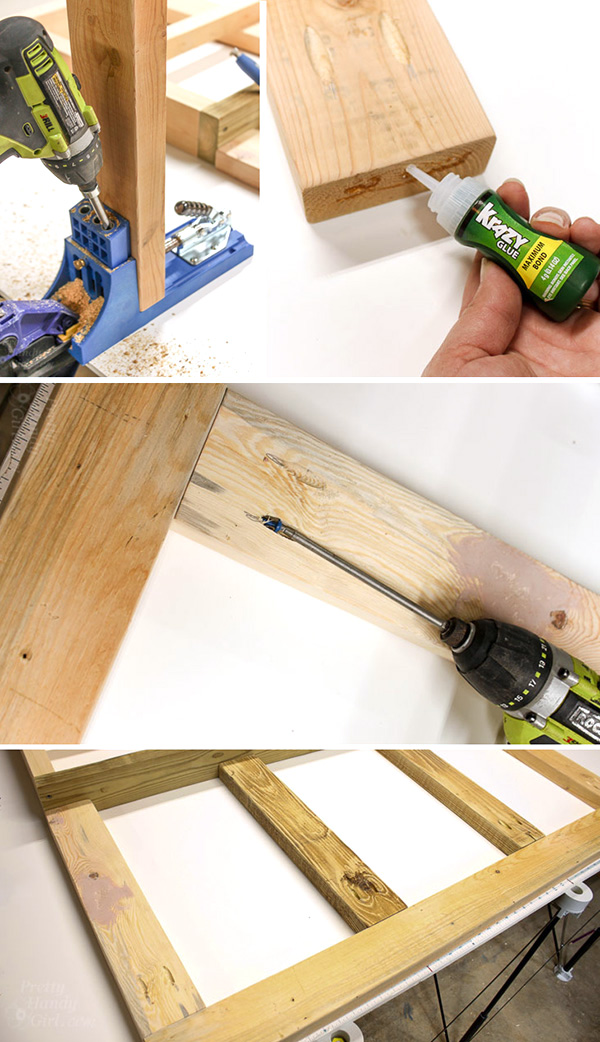
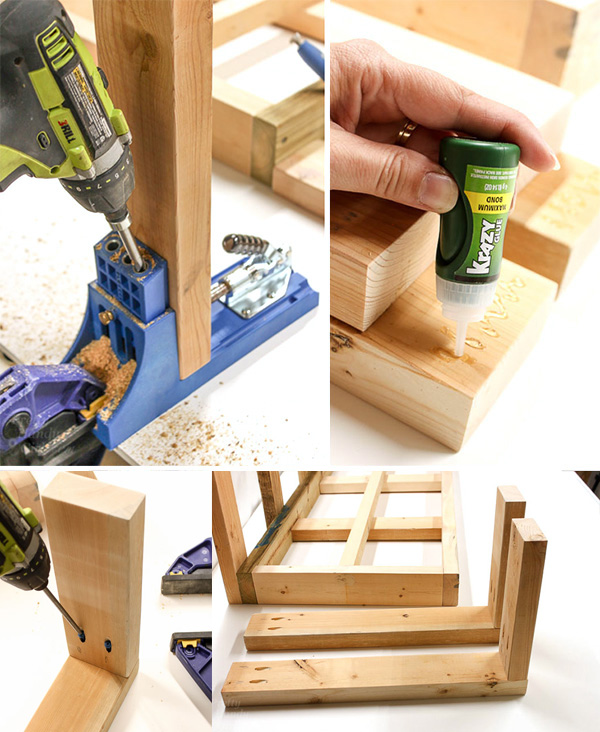
Secure the seat frame by gluing each end of the 18″ boards with Krazy Glue. Then pre-drill and drive 3″ wood screws through the front and back 48″ boards into the 18″ sides and support boards. Use the carpenter’s square to keep your corners square.

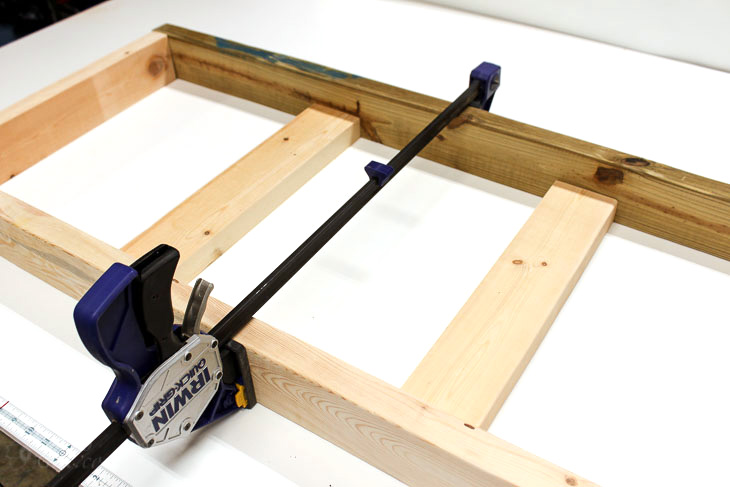
You may find it easier to clamp the frame together while drilling and driving screws.

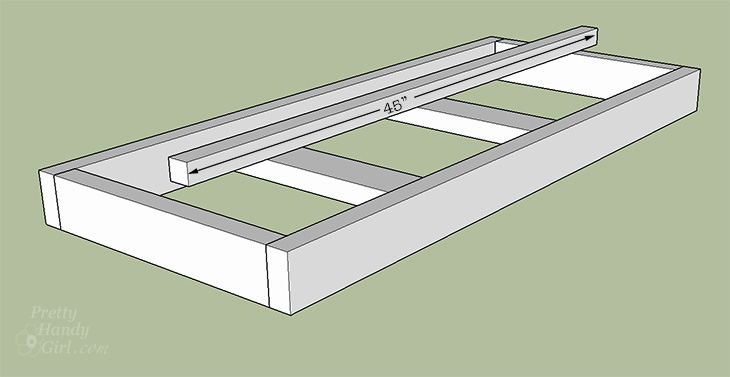
Center your 2″ x 2″ x 45″ board on top of the center supports in the seat frame.

Apply Krazy Glue to each end. Then pre-drill and secure the center support with one 2 ½” wood screw on each end.

Assemble the Back Support:
angled bench view

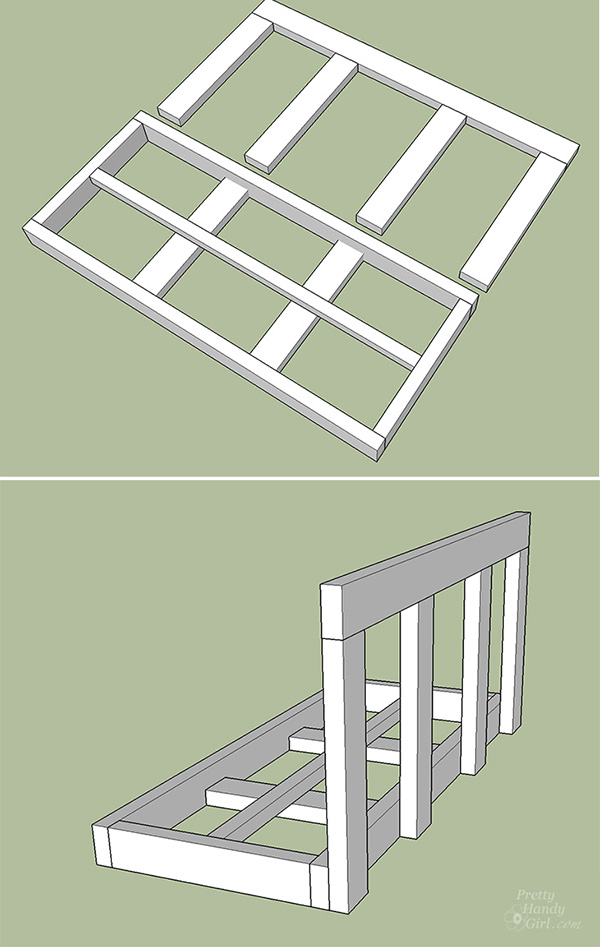
Layout the seat back assembly as shown below. Line up the 19 3/4″ boards with the two center supports on the seat frame assembly.

Drill two pocket holes into one end of each 2″ x 4″ x 19 ¾” board. Add Krazy Glue to the ends of the 19 ¾” boards. Drive 2 ½” pocket screws into the pocket holes to attach the upright supports to the 48″ board.

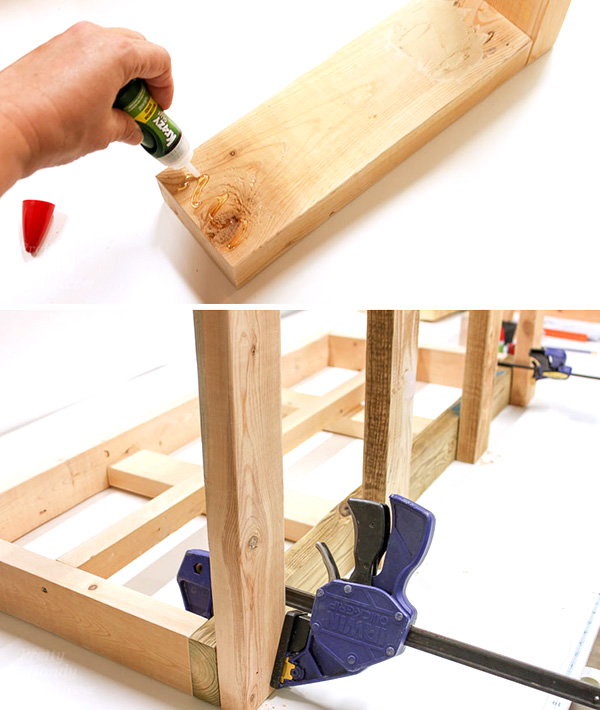
Lift the back assembly and clamp to the seat frame. Check that the back assembly lines up with each side of the seat. Then remove the clamp.

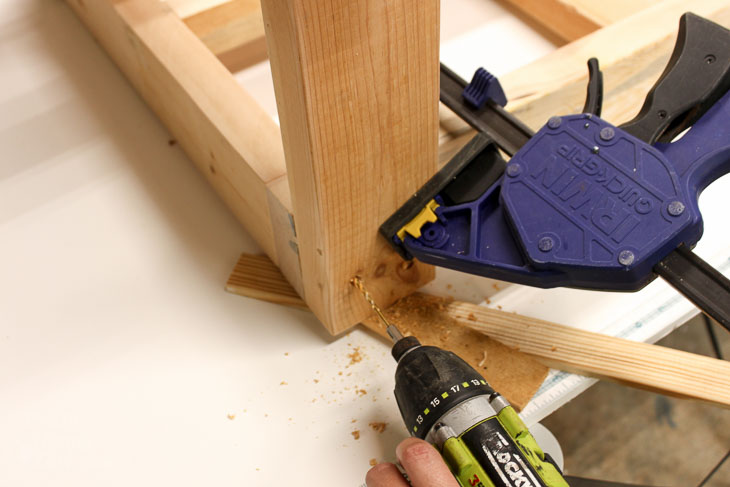
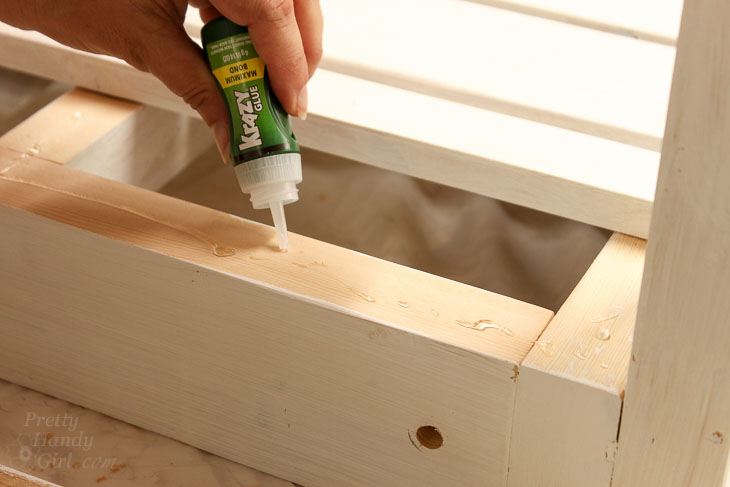
Squeeze Krazy Glue onto the inside edge of the upright supports. Clamp in place and pre-drill holes through the uprights into the seat frame. Then secure with 2 ½” wood screws.

Assembling the Porch Swing Arms:

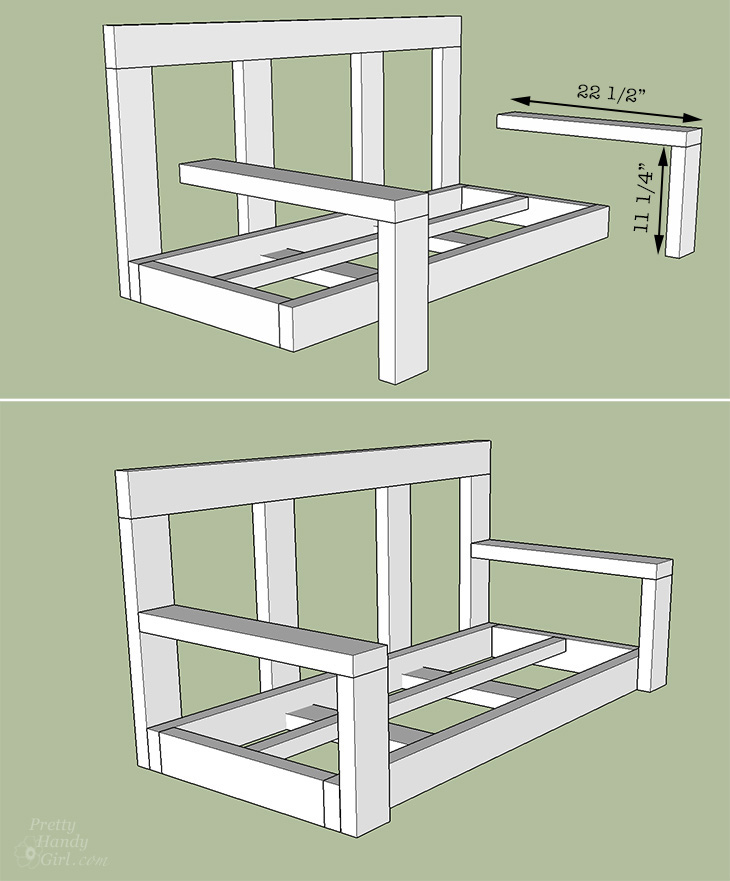
Drill pocket holes into one end of each 2″ x 4″ x 22 ½” and the 2″ x 4″ x 11 ¼” boards. Apply Krazy Glue into the elbow joint where the arm pieces overlap each other.

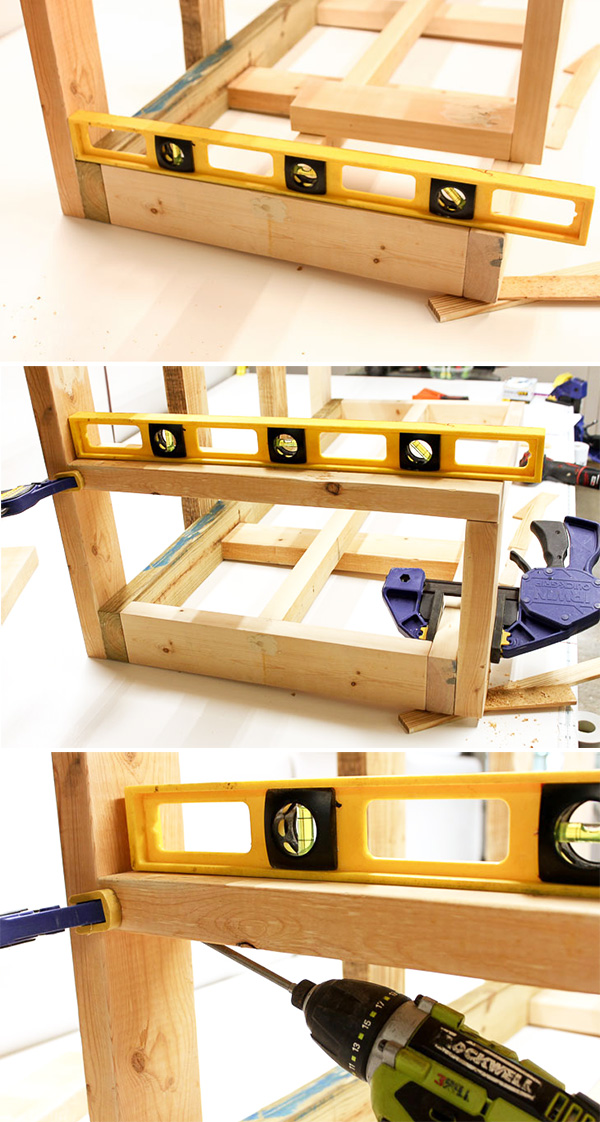
To attach the arm rests, start by making sure the porch swing seat is level. Set the arm in place and level the arm rest. Clamp the arm rest to the frame and secure the arm rest to the back assembly using 2 ½” pocket screws.

Then pre-drill and secure the front of the arm rest to the seat frame with 2 ½” wood screws (taking care to avoid the screws holding the seat frame together.)

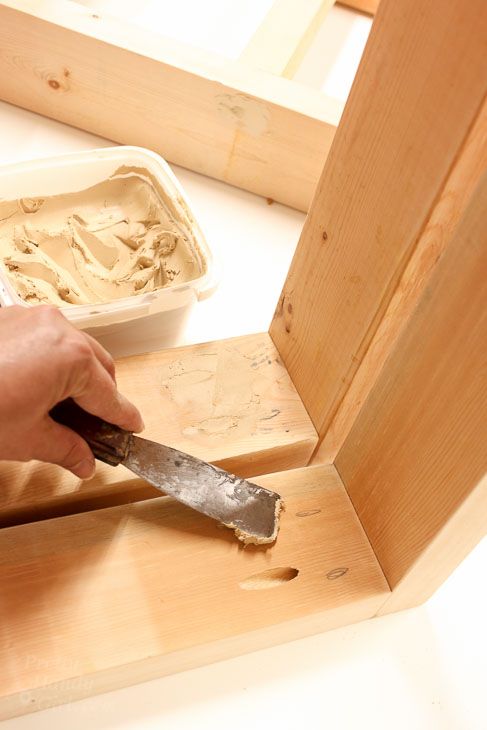
Now is the perfect time to fill all the holes with wood putty.

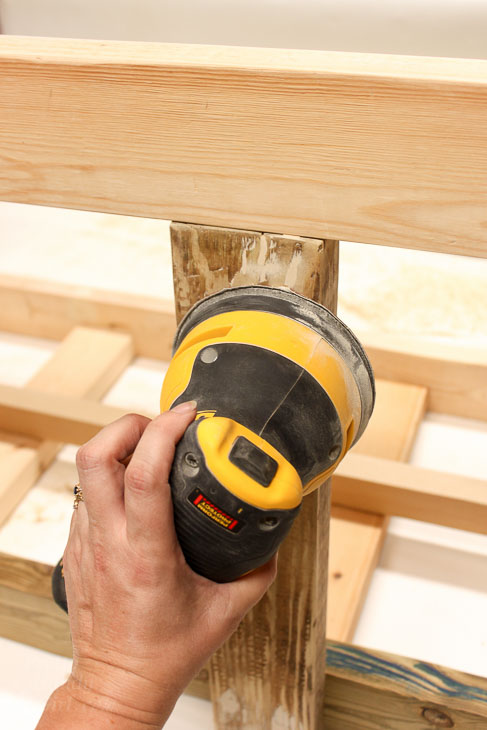
Allow the putty to dry and sand smooth.

Wipe off the porch swing with a damp rag to remove any sawdust.

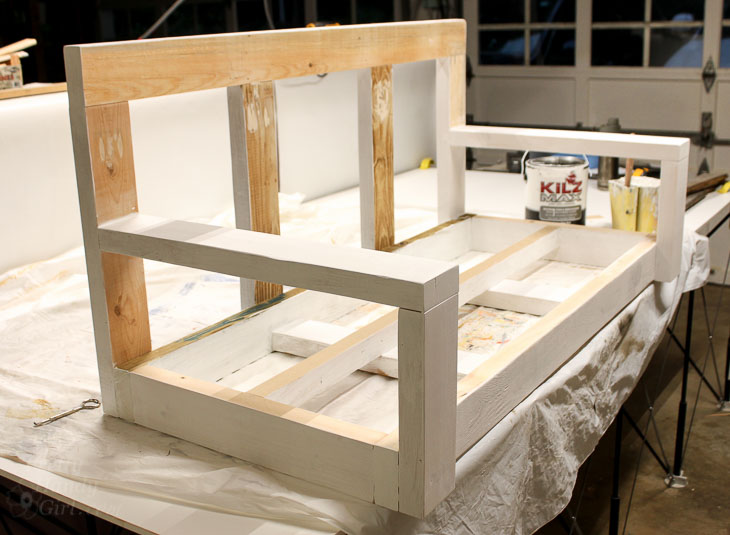
You may choose to prime and paint your swing before adding the slats. If you are using Krazy Glue to adhere the slats, do not prime or paint the back of the slats or the frame pieces that will be glued. The Krazy Glue must bond with raw wood.

Adding Seat and Back Slats:

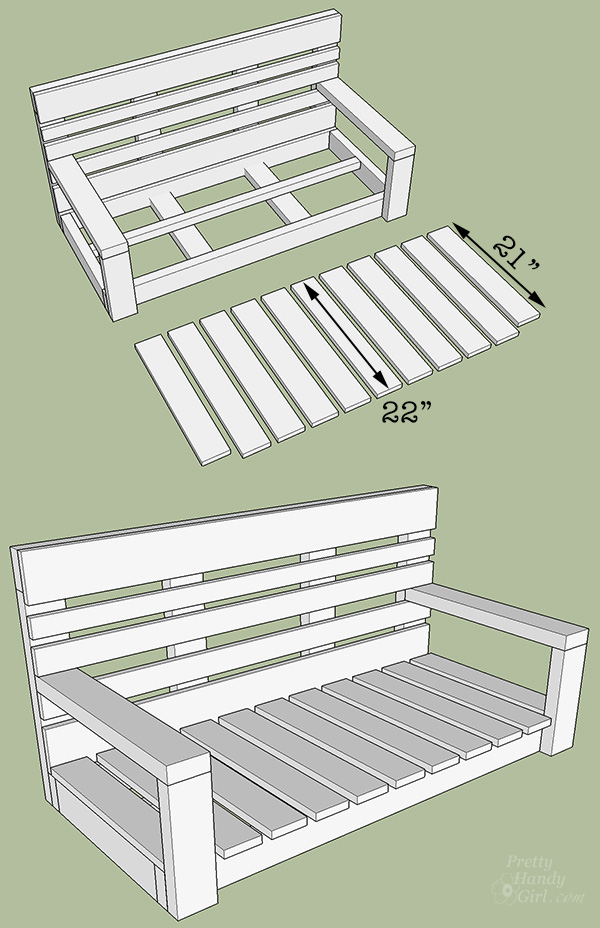
Cut your slats (or pallet wood) to the lengths in the cut list. Arrange the slats on the seat and back of your swing.

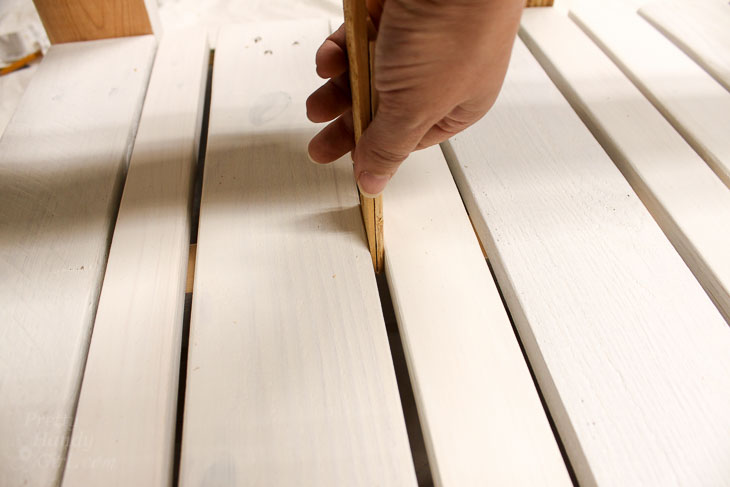
For ease of installation, I created a spacer with two shims. You’ll need to play with your slats to make sure they are evenly spaced. Ideally you’ll want about 1/2″ between slats.

Krazy Glue the Porch Swing Slats:

Time to put the Krazy Glue to the test! I made a quick video to show you how I used the Krazy Glue to adhere the slats and to test the strength of the bond:

Add a small bead of Krazy Glue to the seat frame assembly underneath each slat (or to the underside of the slats.)

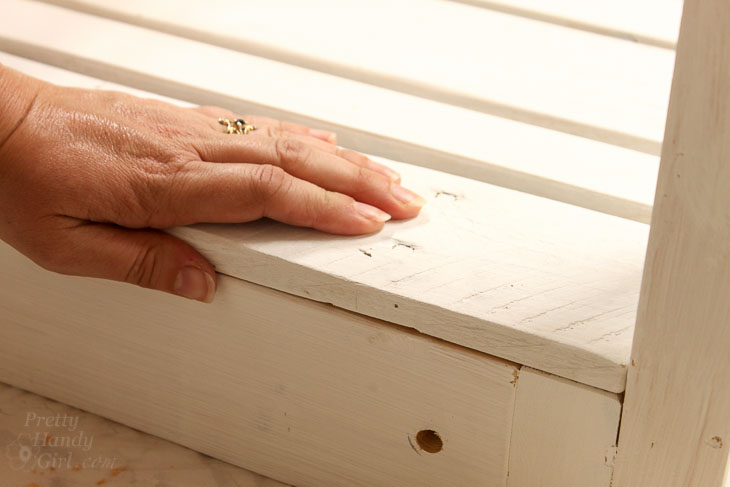
Press the slat in place and hold for about 30 seconds. If the slat does not sit flat (if it rocks slightly) you may use a small nail to secure the slat.

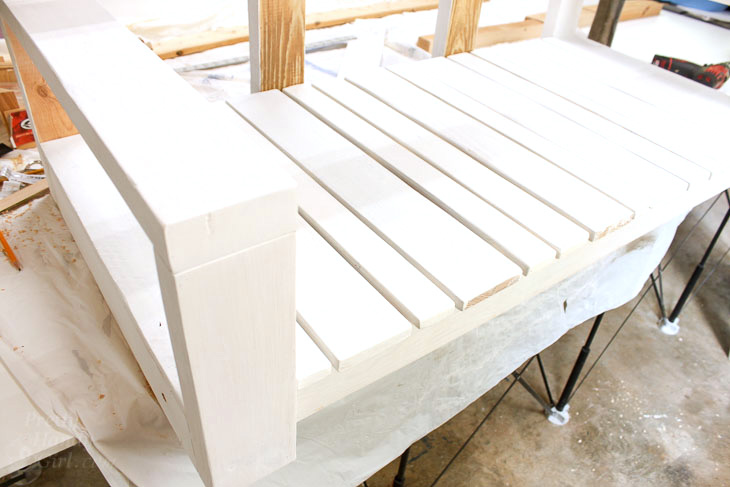
Repeat with the remaining slats, being sure to space them evenly. Allow at least 10 minutes for the Krazy Glue to set before moving your swing.

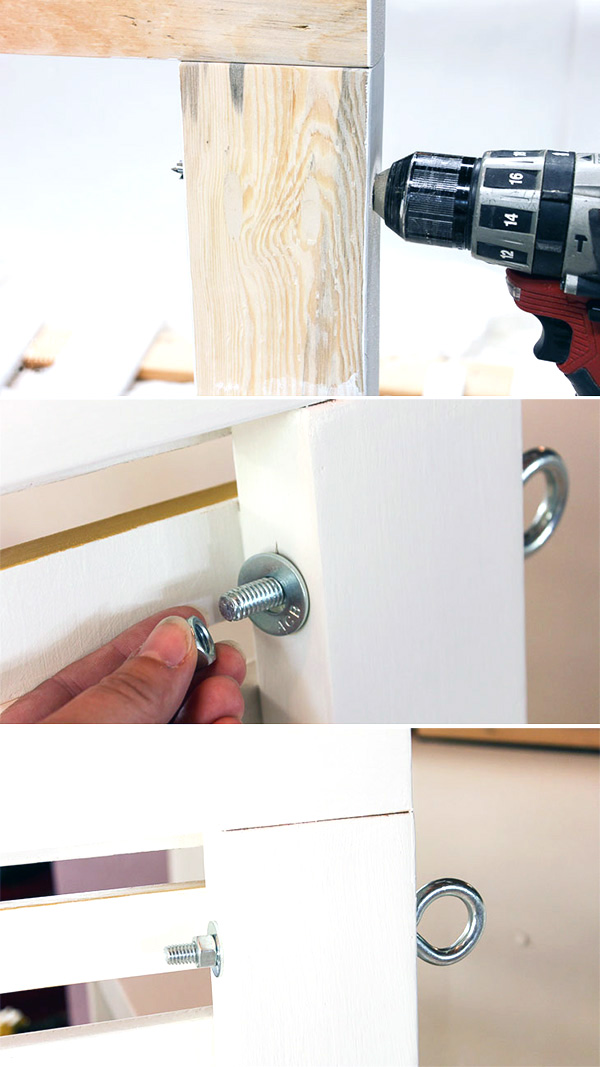
To attach the hanging hardware, drill a 3/8″ hole through the outer upright supports of the back. Insert the 6″ screw eye through the hole, thread a washer and nut onto the end.

Repeat the process, drilling into the front edge of the side supports. You can see the location of the hanging hardware below:

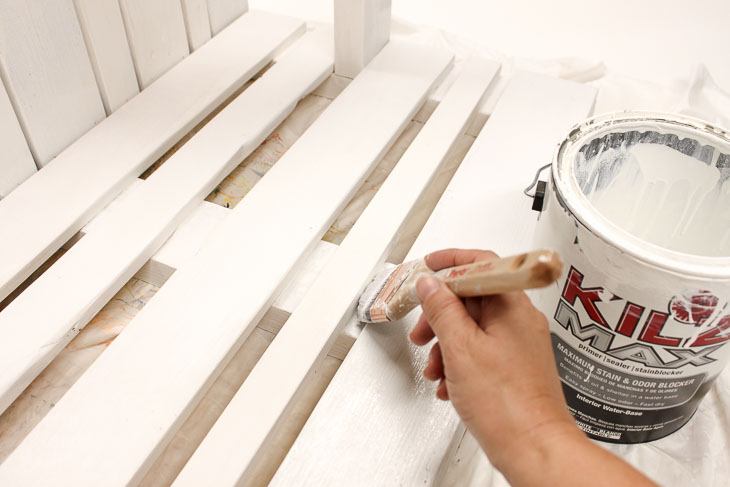
Finish priming your porch swing.

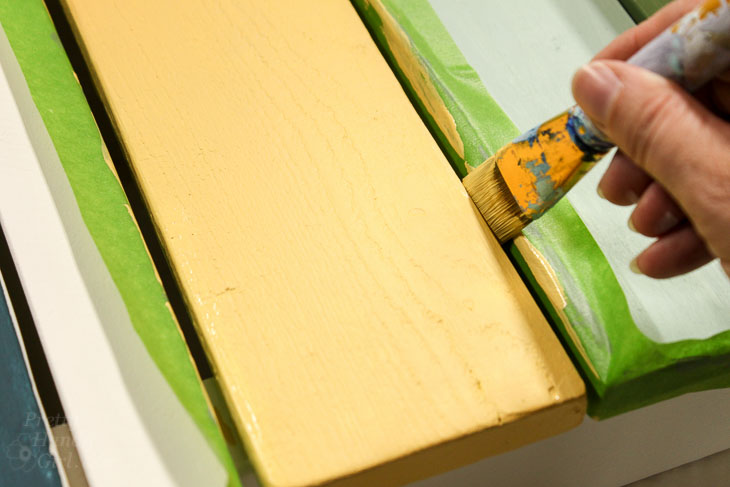
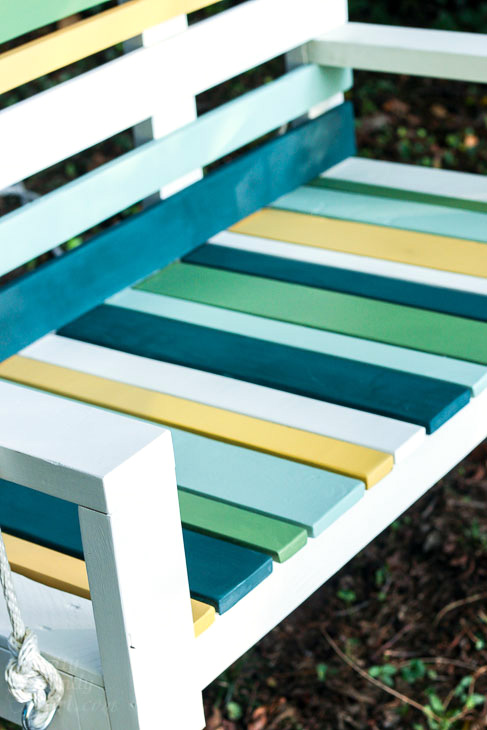
Paint your porch swing any color you like. (The paint I used is Magnolia Home Interior Paint by Kilz: Shiplap, Texas Summer, Amber, Water Garden, and Magnolia Green.) It helps to cover the slats on either side of the one you are painting with painter’s tape (if you are using multiple colors).

Seal your porch swing with a varnish for added weather protection.

Hang your porch swing from a ceiling joist, large tree, or pergola.

Enjoy a beautiful new spot to sit and swing in your yard!

Notes: The Krazy Glue bond was super strong when the slat was flat against the frame. However, there were two slats that had some twist to them, so the bond could not form properly. Those two slats did receive nails for additional hold. My swing is exposed to the elements, but for best results hang your swing under protective cover. If the wood rots around the glued joints, there is the potential for the parts to separate.

Please pin this image to share it with the world, because everyone deserves a beautiful spot to sit!

Disclosure: This is a sponsored post for Krazy Glue. I was not told what to write. All opinions are my own. I was compensated for my time and efforts to create this tutorial. I am very particular about the brands I represent. Because I value your trust, you will always be notified when you are reading a sponsored post on PrettyHandyGirl.com.

If you liked this tutorial, you may also like:

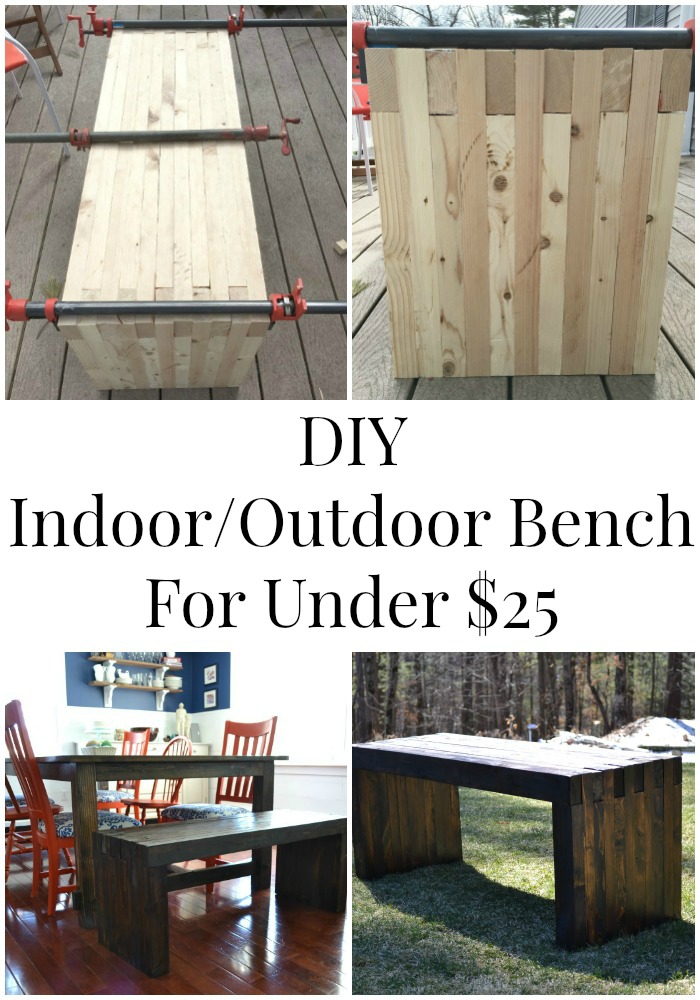
DIY Indoor/Outdoor Bench for $25

Building a dining bench with 2x4s and wood glue

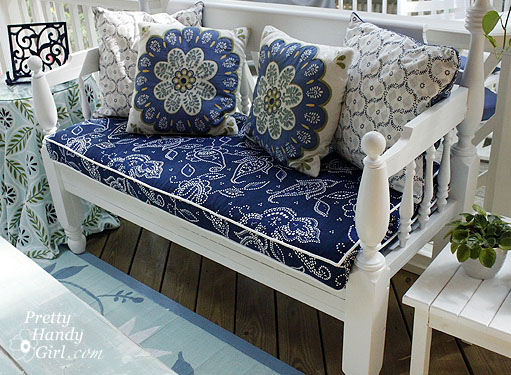
Make This Bench from a Bed Frame

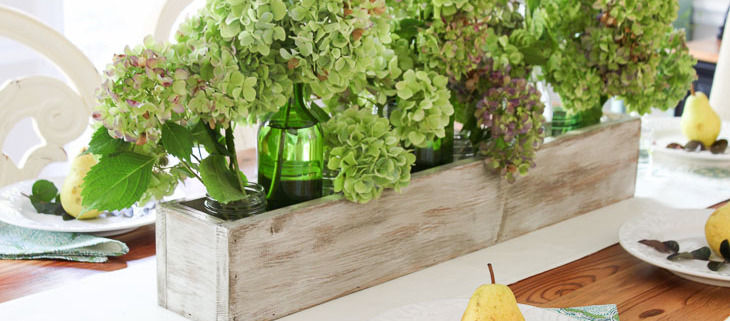
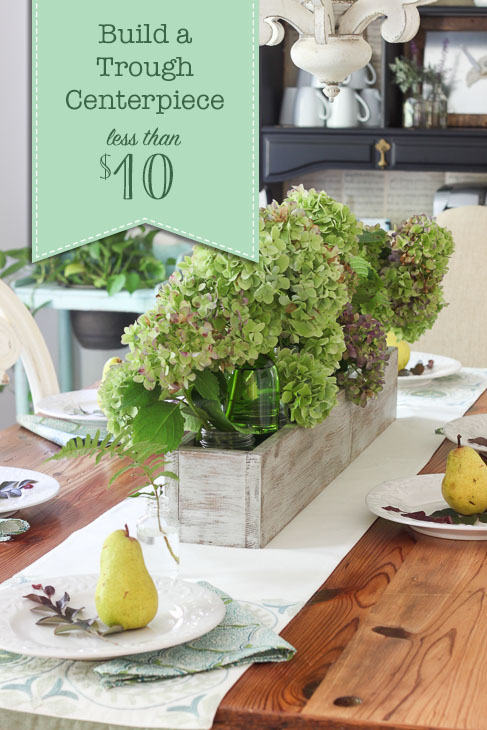
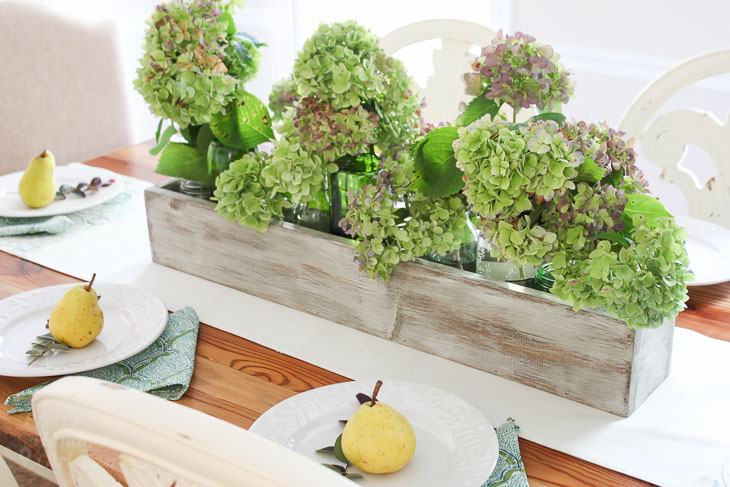
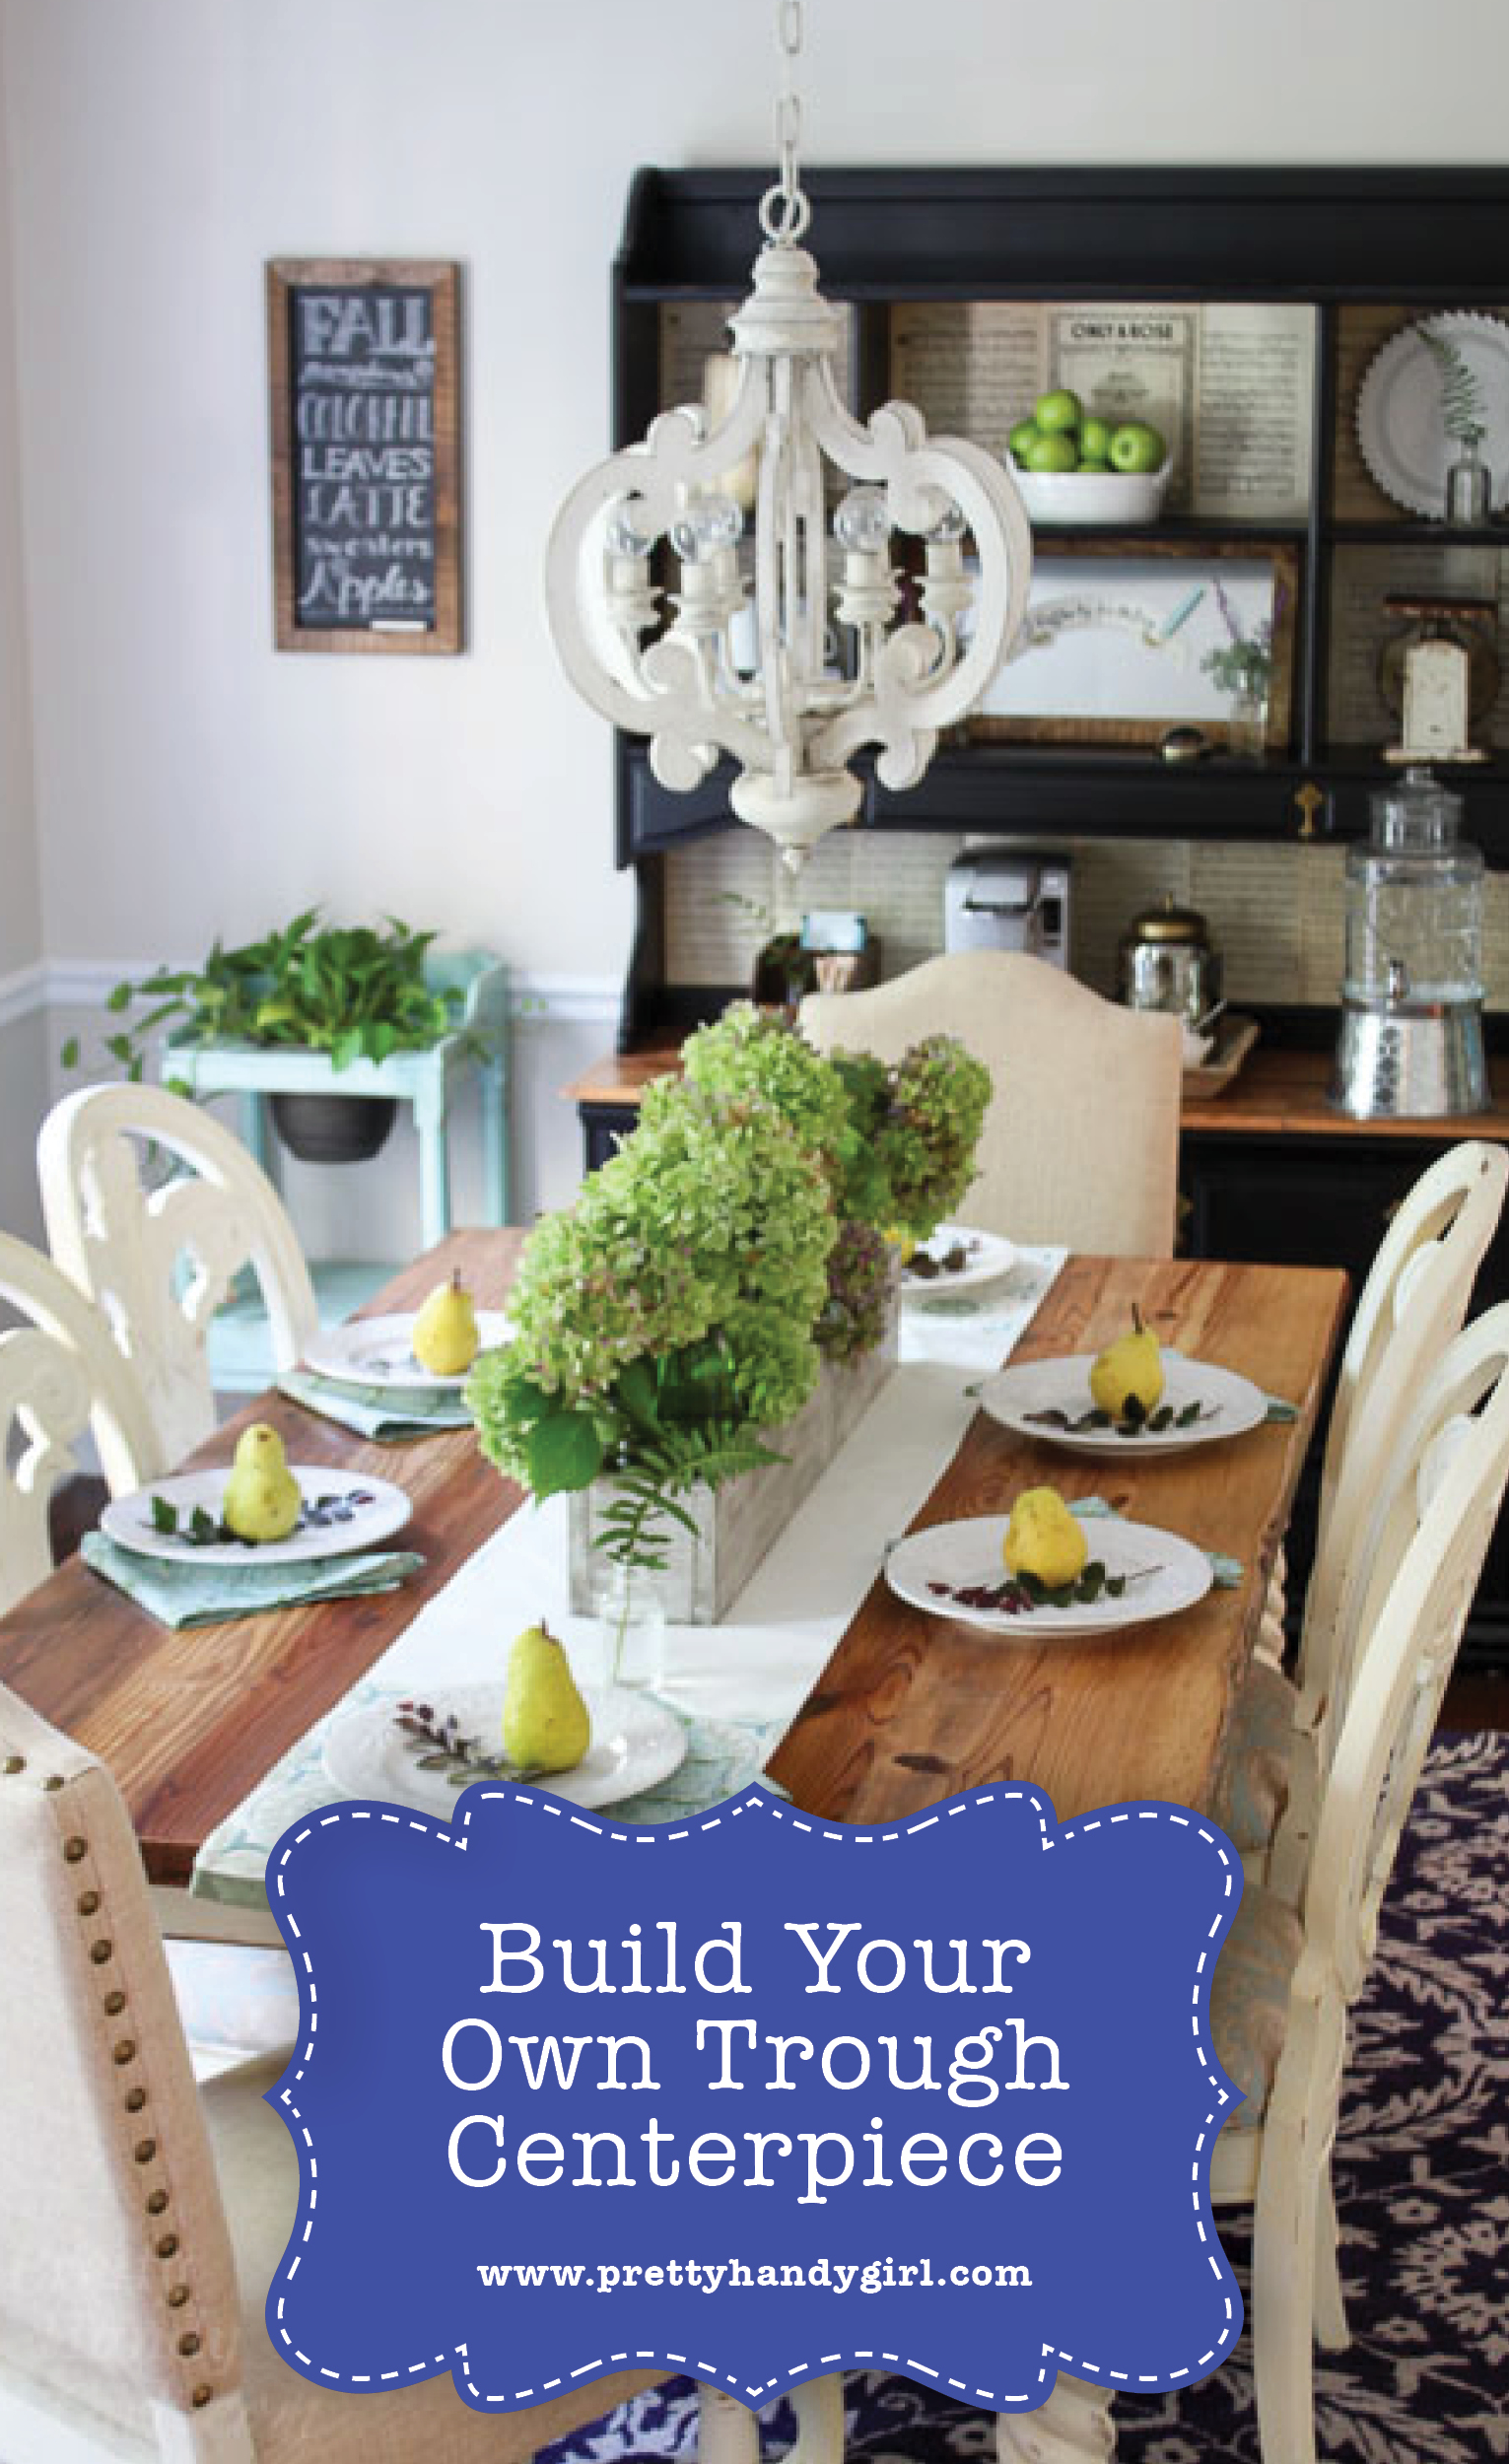
Green and purple hydrangeas in rustic wood trough. Build Your own Rustic Trough Centerpiece tutorial.

How to Build a Trough Centerpiece for less than $10!!!Build Your Own Wood Trough Centerpiece
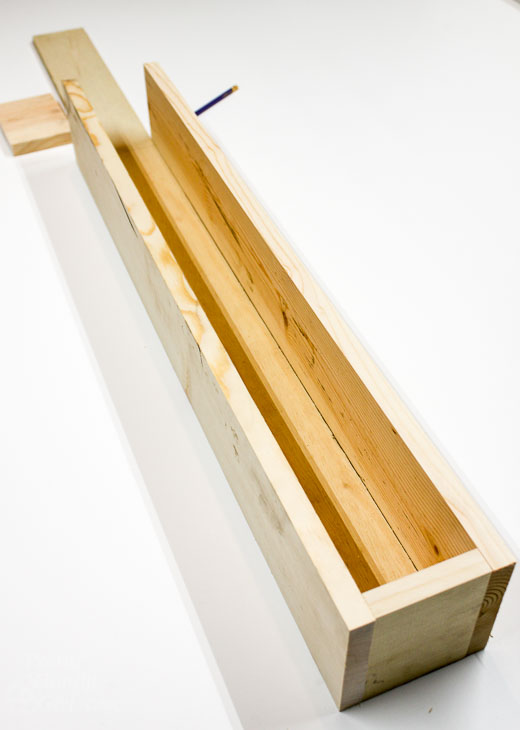
Wood trough centerpieces are very popular right now and for good reason! They will work with any seasonal decor. Add grass and eggs and you have instant spring decor. Add sunflowers and you have just decorated your table for summer. Add pumpkins or dried hydrangeas for a pretty fall centerpiece. And for the holidays, tuck in pine boughs and pine cones.

Build Your Own Trough Centerpiece

But, if you’ve ever tried to buy a wood trough, you probably noticed the prices can be upwards of $50 or more. That’s hogwash! Let’s Build Your Own Trough Centerpiece for less than $10!

Materials:

Cut list:

  • 2 – 1″x 6″ x 32″
  • 2 – 1″ x 6″ x 3 ½”
  • 1 – 1″ x 4″ x 36″ (we will cut this to size during the tutorial.)

Instructions:

Cut your lumber to the dimensions above. Leave your 1″ x 4″ for now.

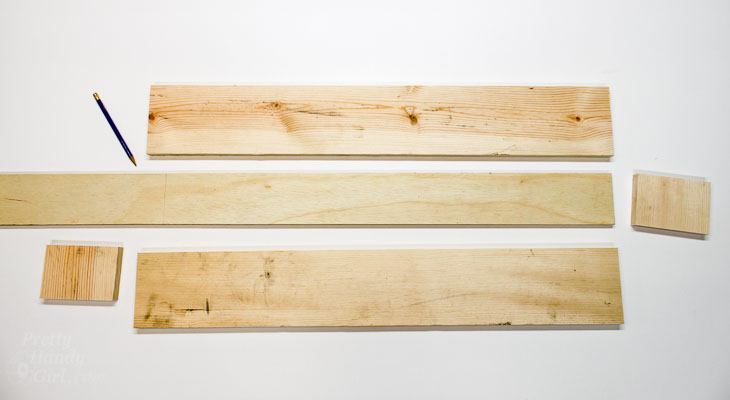
Cut Pieces for Rustic Wood Centerpiece trough.

Set up the sides of your trough and one end around the base piece (1″ x 4″ x 36″).

Dry fit wood box pieces together.

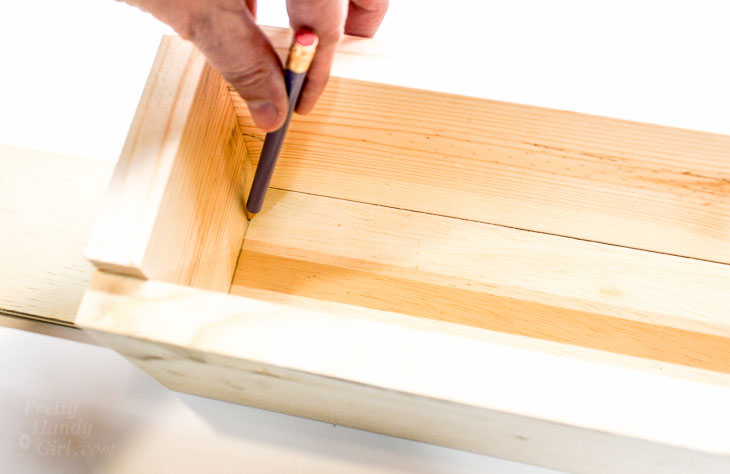
Set the second end on top of the base and mark where to cut the base piece to fit inside the sides and ends of the trough. Cut the base to size.

Mark cut line with pencil on trough bottom.

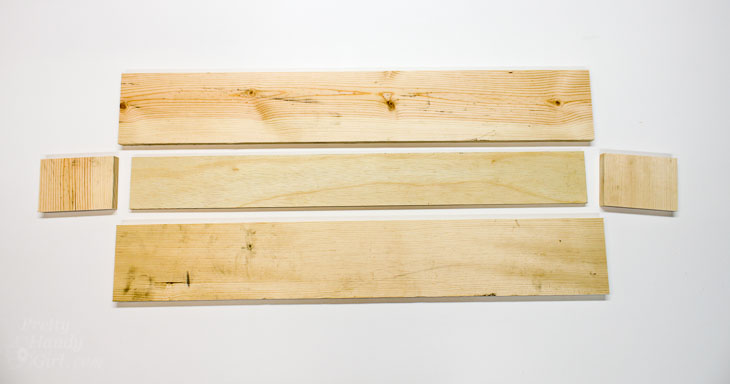
You should now have two long sides, two ends, and a base.

Cut trough pieces

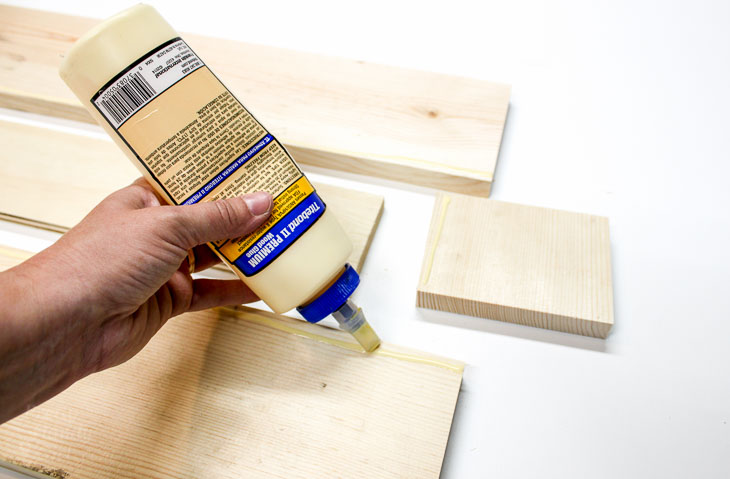
Run a line of wood glue along the bottom of the sides and ends where it will meet the base.

Add wood glue along bottom edges of sides.

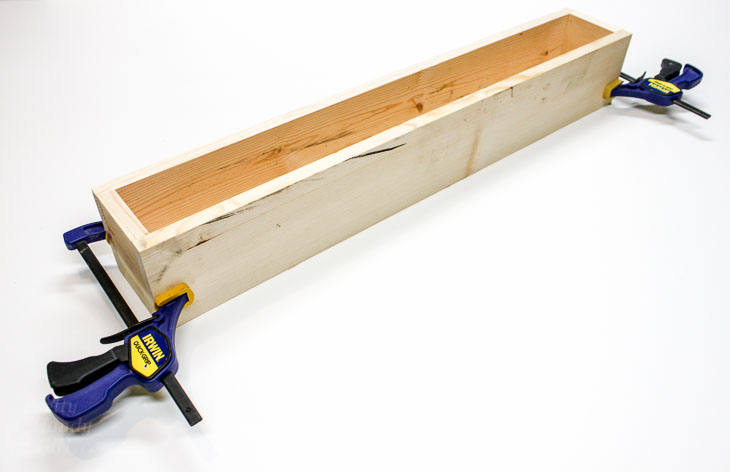
Set the sides and end pieces around the base and clamp in place.

Clamp box pieces together.

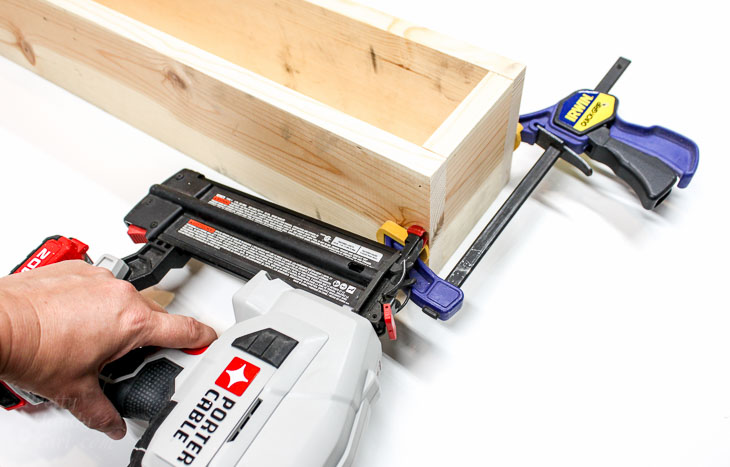
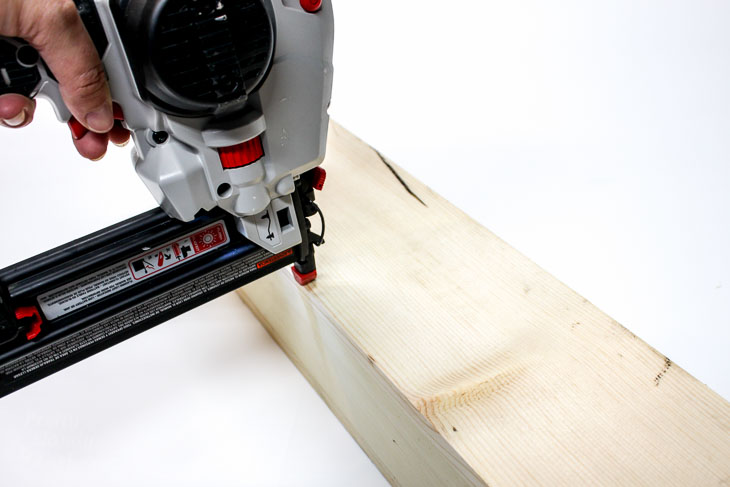
Nail the sides into the end pieces.

Nail sides of trough together.

Nail the sides into the base piece.

Nail sides to bottom piece.

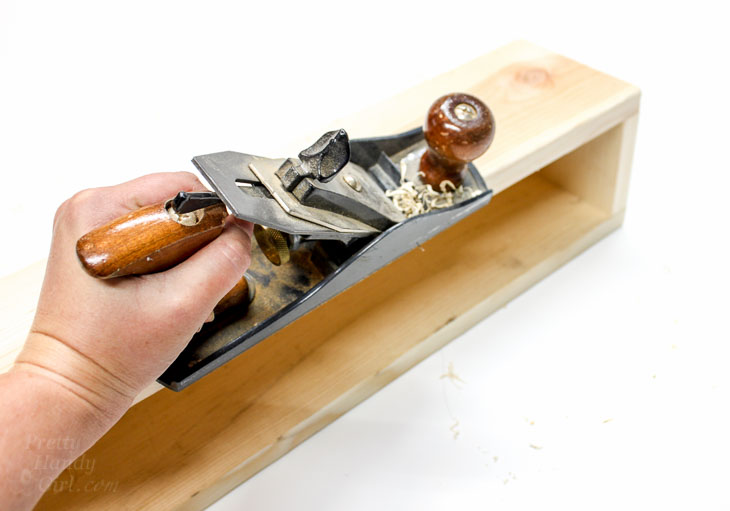
Optional, use a planer or rough sandpaper to round the edges of your trough.

Shave off clean corners for rustic look.

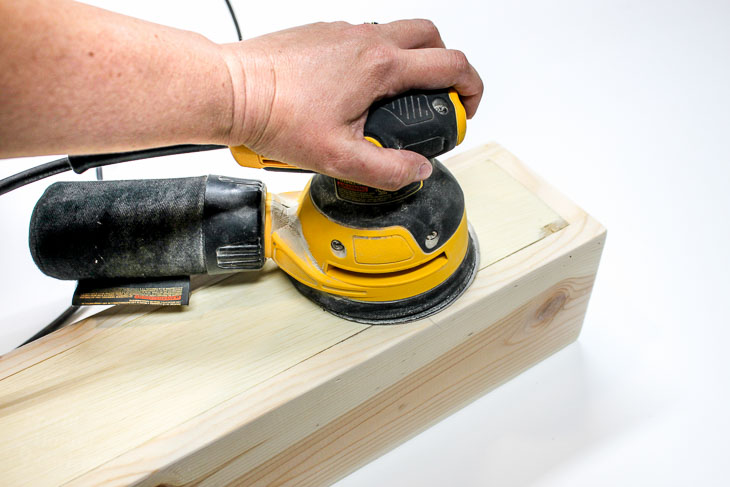
Sand the trough smooth.

Sand smooth.

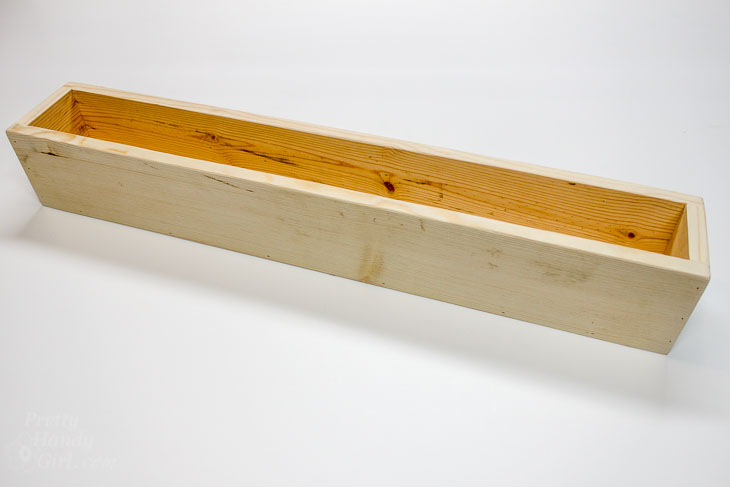
Congratulations, your trough centerpiece build it complete! That wasn’t hard was it?

Finished trough build.

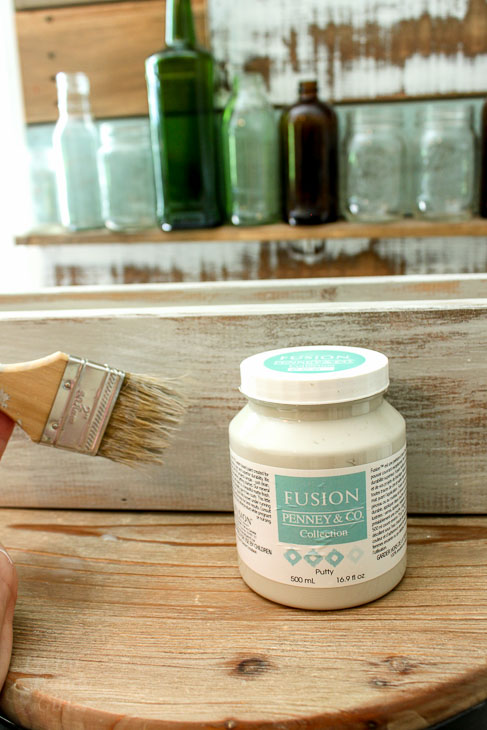
Leave your trough raw. Or stain and paint it to give it a rustic look by following my video tutorial below!

Dry brush Fusion paint.

Add some flowers or seasonal decor and put your trough centerpiece on your table (or mantel or anywhere you want to display it.)

Green and purple hydrangeas in rustic wood trough. Build Your own Rustic Trough Centerpiece tutorial.

Do you like this trough centerpiece? What would you display in your’s?

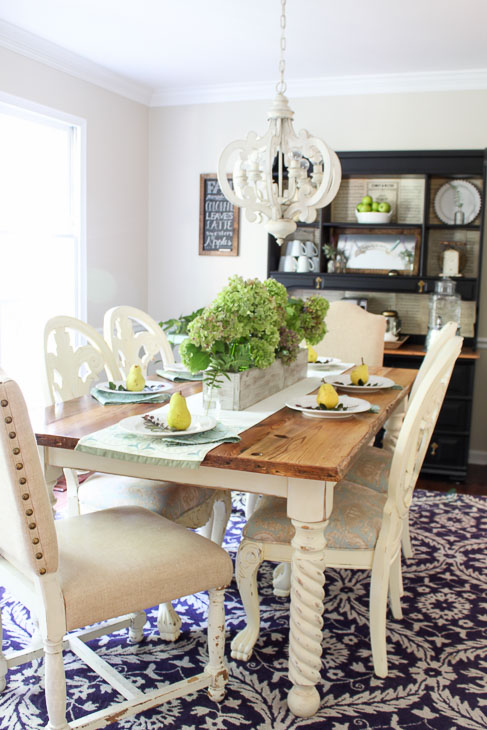
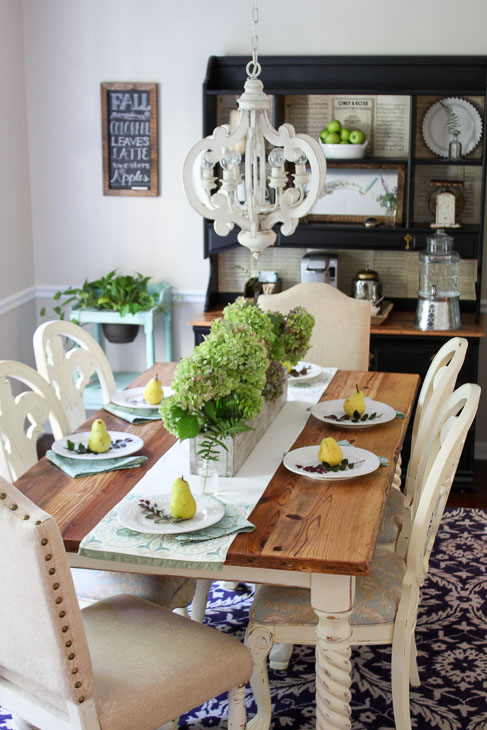
Beautiful fall pears and hydrangea tablescape . Build Your own Rustic Trough Centerpiece tutorial.

I’ll be back later with a full tutorial on how I create the perfect aged and distressed look on my trough. See ya’ later alligator!

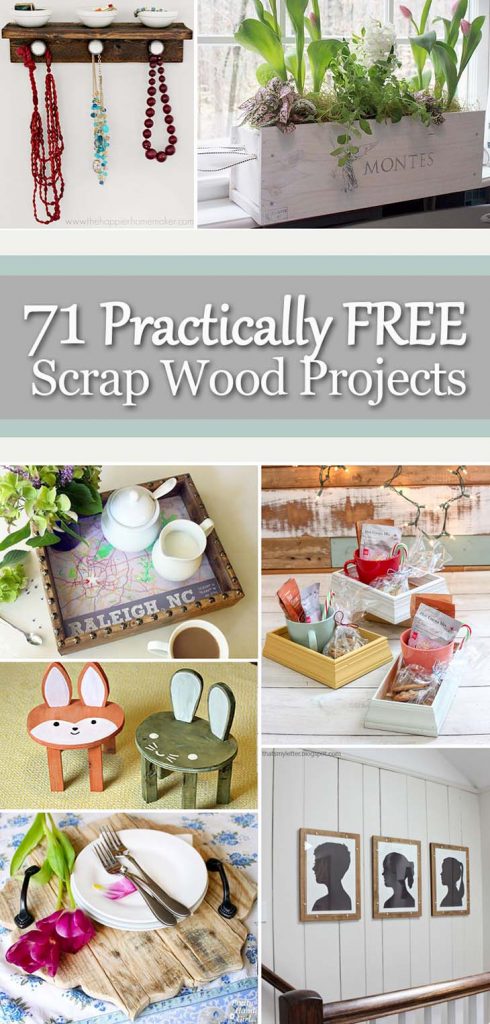
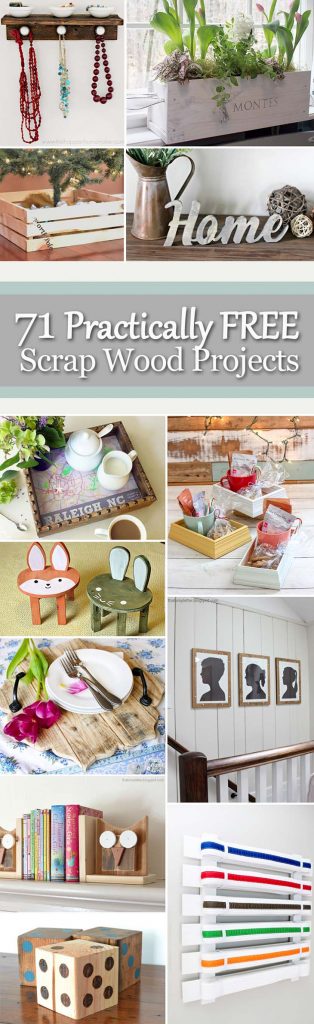
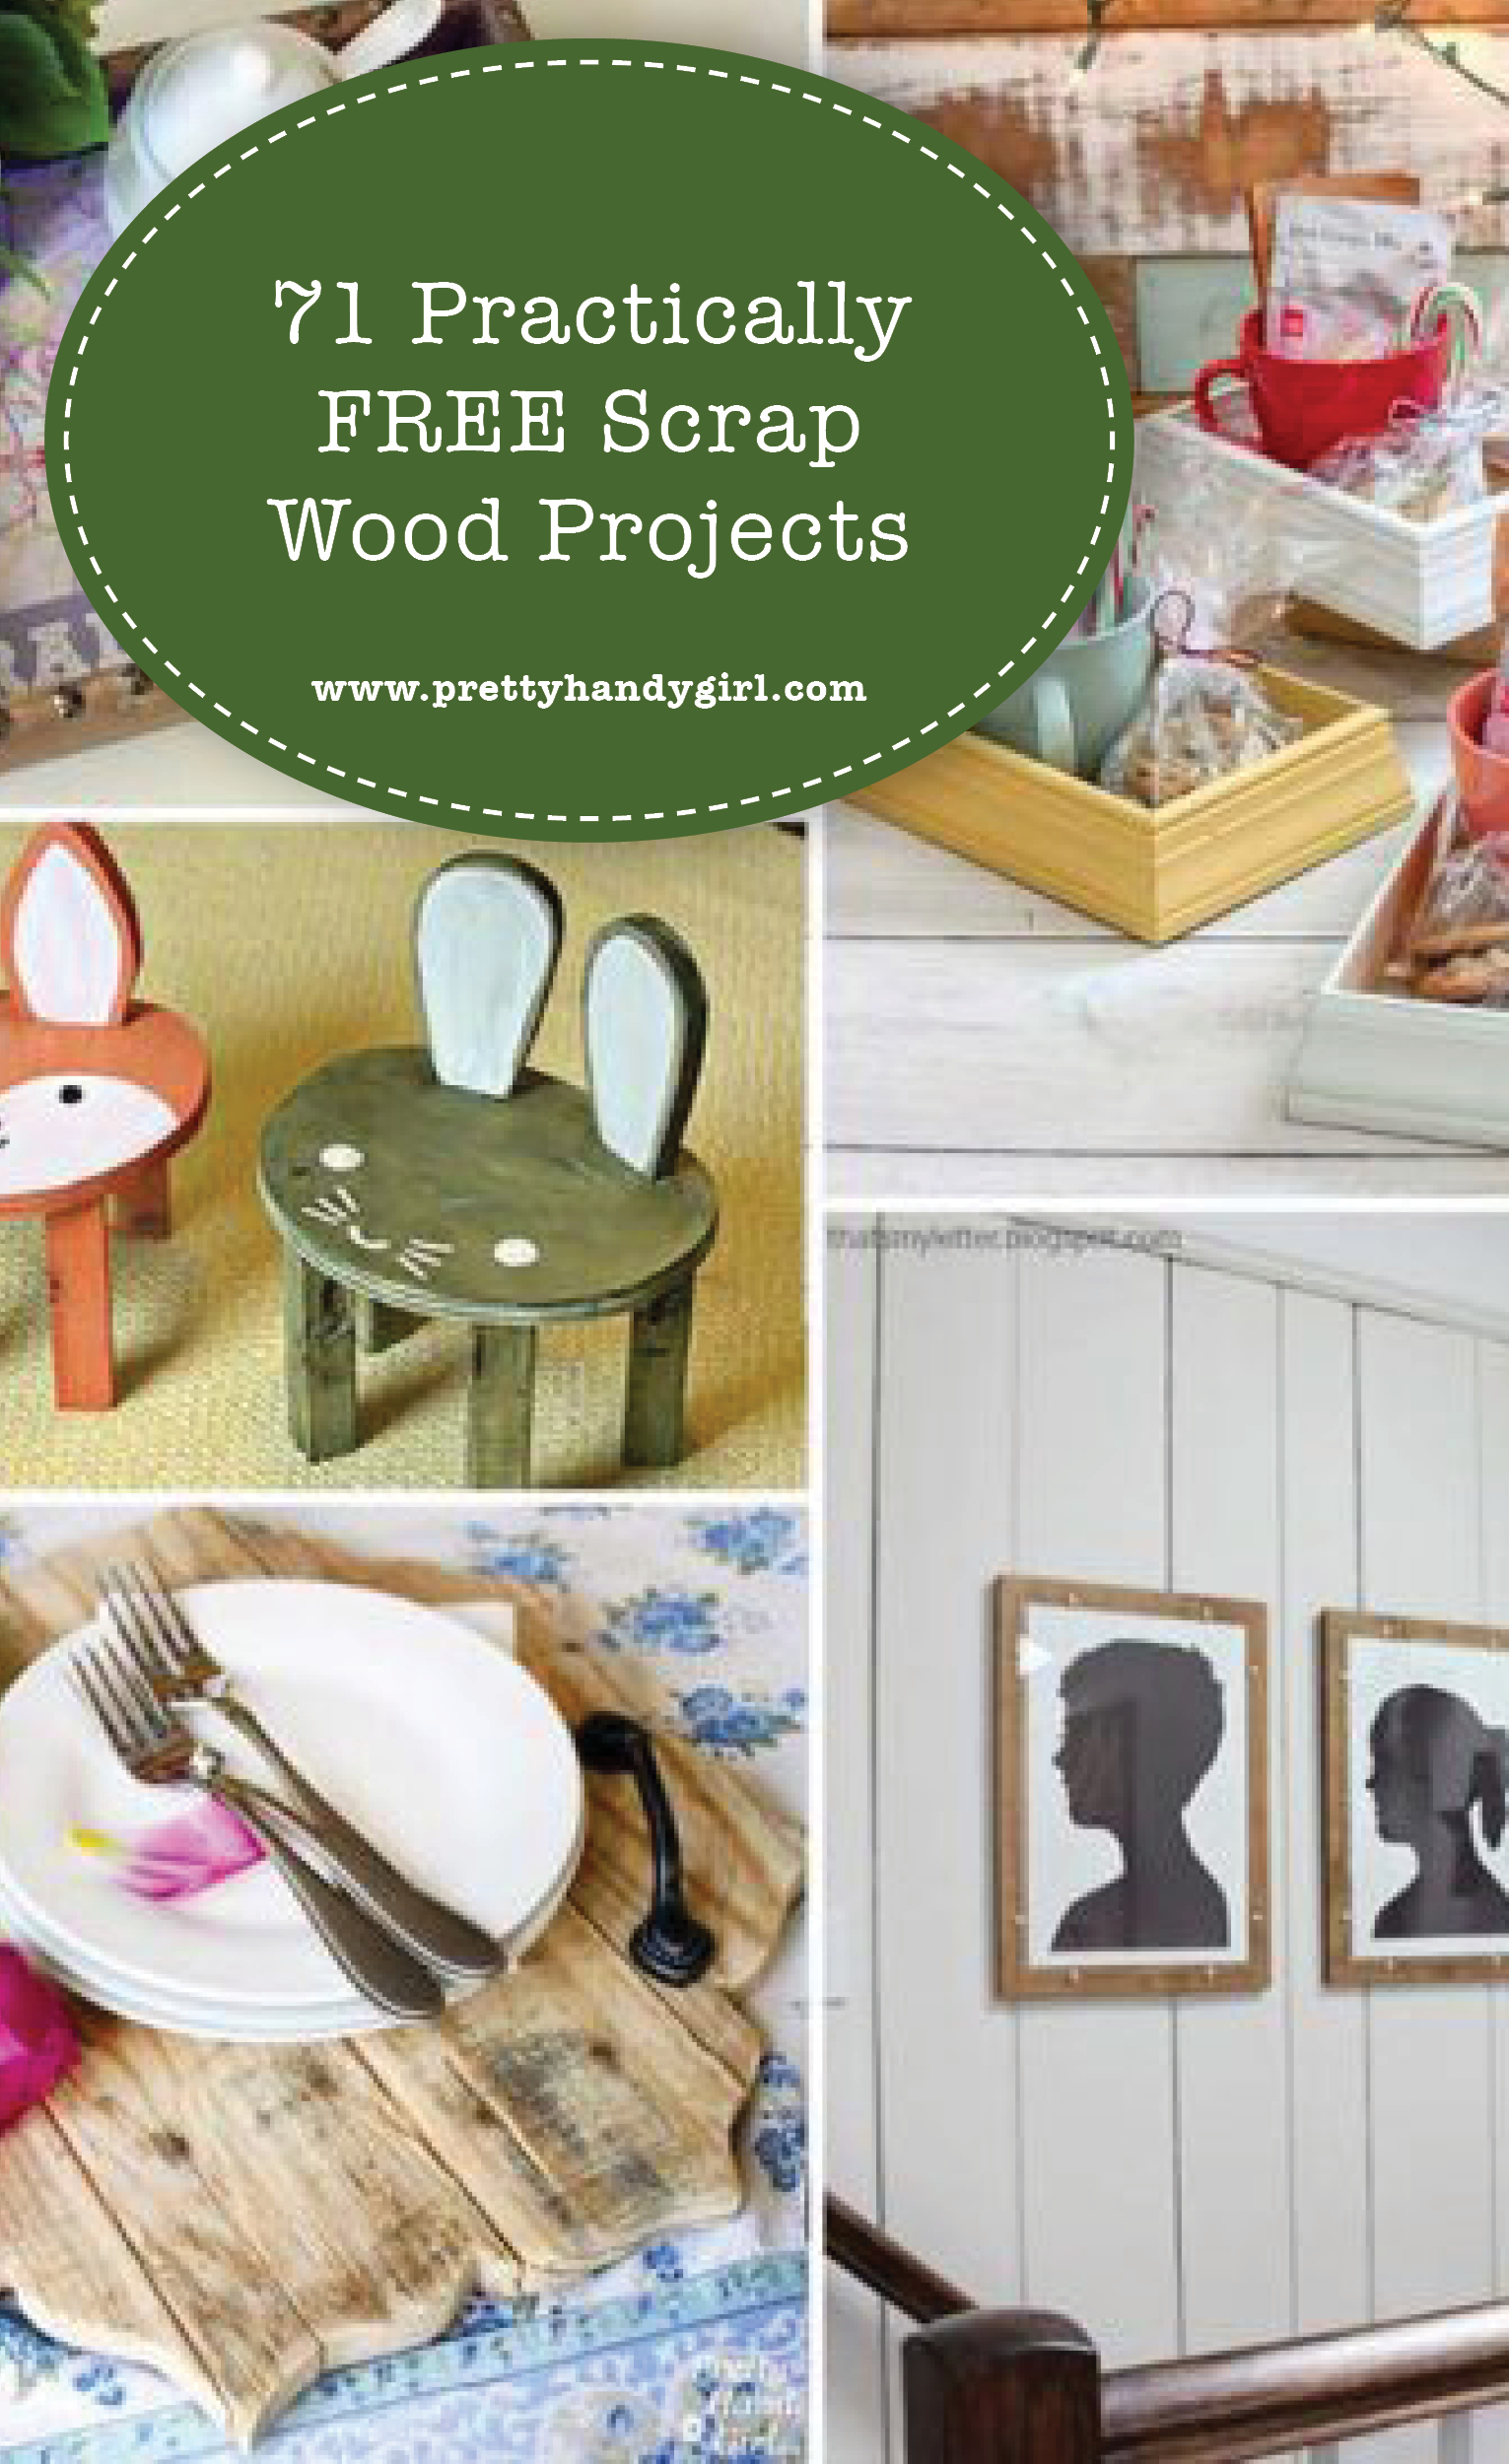
If you liked this tutorial, I know you’ll love this collection of 71 Practically Free Scrap Wood Projects!

71 Practically FREE Scrap Wood Projects


Pin for later!

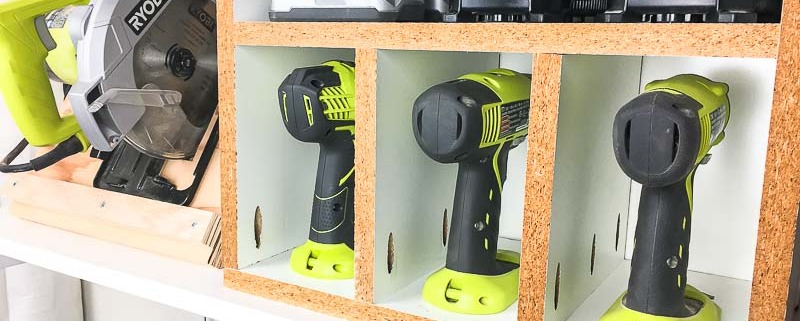
This cordless drill storage, together with the circular saw stand, make it easy to find the tools I need.

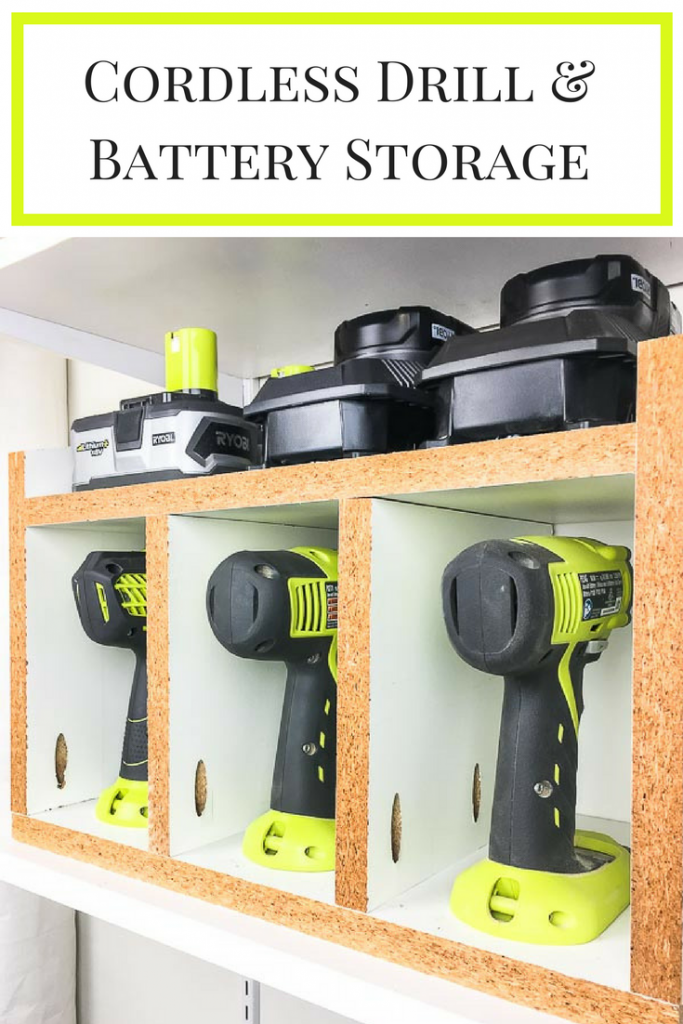
Keep all your drills and batteries in one place with this easy to make cordless drill storage box!Cordless Drill Storage Center

Keep your tools contained and extra batteries close at hand with this cordless drill storage center! It provides space for three drills, batteries and a charging station, so you can keep everything powered up and ready to go.

Hi there, Pretty Handy Girl readers! I’m Vineta from The Handyman’s Daughter, back with another tutorial for you! I have a series on my blog called Workshop Wednesday, where I share ways to make your workshop more organized and efficient. This month I’m bringing Workshop Wednesday over to Pretty Handy Girl with this Cordless Drill Storage Center!

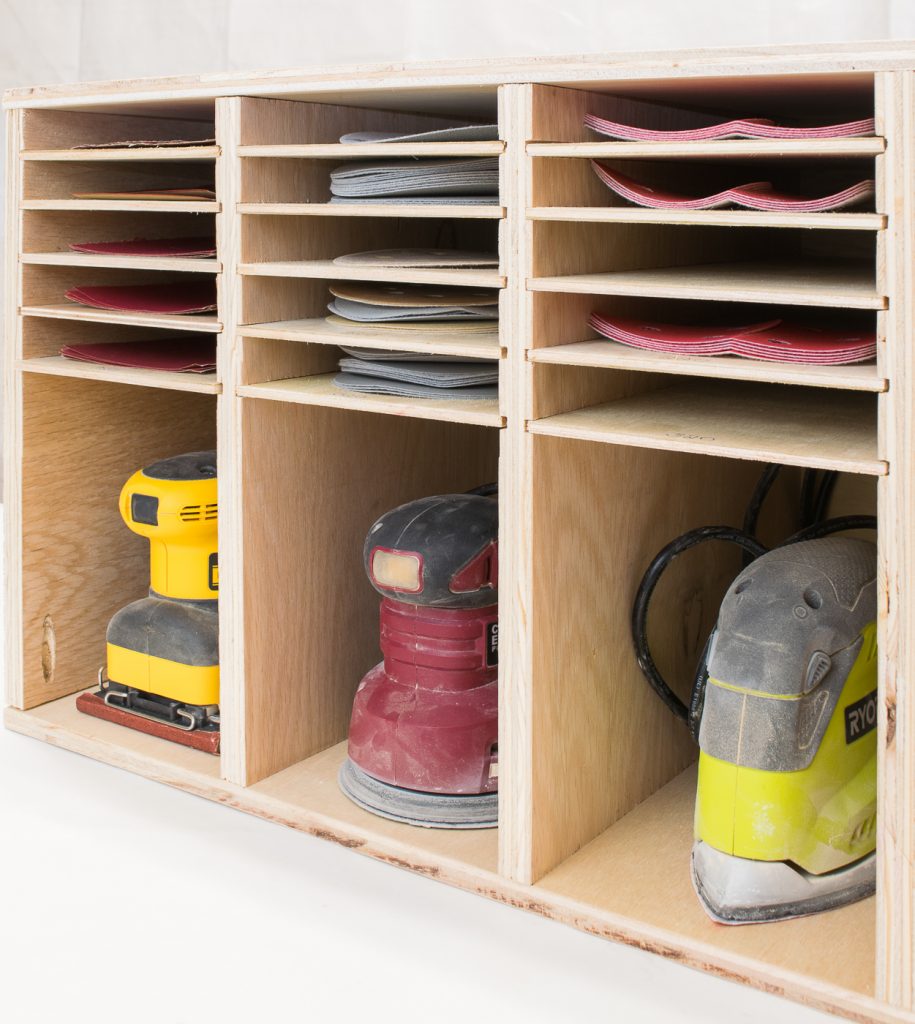
I’ve found the best way to keep track of tools is to give each their own home. So far, I’ve built a circular saw stand and a sandpaper and sander storage unit, both of which have done wonders for my workshop’s organization.

Get the plans to build this sander and sandpaper storage unit at The Handyman's Daughter!

Now it’s time to give my cordless drills and batteries a home of their own!

Materials:

(I’ve included affiliate links for your convenience. I earn a small percentage from a purchase using these links. There is no additional cost to you. You can read more about affiliate links here.)

Cut list:

To save money, I used a melamine shelf left over from a previous project. It wasn’t pretty, but workshop storage doesn’t need to be! The shelf was 9 ¼” wide, making it the perfect size for my drills. Feel free to substitute your own 3/4″ material.

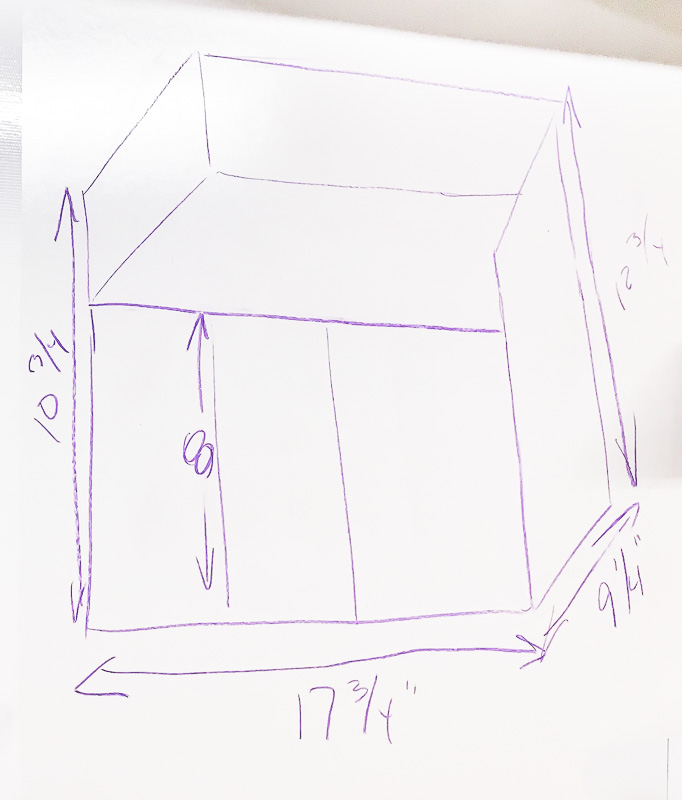
  • 1 – 9 ¼” x 17 ¾”
  • 1 – 9 ¼” x 16 ¼”
  • 2 – 9 ¼” x 12″
  • 2 – 9 ¼” x 8″
  • Cut a piece of 1/4″ plywood to 17 ¾” x 12 ¾” for the back.

Instructions:

Before starting this project, I drew a quick sketch on the whiteboard wall in my workshop. This is handy to have as reference during the building process! The back of the box is taller than the front in my original plan, but that detail isn’t necessary.

I drew a quick sketch of the cordless drill storage unit on the whiteboard wall of my workshop.

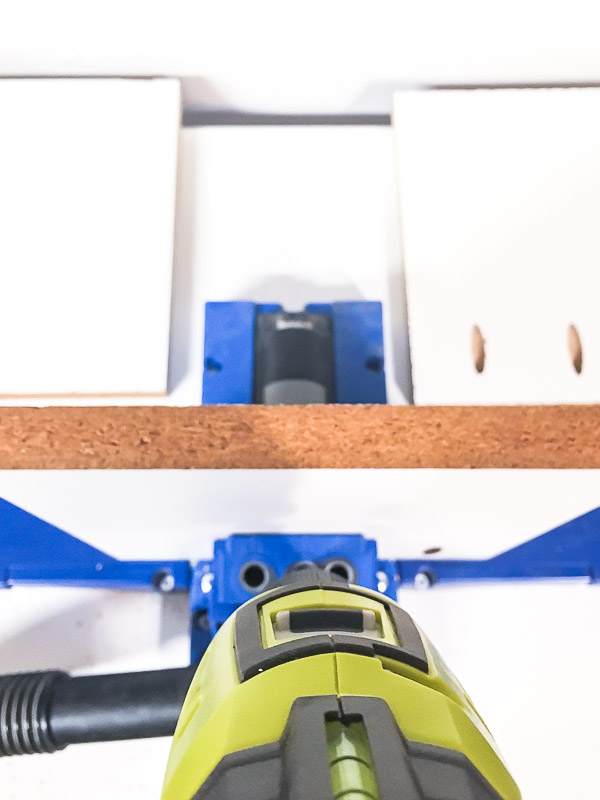
Drill pocket holes along one 9 ¼” side of the 8″ and 12″ pieces.

Drill pocket holes in each 8" and 12" piece for your cordless drill storage unit.

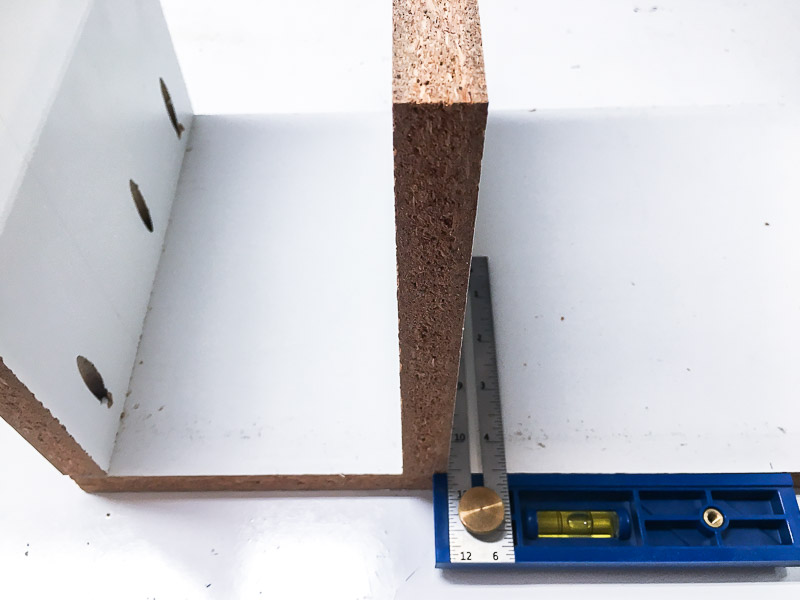
Attach the two 12″ pieces to the ends of the 17 ¾” piece with pocket hole screws. The two 8″ pieces should be spaced about 5″ apart in between the two 12″ pieces.

Attach the vertical pieces of the cordless drill storage box with pocket hole screws.

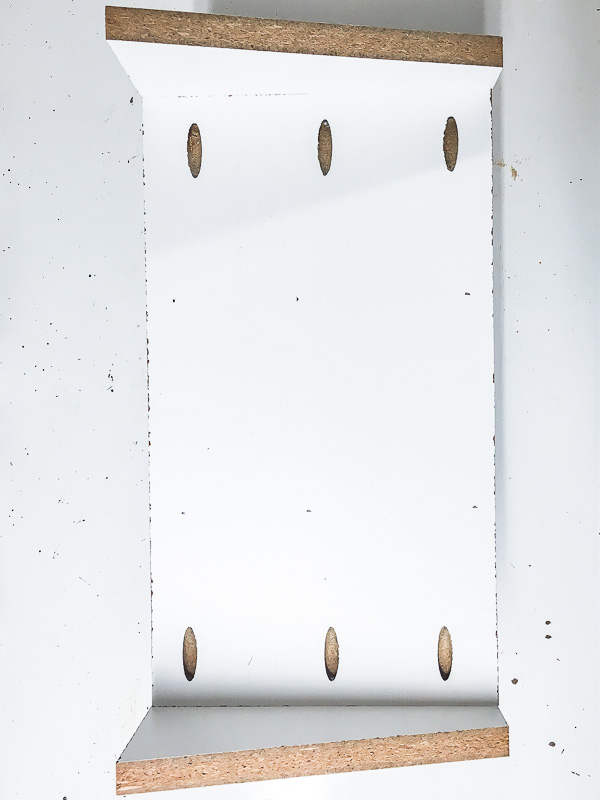
Drill three pocket holes into each end of the 16 ¼” piece. Set this piece on top of the 8″ center pieces with the holes facing up and attach it to the sides with pocket hole screws.

Attach the top of your cordless drill storage box.

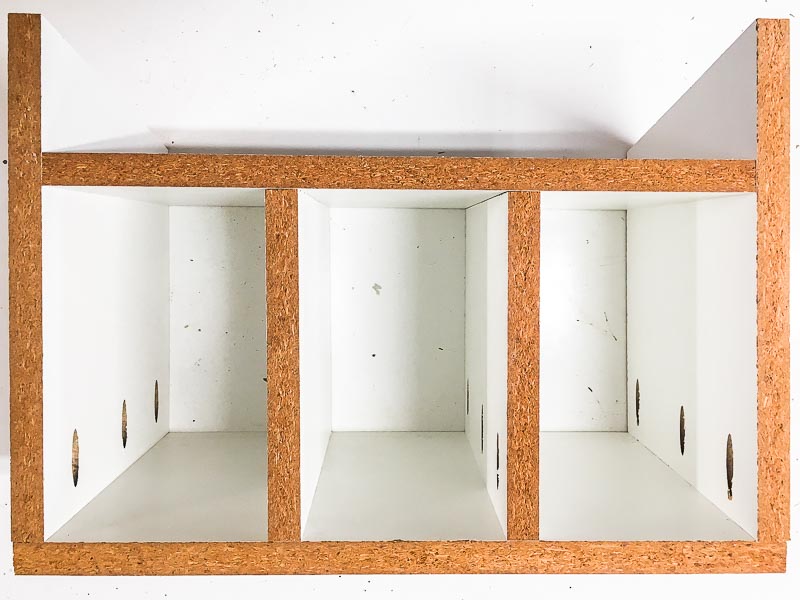
At this point, your cordless drill storage box should look like this…

Your cordless drill storage box should look like this once the top is attached.

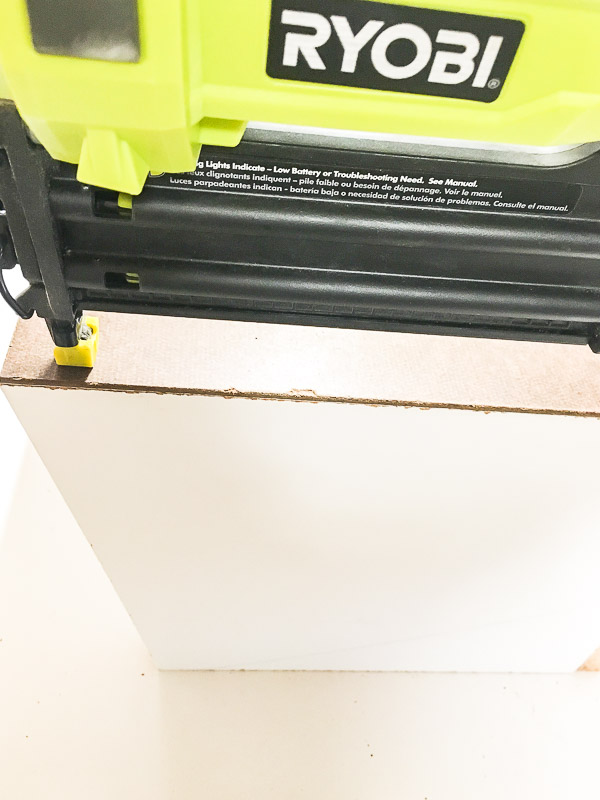
Add the 1/4″ plywood back with 1 ½” brad nails. (I used leftover whiteboard on mine.)

Attach the back to your cordless drill storage box with 1 1/2" brad nails.

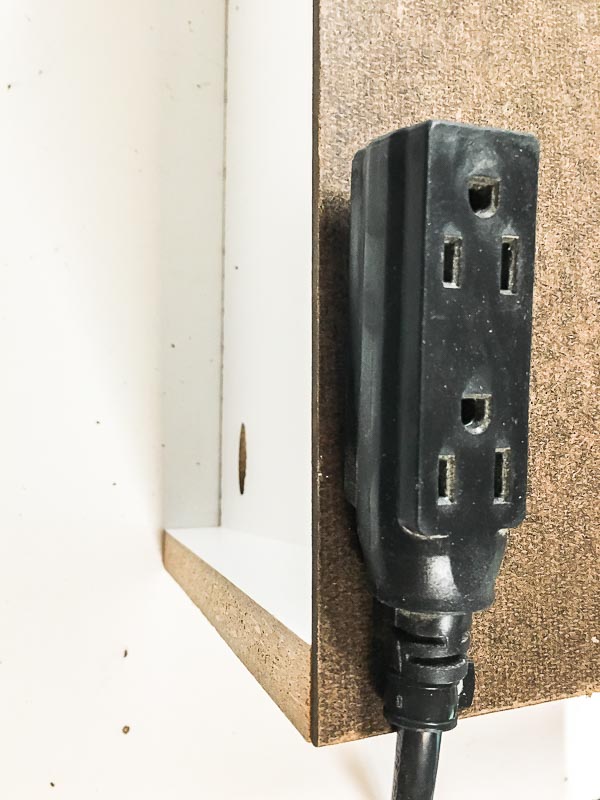
To accommodate my two battery chargers, I attached an extension cord with two outlets to the back of the box.

Attach an extension cord with extra outlets to the back of the cordless drill storage box for battery chargers.

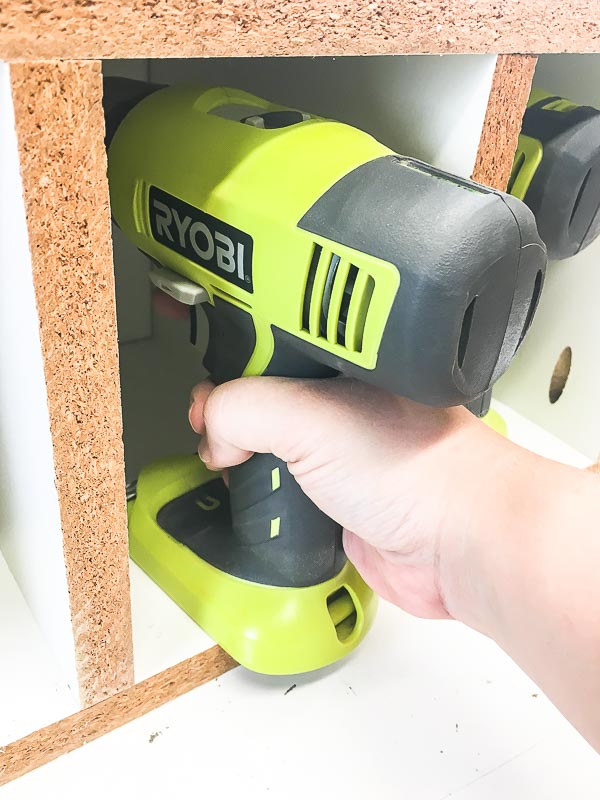
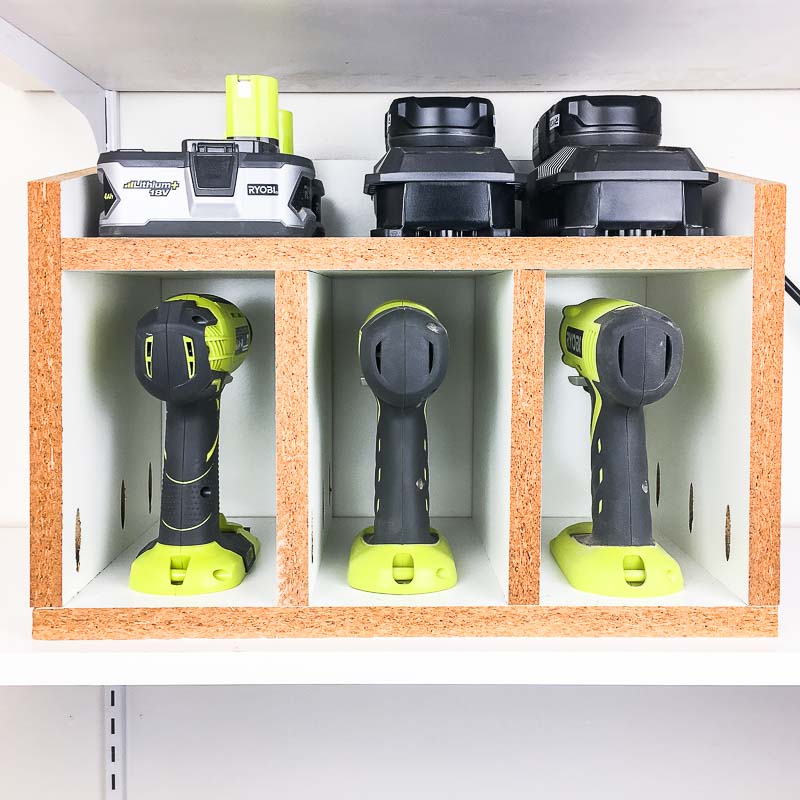
Now the Cordless Drill Storage Center is ready to be loaded up! Two drills and an impact driver each have their own slot.
Load up your cordless drill storage box!

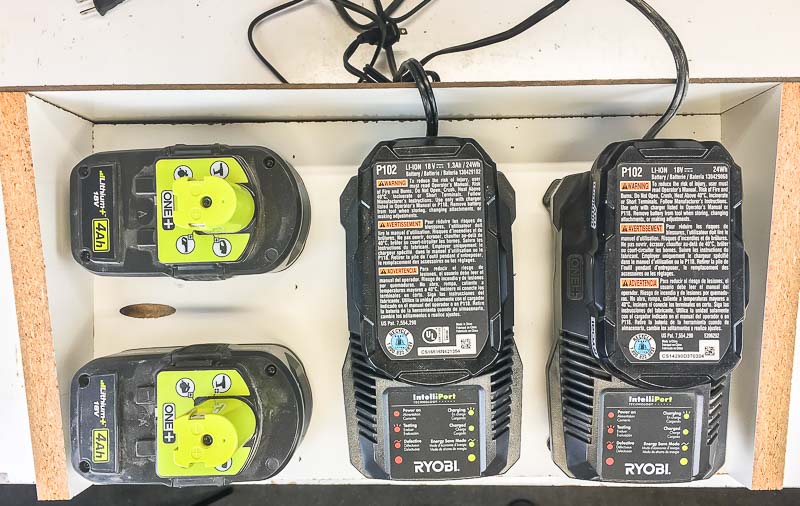
The top holds two battery chargers and at least two extra batteries. Plenty of power for my next project!

The top of the cordless drill storage box fits two chargers and two extra batteries.

Now I can easily grab the tool I need and get to work!

This cordless drill storage box makes it easy to grab your tools and get to work!

The Cordless Drill Storage Center fits perfectly next to my circular saw stand. Much better than a jumble of tools on the shelf!

This cordless drill storage, together with the circular saw stand, make it easy to find the tools I need.

Don’t forget to check out my other Workshop Wednesday posts over at The Handyman’s Daughter!

Until next time!

 ~ view more of Vineta’s projects ~

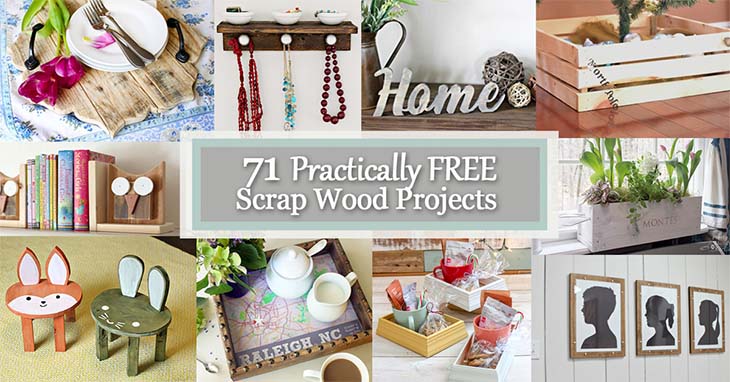
71 Practically FREE Scrap Wood Projects

If you make things out of wood you know almost every project leaves scrap wood. Why not use up those scraps by making some of these 71 Practically FREE Scrap Wood Projects?

71 Practically FREE Scrap Wood Projects71 Practically FREE Scrap Wood Projects

These projects definitely won’t break the bank and they will keep the scraps out of the trash. As a bonus, most make a great gift idea. Enjoy!

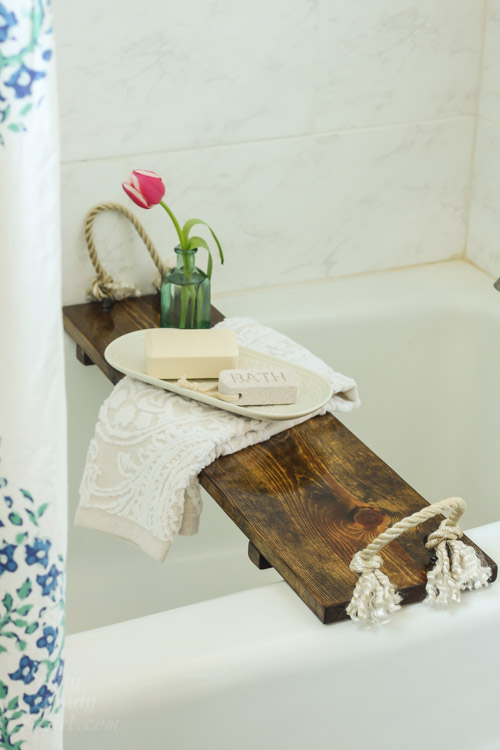
build your own rustic wood bathtub tray pinRelax in style with this Rustic Wood Bathtub Tray.


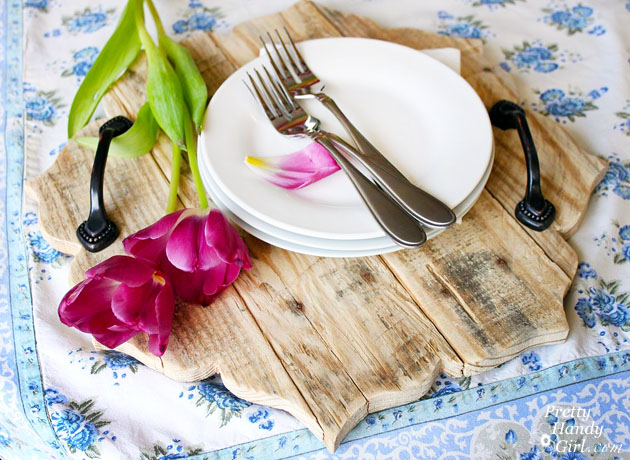
rustic serving tray tulips

 This Rustic Pallet Serving Tray is beautiful and functional.

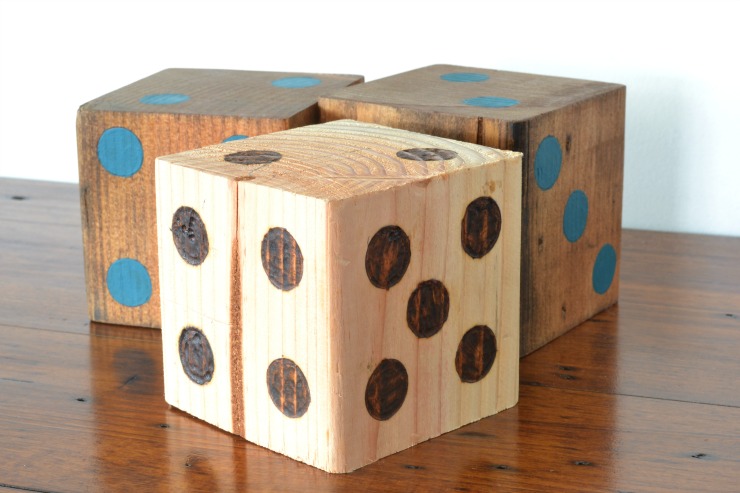
DIY yard diceHave some family fun with these DIY Yard Dice.


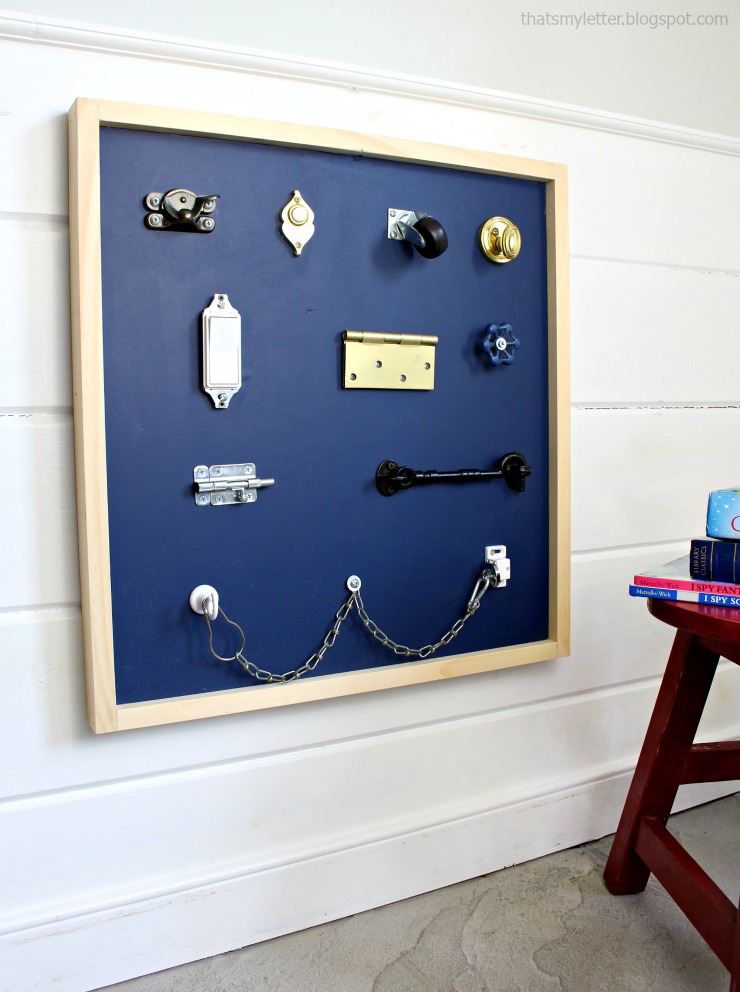
switches and locks board 3Make this Switches and Locks Playboard for a little one in your life.


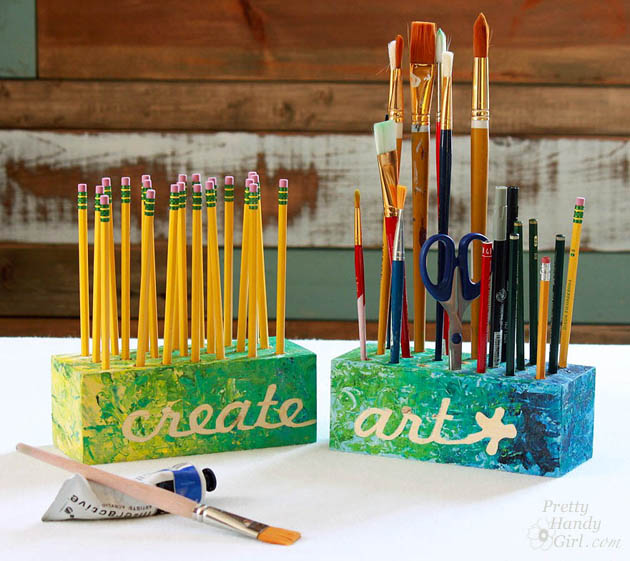
create art block holdersSimple Create Art Block Holders for your craft area or to give as a gift.


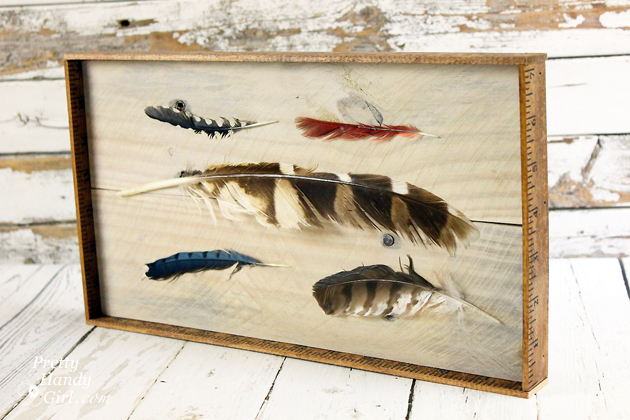
DIY feather artMake this unique and clever DIY Feather Art using old yardsticks and scraps.


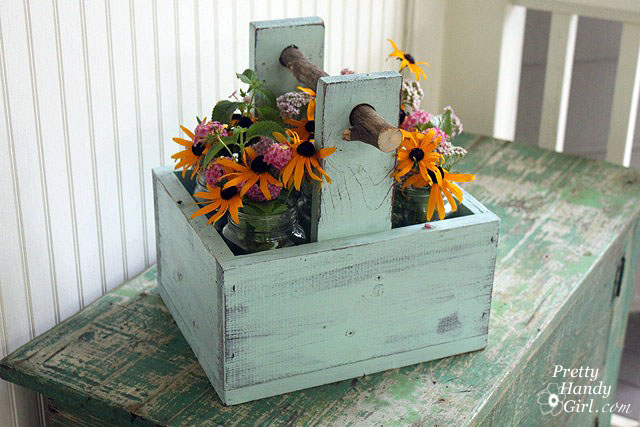
rustic wooden caddy with branch handleThis cute Rustic Wooden Caddy with Branch Handle can hold anything.


How to make an easy scrap wood fall sign

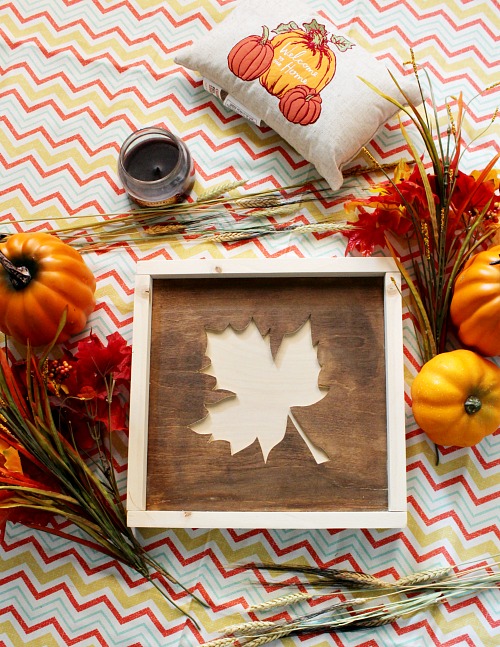
Celebrate fall with a beautiful DIY Fall Leaf Art Sign.


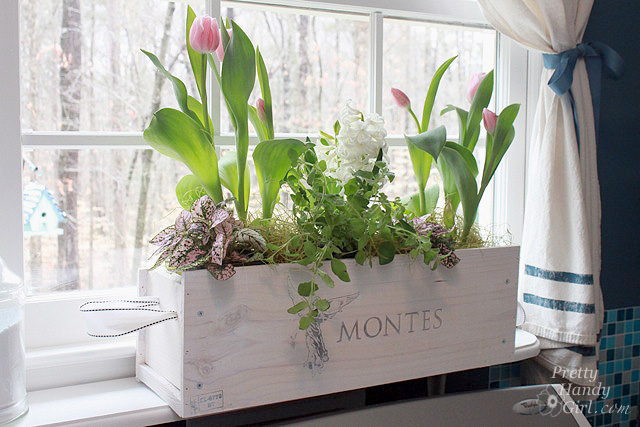
white washed window boxMake this White Washed Window Box from a discarded wine crate.


coffee serving tray mapLove your city? Create the perfect Coffee Serving Map Tray.


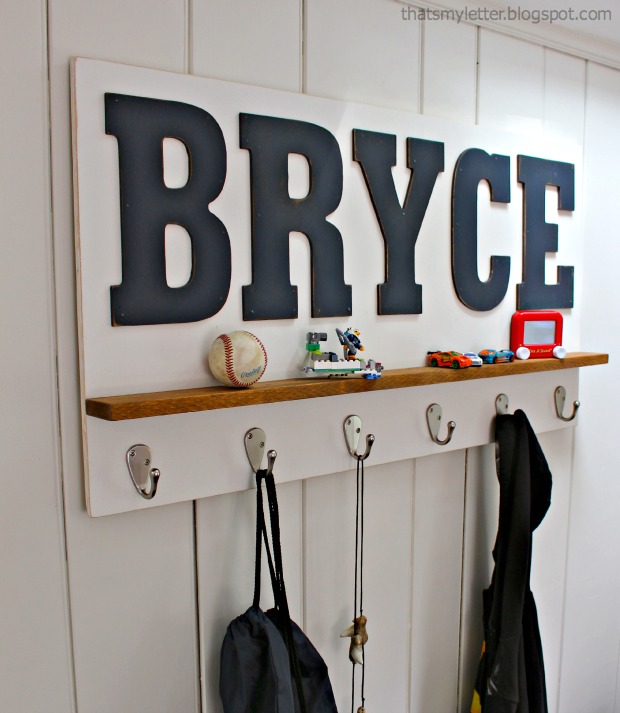
personalized wall shelf A few boards are all you need to make this Personalized Wall Shelf with loads of storage.


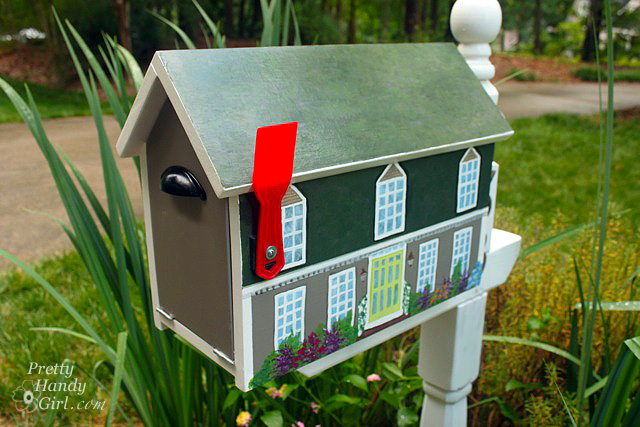
house shaped mailbox promoBuild an adorable House-shaped Mailbox.


house shape door decor Forget a wreath, remind everyone that home is where the heart is with this House-shaped Door Decor.


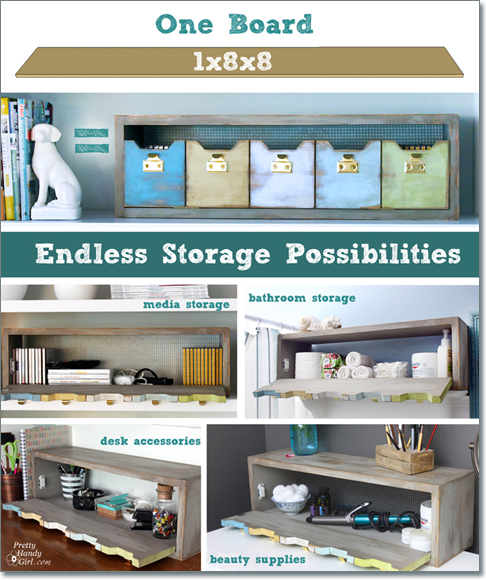
one board organization storageAll these amazing Storage Options using just one board!


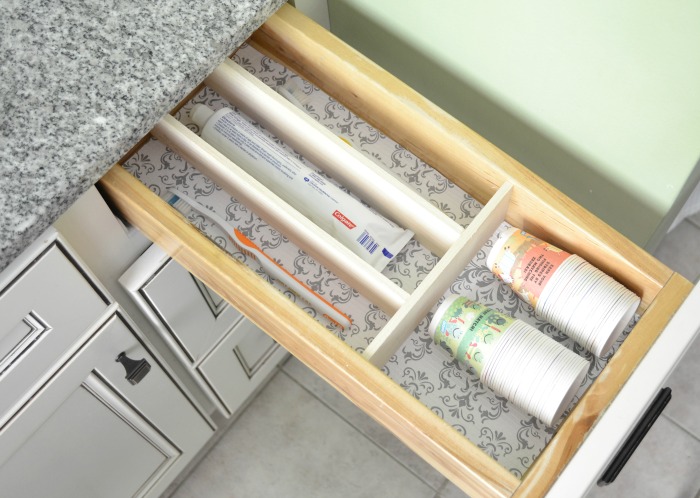
diy drawer dividersGet organized with these simple DIY Drawer Dividers.


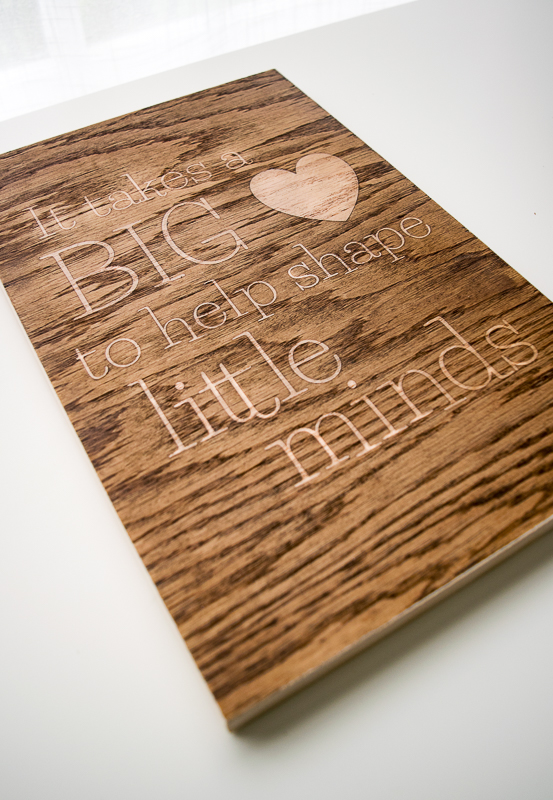
Wooden sign teacher giftShow your appreciation to a teacher with this Wooden Sign Teacher Gift.


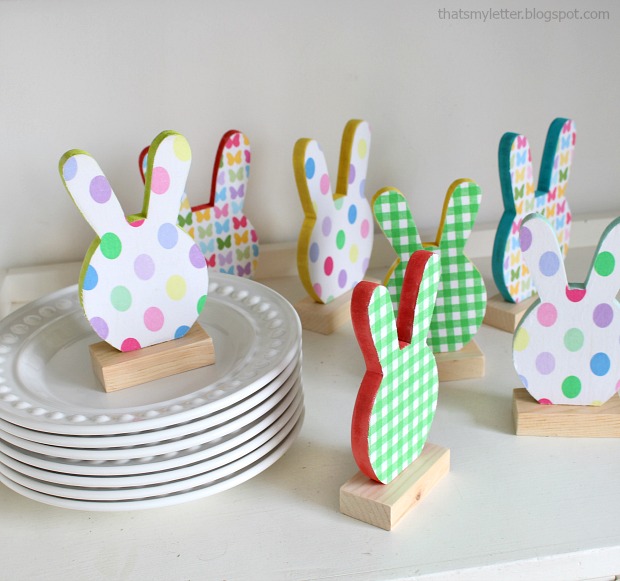
bunny place cards Brighten up your Springtime table with these Bunny Place Cards.


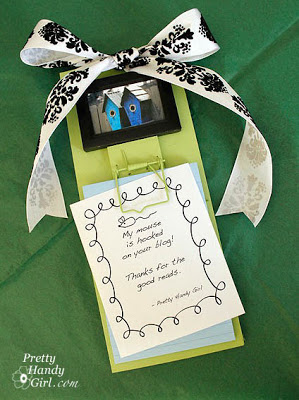
Mousetrap Memo Trap FinalRepurpose and make a Mousetrap Memo Pad.


valentines wreath branches close up wood heart wreathMake a Valentines Wreath from tree branches for a loved one.


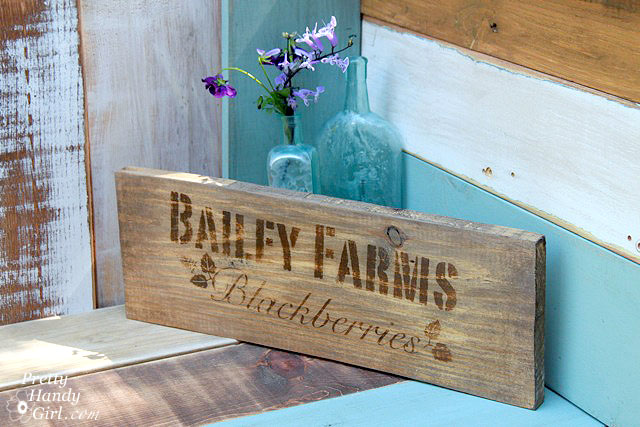
Bailey Farm Crate End Sign Customize this Rustic Farm Crate Sign for your home using new scrap wood (plus, learn how to age the wood.)


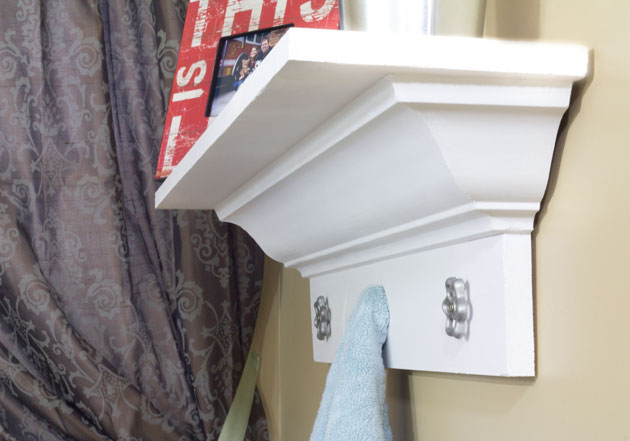
Decorative Crown Molding Make this Decorative Shelf using Crown Molding.


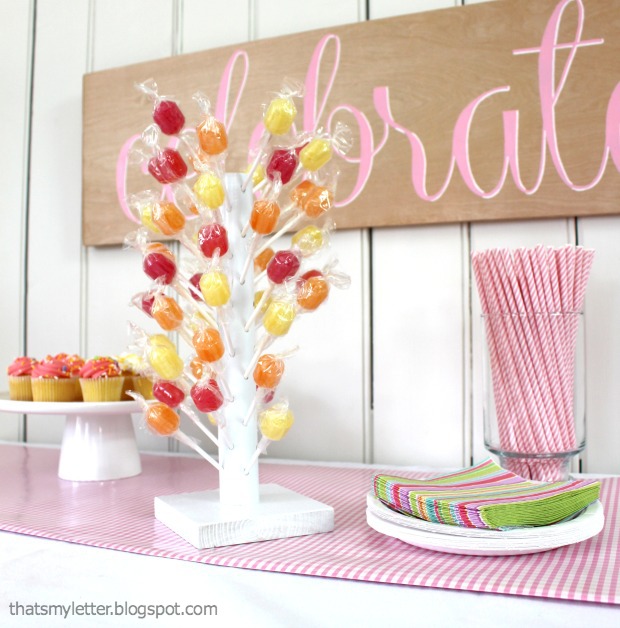
lollipop stand This DIY Lollipop Stand is sure to be a hit at your next party.


valentine string art all you need is love wood artShare your love with this Valentine String Art Engraving.


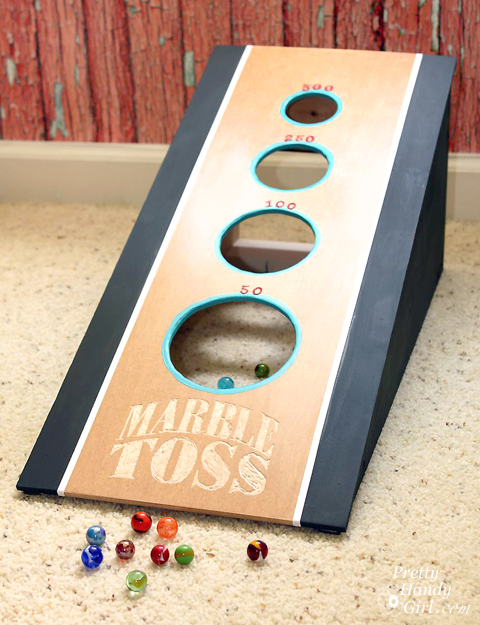
Marble tossThis DIY Marble Toss Game would be fun for anyone.


kids scooter clearanceBe the coolest parent around by making these DIY Kids Scooters.


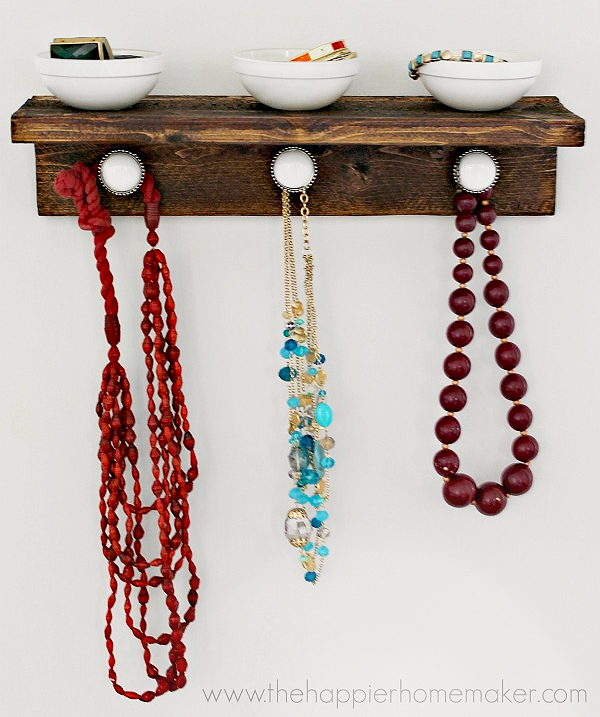
jewelry organizer bowlsA Jewelry Organizer is simple yet a must-have.


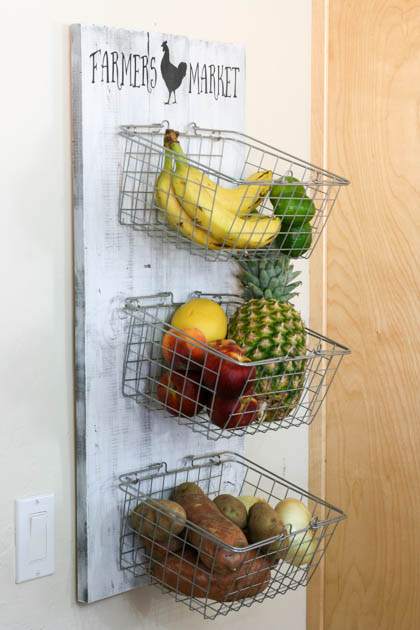
diy produce rackOrganize your fruits and veggies with this DIY Produce Rack.


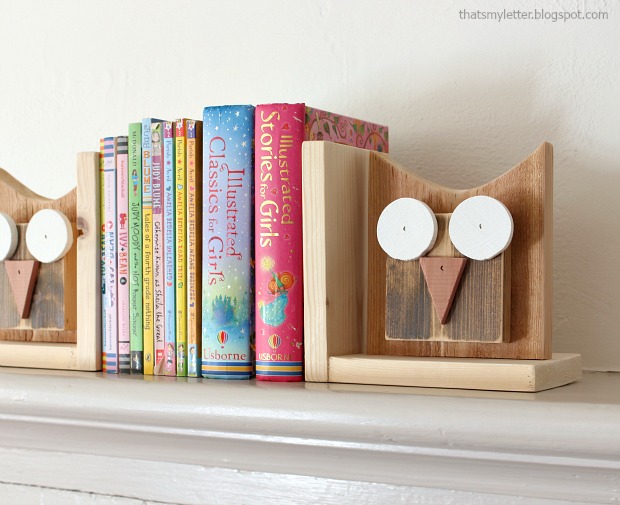
owl bookends These whimsical DIY Owl Bookends add fun to any room.


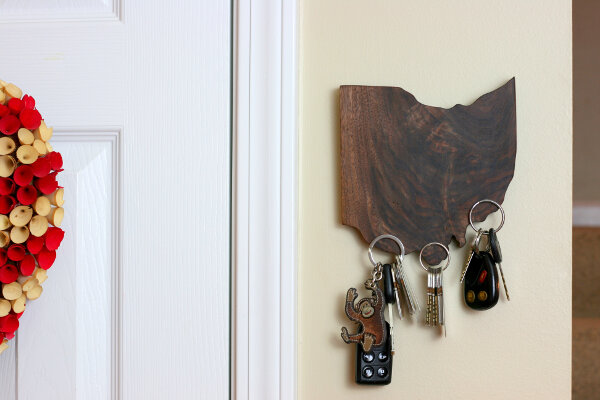
state pride magnetic key holder Keep your keys close at hand with this magic State Pride Magnetic Key Holder.


snowflake christmas trivetsThese Snowflake Christmas Trivets are perfect for your holiday dinner.


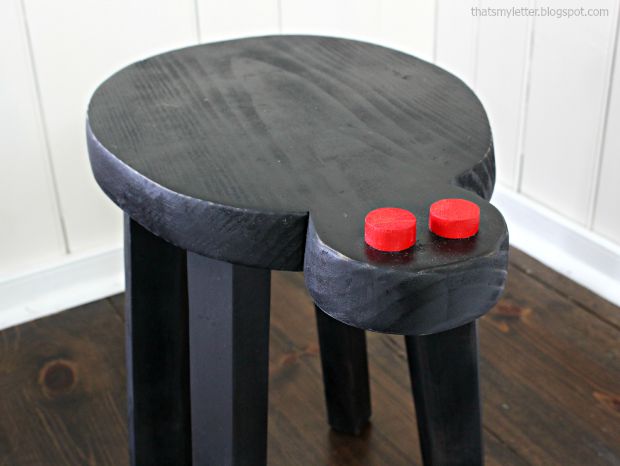
spider stool What kid wouldn’t love this DIY Spider Stool?


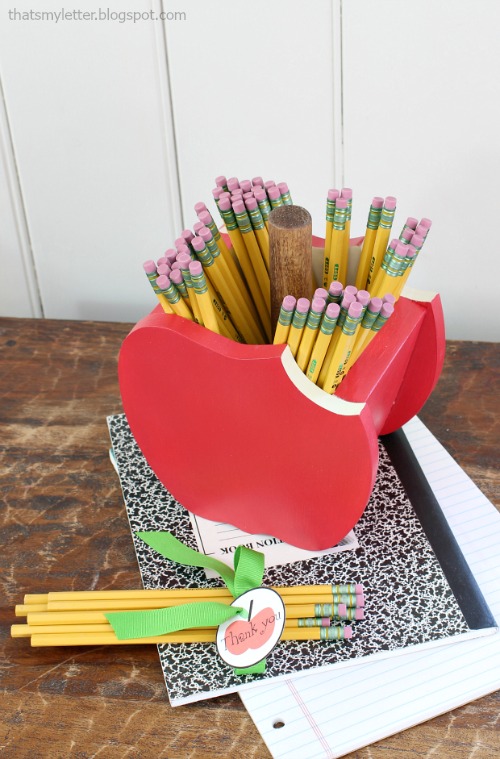
apple pencil holder An Apple Pencil Holder would make a great gift for your favorite teacher.


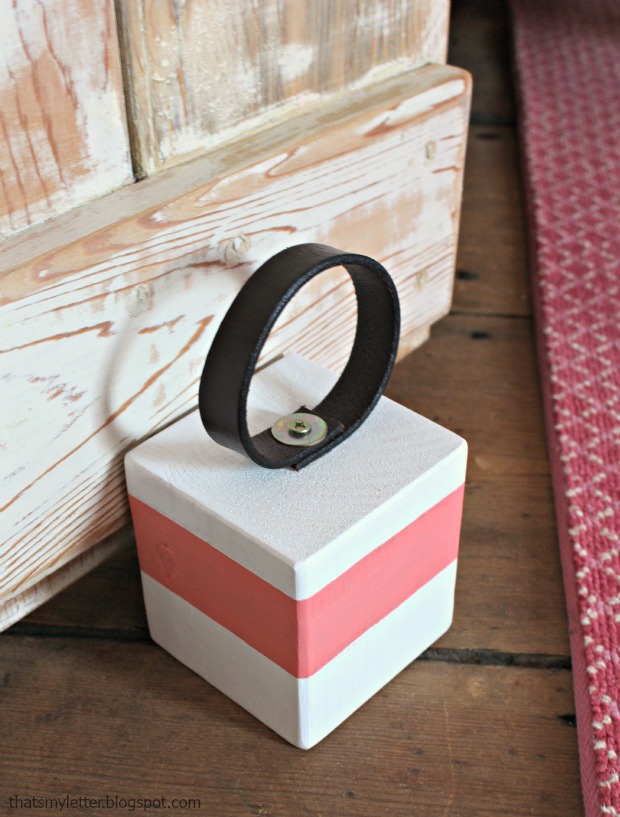
door stop with handle This Doorstop With a Handle makes an adorable stop that also helps keep your door open.


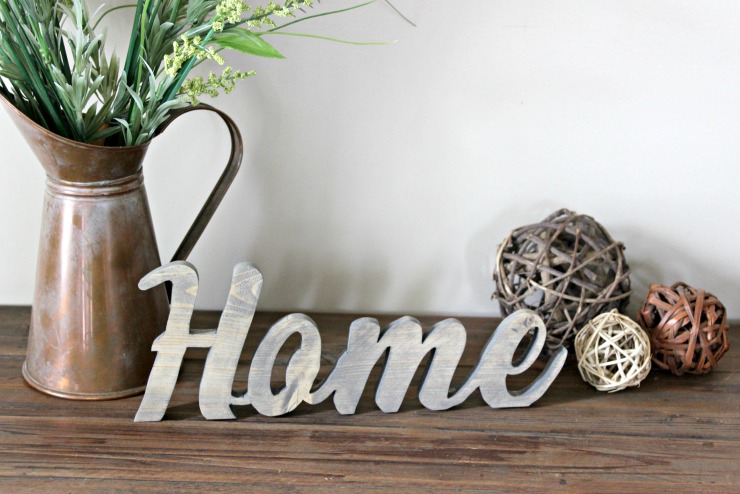
Rustic Home sign Super cute! This Rustic Home Sign can be made in any size using scrap wood.


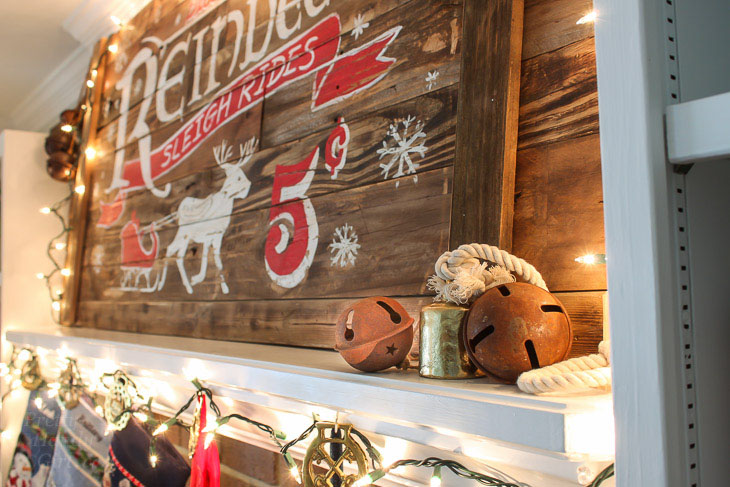
close up rusted sleigh bellsCreate a Vintage Rustic Sleigh Ride Sign for perfect holiday decor.


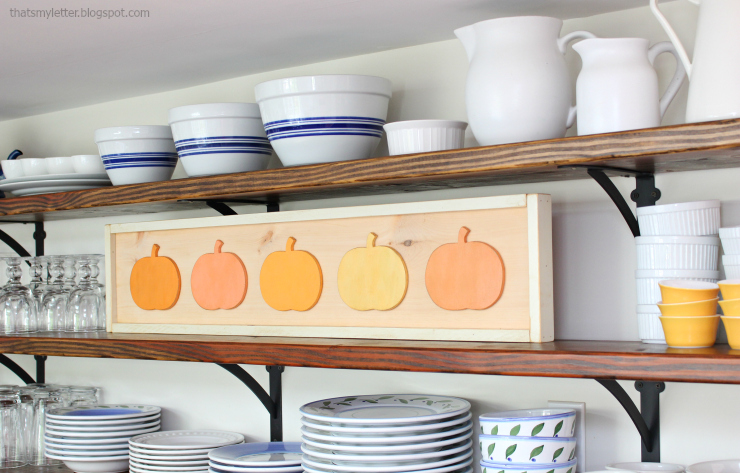
framed pumpkins Add some character to your room this fall with Framed Pumpkins.


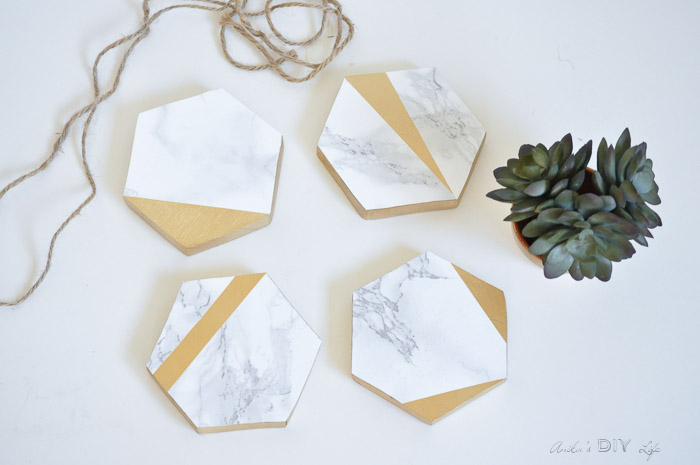
Gold and marble coasters Anikas DIY Life final These Easy Gold and Faux Marble Coasters are modern, clean and you can make them with scrap wood!


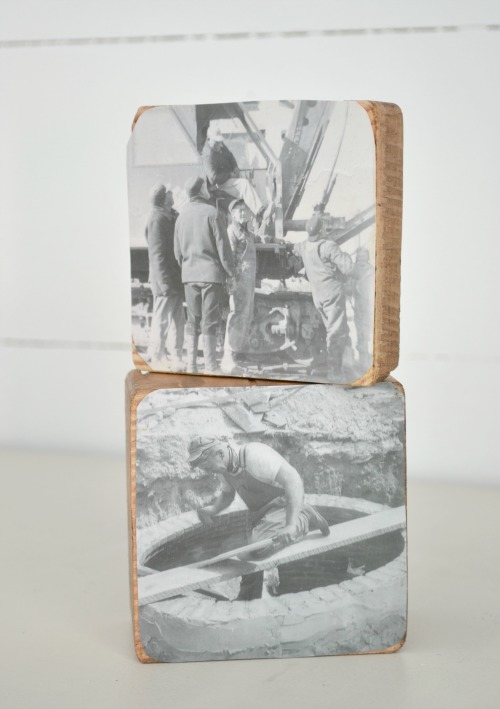
4x4 wood block framesMake these incredibly simple 4×4 Picture Frames to display your memories.


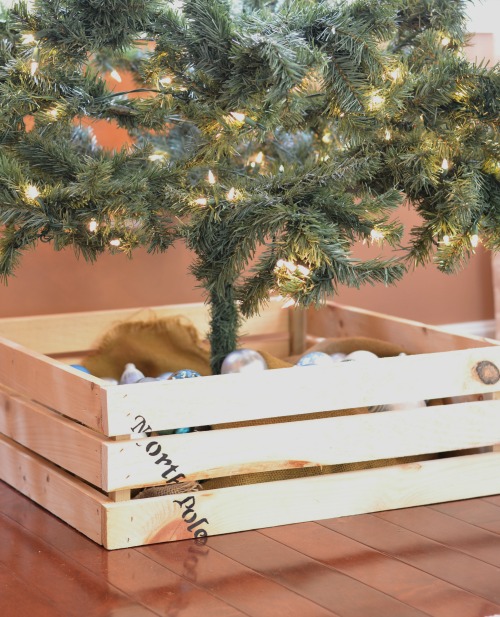
Crate Christmas tree boxForget the skirt, make a Christmas Tree Crate to hold your tree.


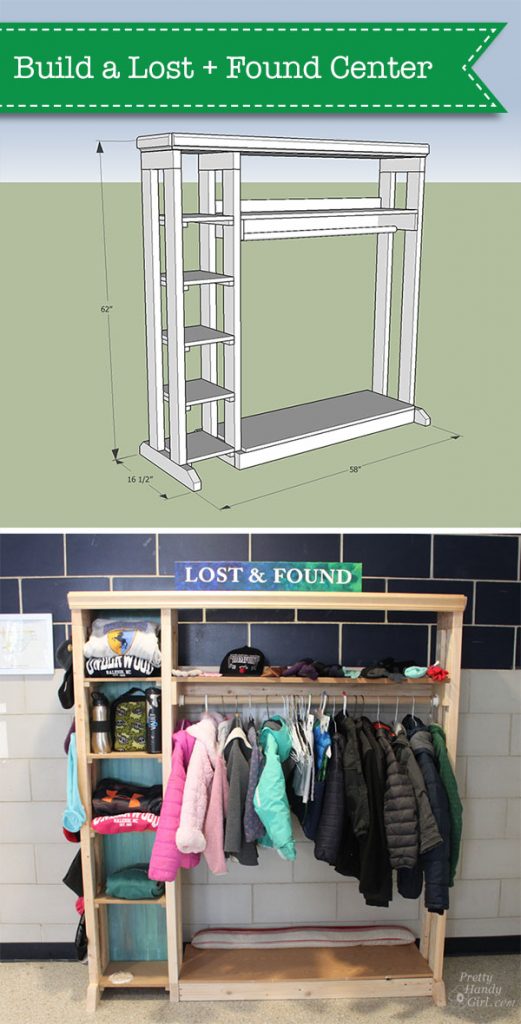
plans to build a lost and found centerHave a fair amount of scraps? Make this Lost and Found Center for your local school.
 

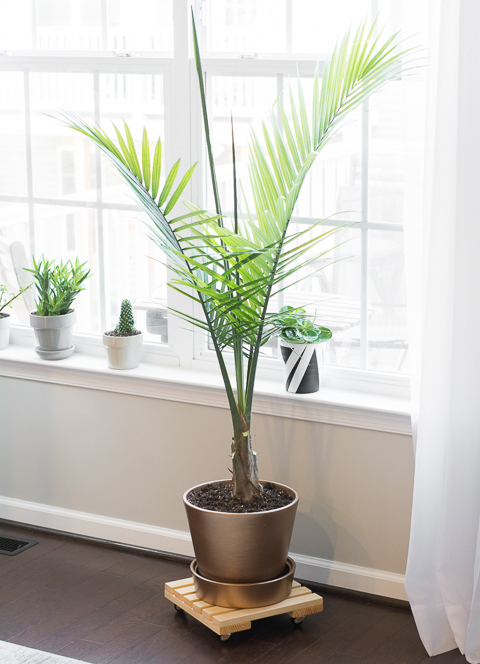
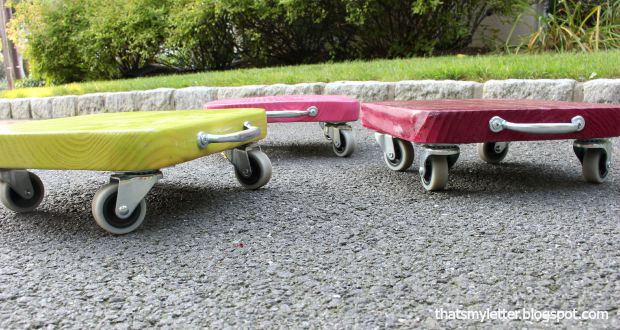
DIY Rolling Plant Caddy by Brittany Goldwyn Make a Rolling Plant Caddy so you never have to carry heavy planters again.


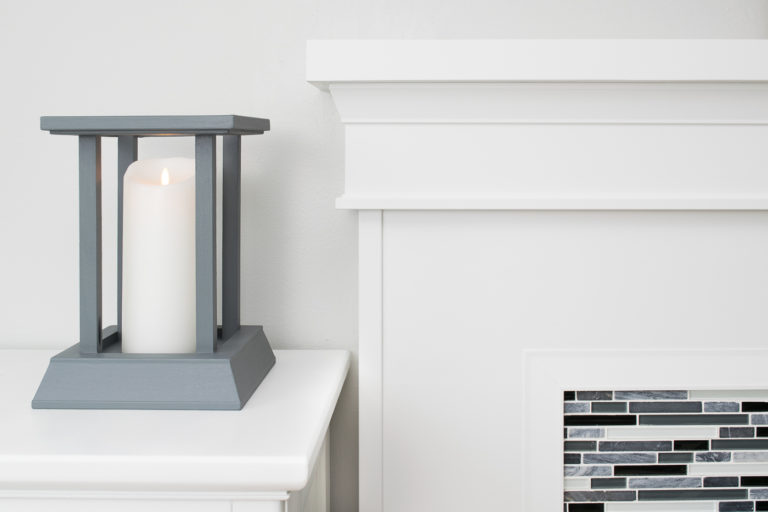
DIY candle lantern final with fireplace This Candle Lantern From Leftover Trim is sleek and modern.


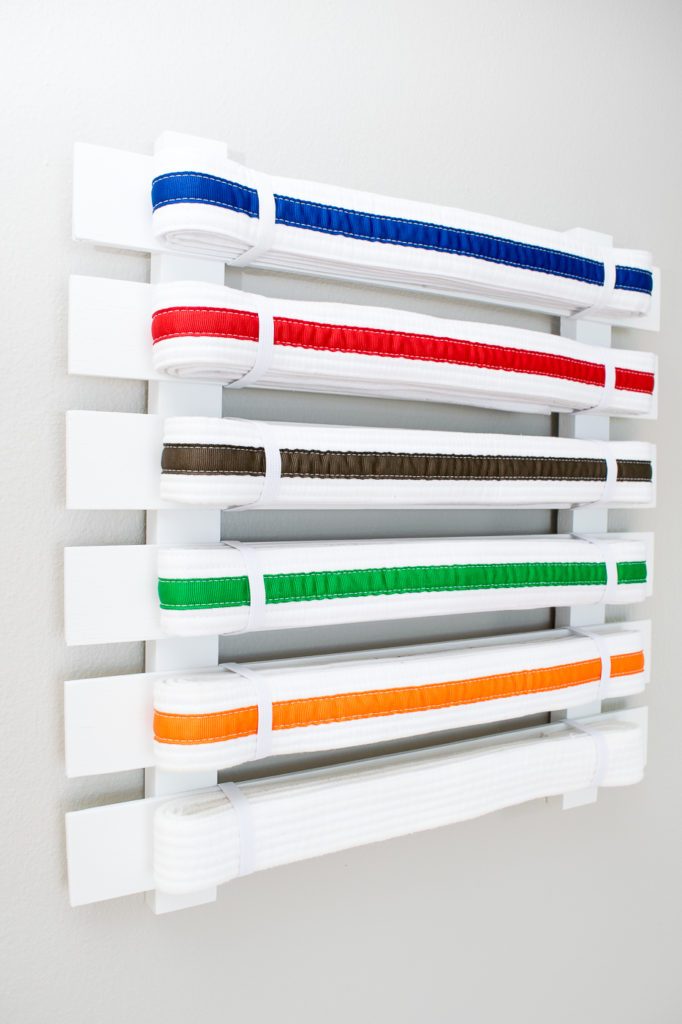
karate belt display final Does your kid need a DIY Karate Belt Display? Make one easily!


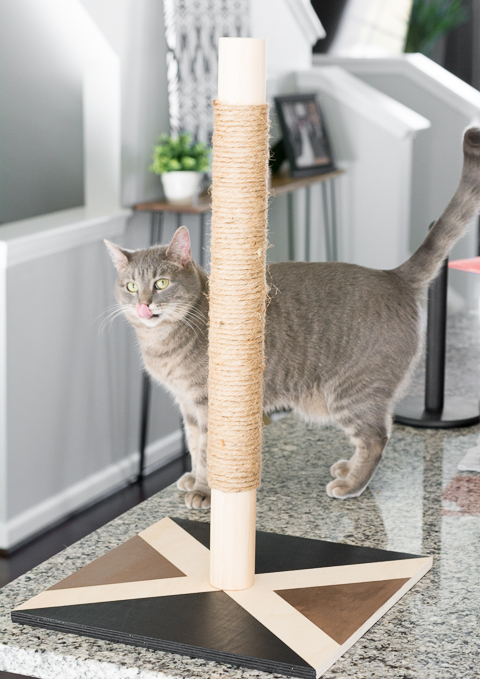
Modern Cat Scratcher DIY Your furry friend will love this DIY Cat Scratcher Post.


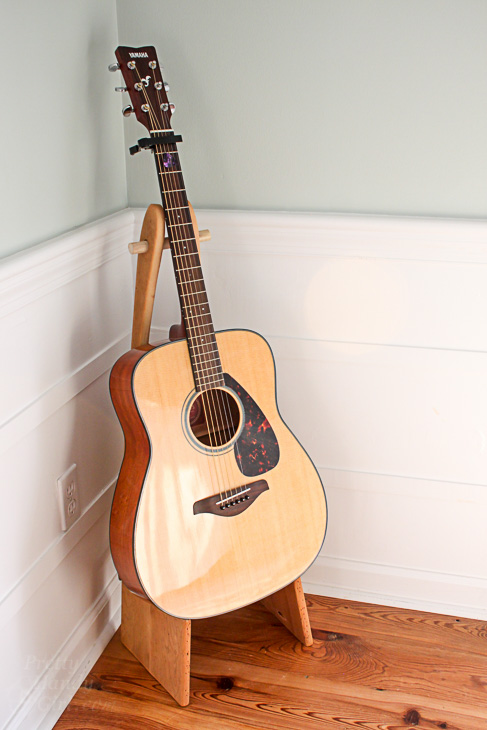
folding-rustic-wood-guitar-standMake this Folding Guitar Stand to keep your instrument accessible.


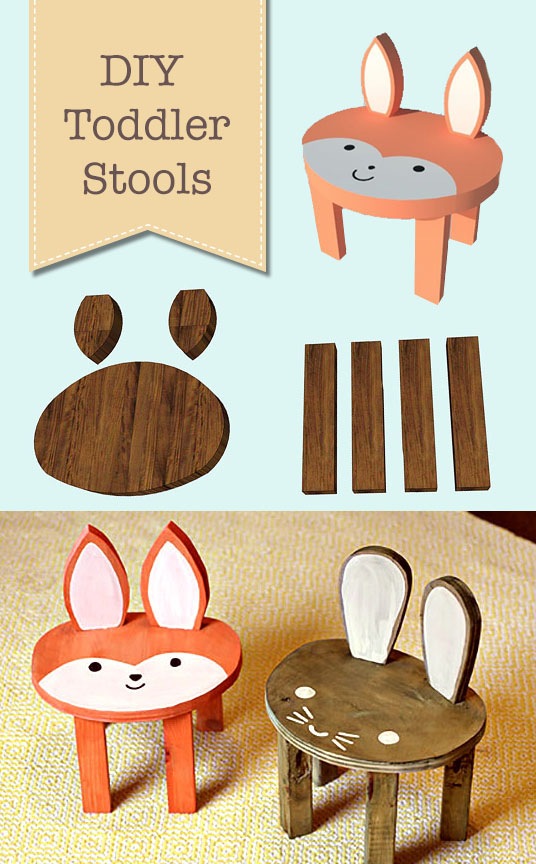
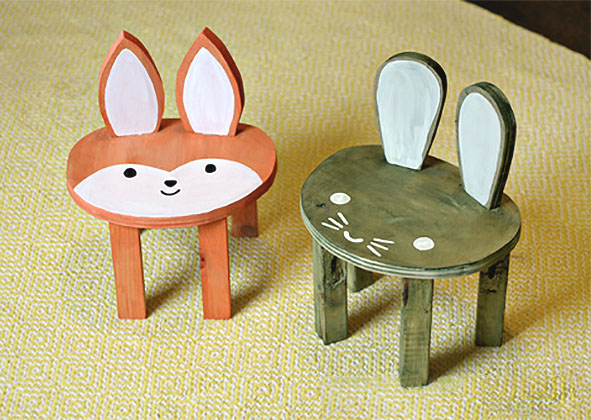
animal-toddler-stoolsThese adorable Toddler Animal Stools would be loved by any child in your life.


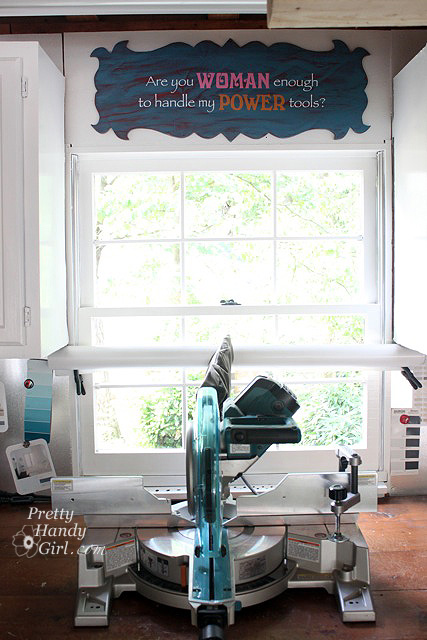
are_you_woman_enough_signMake this Are you Woman Enough? Plywood Sign for your shop, or customize the wording easily.


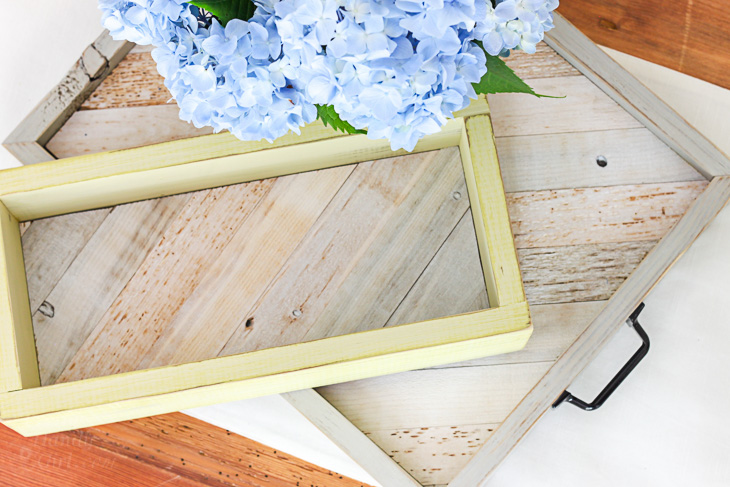
rustic-trays-gift-box-top-view-2Make a Tray Gift Box for your next present.


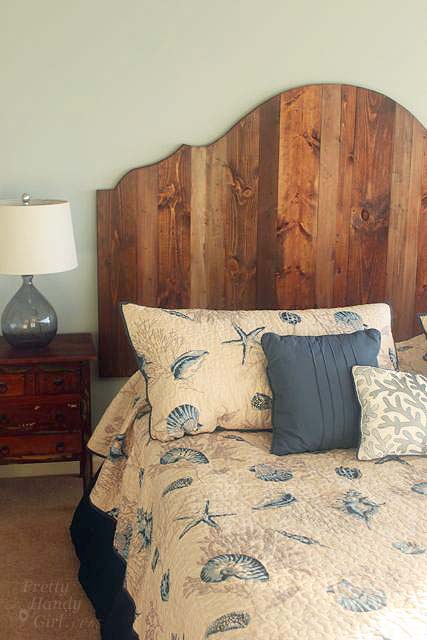
rustic-king-headboard-side-viewThis Rustic Wood King Headboard is simple and affordable.


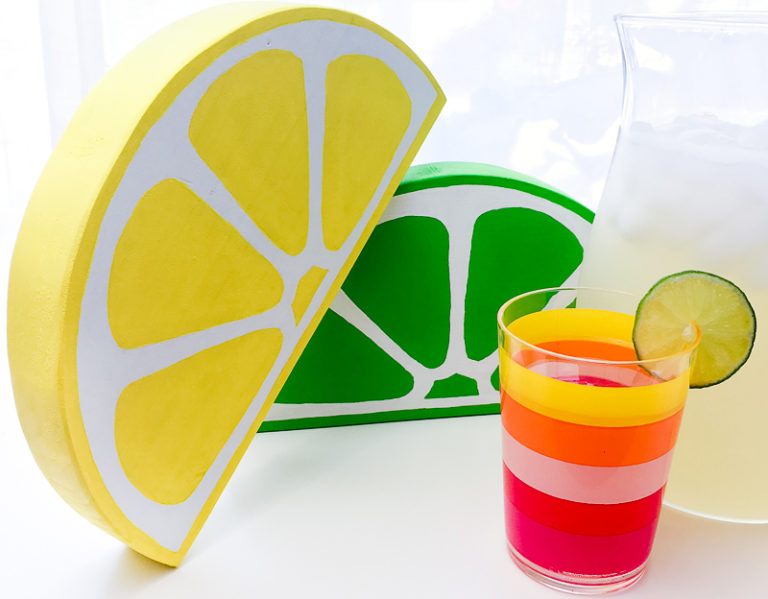
citrus-decor-with-lemonade-768x599Make this fun summer display for a party or lemonade stand. Who doesn’t love Giant Citrus Fruit?


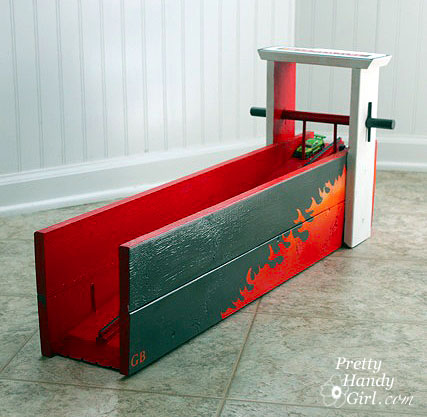
hot-wheel-matchbox_race_track_promoLet the kids play for hours with this Hot Wheels Car Racing Ramp.


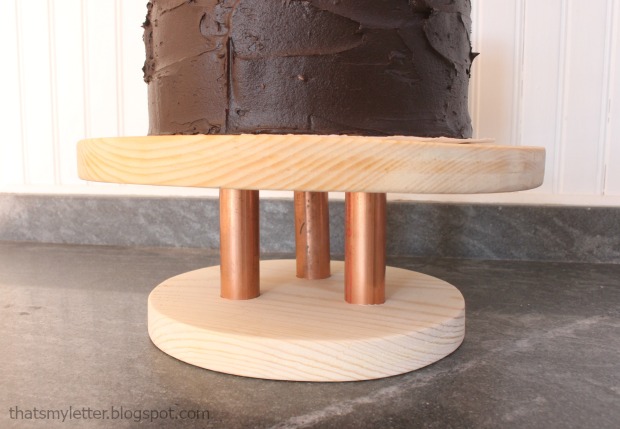
wood-copper-cake-stand-1Create this Wood and Copper Cake Stand for an awesome display of your baking masterpiece.

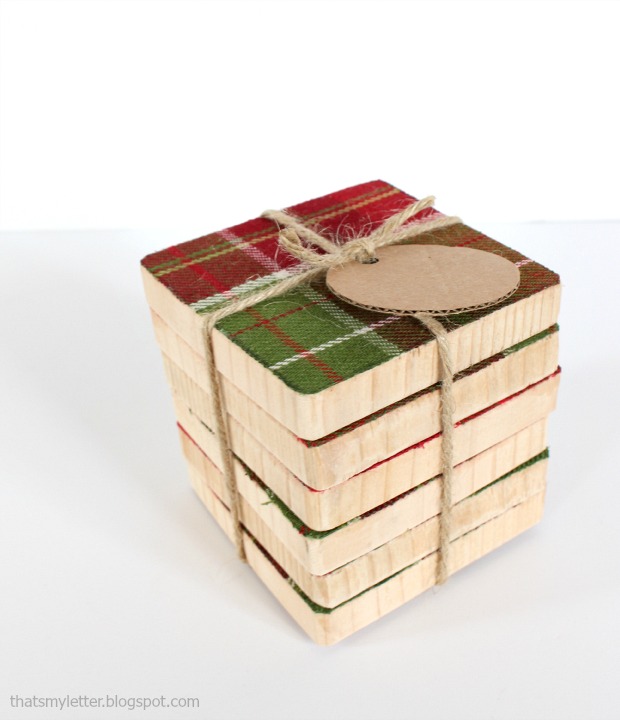
fabric-wood-coasters-wrappedRustic and soft Fabric and Wood Coasters are easy to make for gifts.


rustic-wooden-crates-in-cabinet-straight-onBuild some Rustic Wooden Box Crates for your cabinet or shelf.


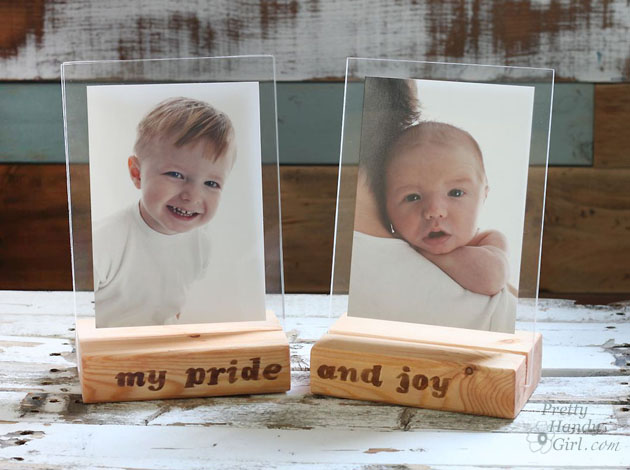
wood-block-picture-framesHow sweet are these Floating Wood Block Picture Frames?


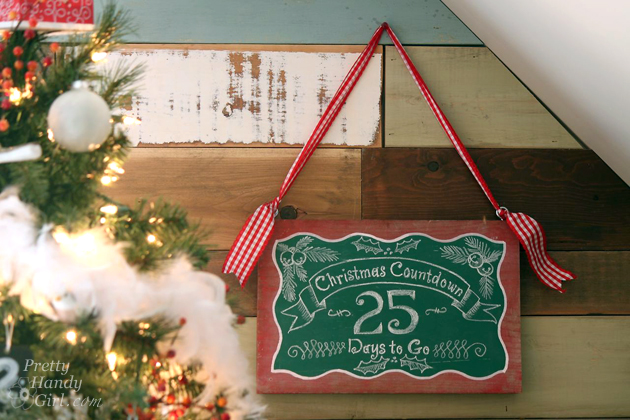
easy-wooden-chalkboard-sign-christmas-countdownYou can make this Easy Wooden Chalkboard Sign for any season.


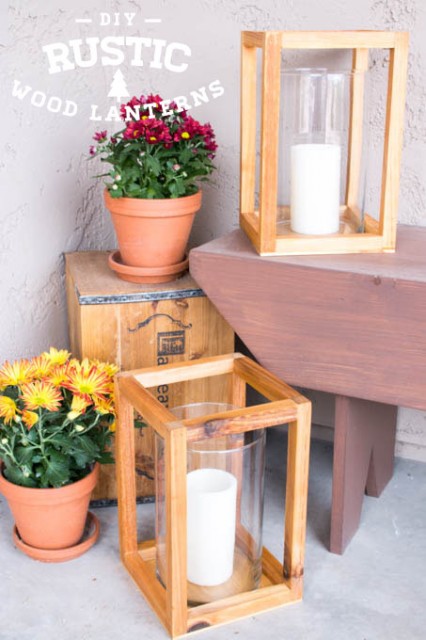
DIY-Rustic-Wood-Lanterns-e1441294338713These Rustic Wood Lanterns are the perfect decor for any room.


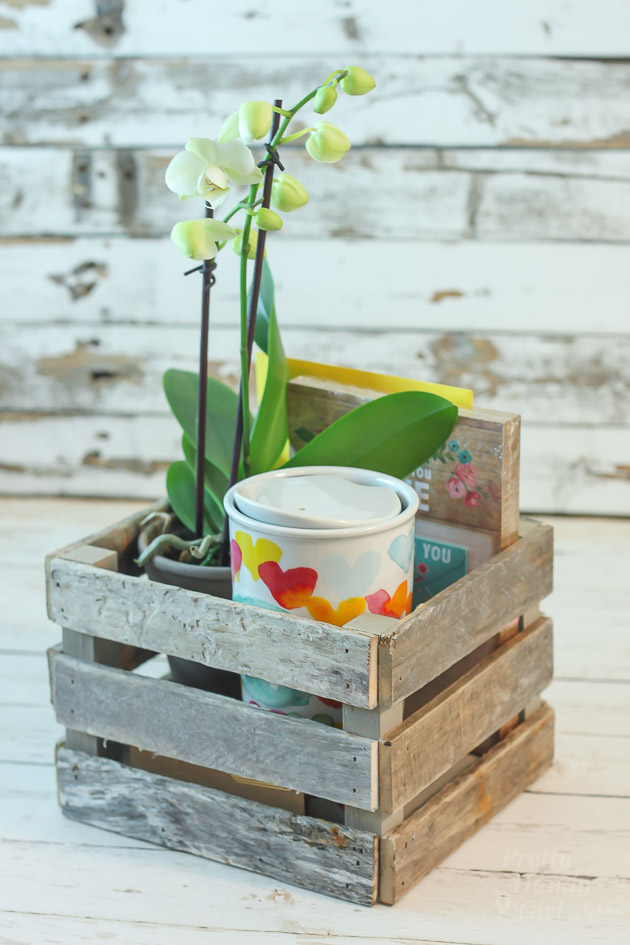
drift-wood-gift-crateFind free driftwood at the beach and make your own Driftwood Gift Crates.


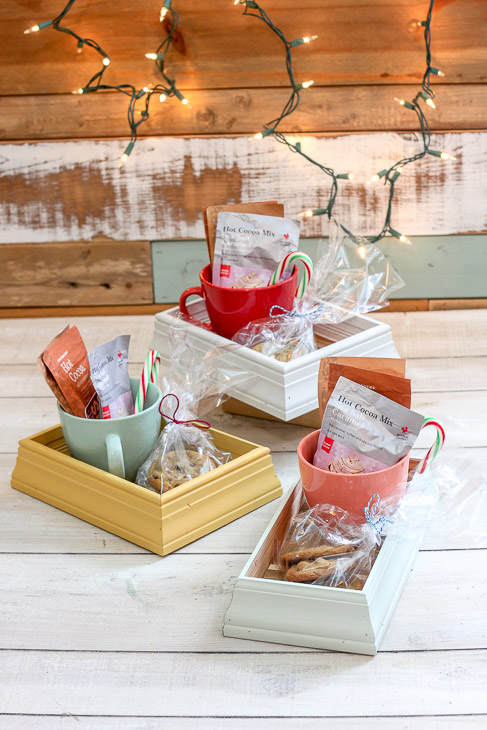
scrap-moulding-traysEndless options with these Scrap Moulding Trays.


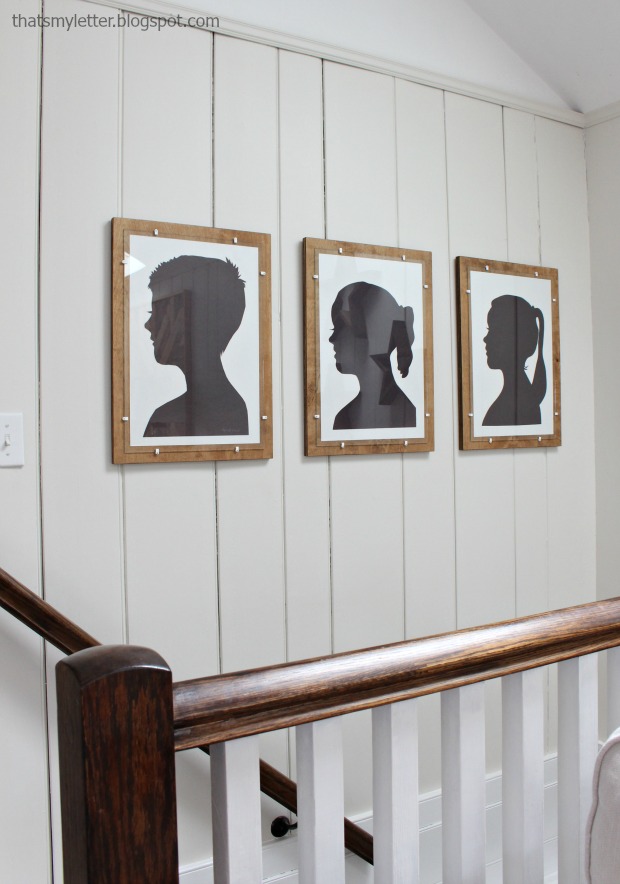
plywood-frames-2Wow your visitors with these Plywood Frames with Glass.


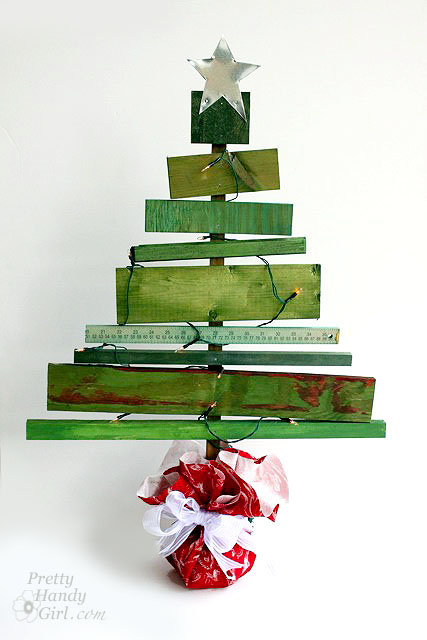
scrap_wood_christmas_treeUse various scraps to make an adorable Scrap Wood Christmas Tree this year!


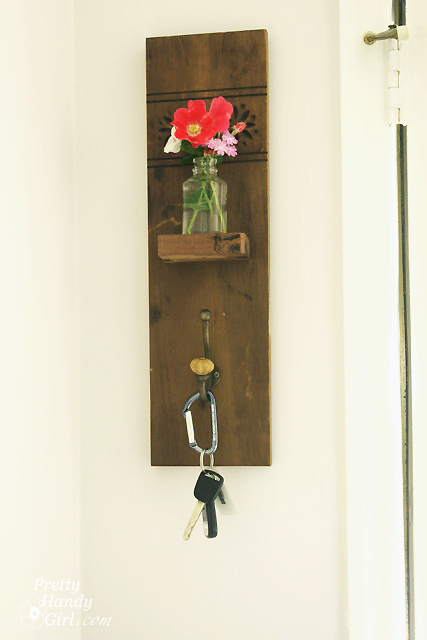
reclaimed-wood-wall-hook-vase-sconceThis Reclaimed Wood Wall Hook and Vase would look great in an entryway.


scrap-wood-wall-studio_view_from_angledWith a bunch of scrap wood you could Install a Scrap Wood Wall.


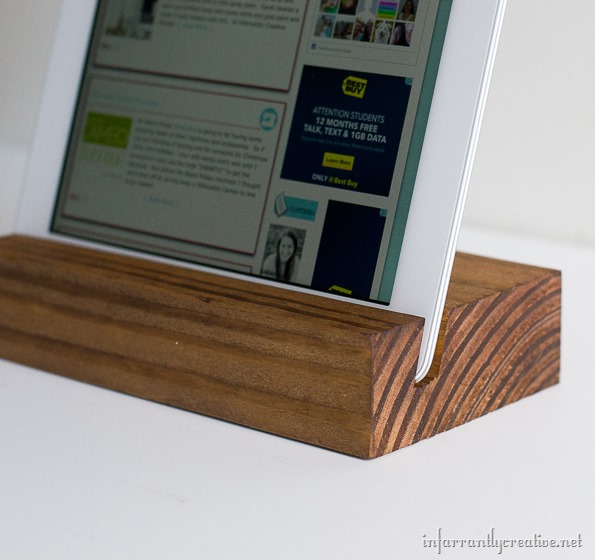
scrap-wood-ipad-tray-infarrantly-creativeKeep your device upright with this Scrap Wood iPad Tray.


scrap-wood-wine-holderThis Scrap Wood Wine Holder is simple, but oh so handy.


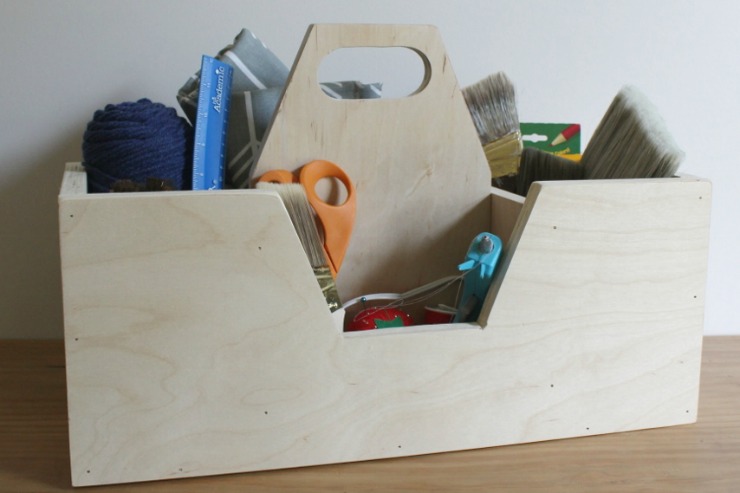
scrap-wood-caddyKeep your tools, cleaning supplies, and so many other things organized in this Scrap Wood Caddy.


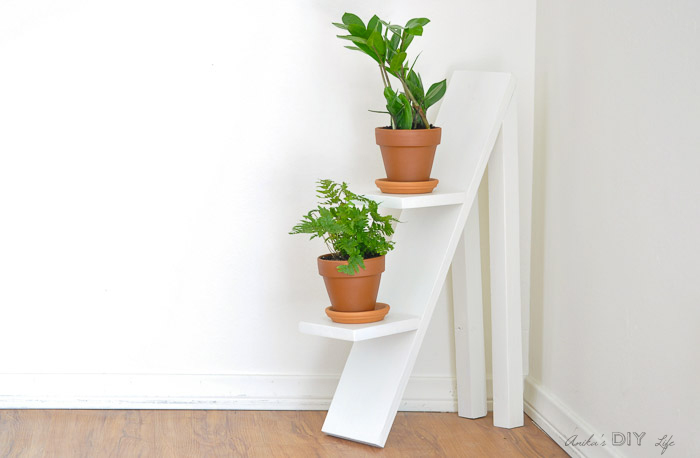
Two-tiered-plant-stand-Anikas-DIY-Life-700-3This Two Tiered Plant Stand is a modern and stylish way to display your plants.


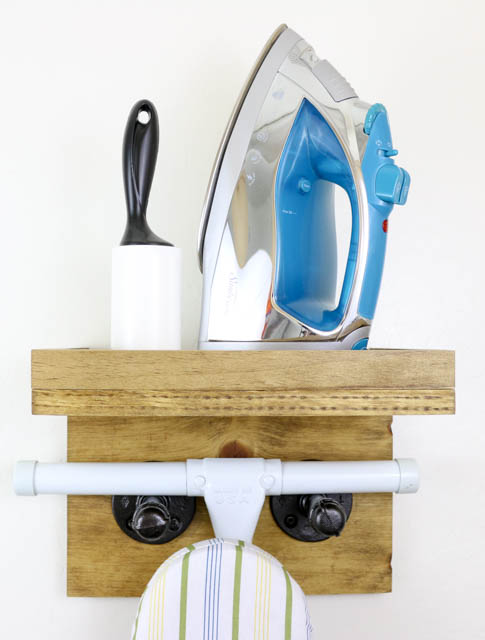
Scrap-Wood-Ironing-Board-Rack-2450This Industrial Ironing Board Rack would save space and keep you organized.


scrap-wood-shadow-box-frameDisplay memorabilia in this awesome DIY Shadow Box Frame.


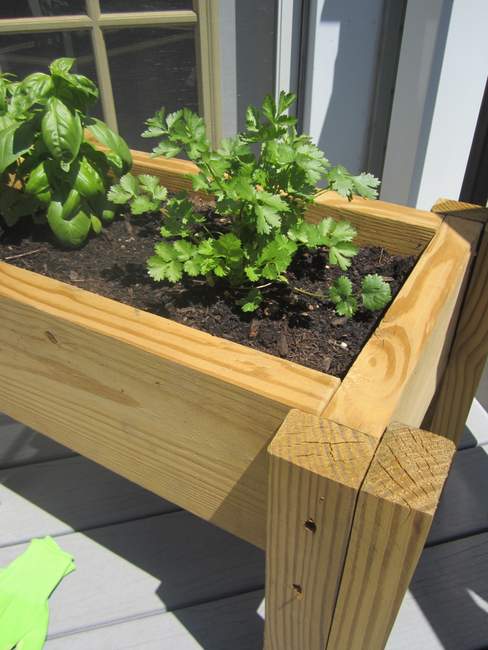
Scrap-wood-plater-Herb-Garden-BoxThis Scrap Wood Planter Box is a quick and easy way to grow your own herb garden this year.


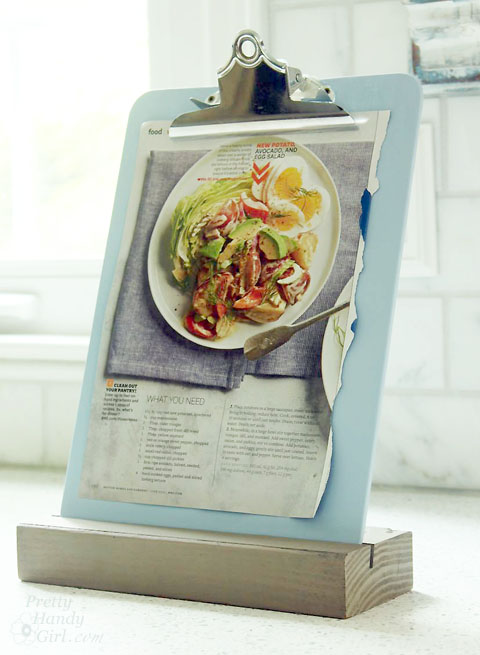
recipe clipboard standKeep your recipes or notes at eye level with this Easy Clipboard Stand.

If you like these projects, please share! Here’s an image you can pin it on Pinterest:

71 Practically FREE Scrap Wood Projects

Which were your favorite scrap wood projects? And other ideas you have for using up scrap wood? I’d love to hear it.

71 Practically FREE Scrap Wood Projects

Here are some other round ups you may like:

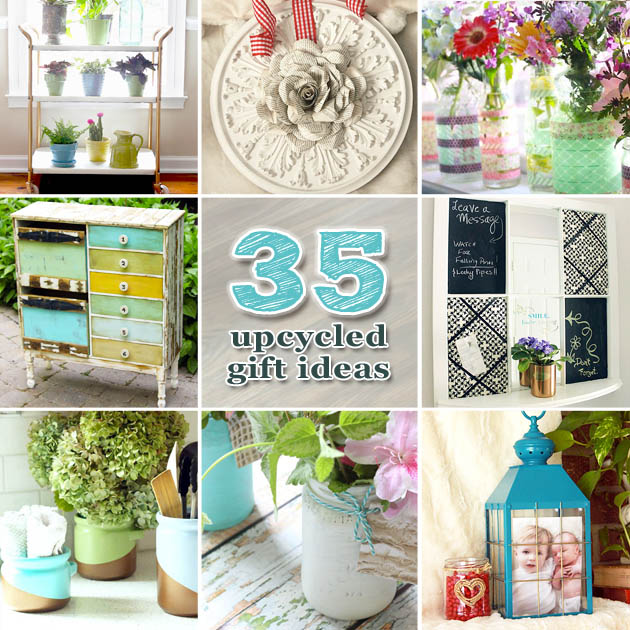
35 Upcycled Gift Ideas | Pretty Handy Girl

35 Upcycled DIY Gift Ideas


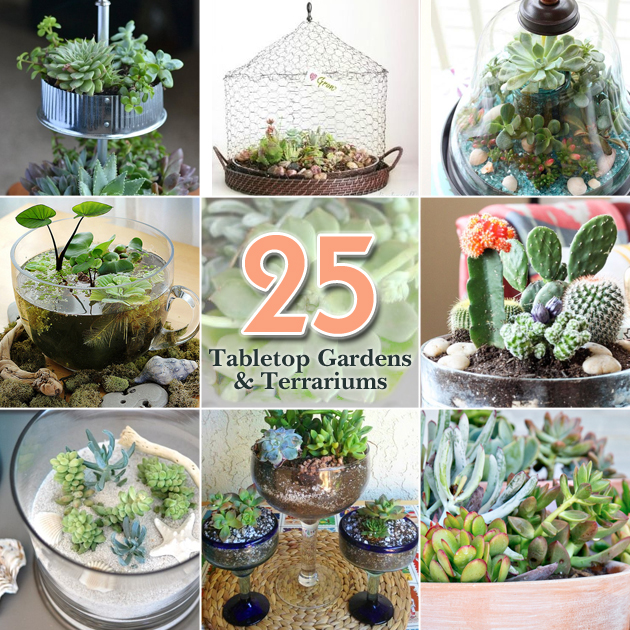
25 Tabletop Garden Terrariums

25 Ideas for Tabletop Gardens and Terrariums


Pin for later!

DIY Mobile Mudroom TutorialDIY Mobile Mudroom

Hello Pretty Handy Girl readers! I’m Sarah from The Created Home, and I’m thrilled to meet you. I love versatile designs that makes life a little easier. This mobile mudroom is sure to help keep your entryway more organized. It’s a simple storage solution that combines form and function. Best of all this is the perfect project for someone who rents or isn’t ready to take on a custom build.

How simple is it? Well, I have a secret. This DIY Mobile Mudroom is actually an upcycle project.

You can build this from scratch (that’s how I build 98% of my projects), but sometimes it just makes more sense to use existing furniture. You can create this mobile mudroom using an old dresser or buffet and a minimal amount of lumber. The savings in time and lumber will be well justified!

There will be some differences in structure depending on what you start with, but the basic idea will be the same. Be creative, have fun, and please ask if you have any questions!

Let’s get this party started and build a DIY Mobile Mudroom!

Materials:

(I’ve included affiliate links for your convenience. I earn a small percentage from a purchase using these links. There is no additional cost to you. You can read more about affiliate links here.)

Instructions:

The first step is locating an old dresser or sideboard/buffet. I picked this one up from the Habitat Restore and have been using it for shop storage. Other sources for cast off furniture are Craigslist, side of the road, and family members (or is that just mine?!)

You’ll want a piece that has three basic sections like the dresser pictured below:

Deconstruction:

Remove the middle section by pulling out the drawers and cutting out the shelf supports.

Depending on the dresser construction, you may have all drawers on either side or cupboards. The deconstruction should be fairly straight forward. (This was an Ikea piece, so it came right apart and only required a hammer to take apart.) If it doesn’t come apart easily, grab a pry bar or saw and cut the center pieces out. Leave the bottom support intact to maintain the shape of your piece.
Assess the condition of the top. If it’s dirty or rough, go ahead and clean it and sand any rough spots now.

Creating a seat from the dresser top:

Mark the top where it intersects with the middle section walls using a speed square. Use a circular saw to follow these lines and cut the top middle piece out. (You can see the top has been cut and is now resting in the middle in the photo below.) The middle piece should sit approximately 18″ off the ground for seat height.

DIY Mobile Mudroom Tutorial

Use scrap wood supports on either side to help you set the piece. Attach the middle section to the sides of the main body using pocket holes and screws. (New to using pocket holes? Follow Brittany’s tutorial on How to Use a Kreg Jig.)

Build the back board:

To create the back section, cut out a piece of 1/2″ plywood the width of your overall dresser. The exact height is up to you, though I found 42″ works well. Allow the plywood to overlap the dresser back by at least 6 inches. This gives you enough to attach to the mudroom base. You can use 3/4″ plywood here for more stability, but it will be heavier, and I’d recommend taking the plywood to the floor in that situation. Attach the plywood to the dresser using screws or bolts. Use at least two fasteners on each side, plus another two in the middle section.

Frame in the holes:

Use the leftover plywood to frame in under and behind the seat (shown below in red.) Attach with screws. You may need to run the plywood behind the seat a bit wider depending on how the back of your dresser is built. Just make sure there are supports for the screws to attach to.

DIY Mobile Mudroom Tutorial

Use the 1″ x 4″ boards to frame the back piece of plywood. Here’s a look at the framed plywood near its finished state:

Step 4: Add the shiplap (v-groove)

The v-groove planking is where the real magic happens. You can pick planking up at Lowes or Home Depot in economy packs. Typically they cost $10 per pack of six. Clad the plywood back with the v-groove planks using glue and brad nails to secure. Leave an inch or two of the bottom back unclad. (Shown in red below.)

Overlapping Back Mobile Mudroom

Create an overlapping v-groove piece that extends the same distance above the bench back (shown in blue above.) Then secure the plywood to the overlapping v-groove with screws.This will allow you to remove the back of your mobile mudroom. When assembled, the entire mudroom is difficult to get through doorways and around corners. This step allows you to take the back off to move.

If your dresser has inset side panels go ahead and add v-groove planking to the sides for a more cohesive look.

That’s it for the structure of the mudroom! All that’s left to do is the cosmetic work.

Fill the holes and finishing:

Because this is a repurposed piece, you will have holes leftover from the previous structure. Use wood filler to eliminate those spots and give a smooth finish. I prefer Bondo if you are painting your mobile mudroom. If you are staining it, use a stainable wood filler.

Of course you can finish your mobile mudroom any way you like. To achieve the aged and distressed look, stain the wood, then paint. After the paint dries, sand back some of the paint at edges and give it a distressed look that continues to look great even after being used and abused.
diy mobile mudroom farmhouse shiplap

For a seamless finish, caulk any seams. If you are planning to remove the back, don’t caulk where the top plywood back meets the bench seat back. I did add a little caulk to where the v-groove meets the edges to make it look perfect. (My secret is out!)
diy mobile mudroom farmhouse shiplap

Add a cute little pillow on your bench to invite little ones to sit down.

diy mobile mudroom farmhouse shiplap

Add hooks to the back, making sure to attach them high enough for coats scarves and hats.

diy mobile mudroom farmhouse shiplap the created home

The spot below the bench is perfect for more storage if you add a basket.

diy mobile mudroom farmhouse shiplap the created home

You’ll find plenty of storage in the drawers, cabinets or shelves in your mobile mudroom. Close the doors or drawers to keep your mudroom looking nice and clean.

diy mobile mudroom farmhouse shiplap the created home

The sky is the limit with how you want to customize your own mobile mudroom. Replace the feet with something you like better, change up the back to give it any look you like. If you move, you can take your mobile mudroom with you! I’ll leave you with a shot of the mudroom in action. If you build one of your own I would love to see it!

DIY Mobile Mudroom Tutorial

Like this mobile mudroom? You might also like Brittany’s shoe storage bench made from kitchen cabinets:

Holiday Home Tour 2016 | Pretty Handy GirlHappy building!