DIY Table Saw Stand and Collapsible Off Feed Table

DIY Table Saw Stand and Collapsible Out Feed Work Table

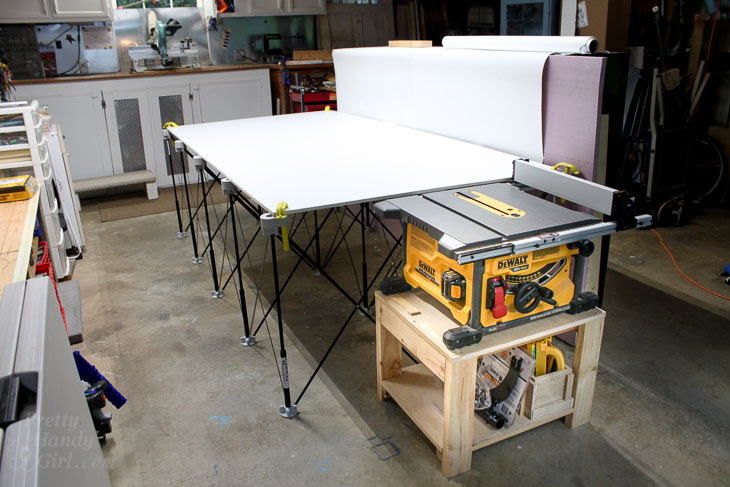
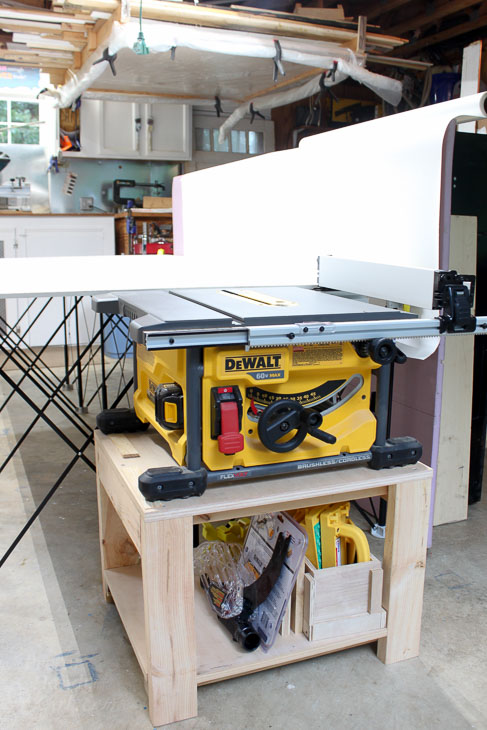
Today I want to share with you my new workshop configuration that has a DIY Table Saw Stand and a collapsible out feed (or work) table. I’ve struggled for years to find a workbench that meets my need to spread out while building and assembling projects. And I wanted this table to act as an out feed table for my table saw. I’ve looked at many options, but ultimately I needed something that could collapse and store away quickly in case we needed to park our car in the garage (for ice storms, hurricanes, tornados, or blizzards.)

At first I was impressed with Ron Paulk’s plans for a portable workbench that could be disassembled. But, I didn’t have the time to take on another build project. I wanted the instant gratification of having a work table immediately. Around the same time I purchased an investment house and started looking at folding work stands that could transport back and forth to the job site. That’s when I realized I could have my cake and eat it too. I could use a collapsible work stand both in my garage and at the job site.

Table Saw Stand and Collapsible Out Feed Work Table

Best of all, there was no building required for the out feed table, and minimal building for the table saw stand. If you are looking for a similar set up, stick around and I’ll show you how to make your own table saw stand and out feed table in an hour or less!

DIY Table Saw Stand

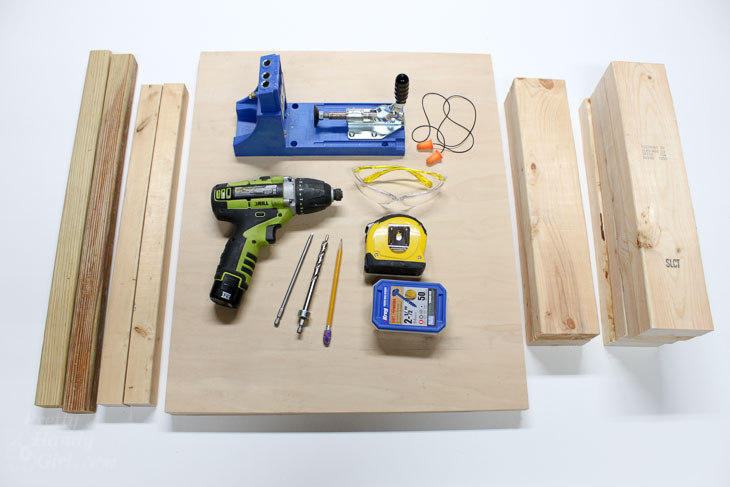
Materials:

(I’ve included affiliate links for your convenience. I earn a small percentage from a purchase using these links. There is no additional cost to you. You can read more about affiliate links here.)

Table Saw Stand and Collapsible Out Feed Work Table

Cut List:

  • 2 shelves – 3/4″ plywood cut to 20″ x 24″
  • 2 leg supports – 2″ x 4″ x 17″
  • 2 shelf supports – 2″ x 2″ x 24″
  • 2 top supports – 2″ x 2″ x 21″
  • 4 legs – 2″ x 4″ x _?*

* The height of your saw stand legs will be determined by your saw and table heights. I recommend doing a little math and check it with a ruler. (Take the height of your out feed table subtract the height of your table saw. Now subtract 3/4″ for your plywood thickness from this measurement. This is the height your table saw stand legs need to be cut. If you want to be precise, you can subtract an additional 1/8″ and use shims under the table saw to get the perfect height.)

Instructions:

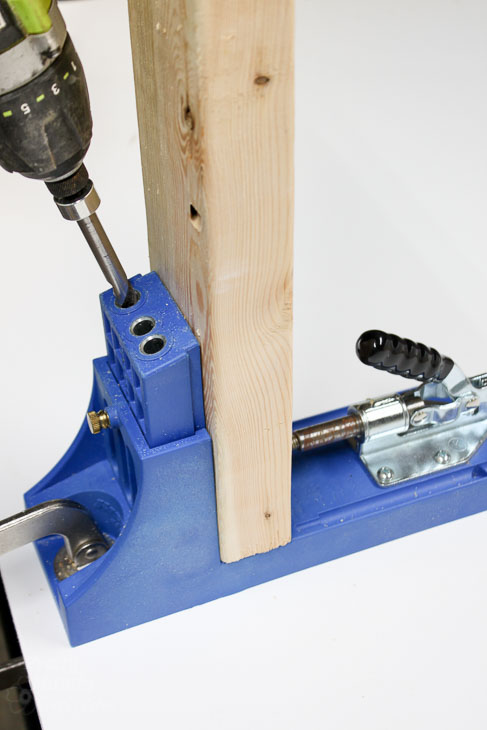
Start by drilling two pocket holes into the ends of the 4″ face of your 2″ x 4″ x 17″ leg supports.

Table Saw Stand and Collapsible Out Feed Work Table

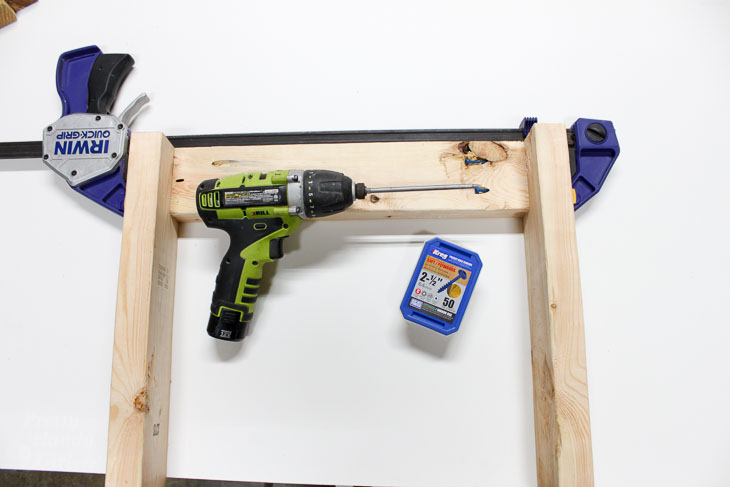
Connect two table legs by driving 2½” pocket hole screws into the 17″ leg supports as shown below. Repeat for the other side.

Table Saw Stand and Collapsible Out Feed Work Table

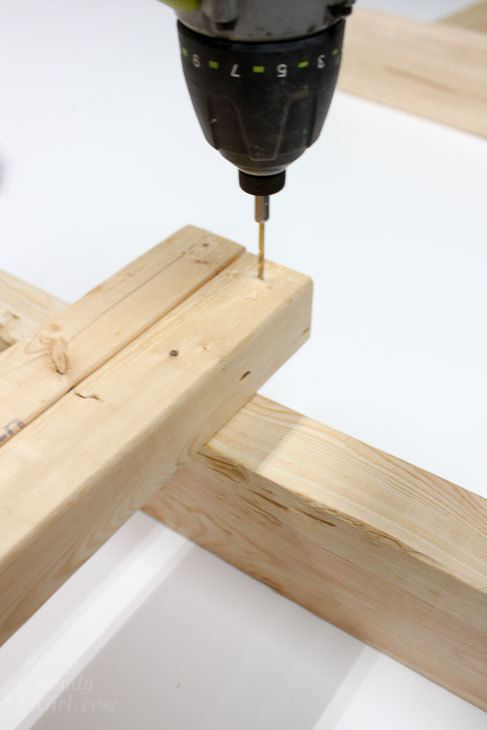
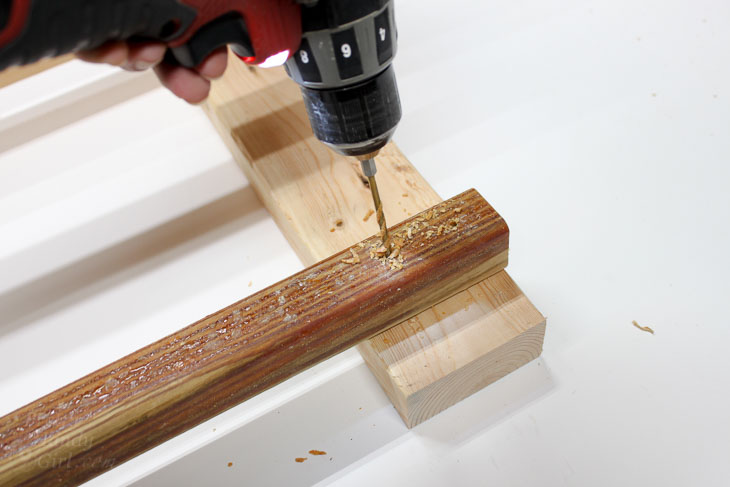
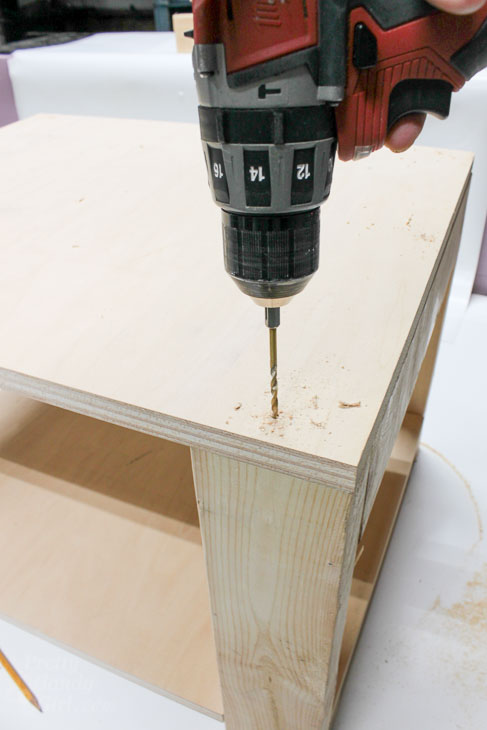
Pre-drill one hole into each end of the 2″ x 2″ x 21″ top supports.

Table Saw Stand and Collapsible Out Feed Work Table

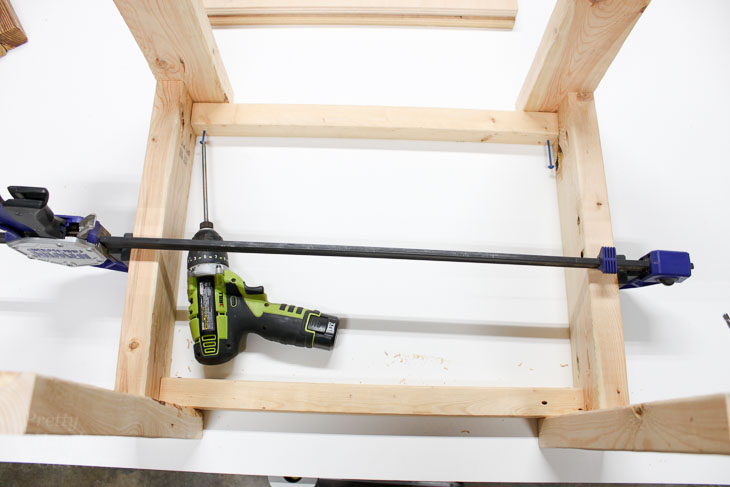
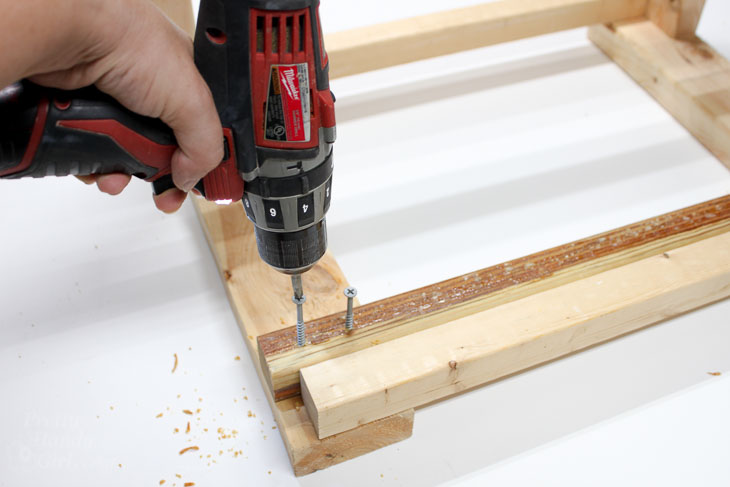
Connect the two leg assemblies with the 2″ x 2″ x 21″ top supports using two 2 ½” wood screws as shown below:

Table Saw Stand and Collapsible Out Feed Work Table

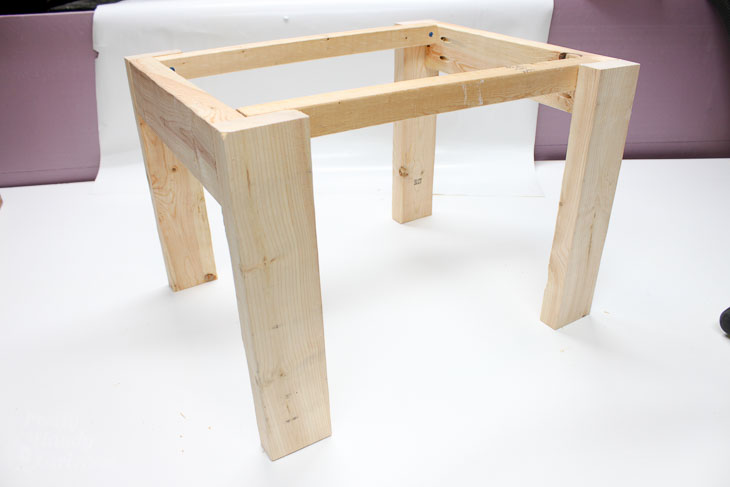
Repeat for the other side. Your table base should look like this:

Table Saw Stand and Collapsible Out Feed Work Table

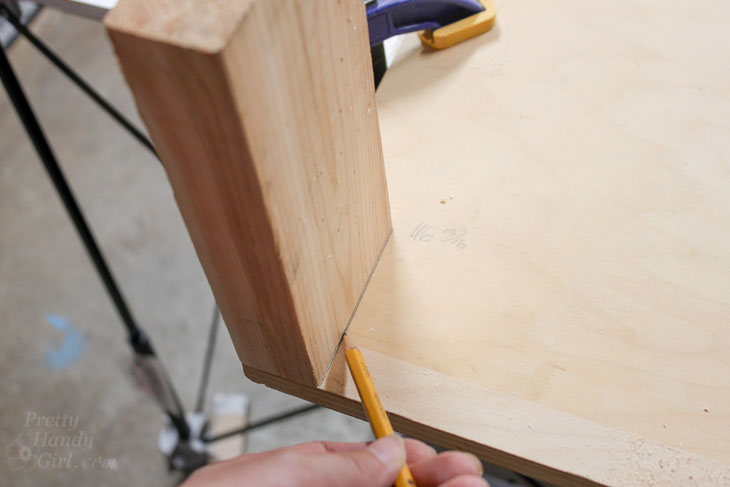
Trace the legs on each corner of one of the 3/4″ plywood shelves.

Table Saw Stand and Collapsible Out Feed Work Table

Cut out the corner leg shapes you traced.

Table Saw Stand and Collapsible Out Feed Work Table

Place the shelf in between the leg assemblies. (I made the mistake of trying to add the shelf after adding the shelf supports.)

Table Saw Stand and Collapsible Out Feed Work Table

Pre-drill holes at the ends of the 2″ x 2″x 24″ lower shelf supports.

Table Saw Stand and Collapsible Out Feed Work Table

Secure the lower shelf support 1 ½” up from the base of the table saw stand with two 2 ½” wood screws per leg.

Table Saw Stand and Collapsible Out Feed Work Table

Place the bottom shelf on top of the lower shelf supports. Then center the top shelf on top of the base and pre-drill holes around the perimeter. Place one screw at each corner and four in between the corners.

Table Saw Stand and Collapsible Out Feed Work Table

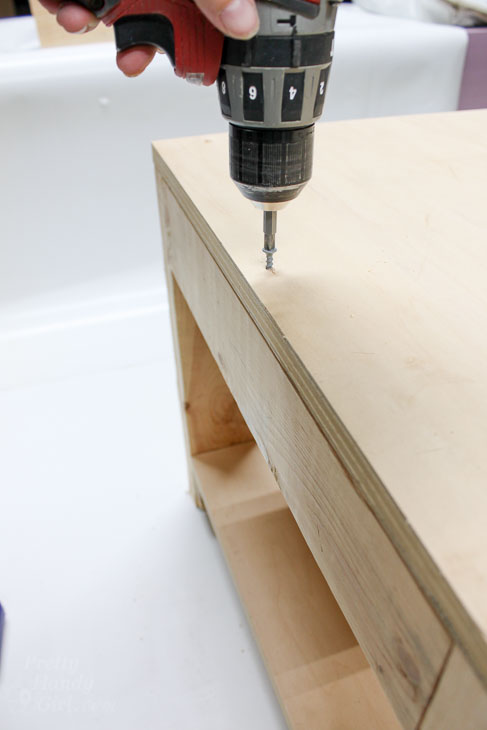
Drive 2″ wood screws into the plywood top.

Table Saw Stand and Collapsible Out Feed Work Table

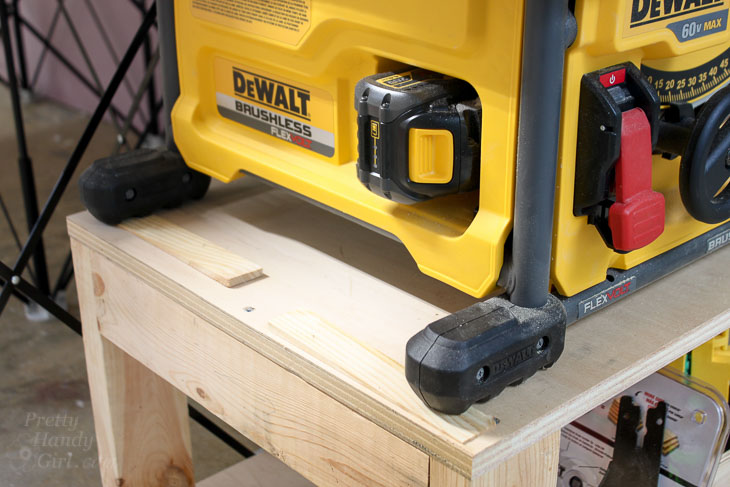
Set your table saw on your new stand. Use shims to raise the table saw and level if needed.

Table Saw Stand and Collapsible Out Feed Work Table

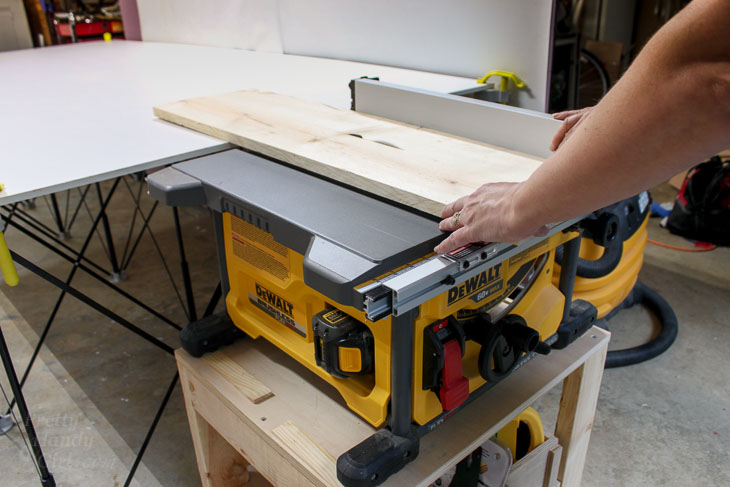
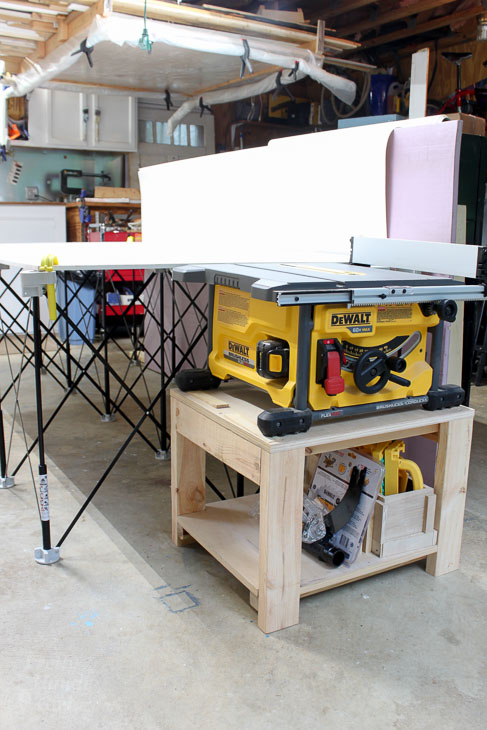
Slide your table saw stand up to the out feed table and start making some sawdust!

Table Saw Stand and Collapsible Out Feed Work Table

Collapsible Out Feed Table:

As I mentioned earlier, I was looking for a set up that could collapse easily should I need to pull my car into the garage. That’s how I discovered the Centipede collapsible work table. The Centipede is lightweight but strong, especially when you lay a sheet of plywood on top to distribute the weight.

It’s incredibly easy to set up as you can see from my Facebook Live video I took when I set up the Centipede for the first time:

After setting up the Centipede (which took less than a minute), I laid a  4′ x 8′ x 3/8″ PVC sheet on top of the Centipede for a work surface. The choice to go with the PVC sheet was two-fold. 1) I wanted something that was lighter weight than a piece of plywood (to keep things simple when I’m working on my own). 2) And the second reason I chose the PVC sheet over plywood was to have a nice smooth and clean surface for photography. So far the PVC works great. It has a few scratches on it now, but still works well as a back drop.

Table Saw Stand and Collapsible Out Feed Work Table

After using this set up all summer, I only found one drawback. The 3/8″ PVC sheet is stable but has some flex in it, so I can’t necessarily hammer on it without some bounce. But, I also purchased a large sheet of rigid foam insulation to use for cutting into when using a circular or track saw. I may try to put the rigid foam insulation sheet under the PVC sheet and see if that helps. Of course, I’ll have to raise my table saw a little, but it would be worth it to have a more stable surface.

Table Saw Review:

If you have an eagle eye, you may have noticed that there are not power cords coming from that table saw! That’s because, it’s a DeWalt FlexVolt Cordless Table Saw. DeWalt sent the tool to me to review and I honestly didn’t expect to like the saw as much as I do. I have been using the saw for over a year now and I LOVE IT! It’s completely portable so I can bring it with me on job sites. There are no cords, which frees up valuable electrical outlets in my shop.

Table Saw Stand and Collapsible Out Feed Work Table

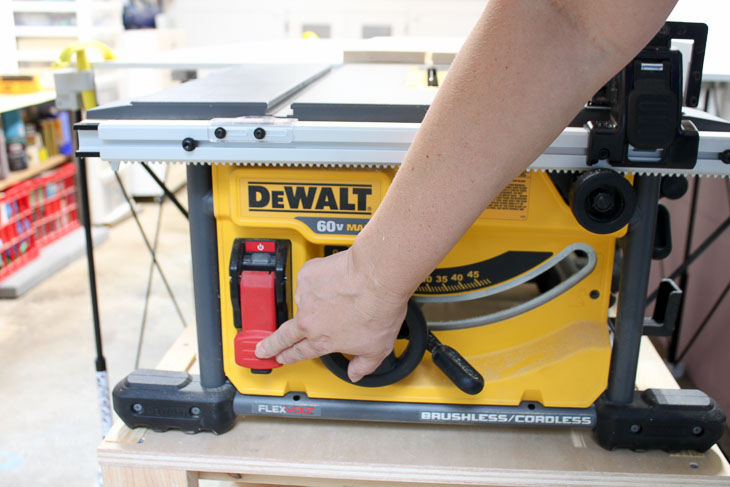
The saw is definitely quieter than my old table saw. I love that the blade stops very quickly when the red stop button is pushed. (This could potentially reduce the severity of an injury, but not prevent it all together.)

Table Saw Stand and Collapsible Out Feed Work Table

The cuts it makes are very precise and smooth. Although it is battery powered, I haven’t noticed a difference in power between the FlexVolt and my corded table saw. I’ve used it to cut through plywood, pressure treated lumber and masonite. The only difference I have noticed is the blade will spin a little slower when the battery is almost drained. It won’t continue to decrease speed, instead when the saw senses the low battery it won’t allow you to continue making cuts without charging the battery.

Table Saw Stand and Collapsible Out Feed Work Table

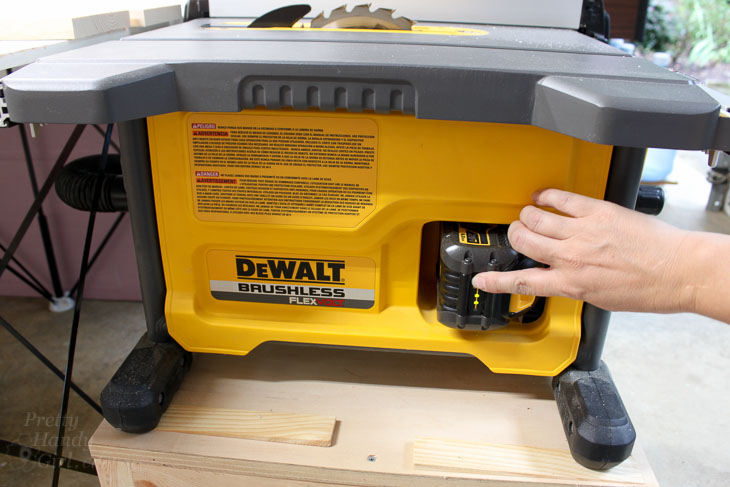
You can keep an eye on the charge on the FlexVolt batteries by pressing the button on the charge indicator. I do recommend purchasing two FlexVolt batteries so you can always keep one charged. The length of time this saw will run on one battery is unbelievable. I expected much less out of the battery life, but I cut an entire pantry’s worth of plywood and still had plenty of juice left for another project.

DIY Table Saw Stand and Collapsible Off Feed Table

This little set up is working out perfectly for my small shop. The DIY Table Saw Stand has storage underneath for extra blades, batteries and for the GRR-RIPPER 3D Push blocks (that I highly recommend for use with any table saw. They have changed the way I work with my table saw for the better.)

Let me know if you have any questions in the comment field. I’m happy to answer them.

Table Saw Stand and Collapsible Out Feed Work Table

Disclosure: The Dewalt FlexVolt Table Saw was sent to me for product review. I was not told what to write or paid for my review. 

creative ways to repurpose old shutters - social media image

creative ways to repurpose old shutters - social media image

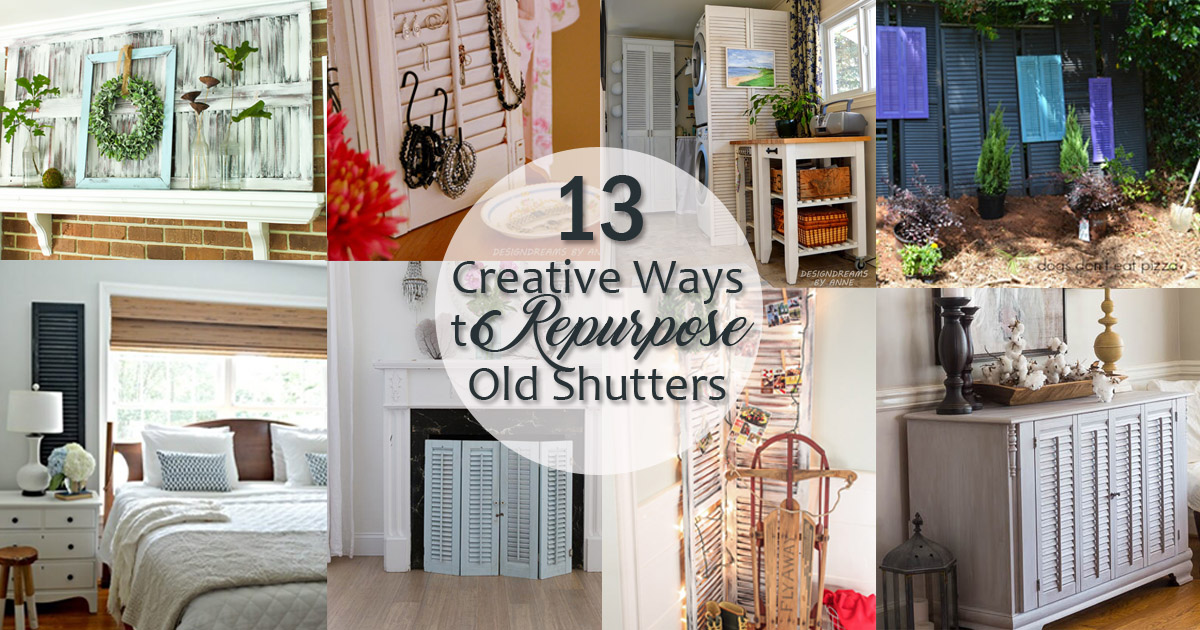
Do you have a collection of old shutters filling up your storage space? Or do you want some ideas using old shutters in case you come across a set? If so, this post is for you! I’ve put together 13 creative ideas on how you can repurpose old shutters and turn them into something  amazing.

Creative Ways to Repurpose Old Shutters:

repurpose old shutters - dresser makeover - savvyapron.com

Give an old dresser a gorgeous makeover using old shutters like Savvy Apron!


Repurpose old shutters - doggie door -11 magnolia lane

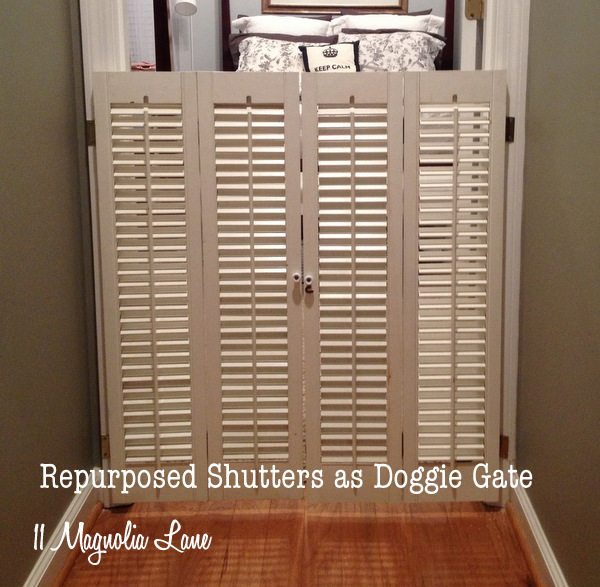
Keep your pets out of trouble by building a doggie gate from old plantation shutters like 11 Magnolia Lane.


shutters display christmas cards

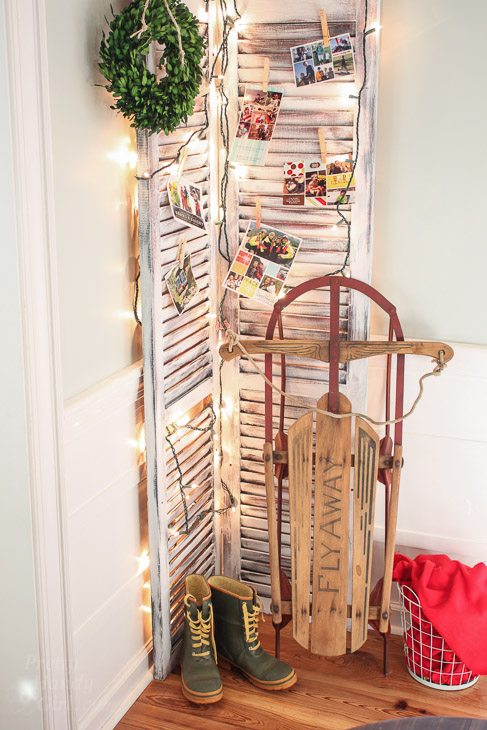
Make a holiday card display with some old, tall shutters this December.


Old Shutters as backdrop on mantel

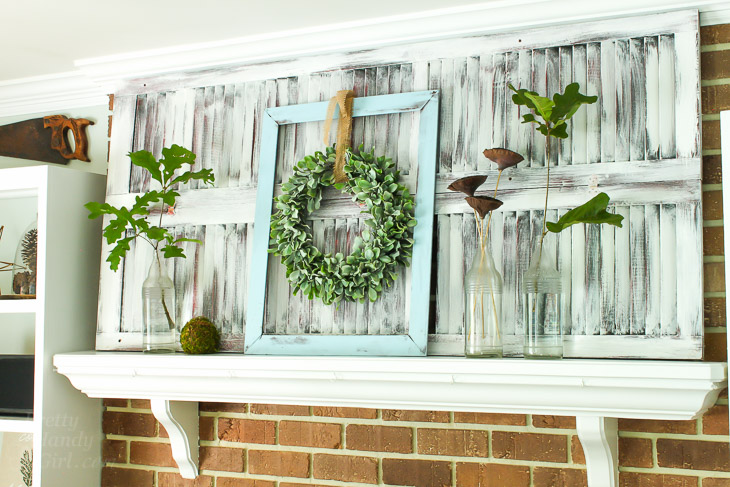
Use old shutters as a backdrop for your mantel to add a gorgeous farmhouse feel.


repurpose old shutters - Shutter To Do Board - huntandhost.net

Stay organized with a Shutter To-Do Board like Hunt and Host made.


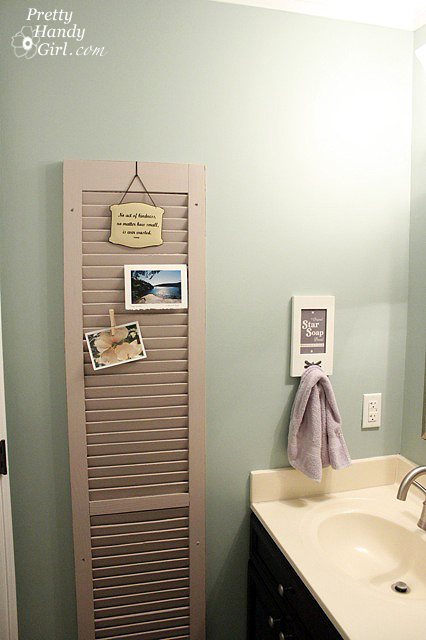
old shutters as photo display

Use an old shutter to display your family photos or postcards!


repurpose old shutters - privacy screen - diybungalow.com

Gain some privacy in your backyard by building a fence out of old shutters like DIY Bungalow did!


Use old shutters to dress up a plain dormer window on the inside of your home.


repurpose old shutters - works of art - shoppeno5.com

Shoppe No. 5 shows us how to make some amazing word art using old shutters.


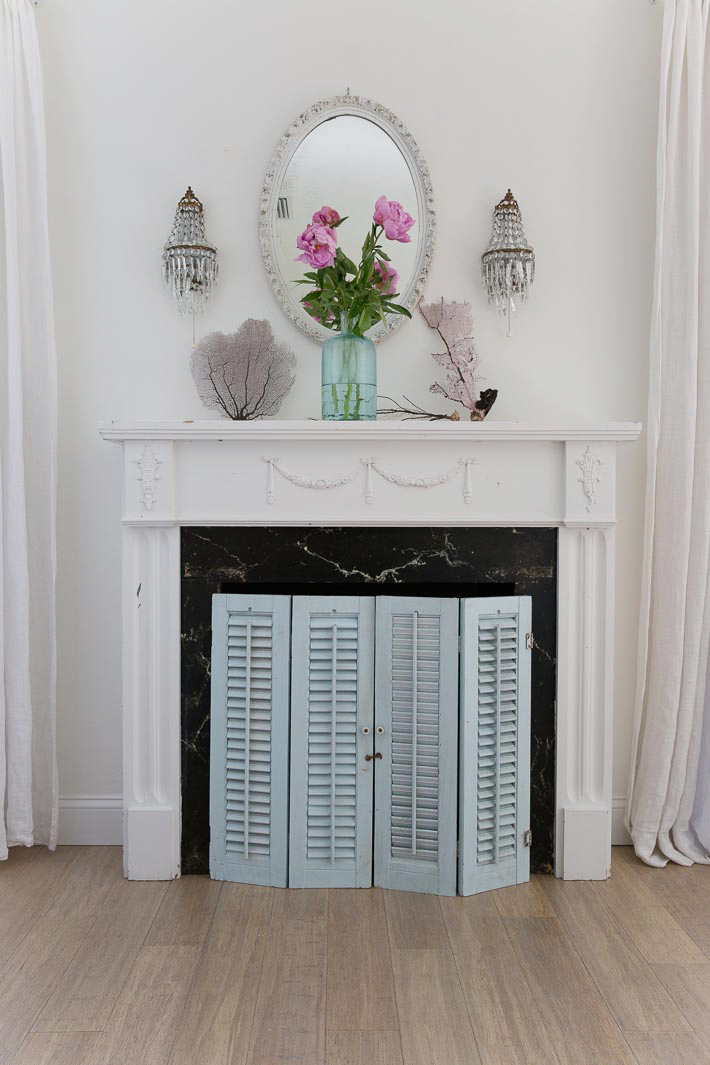
repurpose old shutters - fireplace cover - shabbyfufublog.com

Get some inspiration for using shutters to brighten up a dark fireplace at Shabby FuFu Blog.


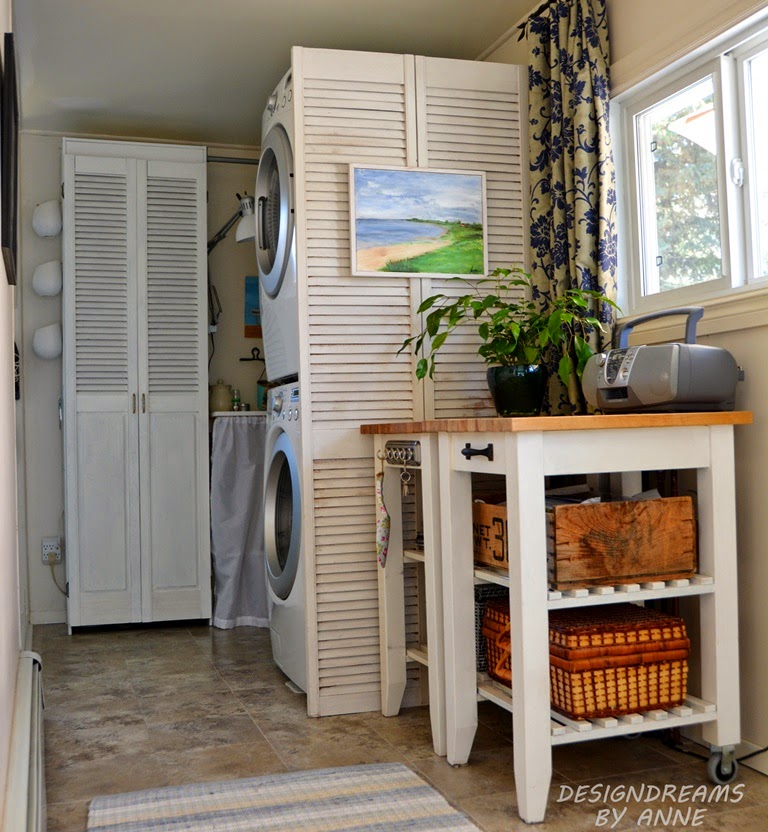
repurpose old shutters - cleaning up with shutter doors - DesignDreamsbyAnne.blogspot.ca

Use old louvered bi-fold doors like Design Dreams by Anne to hide the clutter and make the space more beautiful.


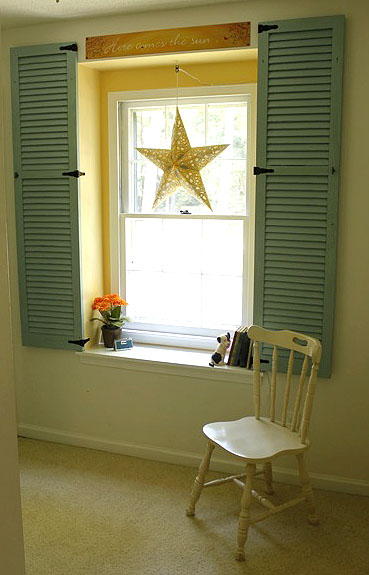
repurpose old shutters - add character to windows in bedroom - Chatfield Court.com

Shutters can go indoors too, adding texture and contrast to a room like Chatfield Court.


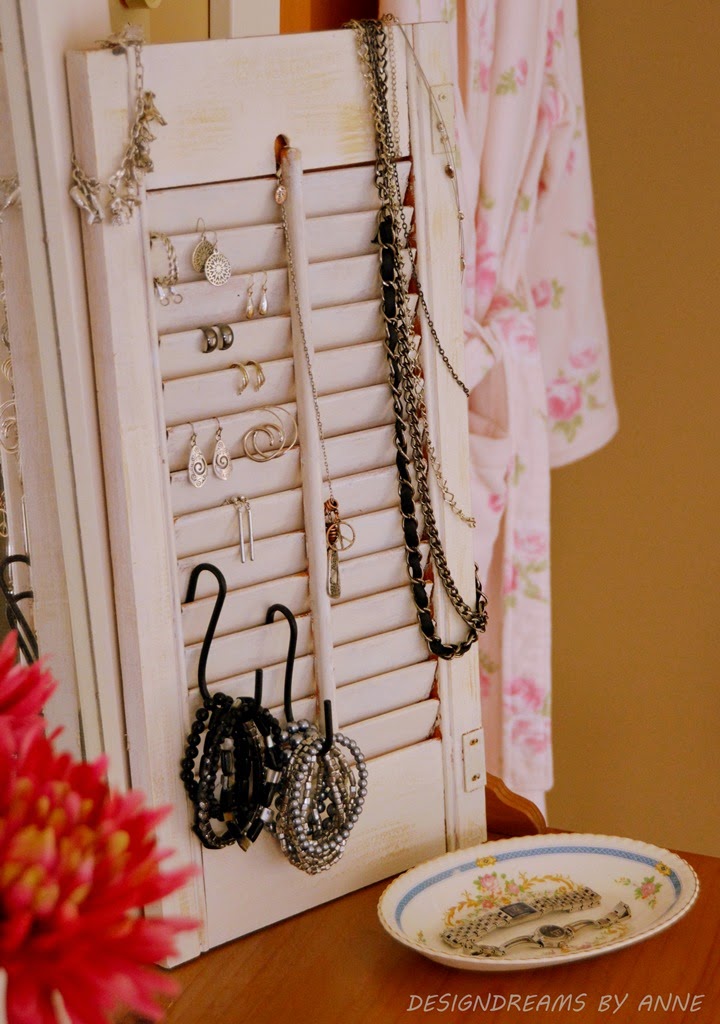
repurpose old shutters - jewelry organizer - DesignDreamsbyAnne.com

Keep your jewelry in sight and mess-free, with this beautiful old shutter jewelry organizer by Design Dreams by Anne.


If you liked this collection of ideas, pin this image to share it with others!

creative ways to repurpose old shutters - pinterest image

signature

If you liked this post, you must see these upcycled ideas:

upcycled holiday decor

12 Great Upcycled Ideas for Holiday Decor


6 of the Easiest Ways to Remove Pallet Wood

6 of the Easiest Ways to Remove Pallet Wood6 of the Easiest Ways to Remove Pallet Wood
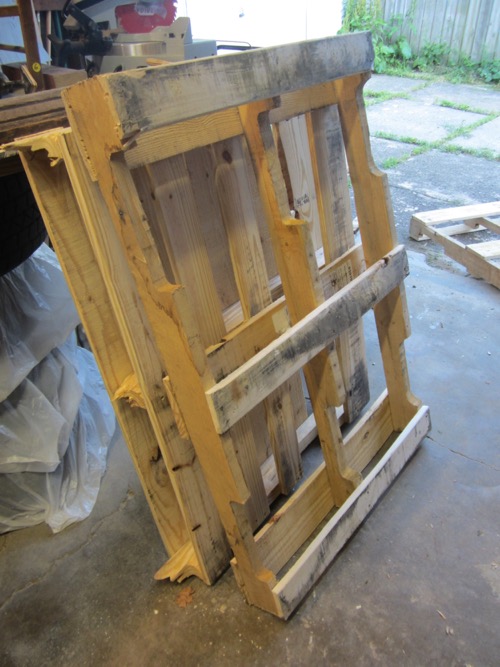

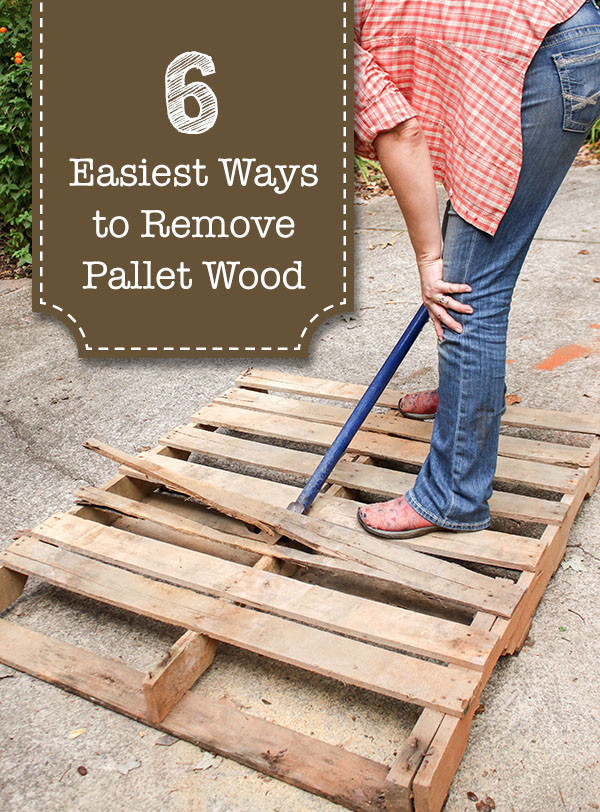
Last week I shared with you the cold hard facts about harvesting pallet wood. But, like you, I still like to use pallet wood from time to time. Just make sure you’ve weighed the risks and the work involved to harvest the pallet wood before you get started. Today I’m going to show you 6 of the Easiest Ways to Remove Pallet Wood. If you’re up for the challenge, let’s get started.

How to Make an Air Conditioner Screen from Pallets

Pallet upcycling is all the rage today. But, if you’ve ever tried to remove the planks from a pallet, you know it’s not an easy task. Pallet nails are typically spiral nails and are designed to grip that wood with fierce strength. If that’s not enough, there can be 4-5 nails per joint. Sheesh, you’d think pallets were built to hold a 10 ton elephant. Well, actually, it is made to hold tons of product as it is lifted by a fork lift. Which explains why harvesting pallet wood can be labor intensive.

To save you time, sweat, and a backache; here are the quickest and easiest ways I’ve found to salvage beautiful rustic pallet wood. Read more

The Real Truth about using Pallet Wood

The Real Truth about using Pallet Wood

The Real Facts about Using Pallet Wood

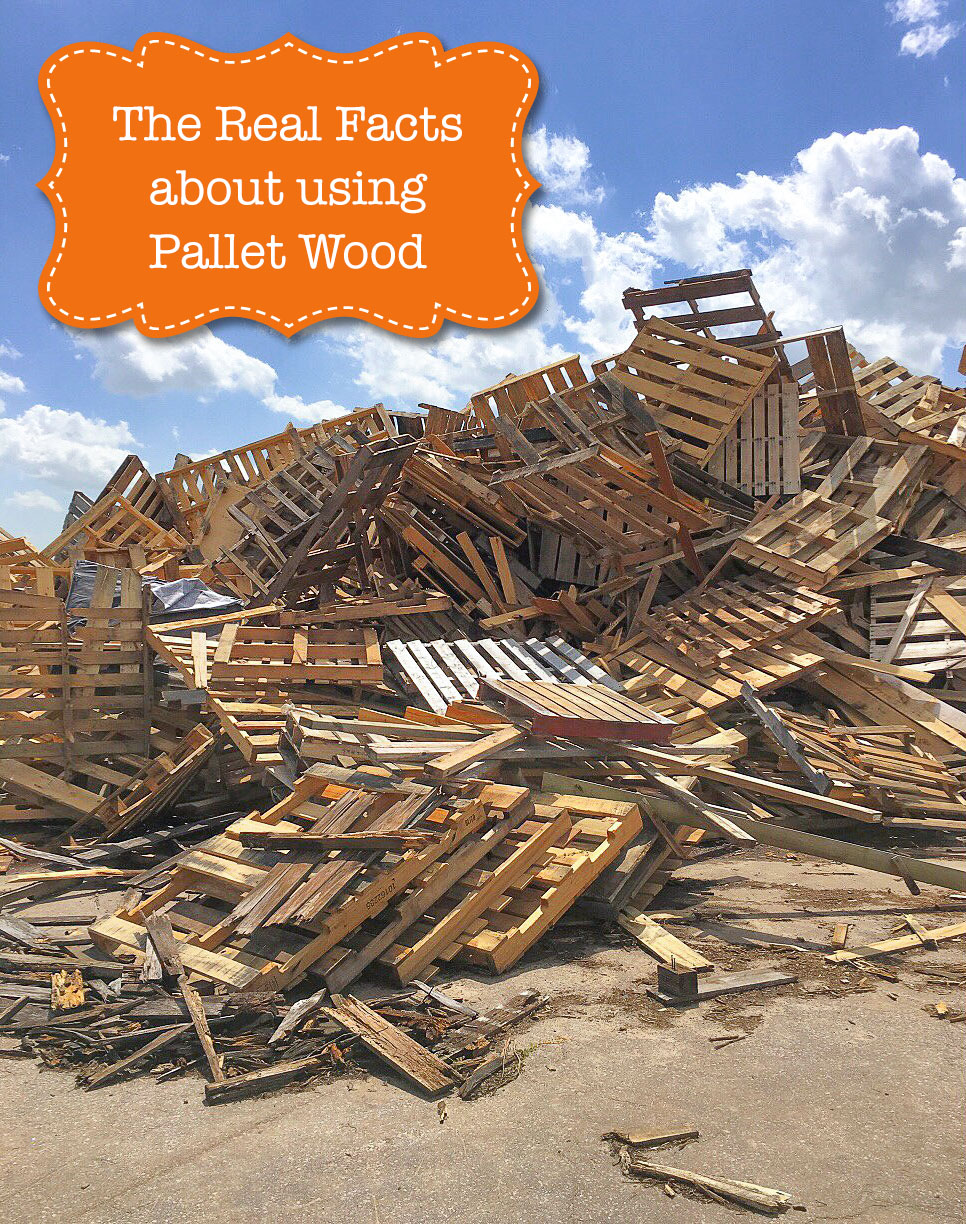
Pallet wood is EVERYWHERE! It’s hard to browse Pinterest without stumbling on a pallet wood project. Everyone and their cousin’s best friend have experimented with and built amazing things using pallet wood. Admit it, you’ve seen those beautiful projects and began driving behind your local shopping centers looking for those wooden freebies. Sadly, most pallet project creators won’t tell you the Real Facts about Using Pallet Wood. Put your mind at ease knowing that I’ll tell you the bare wood truths about using pallet wood. Then the next time you find yourself in a back alley attempting to haul that pallet into your trunk, you can weigh the facts.

How to Make an Air Conditioner Screen from Pallets

A few weeks ago I slaved for over an hour trying to get those free pallets to relinquish their prized slats. As I bent over one pallet, sweating and swearing, I asked myself, “Wouldn’t it have been easier to spend $2-3 per board at Lowe’s?”

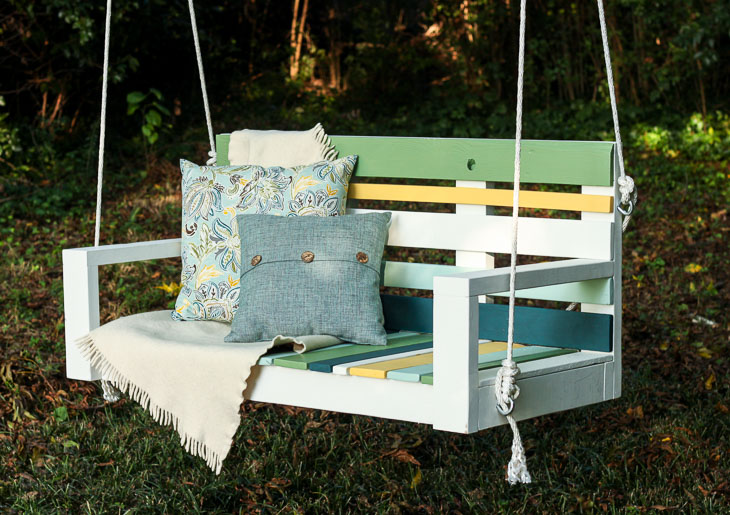
As I was building this porch swing with pallet wood, I began to create a list of the pros and cons of using pallet wood. By the time the paint had dried on the swing, I knew I had to be honest and share with you these facts so you could determine if using pallet wood is worth the effort and risks.

Facts About Using Pallet Wood

Benefits of Using Pallet Wood:

1. First and foremost, pallet wood is usually FREE!

2. Environmentally speaking, you are keeping pallets out of the landfill. Yay for being eco-friendly.

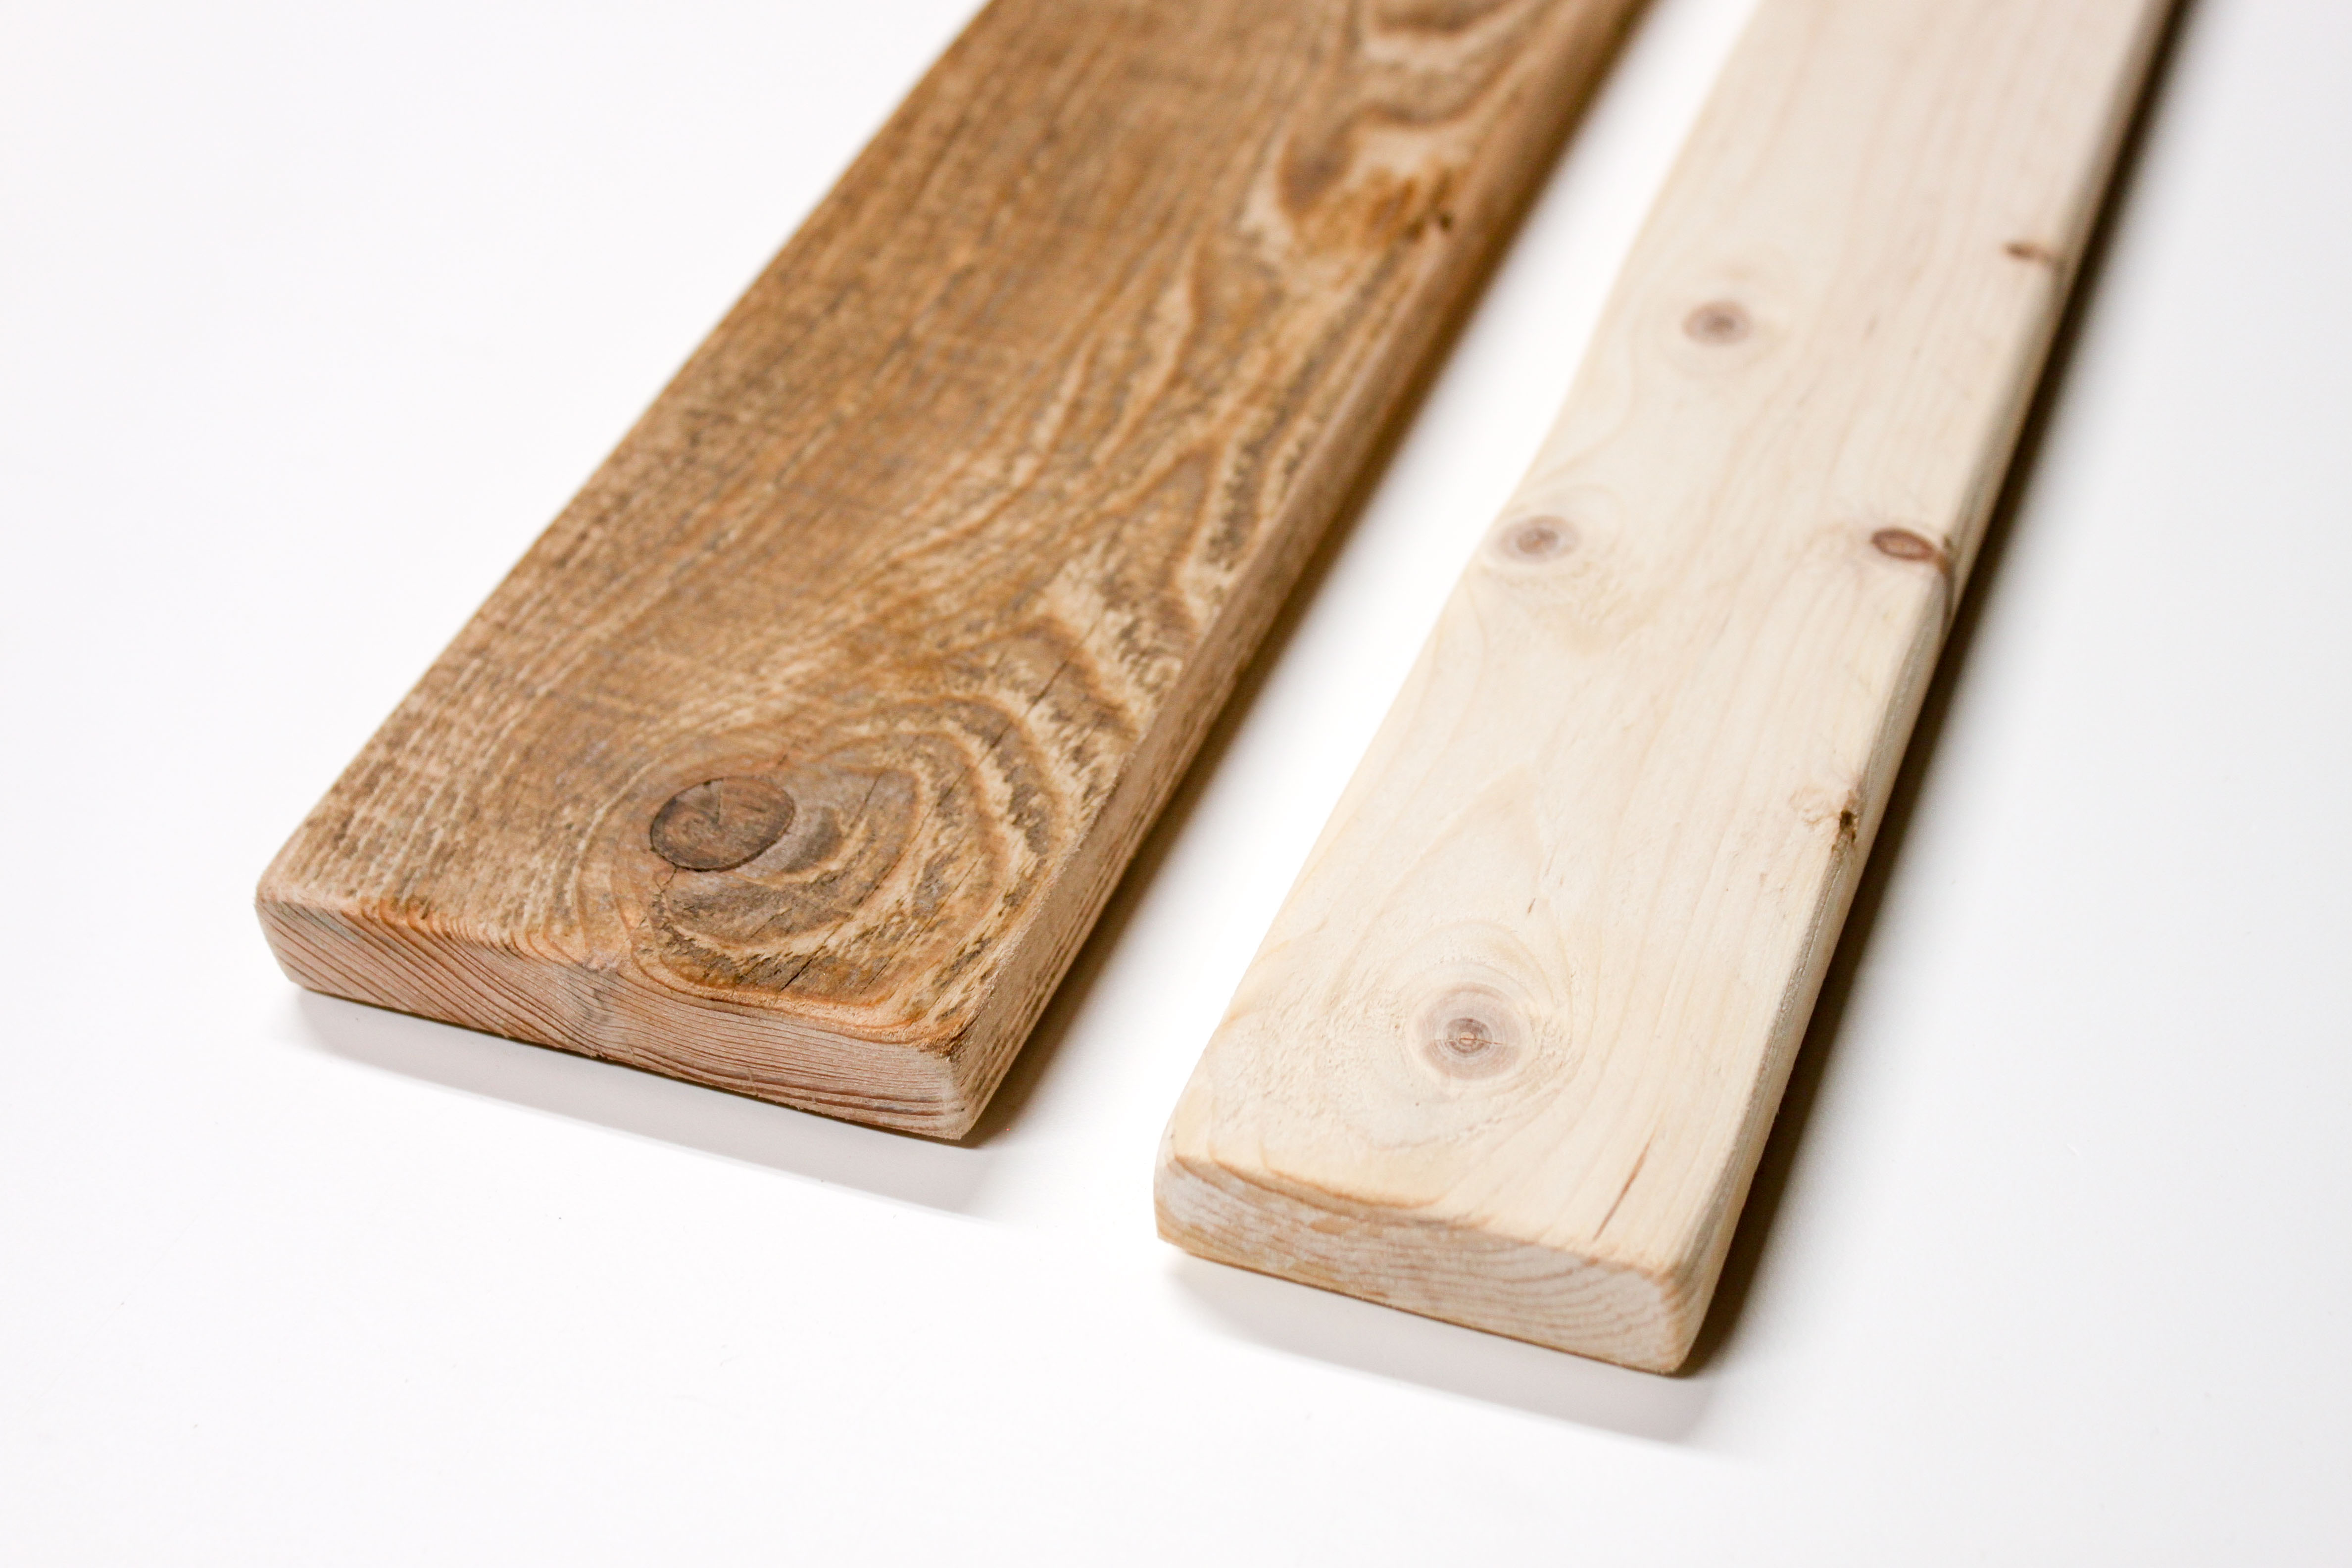
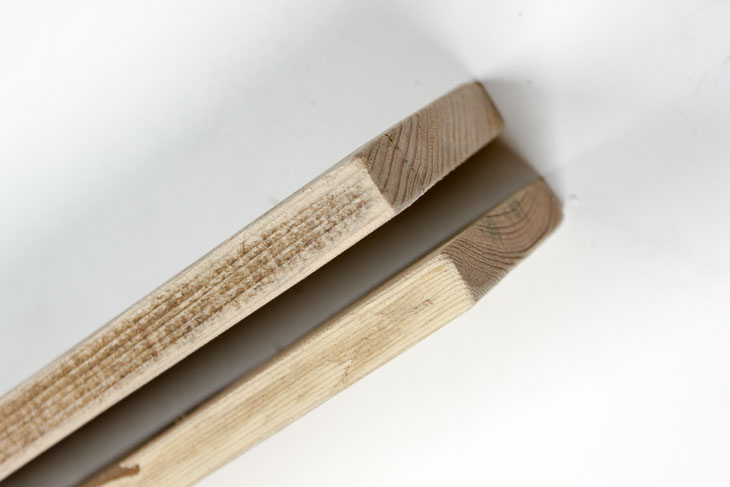
3. Pallet boards often have a beautiful rustic patina (pallet board on the left, new pine board on the right.)

Facts About Using Pallet Wood

4. The wood is usually strong.

5. It’s stylish and popular because the rustic industrial look is in style right now.

6. Everyone’s doing it—wait a minute! Just because everyone is doing it doesn’t mean you should jump on the bandwagon!

Why You Might NOT want to use Pallet Wood:

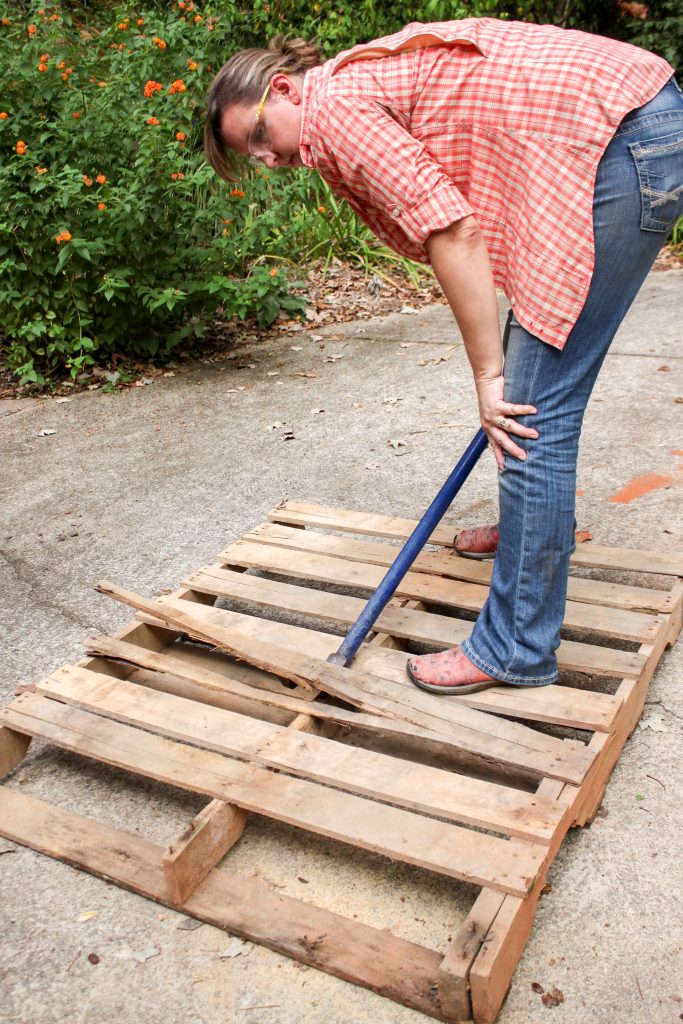
1. Actually removing pallet wood planks is difficult. Pallet wood is held on with spiral nails that are hard to remove without breaking or damaging the pallet wood. (Not to mention breaking your spirit!) Using a hammer and/or a regular pry bar is tedious and not super effective. You would be better off using a deck wrecking tool like this one. (affiliate link) 

Facts About Using Pallet Wood
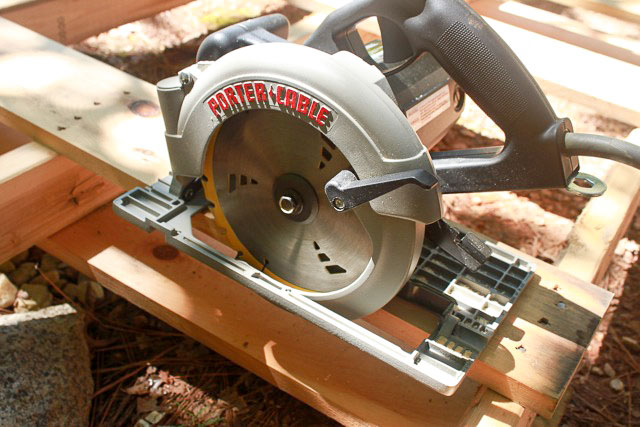
2. Harvesting pallet wood often damages the planks or causes them to split. You can salvage pallet wood using a circular saw and this technique, but your boards will end up being shorter.

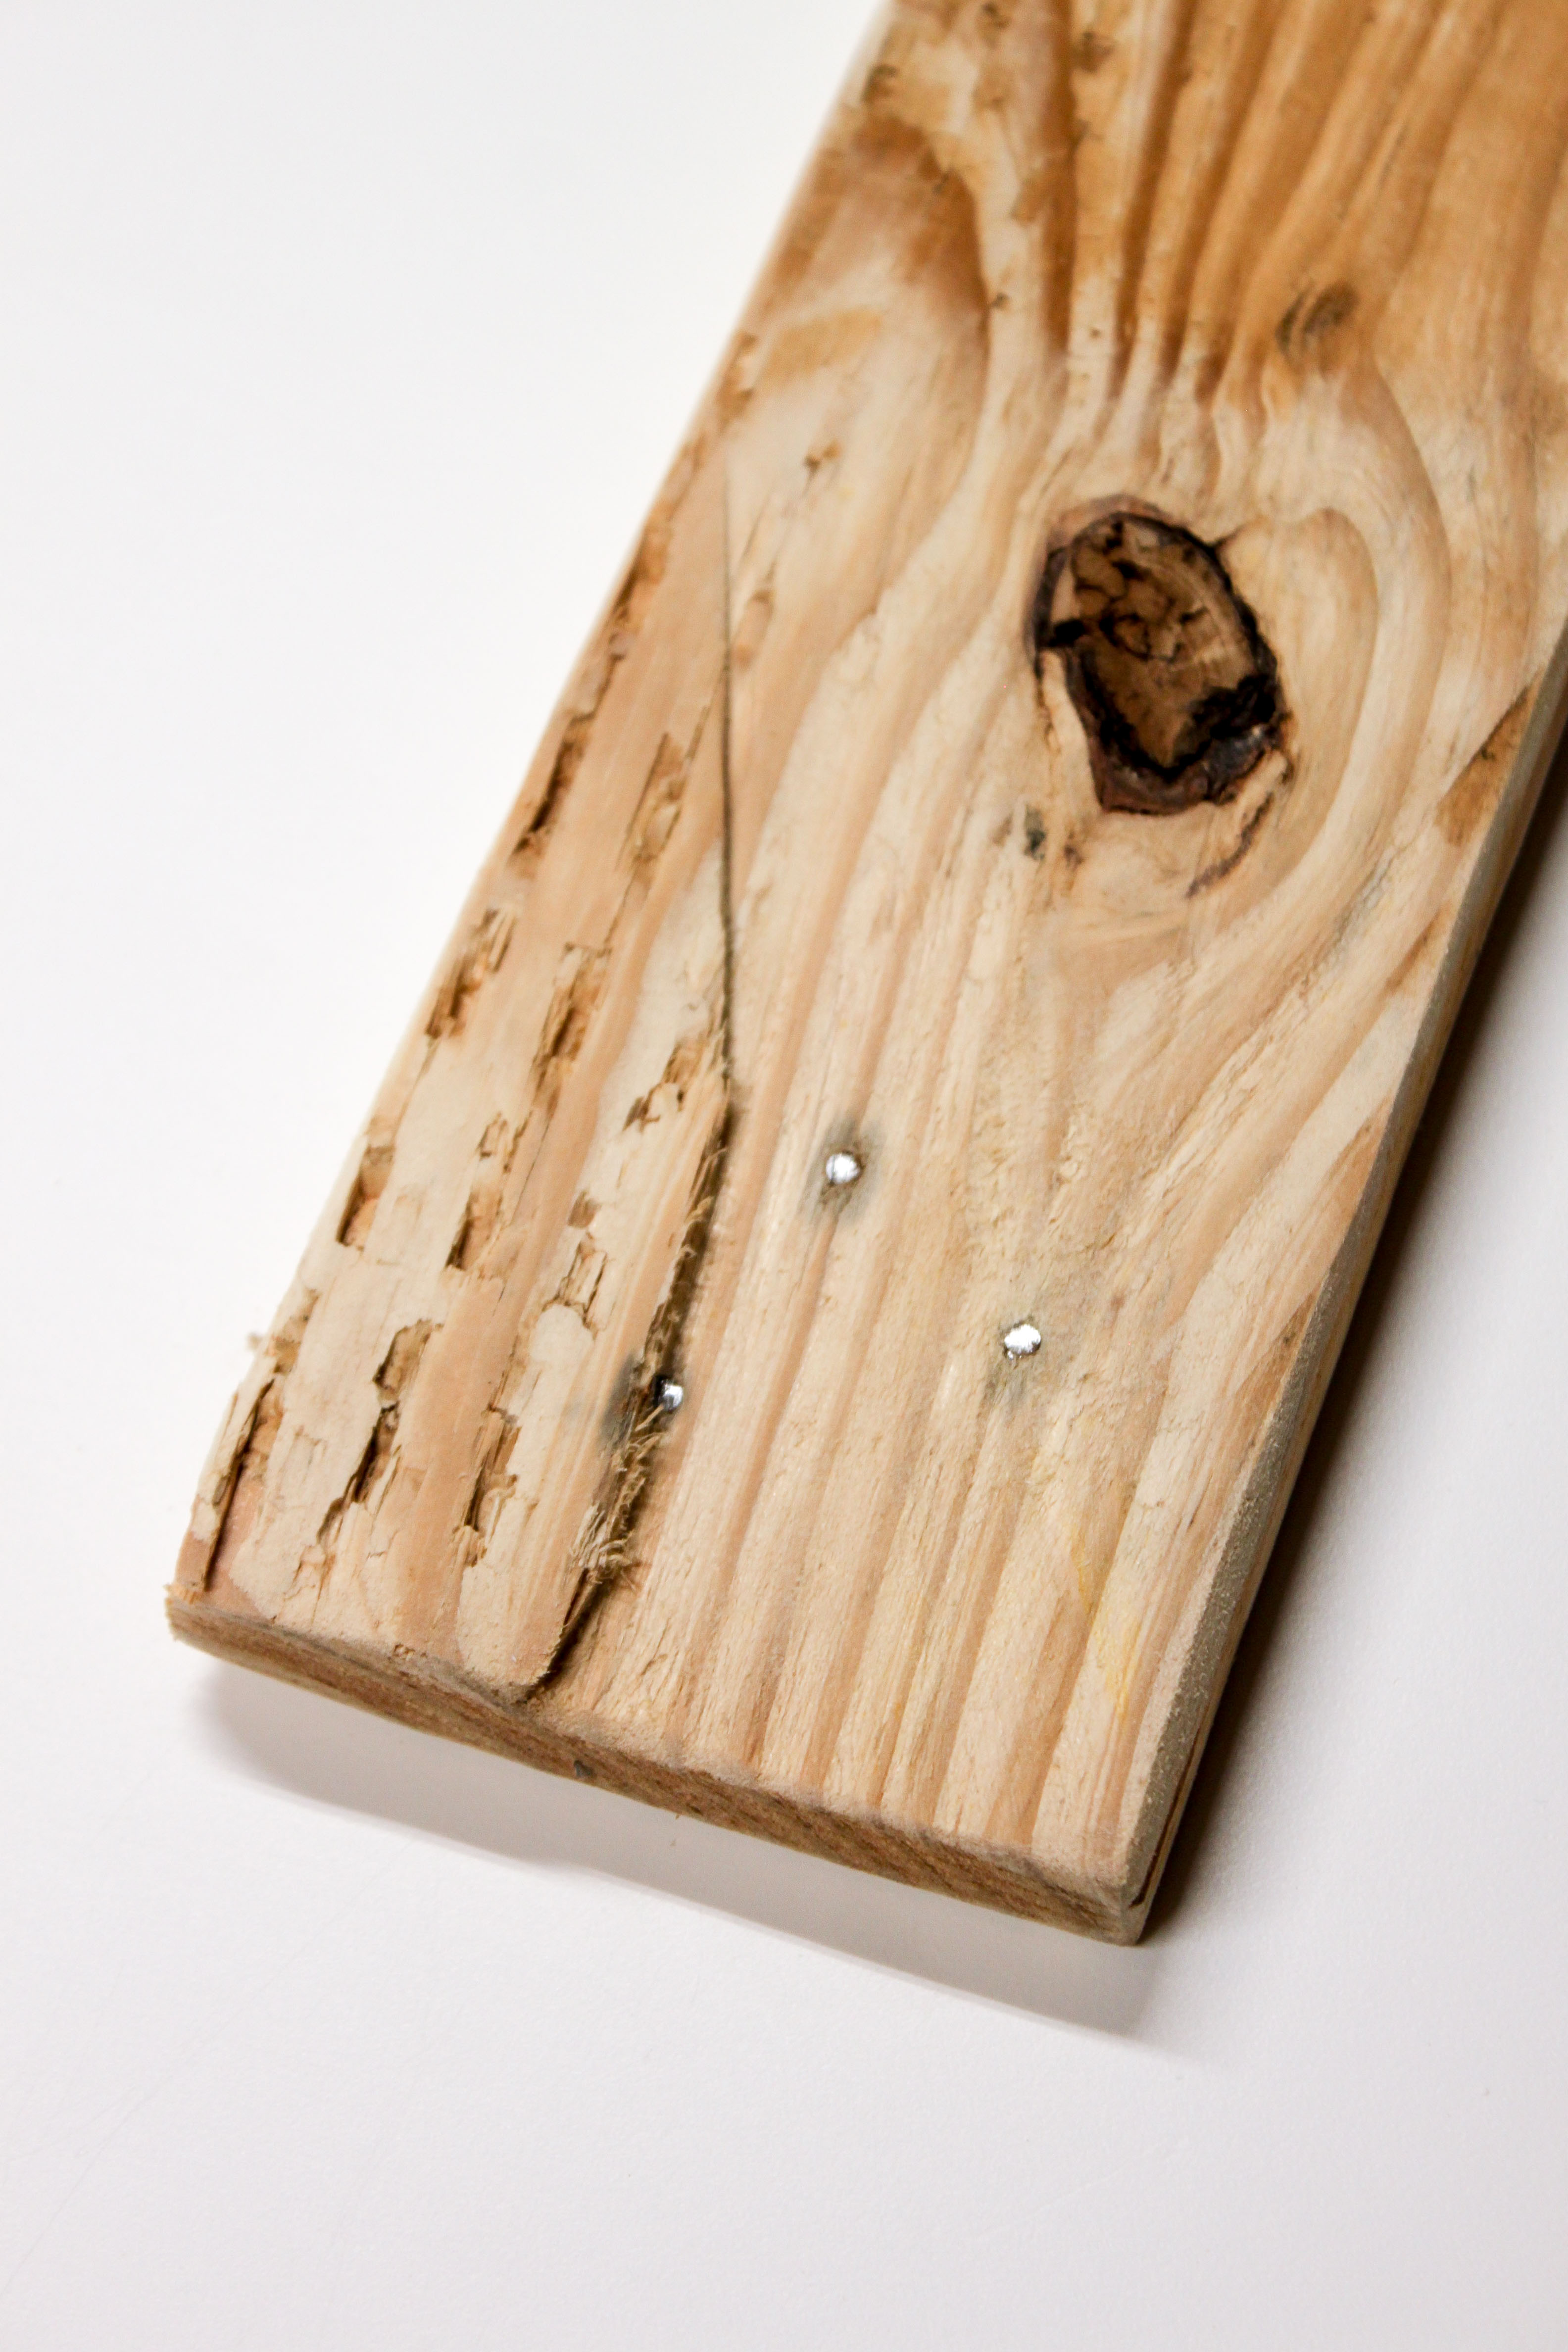
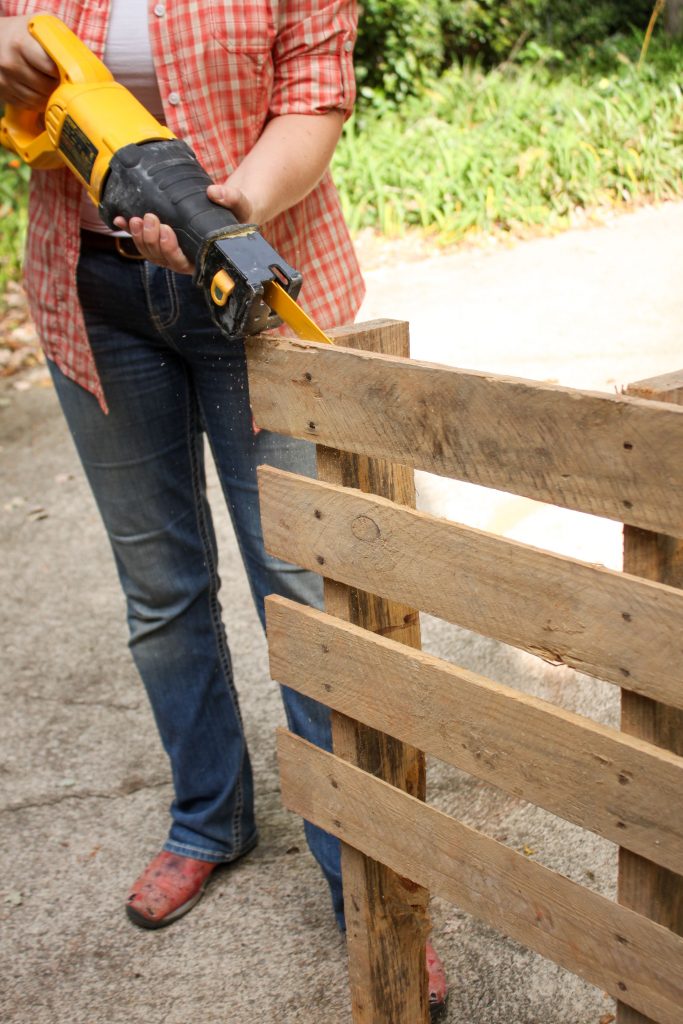
3. Yes, you can use a reciprocating saw and/or multi-tool with a metal cutting blade, but getting a clean cut is difficult (usually you cut into some of the wood). And you are left with cut off nails that need to be removed, filed down, or avoided.

Facts About Using Pallet Wood

4. Pallet wood may be treated with chemicals to prevent deterioration. If you can find markings on the pallet, you might identify if the pallet was treated by looking for these codes.

5. You can never truly be sure what has spilled on the pallet and has absorbed into the wood. I’ll let your imagination wander. You should consider how you’d feel if you found out the pallet had a chemical spilled on it, animal urine, feces, or raw food. (For this reason, it’s a good idea to seal the wood with a polyurethane or polycrylic if you decide to use pallet wood.)

6. Pallet wood is not perfect. It usually is low grade wood and has dings, cracks, splits, or large splinters.

7. Pallet wood may have staples and tacks that will need removal.

8. Pallet wood isn’t normally smooth and may need extra sanding to get a usable plank.

9. Pallet wood is rarely straight.

10. The planks aren’t usually a uniform thickness. To achieve uniform thickness, they’ll need to be planed. But, make sure you have removed all nails and staples or you risk damaging your planer blades.

Facts About Using Pallet Wood

11. When you’re done harvesting pallet wood you’ll need to find somewhere to dispose of the pieces you don’t use. Most waste companies won’t take pallets because they label them as construction waste.

Facts About Using Pallet Wood

Now that you know the pros and cons of pallet wood, you can weigh them and decide if you want to use that free pallet wood or buy new boards from your local home improvement store.

Facts About Using Pallet Wood

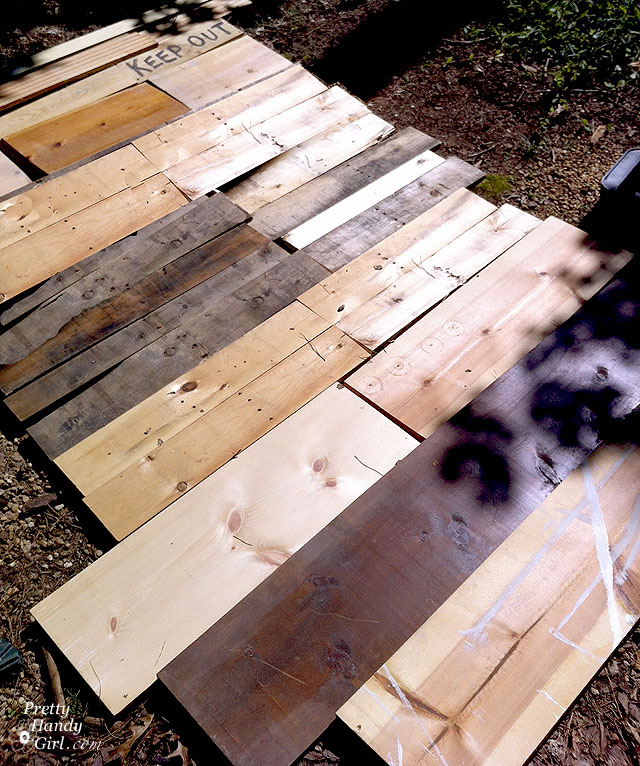
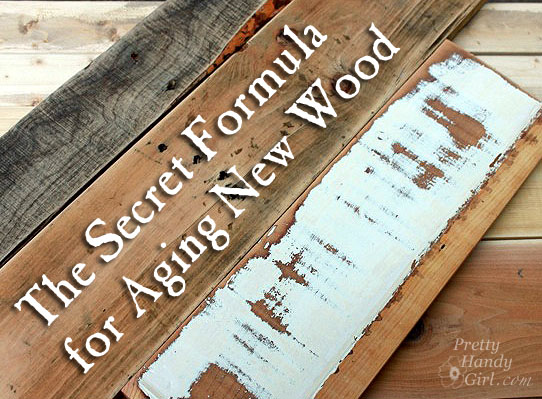
After all, pine framing lumber is cheap! And luckily, you can fake the age of new wood using this tutorial:

Facts About Using Pallet Wood

Lest you think I’m scaring you away from using pallet wood, here are a few cool projects you can make with it.

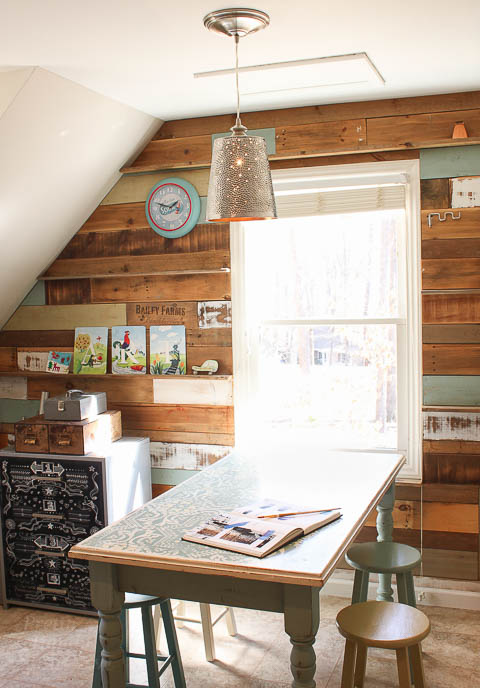
Clad walls with pallet wood to create a beautiful feature wall:

DIY Twinkling Pendant Light | Pretty Handy Girl

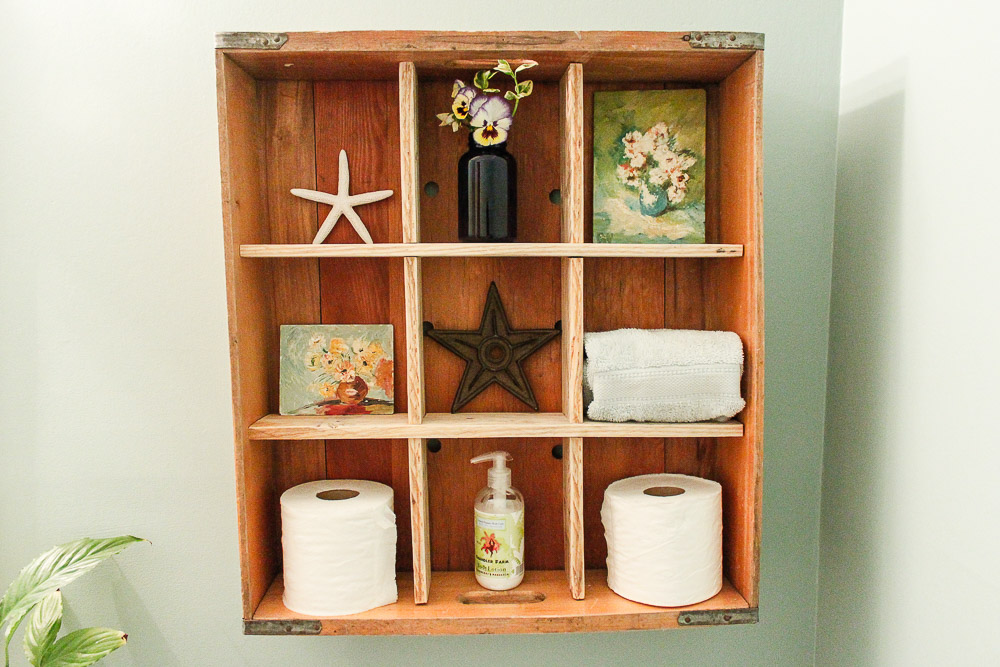
Use pallet wood to create a bread crate display shelf:

12 Inexpensive Ways to Decorate a Bathroom | Pretty Handy Girl

Or make a serving tray out of pallet wood (be sure that your pallet wood is clean, chemical free and always use a plate under the food.)

Rustic Pallet Serving Tray | Pretty Handy Girl

What are your thoughts and experiences with using pallet wood? Have you made anything using pallet wood? Would you do it again? Let’s open up the conversation in the comments below!

Facts About Using Pallet Wood


How to Make a Super Simple Bar Stool

How to Make a Super Simple Bar StoolHow to Make a Super Simple Bar Stool

Have you ever wanted a bar stool that is a specific height or stain color? I bet you thought you’d have to search all over town for just the right bar stool, right? Well today, I’m back again from Woodshop Diaries and I am excited to show you how to build this super simple DIY bar stool! Yes, you can do this. . . I’ll show you how!

I built this stool to go with my large craft desk when I remodeled my home office space and I’ve had lots of questions on how I made it.  Unfortunately, at the time, I didn’t take any photos for a tutorial.  But after so many questions, I decided to make another one just so I could show you how to make your own!

How to Make a Super Simple Bar Stool

Ready to get started?

Materials:

(I’ve included affiliate links for your convenience. I earn a small percentage from a purchase using these links. There is no additional cost to you. You can read more about affiliate links here.)

Cut List:

  • (4) 1 ½” x 1 ½” x 24″ with 7 degree mitered ends parallel
  • (2) 1 ½” x 1 ½” x 7″ with 7 degree mitered ends NOT parallel
  • (2) 1 ½” x 1 ½” x 12 ¼” with 7 degree mitered ends NOT parallel
  • (1) 11″ diameter round seat

Step 1:  Cut Pieces

Start out by cutting all your stool pieces using the cut list above.  Miter all the 24″ legs at 7 degrees (parallel to each other.)

How to Make a Super Simple Bar Stool

Then you will miter cut the 7″ and the 12 ¼” pieces NOT parallel to each other.  (One edge of these pieces will be shorter than the other side as shown in the picture above.)

Step 2:  Mark and Trim Notches

Grab the shorter pieces (they will become your braces.)  Lay them out as shown below and use a speed square to measure and mark a center line and ¾” to each side of the center line.  Next, mark ¾” down from the top and bottom edge to find the horizontal center as well.  Make an X mark on the part you will be removing.  You need to remove one “chunk” from the top on one piece and one “chunk” from the bottom on the other piece so they will fit together.  Do this for both the short and the long brace pieces.

How to Make a Super Simple Bar Stool

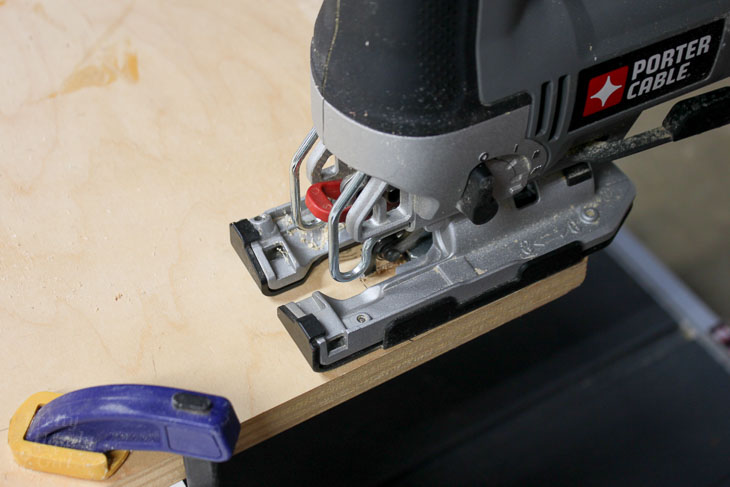
Using a jig saw, make several cuts both along the outside lines and between them.  Make sure to only cut on the side where you marked your Xs, not all the way through the board.

How to Make a Super Simple Bar Stool

Ignore the extra lines in the photo above.  I accidentally marked 3/8″ on each side of the center instead of the ¾” I was supposed to.  Whoops!

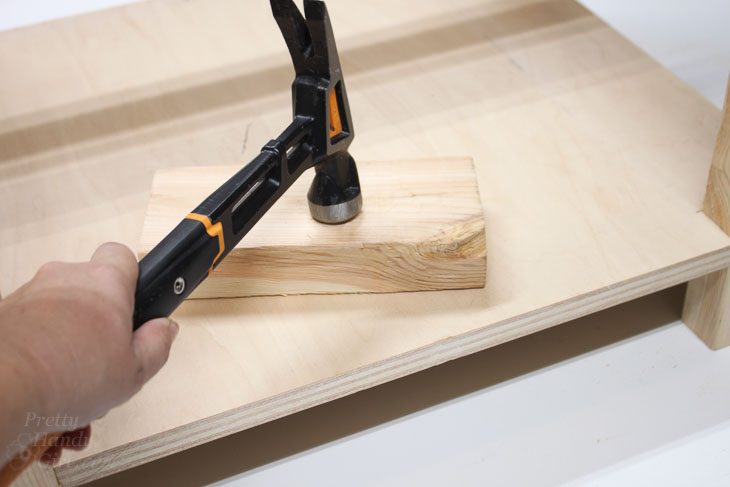
Use your hammer and chisel to knock out the “chunk” pieces.  Do this for all four of 2×2 braces.

How to Make a Super Simple Bar Stool

Make sure the braces fit together nicely.  Chisel out anything that keeps them from fitting together.  Once you get them to fit, put a little glue in the notches; fit the brace together; and add a 1 ¼” screw. Repeat for the second brace.

How to Make a Super Simple Bar Stool

Step 3:  Attach Legs To Center “X” Braces

Place your small “X” brace upside down (longest side up) on your work surface.  Add glue to all the ends and place a leg on each one.  Attach the legs with a 2 ½” wood screw.

How to Make a Super Simple Bar Stool

How to Make a Super Simple Bar Stool

Once all four legs are screwed into the small “X”, place the big “X” between the legs toward the bottom of the legs. Make sure the longest side of the “X” faces the bottom of the legs.  Position the “X” so that it is about 1 ¾” from the bottom (or top since it is upside down) of each leg.  Glue and screw in place just like with the small “X”.

How to Make a Super Simple Bar Stool

Step 4:  Add the Seat

Take a piece of scrap ¾” plywood or 1×12 (anything that is at least 11″ square or larger.)  Cut out a circle about 11″ in diameter.  You can find a large round object to trace the shape if you wish.  Use a jig saw to cut out the circle.  Place it upside down on your work surface and center your stool legs and brace on top.  Use 2″ wood screws to attach through the small “X” as shown below.

How to Make a Super Simple Bar Stool

Step 5: Finish the Stool

Putty the screw holes and sand.  Paint or stain your stool as desired.  I left my new stool natural but I stained the top of my office stool using Minwax Puritan Pine, and painted the bottom Sherwin Williams Naval.  Then, I used some masking tape, and taped off my legs to spray with gold spray paint for a gold dipped look.  Be careful if you try this that you have the top of your legs covered completely so you don’t overspray onto them!

And that’s it! You now have your own super simple customized bar stool!

What color would you make your bar stool?

Shara's Signature

~Read more of Shara’s Tutorials~


If you liked this tutorial, I know you’ll love:

Cute DIY Animal Toddler Stools | Pretty Handy Girl